Forum Replies Created
-
AuthorPosts
-
August 22, 2022 at 7:53 am #39795
 trusty220Keymaster
I love the smell of exhaust fumes in the morning!
(Apologies to the scriptwriters of Apocalypse Now!)
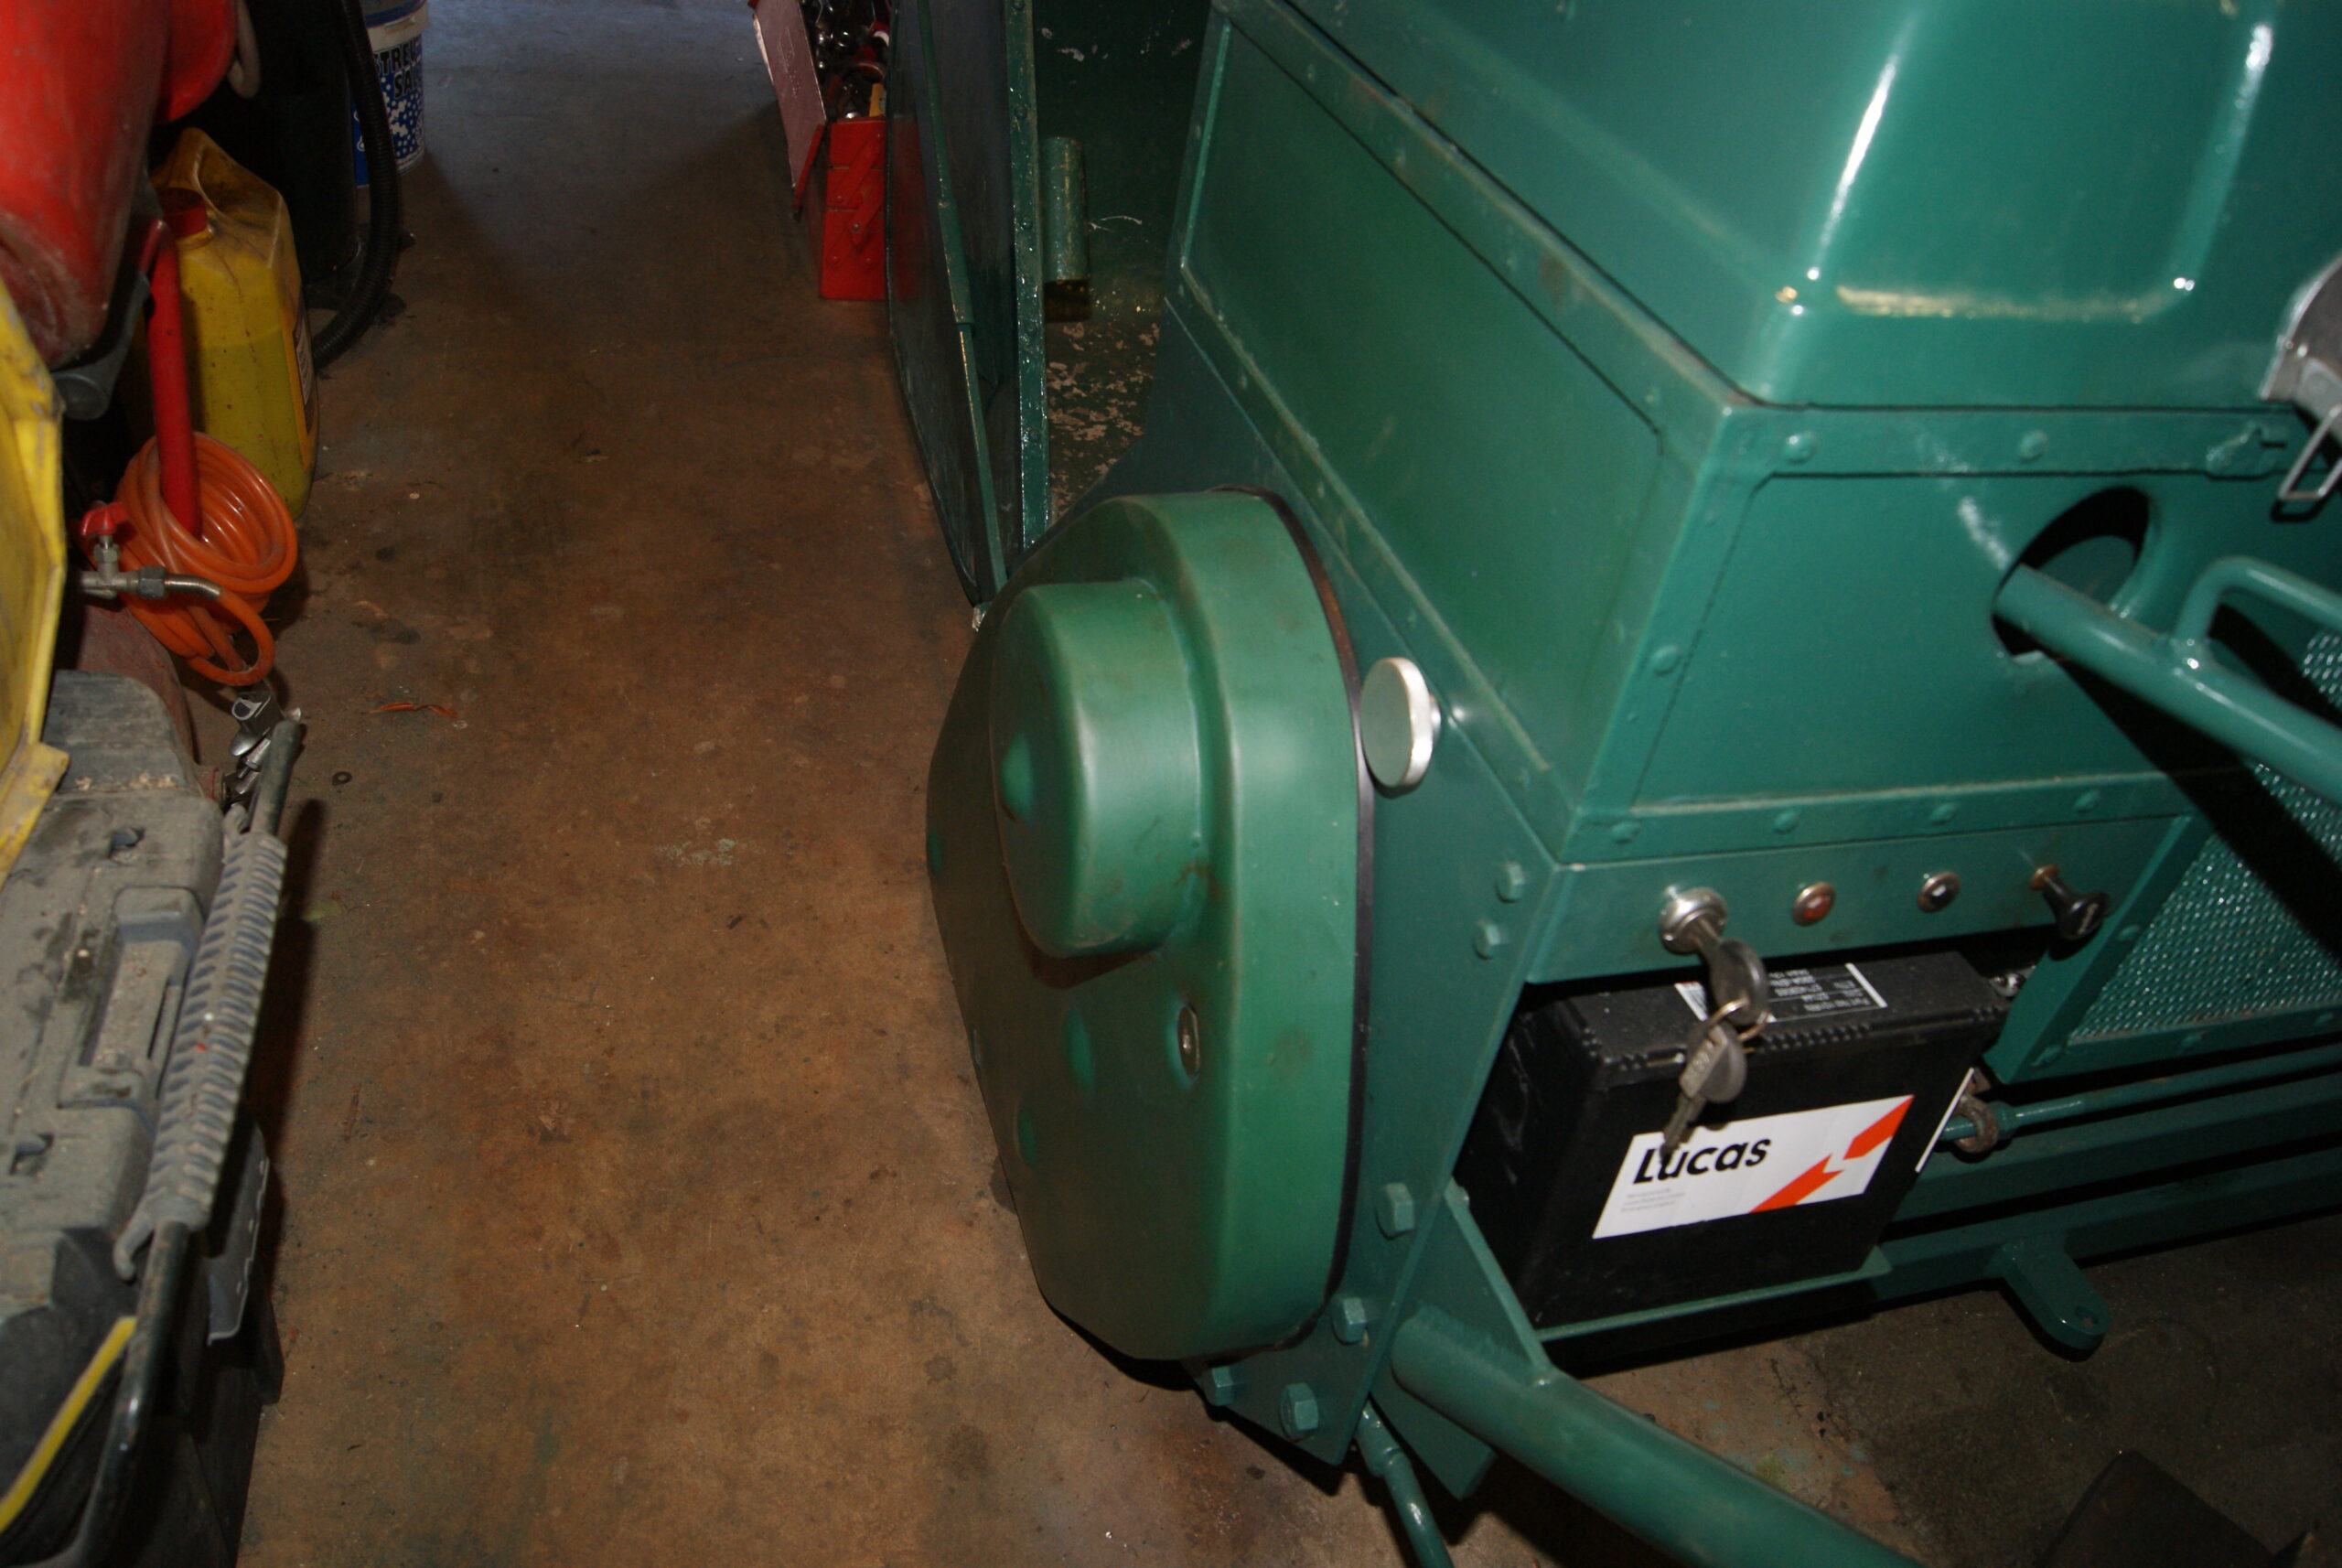
August 21, 2022 at 8:28 pm #39787trusty220KeymasterThe cowling looks like Wisconsin to me. The Wisconsin AEH that I have is very similar to a JAP 5 but has minor differences- was one a copy of the other, I wonder?
My Wisconsin has a removable, circular cover over the flywheel so that you can take off the flywheel without removing the cowlings. Your picture seems to have the same circular panel secured by three screws and the cowling is much squarer than the JAP, so I’d put my money on Wisconsin. I’ll see if I can dig out a photo of mine for comparison.
-
This reply was modified 3 years, 11 months ago by
 trusty220.
Attachments:
August 21, 2022 at 8:19 pm #39786trusty220KeymasterIt sounds like the rust has taken hold. On machines that had been laid up for a while we used to have to knock the slide backwards and forwards in the housing, each time getting a little bit more movement until the slide came free. Have you removed the brake pads? If not you may find they are binding inside the housing.
Assuming you’ve removed the pads and the slide still won’t move I would try a couple of things. In these situations I tend to soak the assembly in Brick and Patio Cleaner; this is a weak Sulphuric Acid but it does get the rust moving. The downside to this is that it needs to be handled carefully so you don’t get it on your skin, it gives off hydrogen gas so you need to do it in a well ventilated area and you need to neutralise the acid by soaking in Bicarbonate of Soda afterwards. Despite these precautions I find it very useful and still use the method for de-rusting iron and steel items.
As an alternative you could always light a bonfire and put the assembly in the middle of it. I’ve used this method for large items that would use too much acid; an old oil drum filled with pallet wood usually does the trick. The aim is to heat the whole assembly to an even temperature so that the moisture in the rust is evaporated; the rust is converted to dust and the caliper will come apart easily once it’s cooled down but you must ensure that the whole assembly is heated to a cherry red otherwise you’re wasting your time. The even temperature throughout the metal prevents any distortion, something that you can’t achieve with a blow torch, and leave the caliper to cool down gradually overnight before trying to dismantle it. Plenty of oil is also a good idea.
I found penetrating oil is not much use on these parts as the rust tends to be very deep-seated and there is a great deal of surface area inside the caliper for the rust to take a hold of.
I hope one of these methods will work for you. If all else fails I’ve found that they will put up with quite a bit of hammering!
August 21, 2022 at 10:56 am #39780trusty220KeymasterHi, Neil,
That looks very similar to a JAP 5 but it has subtle differences to the ones I’ve owned and worked on.
Could we have a few more pictures from different sides, and particularly the top of the crankcase where the barrel meets it on the non-flywheel side?
Thanks very much; I’m sure we’ll nail it!August 21, 2022 at 7:53 am #39771trusty220KeymasterOne thing you forgot to mention, Dave- the event is not open to the public. All paid up club members are invited to attend but we have to abide by the landowner’s (and the insurance company’s) wishes and so this is a “closed” event for club members only.
Sorry to put a dampener on it for all you non-members!
Oh, as a footnote:- Some people get confused with club membership and membership of this forum. Forum membership alone does not give you access to club events. A yearly subscription to the club is what is needed. Sorry!
August 21, 2022 at 7:34 am #39765trusty220KeymasterYou spotted them, then! They were part payment for welding a new floor in a grain trailer. No trips to the wardrobe department for me!
A few more pictures for you to look at.
Attachments:
August 14, 2022 at 12:07 pm #39725trusty220KeymasterJust in case you haven’t found it yet, for a Zenith with a 24T2 fitted with a number 14 choke tube the correct size for the air jet which fits in the hole you’re pointing to is 1.50, with the slow running tube (or jet) next to it being 50.
Don’t forget that you can fine tune the tick over with the Air Regulating Screw on the side of the venturi in the top cover of the carburettor. Remember that it adjusts the air part of the mixture, not the fuel, so screwing it out makes the tick-over mixture leaner (less fuel) and screwing it in makes it richer (i.e. more fuel).
Best of luck with it.
August 14, 2022 at 11:40 am #39718trusty220KeymasterLast week was a bit of a trial to say the least!
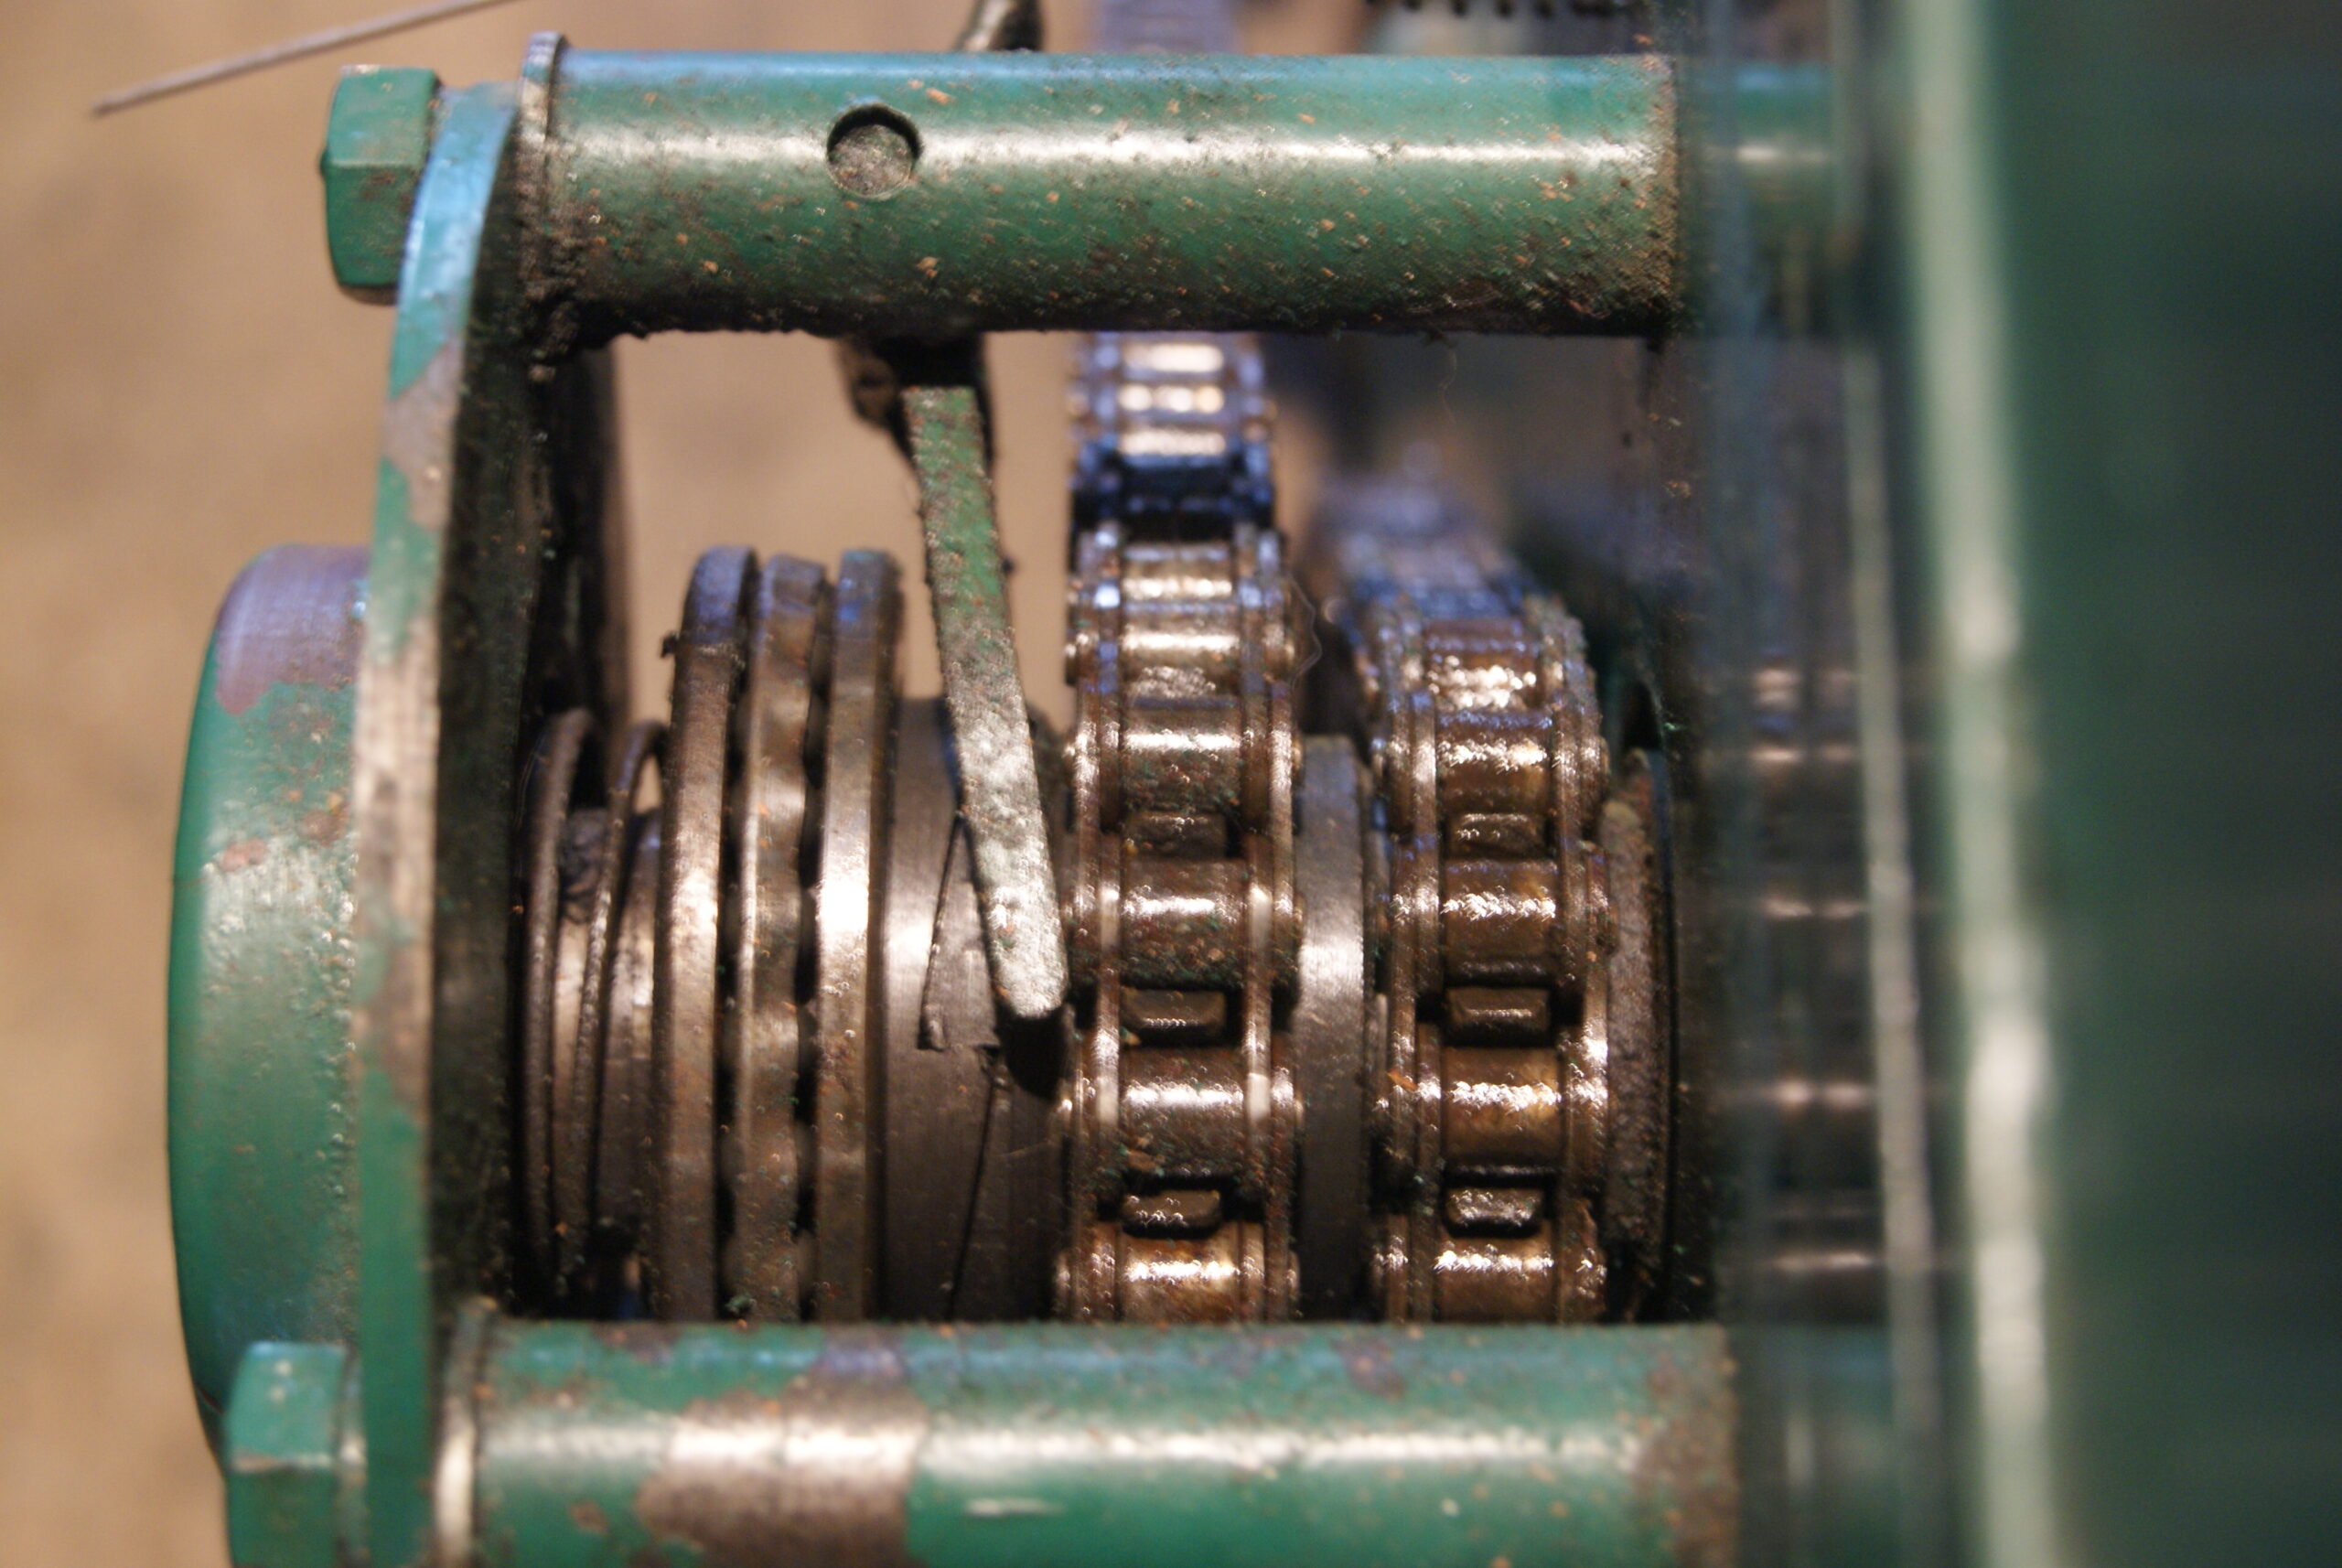
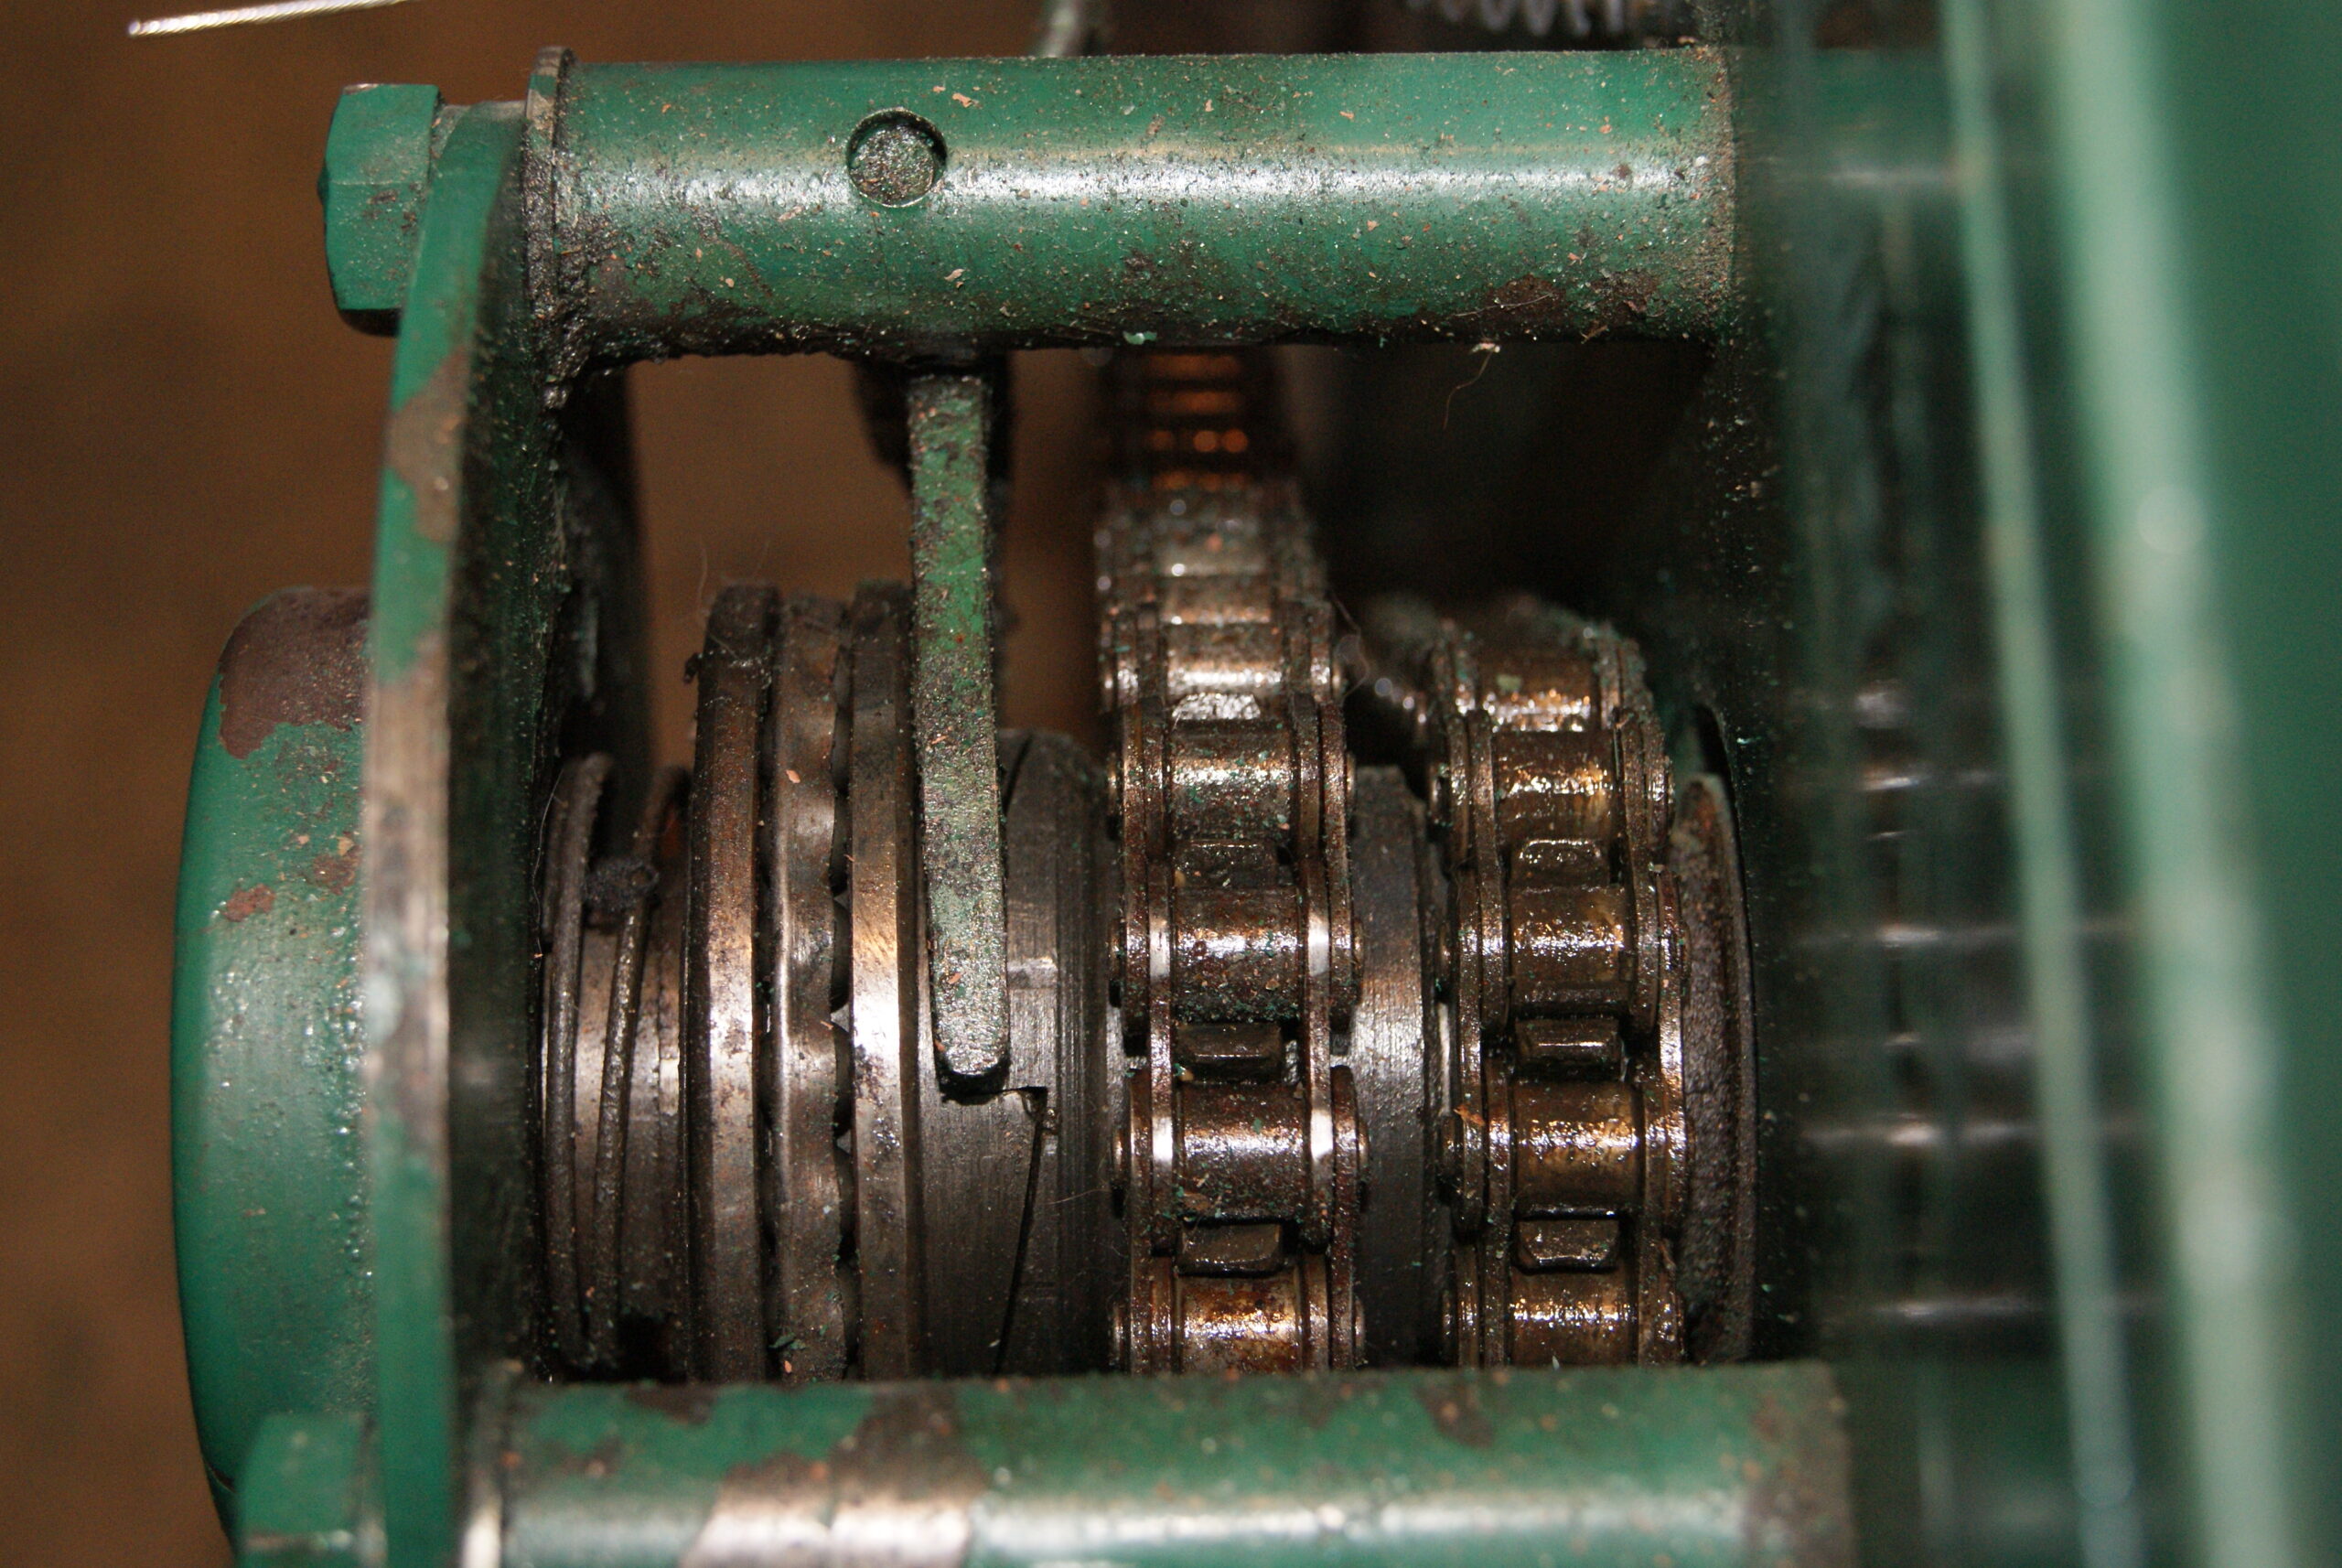
I started off with the chain guard; as I thought, an easy 5-minute job so I’ll tackle it before taking Mrs. Geoff down the shops. First problem was that I noticed the cutter clutch cable had stretched and was allowing the operating fork to rub on the roller drive chain, so a quick adjustment sorted that out but it is quite a fine adjustment.
Next was the rubber sealing strip (AKA the Mk1 GT6 overrider rubber). A sparing application of spray glue on the inside face was enough to secure it and it took just under 2 metres of rubber strip to go all around it. Once it dried I thought a quick trial fitting was in order and then the trouble started!
The guard is secured by three countersunk, socket head nuts which tighten onto a tube welded inside the guard. The tubes fitted over the three 5/16″ BSF studs which were fixed through the mower side frame and that’s when my luck ran out. Two of the nuts started on the threads nicely, then the third just would not catch; it had to be the lowest one that you couldn’t get to easily, didn’t it? Obviously the three nuts used to work but the mower came to me with no rubber seal, so it was the thickness of the seal that was throwing it out and making the lower stud too short for the nut to catch on.
Half an hour later, having re-arranged the garage so I could tip the mower backwards, I was lying on the floor cursing all things that came into view when finally the locking nut on the back of the stud started to move. Winding it backwards and forwards with plenty of WD40 applied I got it to the end of the threaded portion, so I turned my attention to the other end. The stud had been threaded through a tapped hole in the side frame and so two nuts locked against each other on the exposed thread on the chain side gave me something to put the spanner on; never be tempted to use Stilsons or grips on a thread or you’ll be replacing it in short order! The nuts did the trick, starting with a small amount of movement and working it backwards and forwards to get the muck and rust out and to let the oil in. I managed to get another 1/4″ on the length of the stud which was enough to start the nut on. Phew!
Mrs. Geoff was not happy by this time so I had to dip into my pocket to buy her a dinner. Why do we do this to ourselves?
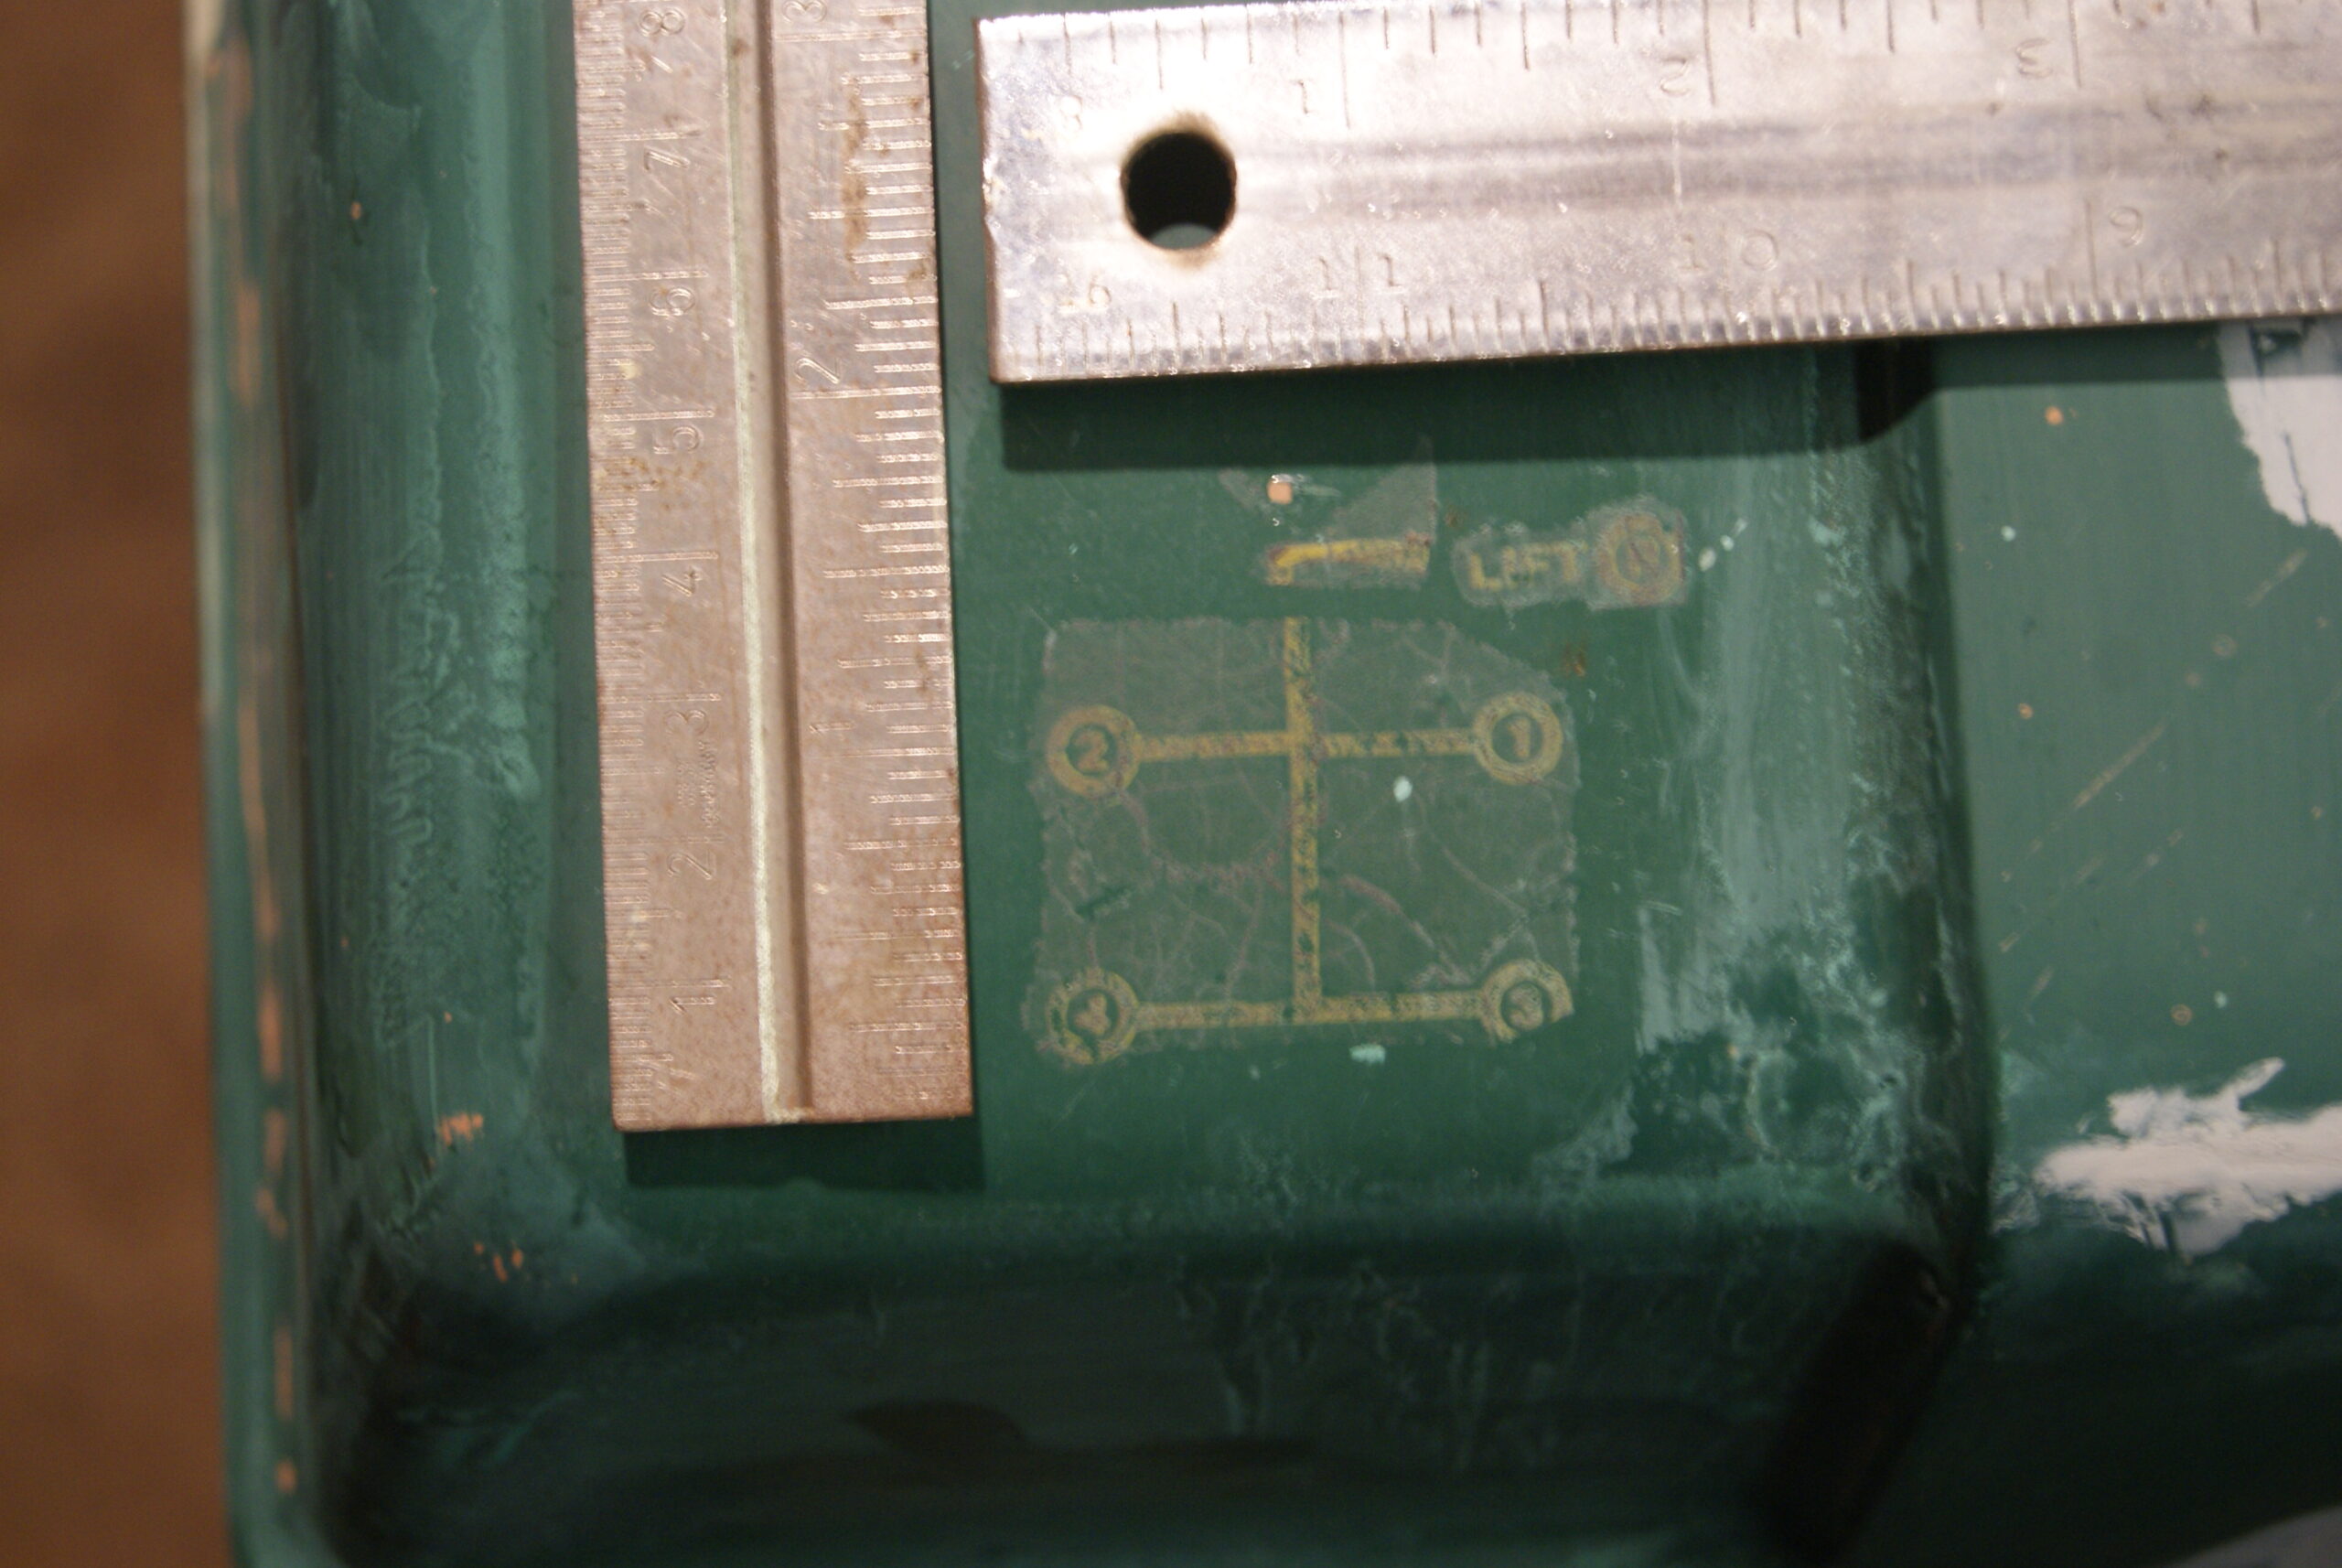
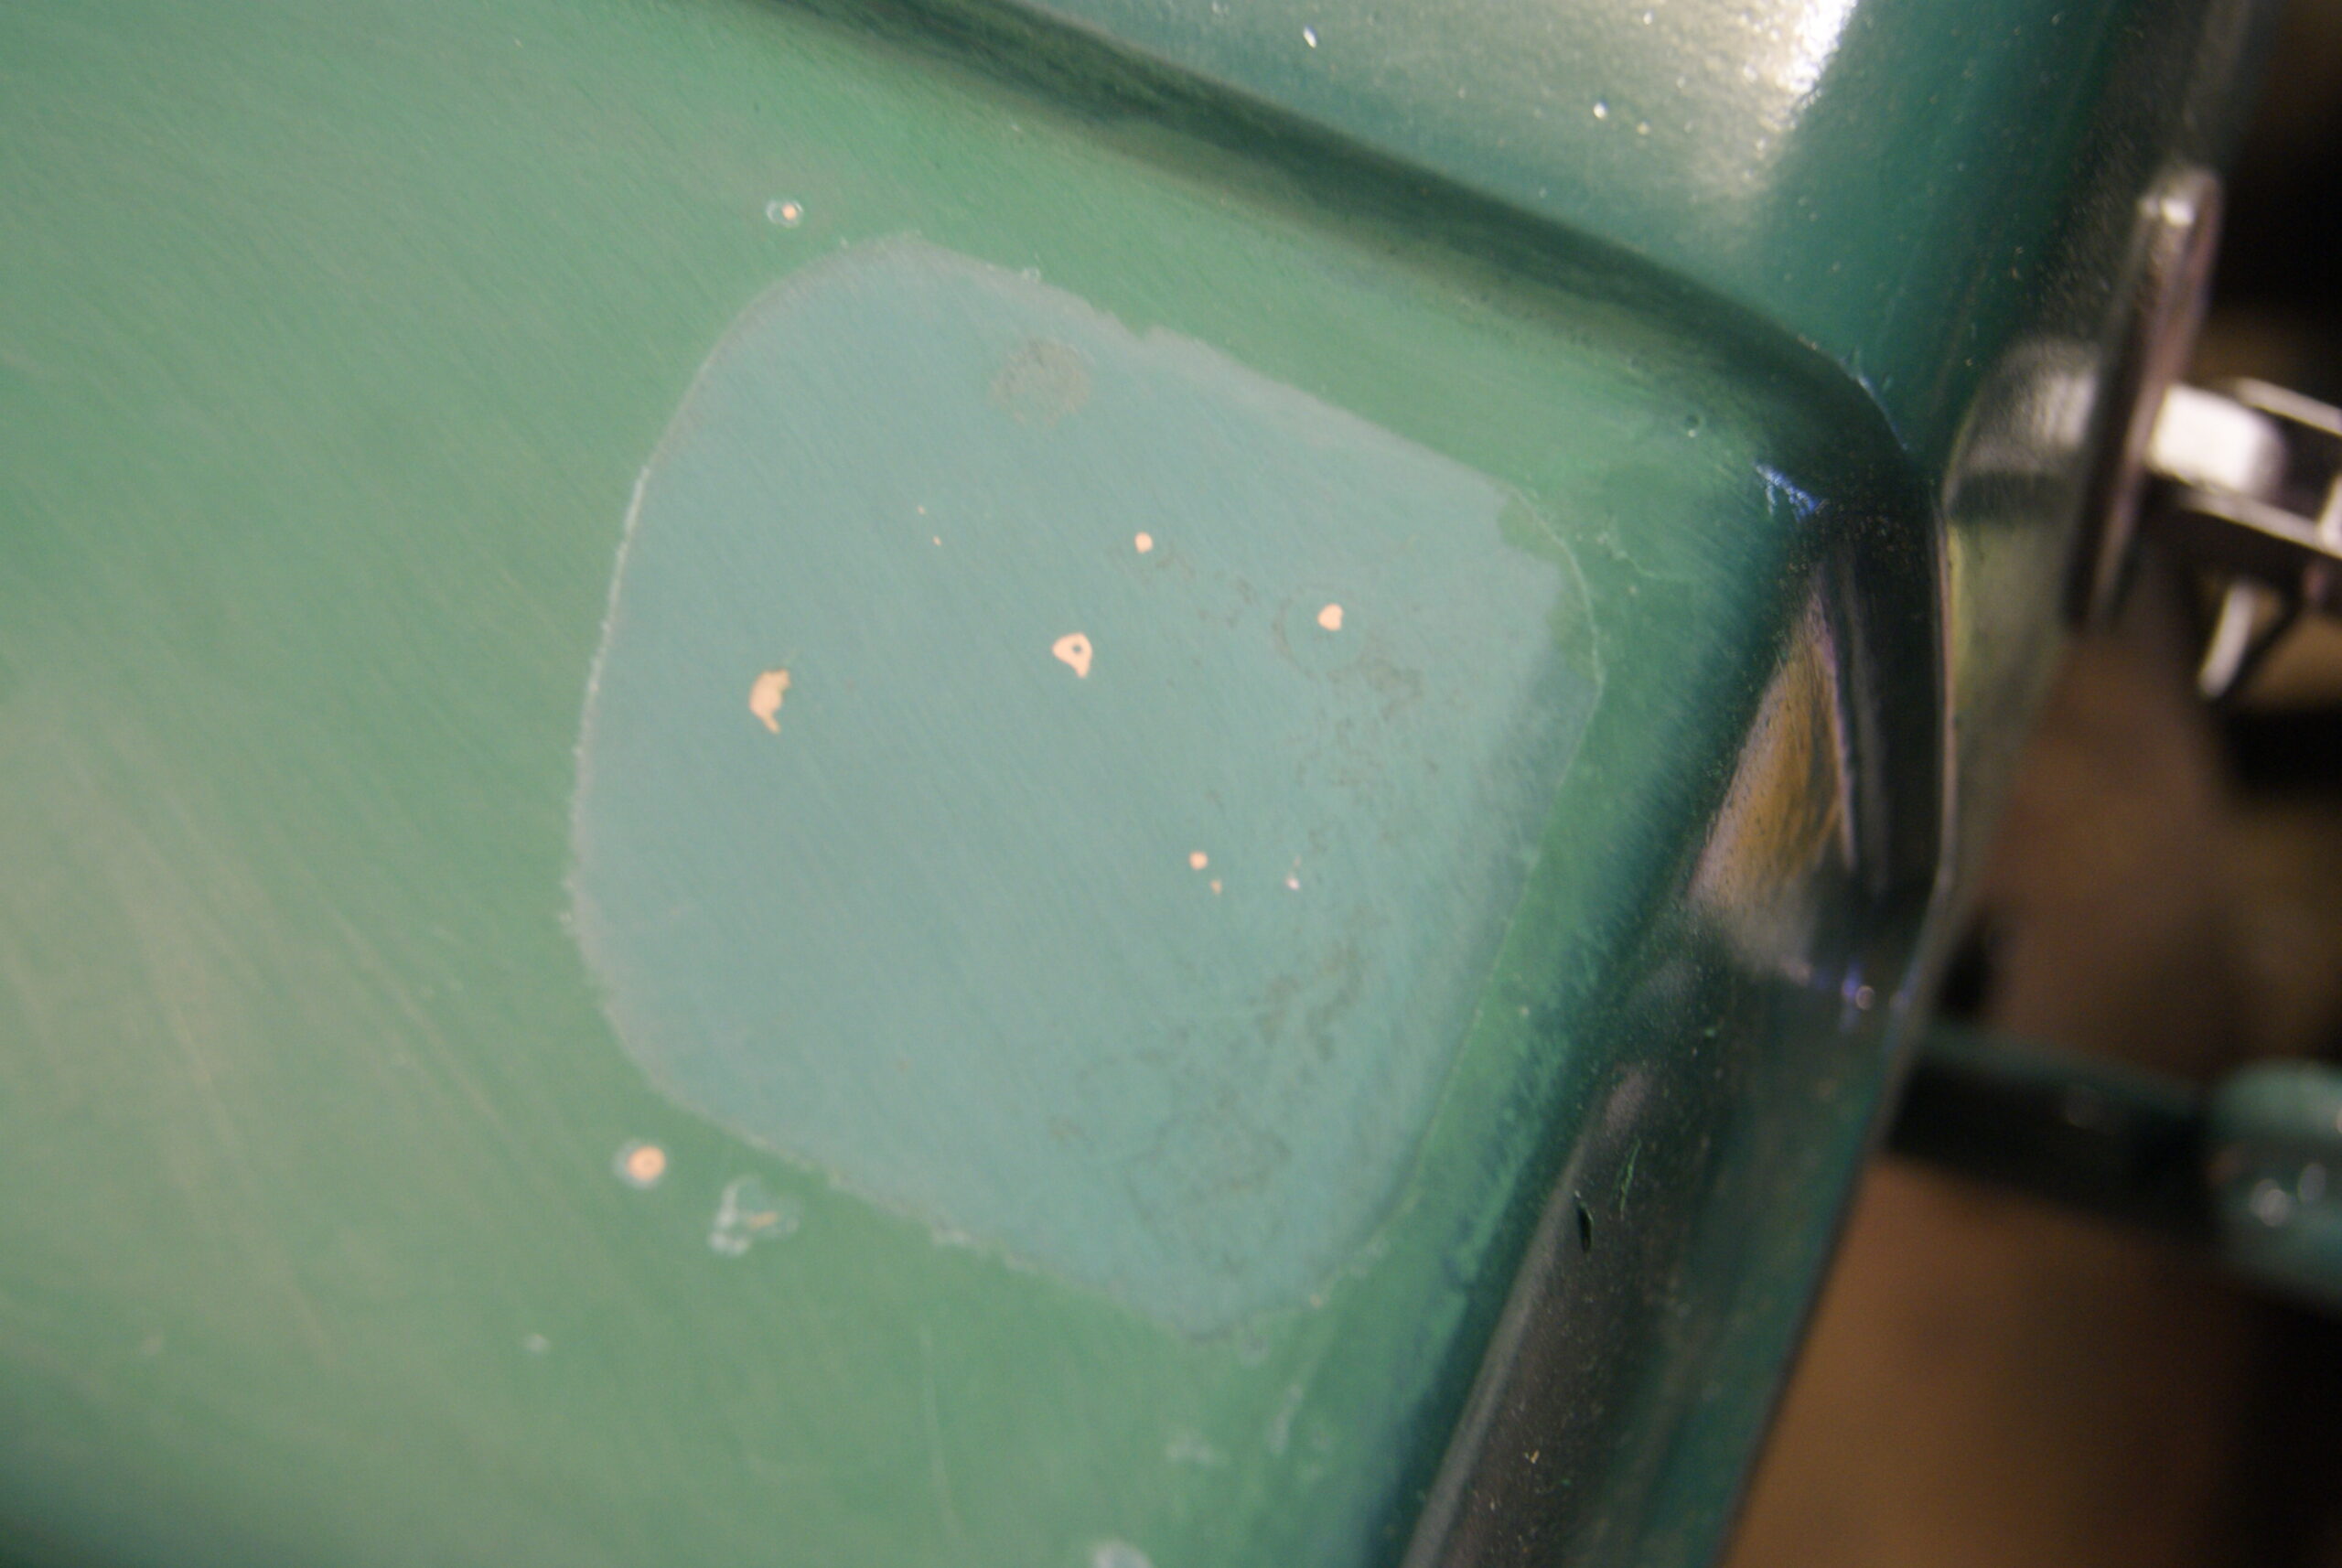
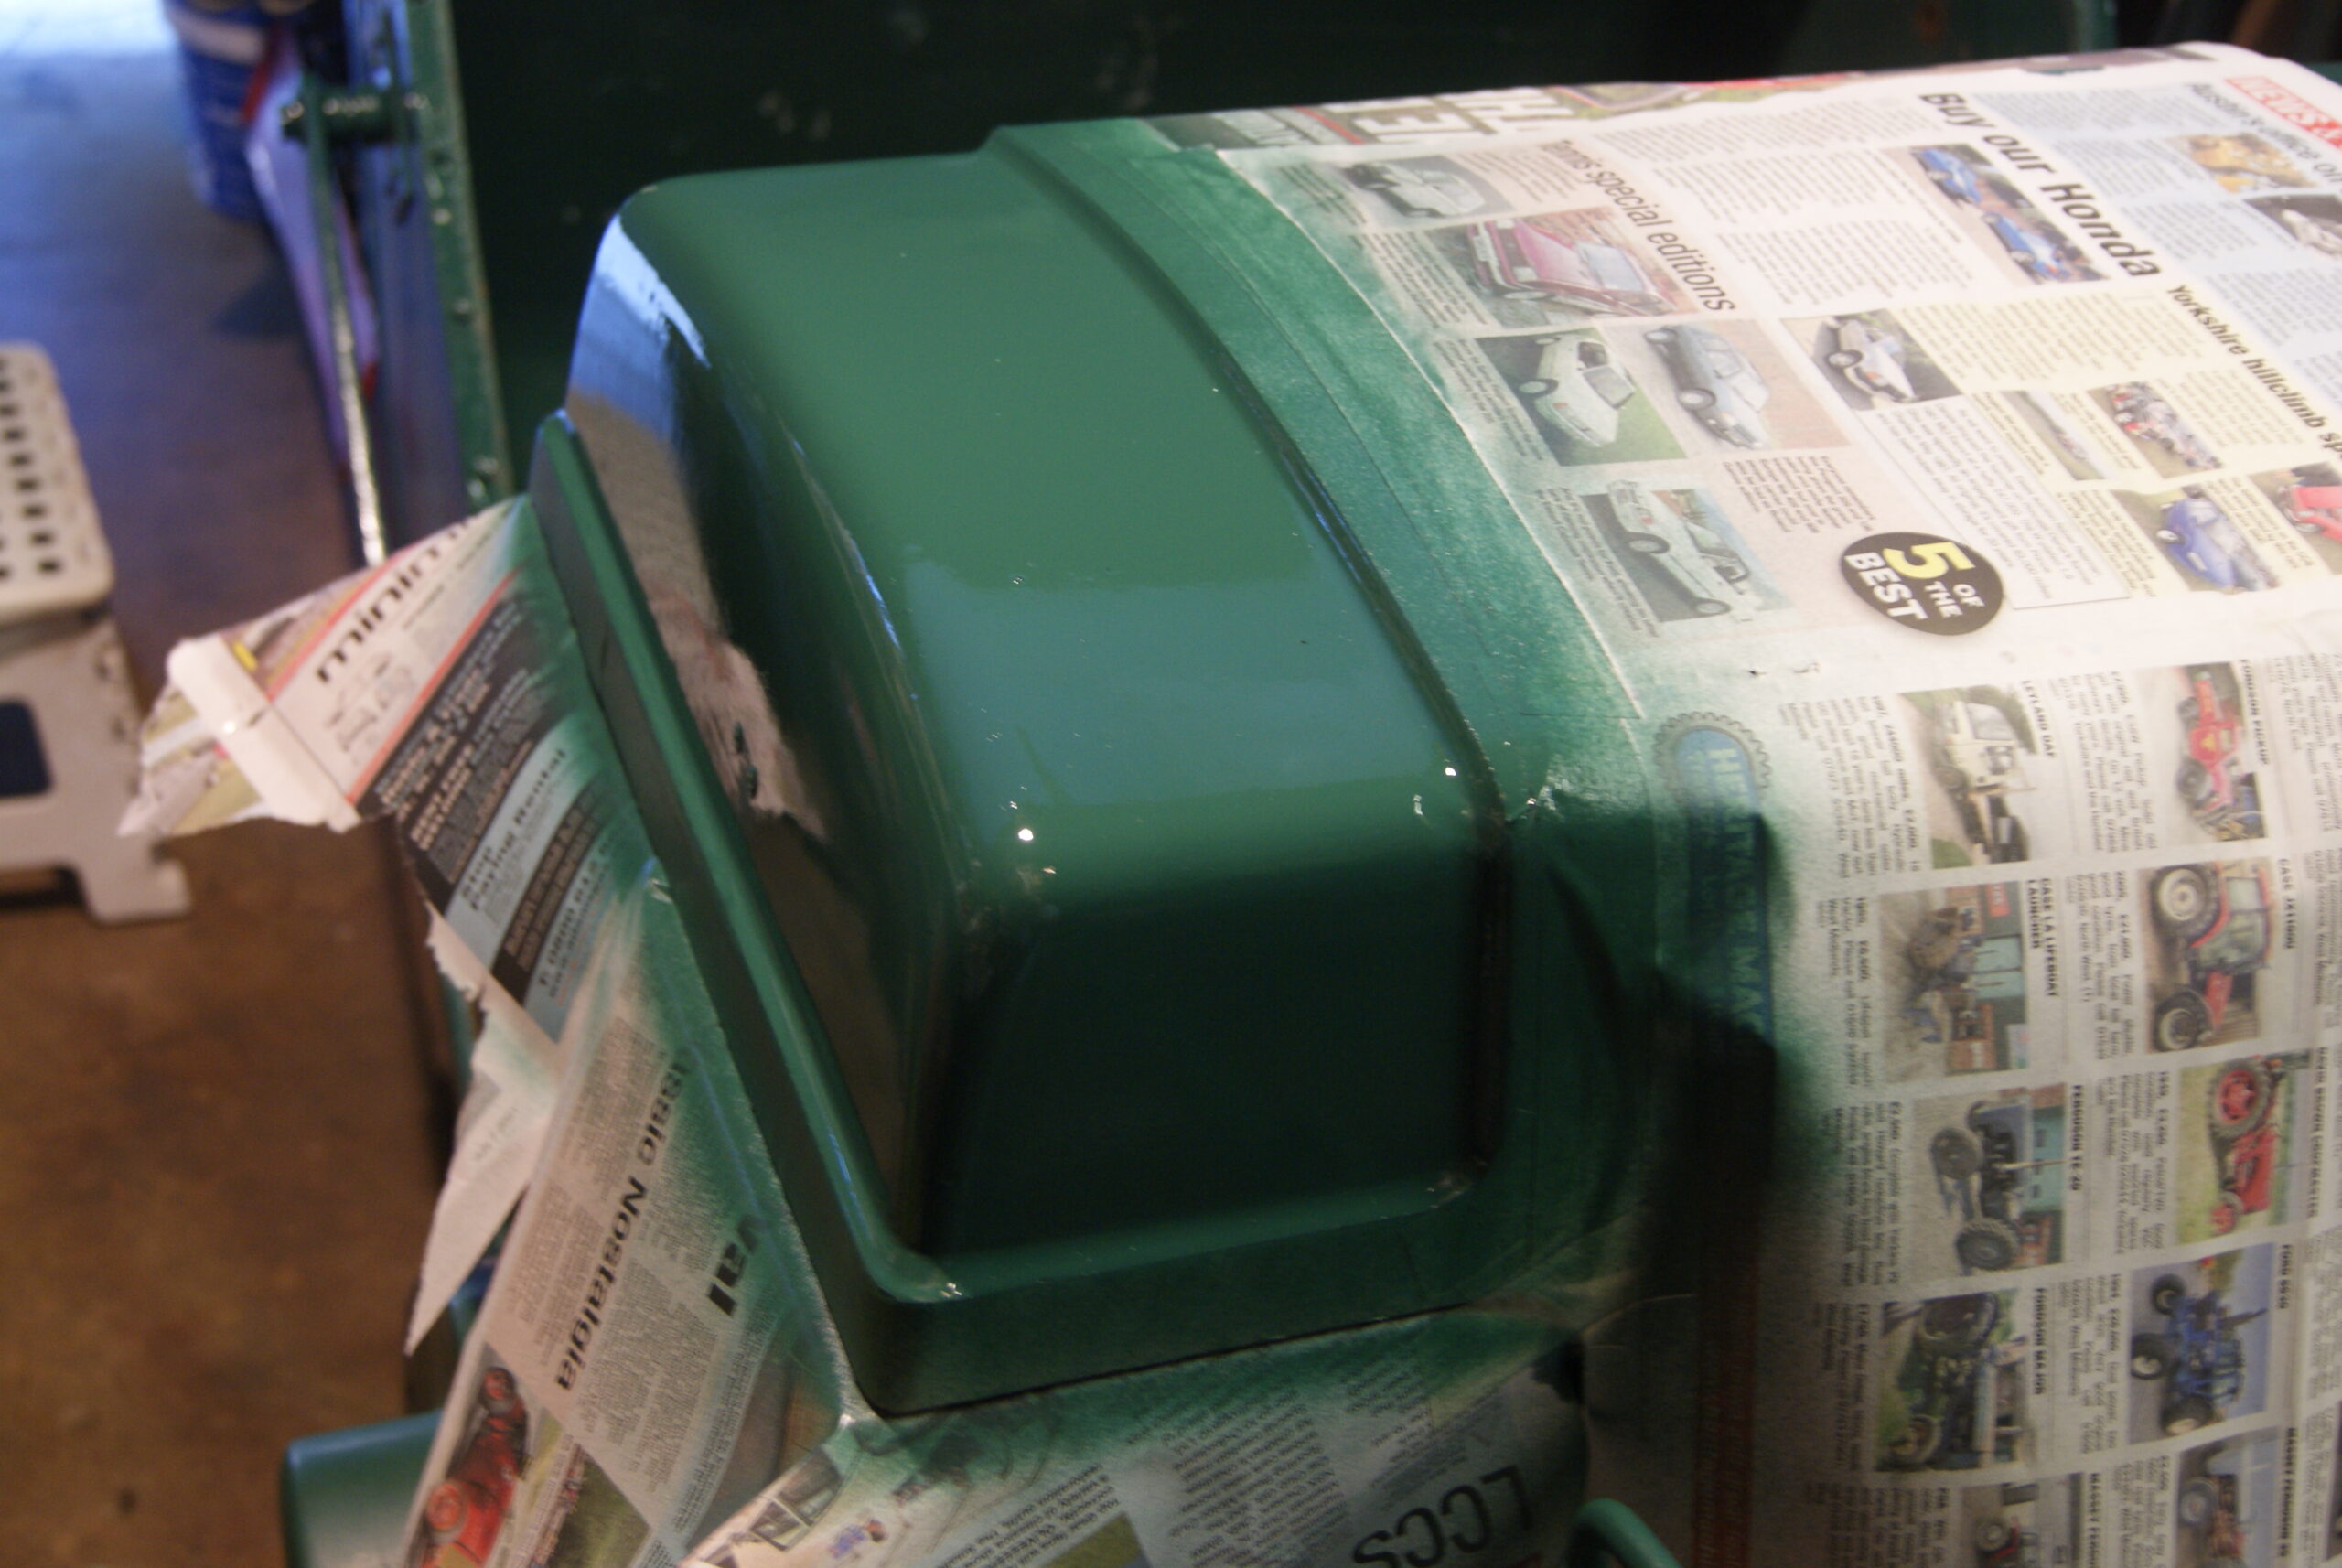
The other job I was putting off I tackled this week as well. The fibreglass lid has a small decal on the left hand side to show the operator the gear layout. The more I looked at it the more I convinced myself that it was a later addition, probably added after the re-paint with the thick paint. Talking to Roy Allett, he told me that Reliant used to change the position of reverse gear on a regular basis so they used to have to keep modifying the gear pattern decal to match the gearbox. The decal on this machine had evidently been chopped about a bit so it was most likely a later decal modified to match the earlier gearbox. When I painted the lid I masked it off to protect it; OK, I was delaying having to make the decision, but this week I persuaded myself that it had to go as it looked too worn and messy to keep. I masked off the surrounding panels so that I could concentrate on this one, rubbing it down to provide a good key for the new paint and removing the old decal. Whilst doing this I felt justified as four or five orange circles appeared as I rubbed through the transfer- it was that lumpy orange primer again, proving that the decal had been a later addition after the re-paint.
A few coats of Allett Green soon sorted out the last part of the lid so now I’ve just got to wait for it to harden. Ever tried watching paint dry?
Attachments:
August 9, 2022 at 10:32 am #39692trusty220KeymasterHi, Andy, it looks like we’re answering at the same time- good to see we agree with each other!
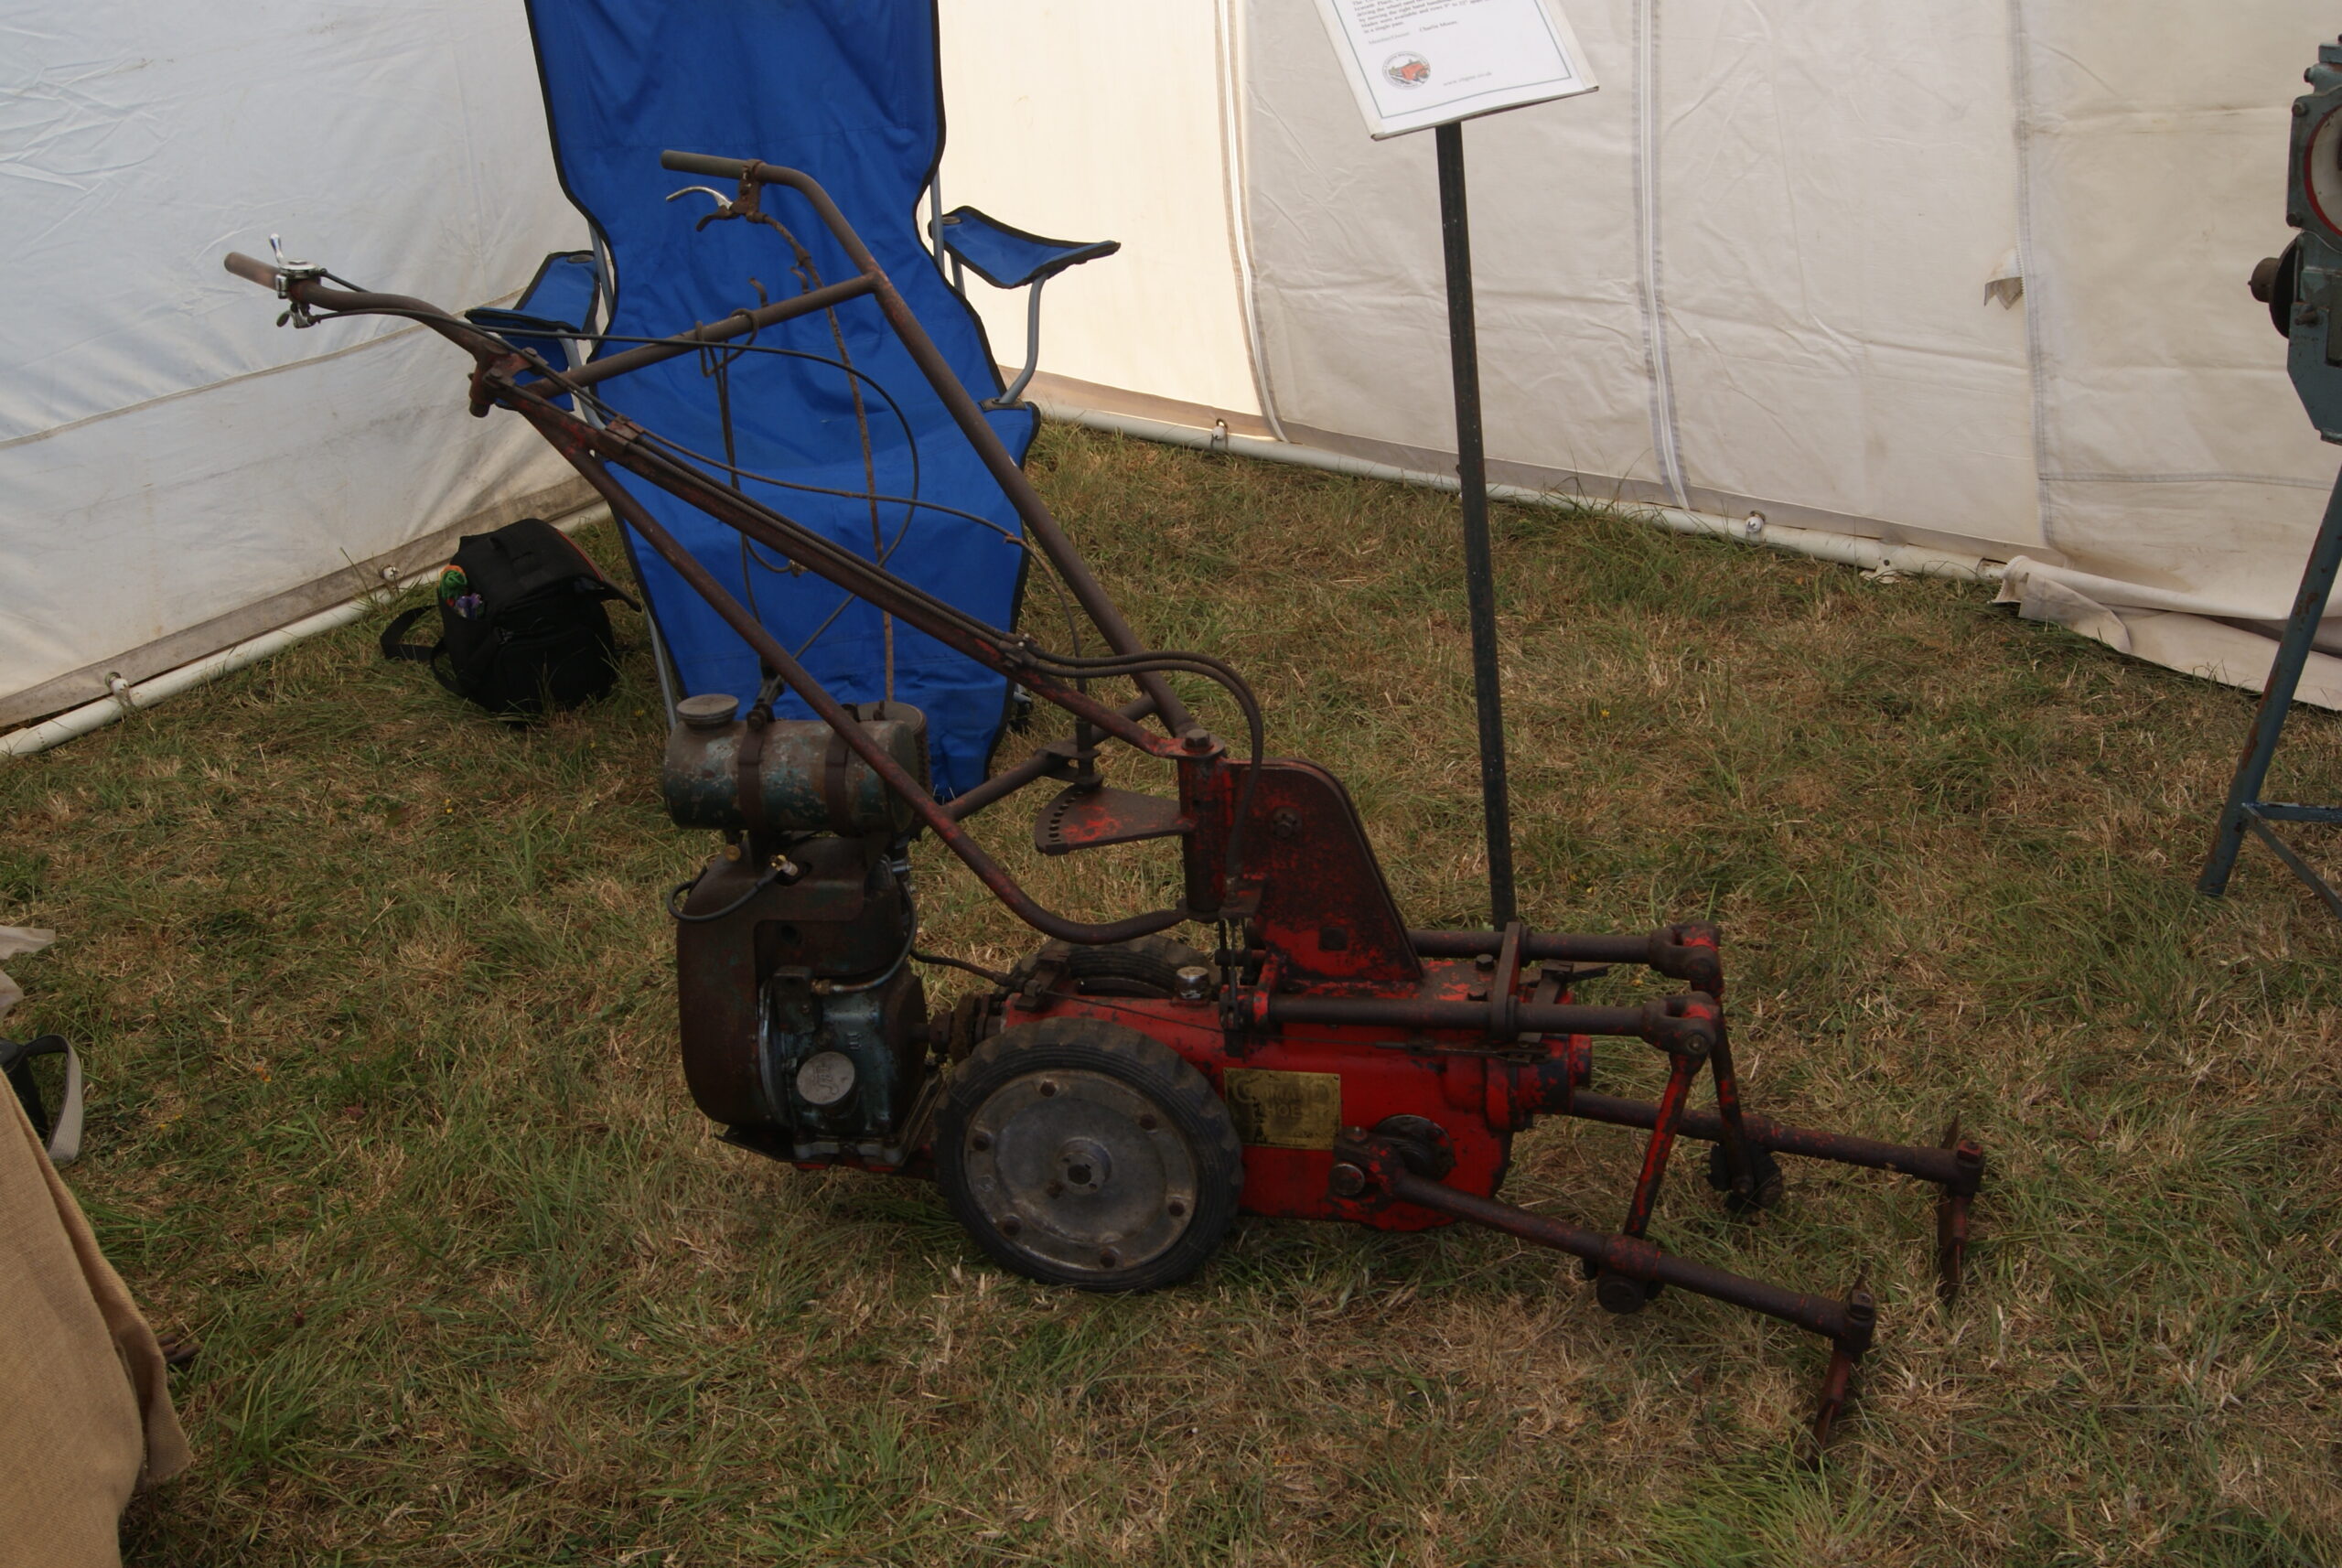
August 9, 2022 at 10:31 am #39691trusty220KeymasterIt looks very Hayter-ish. Hayter Motor Scythe would be my guess but I don’t have a picture of one with those guards and that engine so I can’t be sure.
Any ideas, fellas?
August 8, 2022 at 4:14 pm #39679trusty220KeymasterI’ve done no work on it for a few days; the rally at South Cerney took up most of my time but I managed to fit in a trip to Wales to look at a smallholding as well, so I’m knackered!
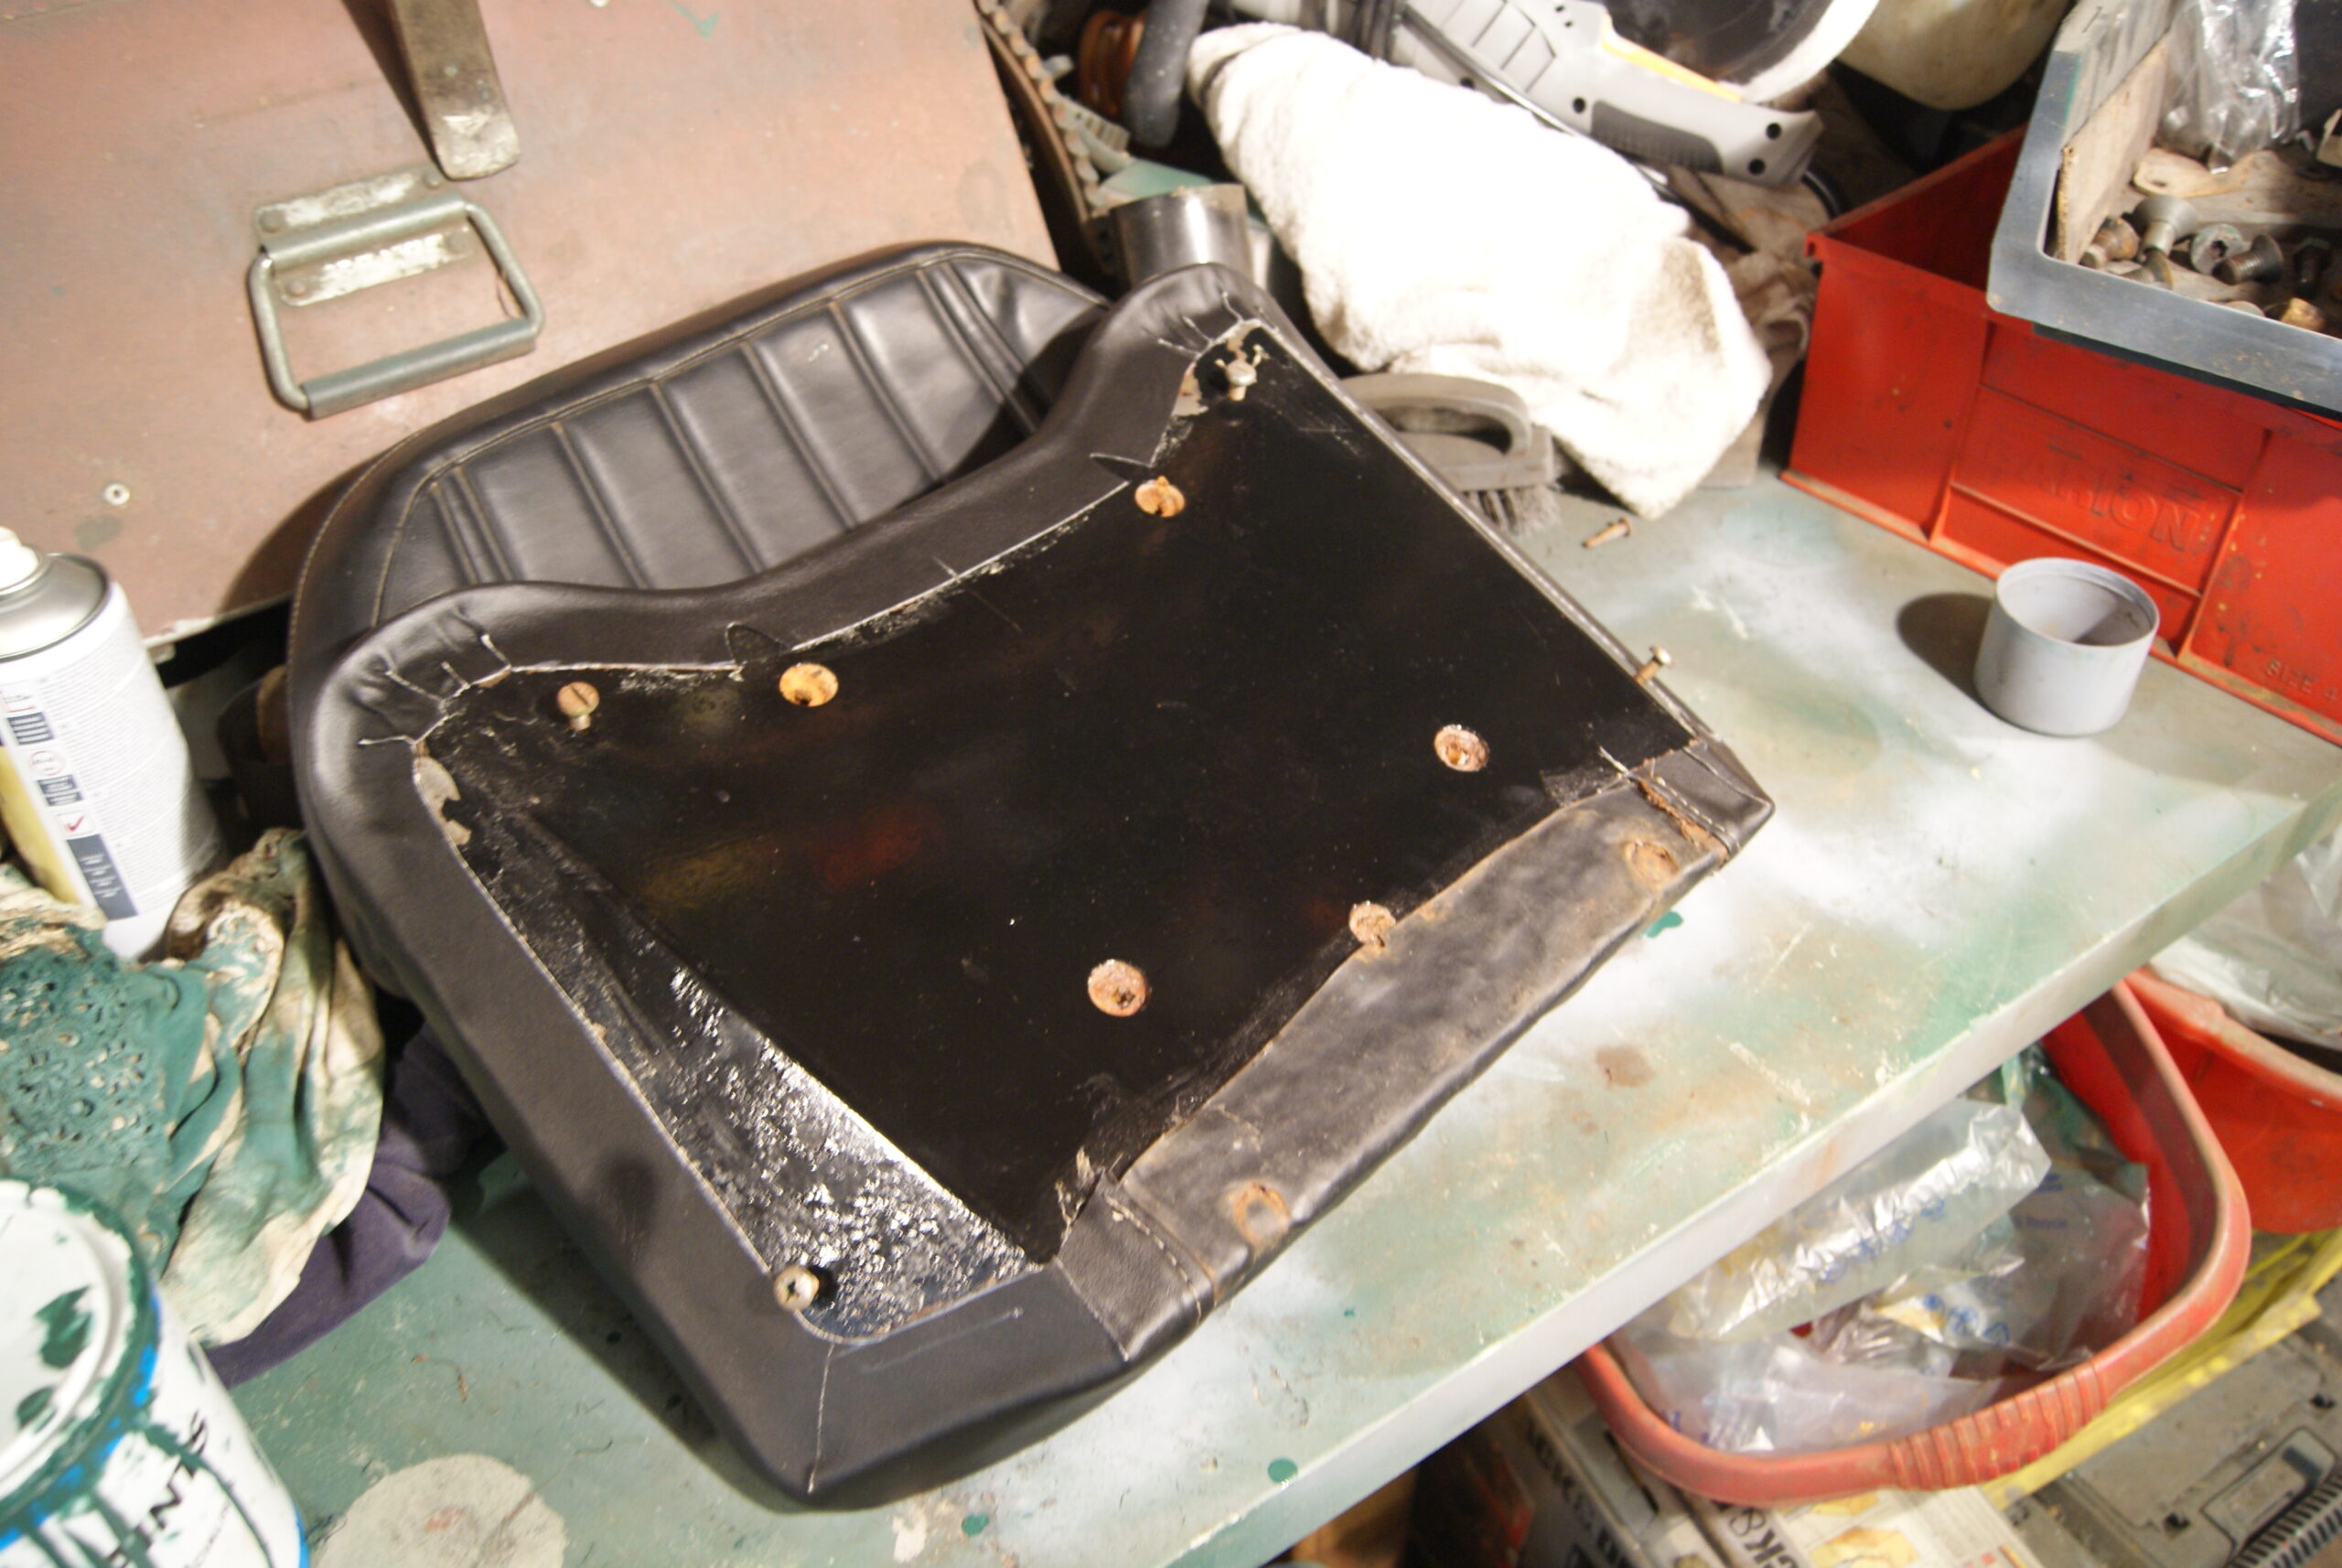
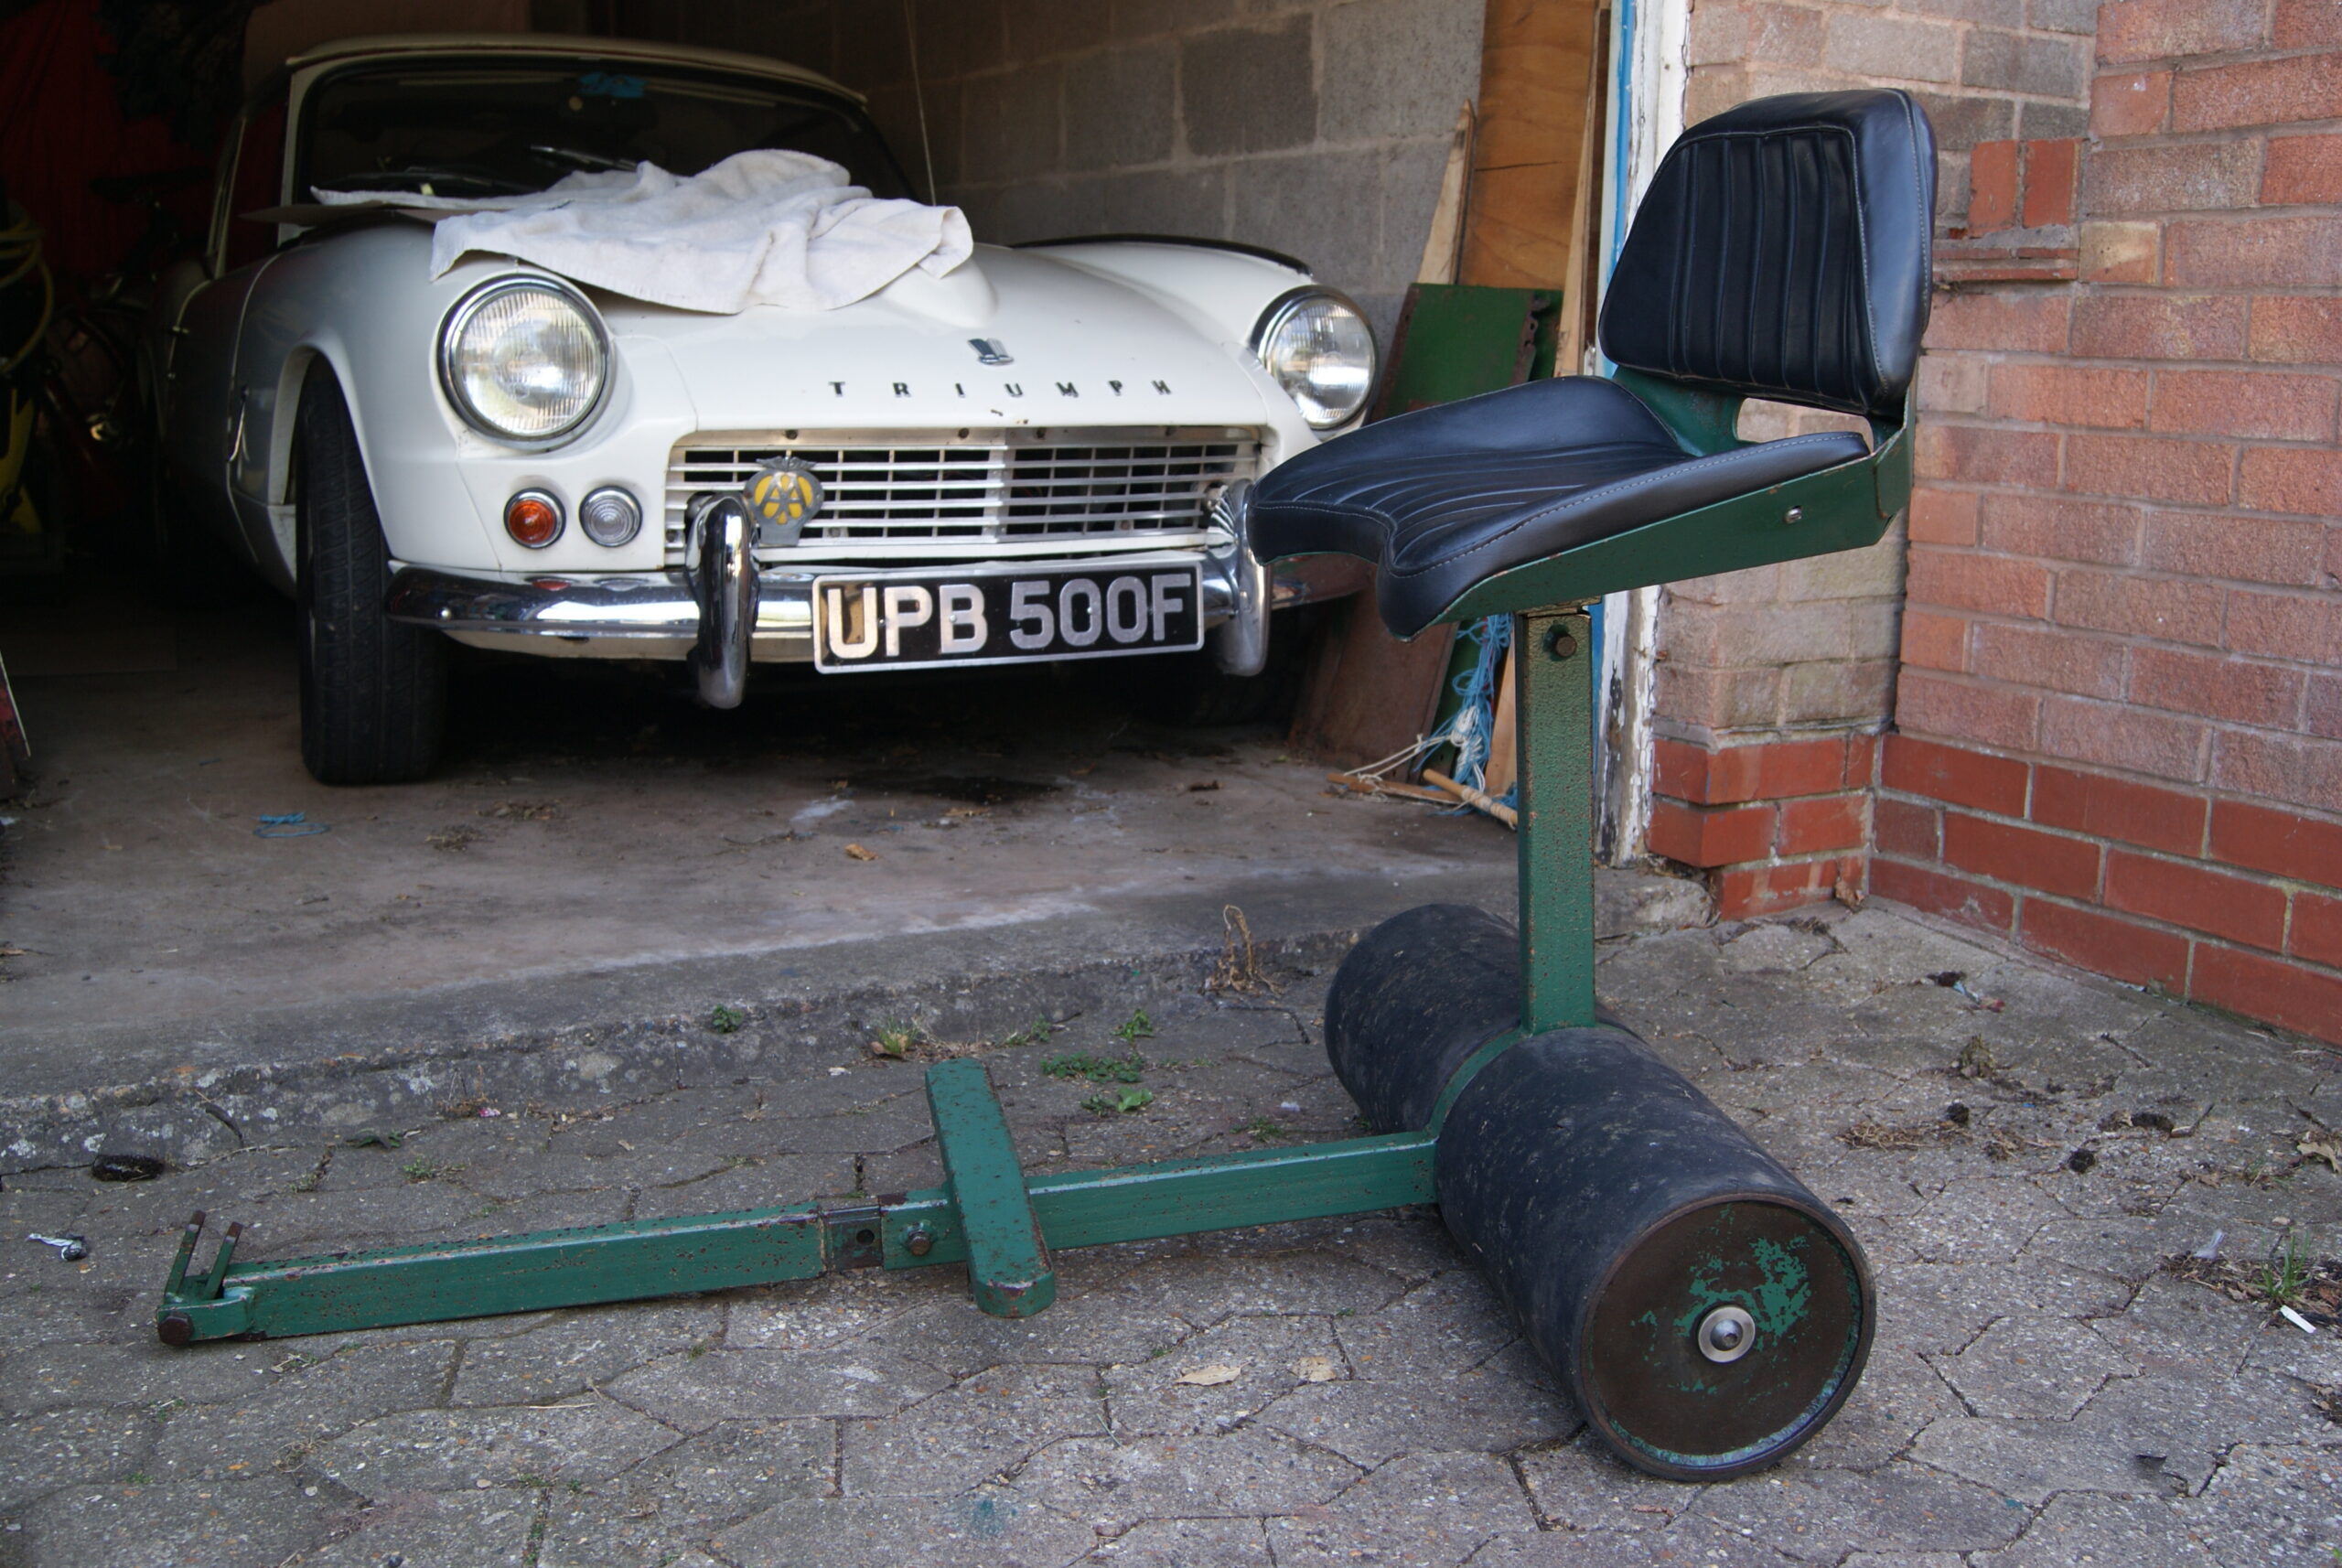
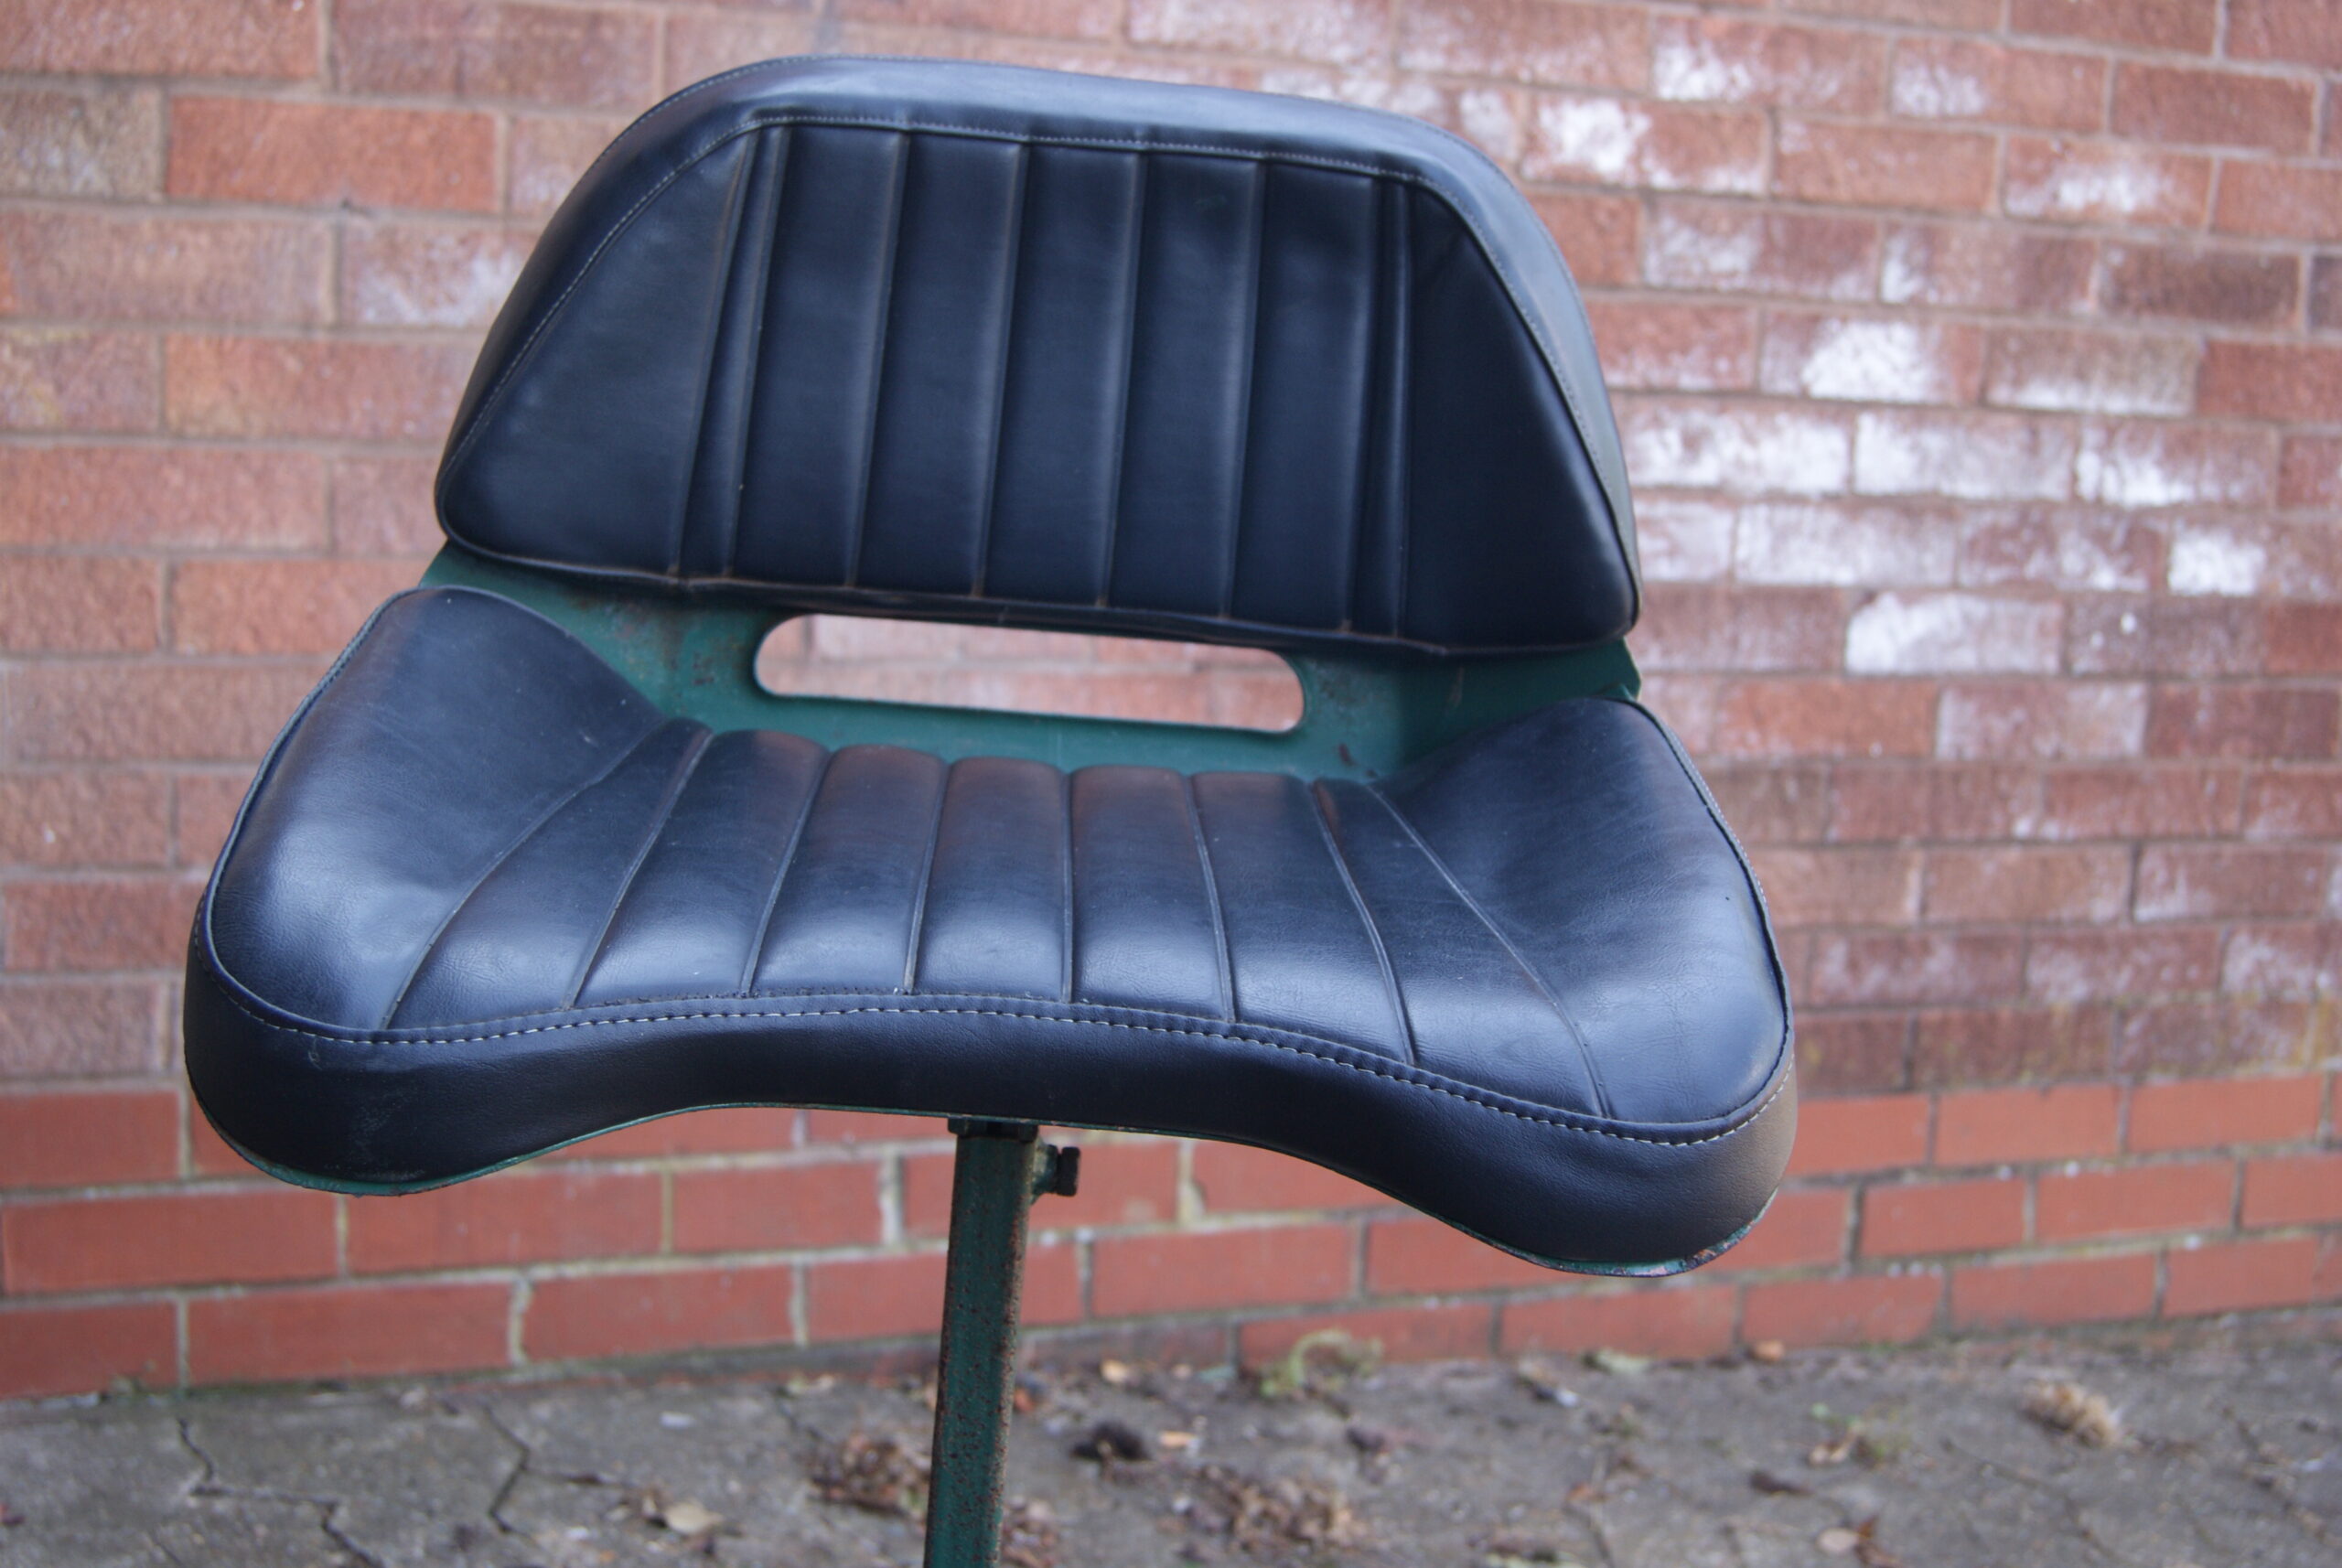
Whilst I was away the trimmer called to say that the seat cushions were ready so I made a trip over to pick them up this morning. He’s done a good job of replacing the wrapper sheet around the edge of the lower cushion and replacing the foam in the upper one, then re-gluing everything back together using the steel backings that I painted earlier.
The trailing seat is now together and finished. I did try it for size- well, you have to, don’t you?- and found that the seat rocks backwards and forwards on it’s single bolt so I may find a piece of key steel to fit between the pillar and the seat to firm it up and take the play out, otherwise it’s finished.
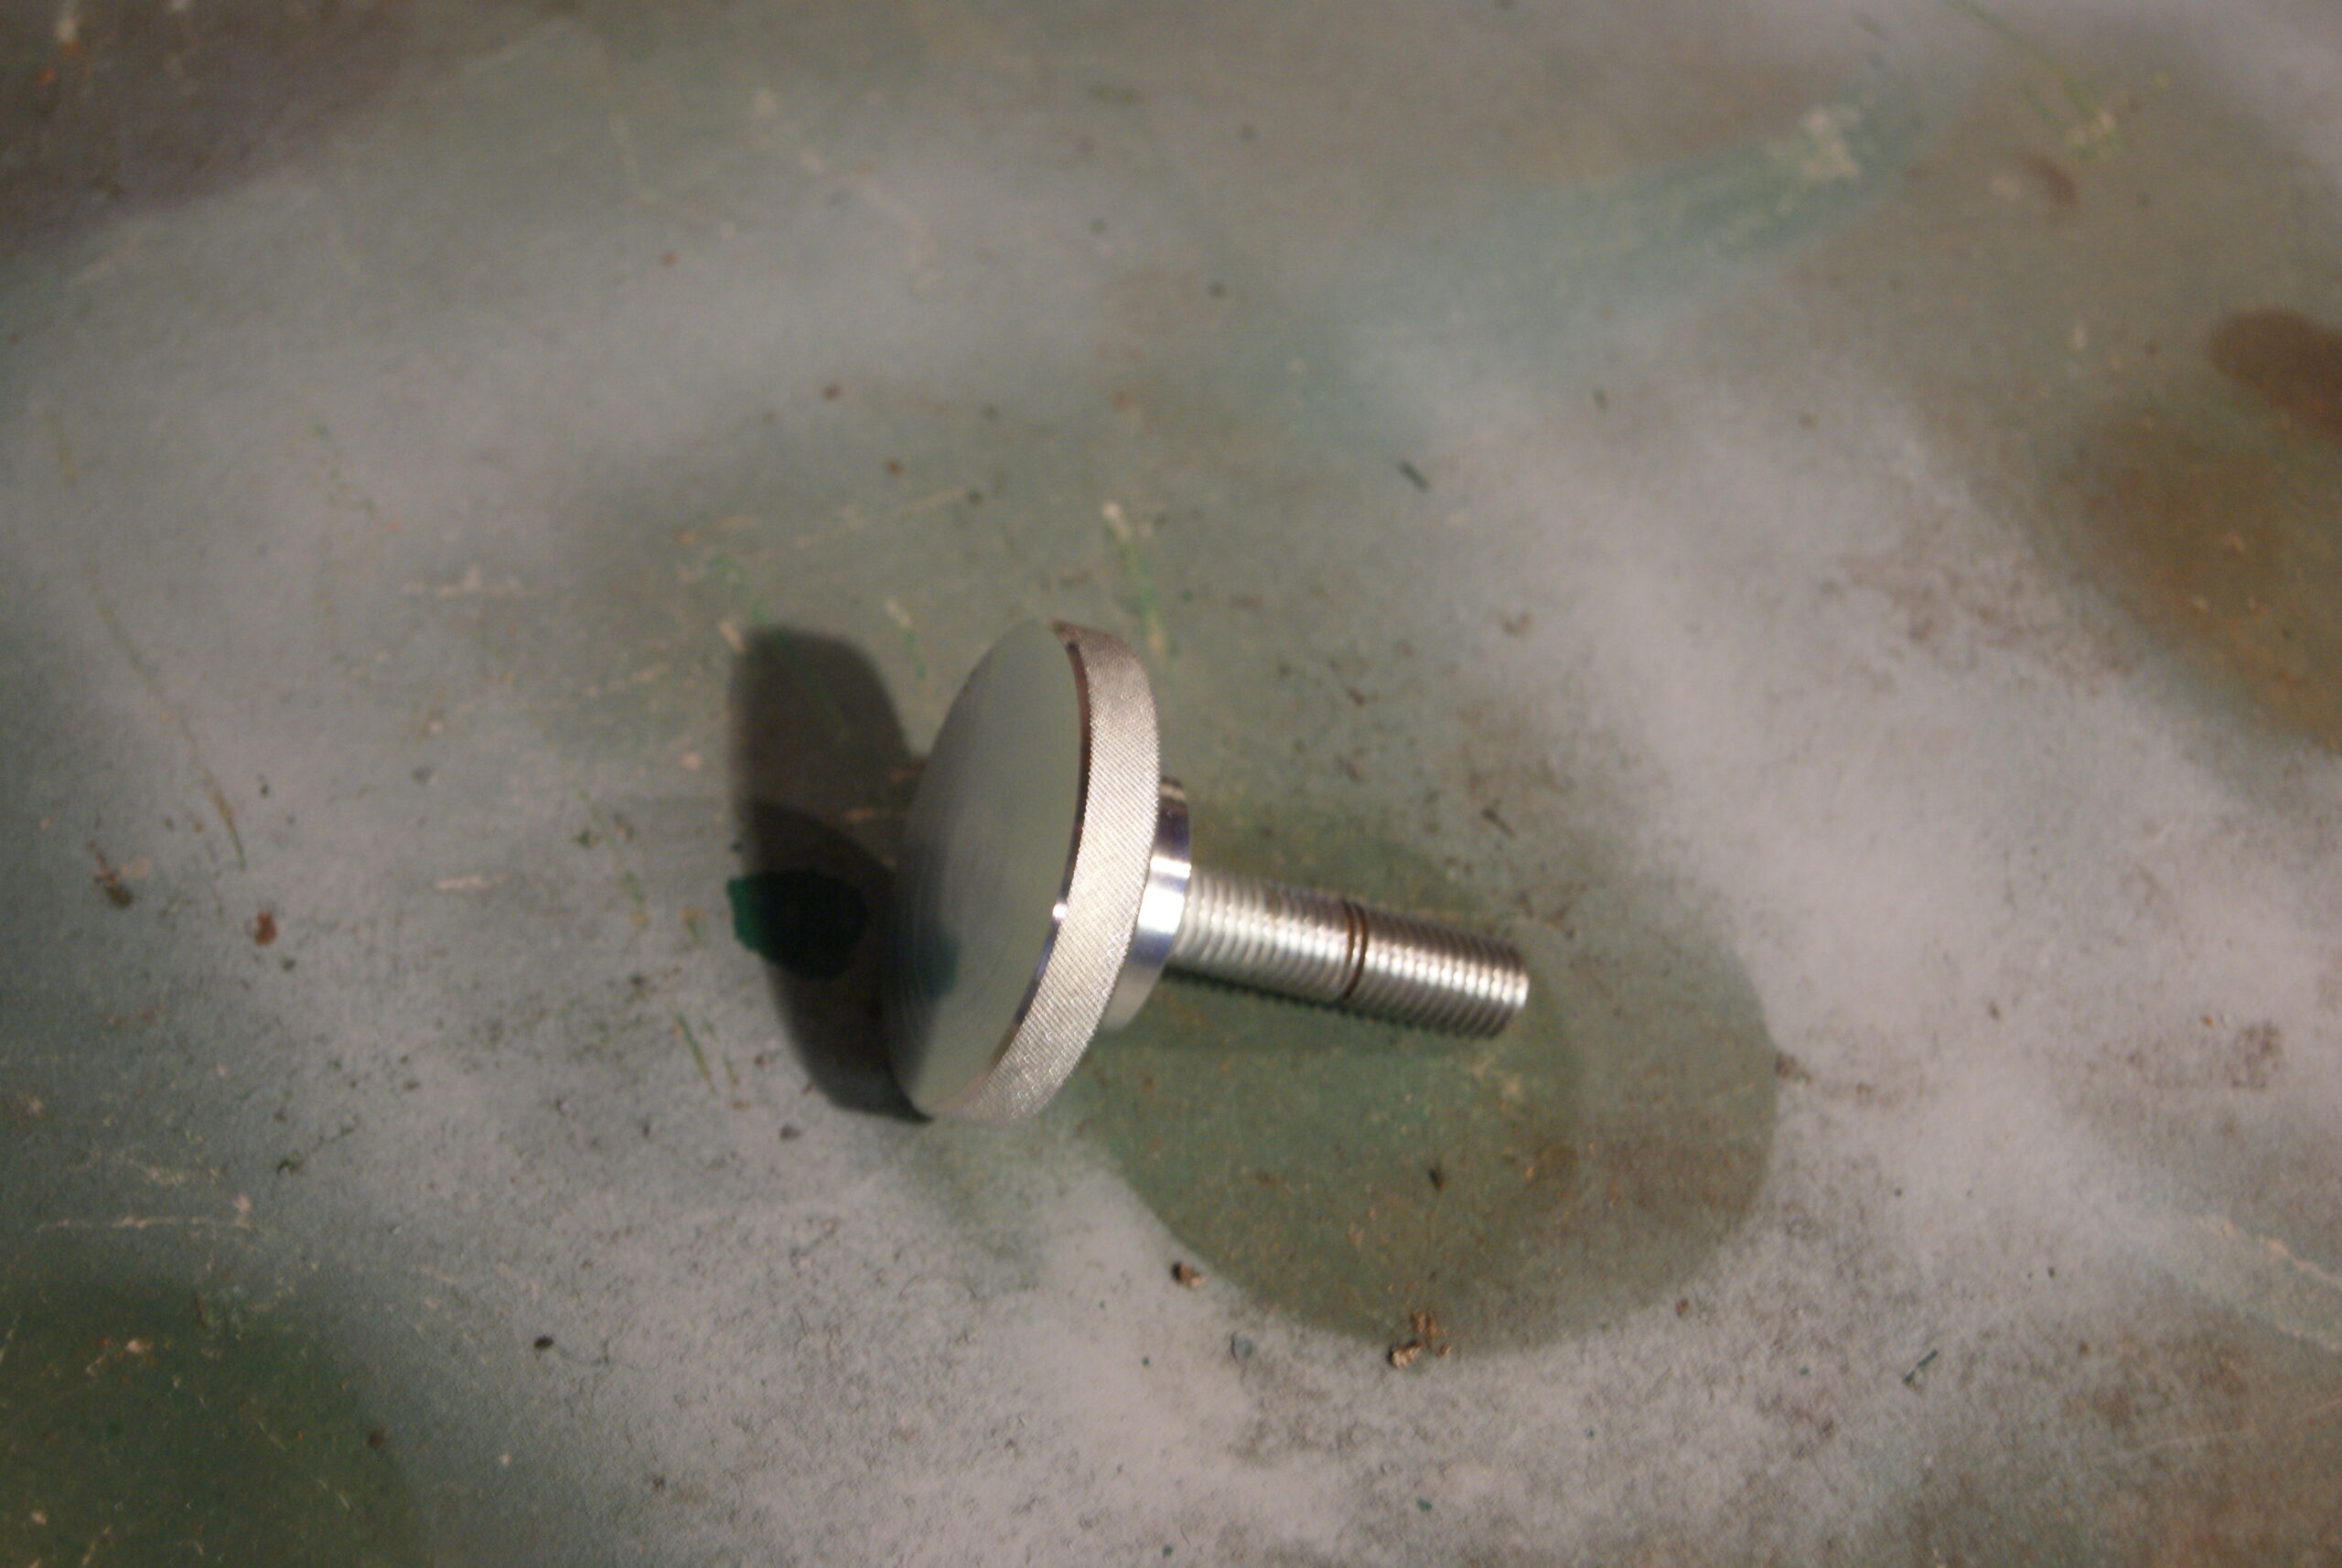
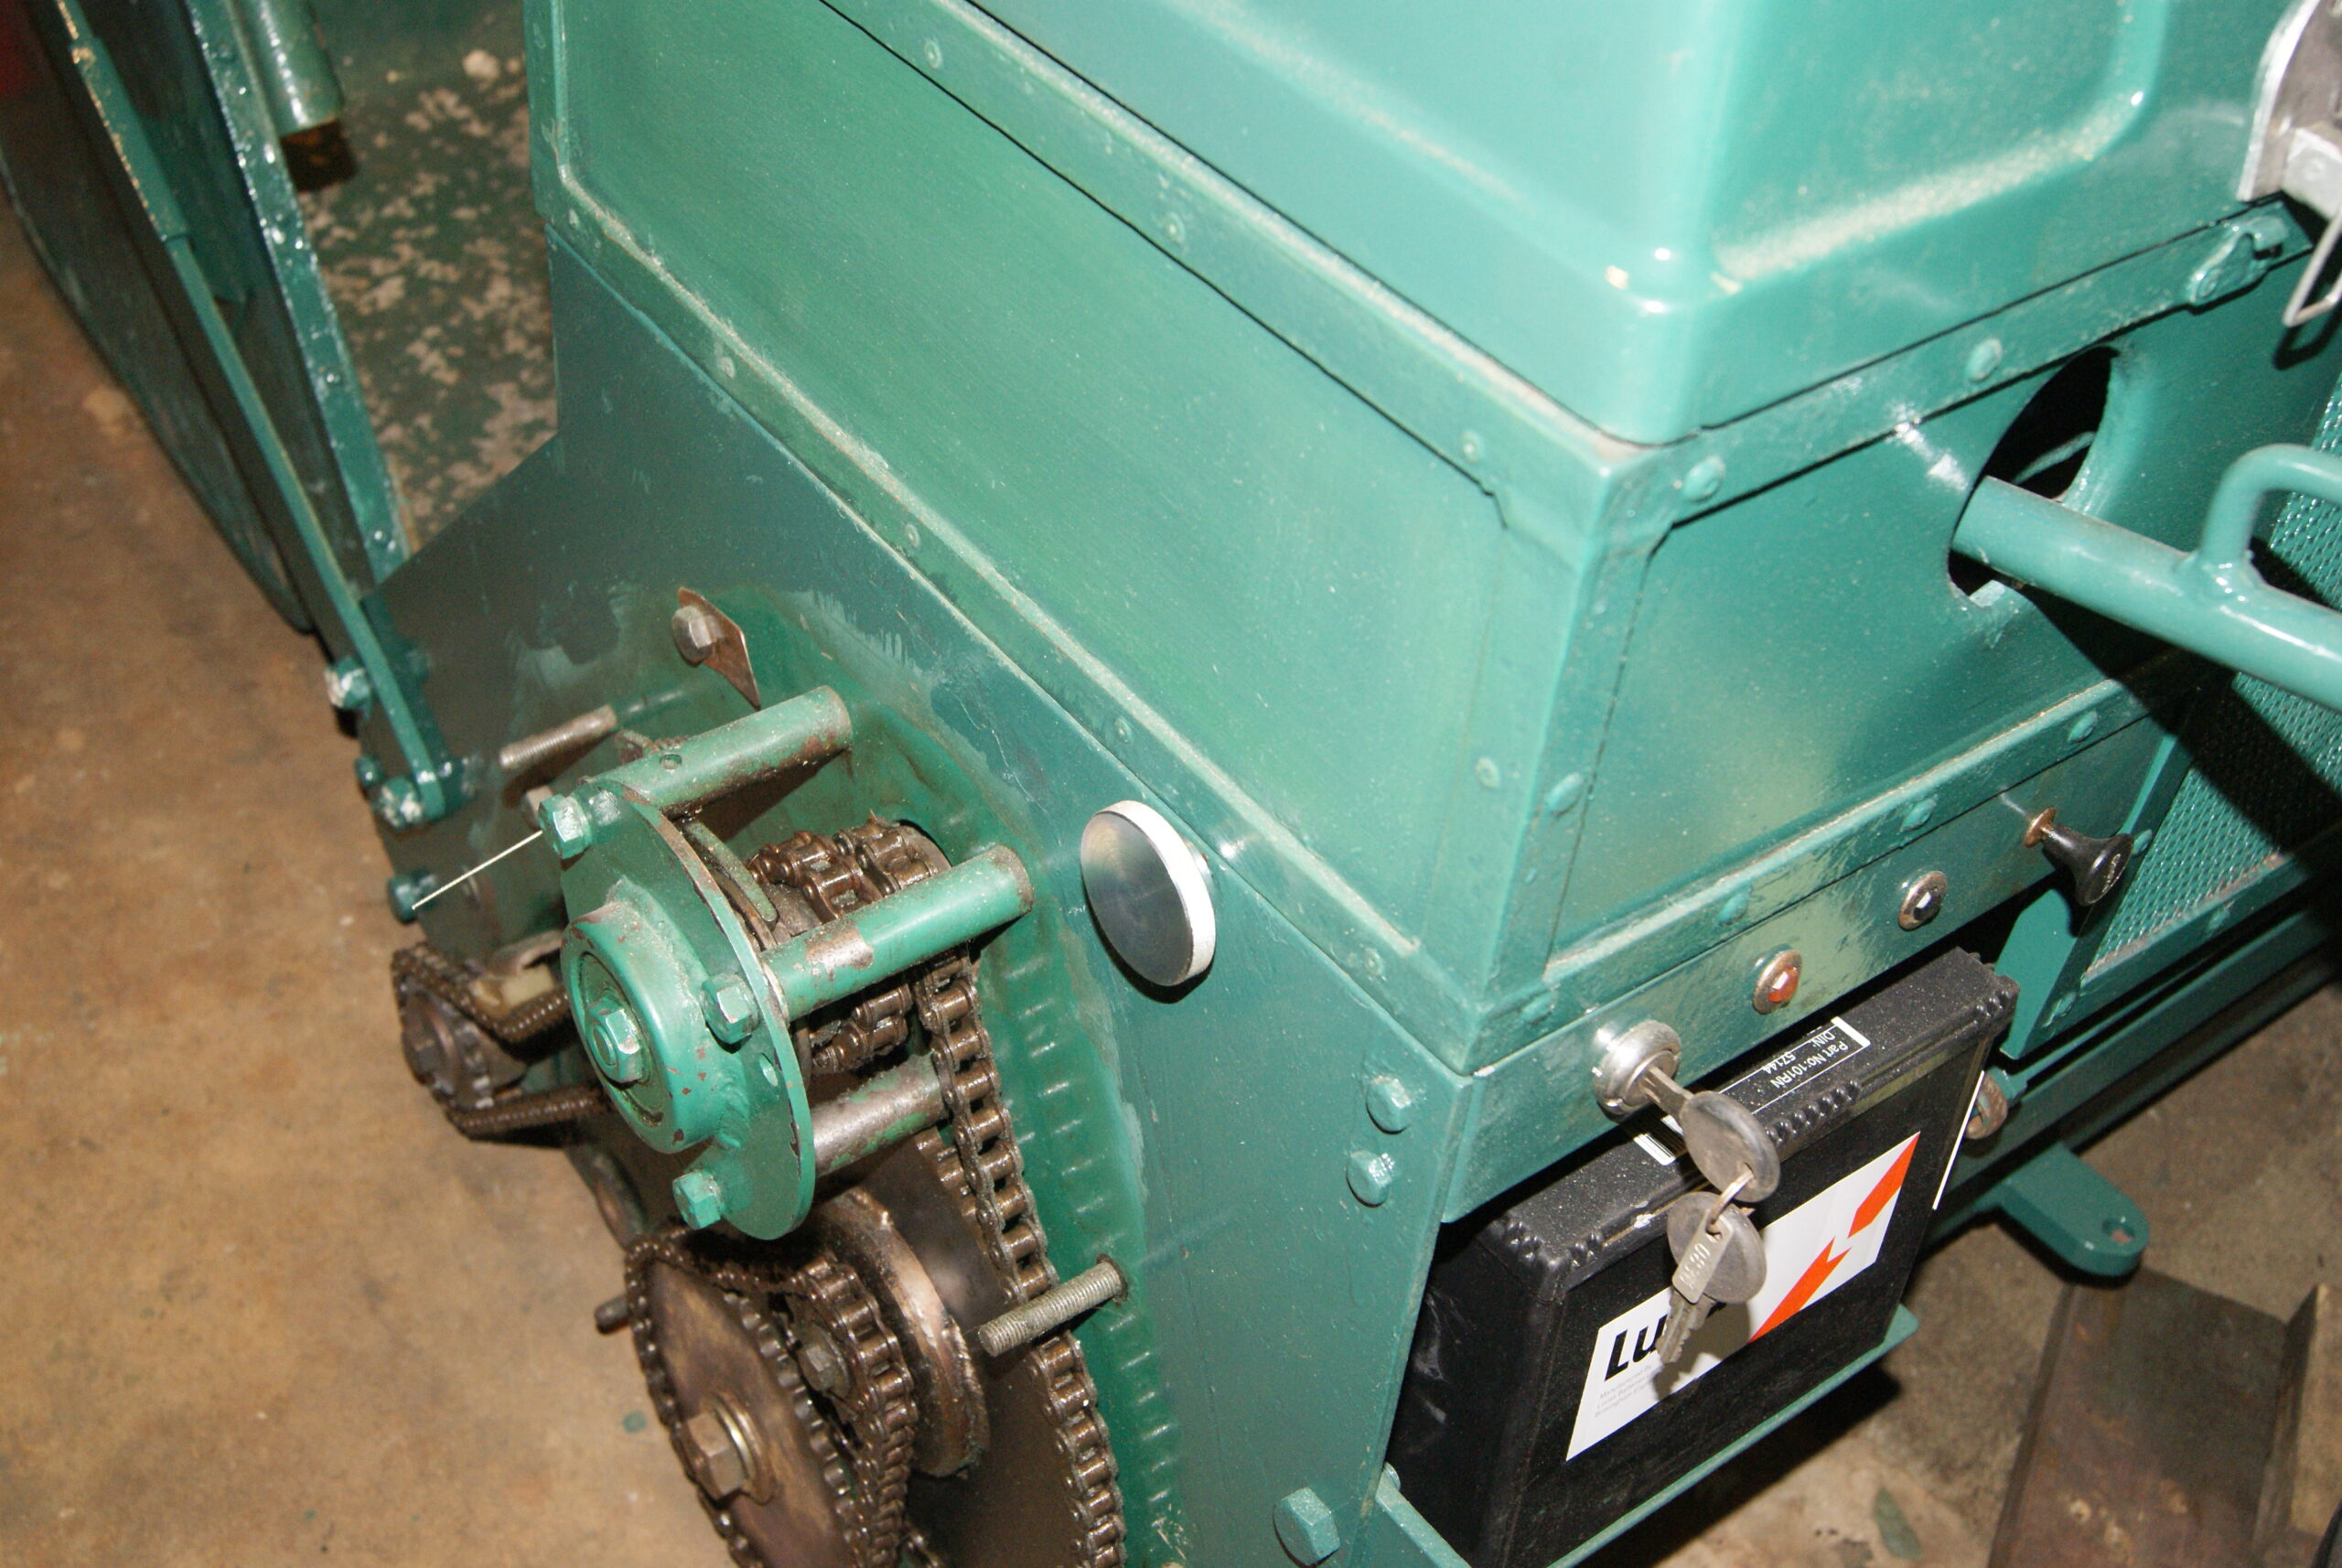
The factory sent me the two hand wheels that they had made and plated; they were delivered whilst I was away (thanks very much, everyone at Hixon!). The original ones were missing, replaced with a couple of M8 bolts and nuts through the original holes. Luckily the original threads were intact and I fitted the engine cover with standard 3/8″ bolts as a temporary fix, but now these have arrived they will find their rightful place on the mower.
I hope tomorrow’s going to be cooler; it’s getting too hot to do much! I know, there’s that other beer in the fridge……
Attachments:
August 8, 2022 at 12:12 pm #39678trusty220KeymasterI don’t know, but he kept running in front of the camera!
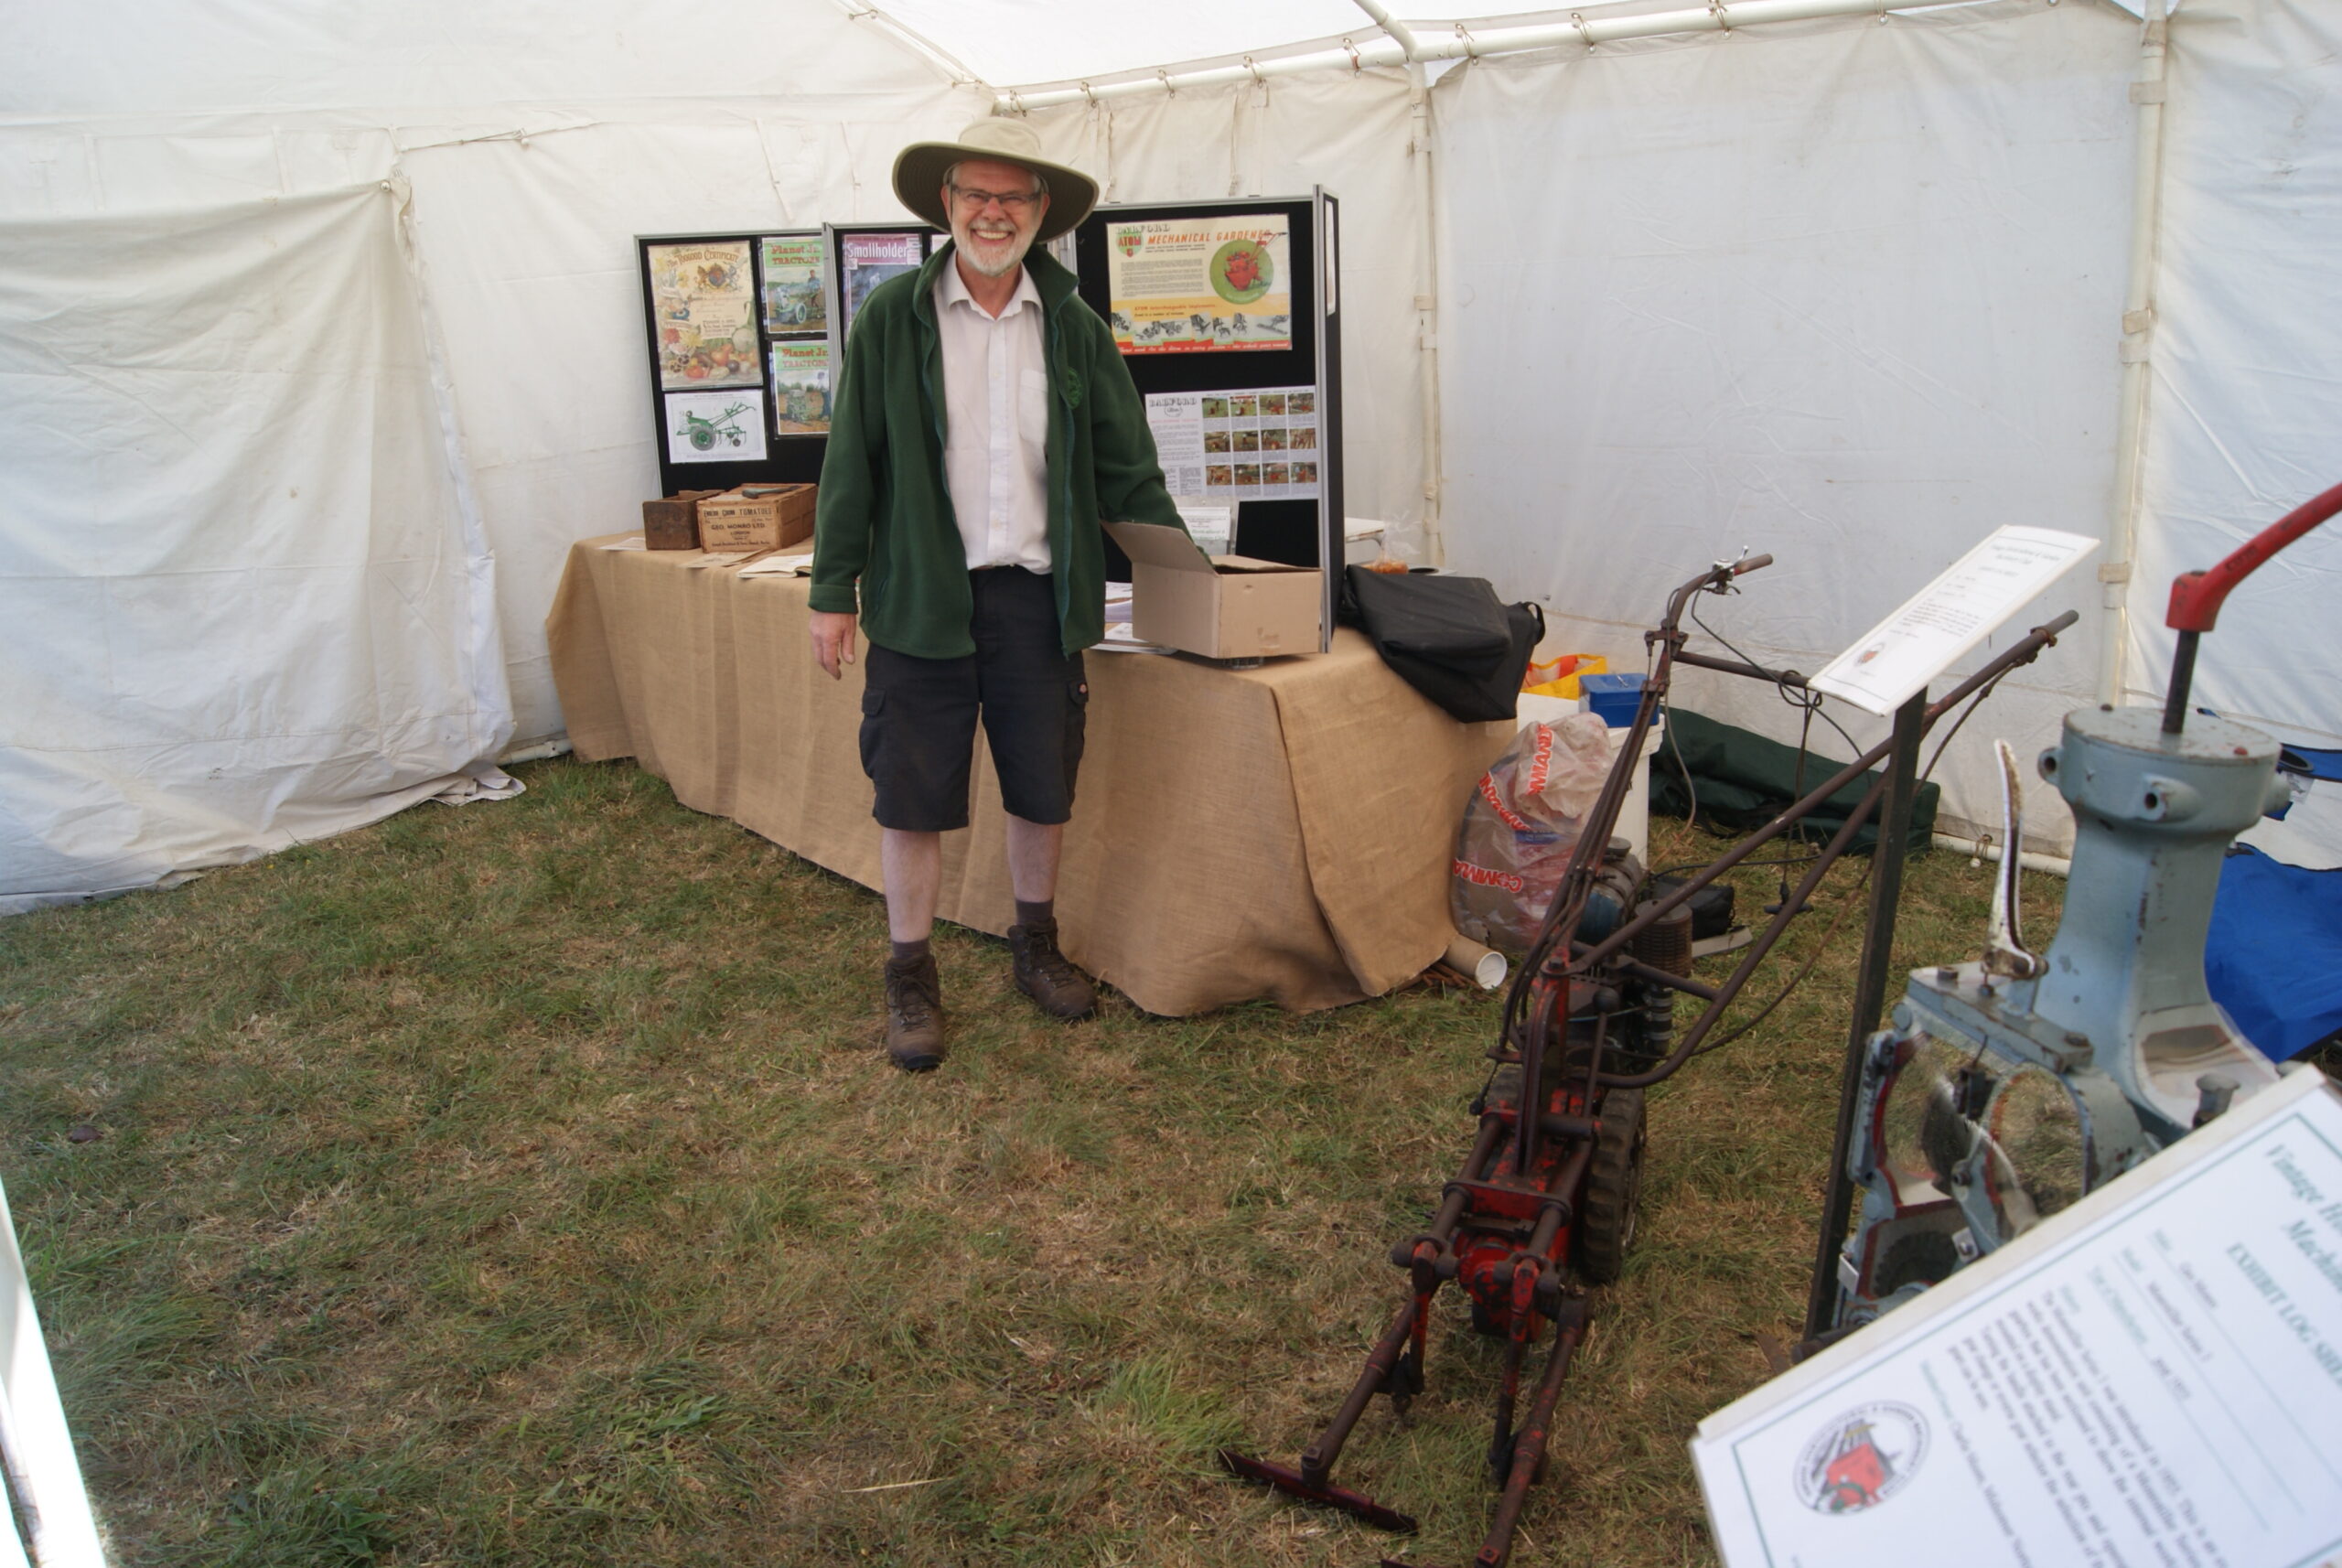
August 8, 2022 at 10:41 am #39667trusty220KeymasterNow back from the show, all in one piece and very tired!
A great show with lots of variety which means there is something for everyone. A very big “Thank you” to all who attended, both as exhibitors and and spectators, and an even bigger “Thank You” to Andrew Hall for organising the section and persuading me to go in the first place!
Attachments:
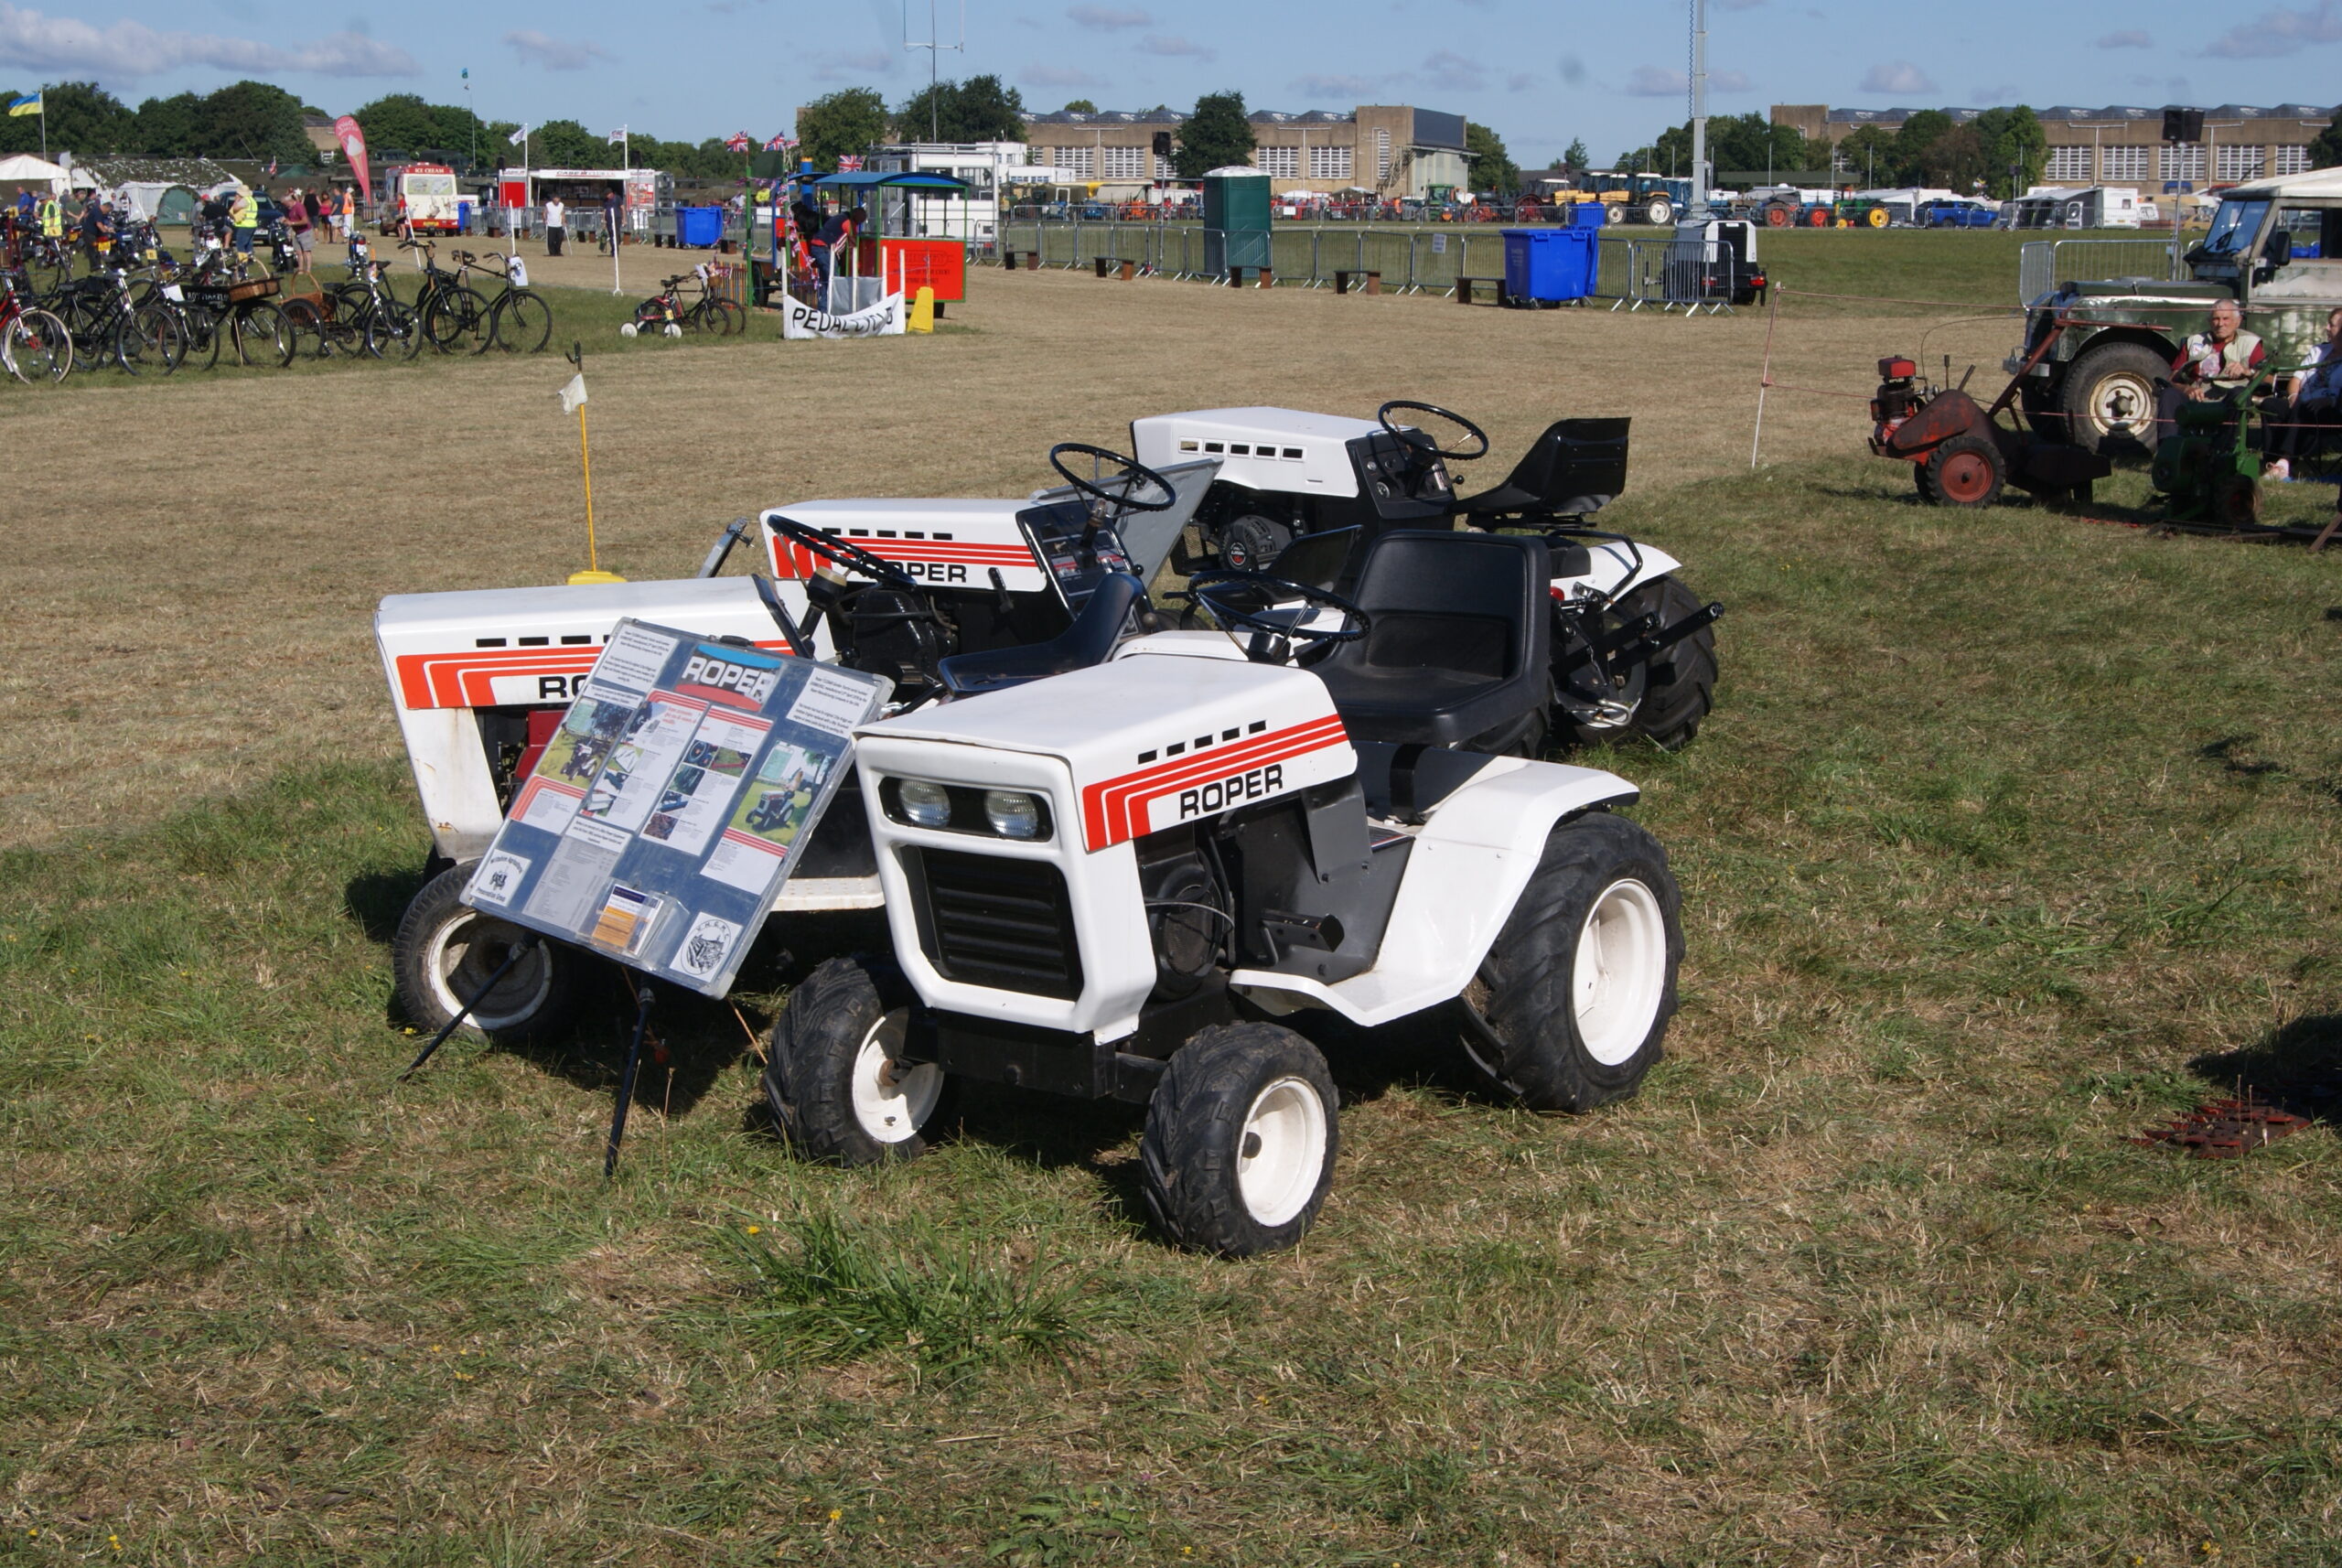
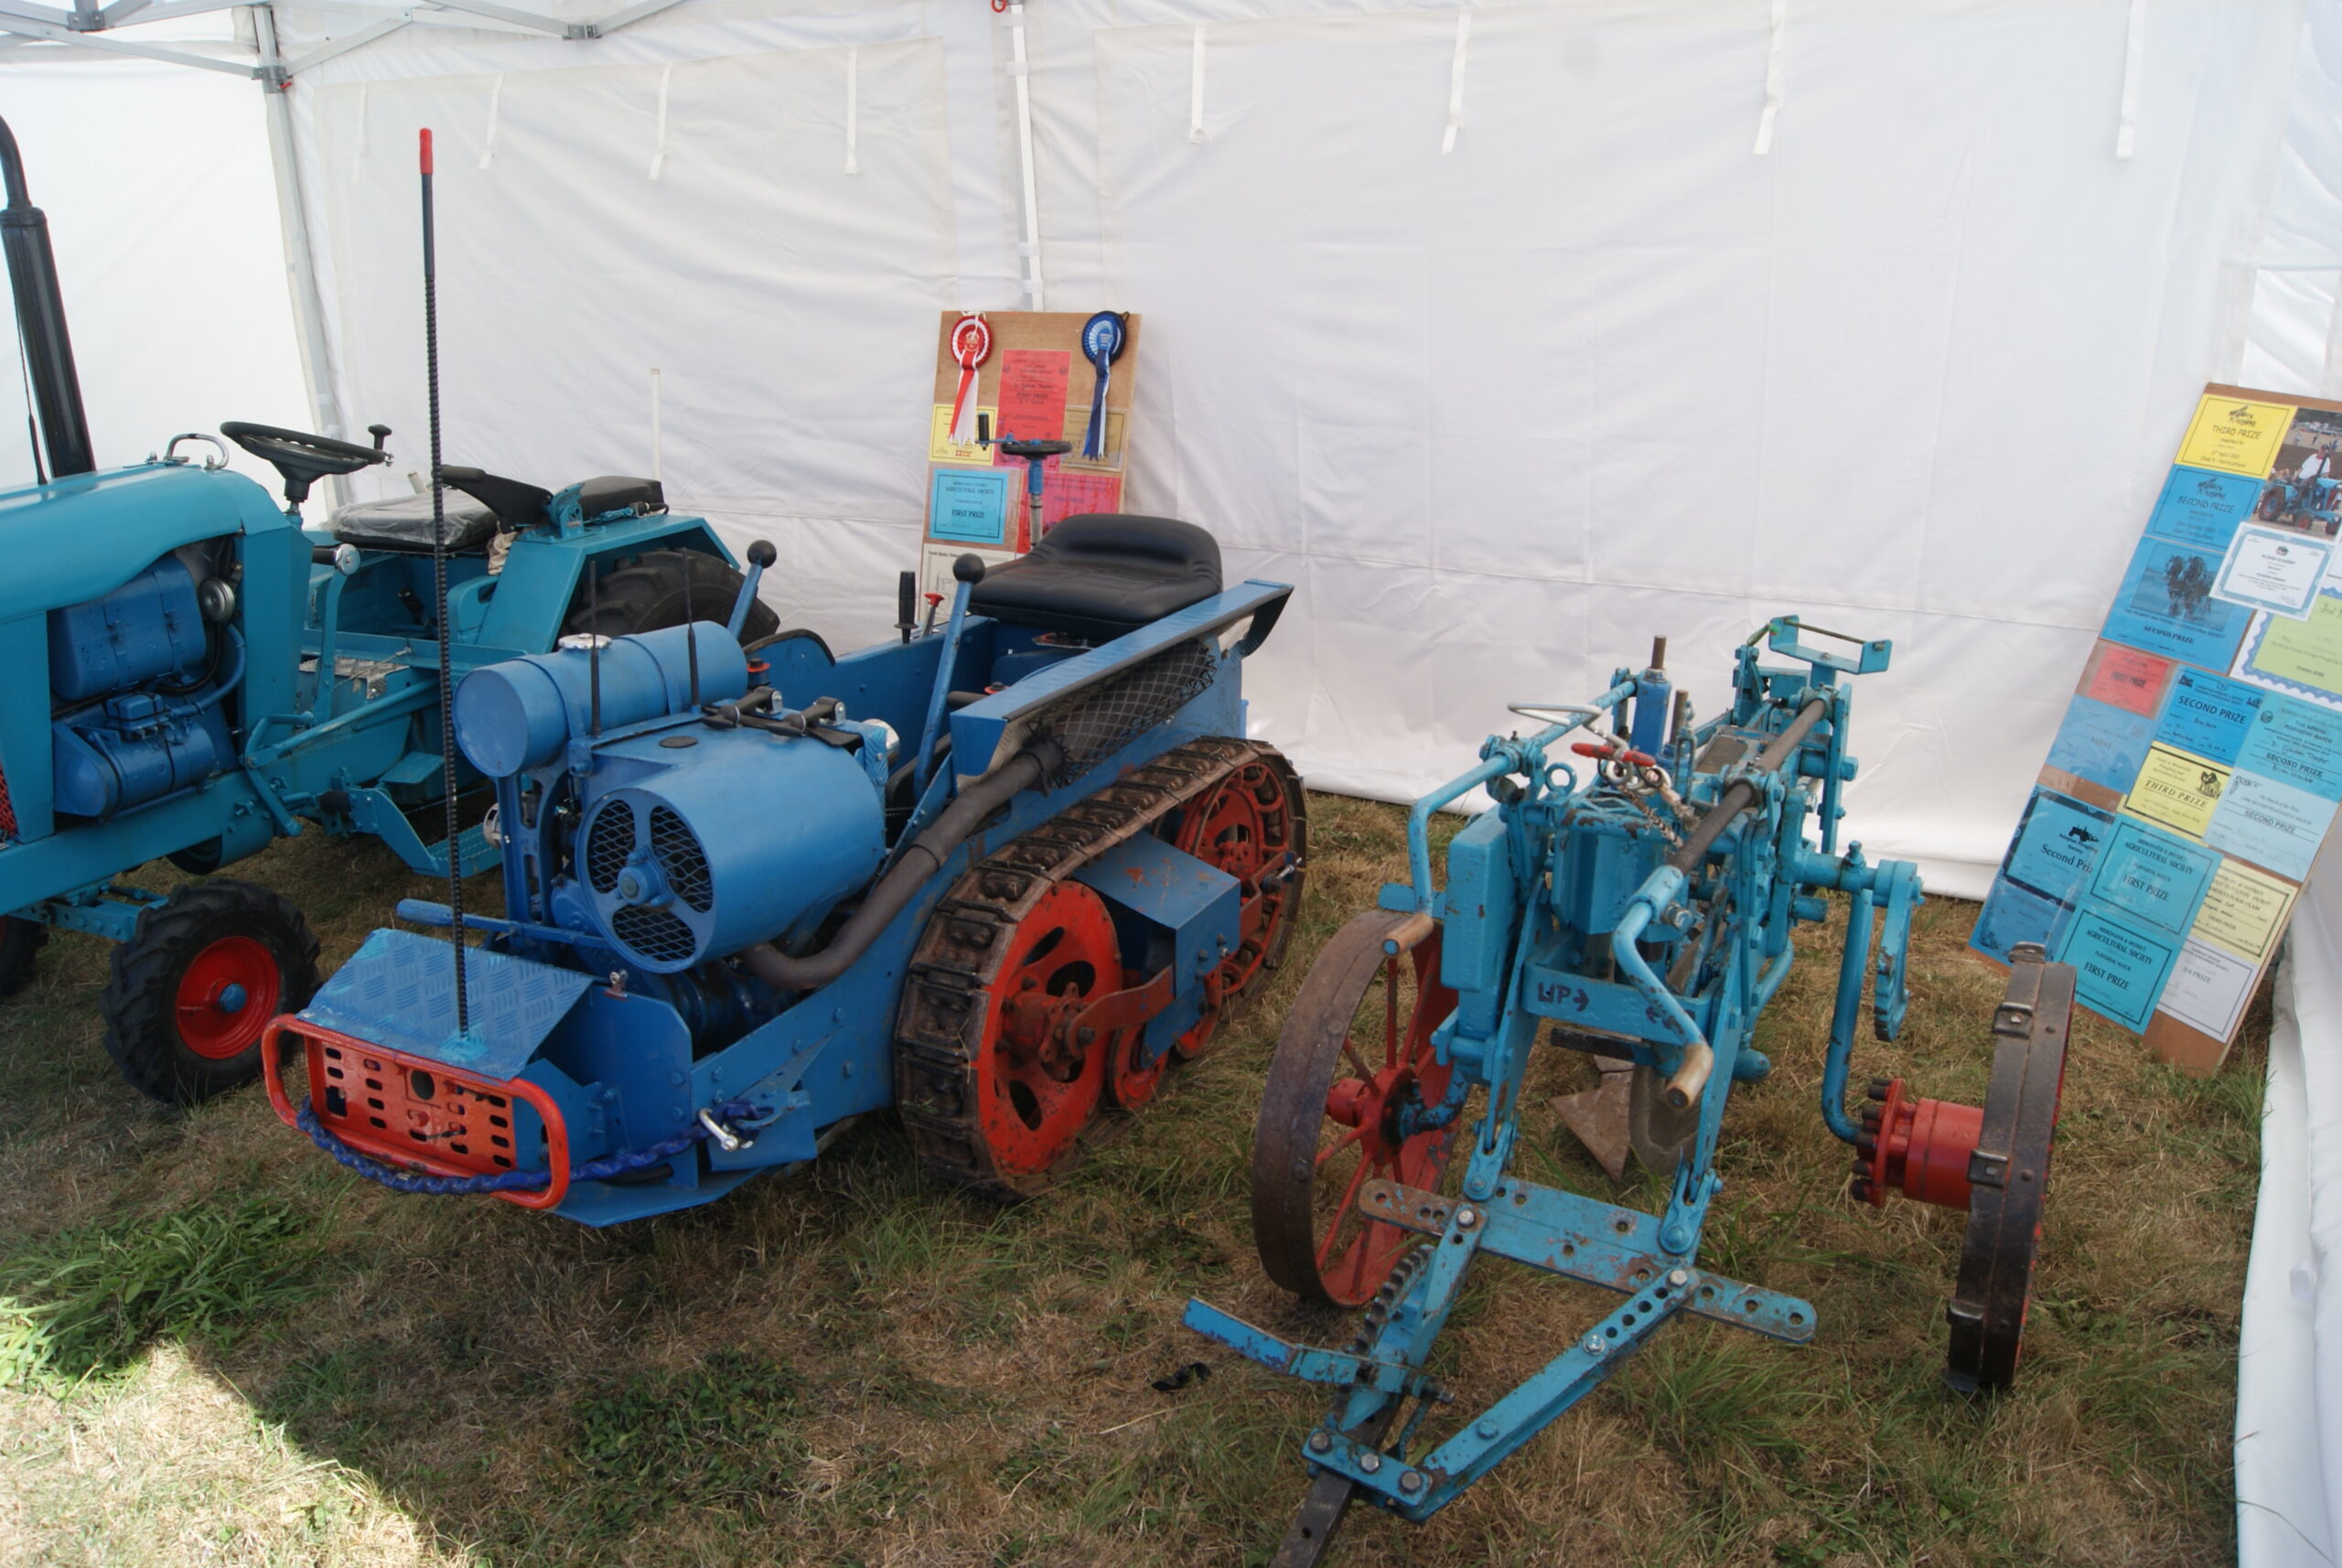
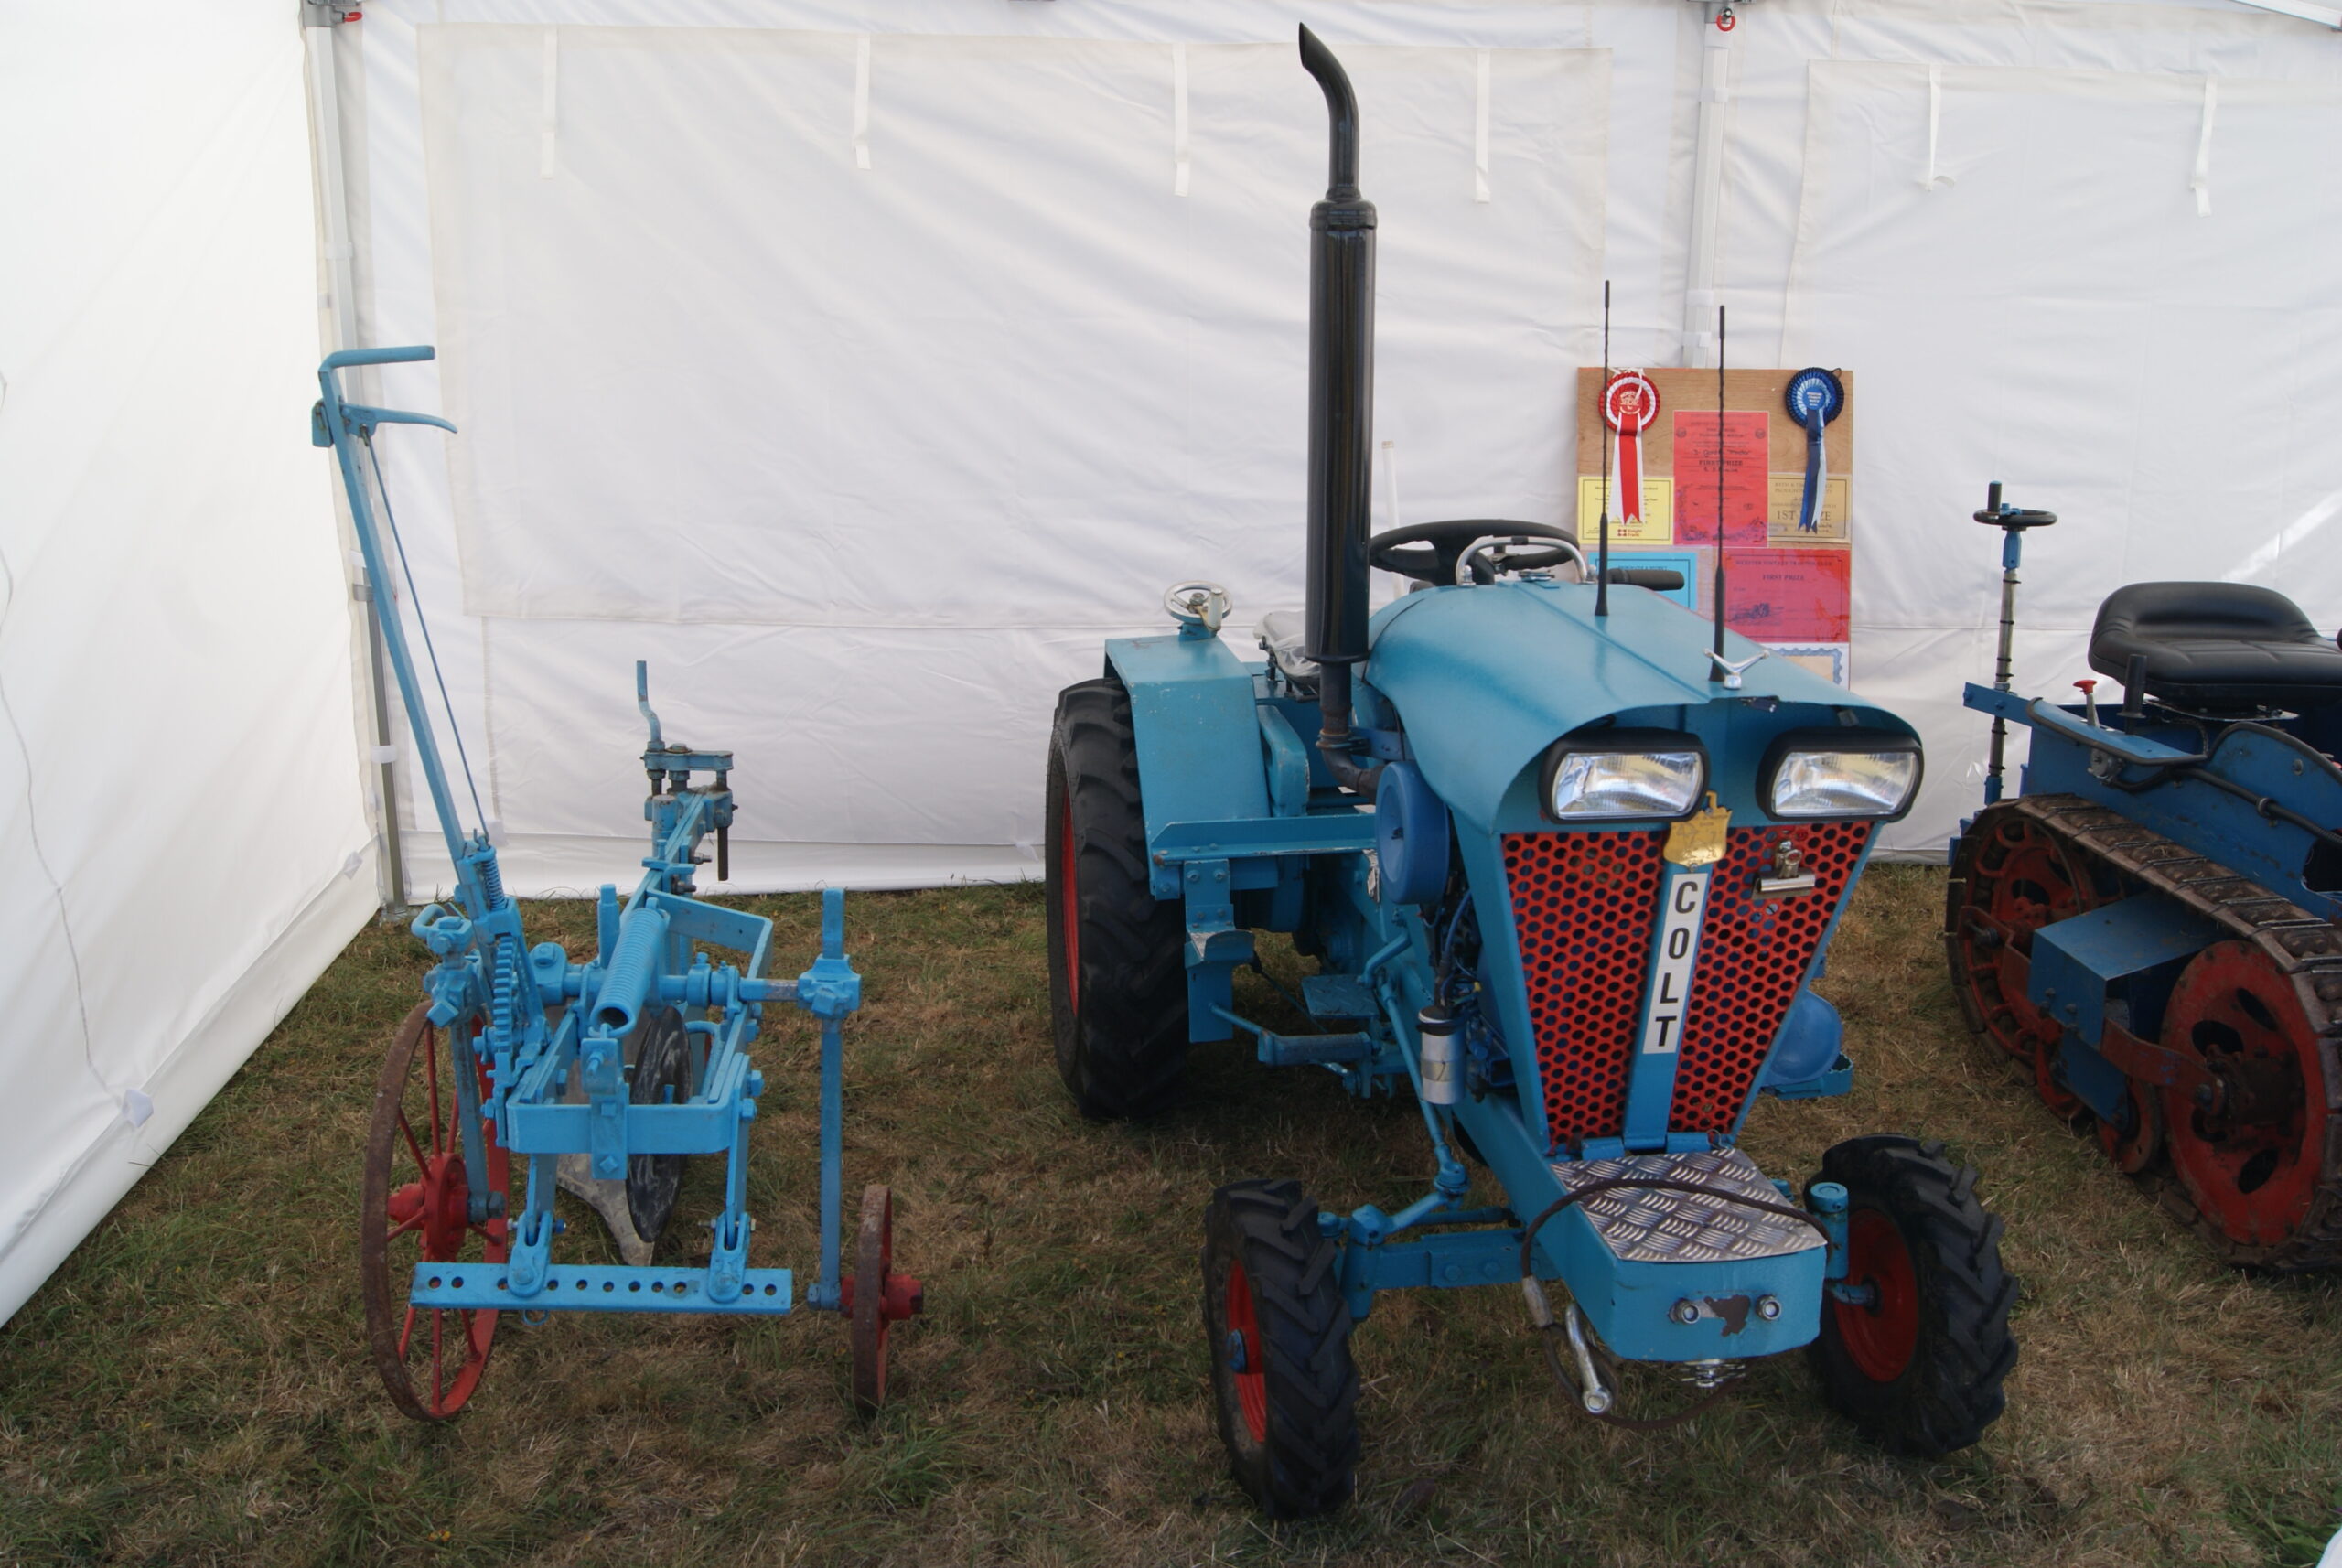
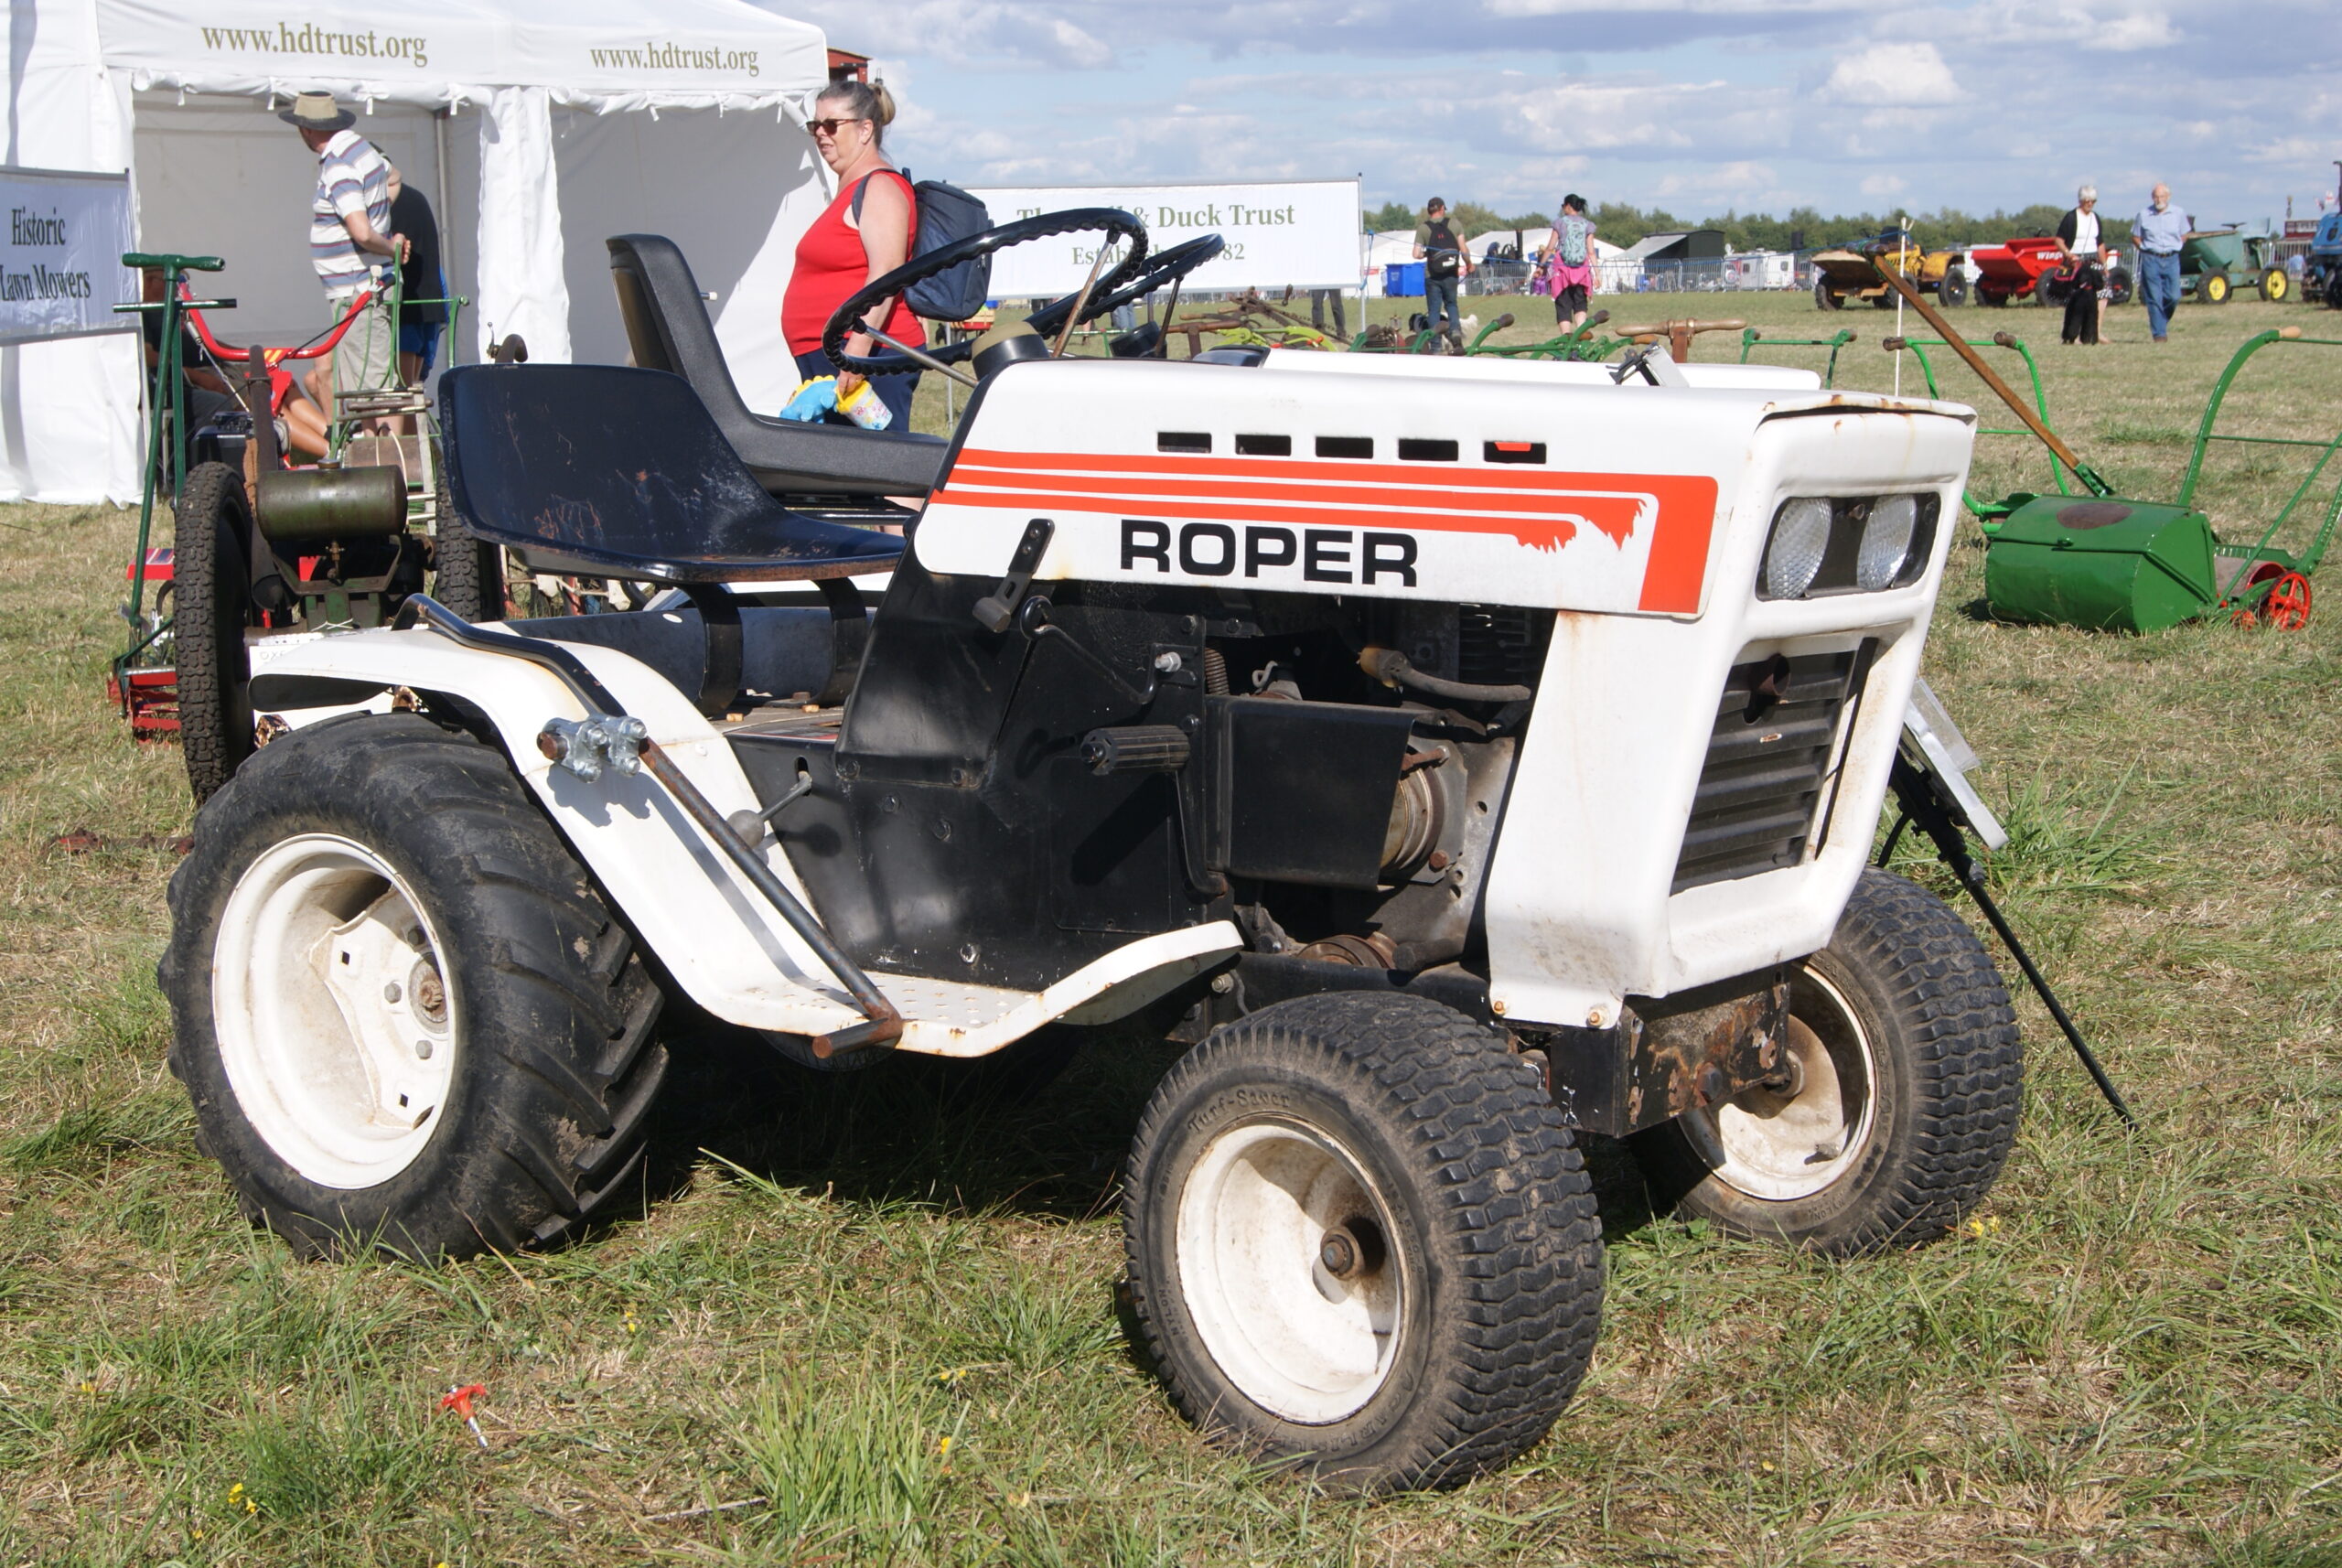
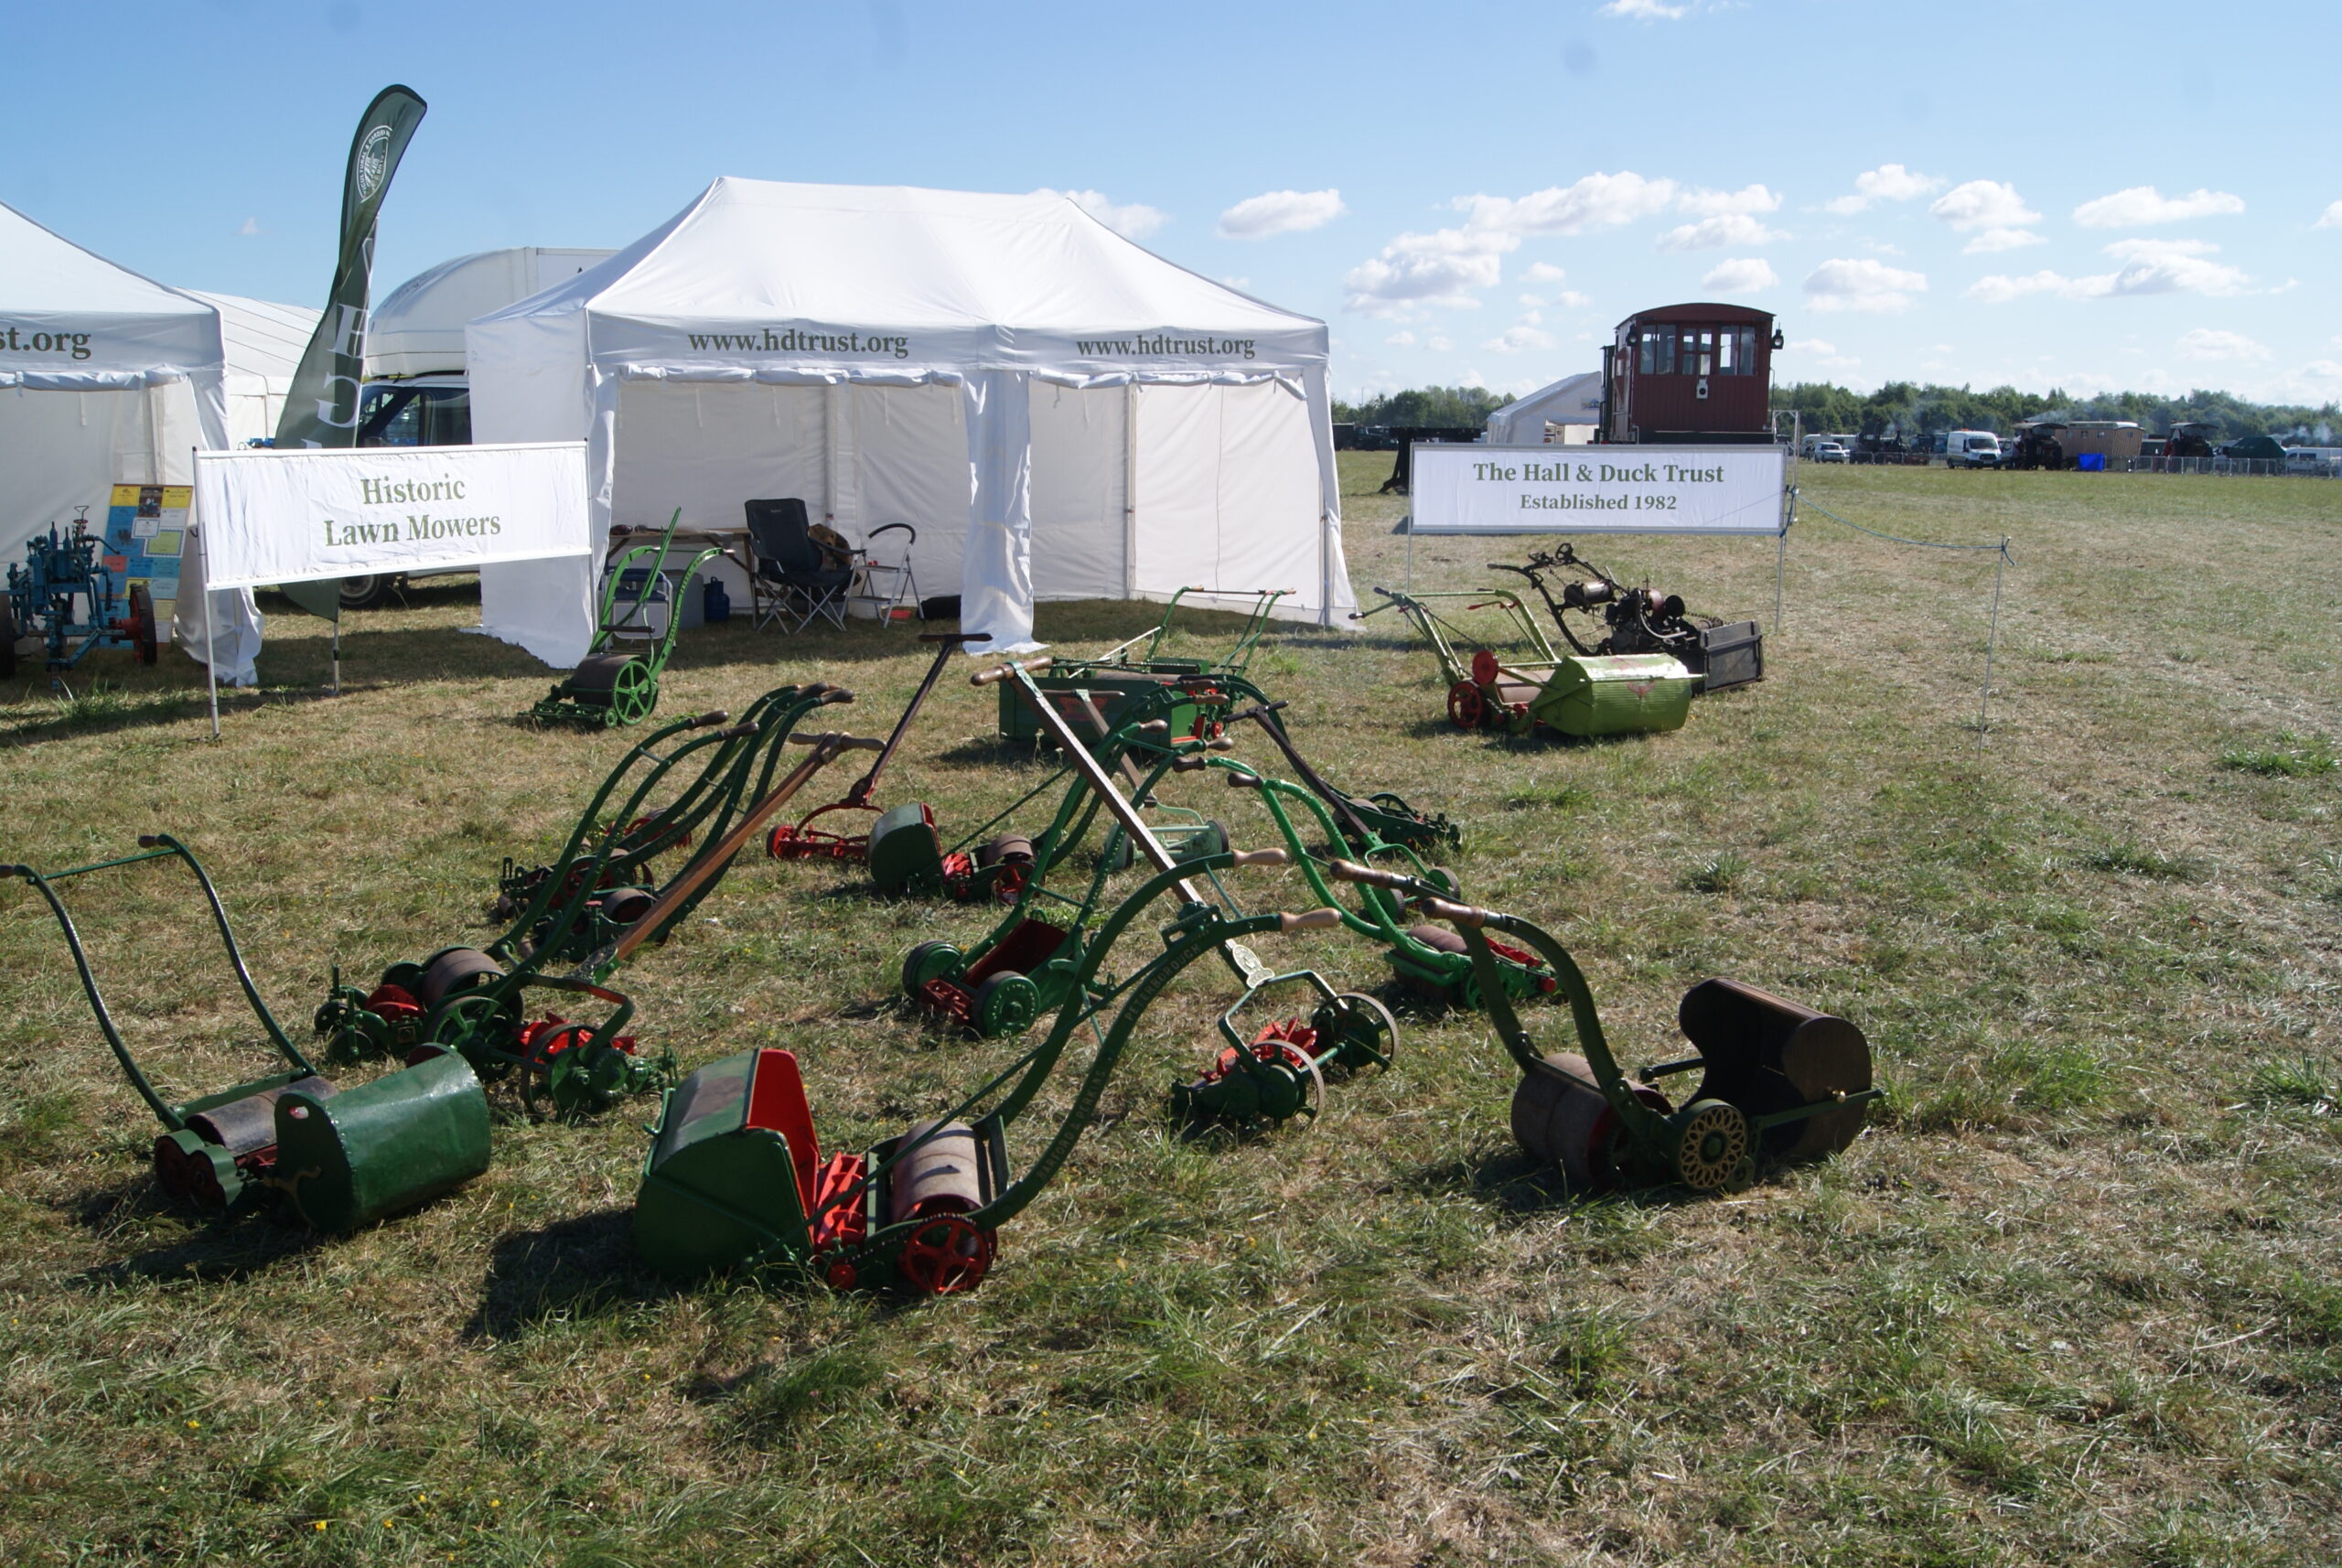
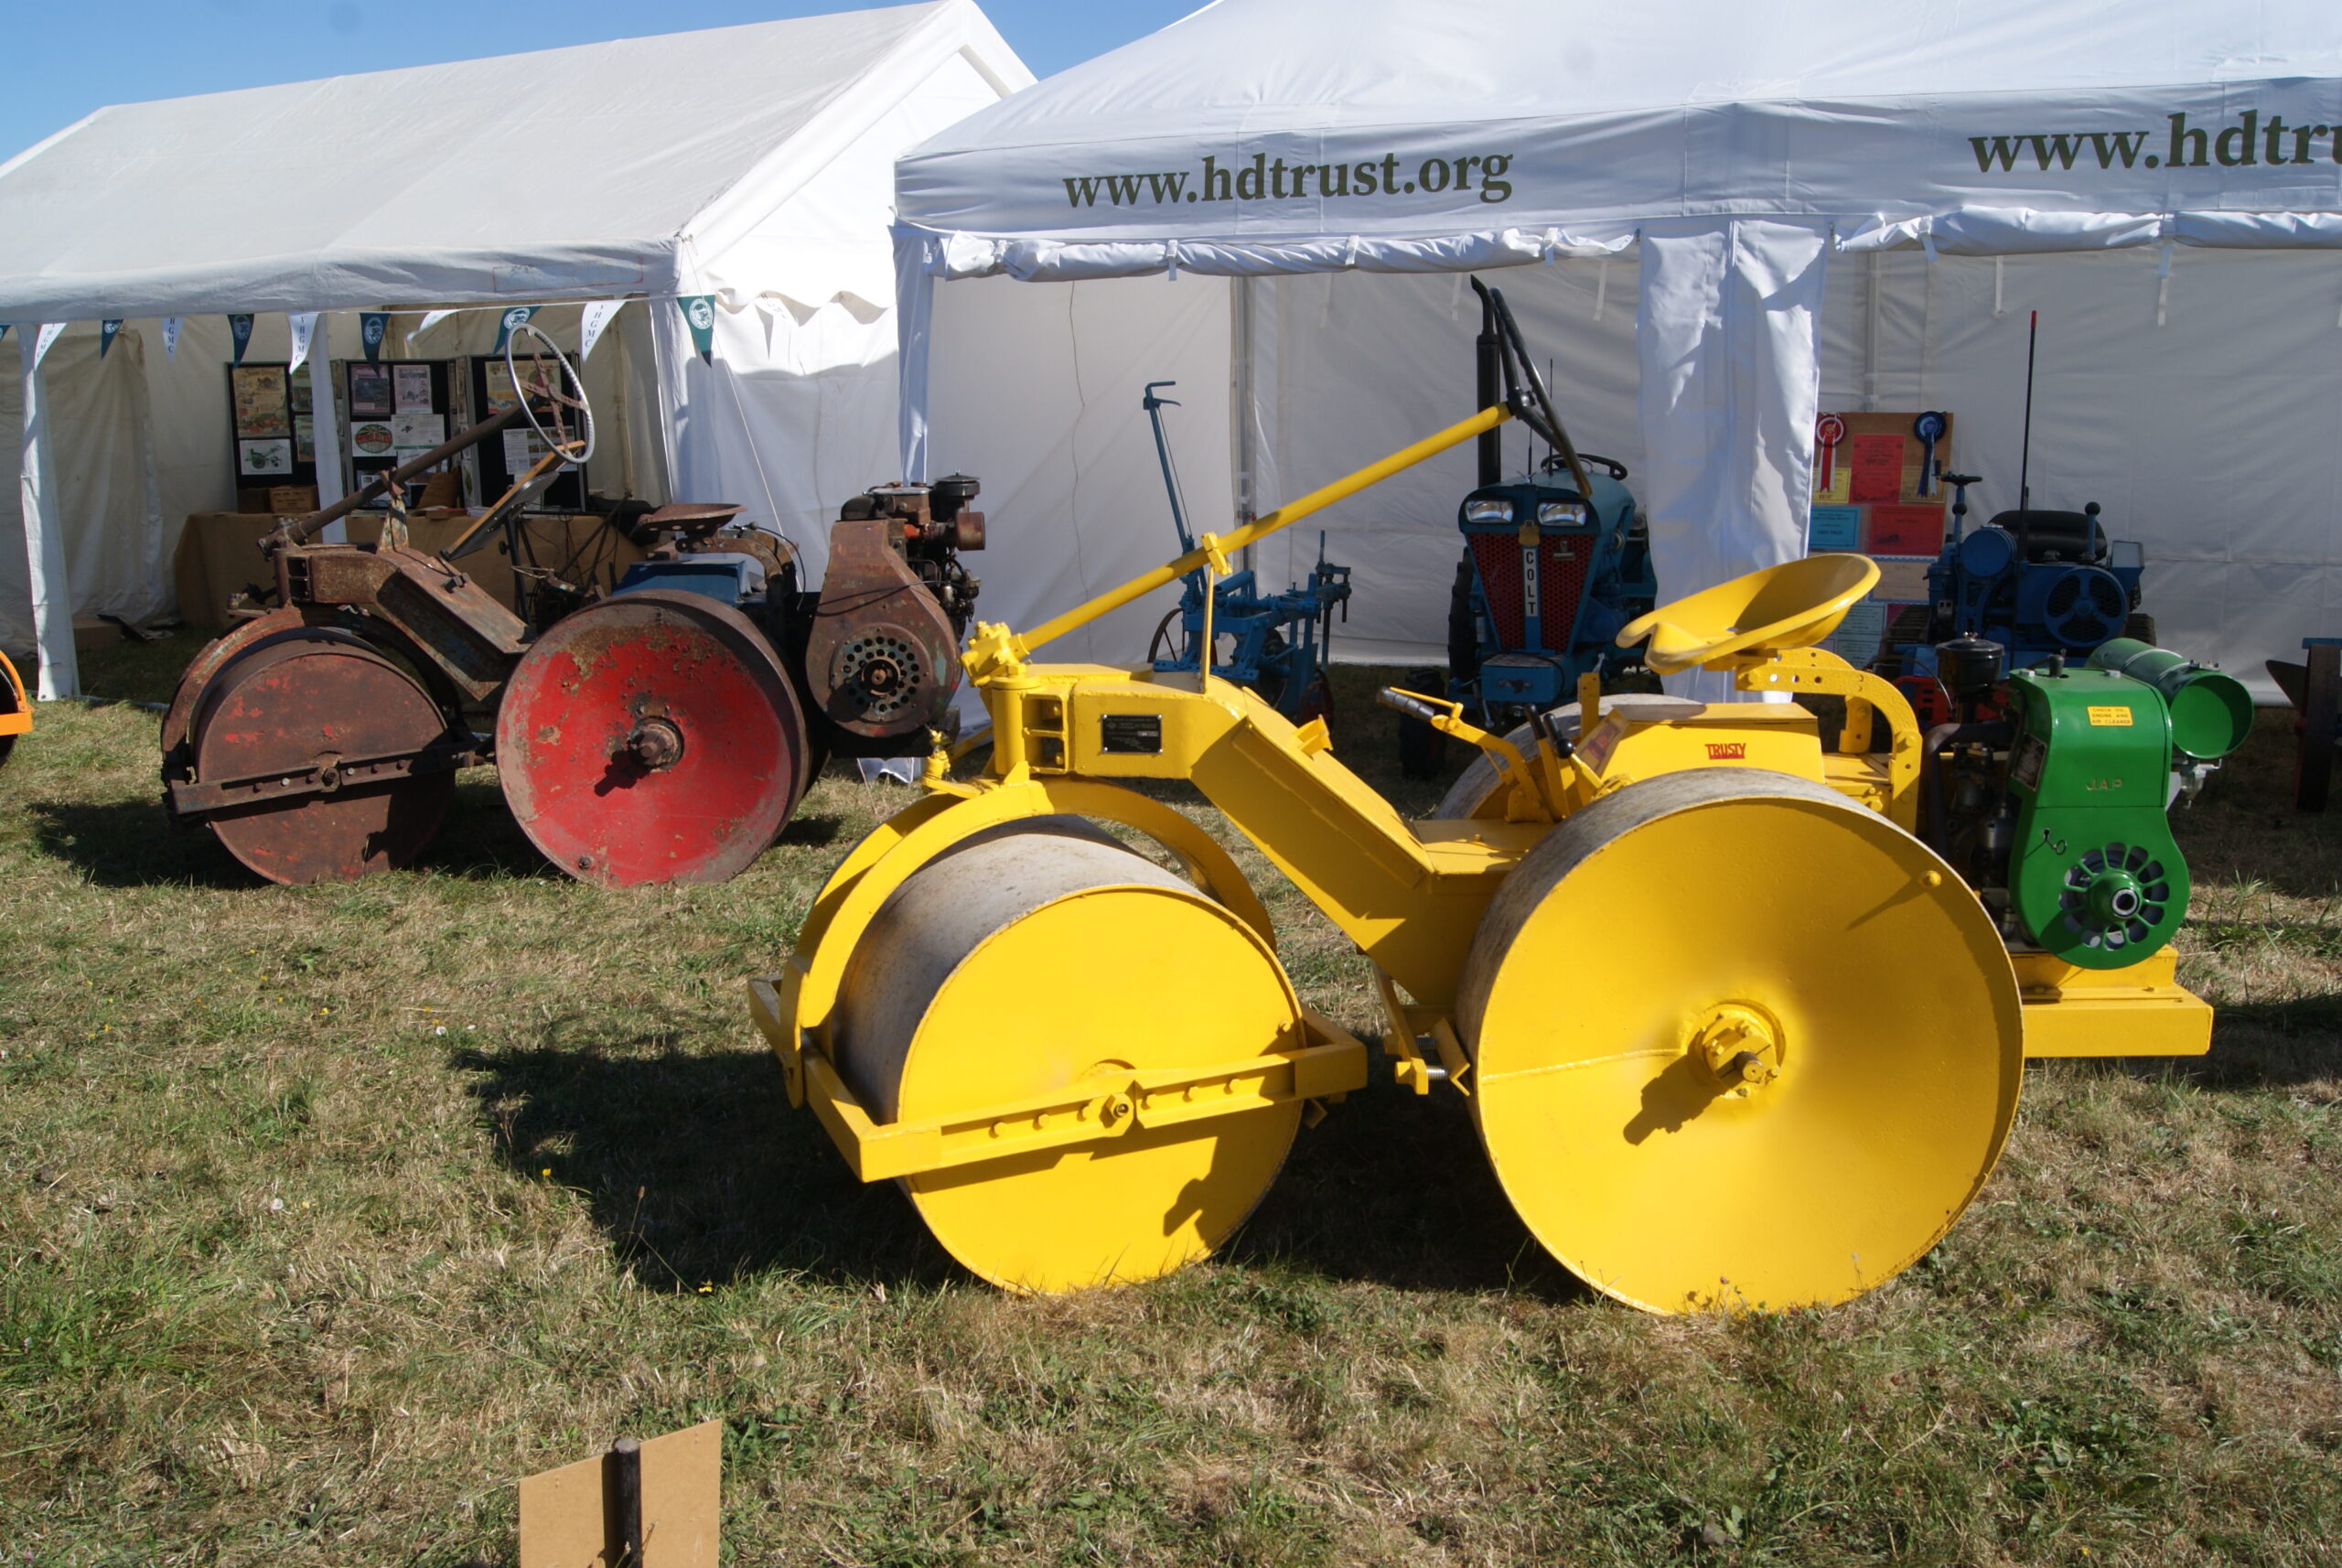
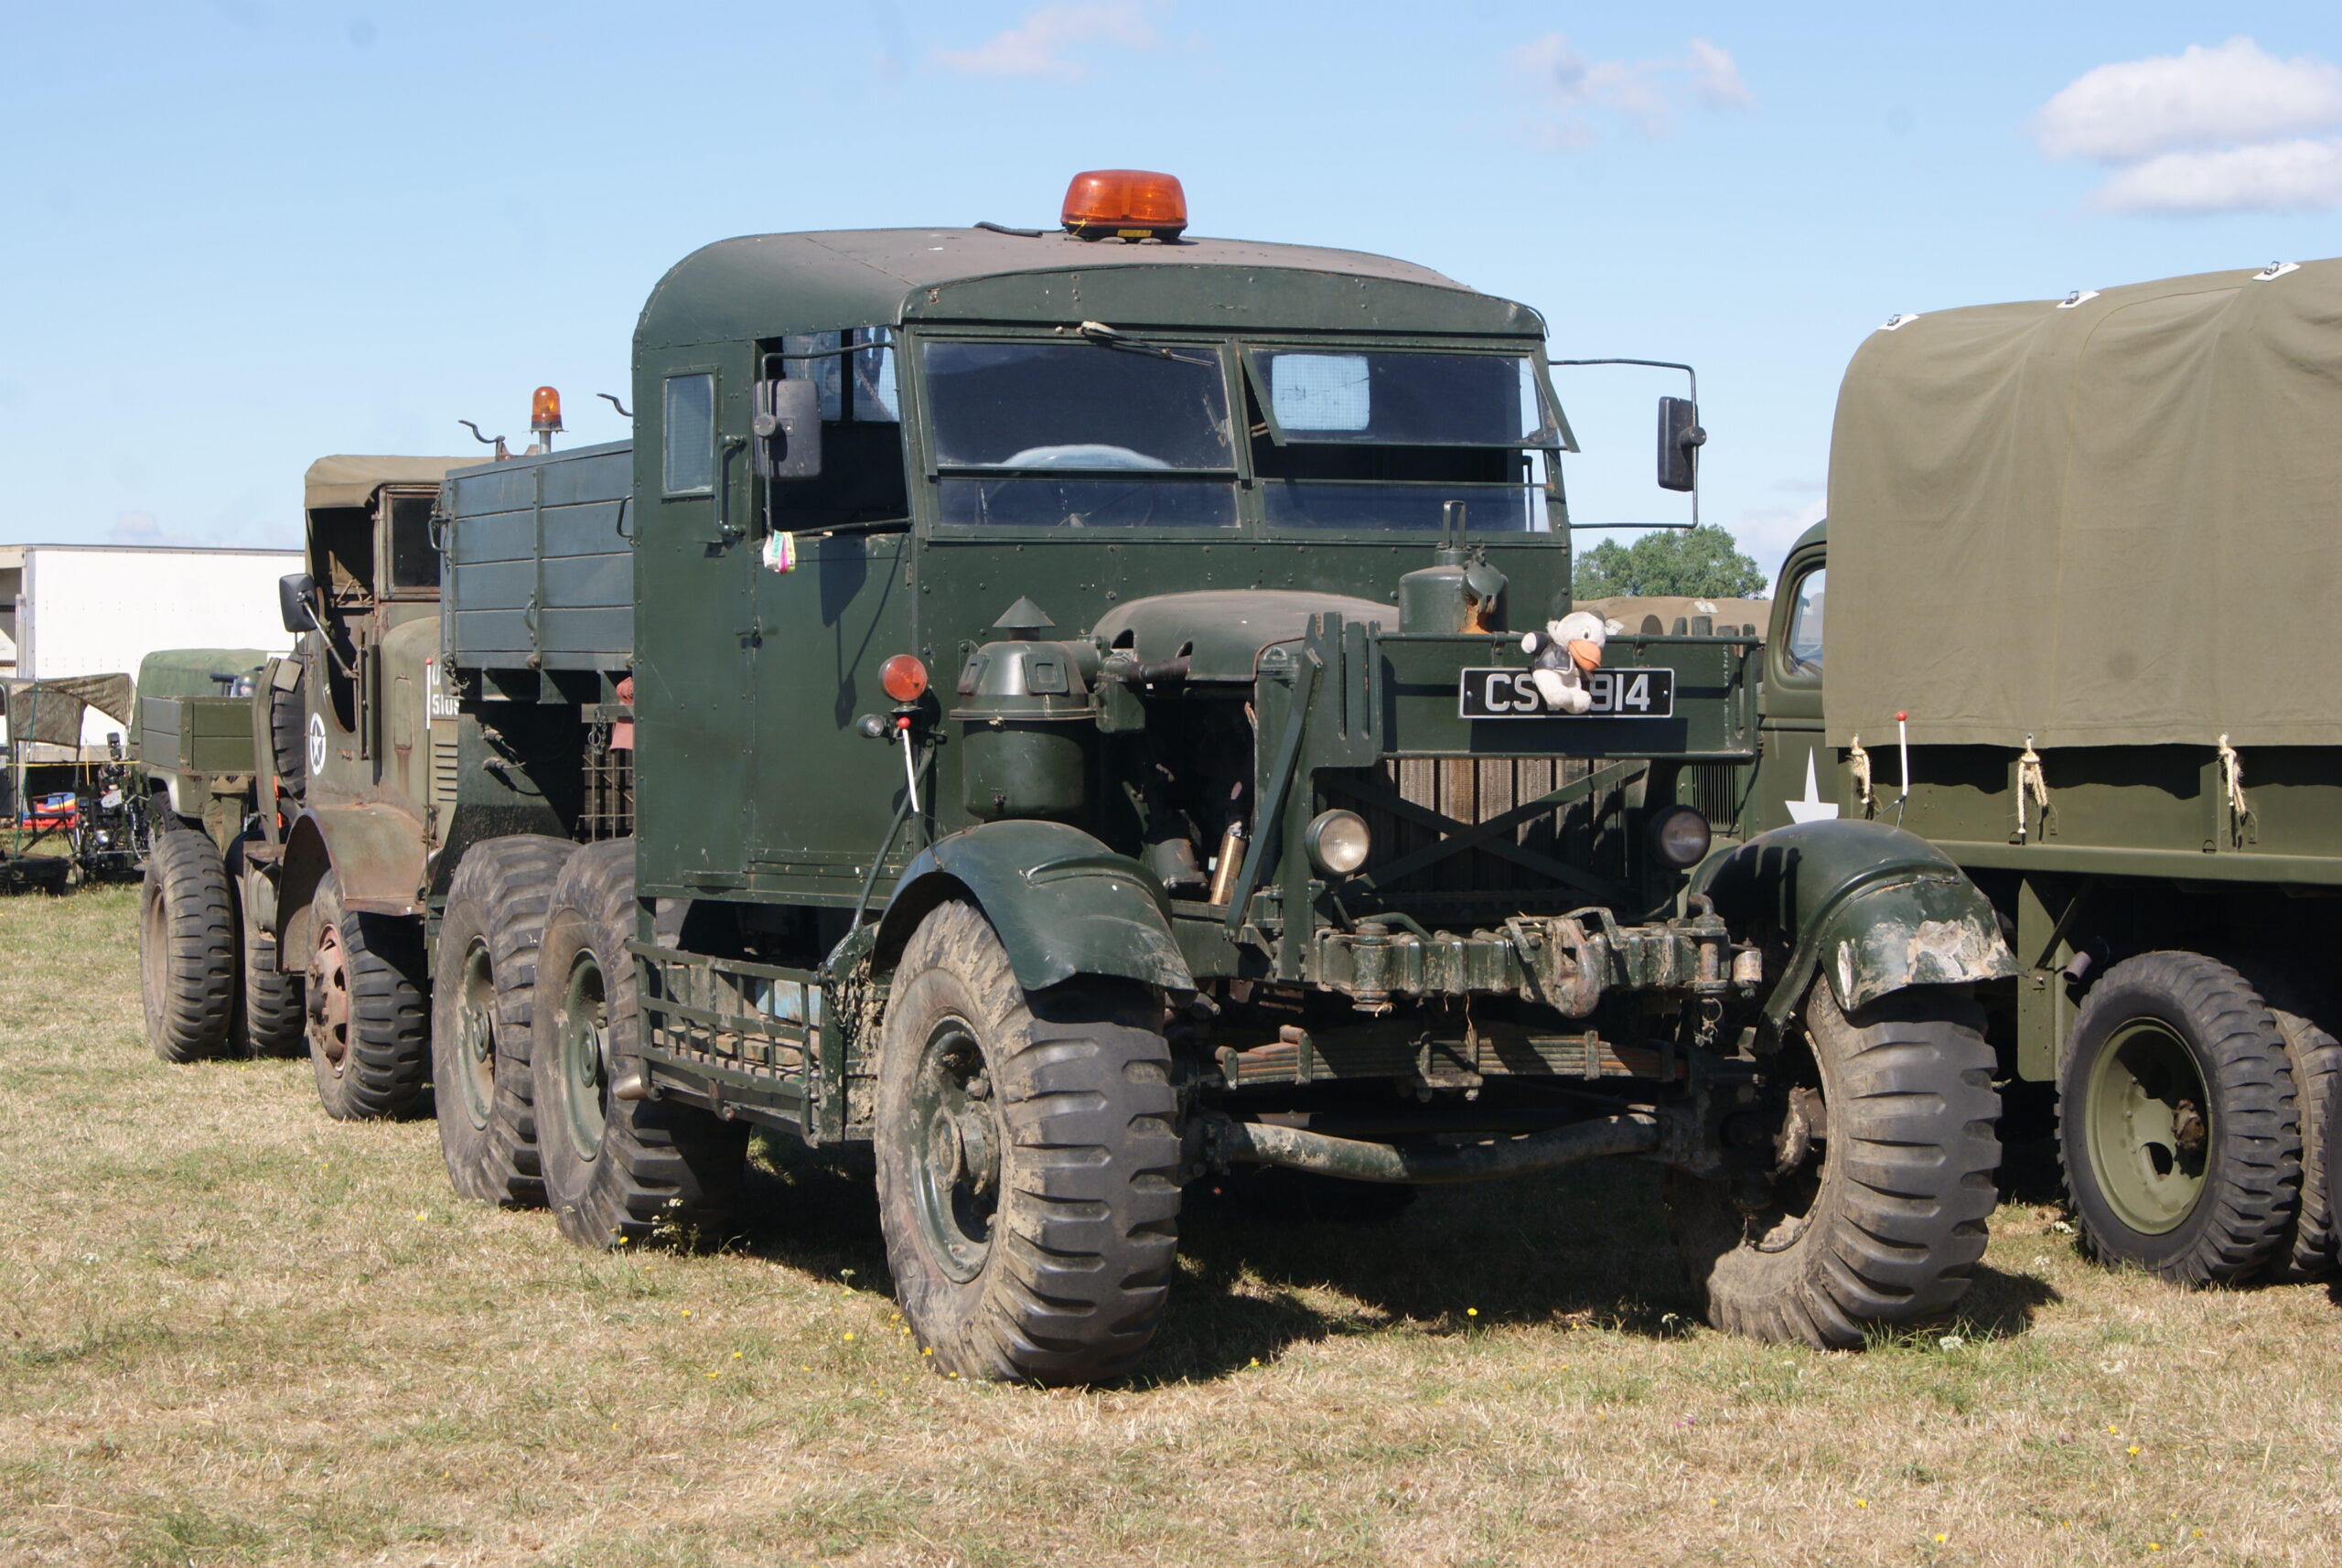
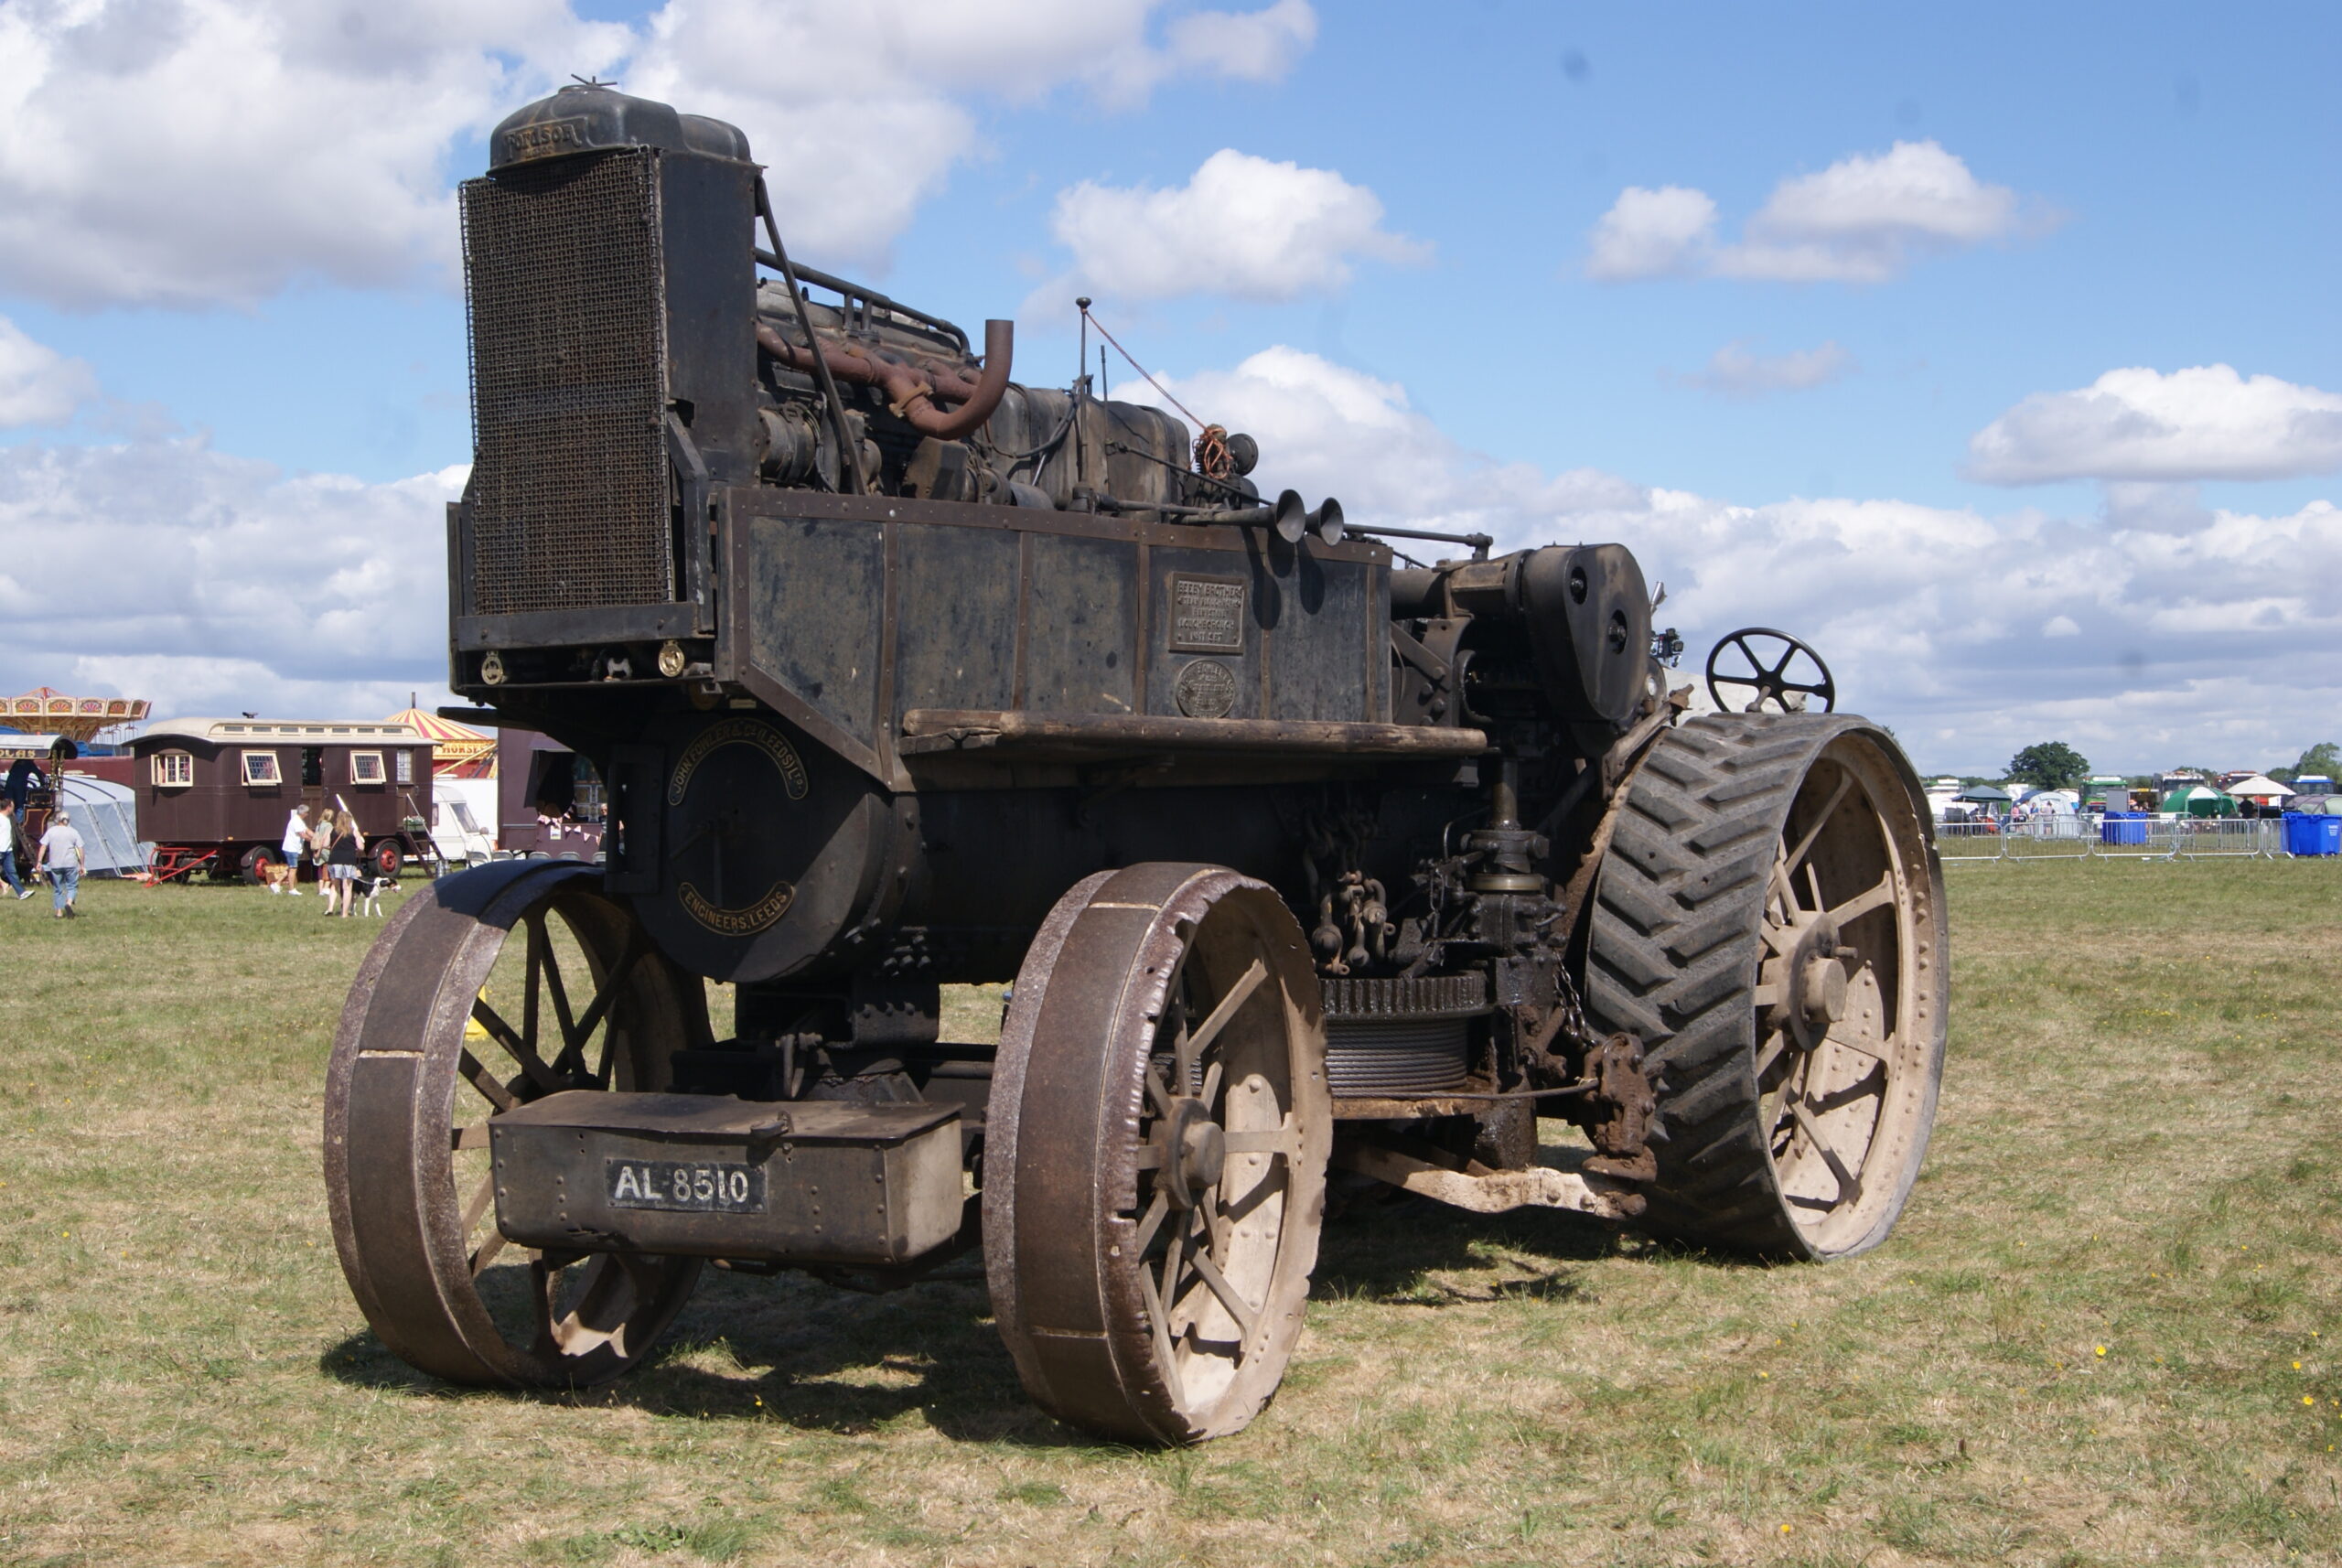
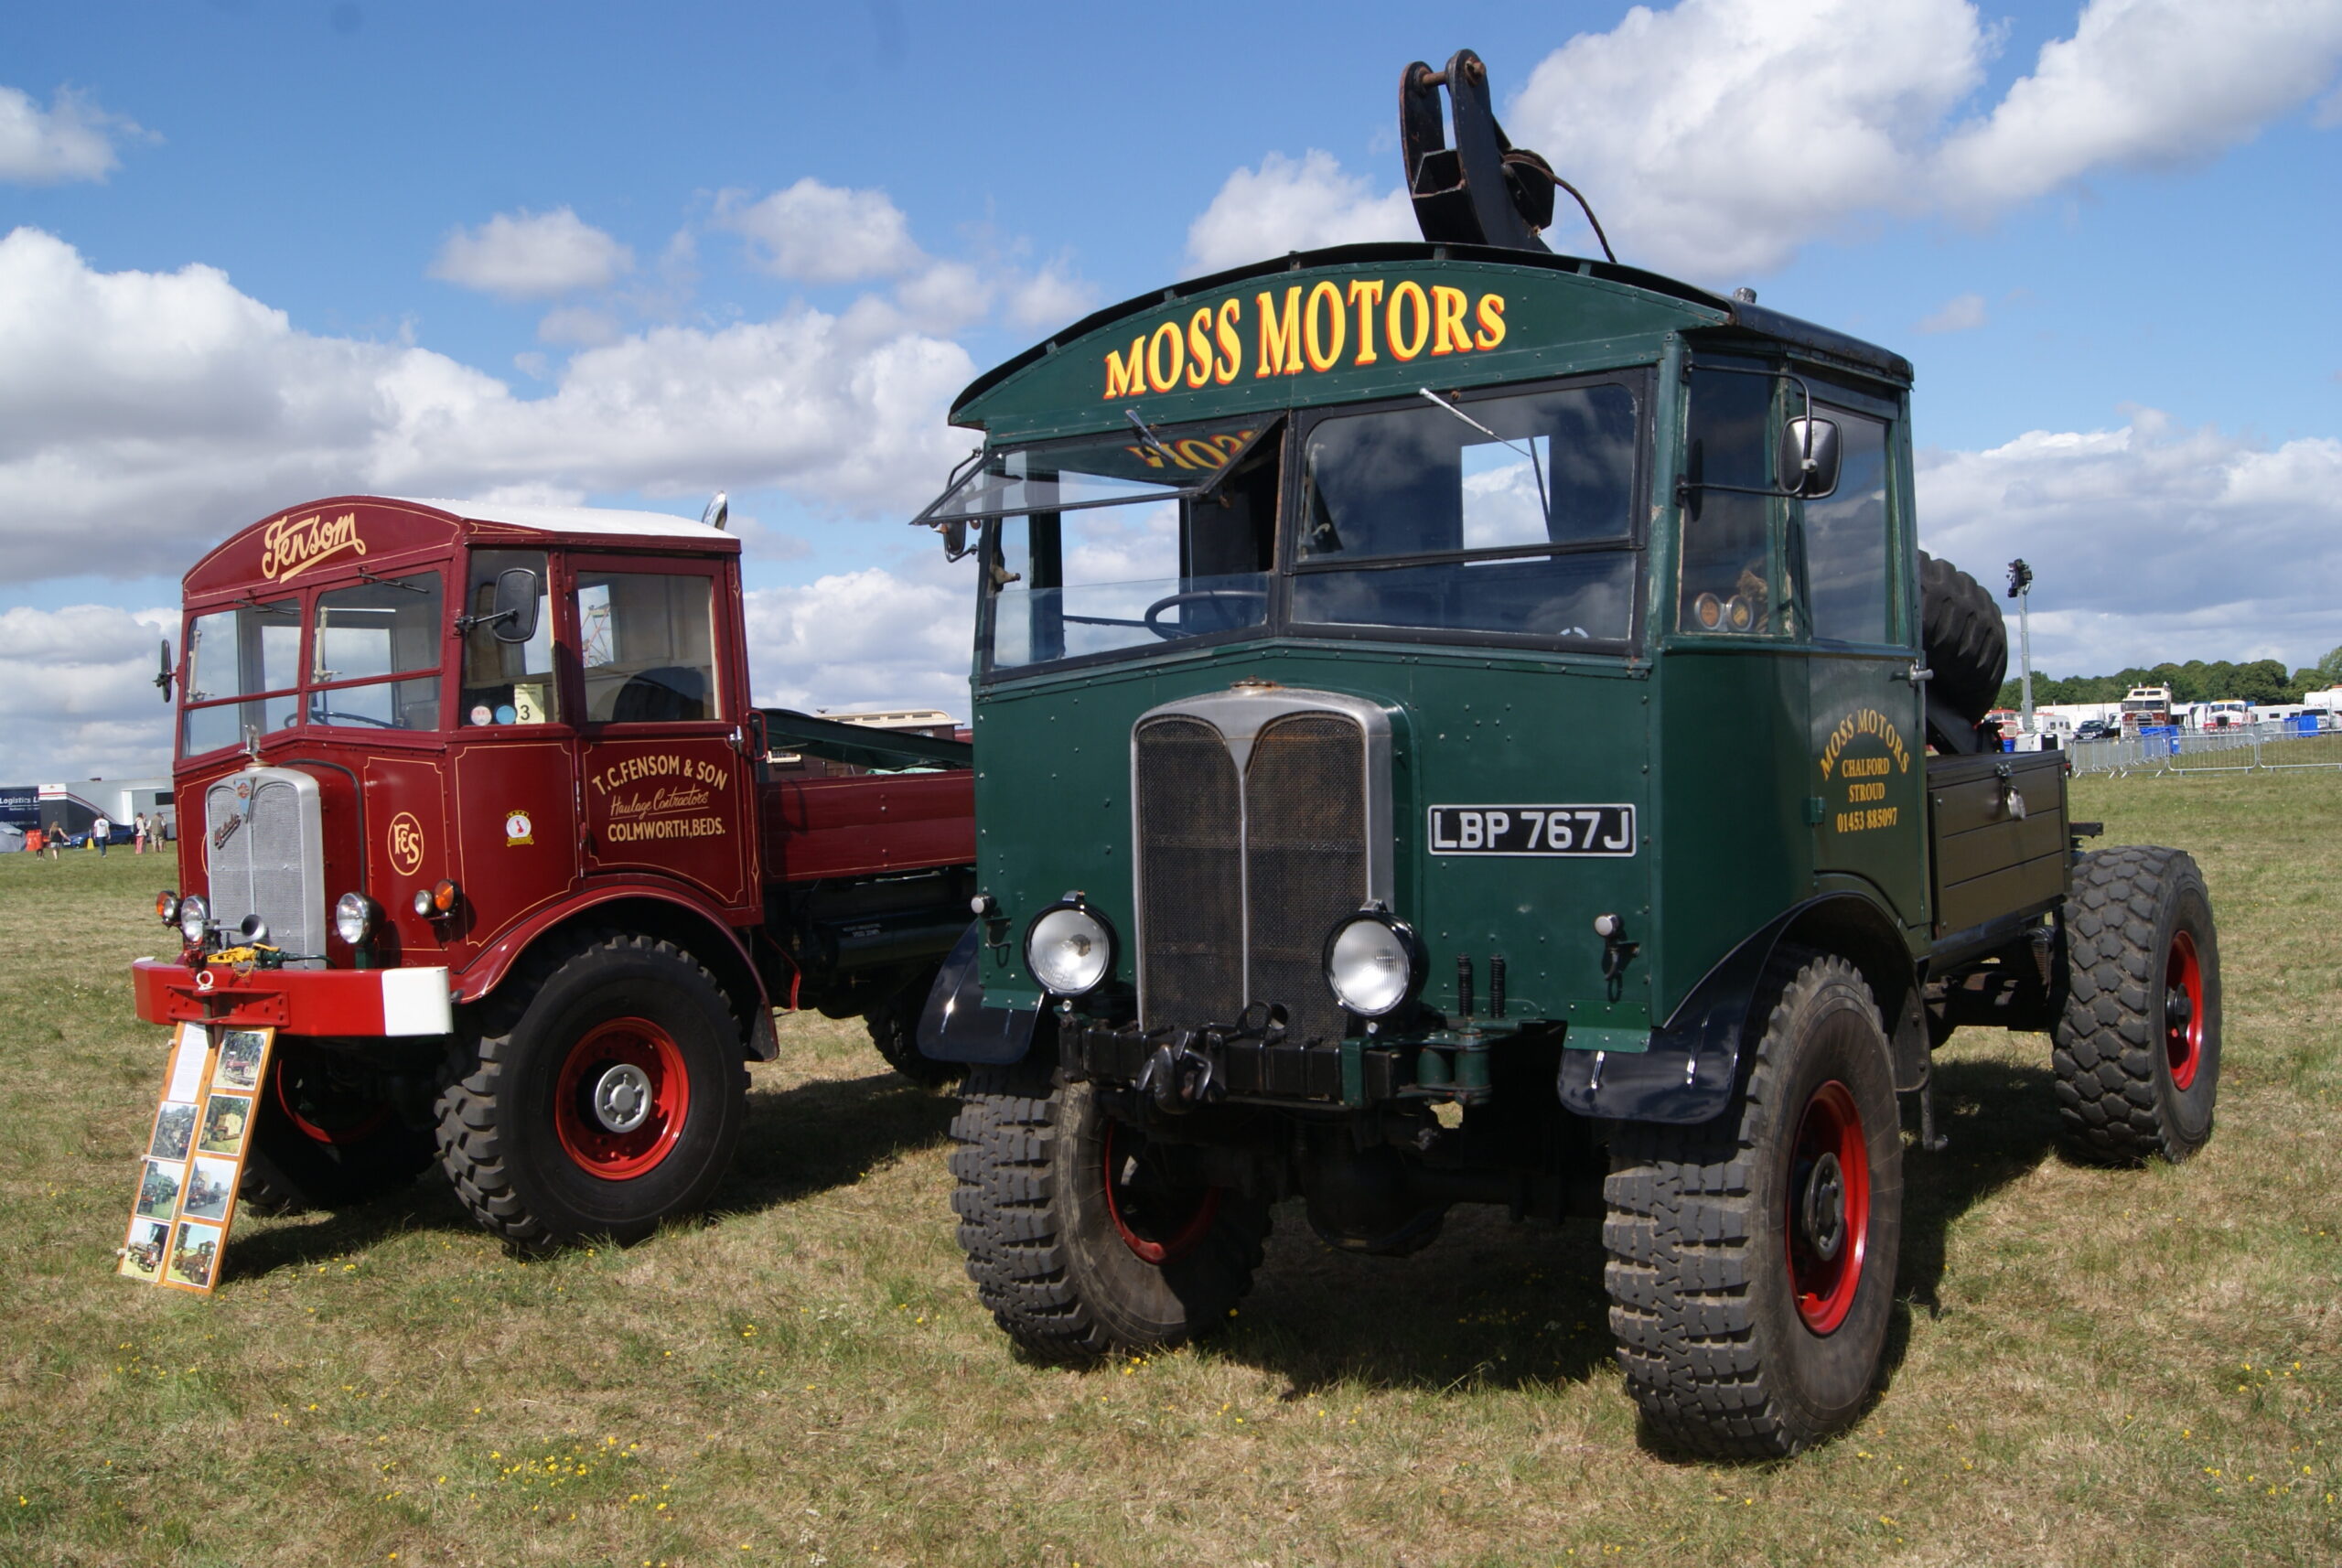
August 5, 2022 at 8:14 pm #39652trusty220KeymasterWe’ve been at South Cerney today and plenty of club members have been making themselves known. From my point of view, Trevor Luckhurst brought his Trusty Roller along together with a lorry full of engines and rollers to swell the numbers considerably; as promised, I took my Trusty Roller along and we’ve got two of the surviving three rollers together for the first time.
If you have time over the weekend it is an excellent show to attend and is very easy to get to from all points of the compass. I’ve included some photo’s of the rest of the show to give you all a taste of what it’s like.
Attachments:
August 3, 2022 at 5:04 pm #39619trusty220KeymasterOff to South Cerney tomorrow for the weekend so I’ve been trying to get all of those loose ends tied up.
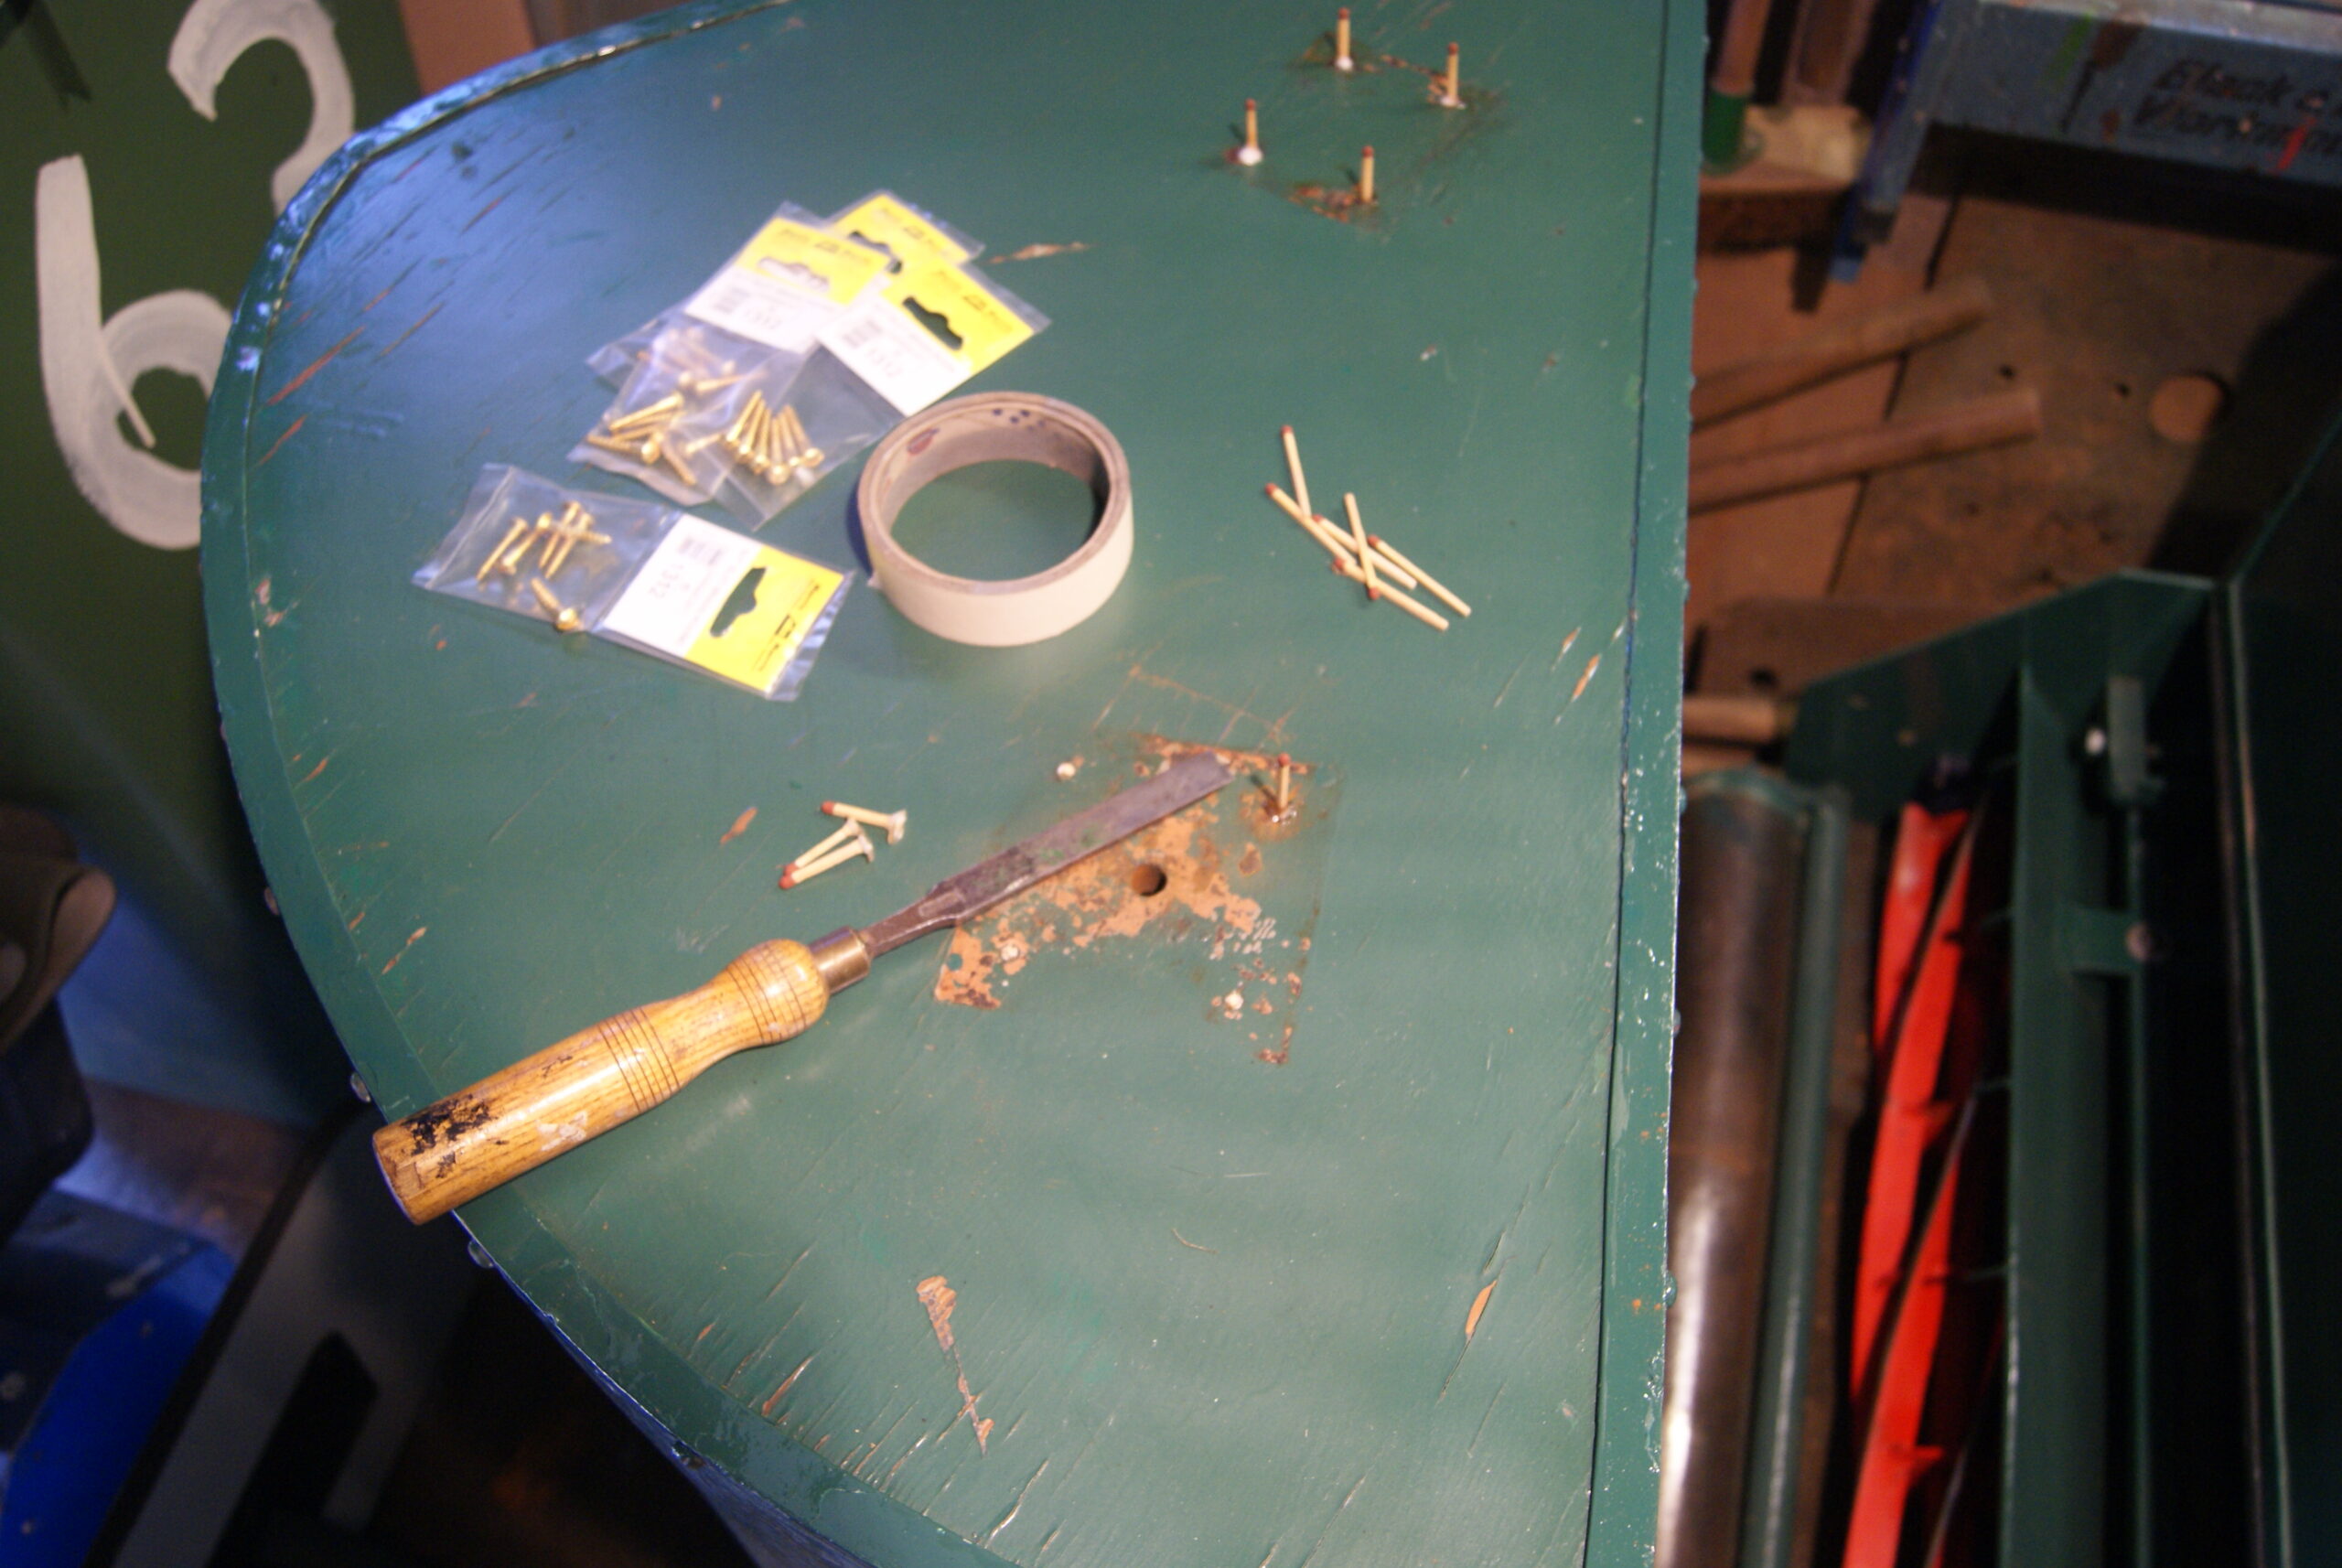
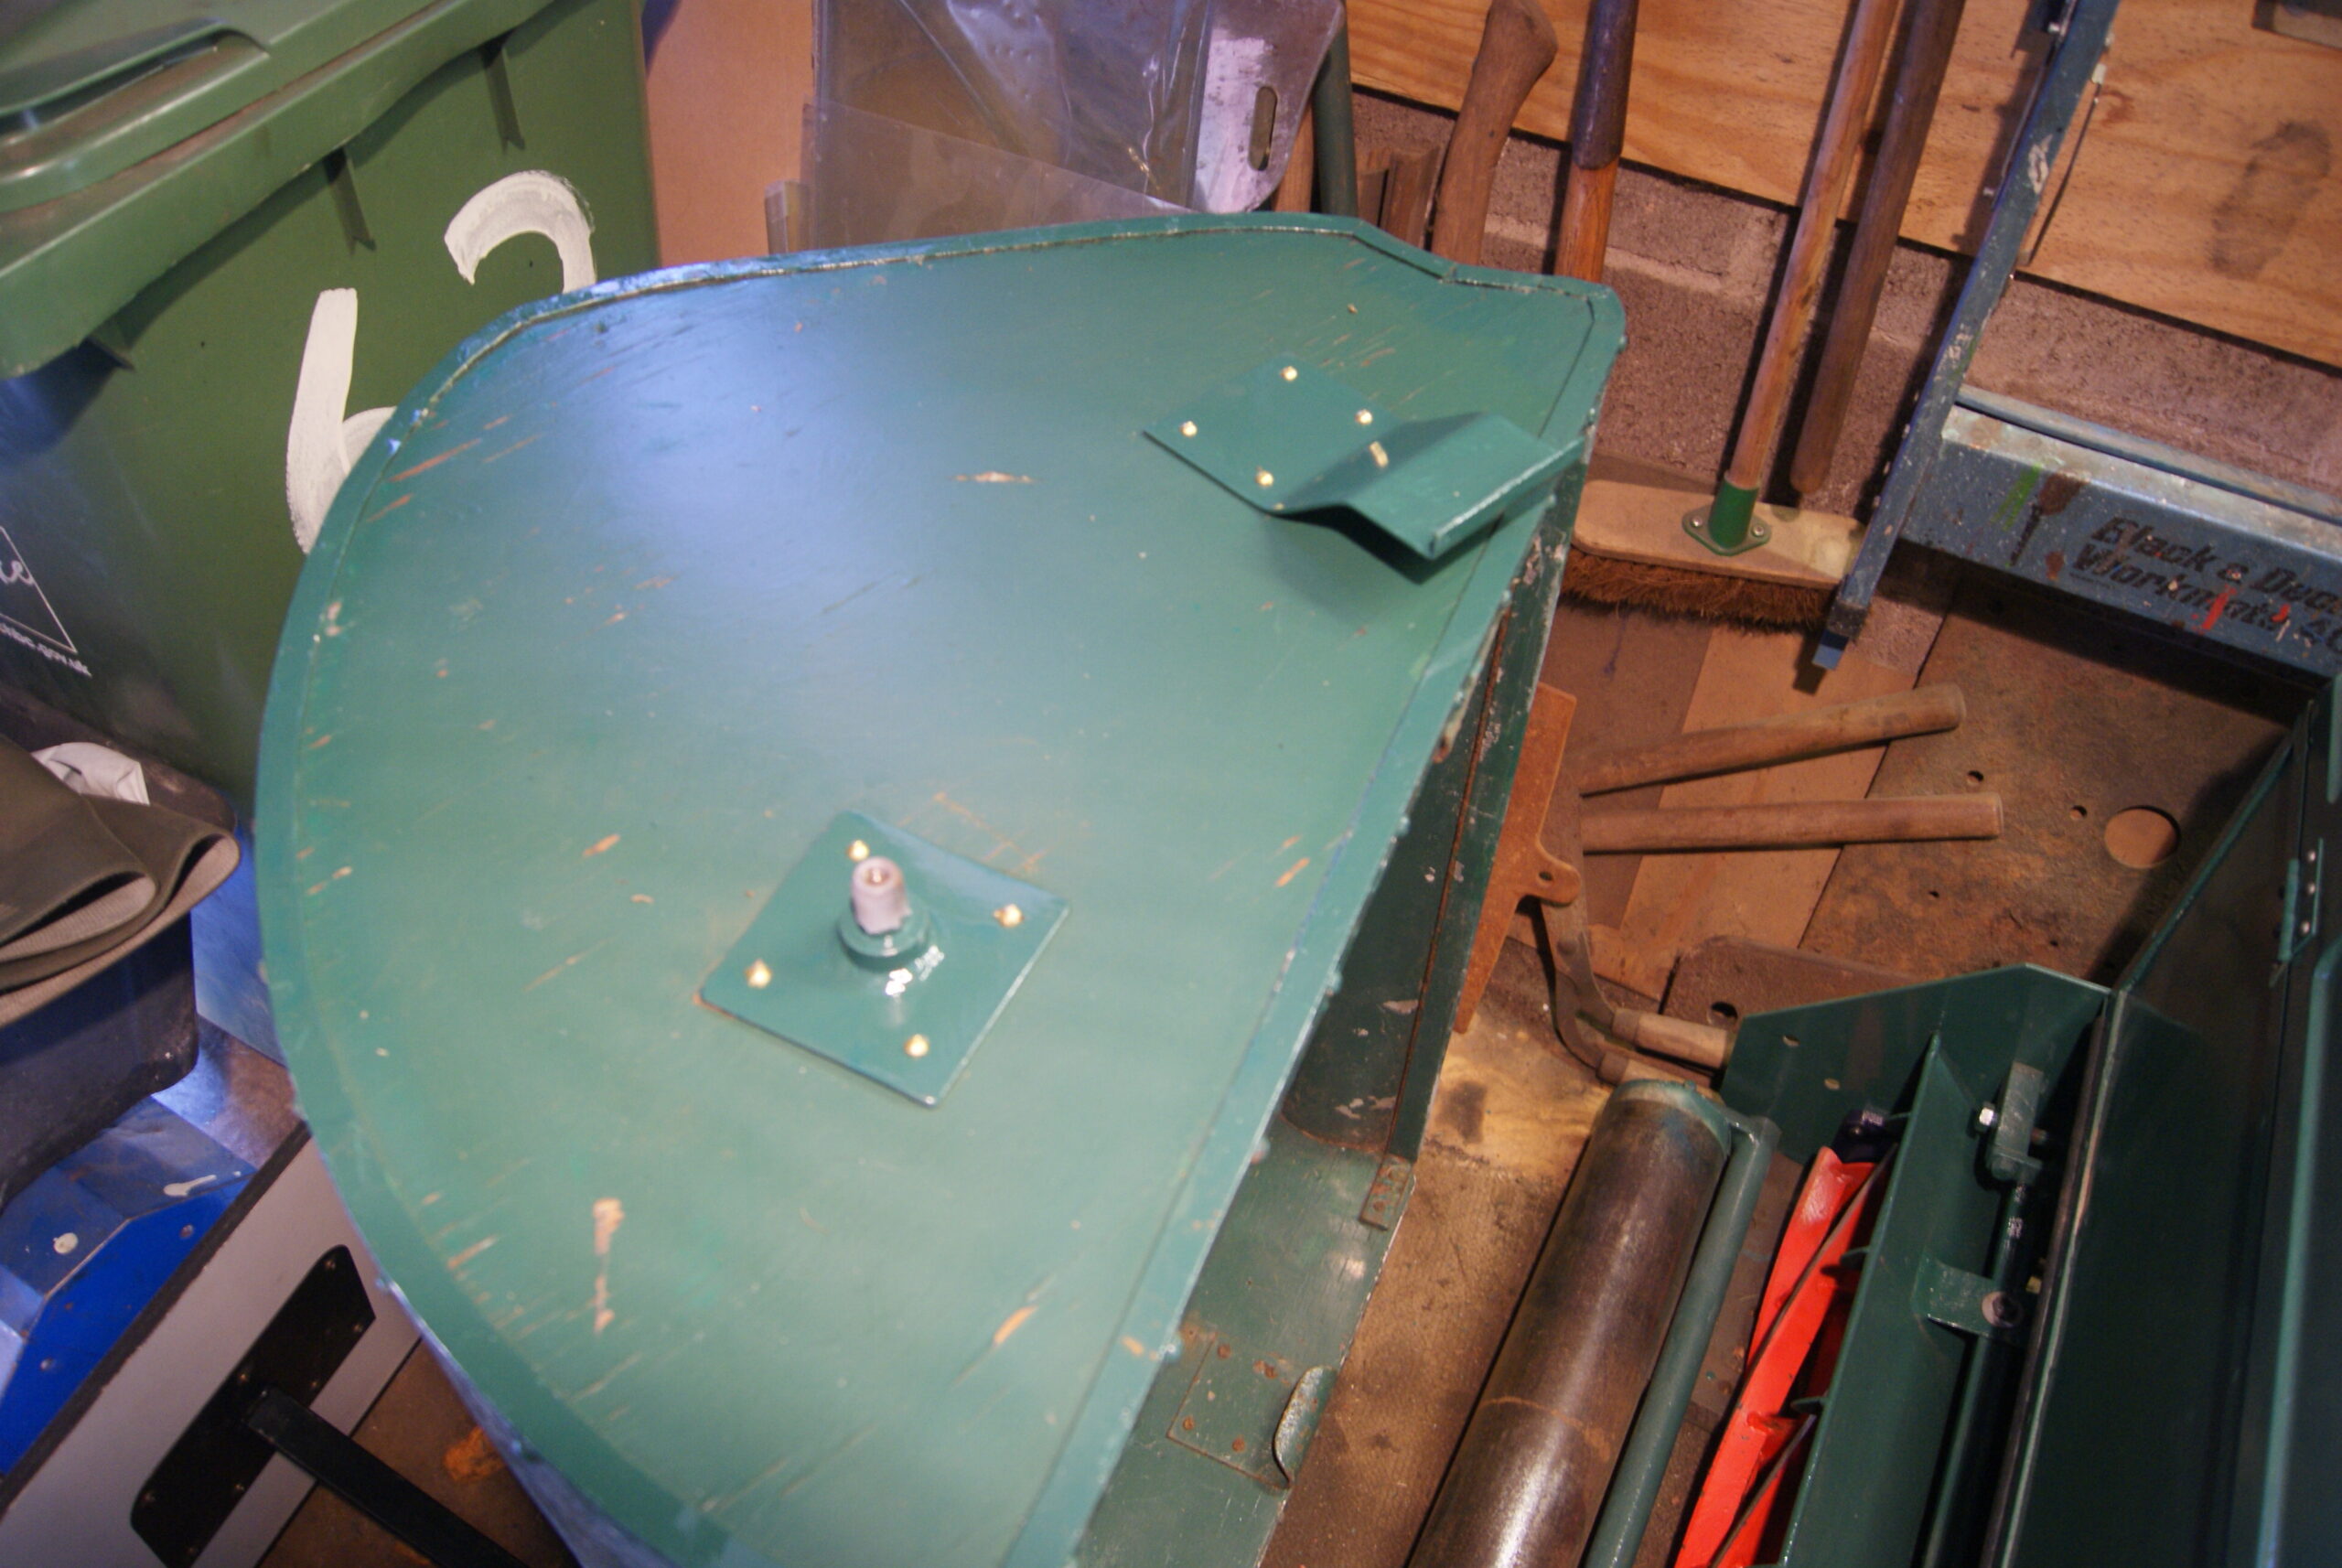
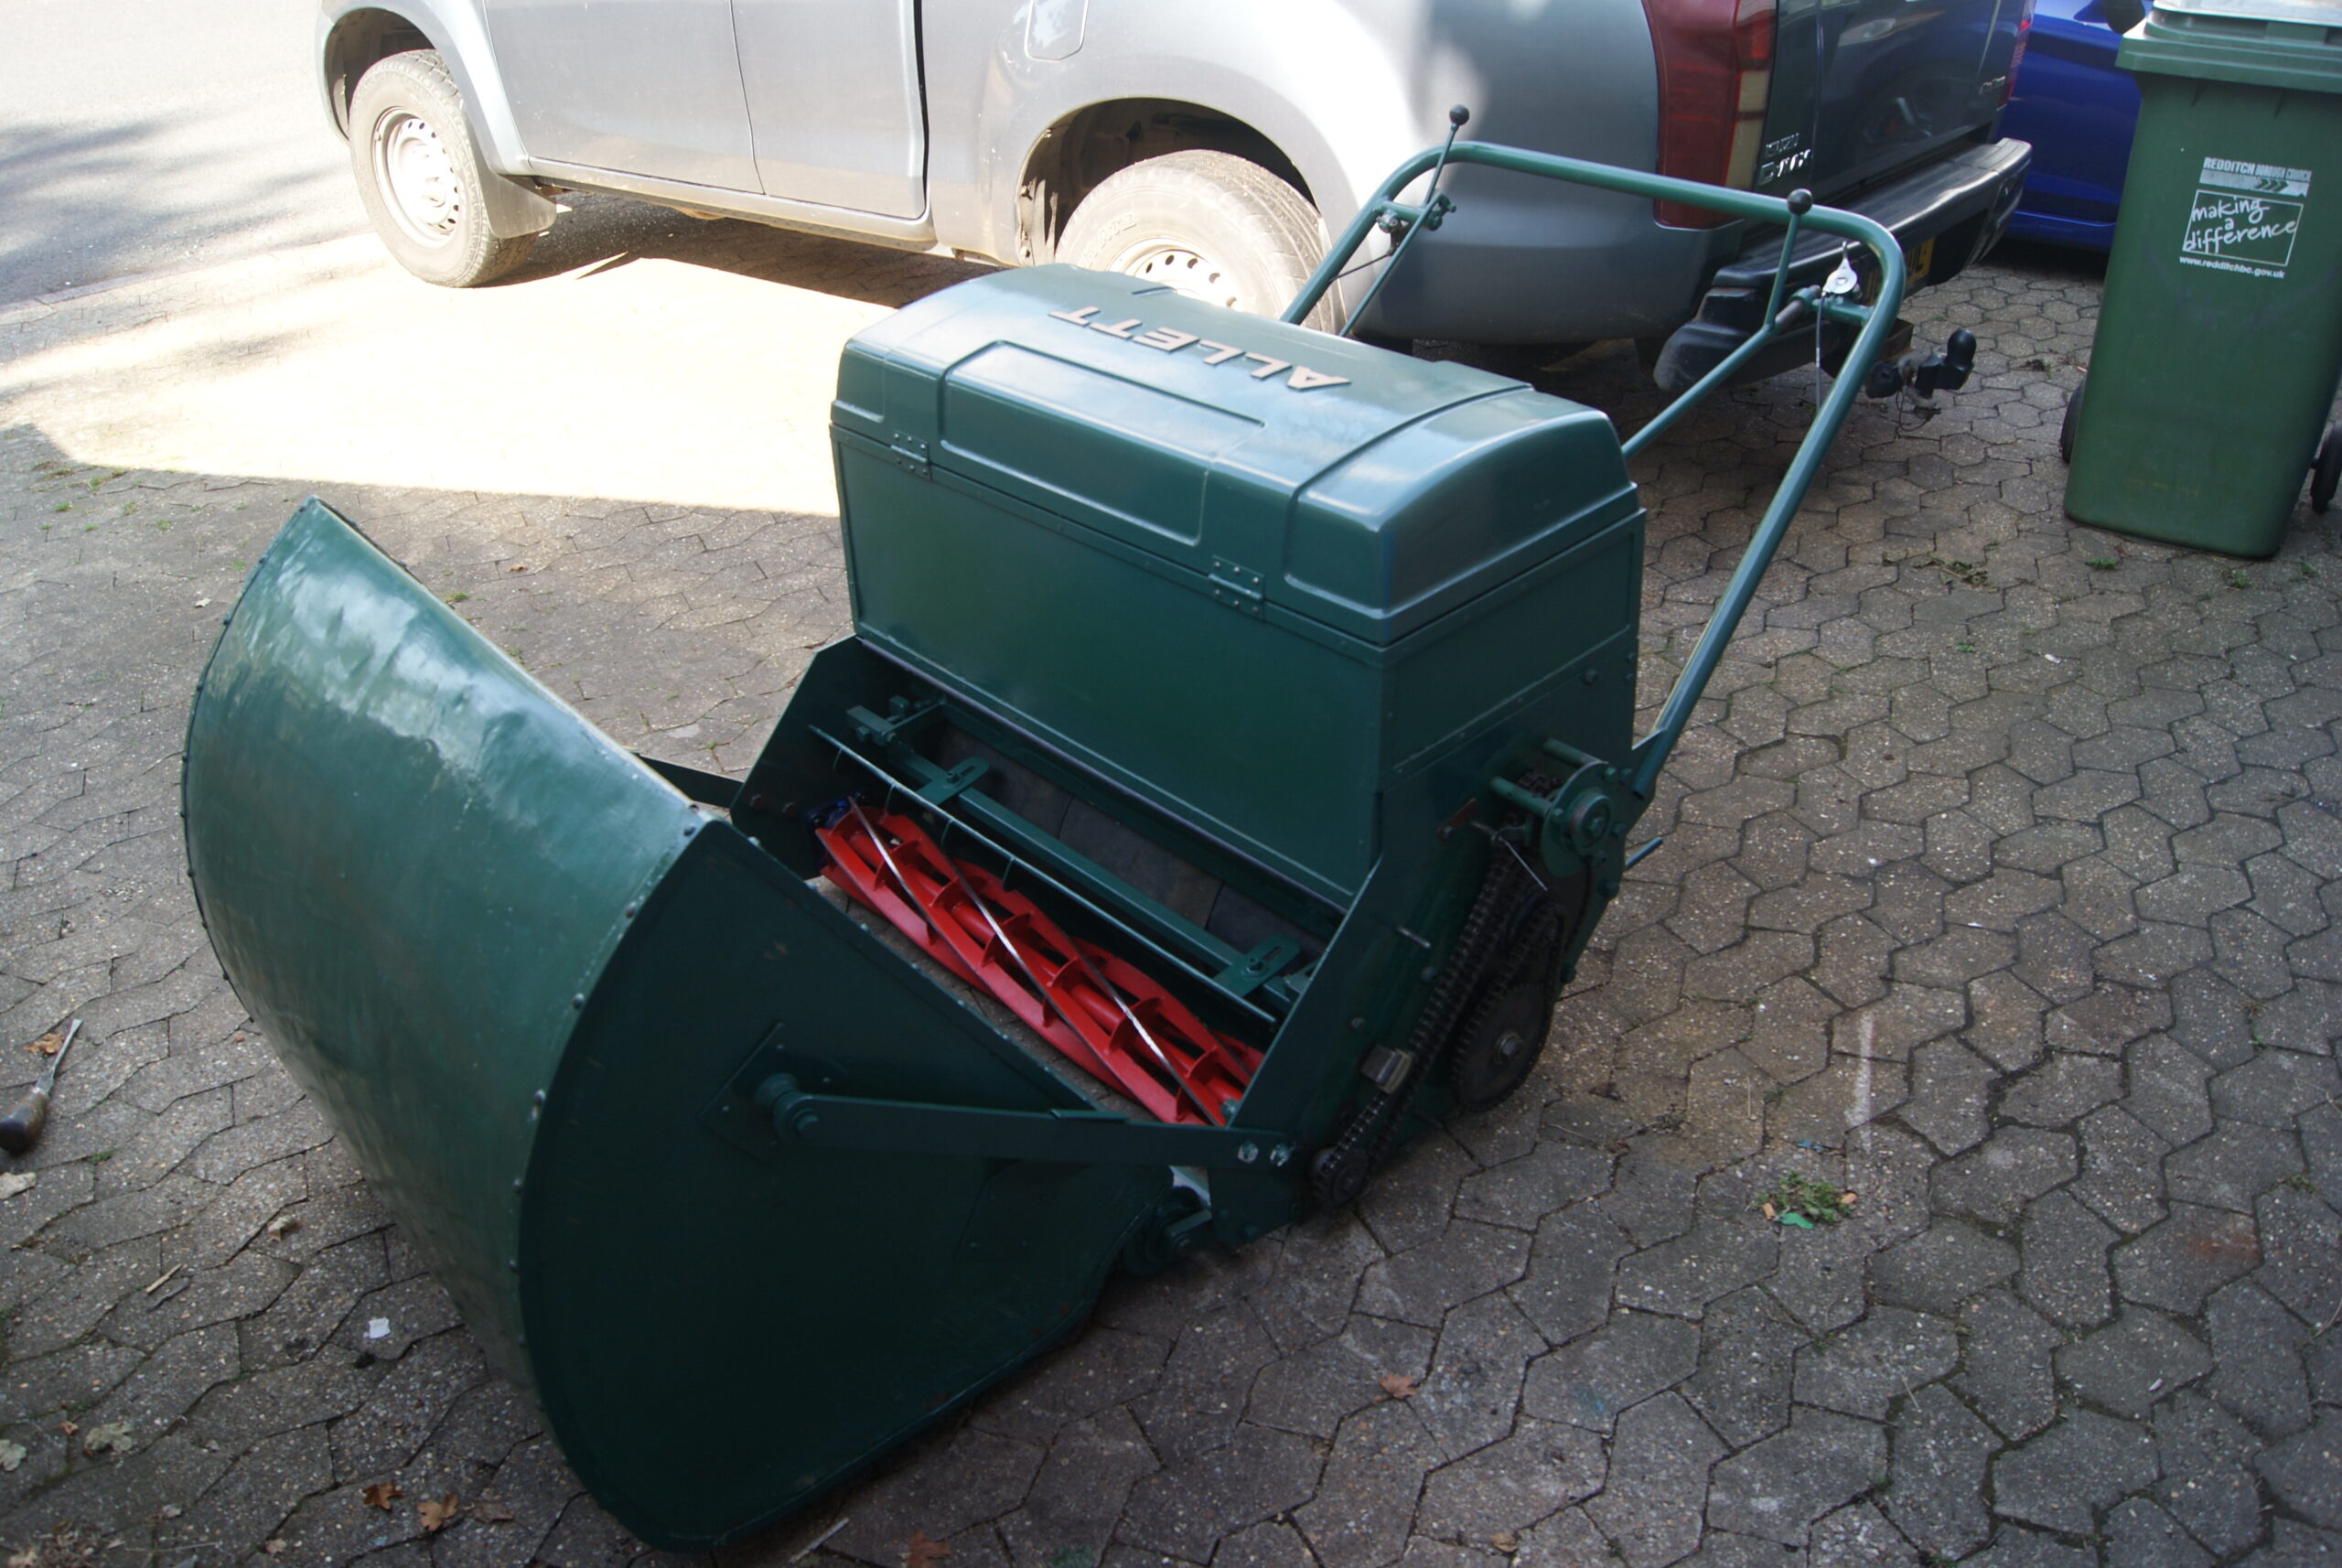
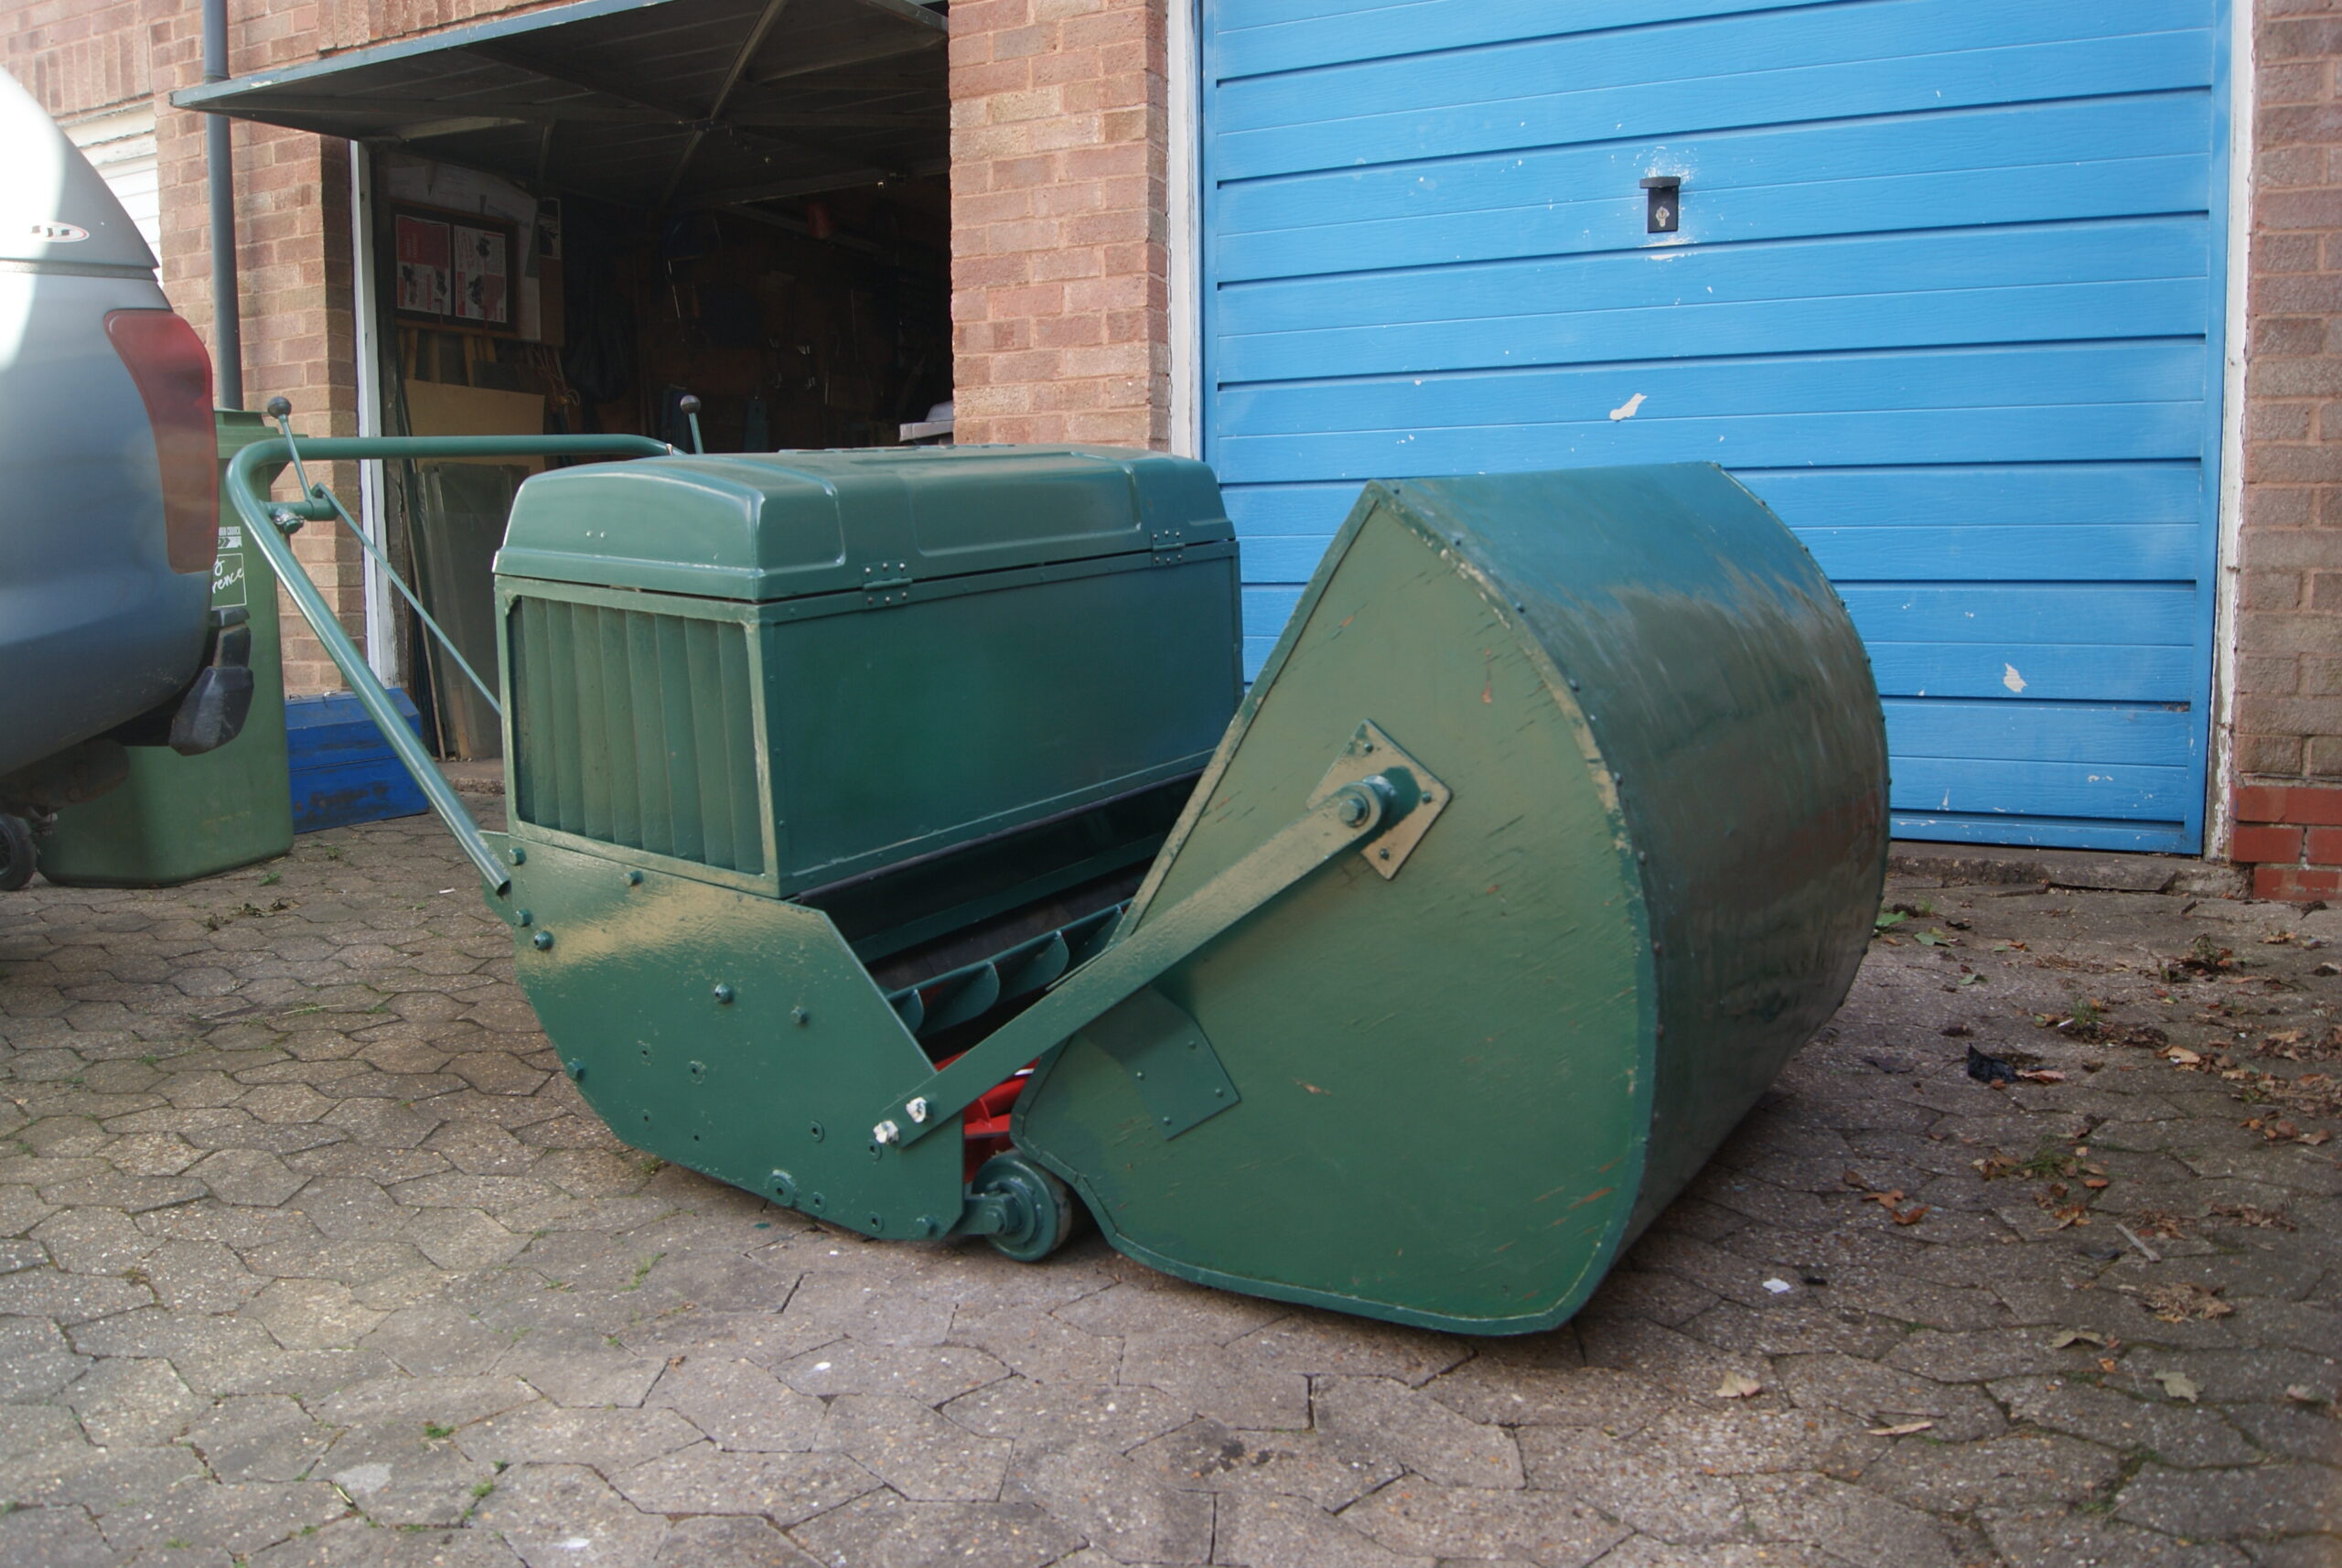
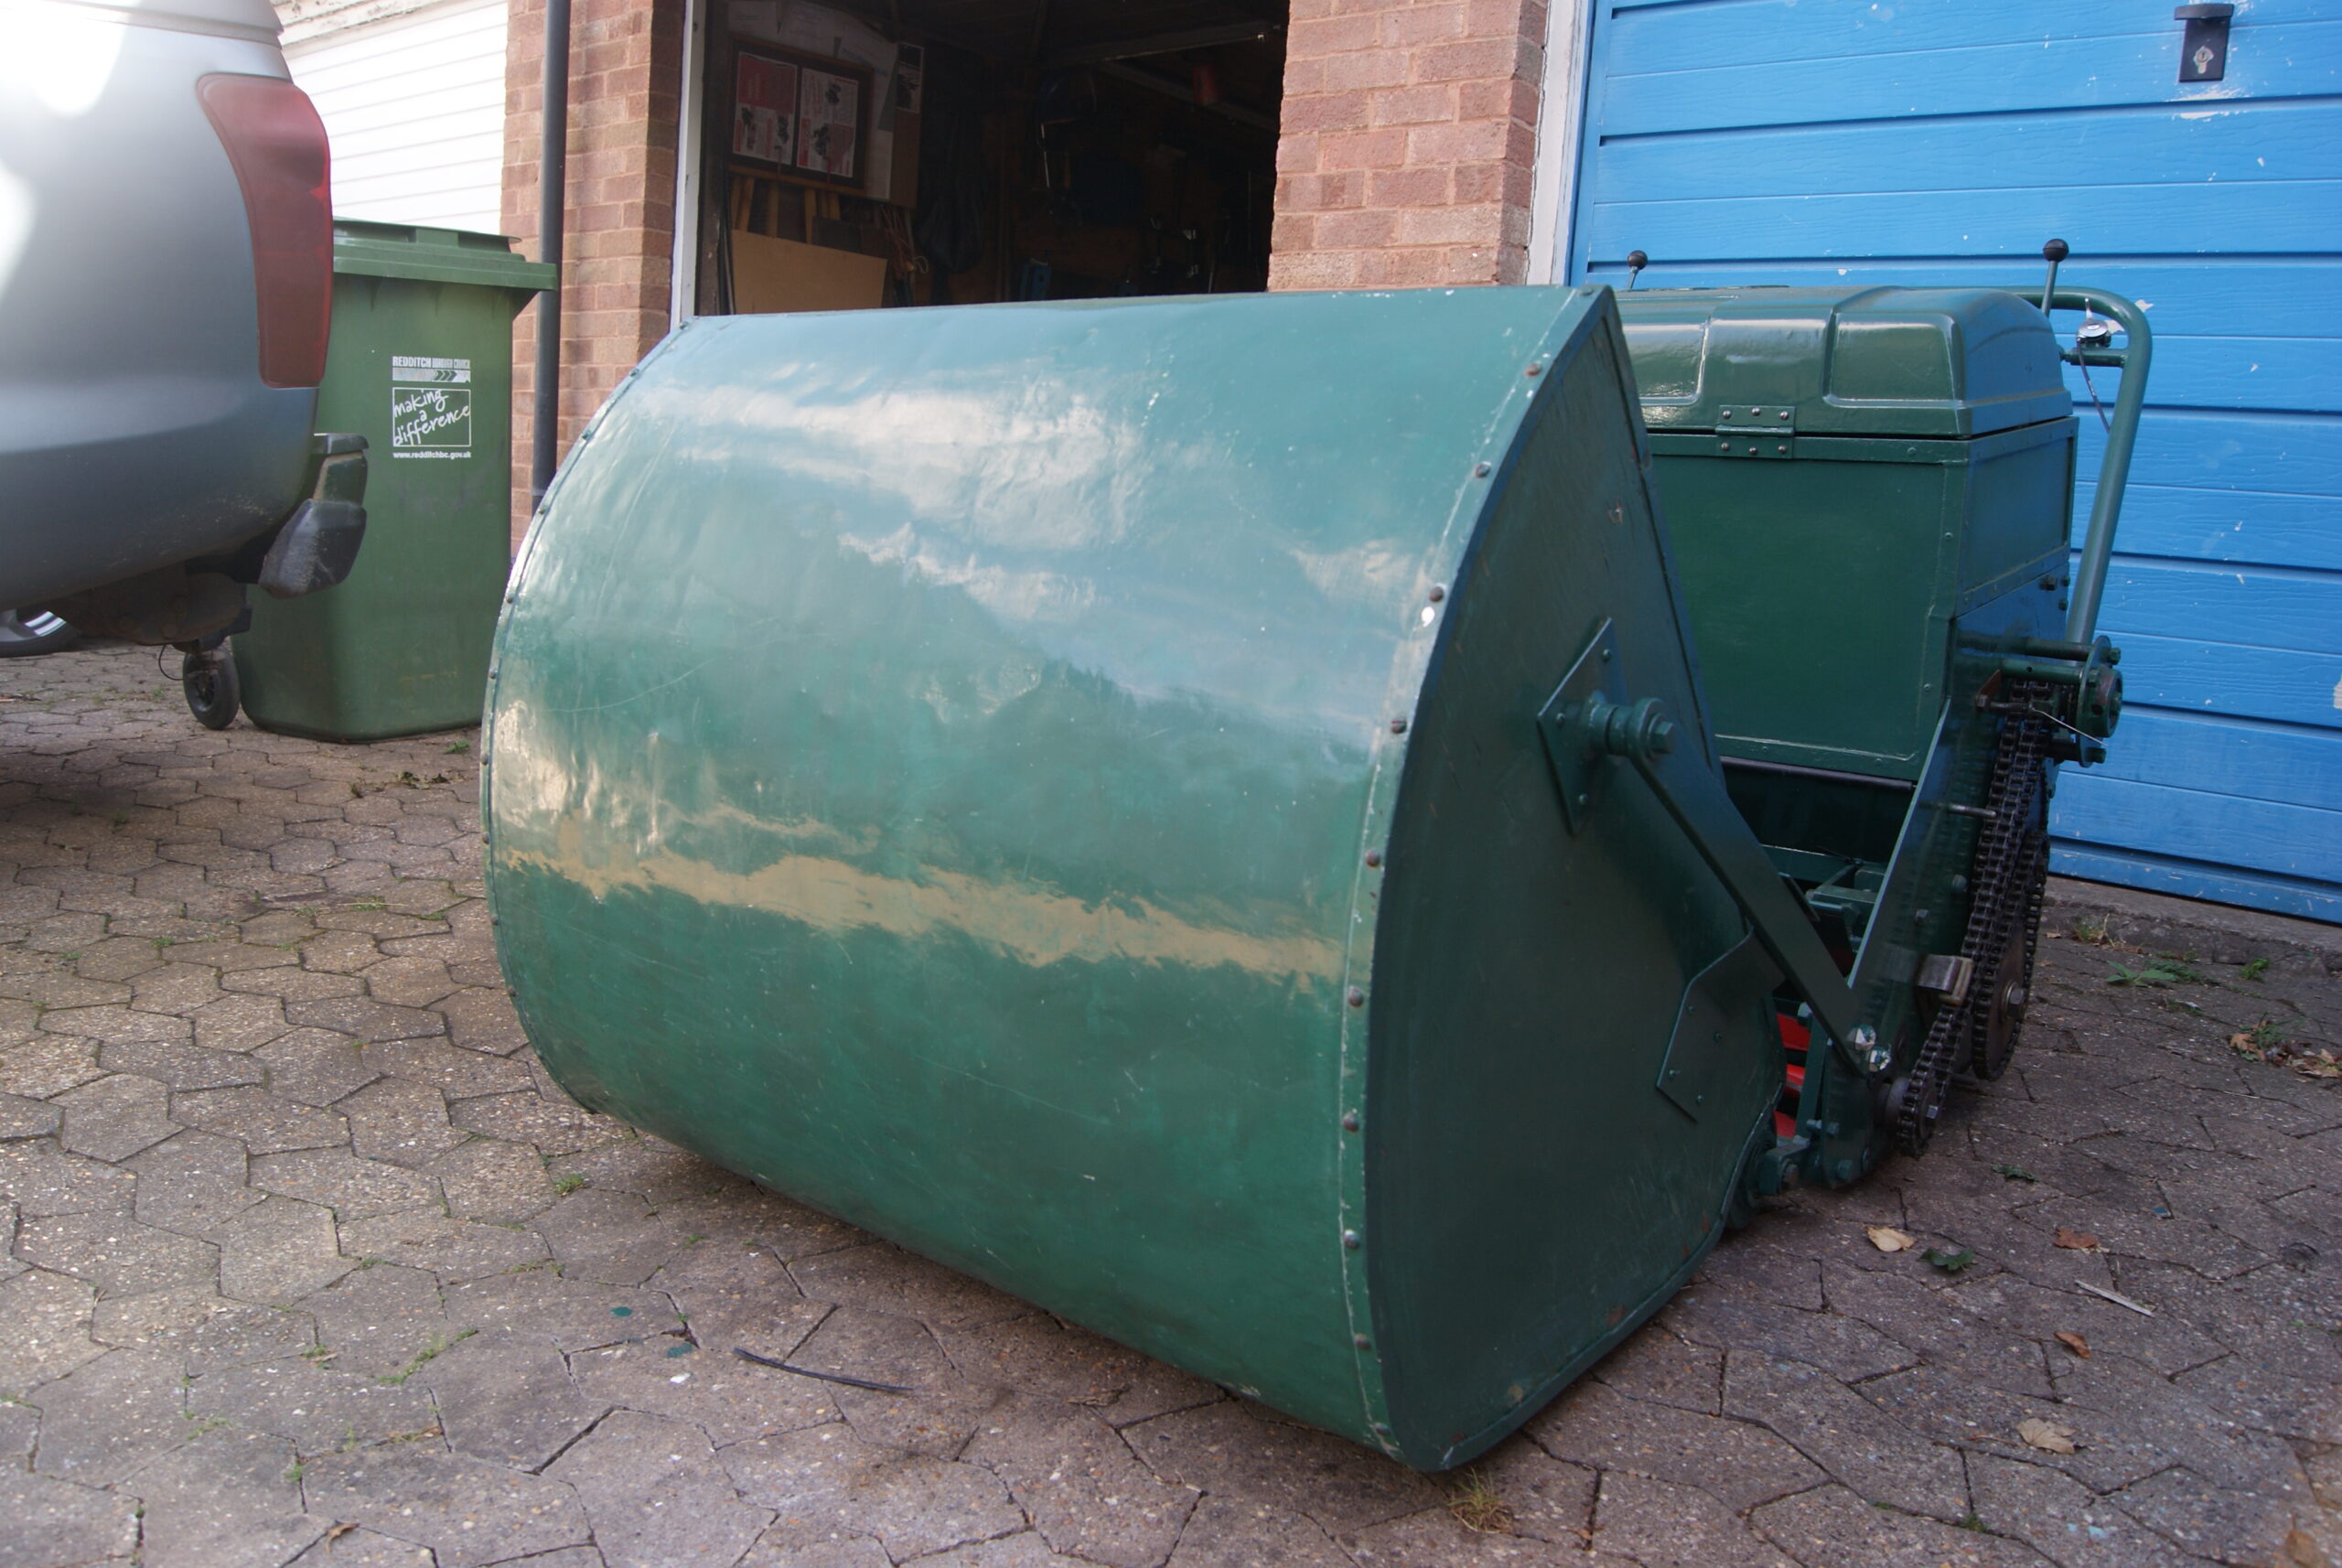
The glue had dried overnight in the holes and so I trimmed the excess wood off flush with the surface, re-drilled small pilot holes and screwed the side brackets onto the grassbox. This allowed me to then mount the carrying brackets onto the front chassis of the mower, then a quick lift each side and the box was on, secured with just one bolt each side. This style of grassbox would be far too heavy to manhandle when it was full and so it is permanently attached to the mower and the operator has to drive up to the pile of grass cuttings, dismount and then flip the box over to empty it. This operation alone would normally mean that a careless operator could easily misjudge his distance and put a dent in the front of the grassbox- this machine doesn’t look like it’s ever suffered in this way, so all credit to the operator(s) for looking after it so well since 1966.
If you’re going to South Cerney we’ll see you there!
Attachments:
-
This reply was modified 3 years, 11 months ago by
-
AuthorPosts