Forum Replies Created
-
AuthorPosts
-
January 3, 2014 at 9:53 pm #4821
 darmic1Participant
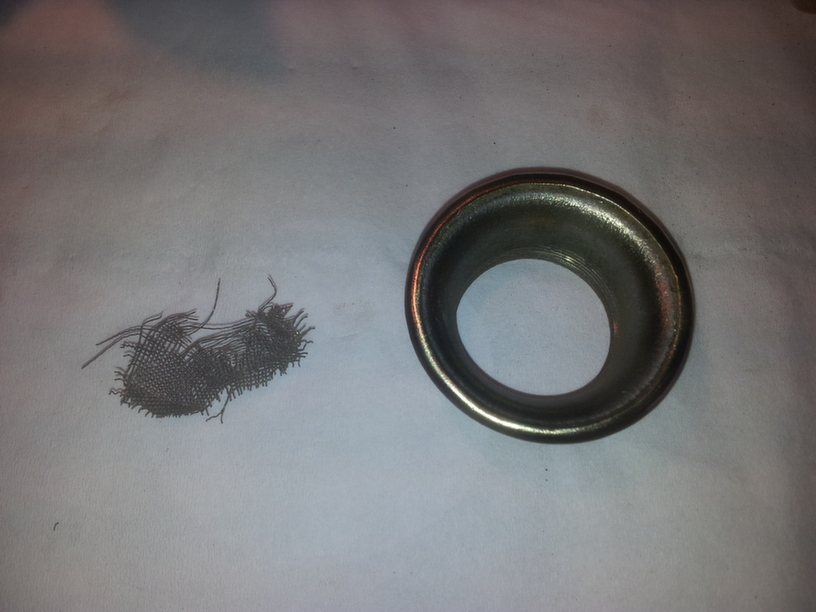
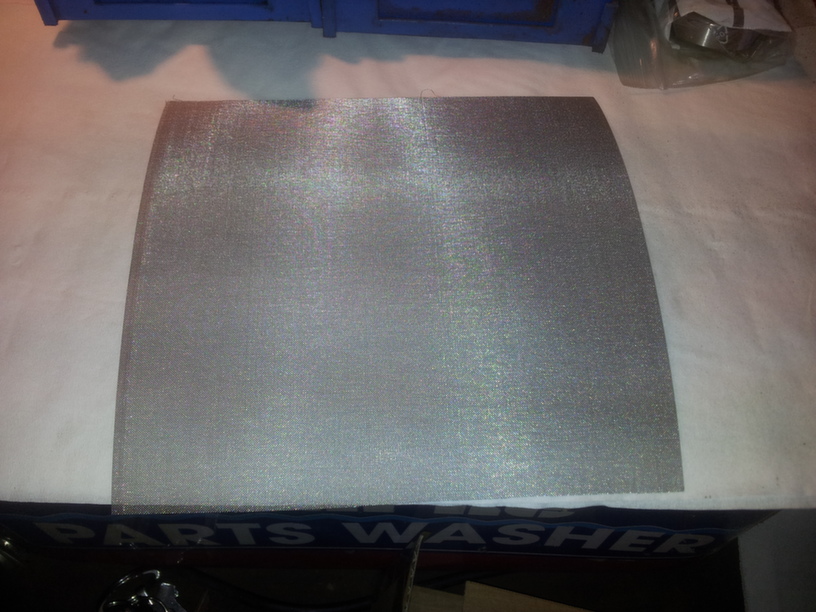
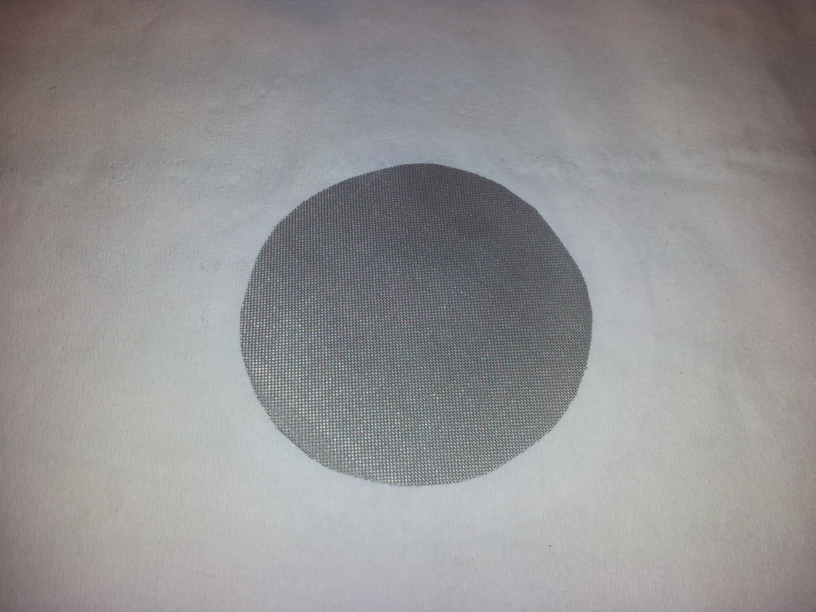
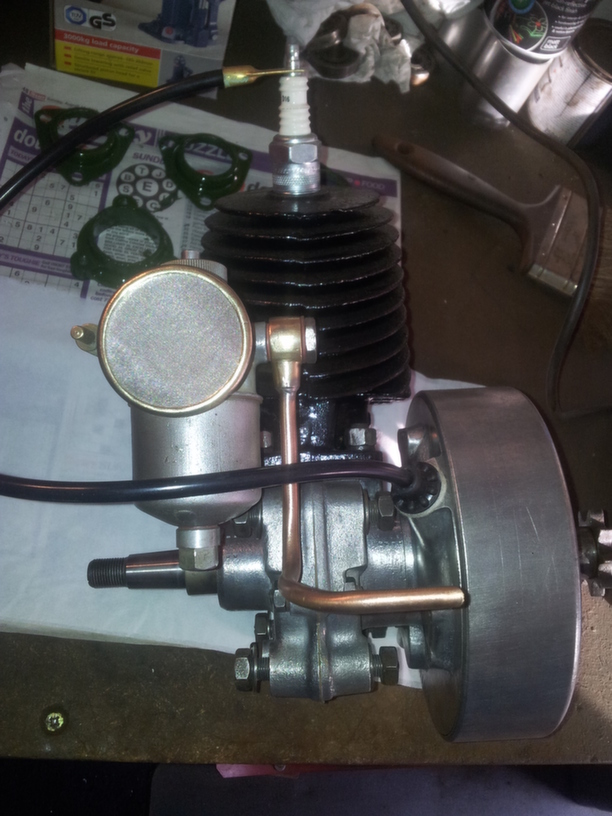
Replaced the damaged gauze air filter today. Used a very thin screwdriver to prise up the brass lip holding the gauze in place, then removed the old bit. Cut out the new piece from the sheet and placed in under the lip. Turned the piece over, so the gauze side was face down and tapped all around the back applying pressure all the time. Here are the pictures and it refitted to the carb.
Attachments:
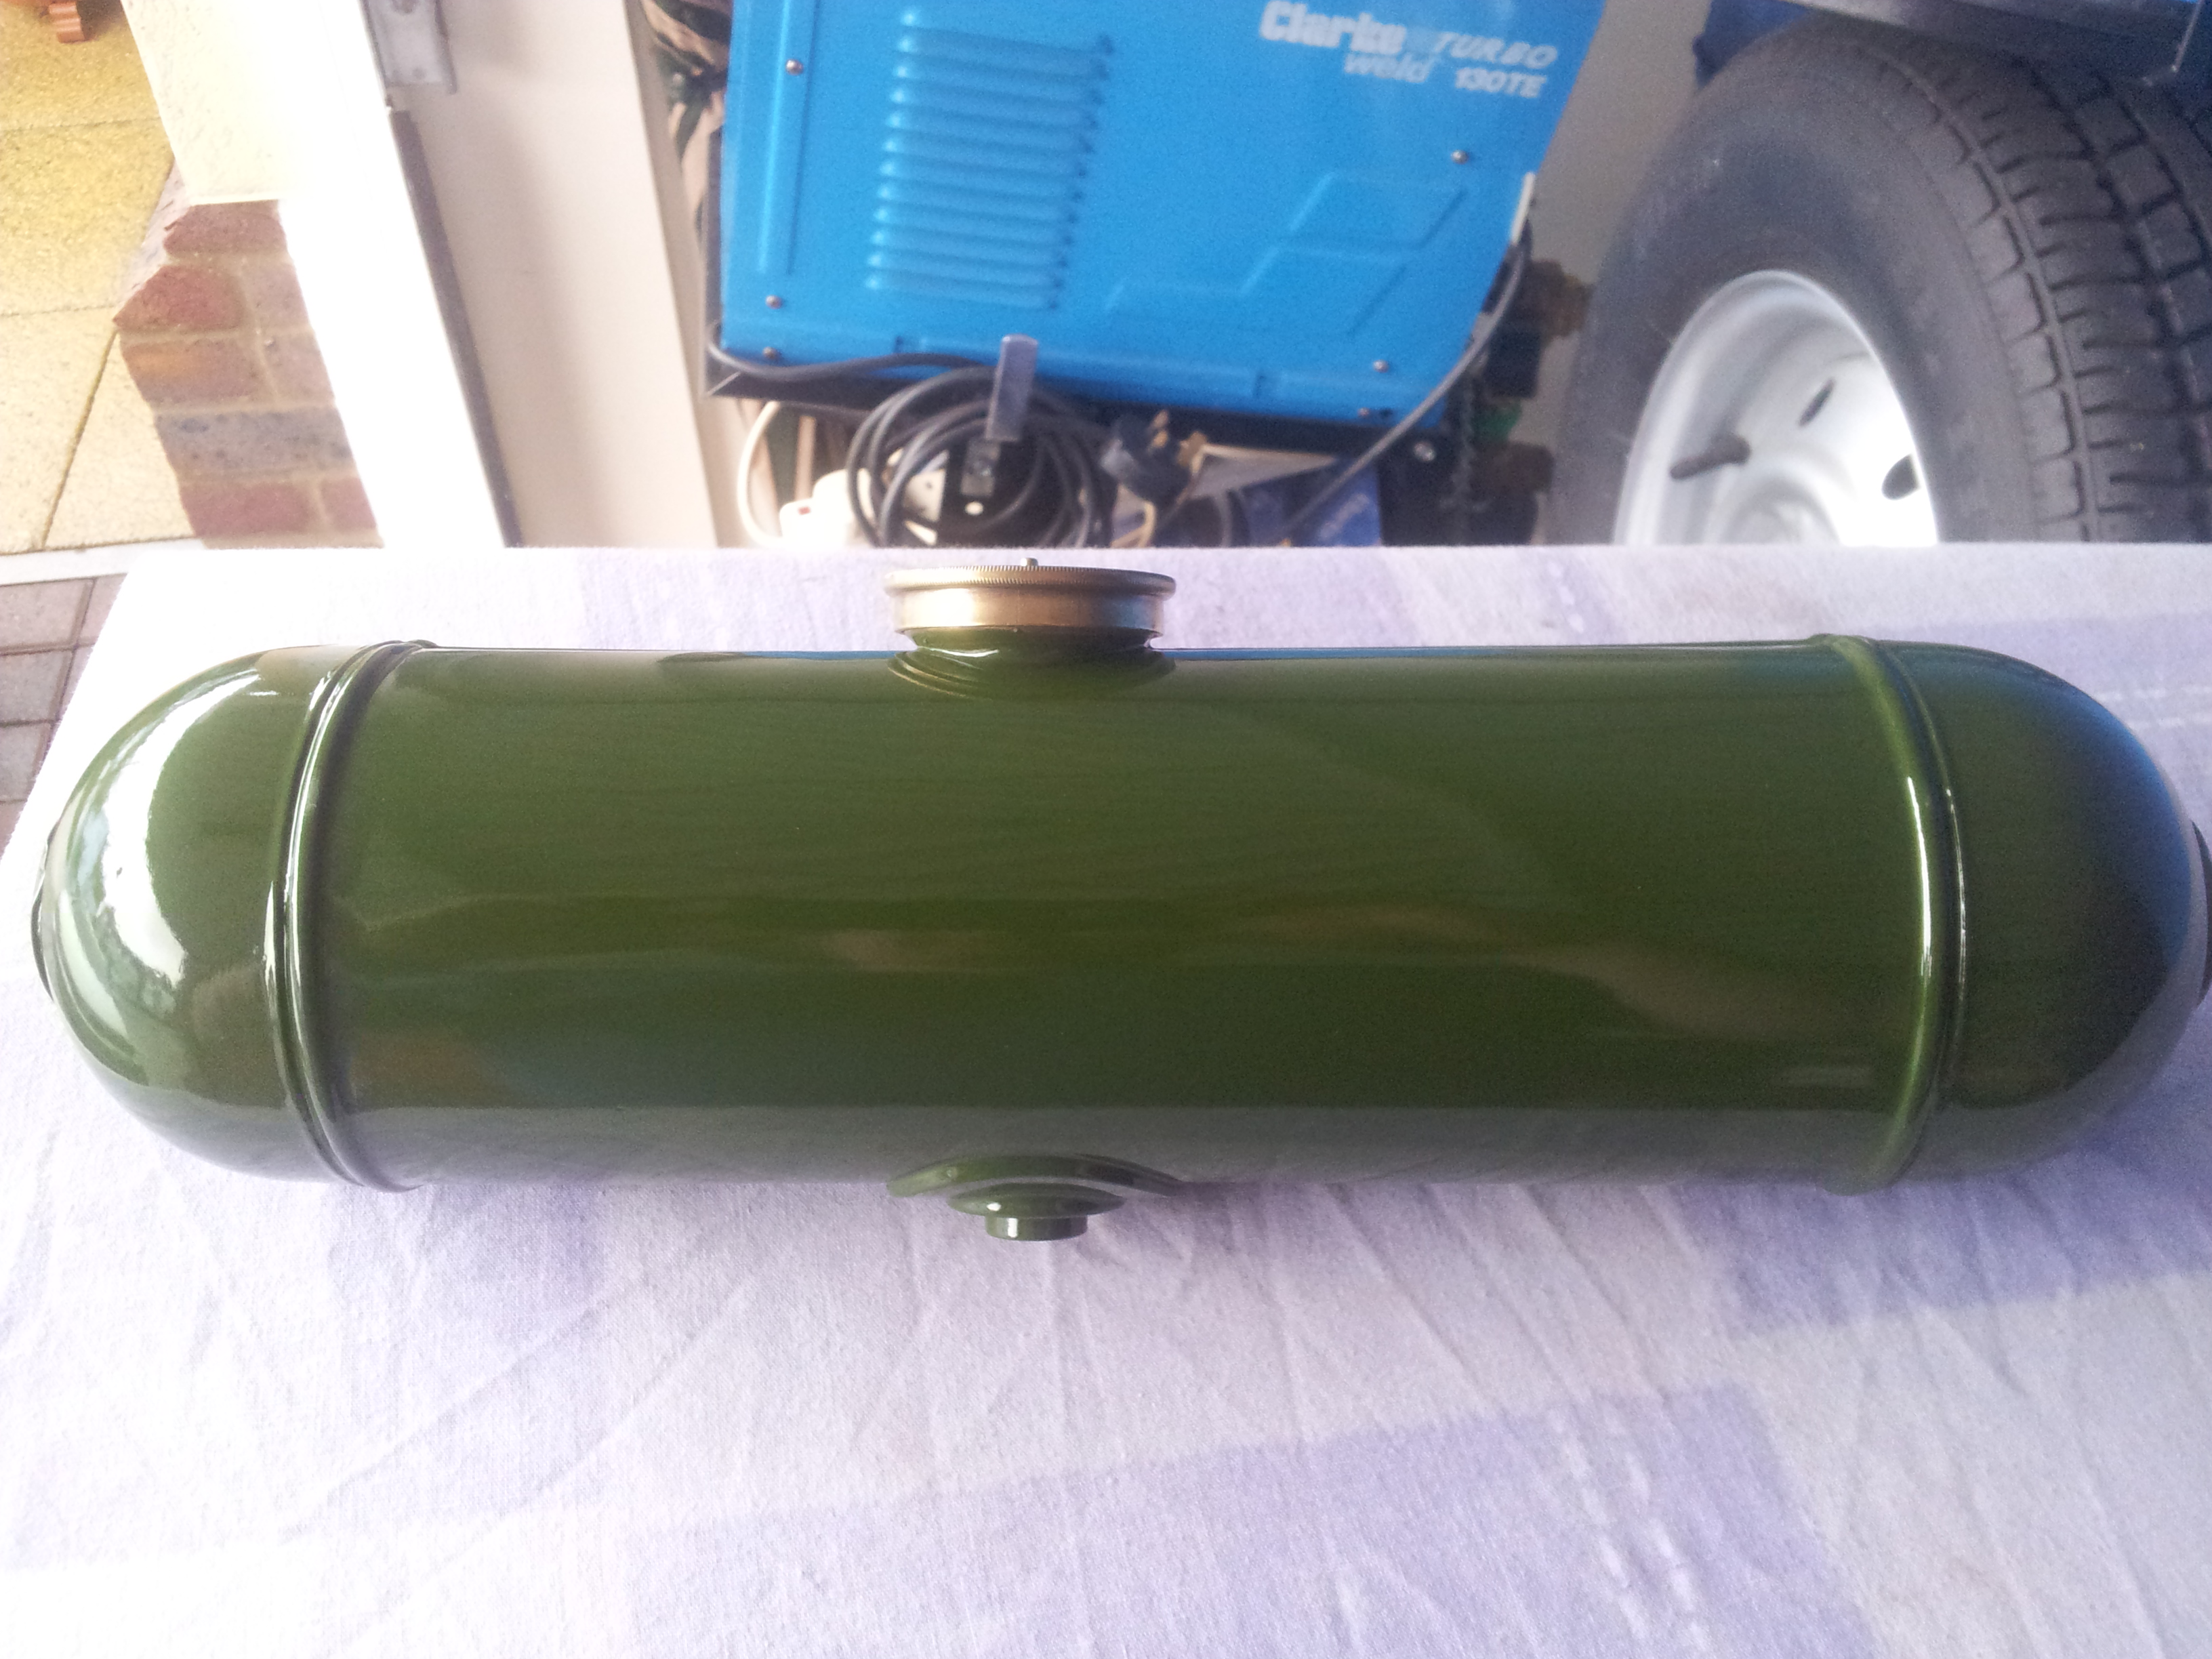
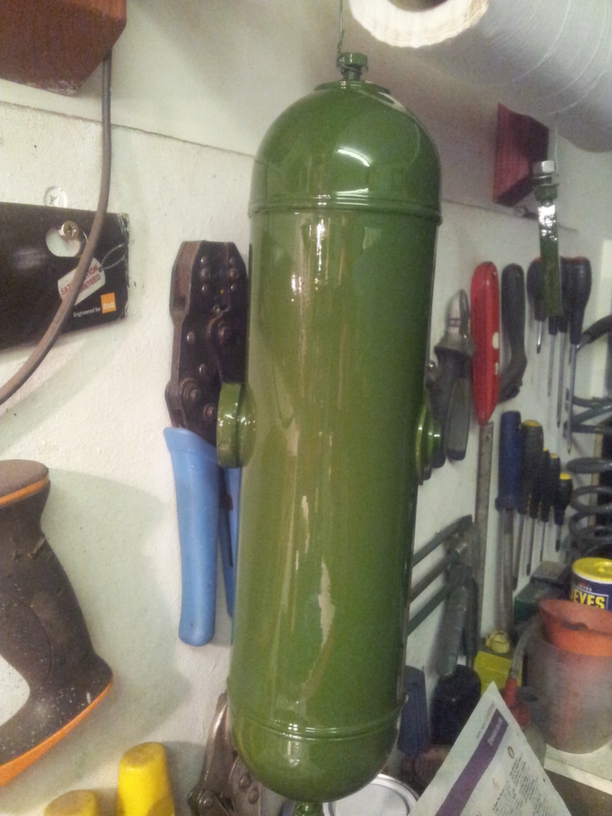
January 3, 2014 at 9:45 pm #4819darmic1ParticipantHere’s the tank in daylight…..
Attachments:
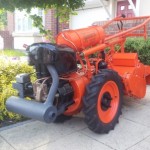
January 3, 2014 at 9:53 am #4783darmic1ParticipantWow! A homemade motor-cycle. Looks fun, wonder what sort of speed he gets from it? I notice the wrap on the exhaust but some sort of heat shield over that exhaust might be useful!
January 3, 2014 at 9:36 am #4778darmic1ParticipantIts a spray John, the same product I’ve always used, the 2 pack aerosol(iso free) Yep, have to agree, finding the right colour was a pain. But the guys I use, Automotive Paint Supplies, I’ve known for about 20 years. Been messing with cars for at least that long, friends n family who have minor knocks and scrapes, up to my brother wanting to paint his old white mk1 astra sri, purple……… always used these guys for auto refinishing products. Have never yet known them to not get a perfect match on a colour yet, no matter how old the paint. They supply all the local body shops with paint, panels, tools and consumeables too, Our old unit was next door to them and they were always flat out, busy!
January 3, 2014 at 12:10 am #4775darmic1ParticipantAnd the frame for the bottom blade…… A new blade and screws was ordered today too.
Attachments:
January 3, 2014 at 12:08 am #4772darmic1ParticipantThe fuel tank has come out really well, no signs at all of the 5 dents which were in it!
Attachments:
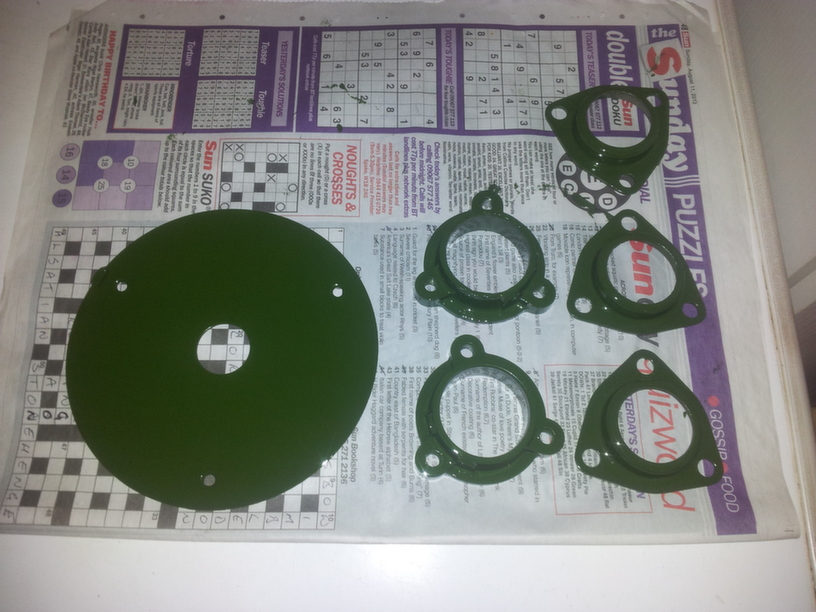
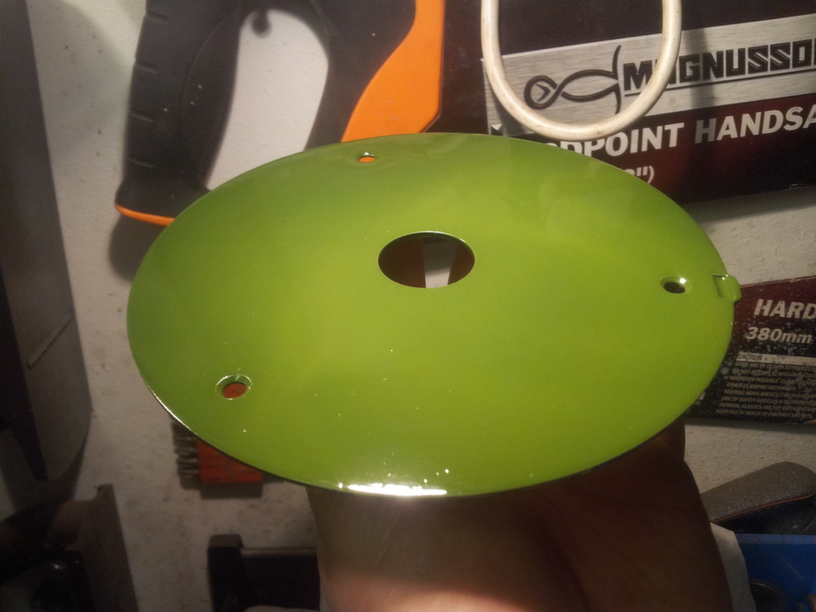
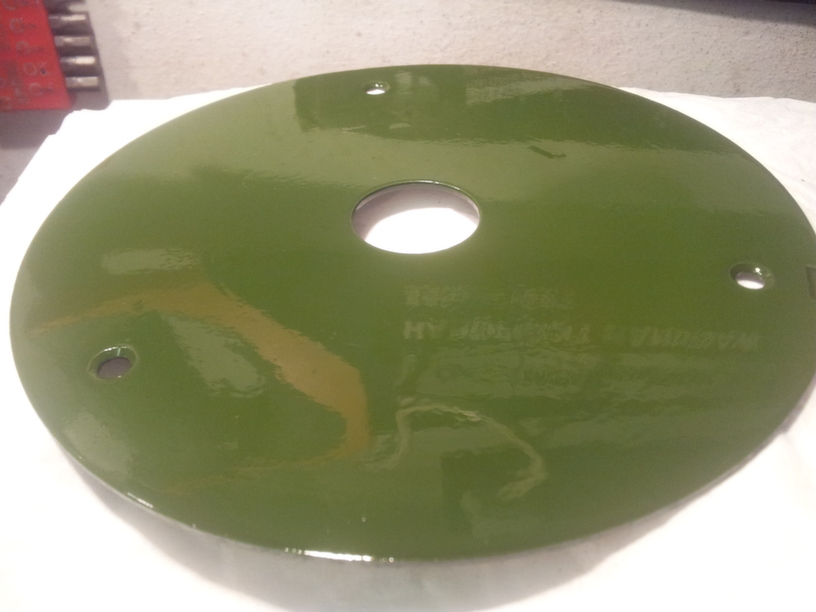
January 3, 2014 at 12:06 am #4770darmic1ParticipantSo I got some painting done this evening. The bearing carriers and the flywheel cover, I know this wouldn’t have been painted originally but it was quite badly scratched up.
Attachments:
January 3, 2014 at 12:00 am #4762darmic1ParticipantSome paint at last!!! Here’s the colour, under a spot lamp and normal lighting.
Attachments:
January 2, 2014 at 9:42 pm #4761darmic1Participant“Theanaliser” pfffft, snigger! Sorry, couldn’t help that. I did give them the NCS code of S5040G30Y, I also gave them the HSV,RGB and HEX codes, unfortunately as they are more automotive they dont use these IDs. However, they do use PPG paint matching equipment. The sample on the inner chain cover matched the BS 220 Olive colour. They mixed a small amount, applied it to a sample stick, dried it and put it next to the colour on the chain cover. To them and me its identical, the only difference was noticed under flourescent light. But that could be down to base material, primer colour and so on.
January 2, 2014 at 7:21 pm #4756darmic1ParticipantMake sure the pump is suitable for the solvent/paraffin based cleaners, if its the sealey or clarke it should be fine……You can mix paraffin and solvent based cleaners to make it a bit cheaper. I do 50/50 mix. Dont buy the water based parts wash solution, I have about 20 litres of the clarke stuff, not much good!
January 2, 2014 at 7:11 pm #4754darmic1ParticipantHave been to the paint suppliers today, taken the chain cover from the Atco with me. The paint on the inside is in really good condition. We T cut and polished a section of good paint, put it under both natural daylight and flourescent lights, We had both RAL and BS charts/chips, compared about 10 different close matches but the colour which matched perfectly under natural light is BS 220 Olive……….. There is a minute difference under flourescent light, but is barely noticeable. Hope this helps!
January 1, 2014 at 10:35 am #4698darmic1ParticipantAt the risk of upsetting one or two members here, not intended. I think that attitude stinks………. “if you want to know, join” !!!
What has happened here, where is the open arms welcome to OUR club???
I make no apology for saying it, but aren’t those sort of attitudes going to end up with the club losing members, making it seem clique-y, unwelcoming to prospective new members. I certainly wouldn’t join…. A bit like my experience at Tractor world 2 years ago, tried to say hi on the stand and was met with turned backs and continued conversation in huddles! If it hadnt been for Gareth, S1G, I probably would have said stuff it! On the subject of losing members, i’ve already noticed a significant drop in folk posting on this new site, but thats something else…..
It seems that anyone dare question, suggest or even offer an opinion gets shot down with pointy comments, stonewall silence or the threat of being removed…..
All I amm trying to say is we should be promoting this hobby, interest, way of life for some, preserving the past for future generations…… not building barriers, shutting doors and turning folk away. Continue this way and there is no future here. Change happens, things do need to move on, the next generation of members dont want to be restricted to waiting for the quarterly publication, which hasnt always arrived, they want electronic access, instant, fast, efficient…… A bit like when digging by hand moved on to mechanised cultivation……. come on guys, please?
EDIT
Ooops forgot…. Happy new year too!December 31, 2013 at 9:33 am #4663darmic1ParticipantRe the bolts, I think a certain Mr Frank ‘n’ Stein will losing his head, wondering where they went! Or he could be getting it in the neck from someone…… Taxi!
PS, looking good!
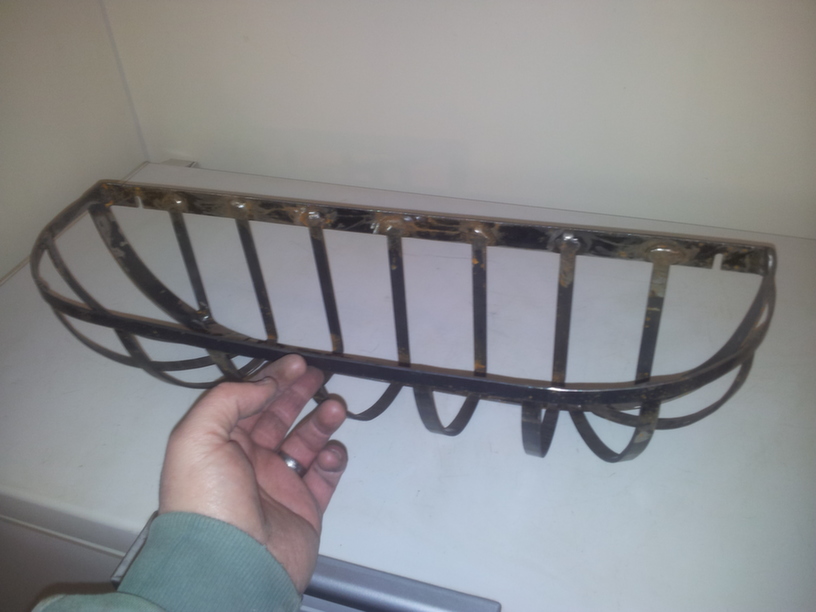
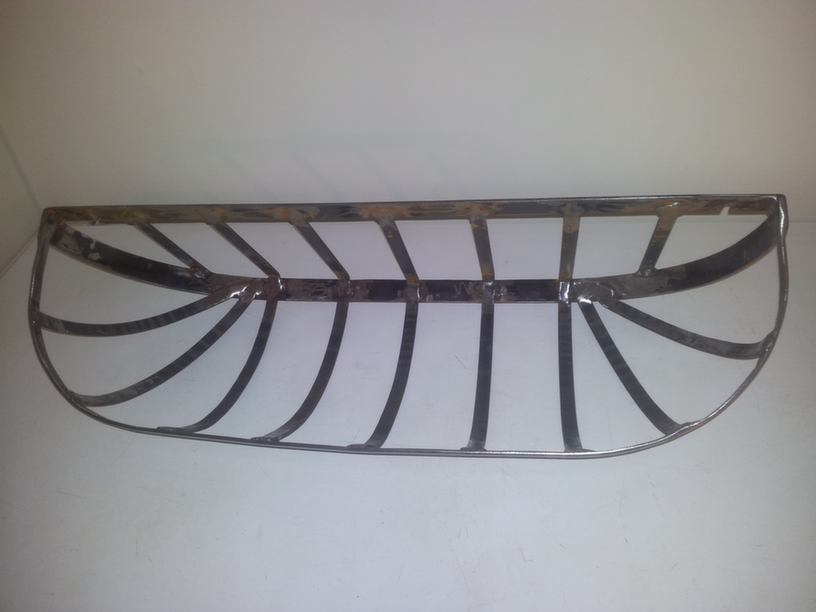
December 30, 2013 at 11:49 pm #4653darmic1ParticipantWas then side tracked by another project. Not strictly horticultural, but will be in the garden next year……. We’ve had some Baskets/Planters on the fence for the last 5 years, this year whilst emptying the compost and liners they kind of fell apart, rusted away completely. I’ve kept one as a template and quite a few weeks ago bought the steel to remake them. Its been cut and just sitting in the garage for a month. Today I finally got to weld one together, the other 2 are ready to go, when I get a dry day. Here’s the 1st of 3. Once finished they will be blasted and powder coated black.
Attachments:
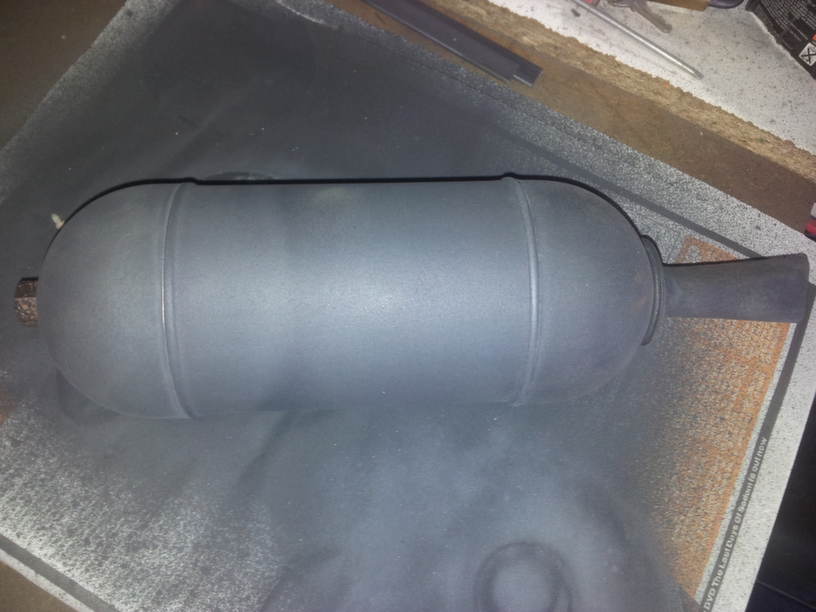
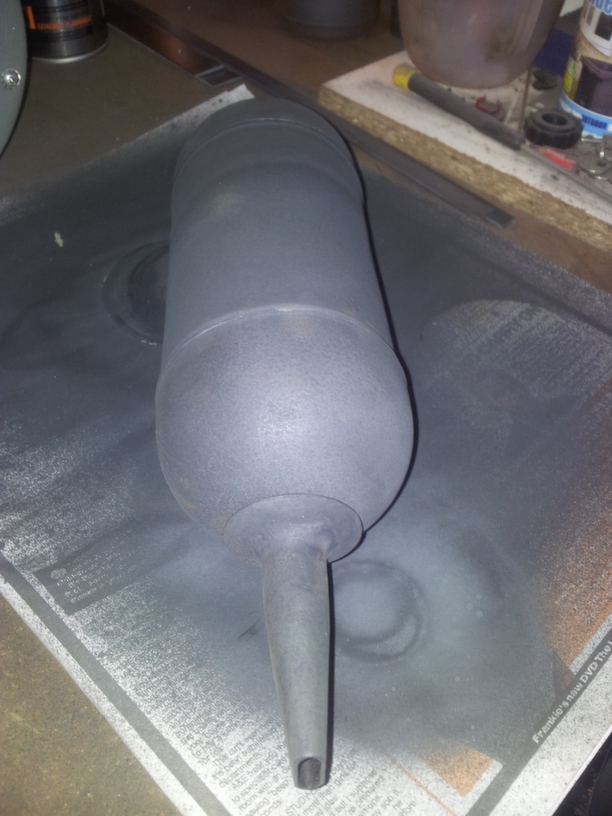
December 30, 2013 at 11:41 pm #4650darmic1ParticipantThe exhaust got a bit of attention today. Rubbed down using a 180 grit paper, then a finer 240 grit before several coats of high temperature paint, the same as used on the Gem exhaust.
Attachments:
-
AuthorPosts