Home › Forums › The Main Forum Area › Projects › ATCO Groundsman 28 inch mower.
- This topic has 111 replies, 10 voices, and was last updated 12 years, 5 months ago by
 vhgmcbuddy.
-
AuthorPosts
-
December 27, 2013 at 9:21 am #4559
 vhgmcbuddyMember
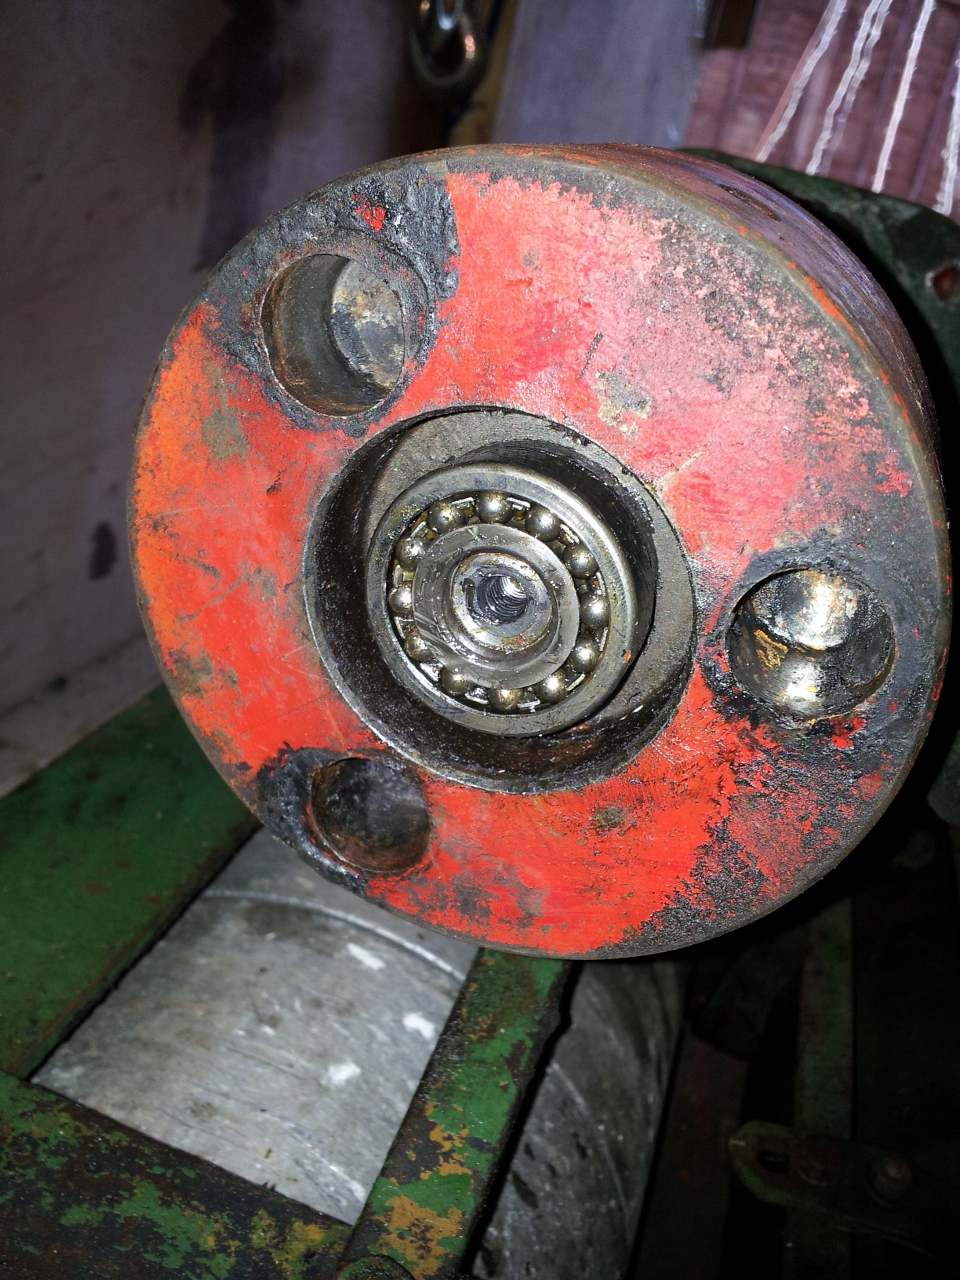
This is the object under investigation Angus. the small protruding cyclinder,at rear right lower corner. looks important but whats its job ?
Attachments:
December 27, 2013 at 9:33 am #4562 wristpinParticipant
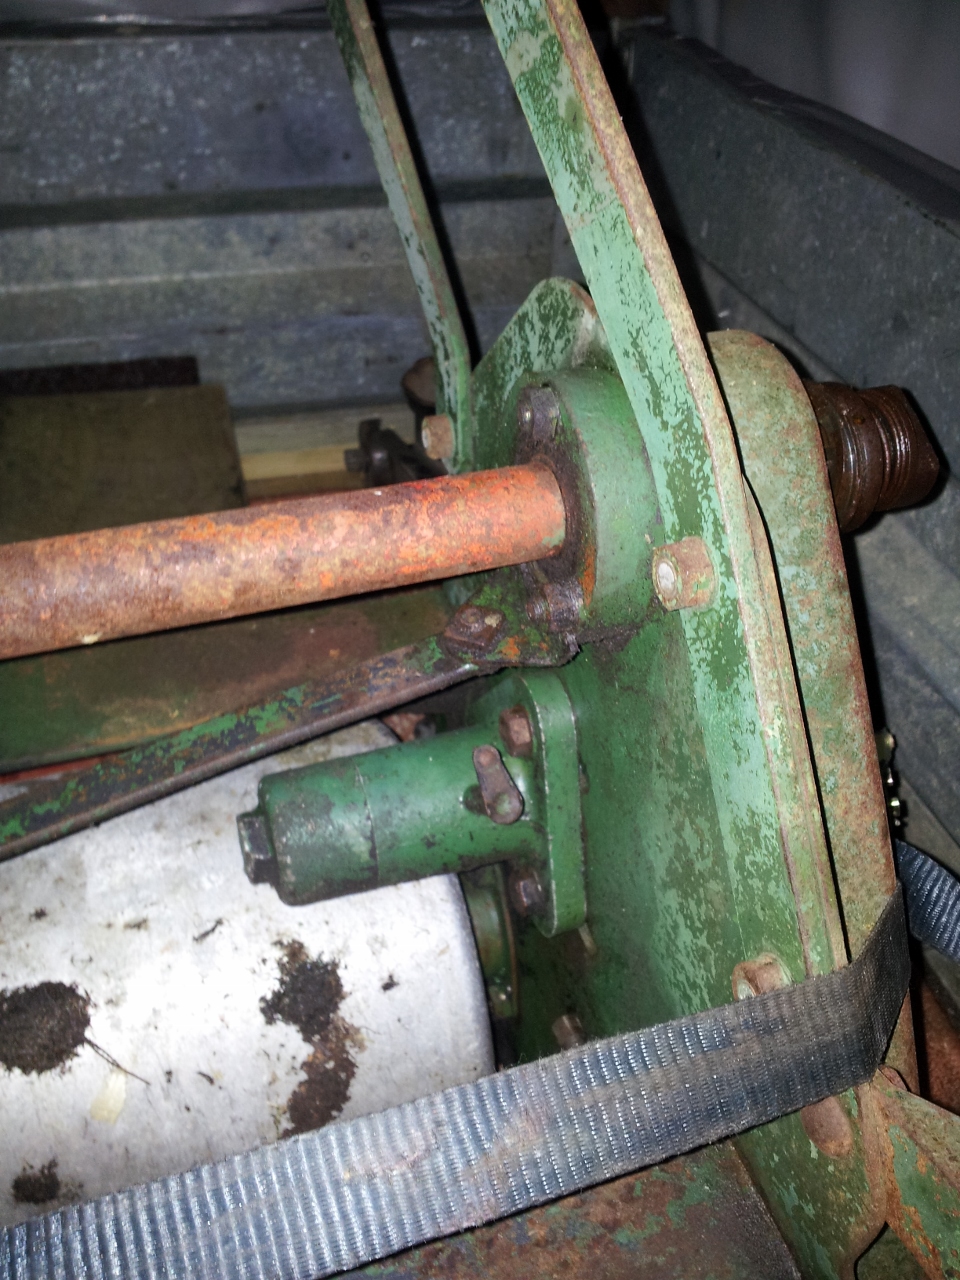
Ah, just the support bearing for the sprocket on the other side.
Page 11 in the parts list.December 27, 2013 at 9:42 am #4564vhgmcbuddyMemberAhh Har ! that looks like it does more than that ,but little mystery solved,thanks Angus. have not yet looked in the cover or it would have solved its self in time. going back to the shed demolition to get her under cover,i may be able to get it in if I remove grass box and the brackets which hold it in position on the main chassis.
Attachments:
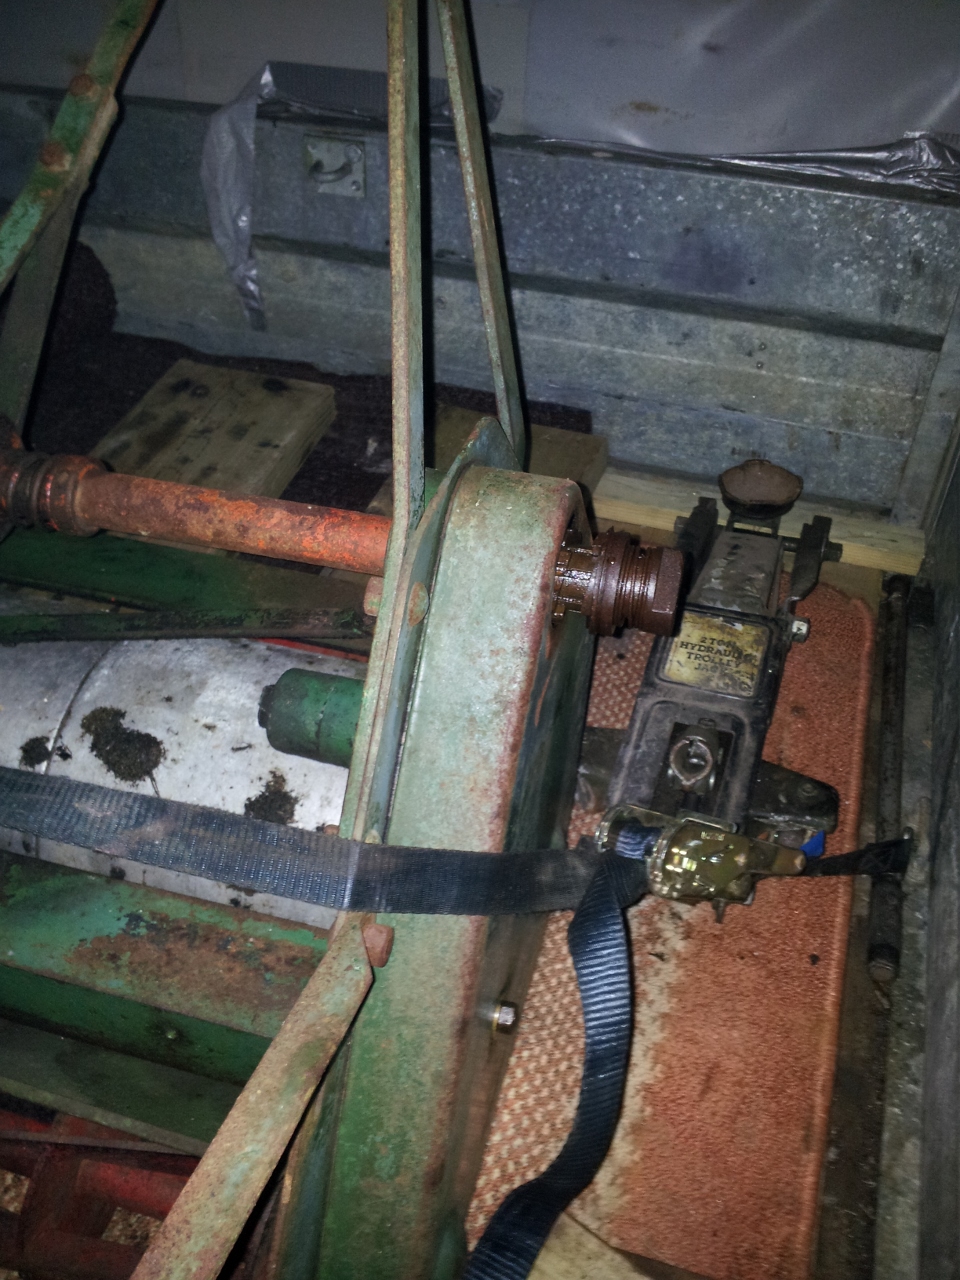
December 27, 2013 at 1:59 pm #4567vhgmcbuddyMemberStrip down in rapid progress,and have now come to a halt on the clutch assembly. have looked at the parts list which I was sent yesterday,and as yet have not got it off. could be seized in the engauged position but just wanted to ask if I heat up the outer casing to expand it from the inner unit would any harm be done from inside the clutch unit ?
Attachments:
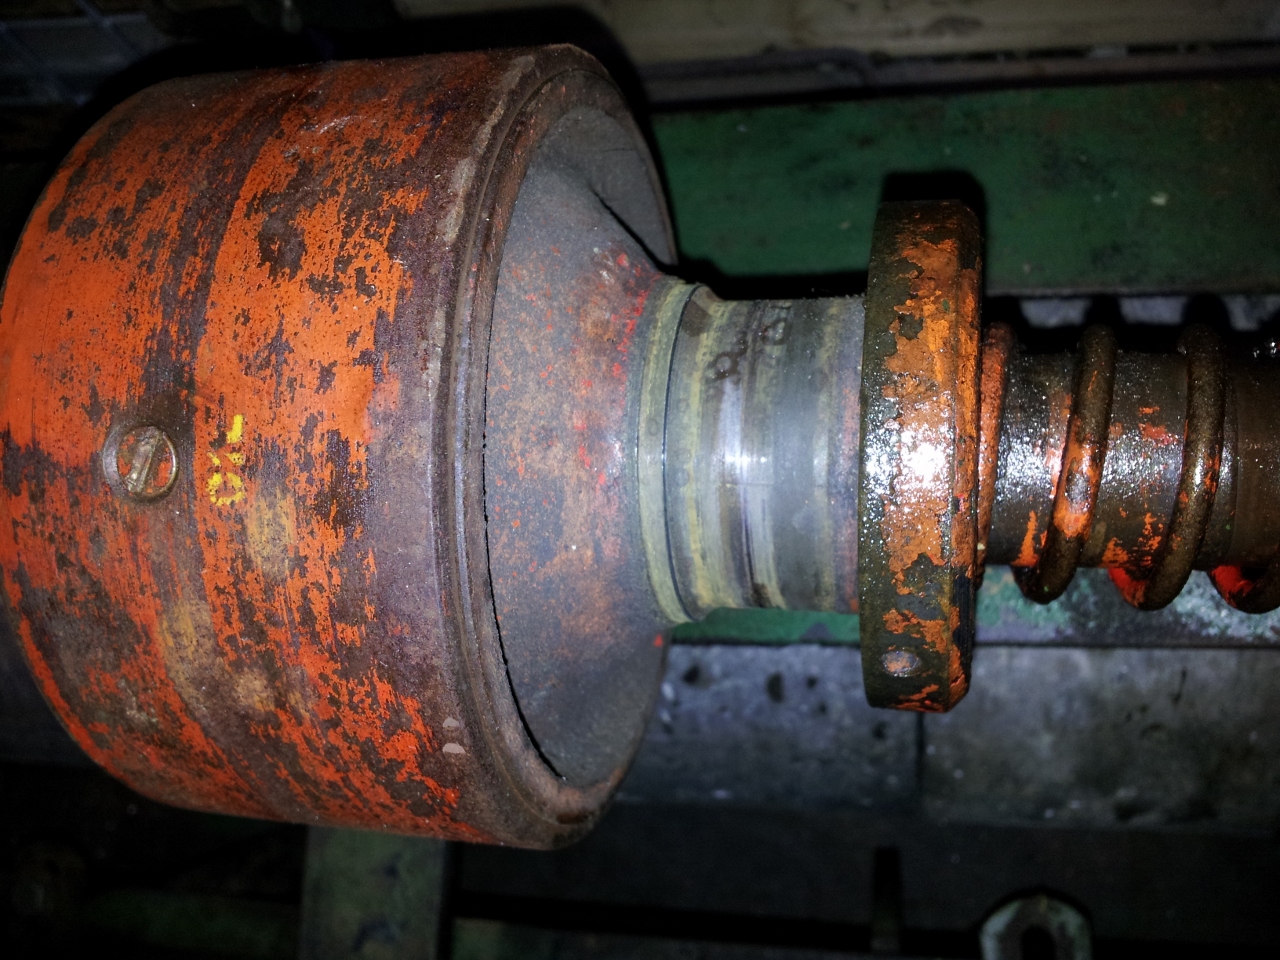
December 28, 2013 at 2:52 pm #4582vhgmcbuddyMemberGot the little blighter at last ! a few delicate squirts of WD and a small loving tap or two from the Mash Hammer and I now have it parted. Thought it was not going to play ball,but persistence won the day. this now gives me the chance to start rubbing down with the fine flap wheel which I can recommend to beginers.
December 29, 2013 at 2:50 pm #4614vhgmcbuddyMemberRubbing down has started, and who ever touched it up last wants a touch of birch ! They have used a paint which has caused a reaction with the original cellulose and the whole machine will need paint stripper to remove it. More Expense thumbs permanently down well have started so off we go. this is going to keep me going quite a while now.
December 29, 2013 at 11:27 pm #4615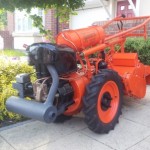 darmic1Participant
Oh dear, well at least it will keep you out of mischief! Out of interest, which paint stripper do you use? I used that useless new formula Nitromors on the Bantam. was as much use as a chocolate fireguard! Ended up using flap wheel for paint removal…….
December 30, 2013 at 6:40 am #4621vhgmcbuddyMemberWhen we moved into the house we still live in there was 8 radiators to strip,this was 11 years back and I bought 2 gallons of the old nitromors in the green metal tins. I still have under half a gallon so I use this only on parts which the flap wheel wont reach. There has been some debate this year on this subject and Series 1 gem was looking into other options,not sure what happened,he may be worth a PM.
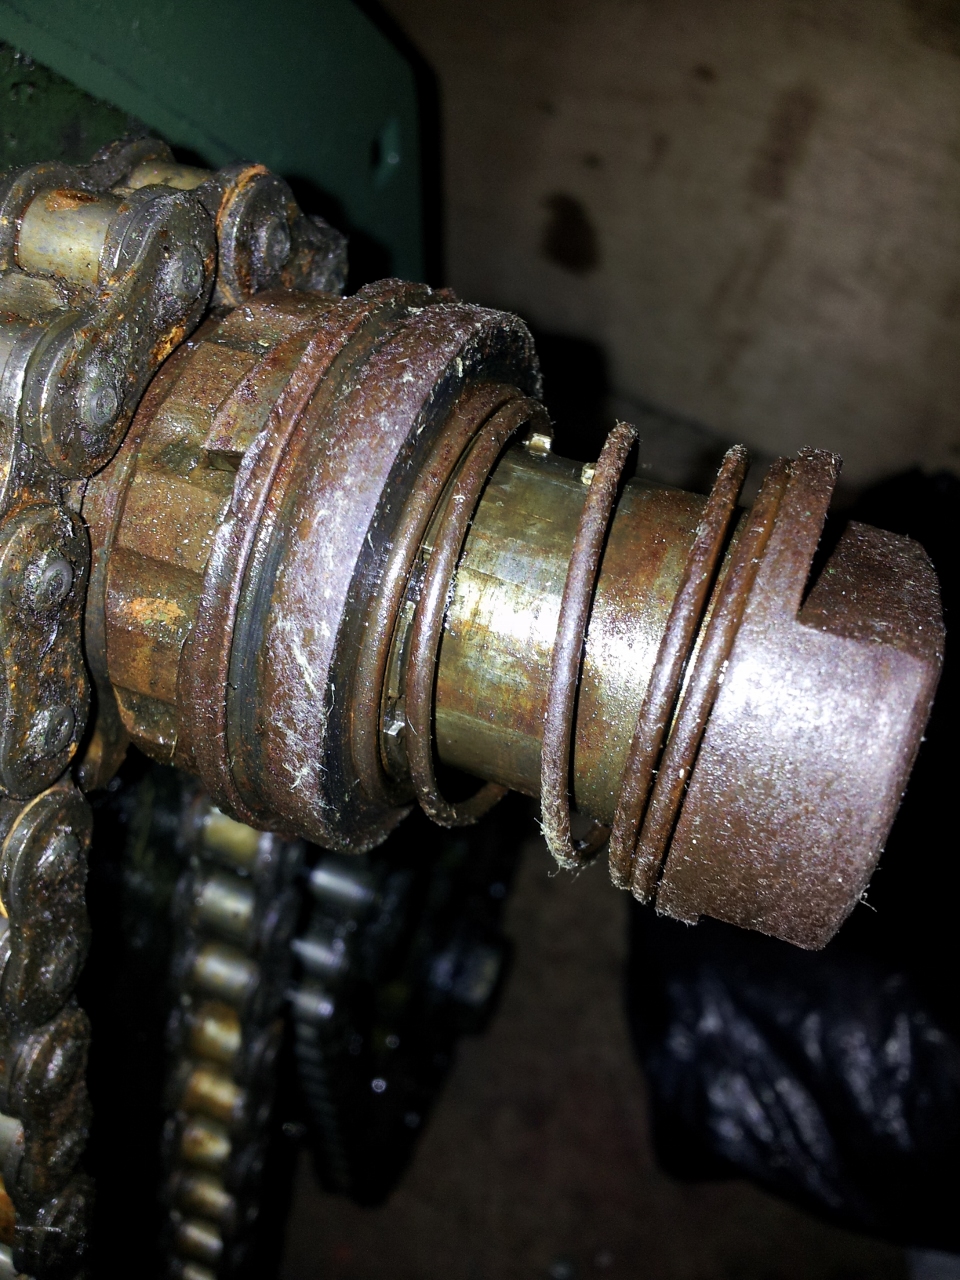
December 30, 2013 at 9:22 am #4623vhgmcbuddyMemberDuring strip down of the drive actuator,have discovered from an old photo that this tubeular piece which you pull and twist has gone missing. most Atco’s have it but I don’t. Has anyone got a spare or is it a case of fabricate another bit. the inside diameter is 46 mm,and I am not sure how thick the sidewall is but I know if its to thick it will foul on the chaincase.
Also a couple of snaps of the chaincase and tank.
Attachments:
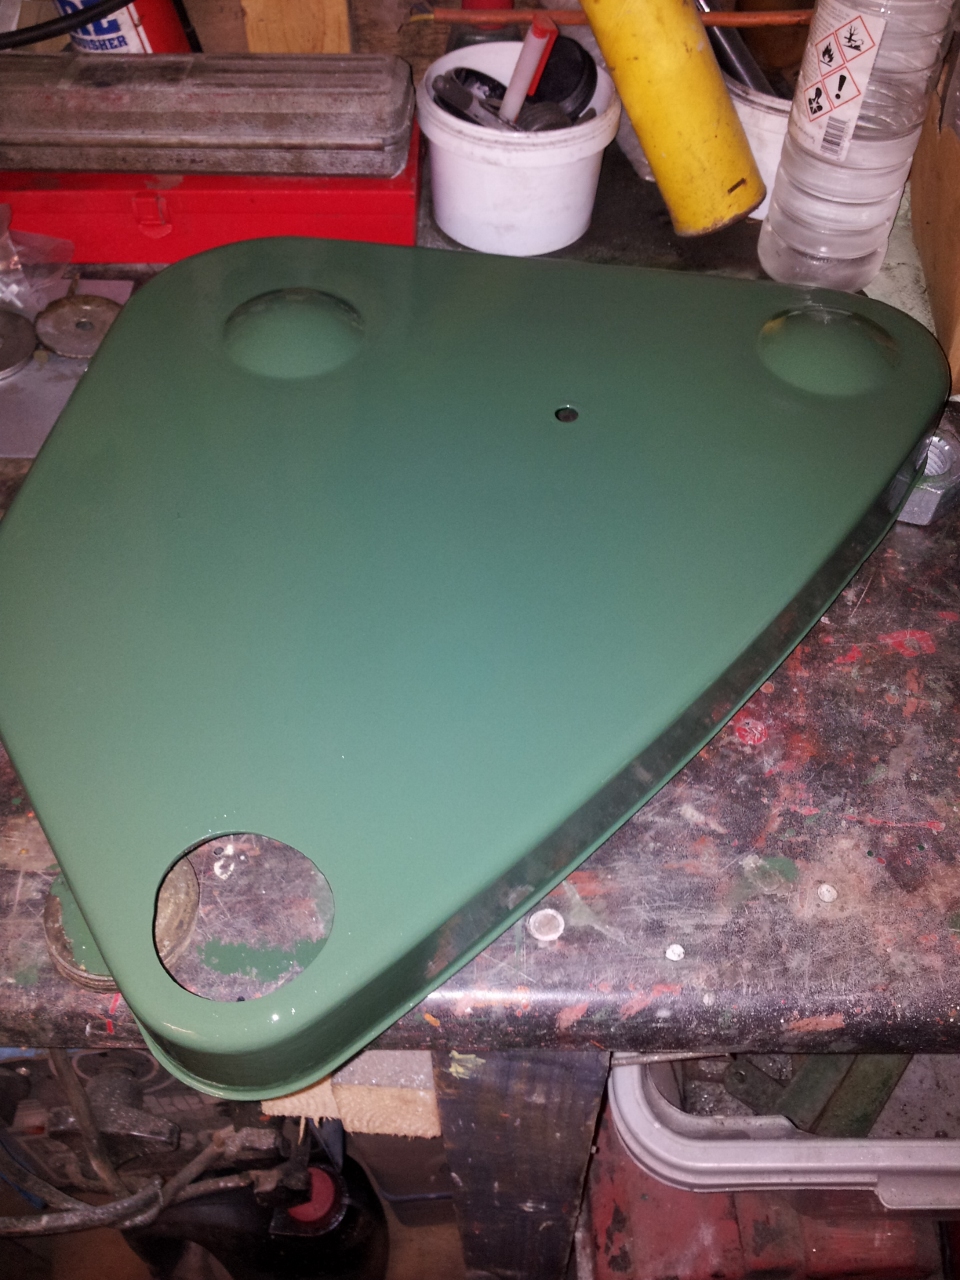
December 30, 2013 at 9:40 am #4627darmic1ParticipantMorning John, is that paint applied with a brush? If so, then you have a damn good hand with a brush. Tried before with a brush but it always looks a brushed finish, even rubbing back between coats and thinning final top coat…….
December 30, 2013 at 9:57 am #4628vhgmcbuddyMemberyes Darren its brushed on ,and most of my restorations are the same barring the barford atom. expensive brush though but the combination of paint and brush make the job quite easy,the secret is don’t stop once you start an object until completed.
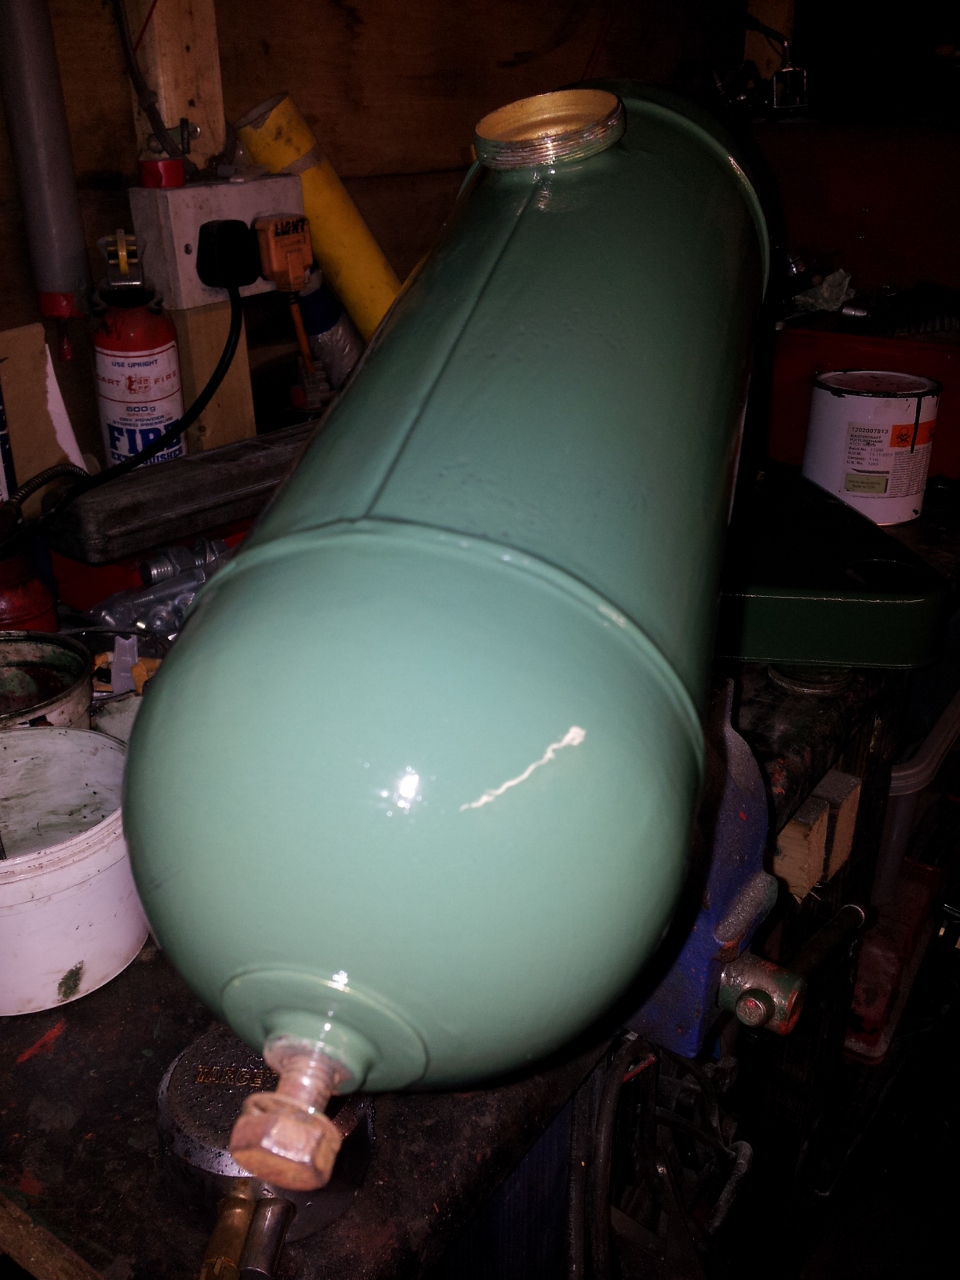
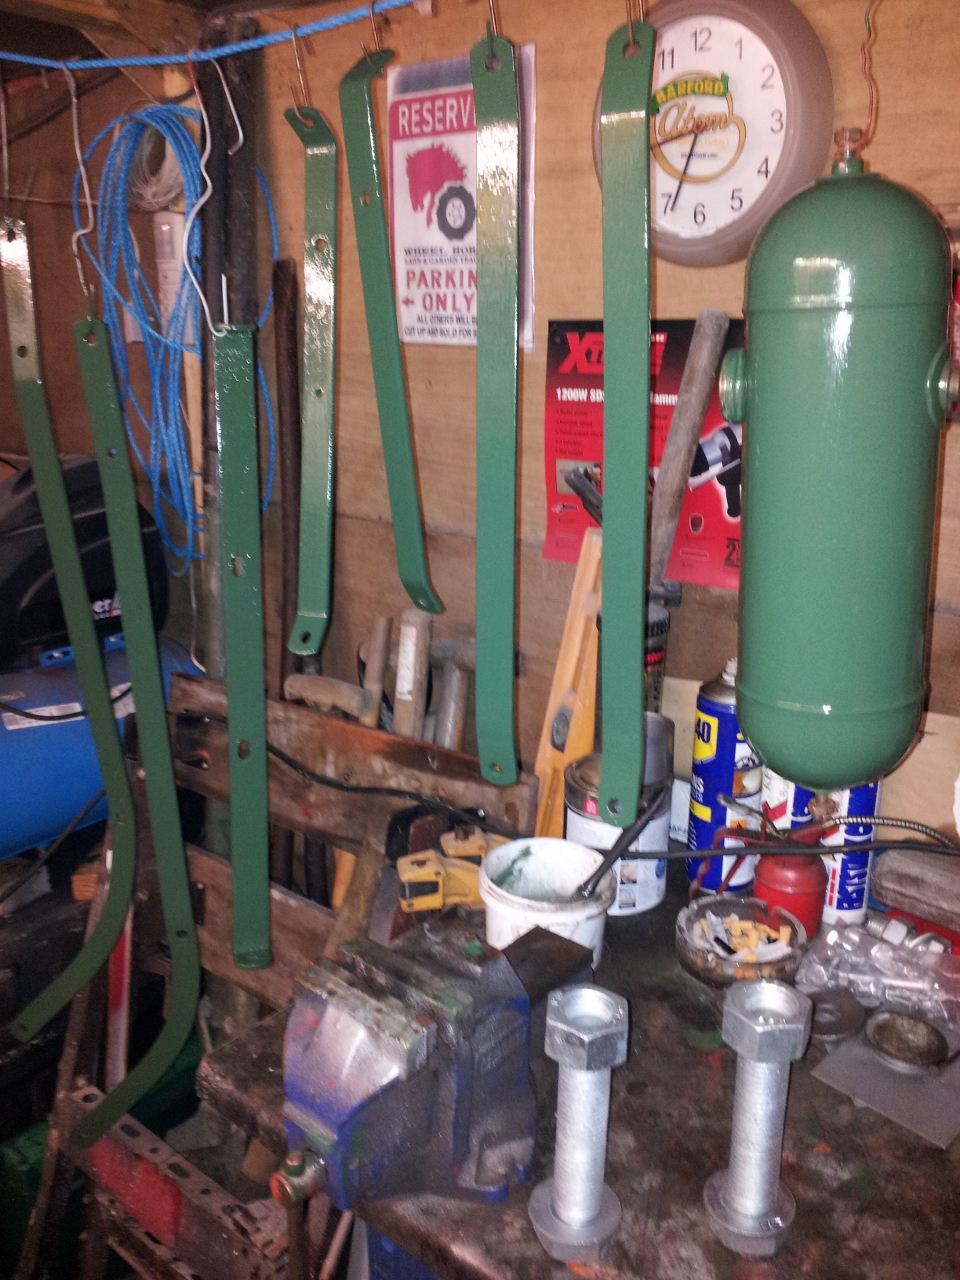
December 31, 2013 at 8:02 am #4658vhgmcbuddyMemberHandle bars and stays as well as the tank bracket have been stripped and painted and I must say they do look well. have had a look at the original tank bolts and not sure if they can take another 60 years. I have some bolts here see bottom right of photo,do you think they are up to it ???
Attachments:
December 31, 2013 at 9:33 am #4663darmic1ParticipantRe the bolts, I think a certain Mr Frank ‘n’ Stein will losing his head, wondering where they went! Or he could be getting it in the neck from someone…… Taxi!
PS, looking good!
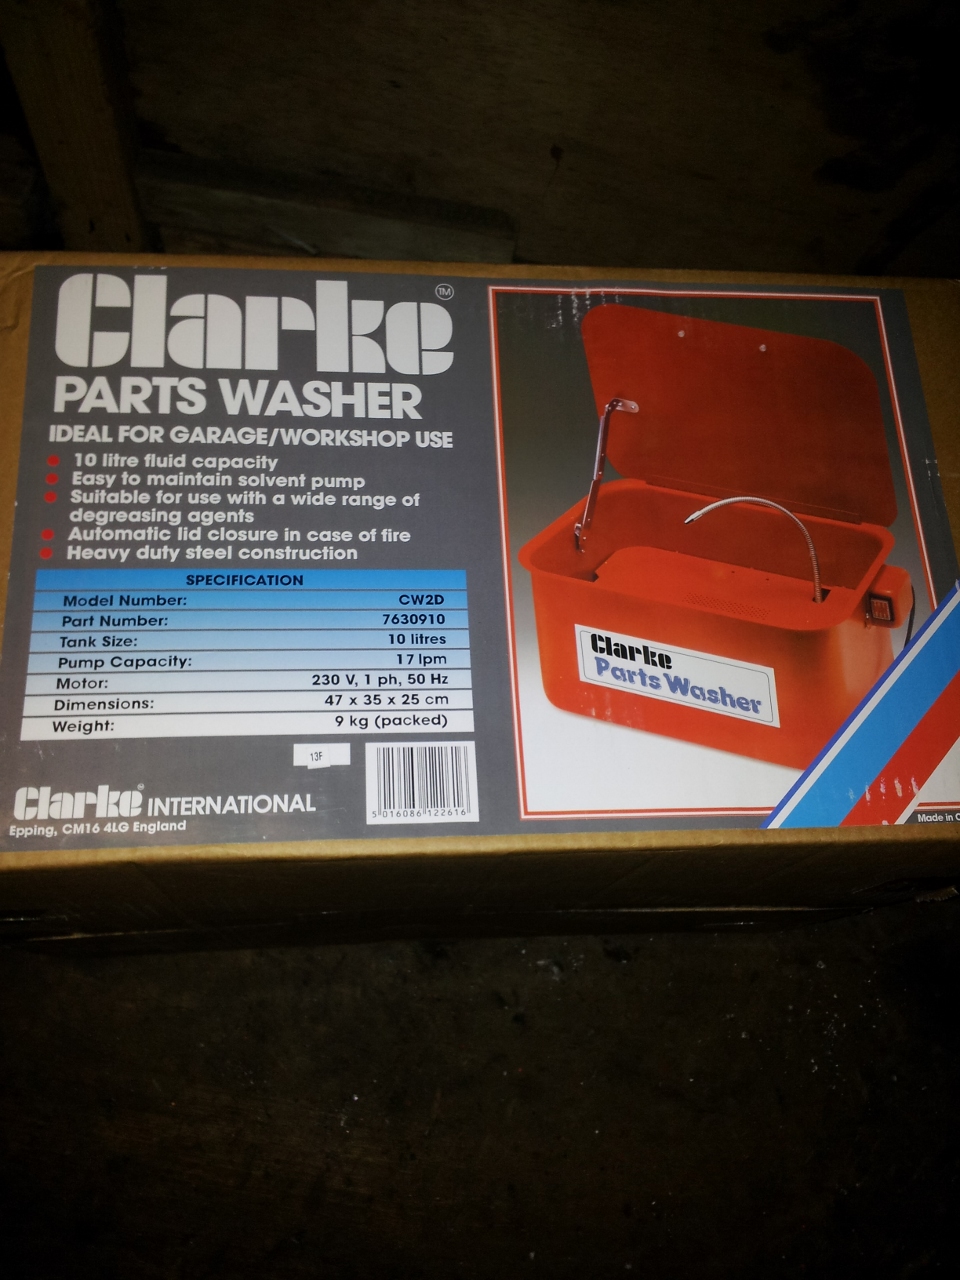
January 2, 2014 at 3:28 pm #4732vhgmcbuddyMemberMore progress on the machine today,its been a bit slow lately due to the Christmas break but now I am getting back into it. Don’t like to make out that I don’t like xmas but its nice when visitors have gone home and you can get back to normality i.e. you can get your favourite seat back and you don’t need to watch your p’s and q’s when aunt fannys about. So also went to santa’s warehouse this afternoon and collected the present which Bristol Boy bought. Very nice and now I can make a better job when restoring. But as the wife commented,as they do………why have you got that you said that your not restoring any more machines,but after a micro second I replied it will come in handy when the ones I have go wrong. quick thinking Simar Kid YES !
Attachments:
January 2, 2014 at 5:22 pm #4743vhgmcbuddyMemberif thats a parts washer you have bought there john, you will get more ear ache ive got one and it stinks you get a little bit on you clothes and she wont let you in the house till you have stripped down to your sciddies 😀
-
AuthorPosts


- You must be logged in to reply to this topic.