Forum Replies Created
-
AuthorPosts
-
November 11, 2013 at 11:03 pm #2910
 darmic1Participant
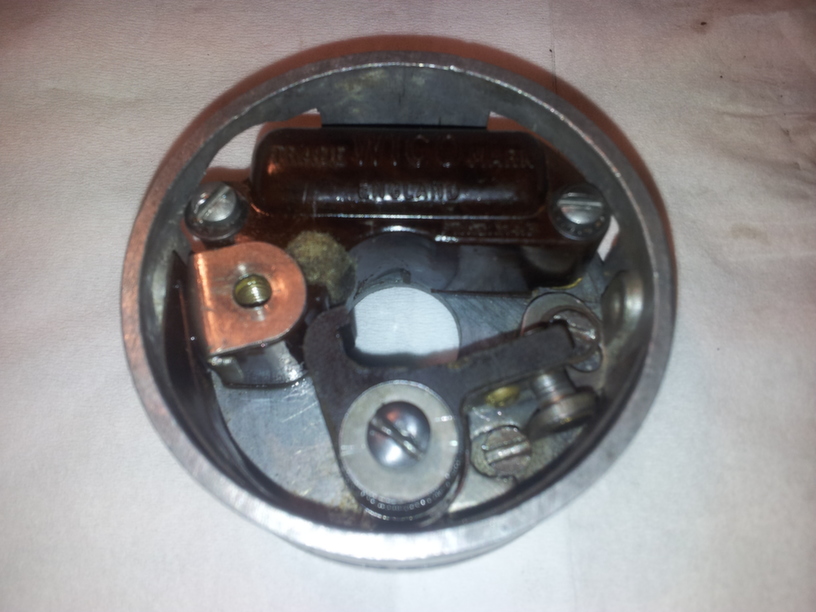
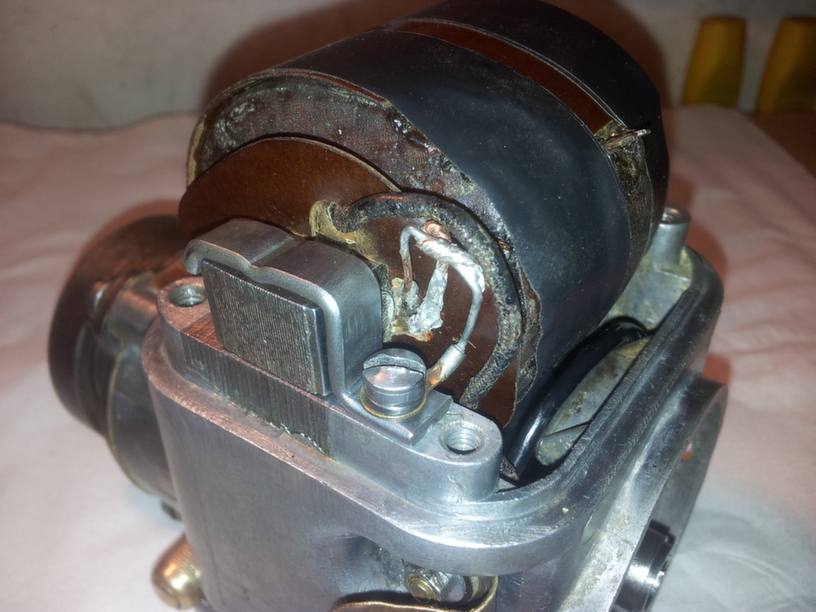
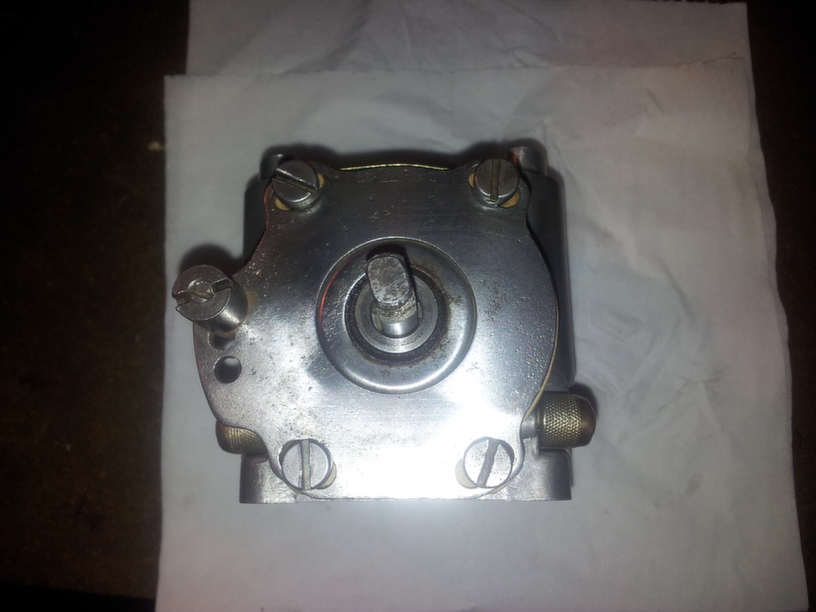
Now comes the Breaker assembly housing. Its easier to fit the points and condenser into the housing before putting the housing into the magneto body.
Attachments:
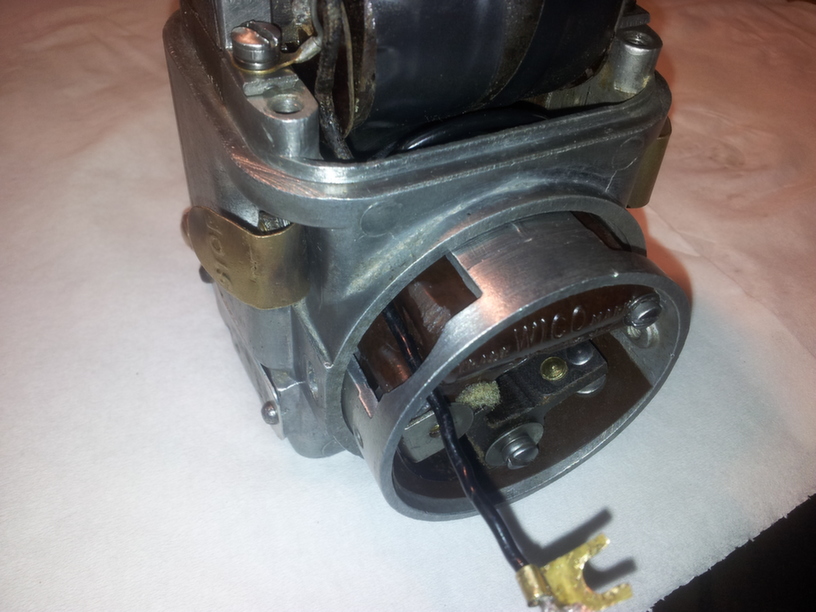
November 11, 2013 at 10:53 pm #2904darmic1ParticipantAt this point the coil can be refitted, the coil has a wire which goes to one of the stop buttons. Make sure this wire doesn’t touch the outer casing or the coil will earth.
Attachments:
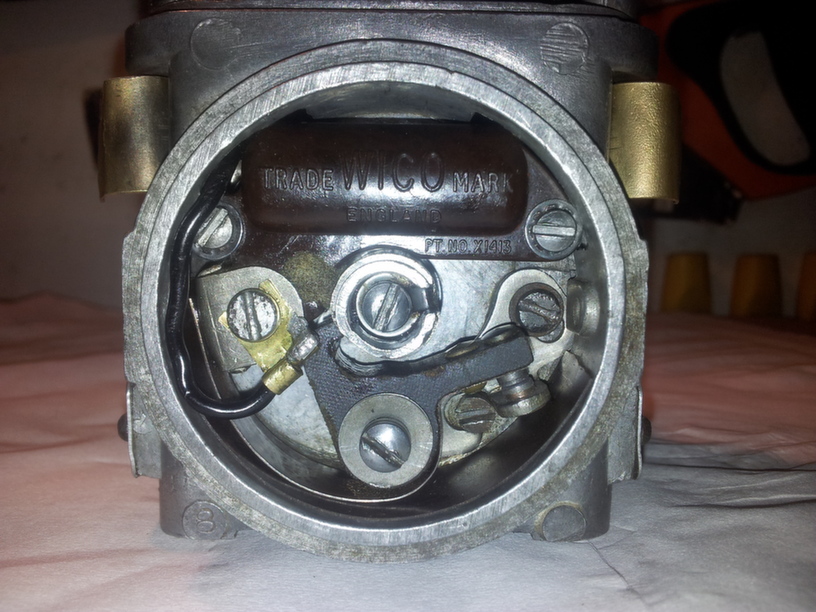
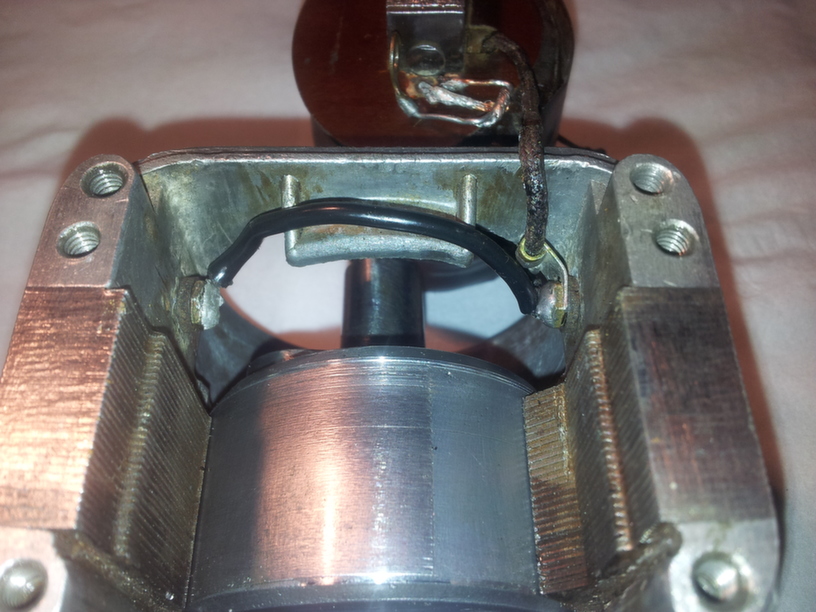
November 11, 2013 at 10:41 pm #2896darmic1ParticipantNext comes the internal wiring, Ground stud group and Stop buttons. pay particular attention to the correct sequence of insulating washers. Each stop button has 5 insulating washers, a flat steel washer and a small nut!
Attachments:
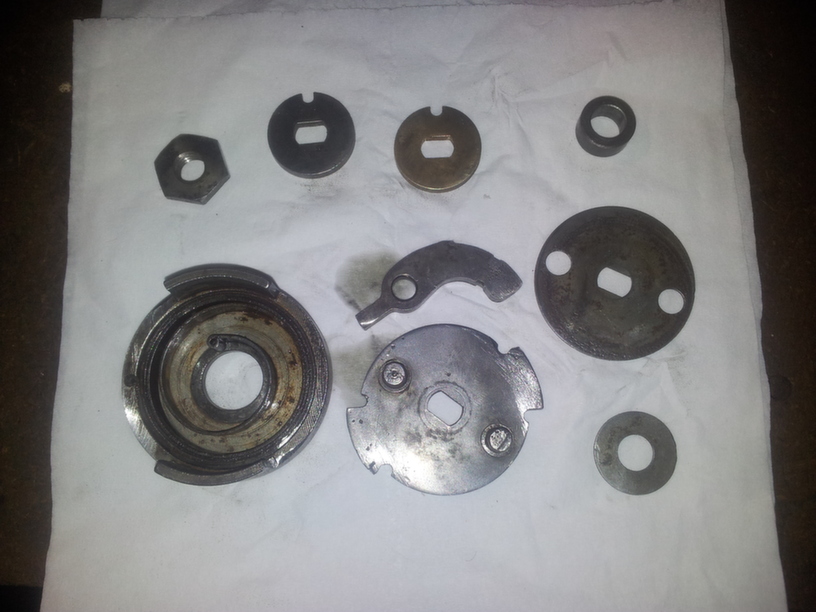
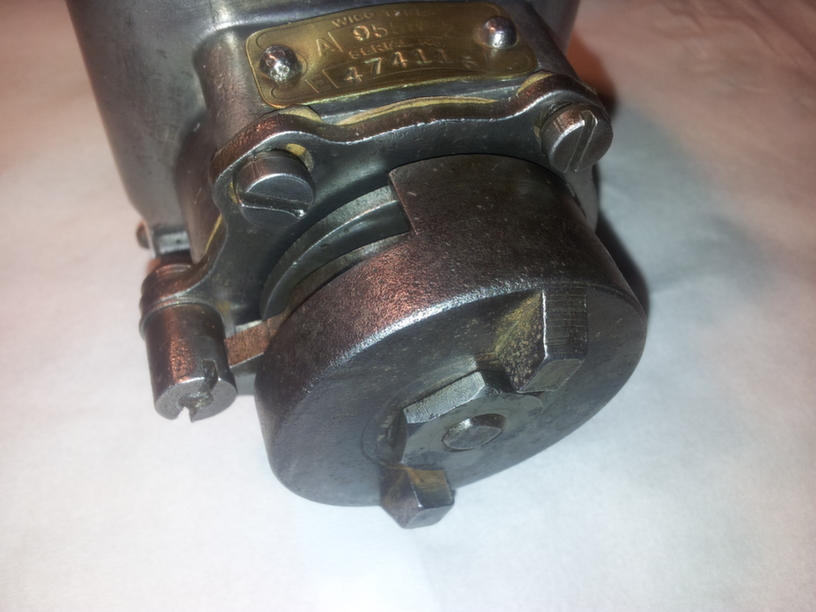
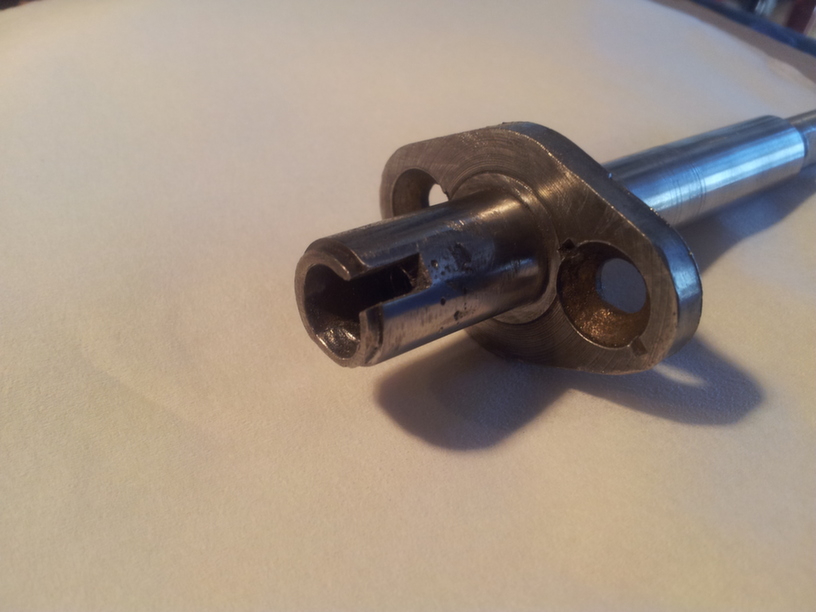
November 11, 2013 at 10:29 pm #2889darmic1ParticipantNext, the Impulse assembly. This is quite a tricky part to rebuild, fiddly!
Attachments:
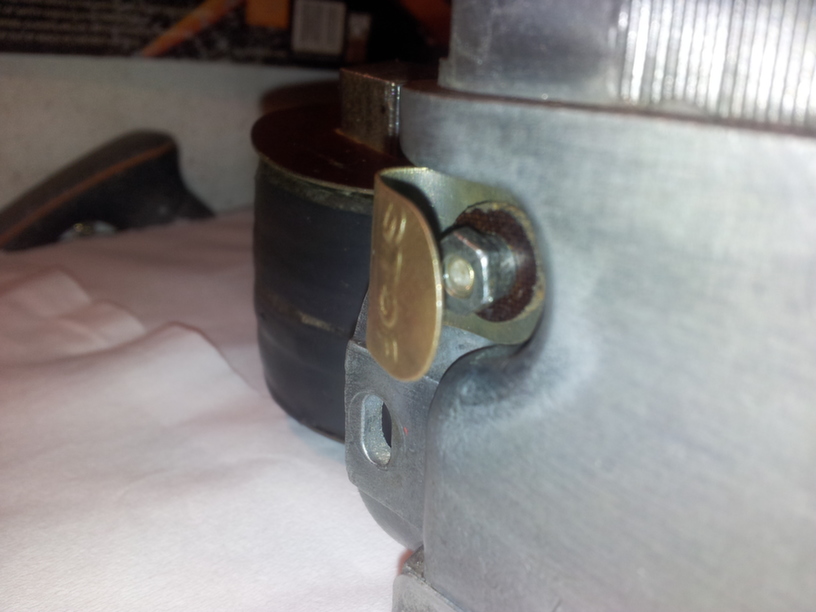
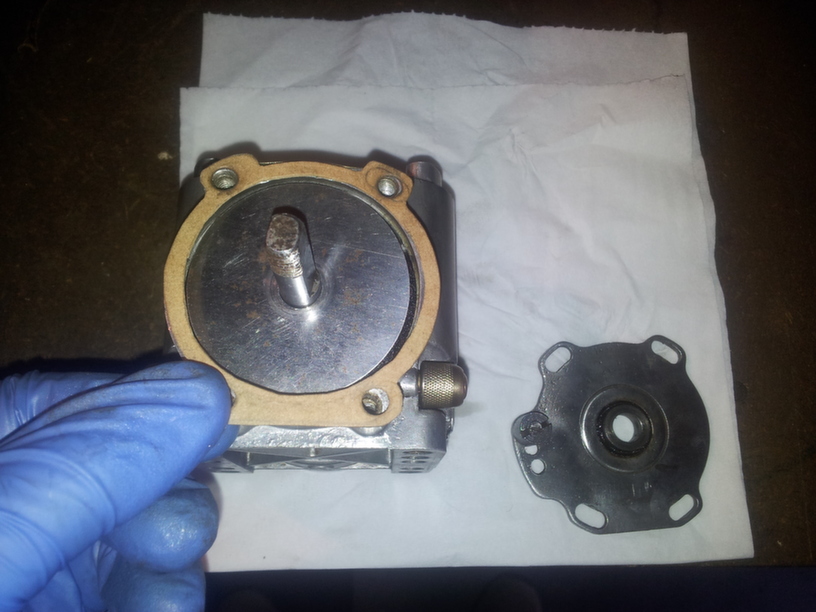
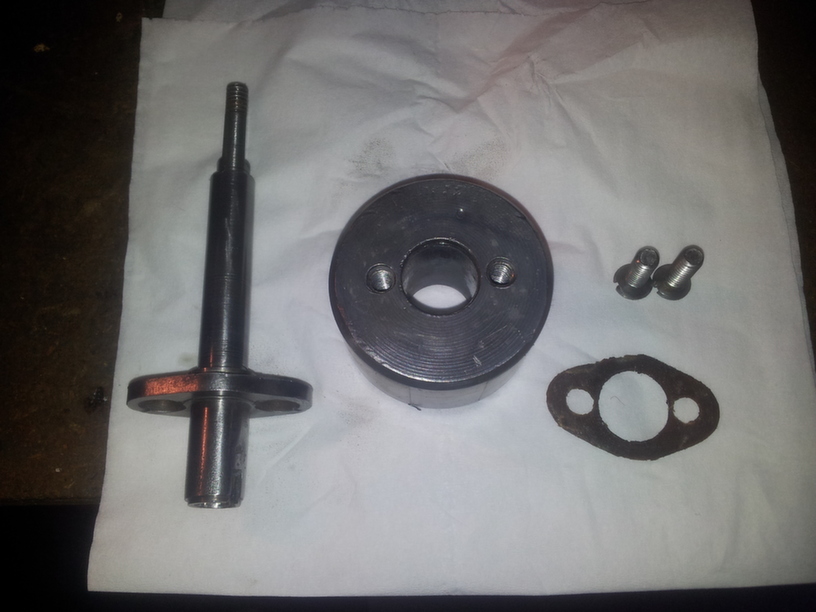
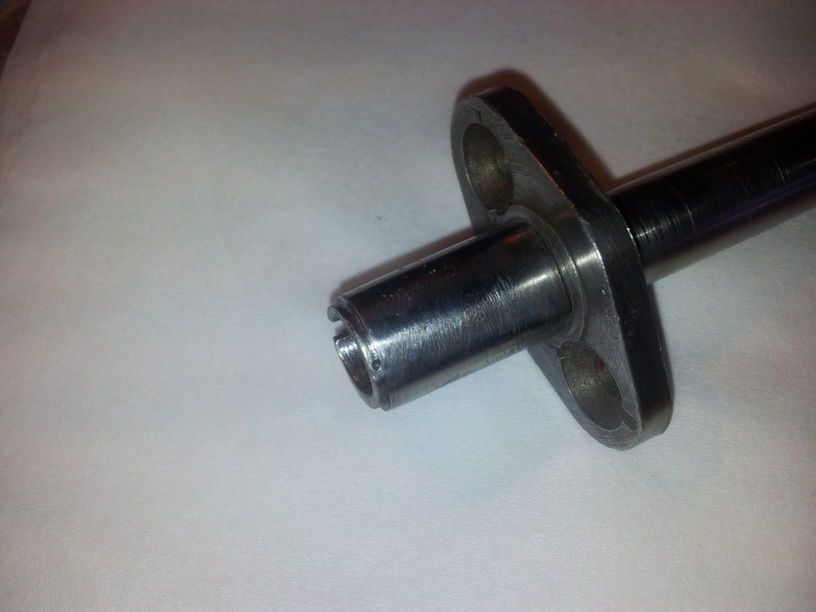
November 11, 2013 at 10:26 pm #2884darmic1ParticipantThen fit the End plate gasket, End plate and the Impulse spacer. Refit the four screws.
Attachments:
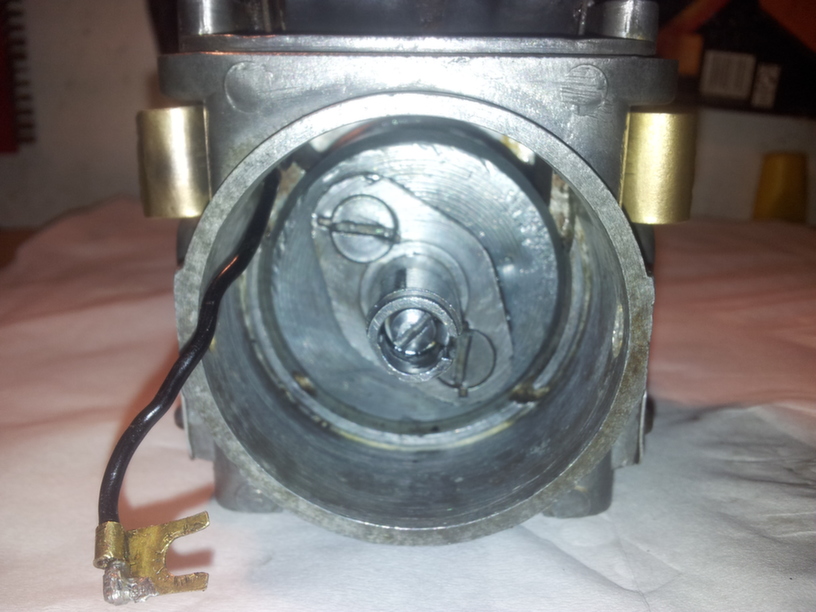
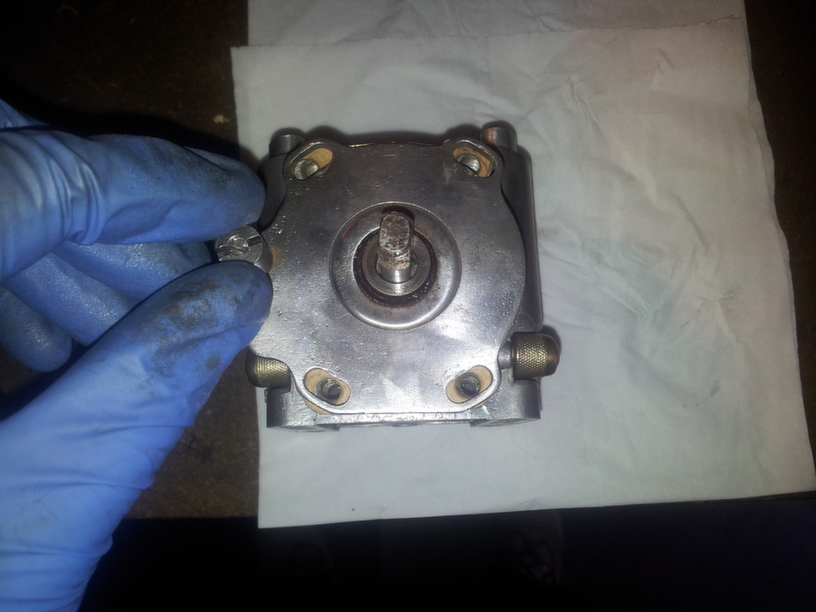
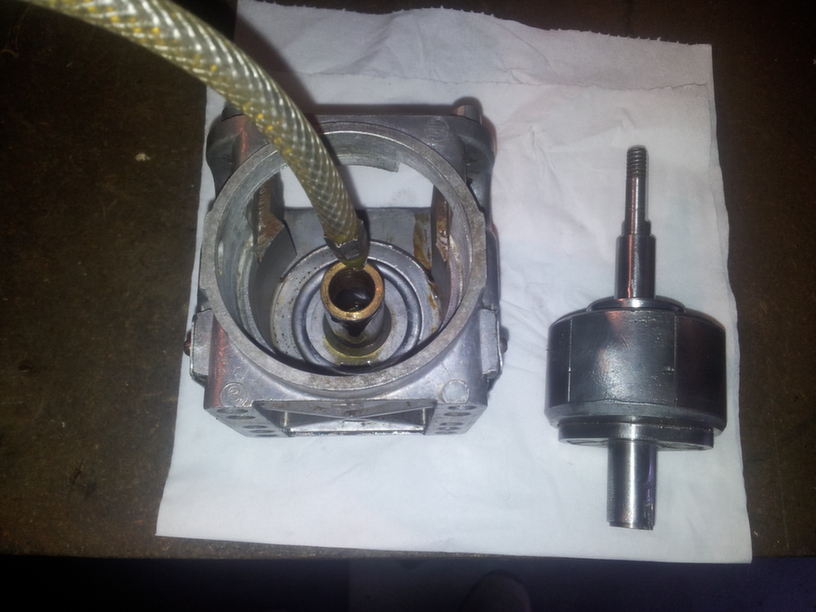
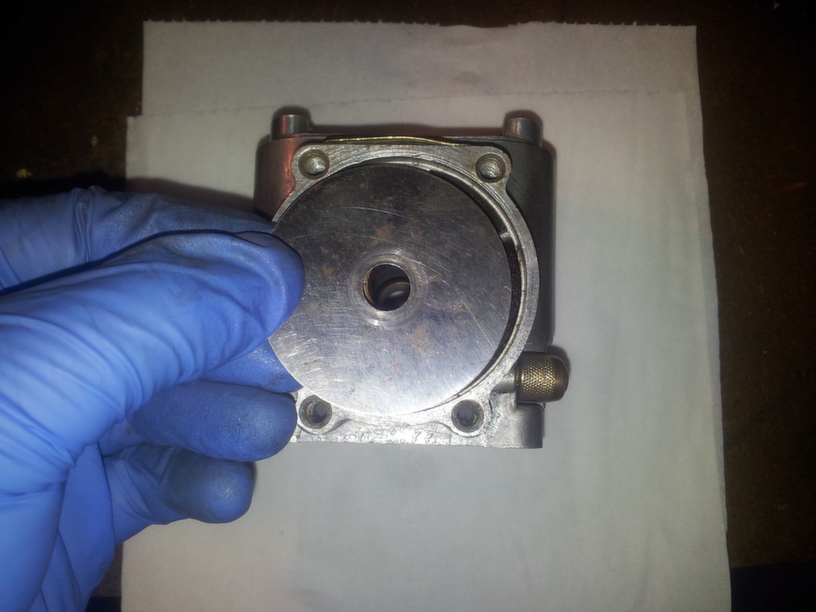
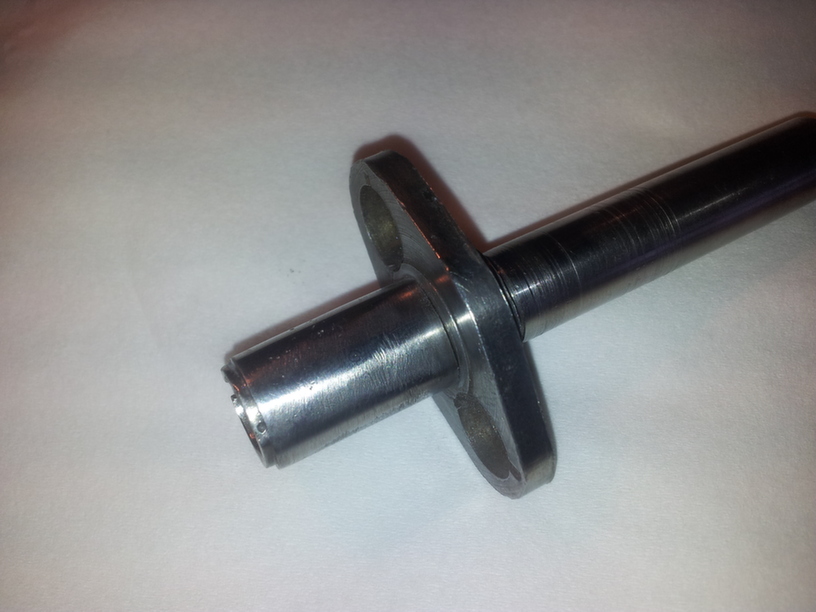
November 11, 2013 at 10:21 pm #2880darmic1ParticipantThen Re-assemble the Rotor assembly and refit into the casing. Don’t forget to lubricate the shaft and housing.
Attachments:
November 11, 2013 at 10:18 pm #2876darmic1ParticipantManaged to re-assemble the Wico today. Like a twit I forgot just how much of a punch these little things pack when your not paying attention. Fingers are still tingling!
Anyway, I photographed the re-build, there’s quite a few photo’s as there is a surprising number of parts to these things…..
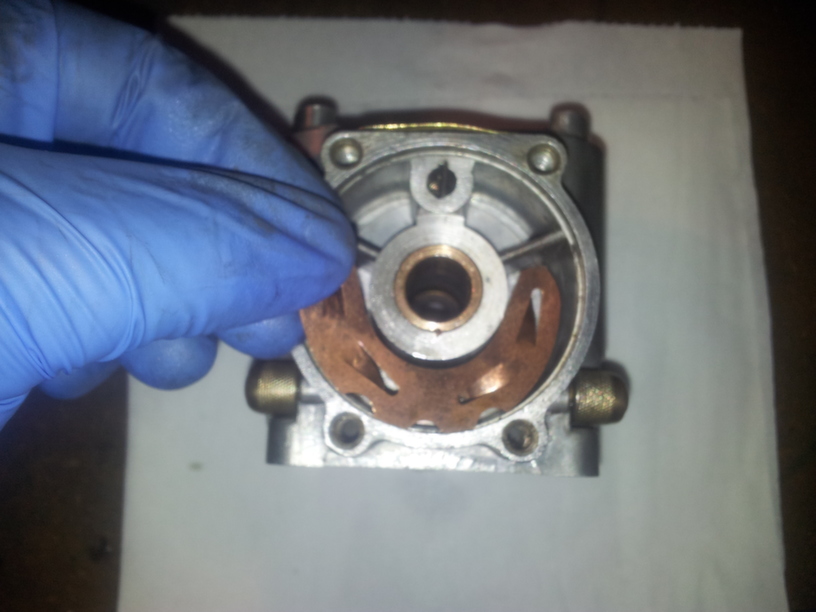
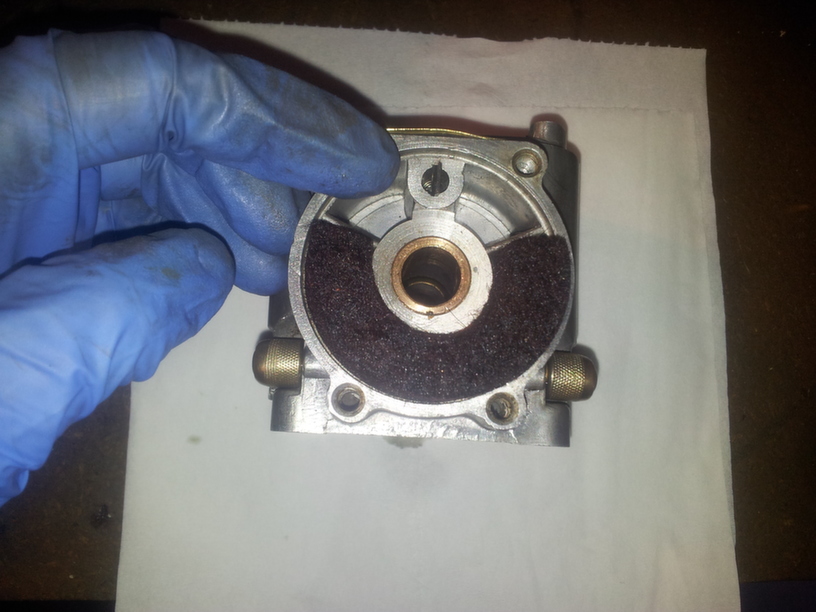
First step is to fit the lubrication system. Oil pad spring, Oil pad and Oiling disc.Attachments:
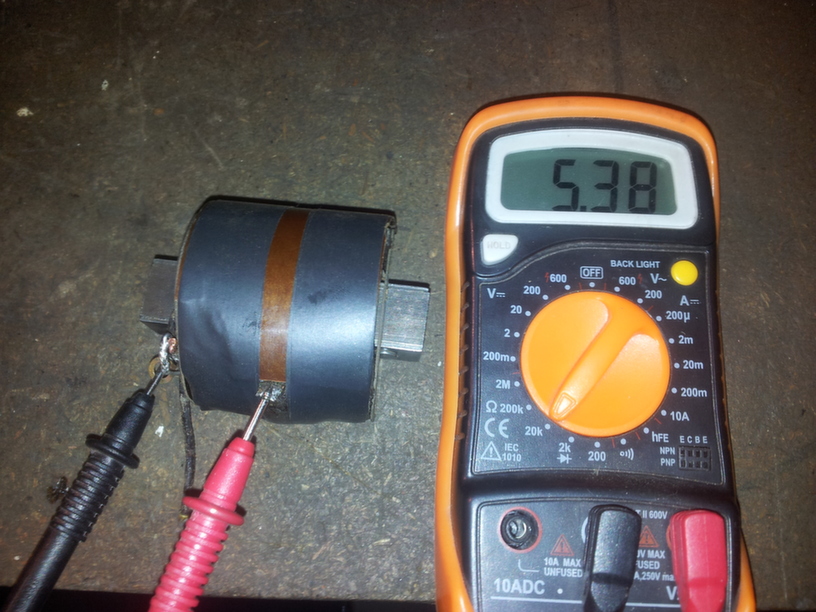
November 10, 2013 at 11:01 pm #2825darmic1ParticipantI’m hoping this evenings efforts are going to save me a few pounds. The coil looked like it had seen better days. It had a wire pulled off, broken outer insulation and generally in a poor condition. So I cleaned it up, removed the remains of the old ‘soldered’ HT lead, re-attached the broken wire and repaired the outer insulation as best I could.
Having done a little reading up, I hope I’ve got this right….. The first picture I am hopefully testing continuity across the primary winding. The test resulted in a beep, which if I am correct, means no broken windings? The second picture I set the meter to 20k ohms and tested the coil at the point where the HT lead would be connected. This resulted in a reading of 5.38. From my research, any result over 5 is good? Somebody please tell me this is right?Attachments:
November 10, 2013 at 7:23 pm #2813darmic1ParticipantI decided to try Charlie’s fix for the cam…..
I ‘v’d the broken edges to take the weld, used a strong magnet to hold the 1/4″ broken piece in place, turned the welder down a tad and slowed the wire feed. I then tacked either end of the repair, left it to cool slightly then filled the rest of the repair using small tacks, one after another whilst the weld pool was still glowing. I then removed the majority of the surplus weld on the bench grinder. Finishing off with the small files. Once the cam was repaired I then used finer grades of emery to ‘polish’ the surface. Most of the repair was over the ‘Dwell’ of the cam, so I was able to copy the shape from the undamaged section. The centre just needed a drill running down it a short way to remove a small amount of surplus weld. It looks pretty good but wont know for sure until all is reassembled. Here’s the finished article….
Might have a go at the coil next???Attachments:
November 10, 2013 at 4:16 pm #2804darmic1ParticipantMaking good progress there Gareth
November 10, 2013 at 10:16 am #2737darmic1ParticipantI guess it could be welded, looking at the break though, it looks like cast? Probably easier to source another. The picture of all the bits has a few parts missing, namely the coil, the clips for the points cover and the central shaft itself. I just hope I can remember where all the bits go! The exploded diagrams of these mags are a bit grainy and not too clear. At least I have a working one to refer to…..
November 9, 2013 at 11:09 pm #2722darmic1ParticipantHi Charlie, Have tried the “youtube” video again, The Gutbrod one, all appears to be working fine today??? No changes here, so maybe just a hiccup? fingers. arms, eyes crossed! Smiley….
November 1, 2013 at 9:08 pm #2325darmic1ParticipantIts only there for the period immediately after posting, and as long as I dont log out or leave the page. So, I dont know? I need a drink…….
November 1, 2013 at 8:17 pm #2308darmic1ParticipantWill have to post again, as cant “edit” post either. Says at the bottom left, “edit this page” but when clicked say no permission…… No other edit option anywhere to be found, and this is trying the Tablet this time. Grrrrrr!
Getting another problem on PCs and laptop, when trying to view the youtube clips via forum, its now crashing the browser, a reboot is required to reset the browser each time i’ve tried. Simply closing and reopening isn’t working. Everything else works fine, just checked 2 other forums I belong to, youtube itself, even re-run AVG, just to make sure no nasties hiding in there.
Getting really frustrated with this now!!!November 1, 2013 at 7:49 pm #2306darmic1ParticipantRight, have tried two other machines, both do the same. Thats 3 different machines using 2 different operating systems and 2 different browsers. Incidently its not a memory problem as the laptop is AMD quad running 6gig memory with a 1 terrabyte hard drive……
stumped.com -
AuthorPosts