
Forum Replies Created
-
AuthorPosts
-
November 11, 2016 at 8:56 am #22993vhgmcbuddyKeymaster
Many thanks to Ransomes256. I got the job done in one hour after finding the spacers – hidden in rust & paint! Unfortunately gear selector came apart & I now have to work out correct position.
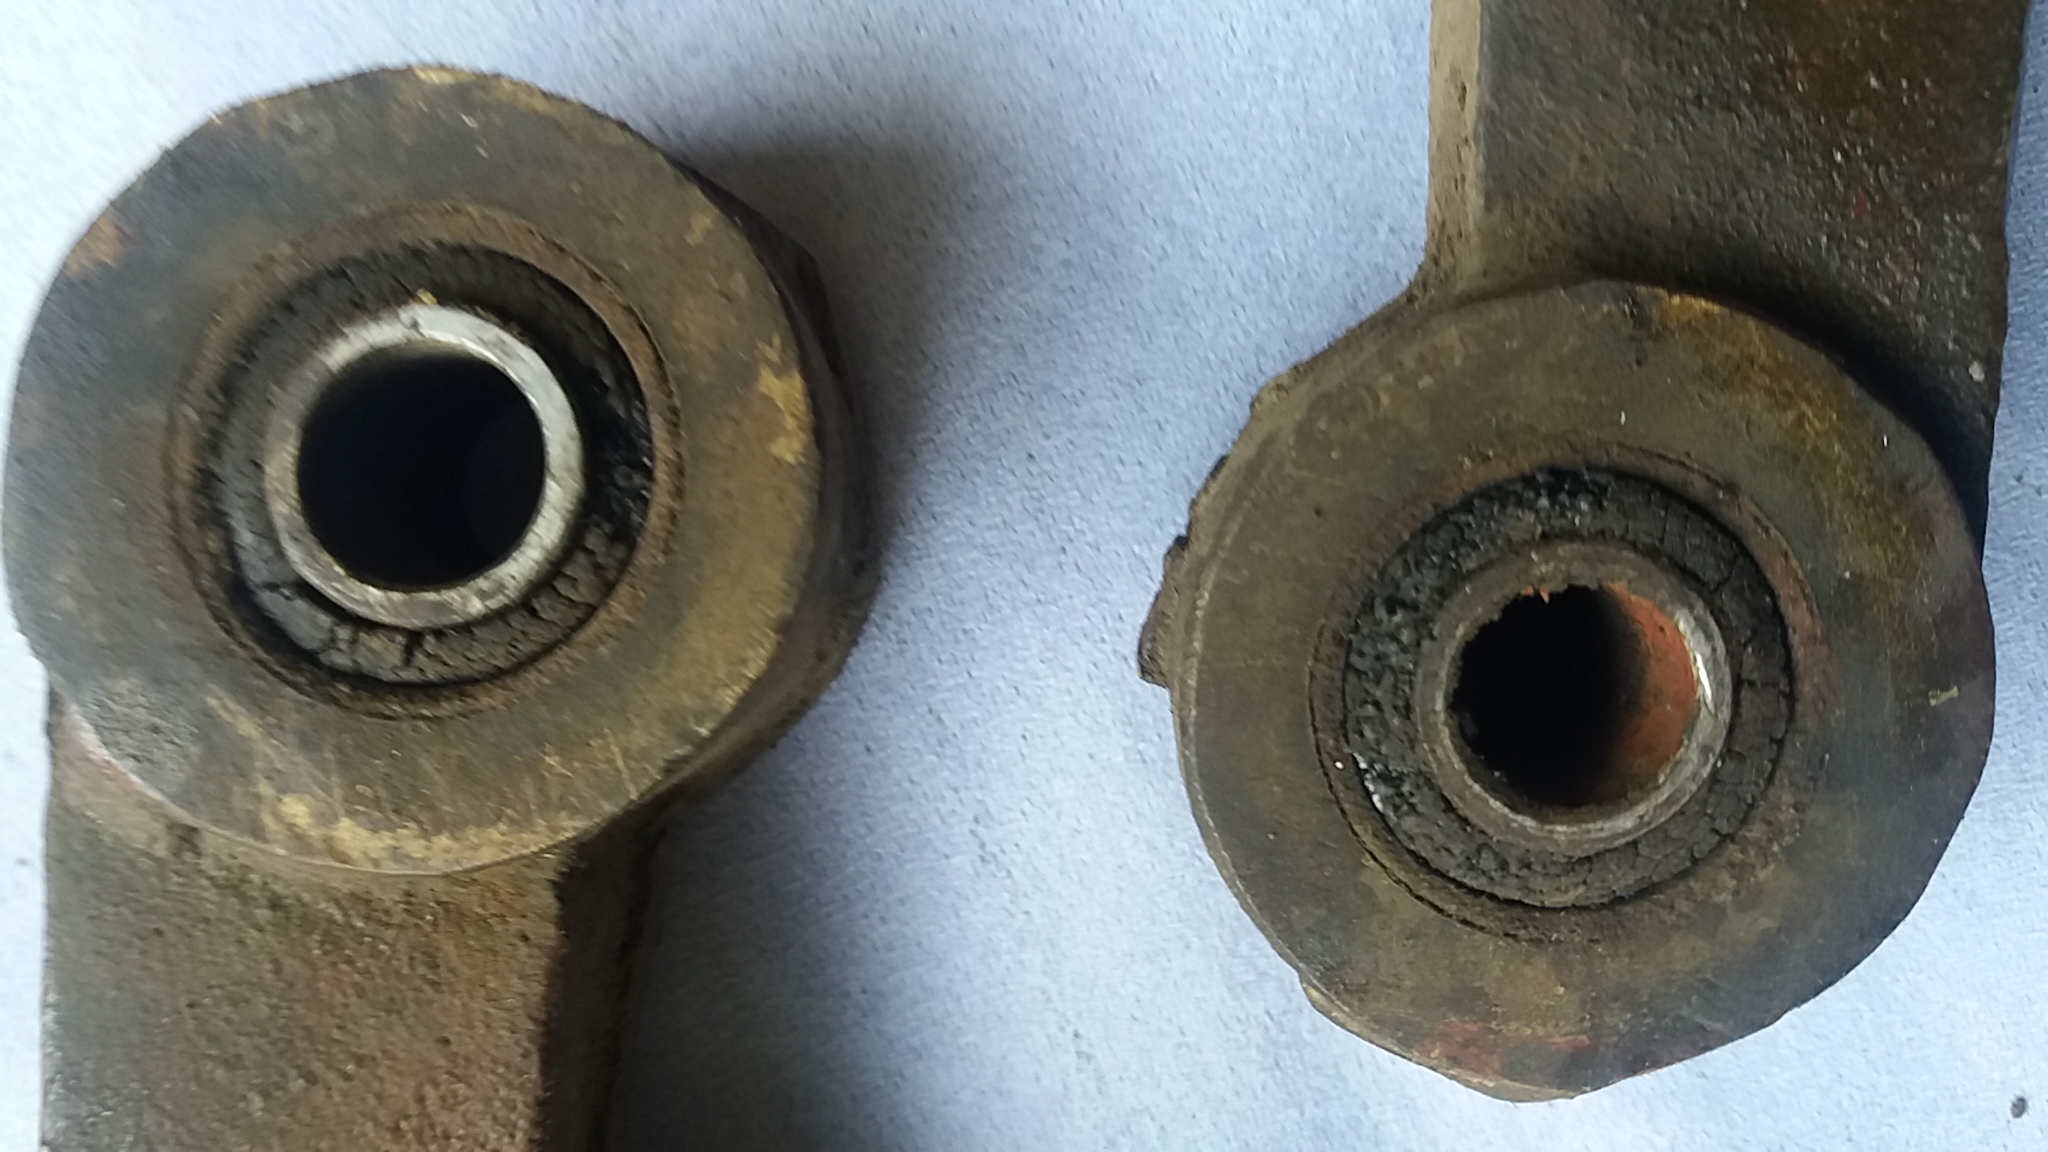
VHGMC Forum is a mine of information. Thanks, TonyNovember 11, 2016 at 12:01 am #22991vhgmcbuddyKeymasterOk. The Trusty clutch shoes came out of the driver just fine and I have found a local company that does re-lining. I have also ordered and received new clutch shoe bushes. So my next questions are: What’s the best method/tool for removing the old bushes and installing the new ones? Also what’s the best way / product to clean up the shoes before I have them re-lined (petrol and a toothbrush?)
Attachments:
November 10, 2016 at 8:56 pm #22989vhgmcbuddyKeymasterOk thanks
November 10, 2016 at 8:55 pm #22988vhgmcbuddyKeymasterI’m away from home till next week but I will check out the engine number and post a couple of pictures then
November 9, 2016 at 11:38 pm #22974vhgmcbuddyKeymasterI would kill for a shed like that Charlie
I could get all my Bolens in there!
November 9, 2016 at 11:31 pm #22972vhgmcbuddyKeymasterSounds like she needs an over haul 😉
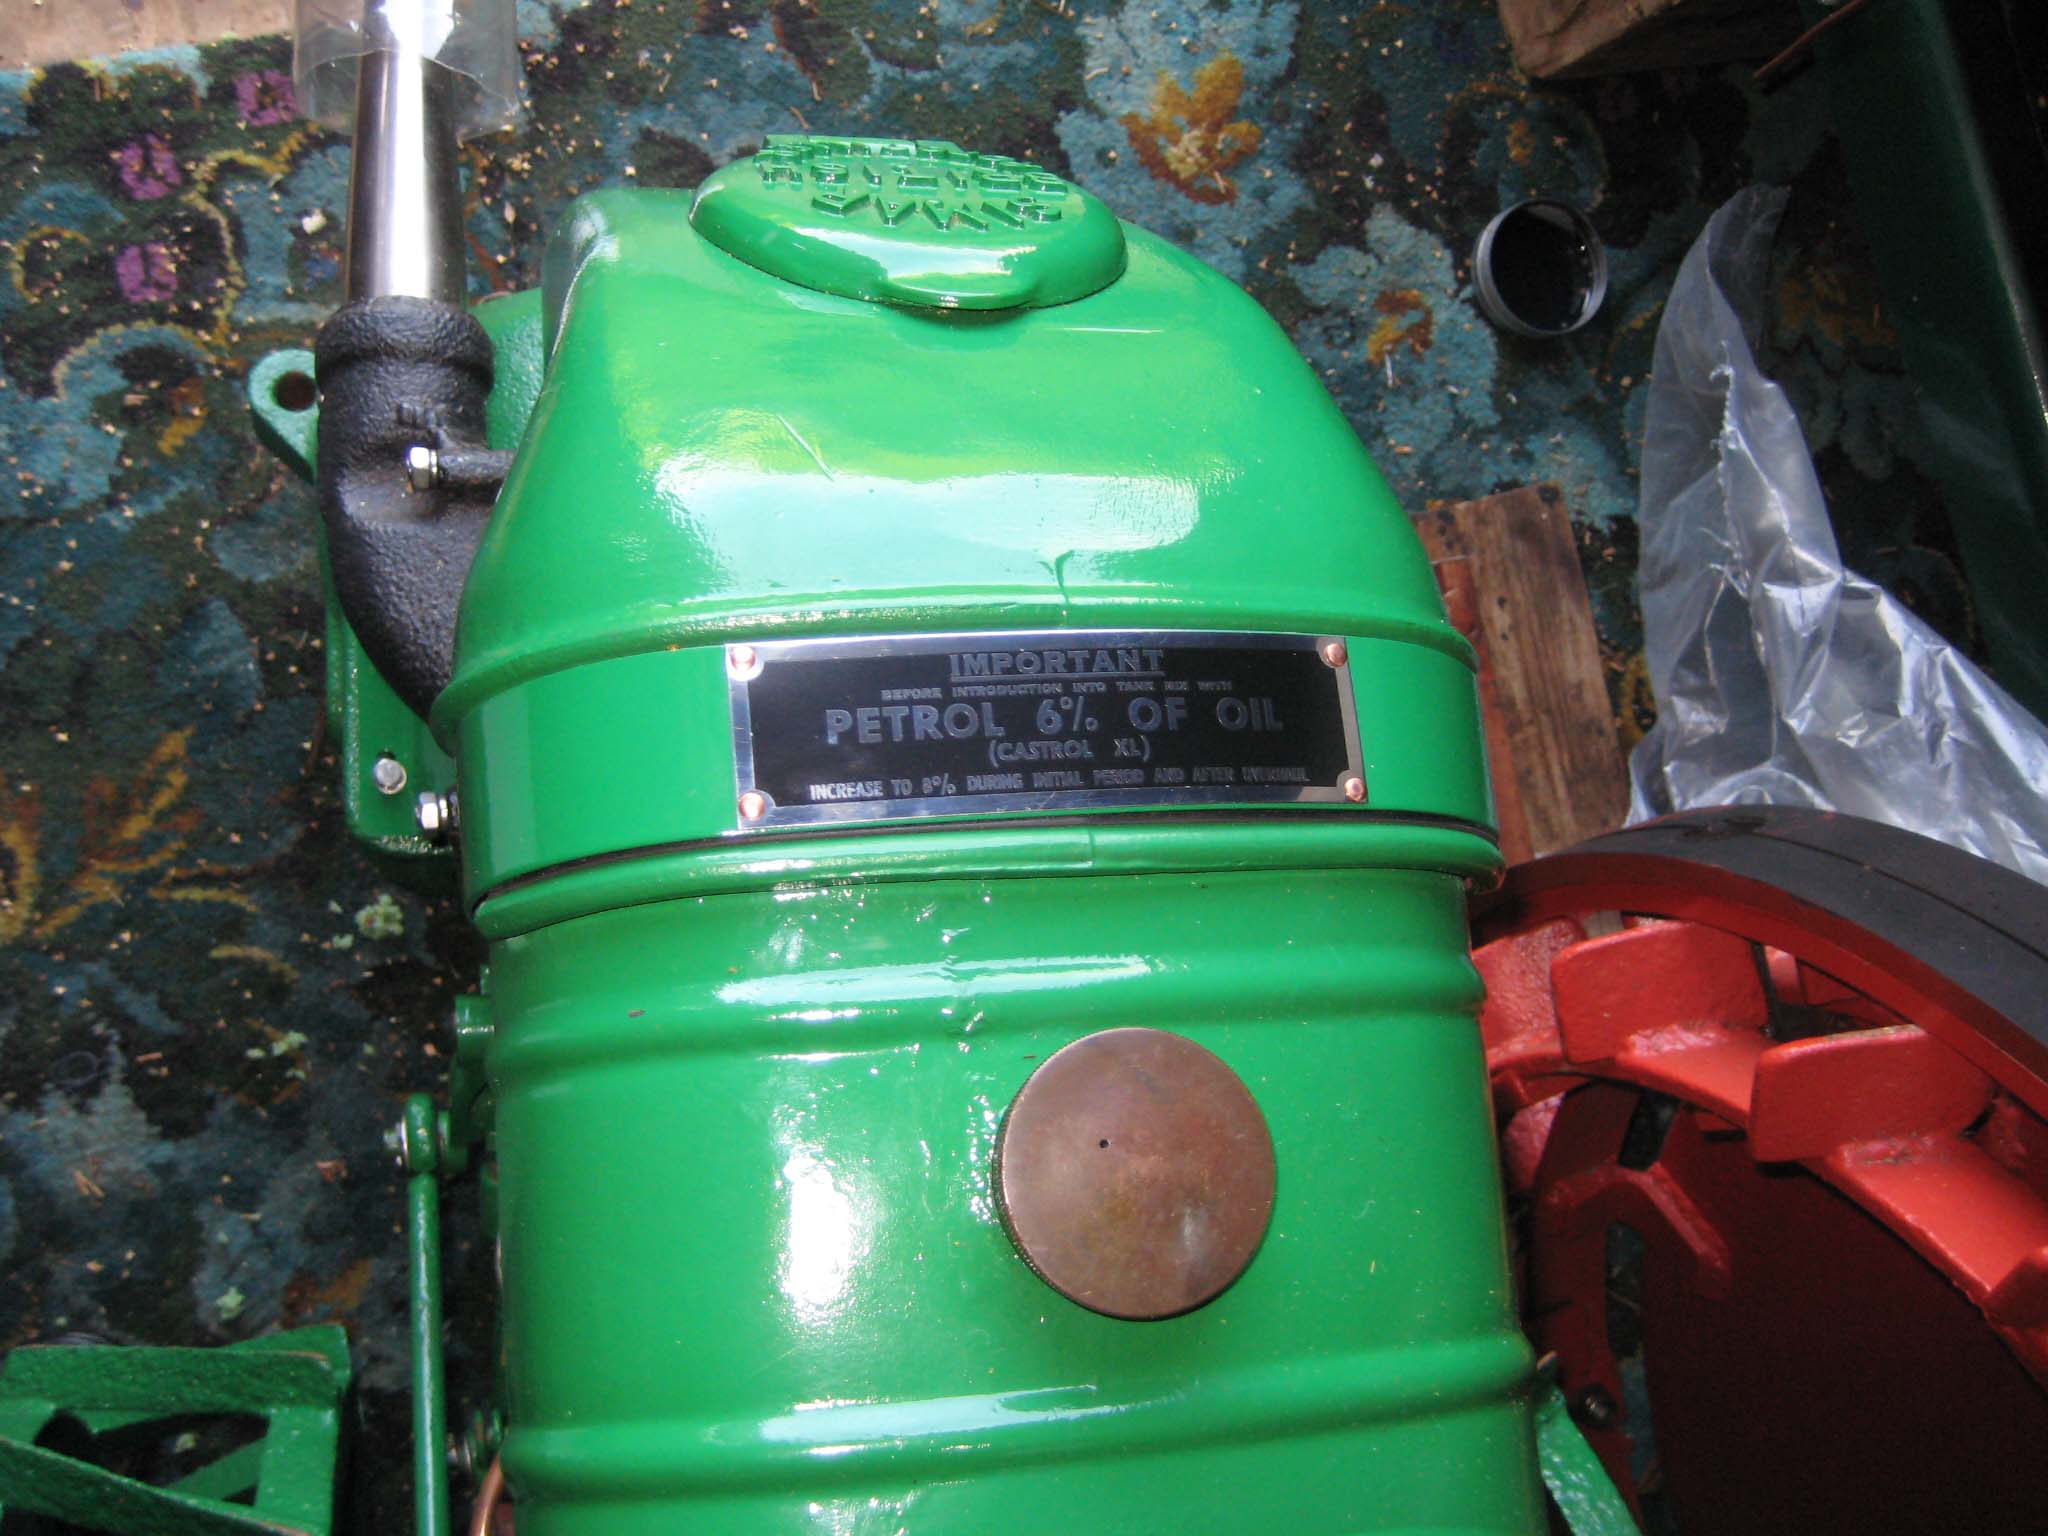
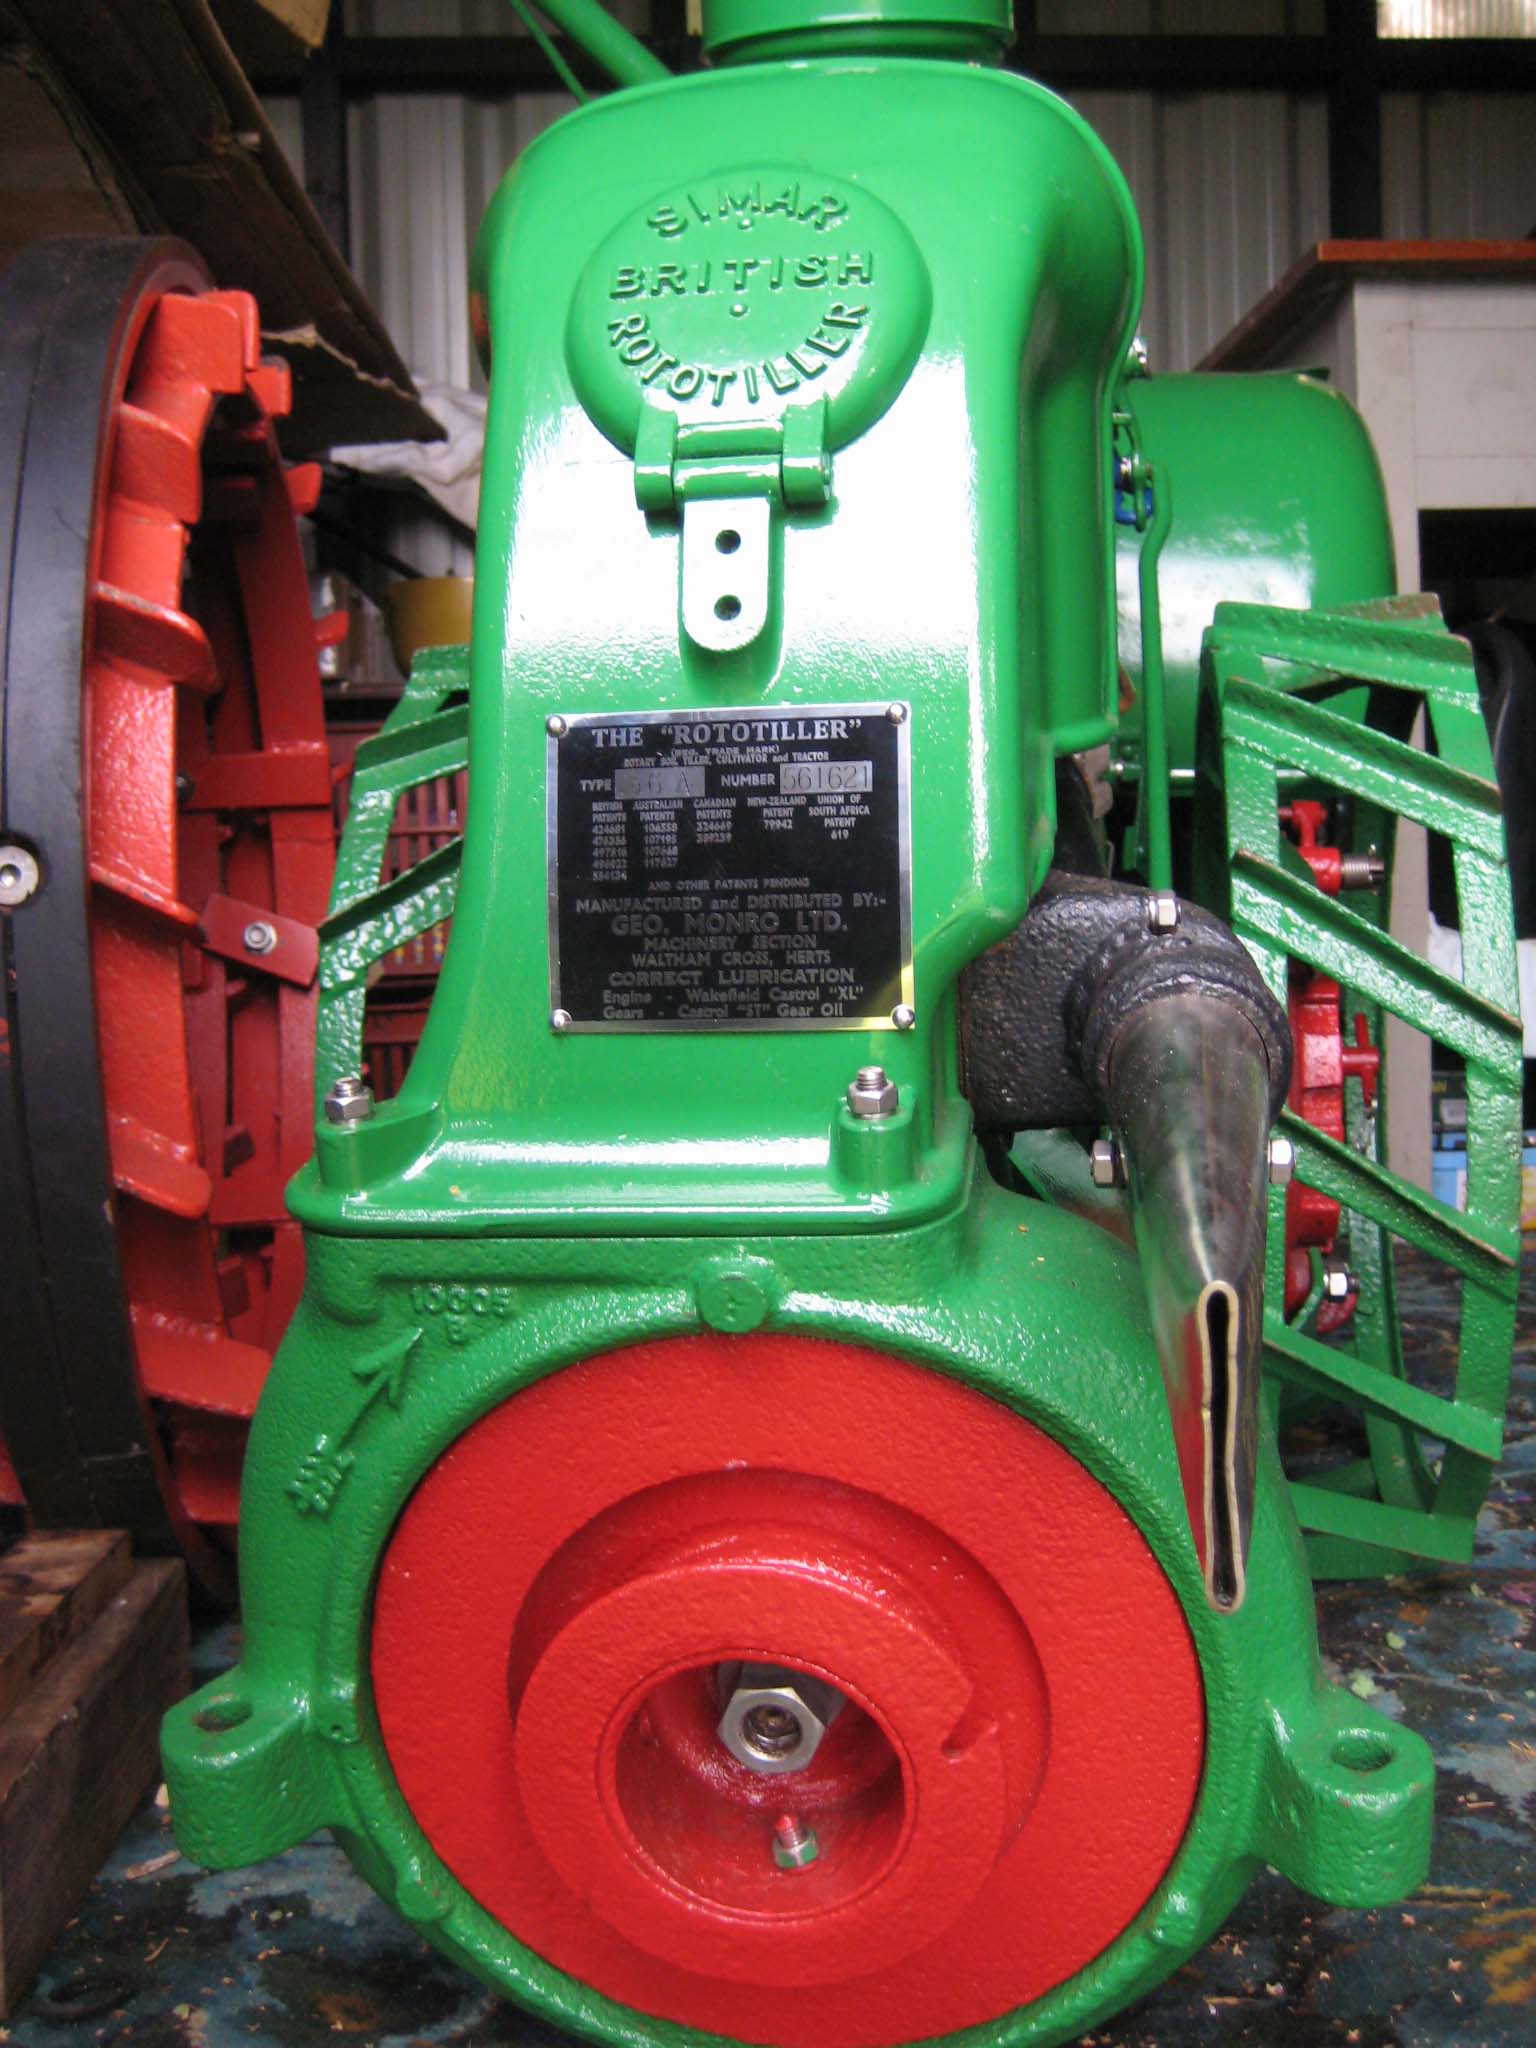
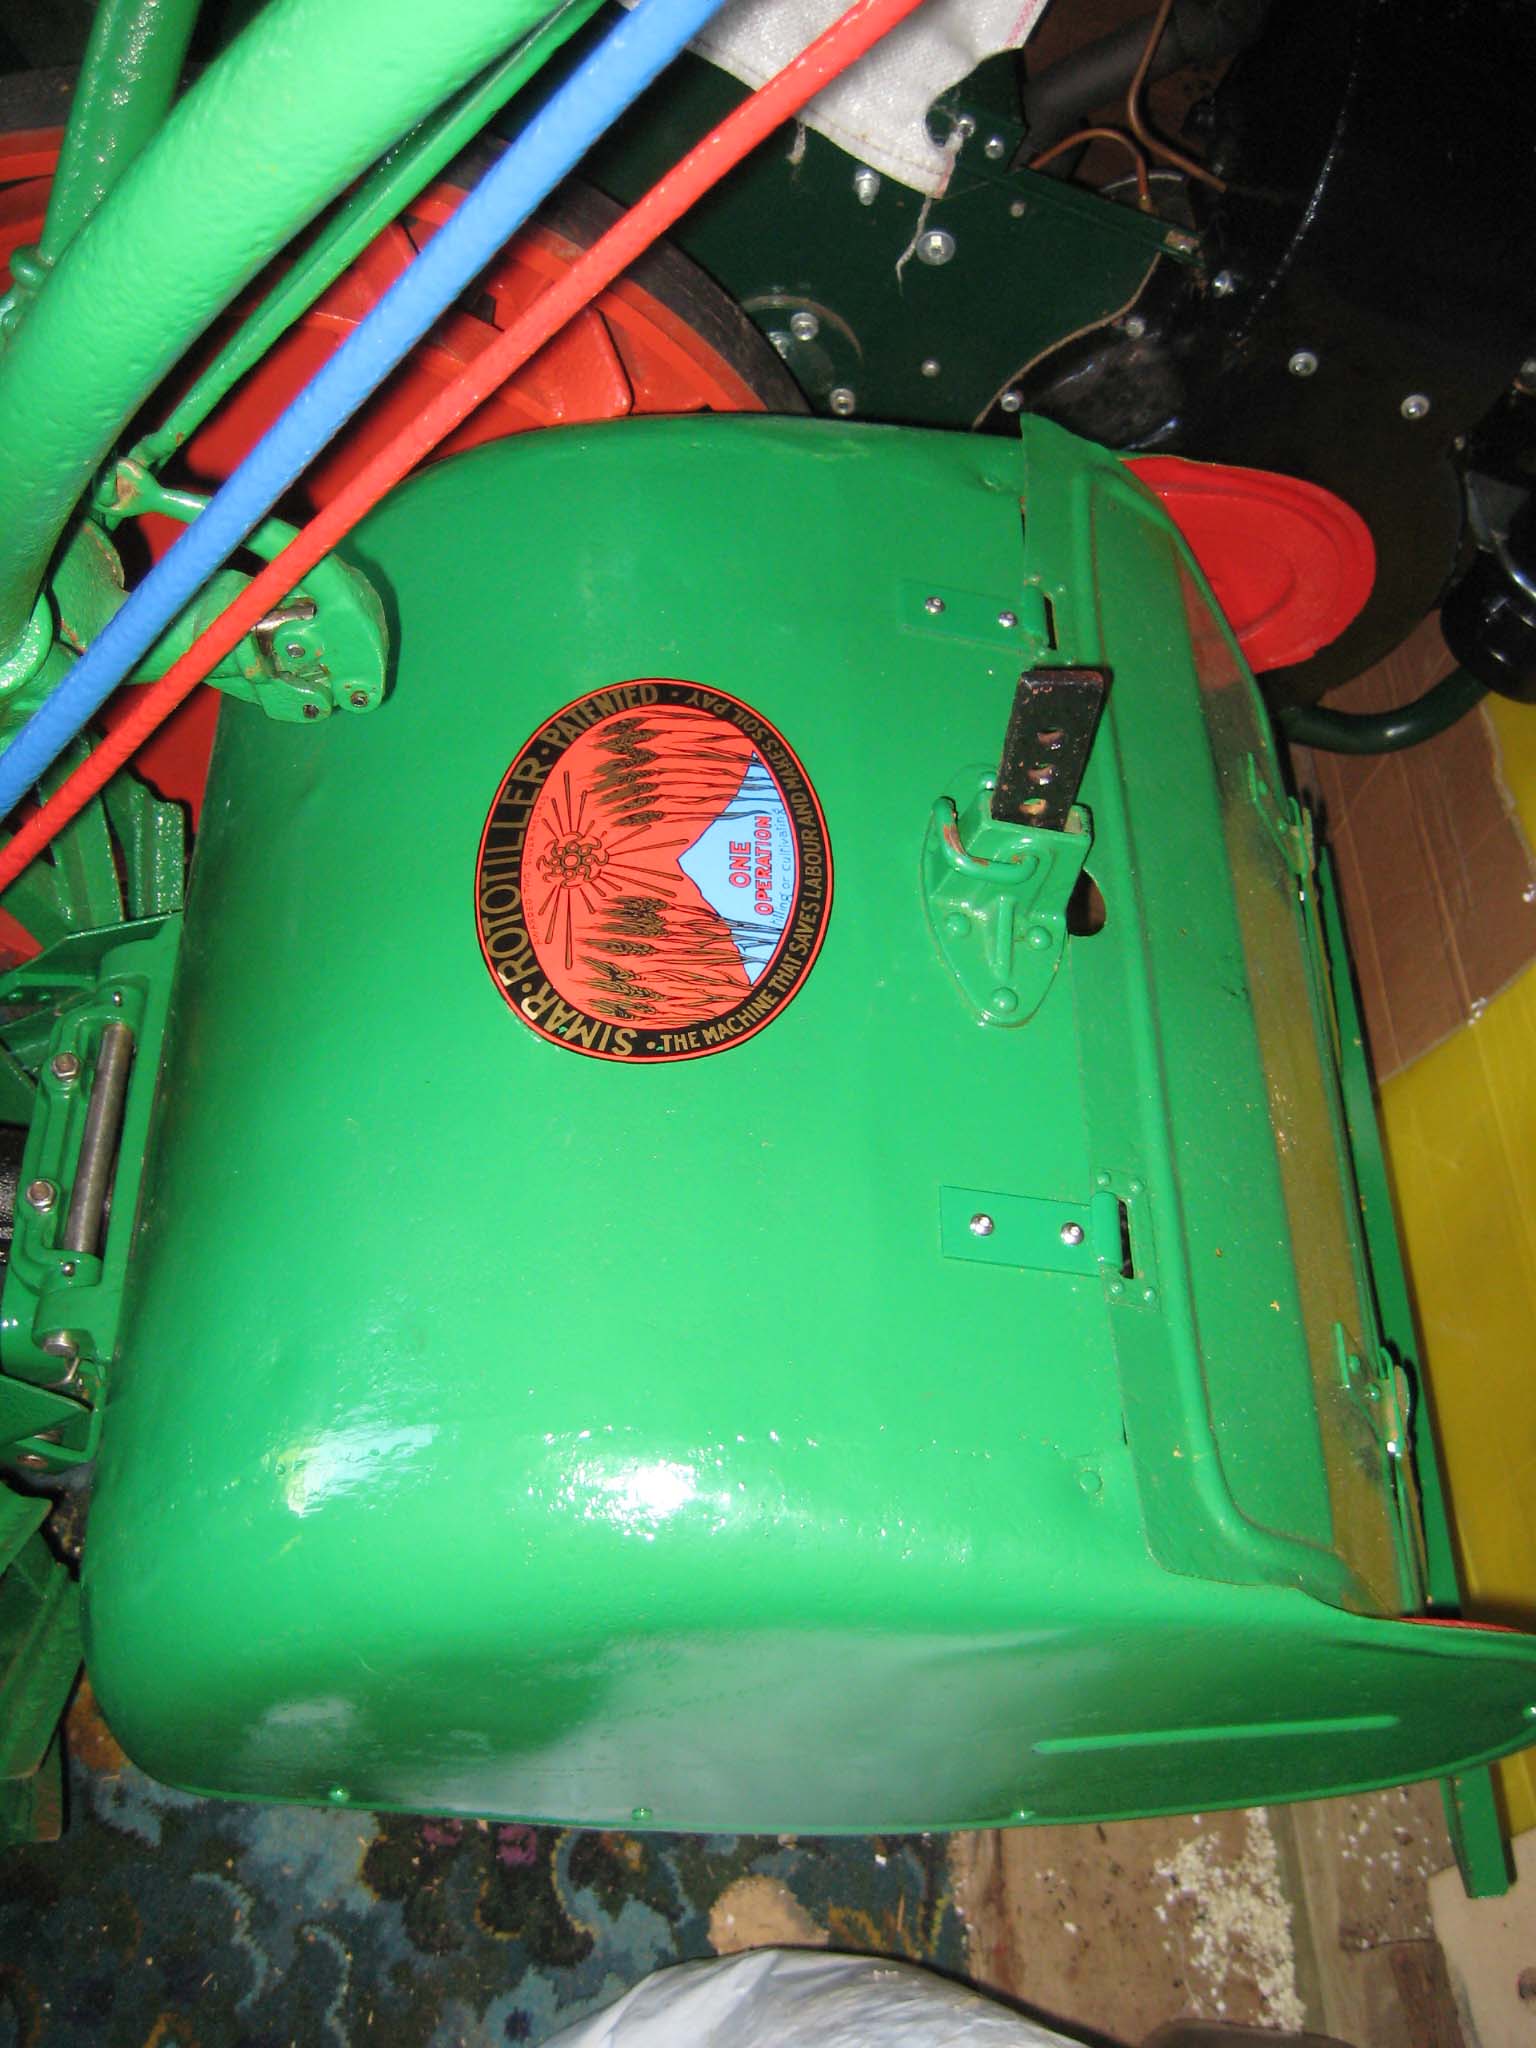
November 9, 2016 at 7:53 pm #22964vhgmcbuddyKeymasterThe original identification plates were damaged, so they were used as templates by Vintage Brass Plates to produce replacements. The fuel mixture plate is riveted to the front fuel tank strap (Simar 0147). I used 2mm diameter copper rivets intended for model steam locomotives, which were peened over with a hammer on the back face of the strap. The main identification plate is fixed to the engine cowl by No. 6 x 1/4″ long pan head hammer drive screws (Simar 0148). A decal for the miller cover was supplied by Charlie Moore (Simar 0149). The only outstanding parts left to fit are the wooden balls which fit into the ends of the handlebar tubes.
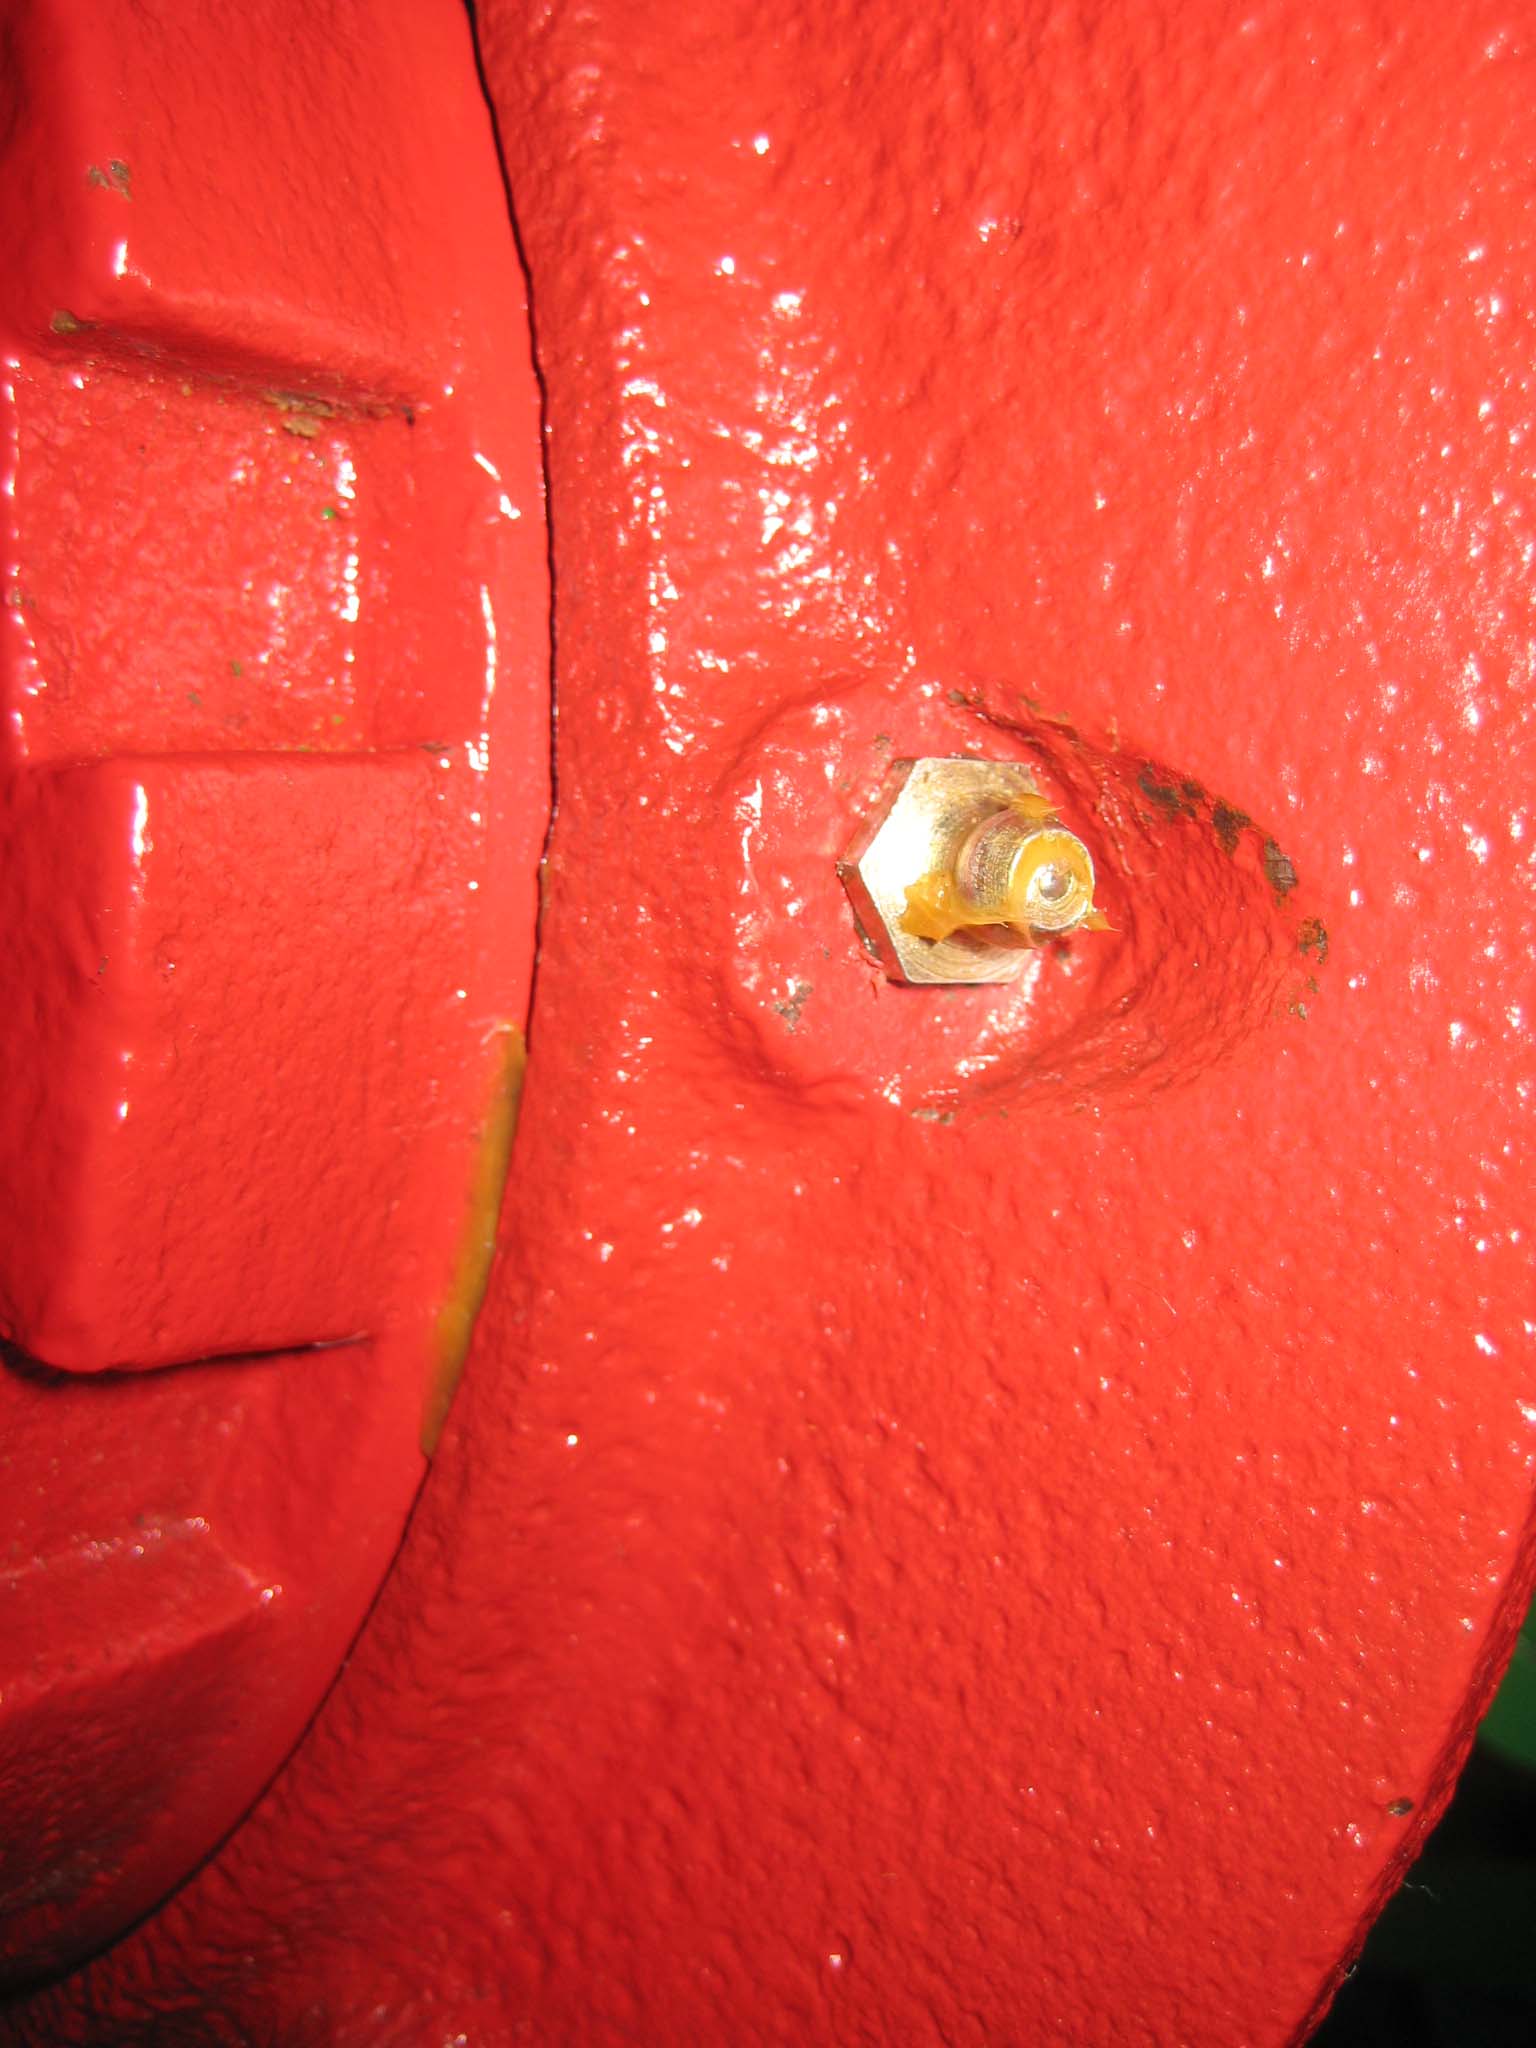
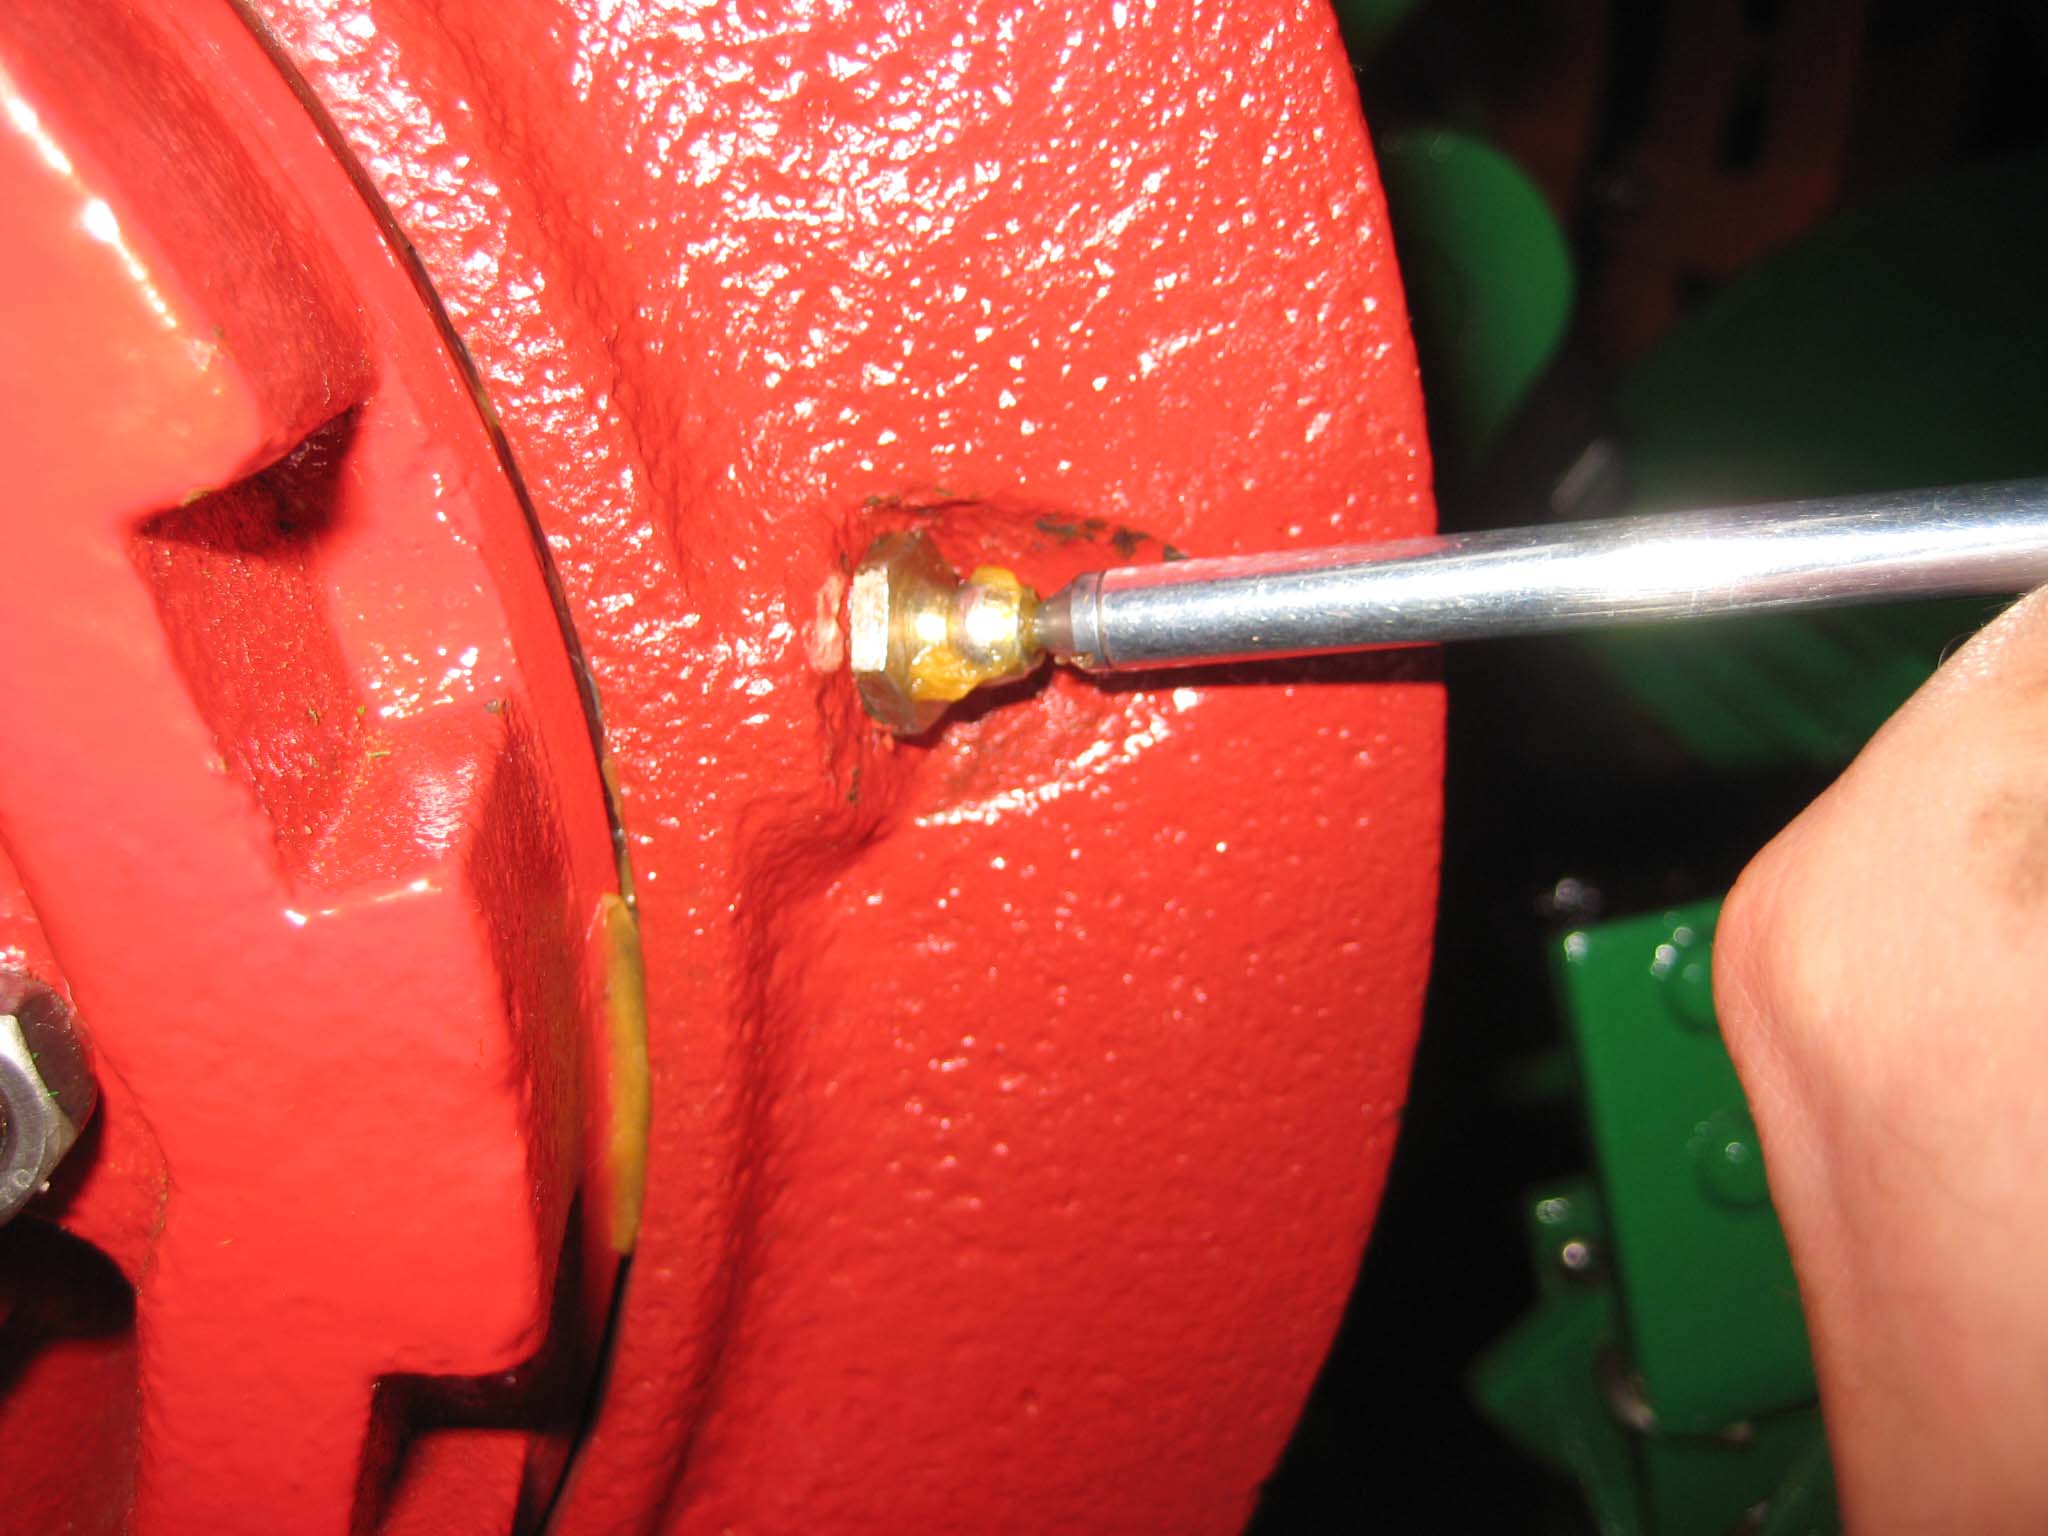
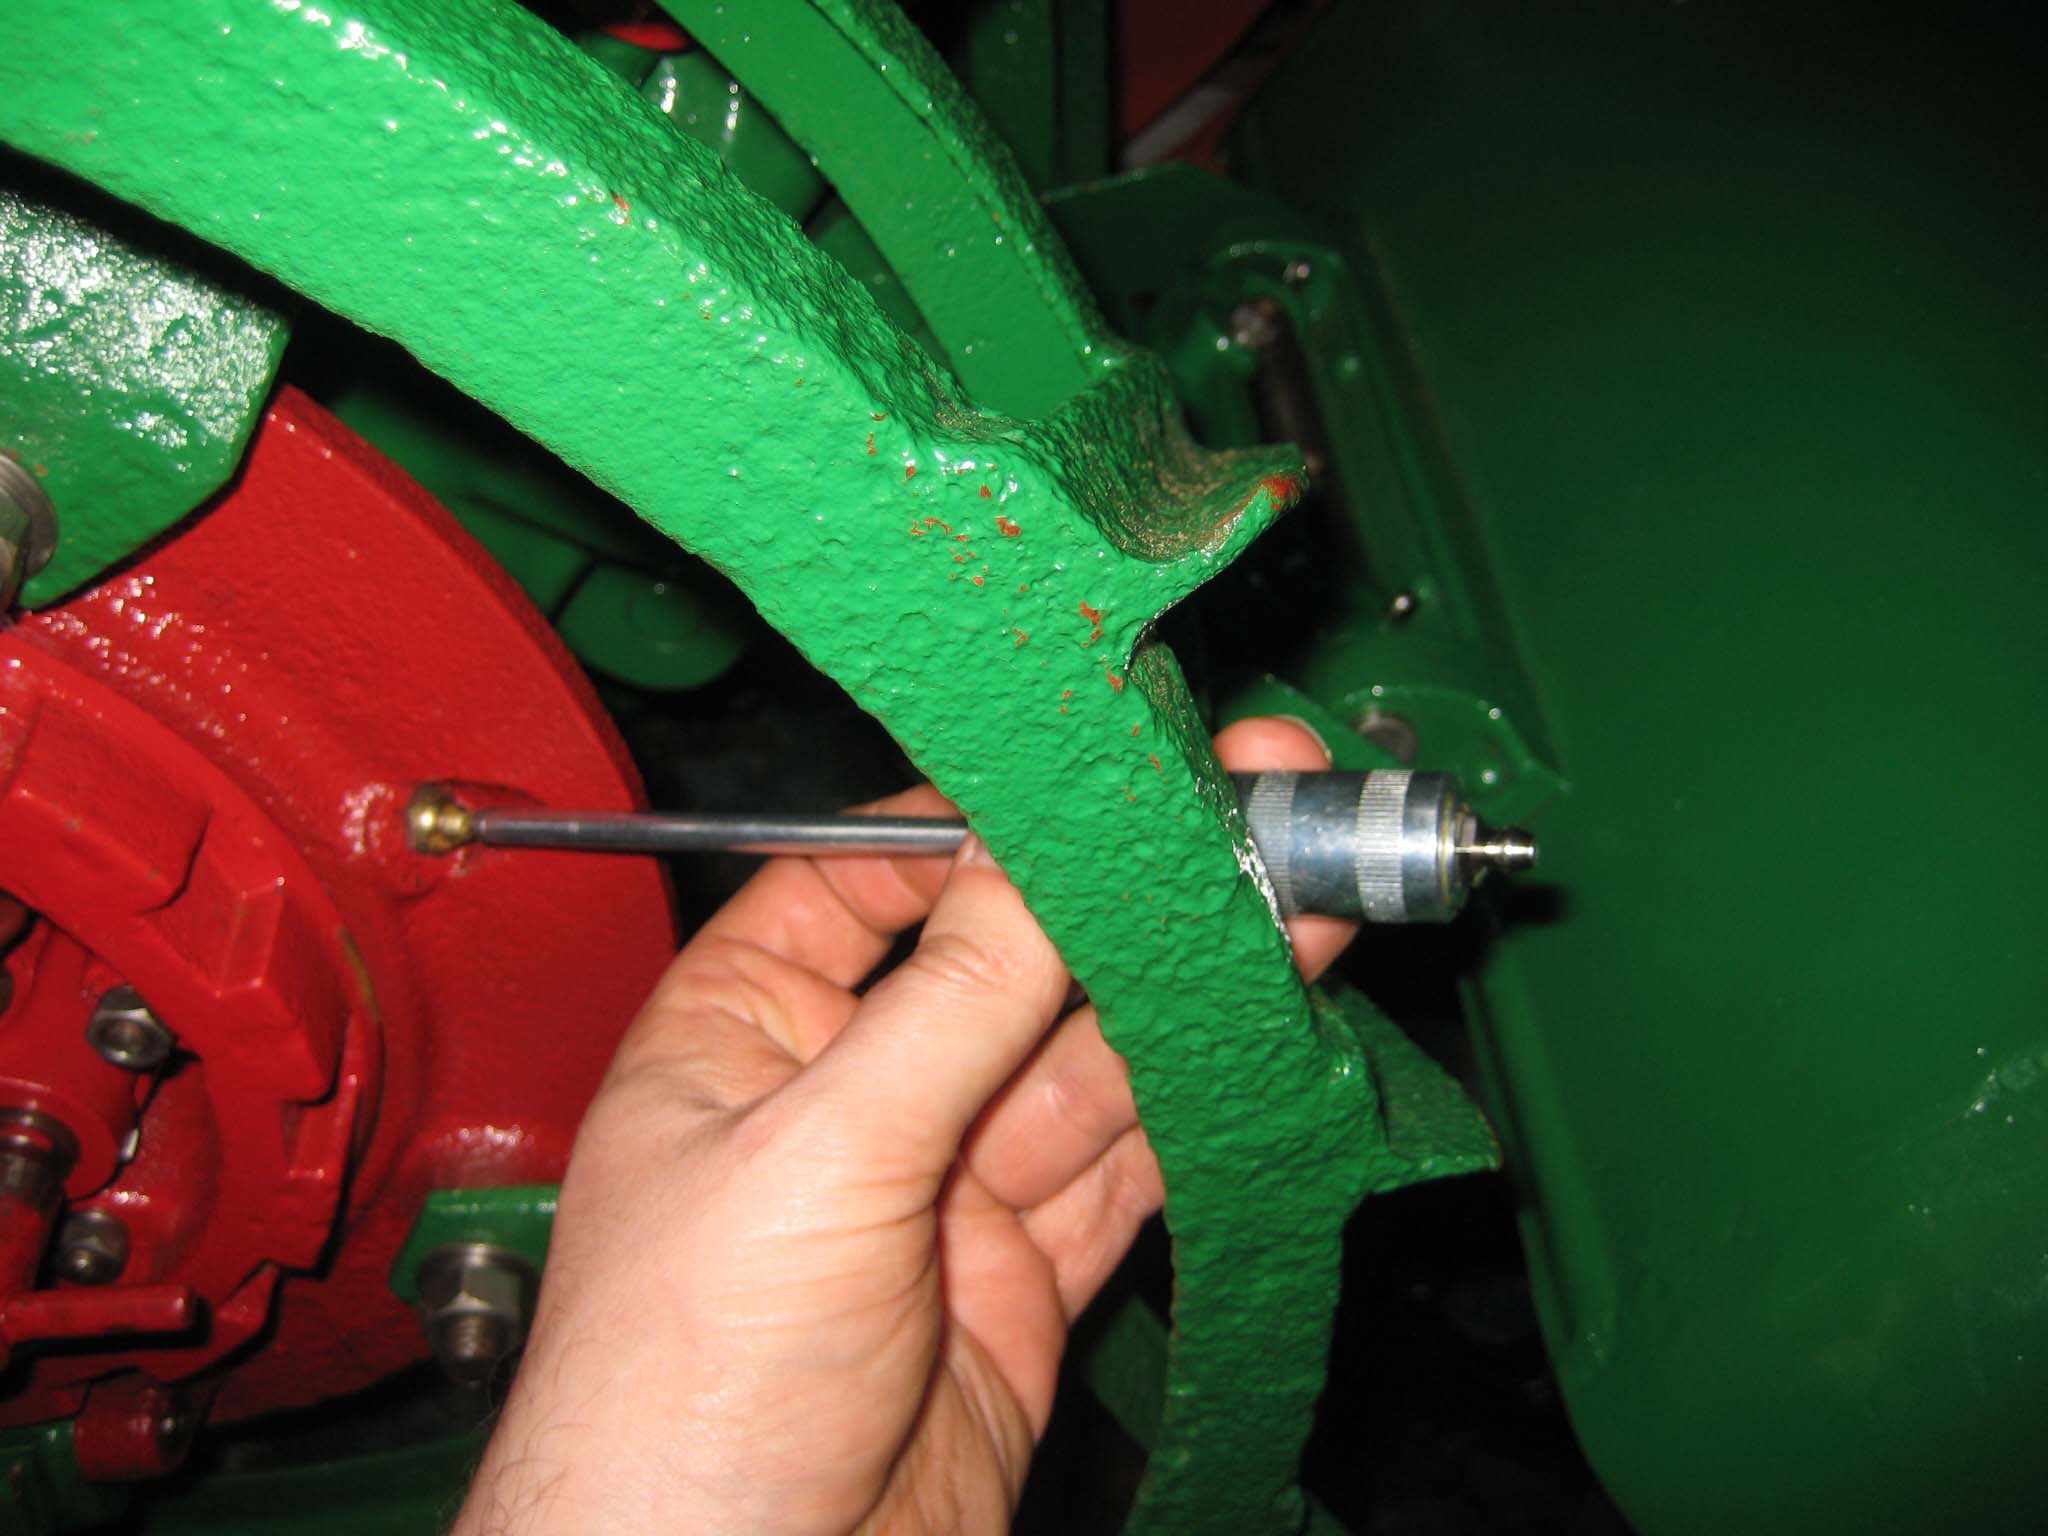
While greasing the various lubrication points on the machine in preparation for it’s maiden voyage, I discovered that whoever drilled the hole for the grease nipple on the left hand wheel hub must have been having a bad day, as it does not sit concentric with the recess in the casting (Simar 0150), which means that a standard grease gun will not fit on to it. Fortunately, I have a needle adaptor which is very handy for awkward to reach grease nipples (Simar 0151 & 152).
Much to my surprise, the Simar fired up at the first attempt, and burbled away smoothly once warmed up a bit. Unfortunately, rain then stopped play, so wasn’t able to film it’s first outing into the veg patch, so watch this space for the grand finale!!Attachments:
November 9, 2016 at 5:45 pm #22963vhgmcbuddyKeymasterYes, I have priced new gears, but funds are limited and I have already spent far more than my wife is happy with!
November 9, 2016 at 5:41 pm #22962vhgmcbuddyKeymasterWhy do you think you need a donor? What is worn? Some of the gears are available individually, as are bearing, seals ect.
November 9, 2016 at 12:24 pm #22960vhgmcbuddyKeymasterThank’s Charlie.
November 9, 2016 at 11:49 am #22959vhgmcbuddyKeymasterI think I will have to find a doner unit.
Hopefully in better condition.
As I have already overhauled the Engine and gearbox I don’t feel I can abandon this now.
On a brighter note, the differential gearbox and the steering breaks don’t appear to be in to bad condition.
I live in hope!November 9, 2016 at 9:37 am #22958vhgmcbuddyKeymasterThese tough little crawlers are their own worst enemy, they were so overbuilt that they withstood years of total neglect and yet continued to perform without breaking.
November 8, 2016 at 11:51 pm #22955vhgmcbuddyKeymasterThanks for the help.
The frame is now off, the track support rollers removed and the final drive gearbox and drive hub stripped.
Mmmm! I have a lot of work and expense ahead.
I don’t think any oil or grease has been used in the last 20 years.
I am going to have to rethink this project.Silverfox
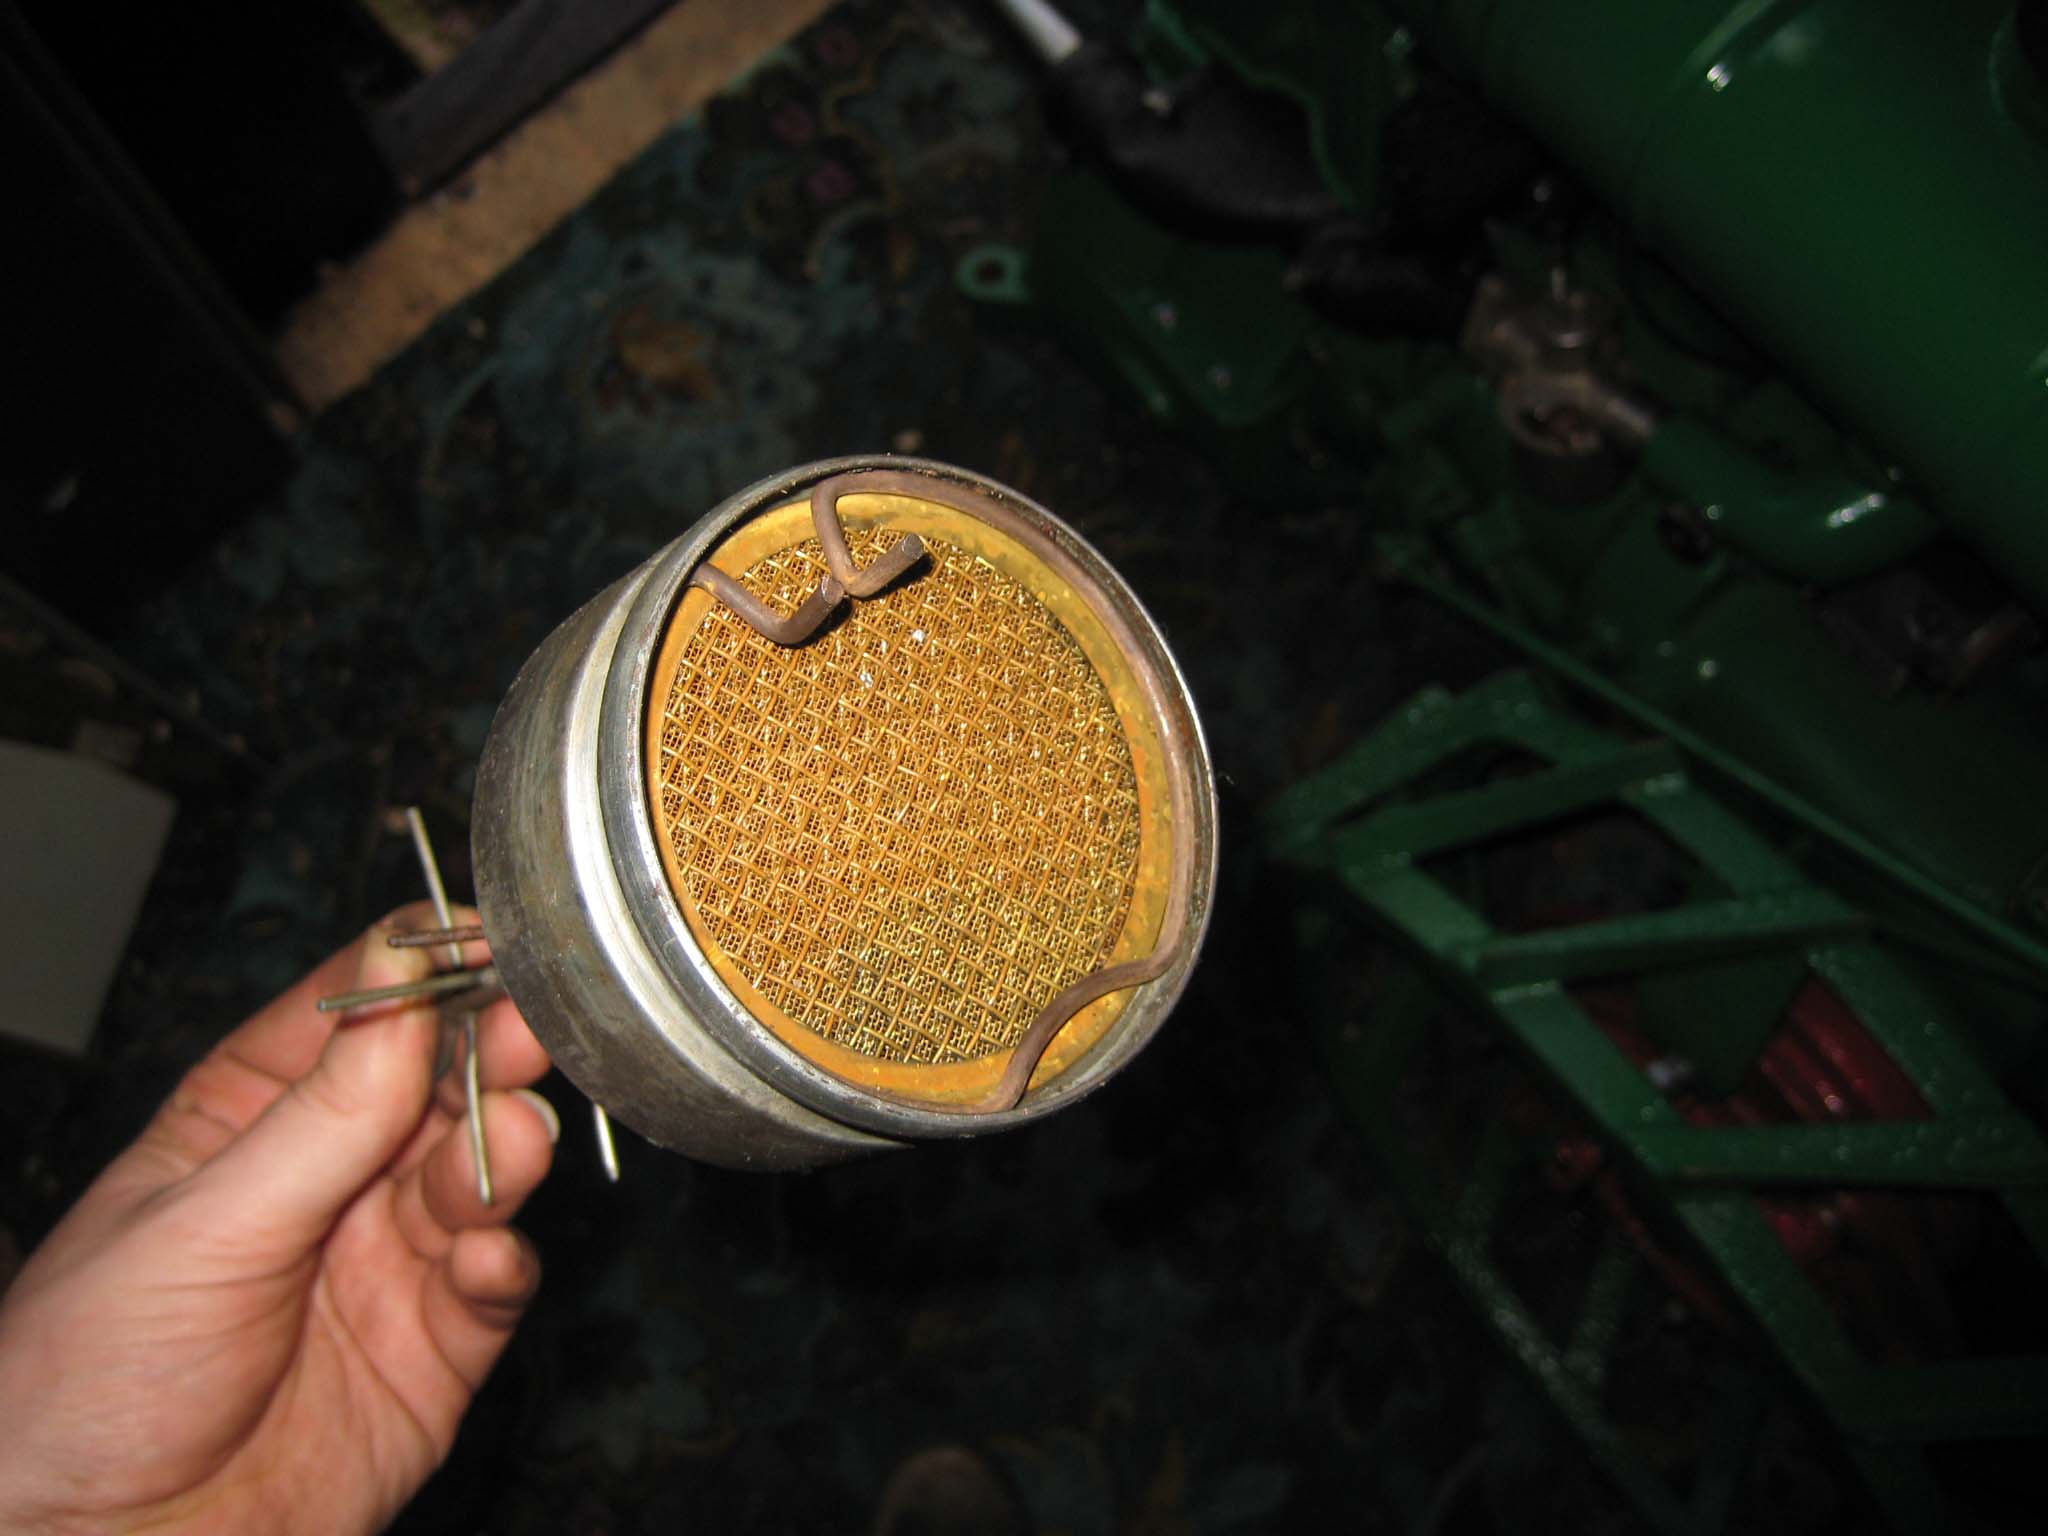
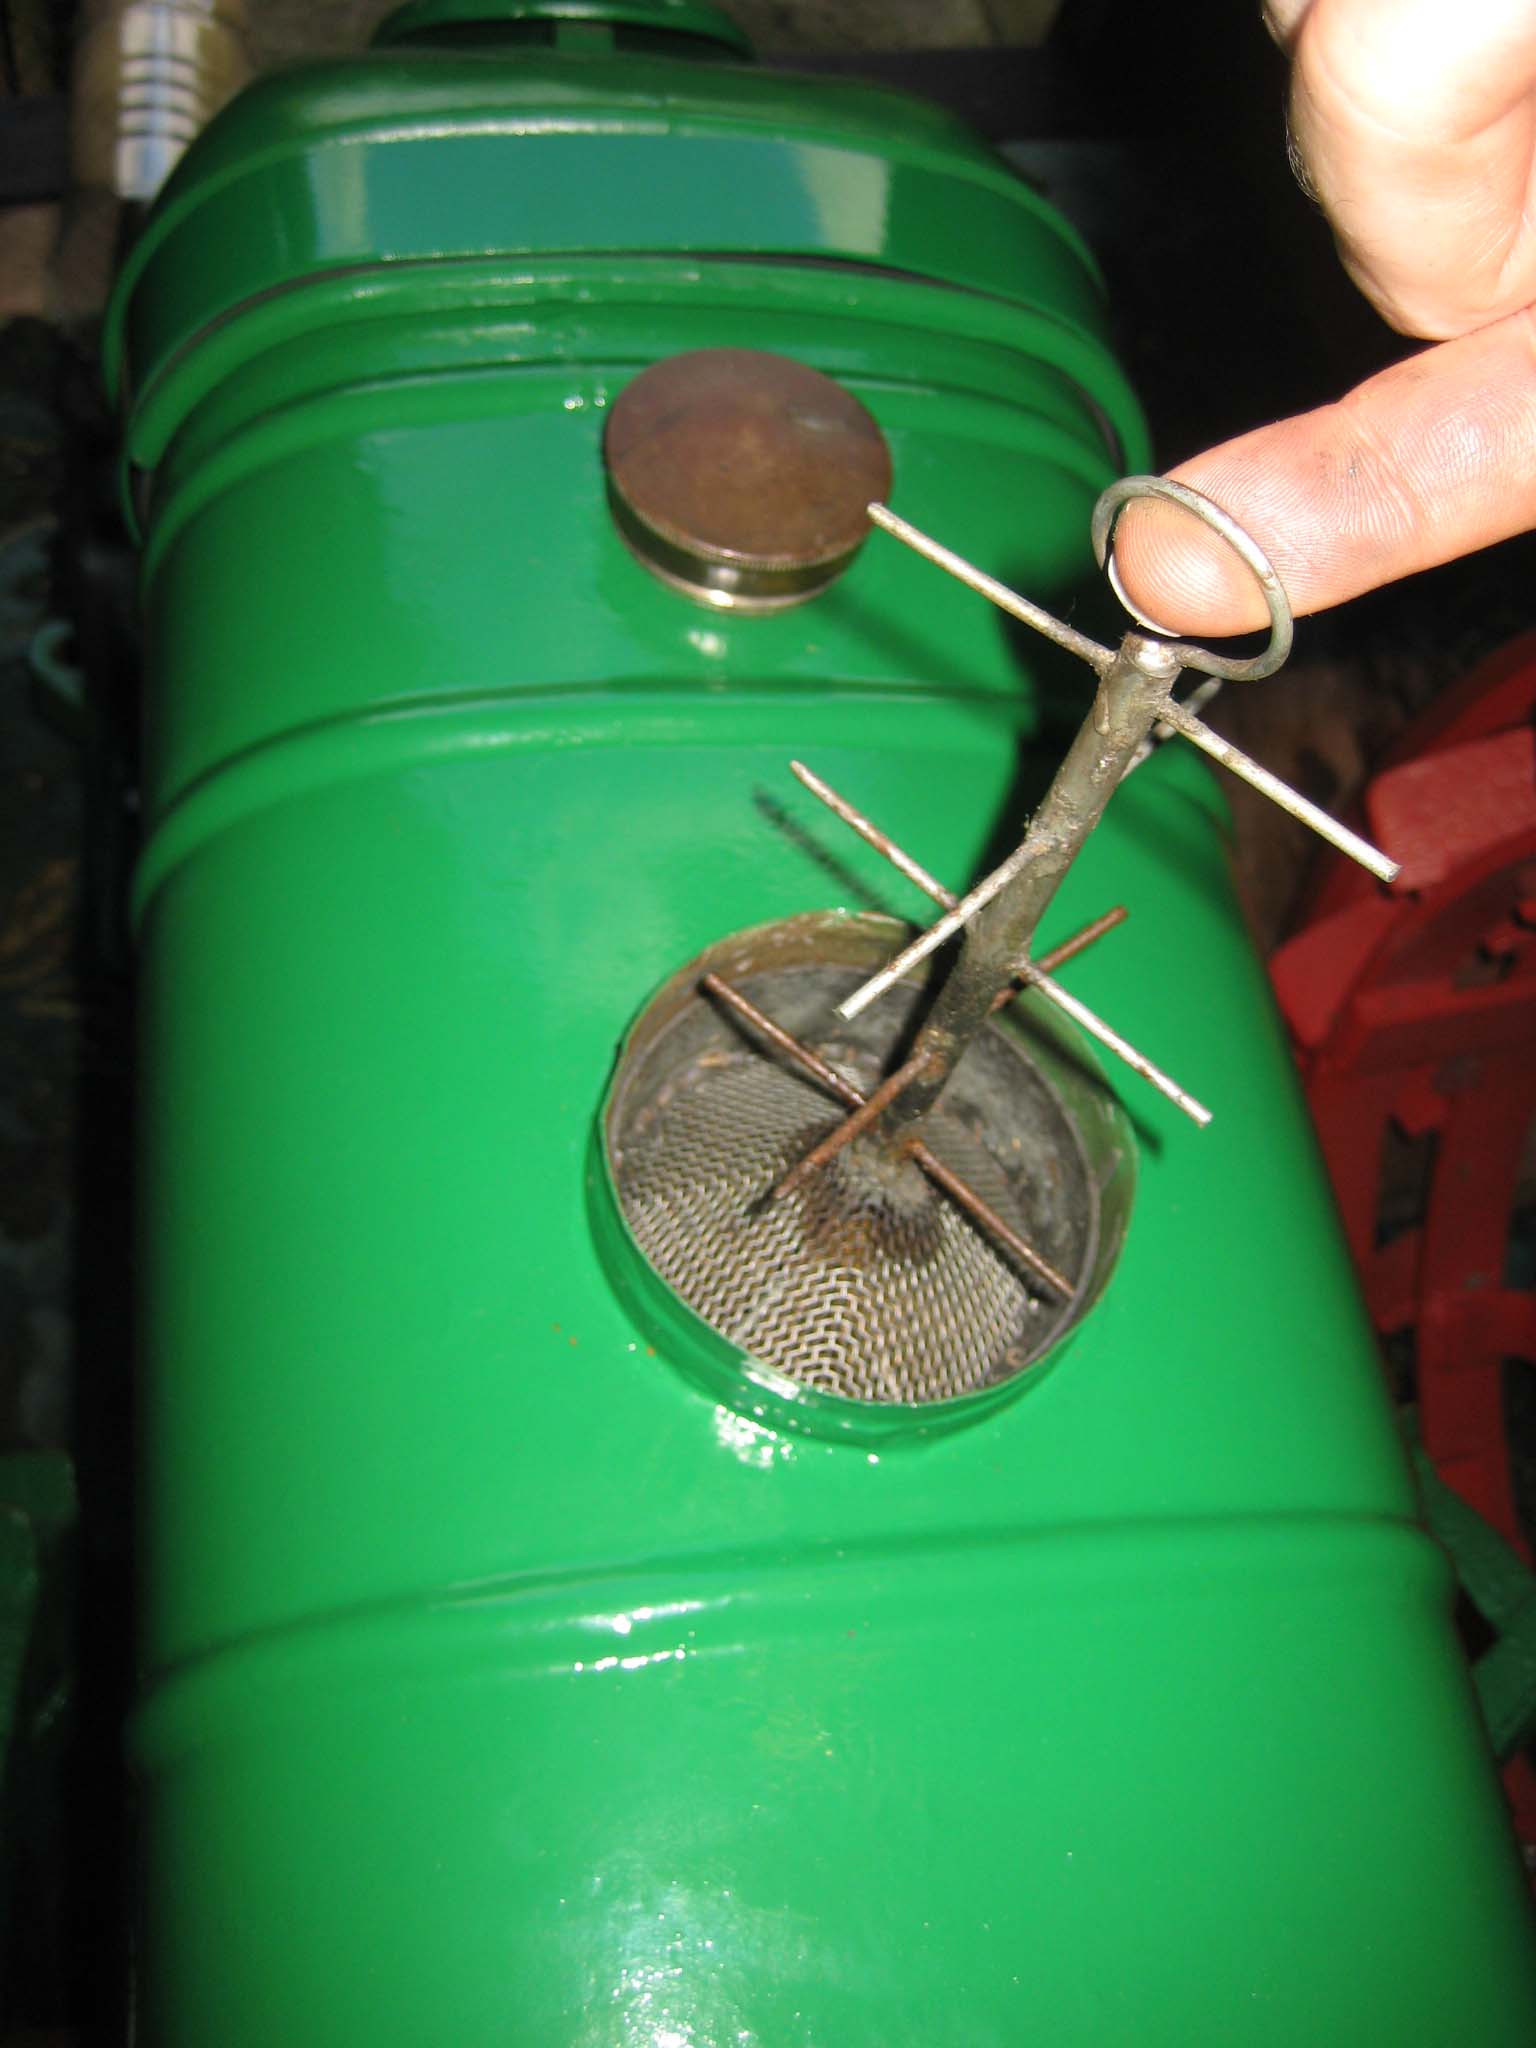
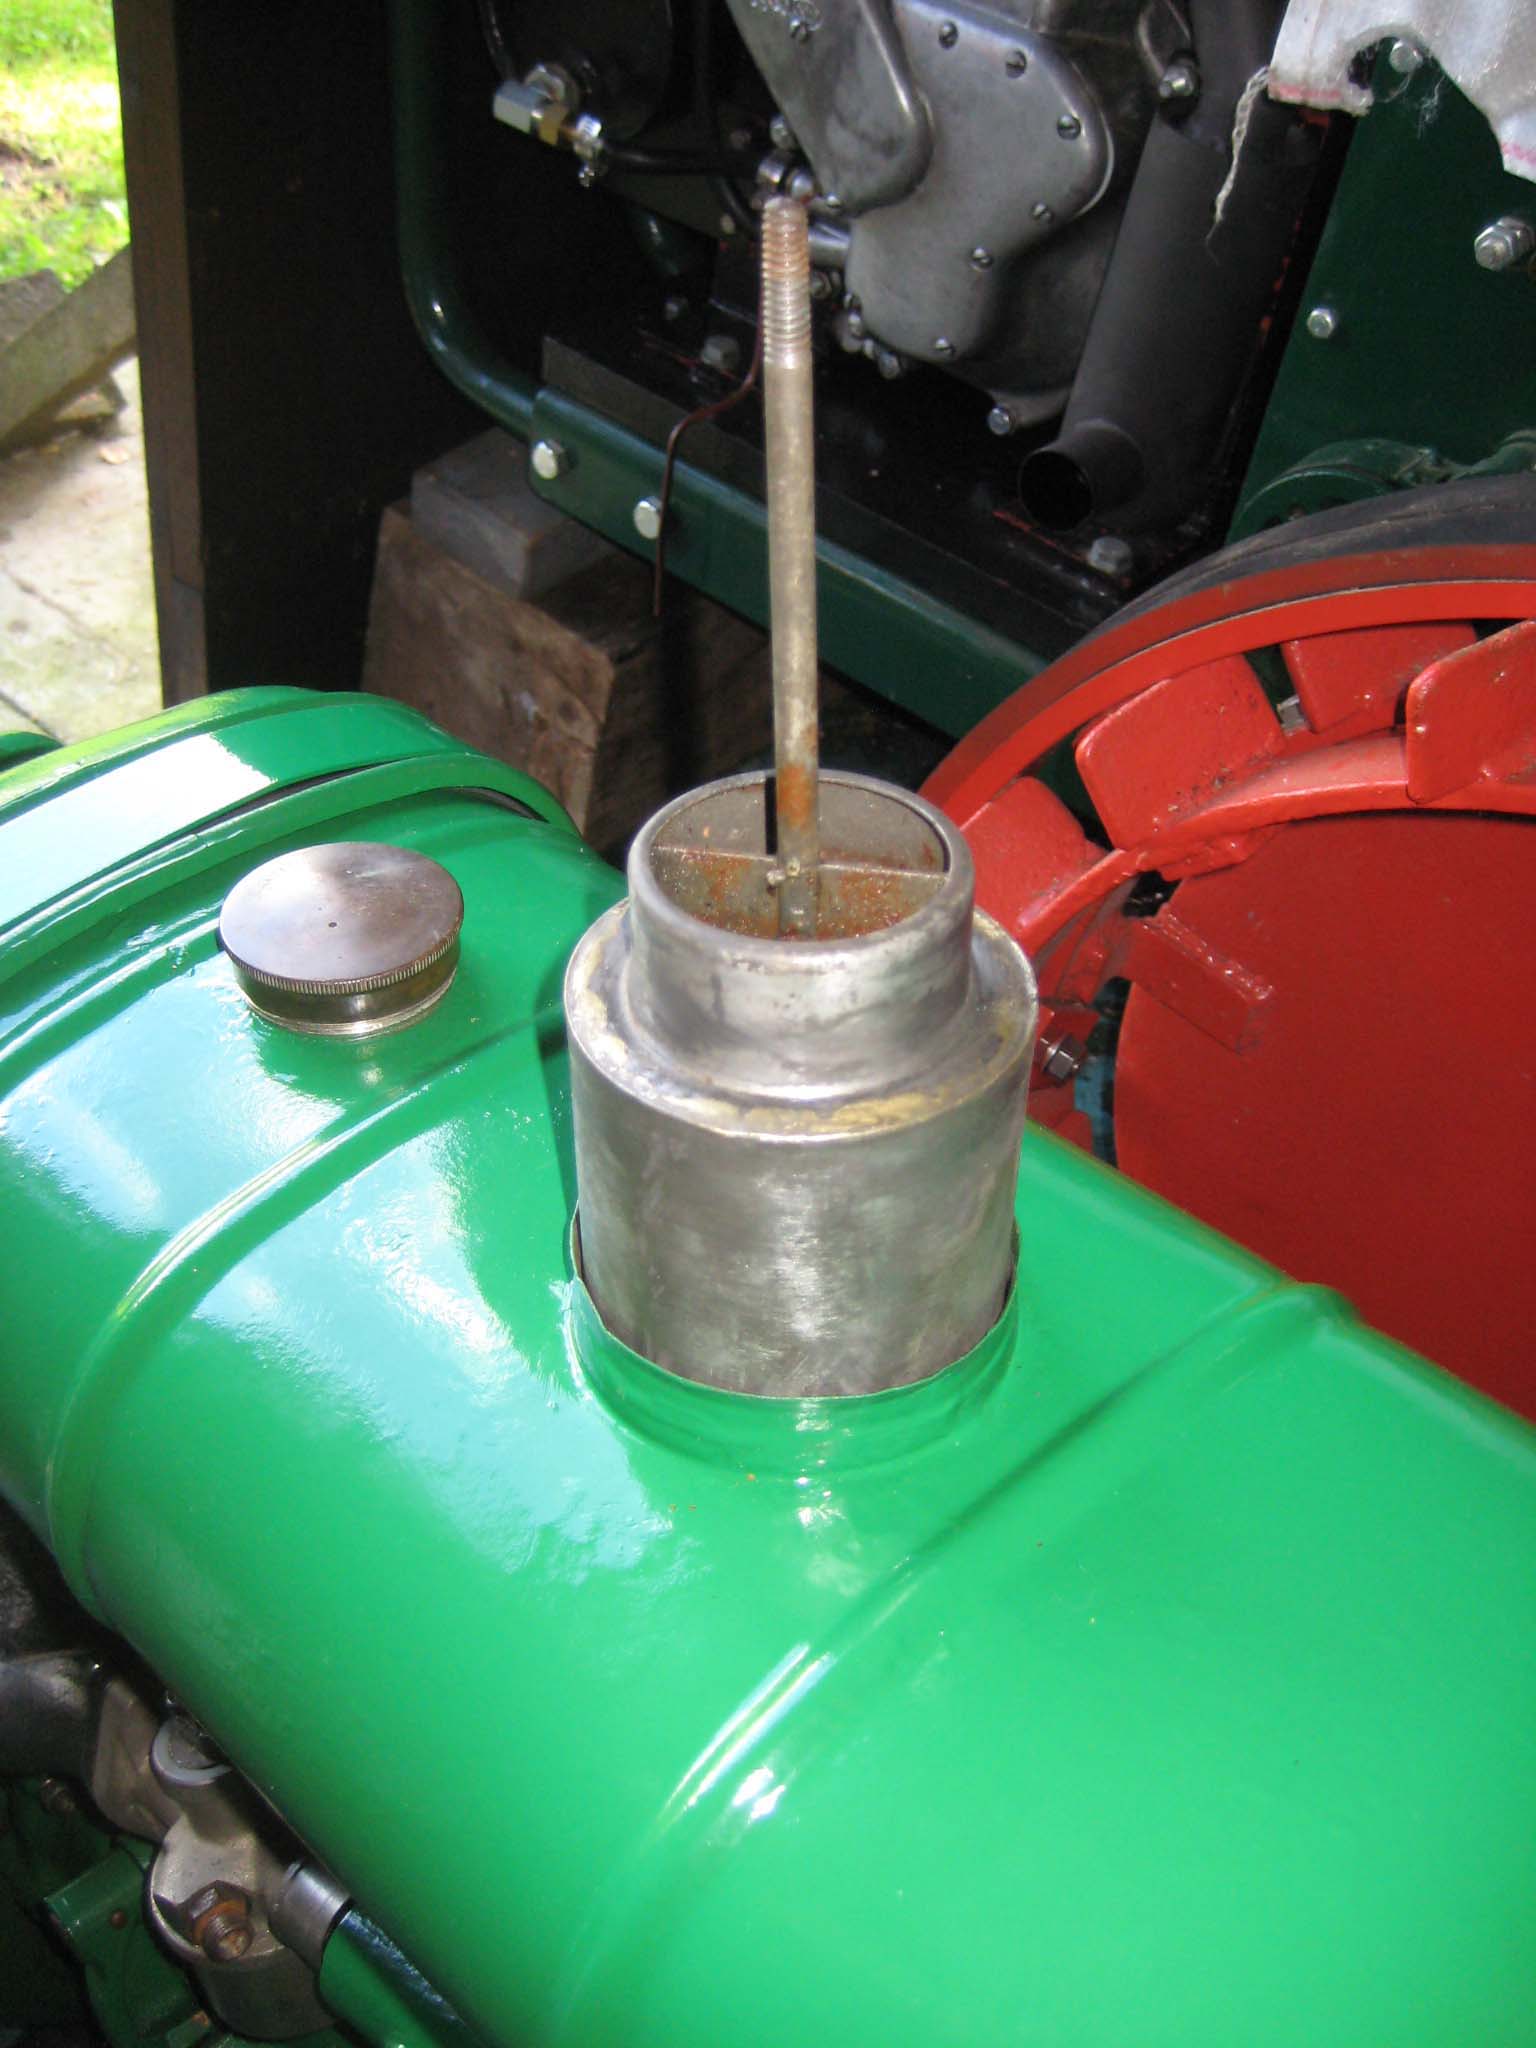
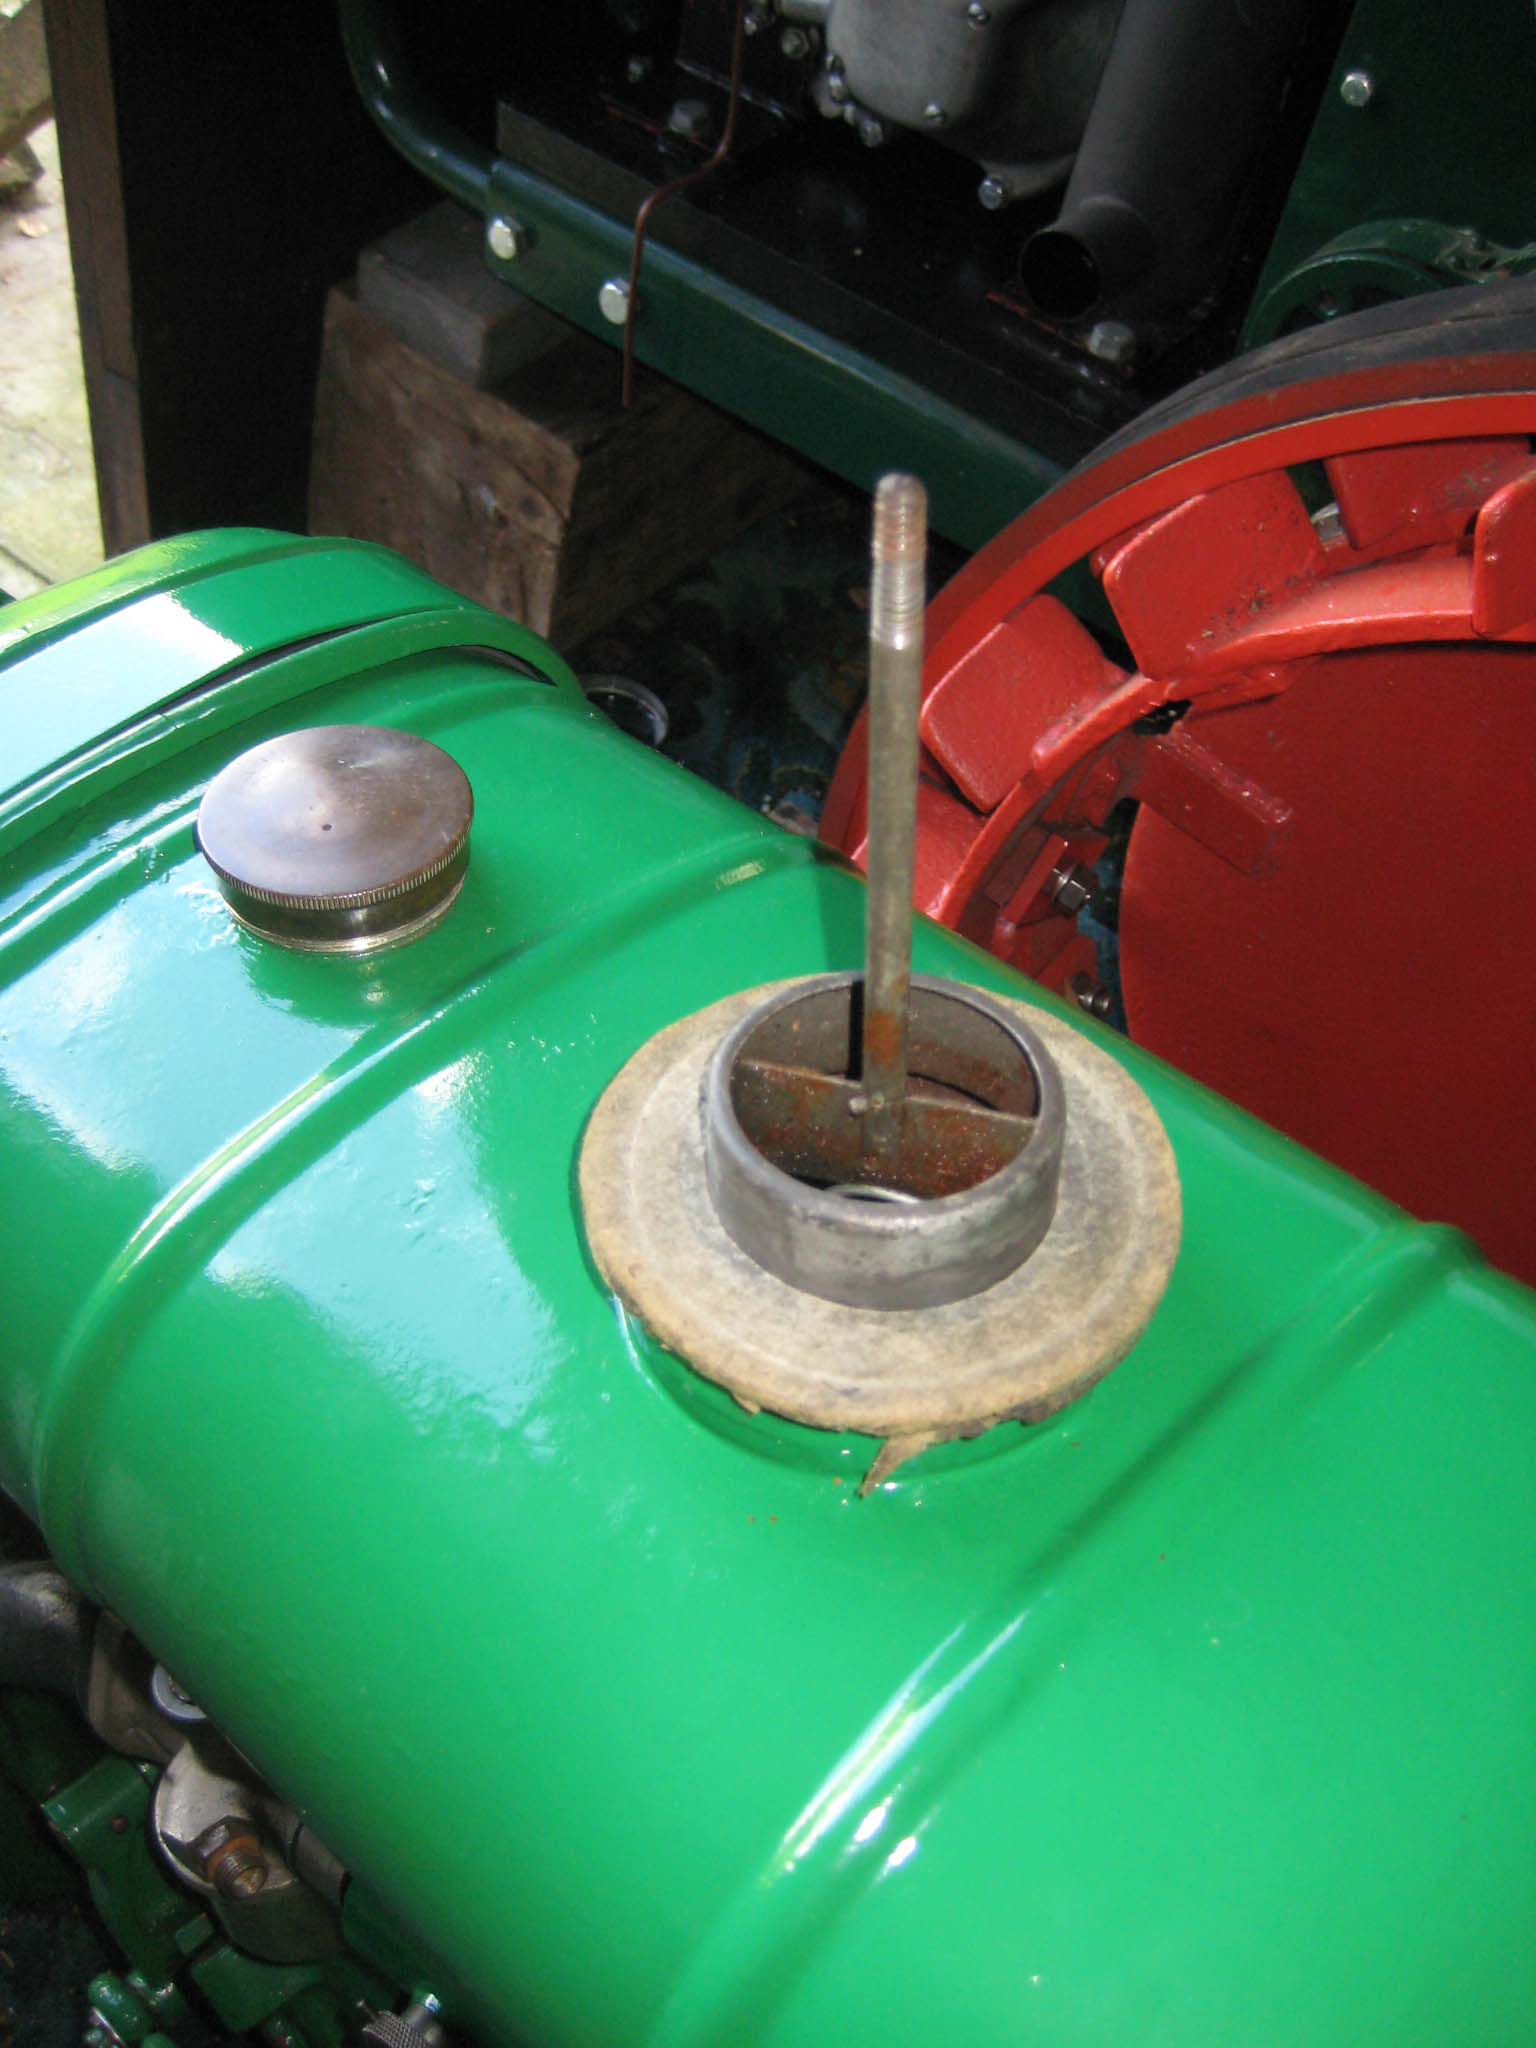
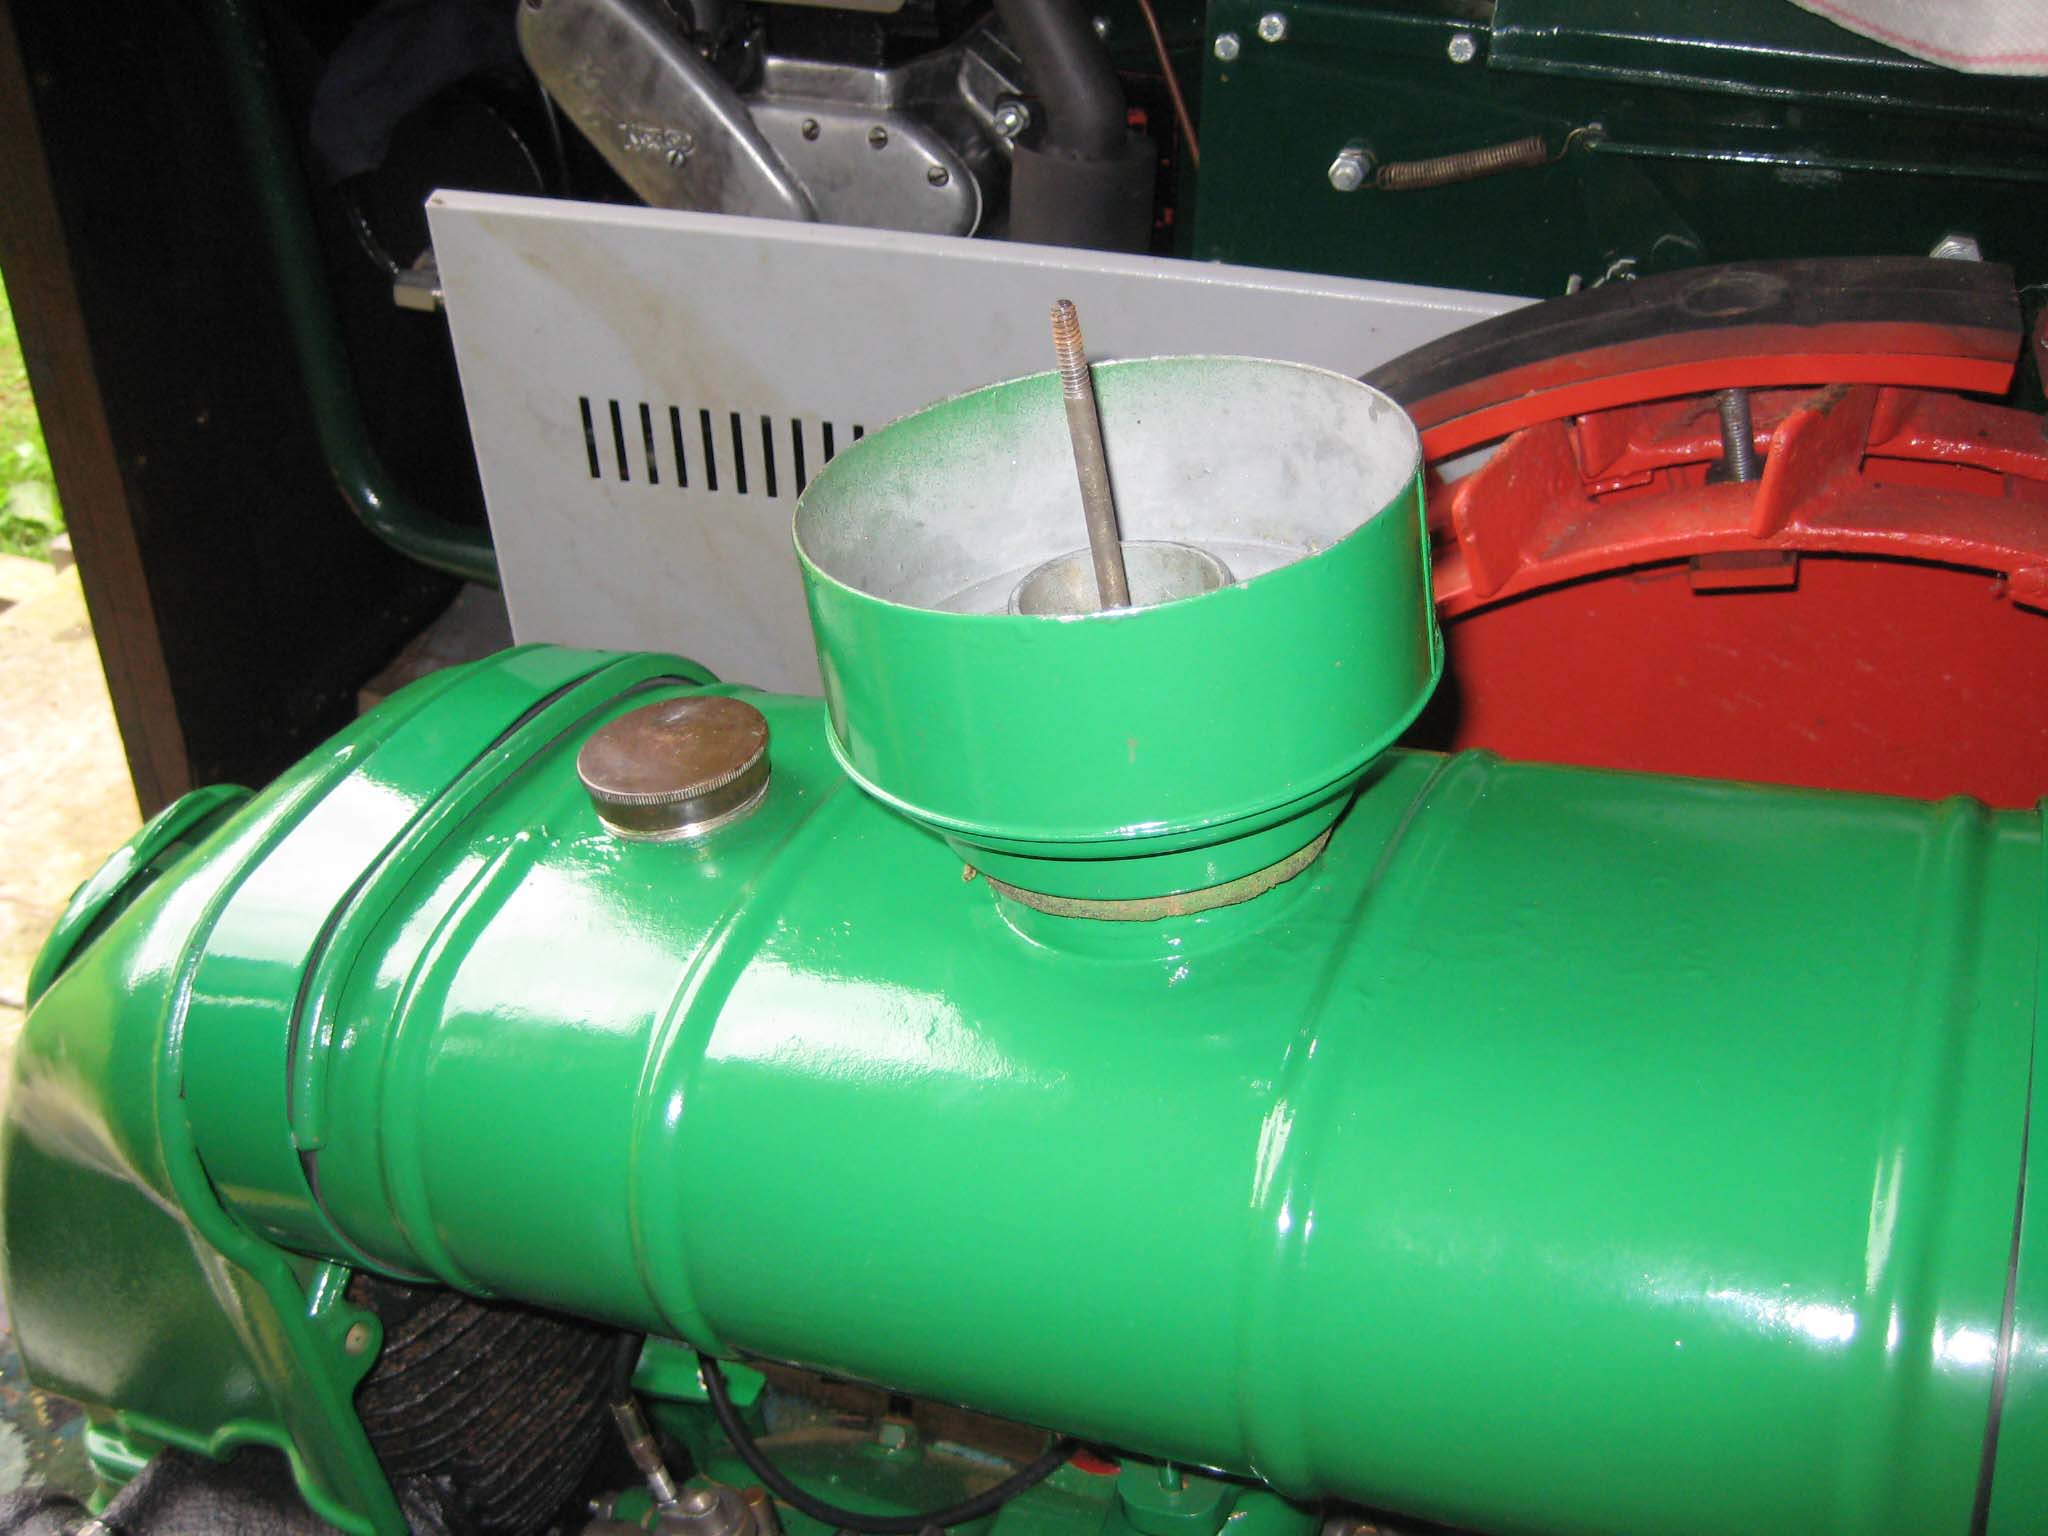
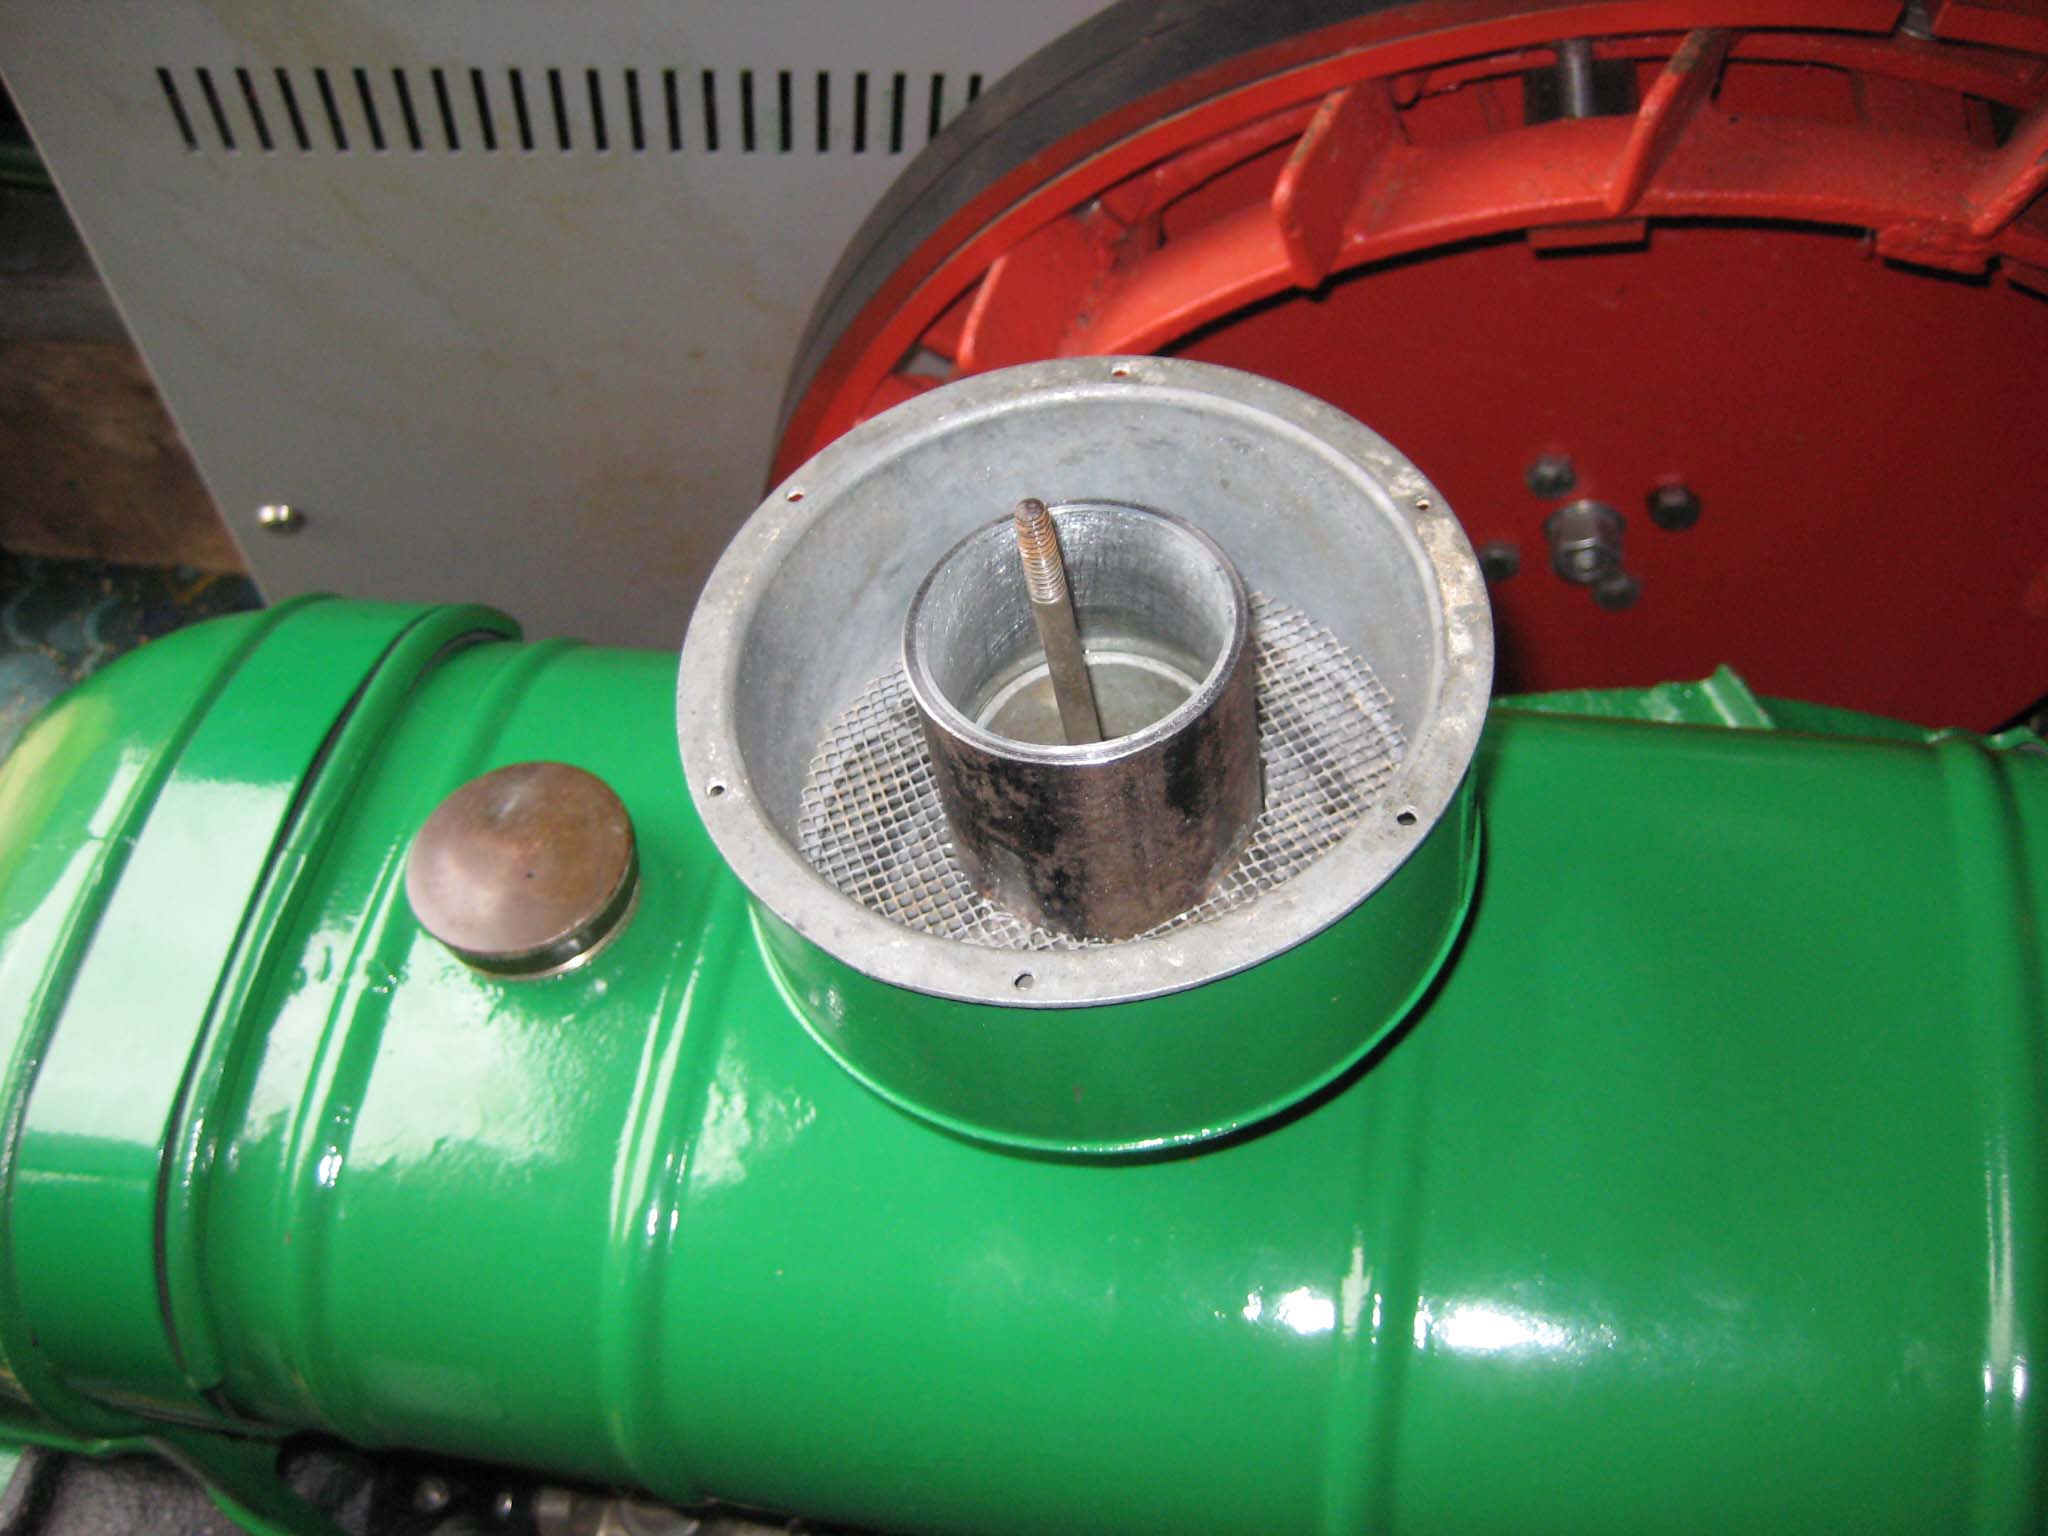
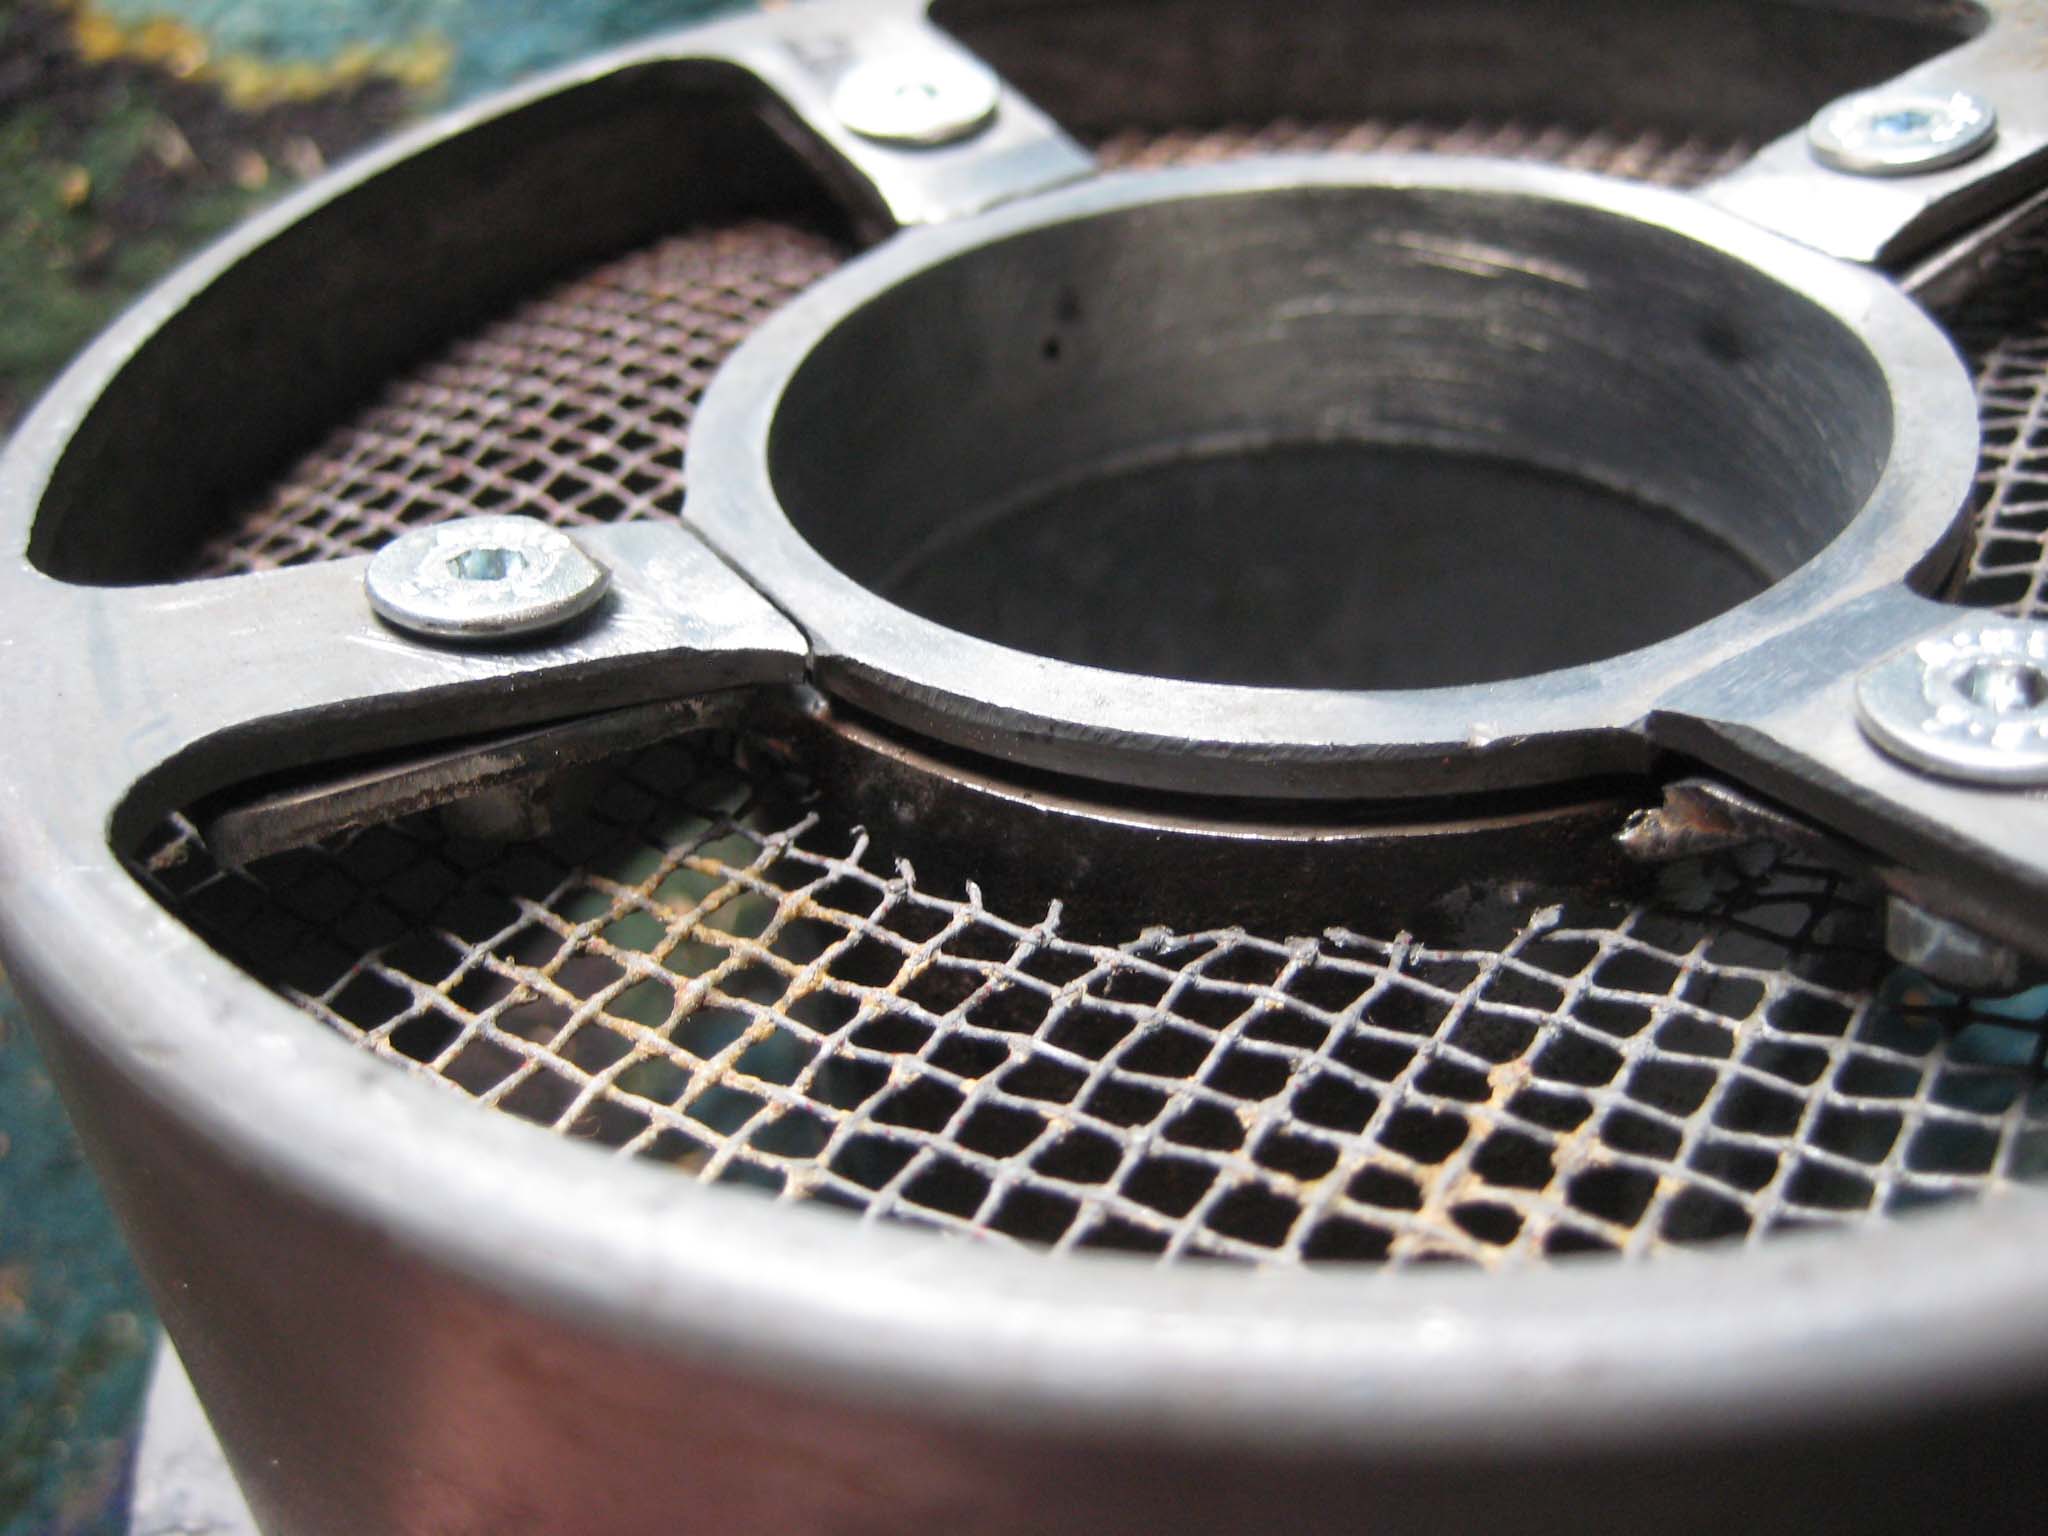
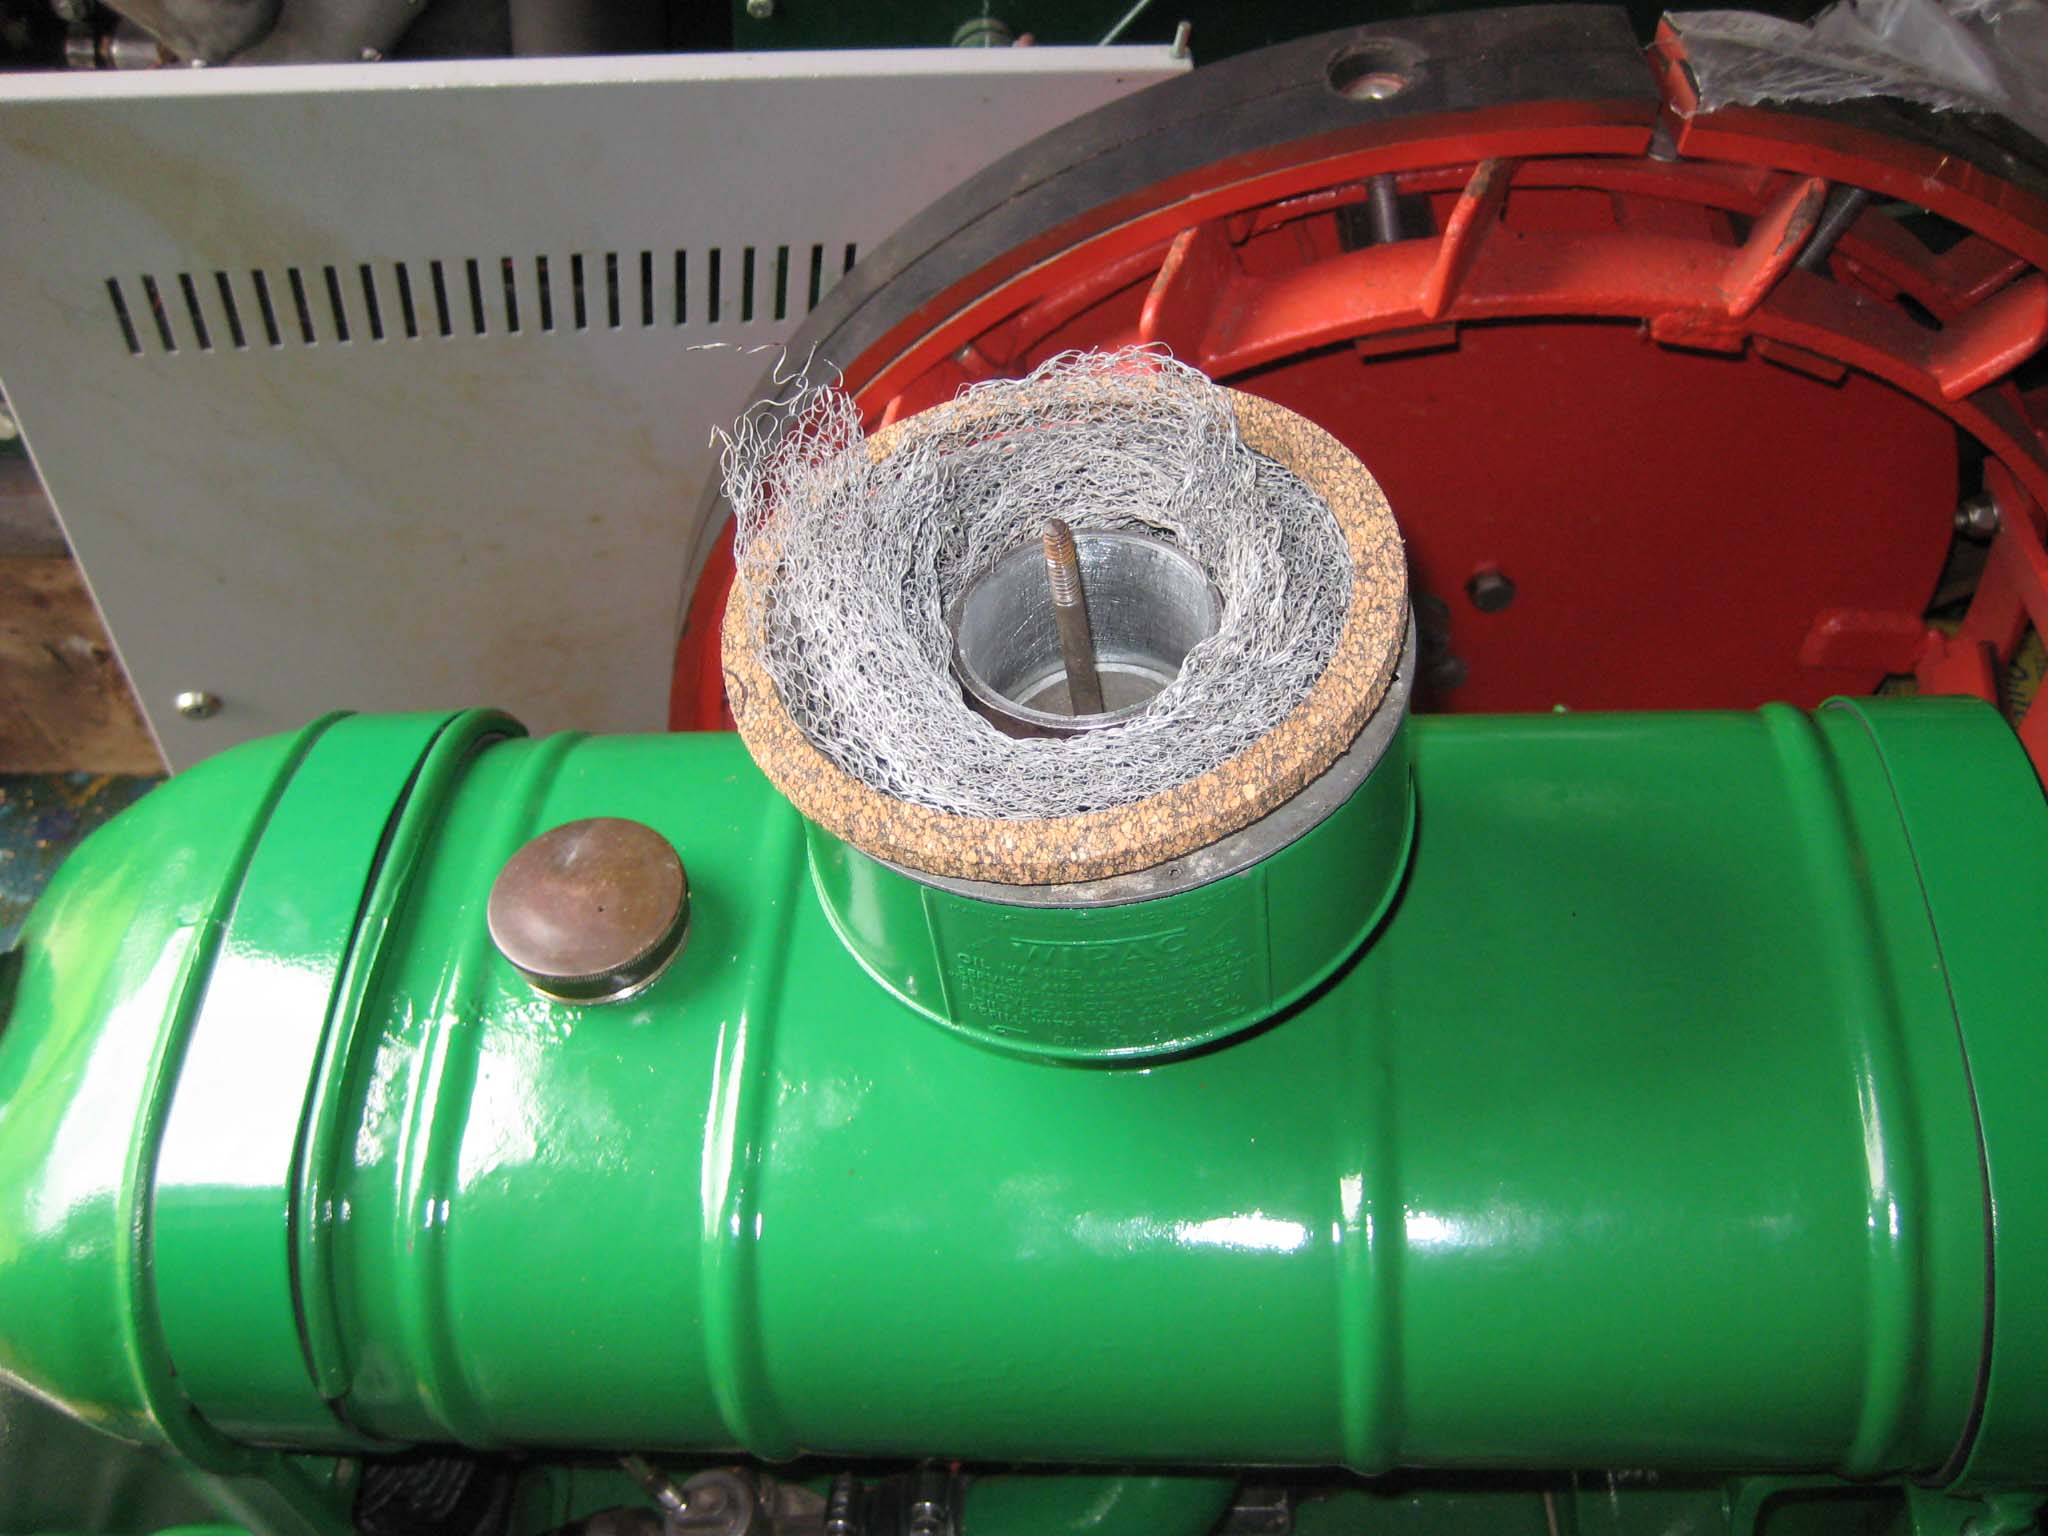
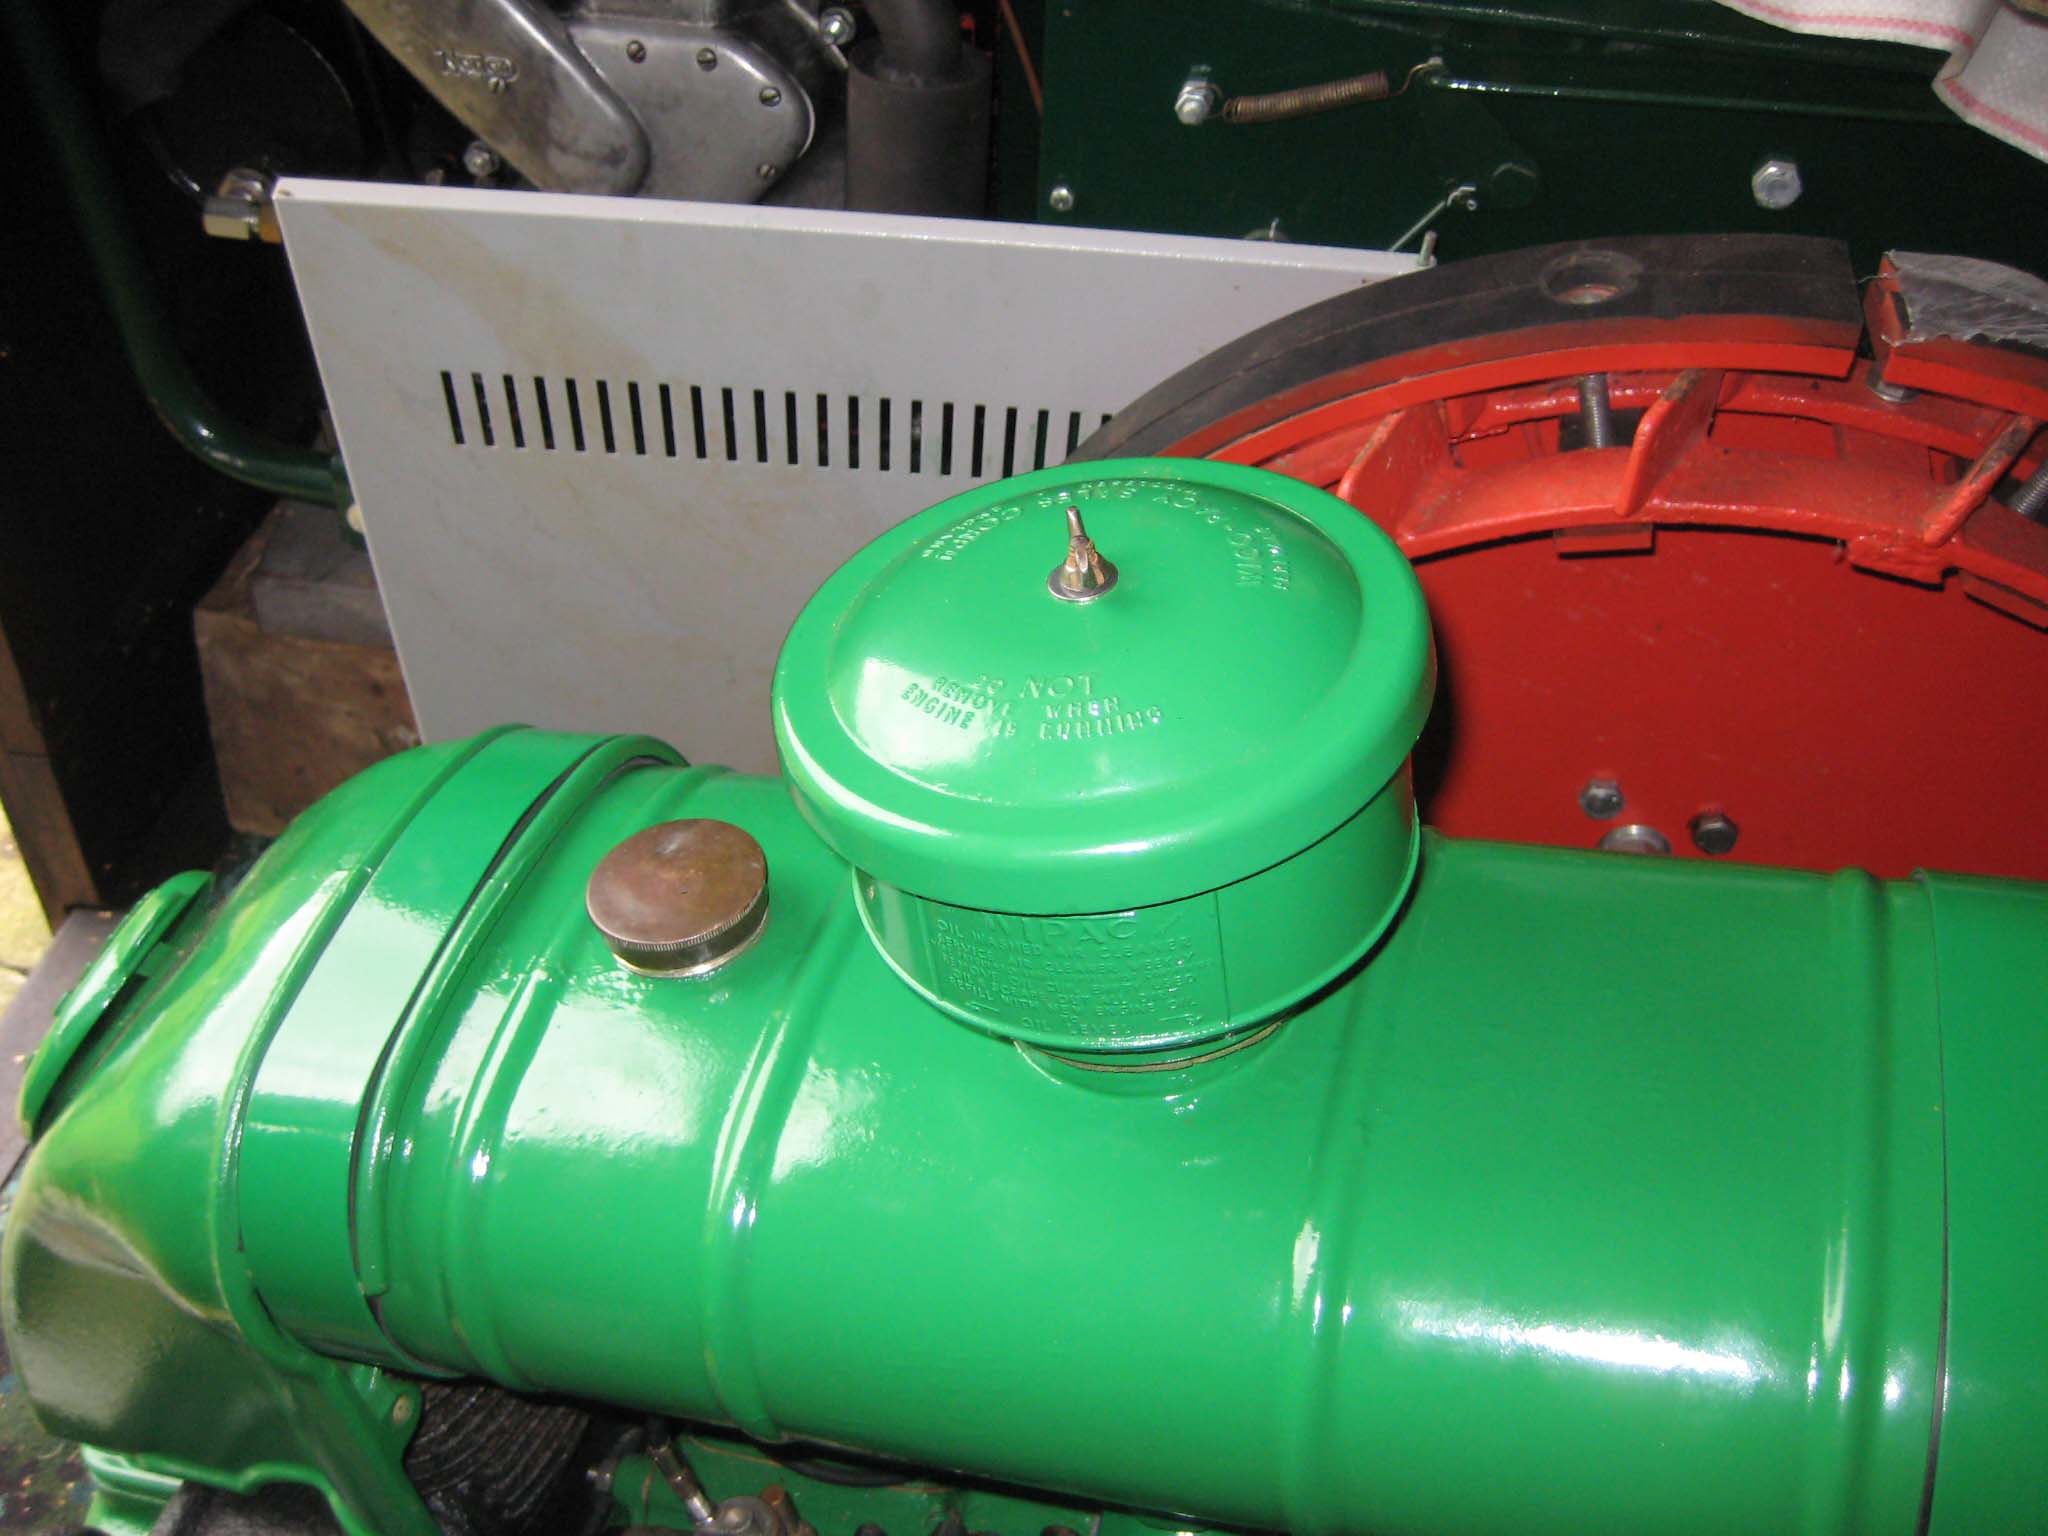
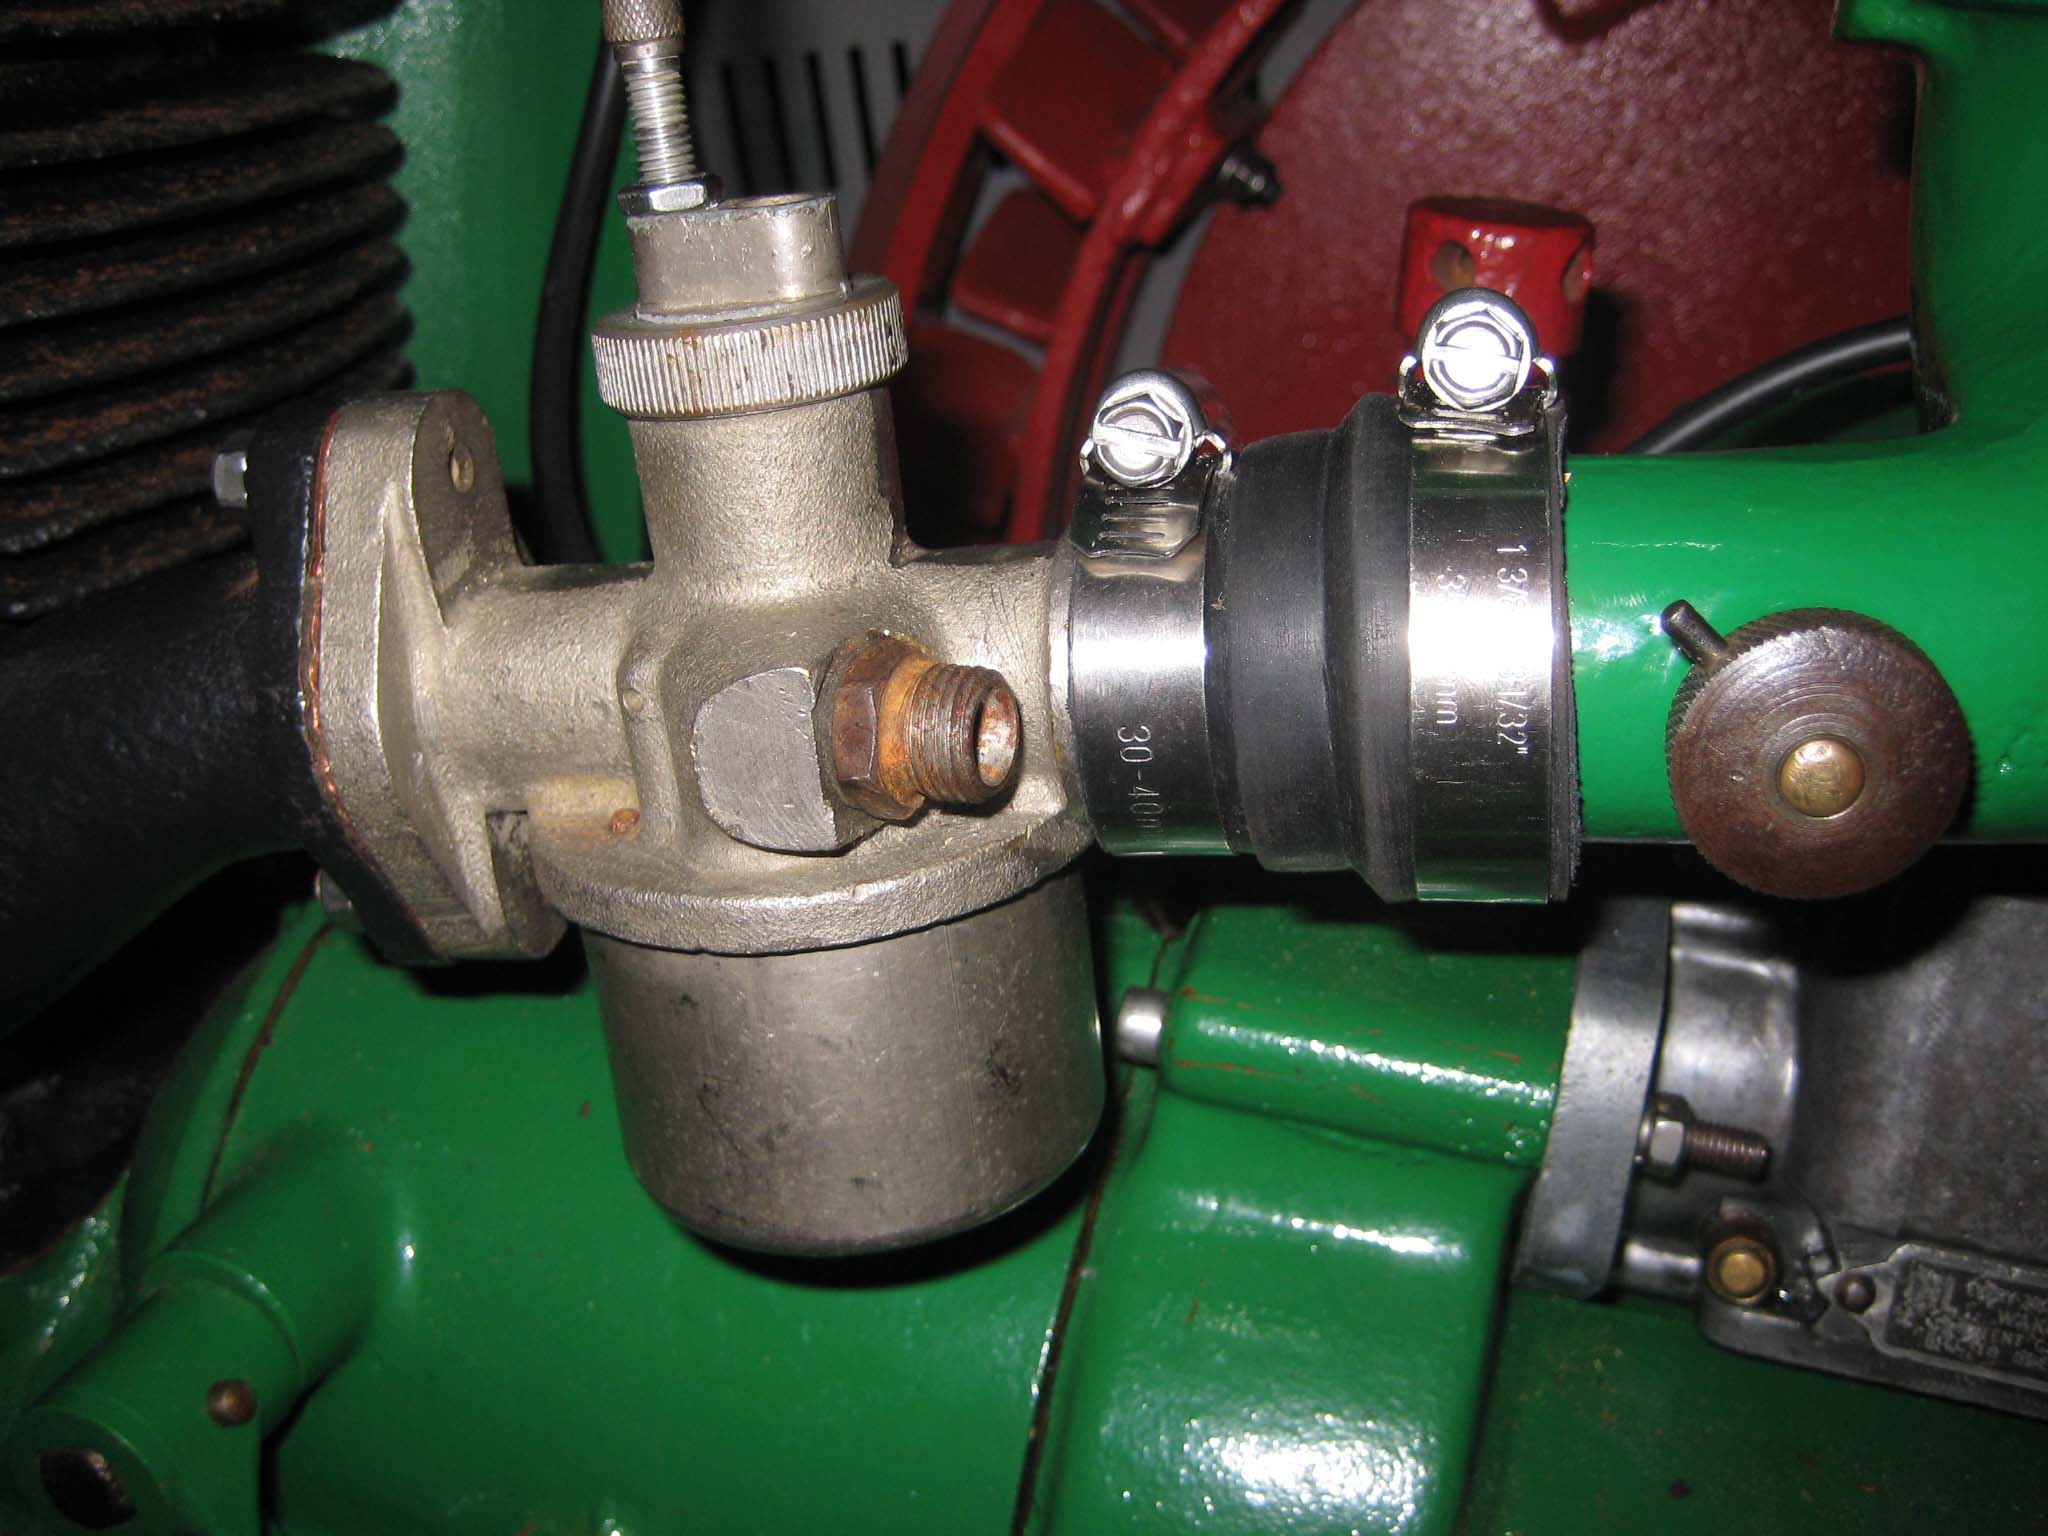
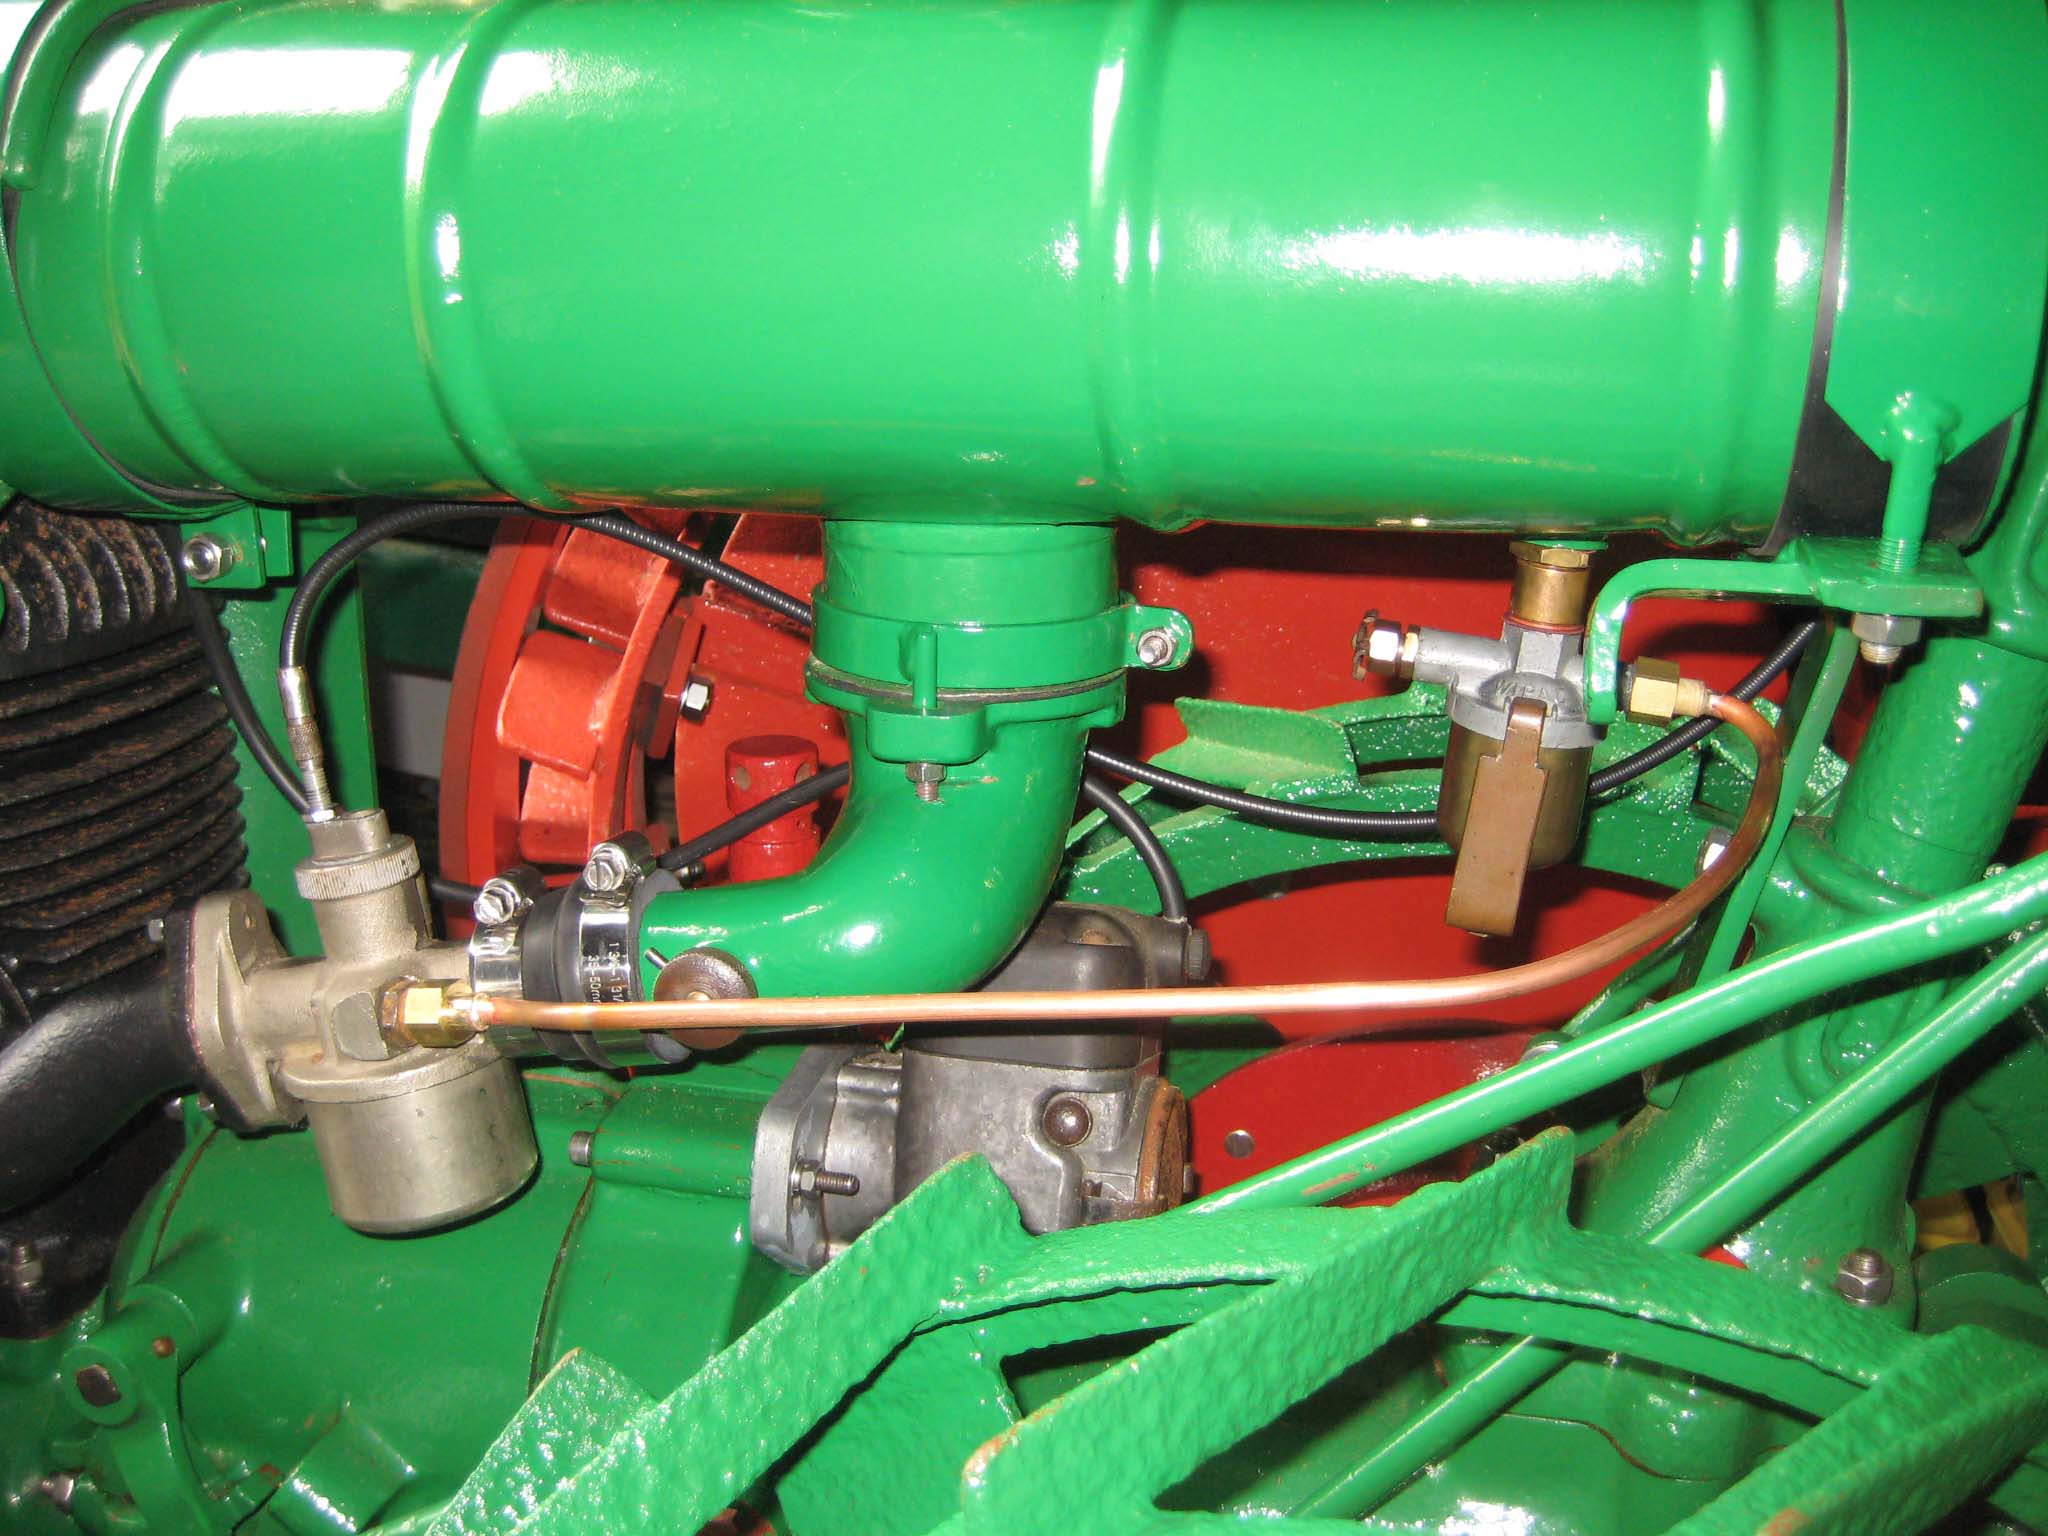
November 8, 2016 at 7:51 pm #22942vhgmcbuddyKeymasterThe air cleaner is made up of several parts. First is a holder for oil soaked wood shavings, which has a gauze on the base held in place by a large retaining clip (Simar 0136). This is lowered through the tube in the centre of the fuel tank so it sits on top of the elbow casting (Simar 0137). The wood shavings will be added when required. Next in goes the air cleaner tube (Simar 0138) onto which is fitted a felt washer (Simar 0139). The oil bath outer body then sits on top of the felt washer (Simar 0140). The oil bath has a removable inner section (Simar 0141). The four webs at the base of this item had broken where they join the inner tubular support. The oil bath seems to be made out of a Zinc alloy (appears to be the same as what carburettors are normally made from), so welding/brazing is not an option. Considered adhesives, but the contact area is very small. My local Blacksmith suggested making a Steel tube to fit over the outside of the central alloy tube, onto which were welded four webs. The whole lot was then bolted together through the new and original webs (Simar 0142). The inner oil bath is filled with a woven mesh filter and has a cork gasket which fits around the top edge (Simar 0143). The whole lot is topped off with a cover held in place by a 1/4″ UNC wing nut (Simar 0144). The air intake elbow is joined to the carburettor by a 40 to 30mm diameter straight rubber reducer (Simar 0145). A new copper fuel pipe was made with 1/4″ BSP ends and fitted between the fuel sediment trap and carburettor (Simar 0146).
Attachments:
November 8, 2016 at 8:41 am #22921vhgmcbuddyKeymasterPlonker. Im having trouble accessing my profile too. I opened a topic in Help and information. Owen.
-
AuthorPosts