
Forum Replies Created
-
AuthorPosts
-
November 8, 2016 at 2:17 am #22919vhgmcbuddyKeymaster
Owen, you are a star, I am having trouble opening the message service so I can send you my email address private, so I will try again tomorrow, thanks for your help. Plonker
November 8, 2016 at 12:05 am #22918vhgmcbuddyKeymasterThanks for that – I will have to be careful tapping the bolts out as there is a slight crack in the clutch carrier around the area where the cone-shaped head of the bolt sits!
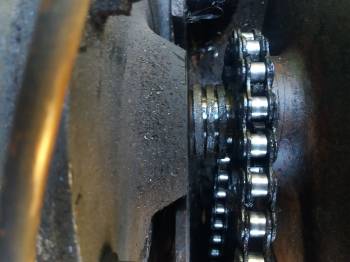
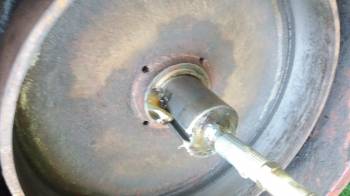
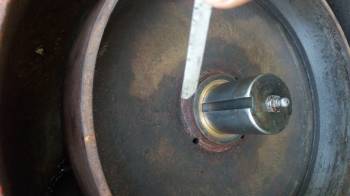
(I have had the carrier off several times whilst sorting out the clutch problem and the bolts to which you refer have not dropped out, so I assume they need tapping out gently)November 7, 2016 at 3:25 pm #22914vhgmcbuddyKeymasterHere is an extra photo with notation. I see that the Clutch base plate has 2 holes for a pin spanner? 65mm apart, 5mm diameter (I would have to make a tool). The centre spindle has shoulders to take a spanner.
Am I right in thinking using an open spanner on the spindle and a pin spanner for the holes I can remove this clutch? I show the direction of engine spindle rotation….presume you would expect opposite thread direction therefore to undo you must rotate clockwise?
Question is……rotate clockwise the plate OR the shouldered spindle (while the other is held still)?Help please!
Attachments:
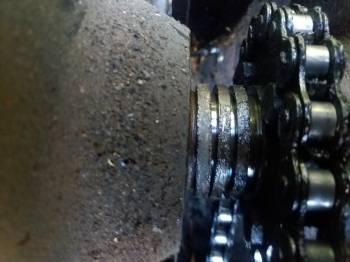
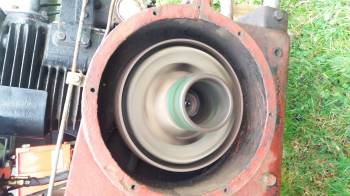
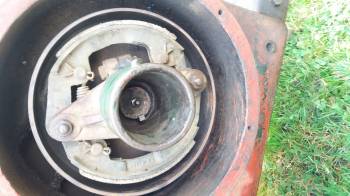
November 7, 2016 at 12:23 am #22895vhgmcbuddyKeymasterSorry, can’t seem to get the hang of posting pictures – Here they are (hopefully)
Pictures taken before I cleaned it up.Attachments:
November 7, 2016 at 12:12 am #22894vhgmcbuddyKeymasterThanks for the comments, that all makes sense. Mine does not have the washer, so I will try and locate one of those.
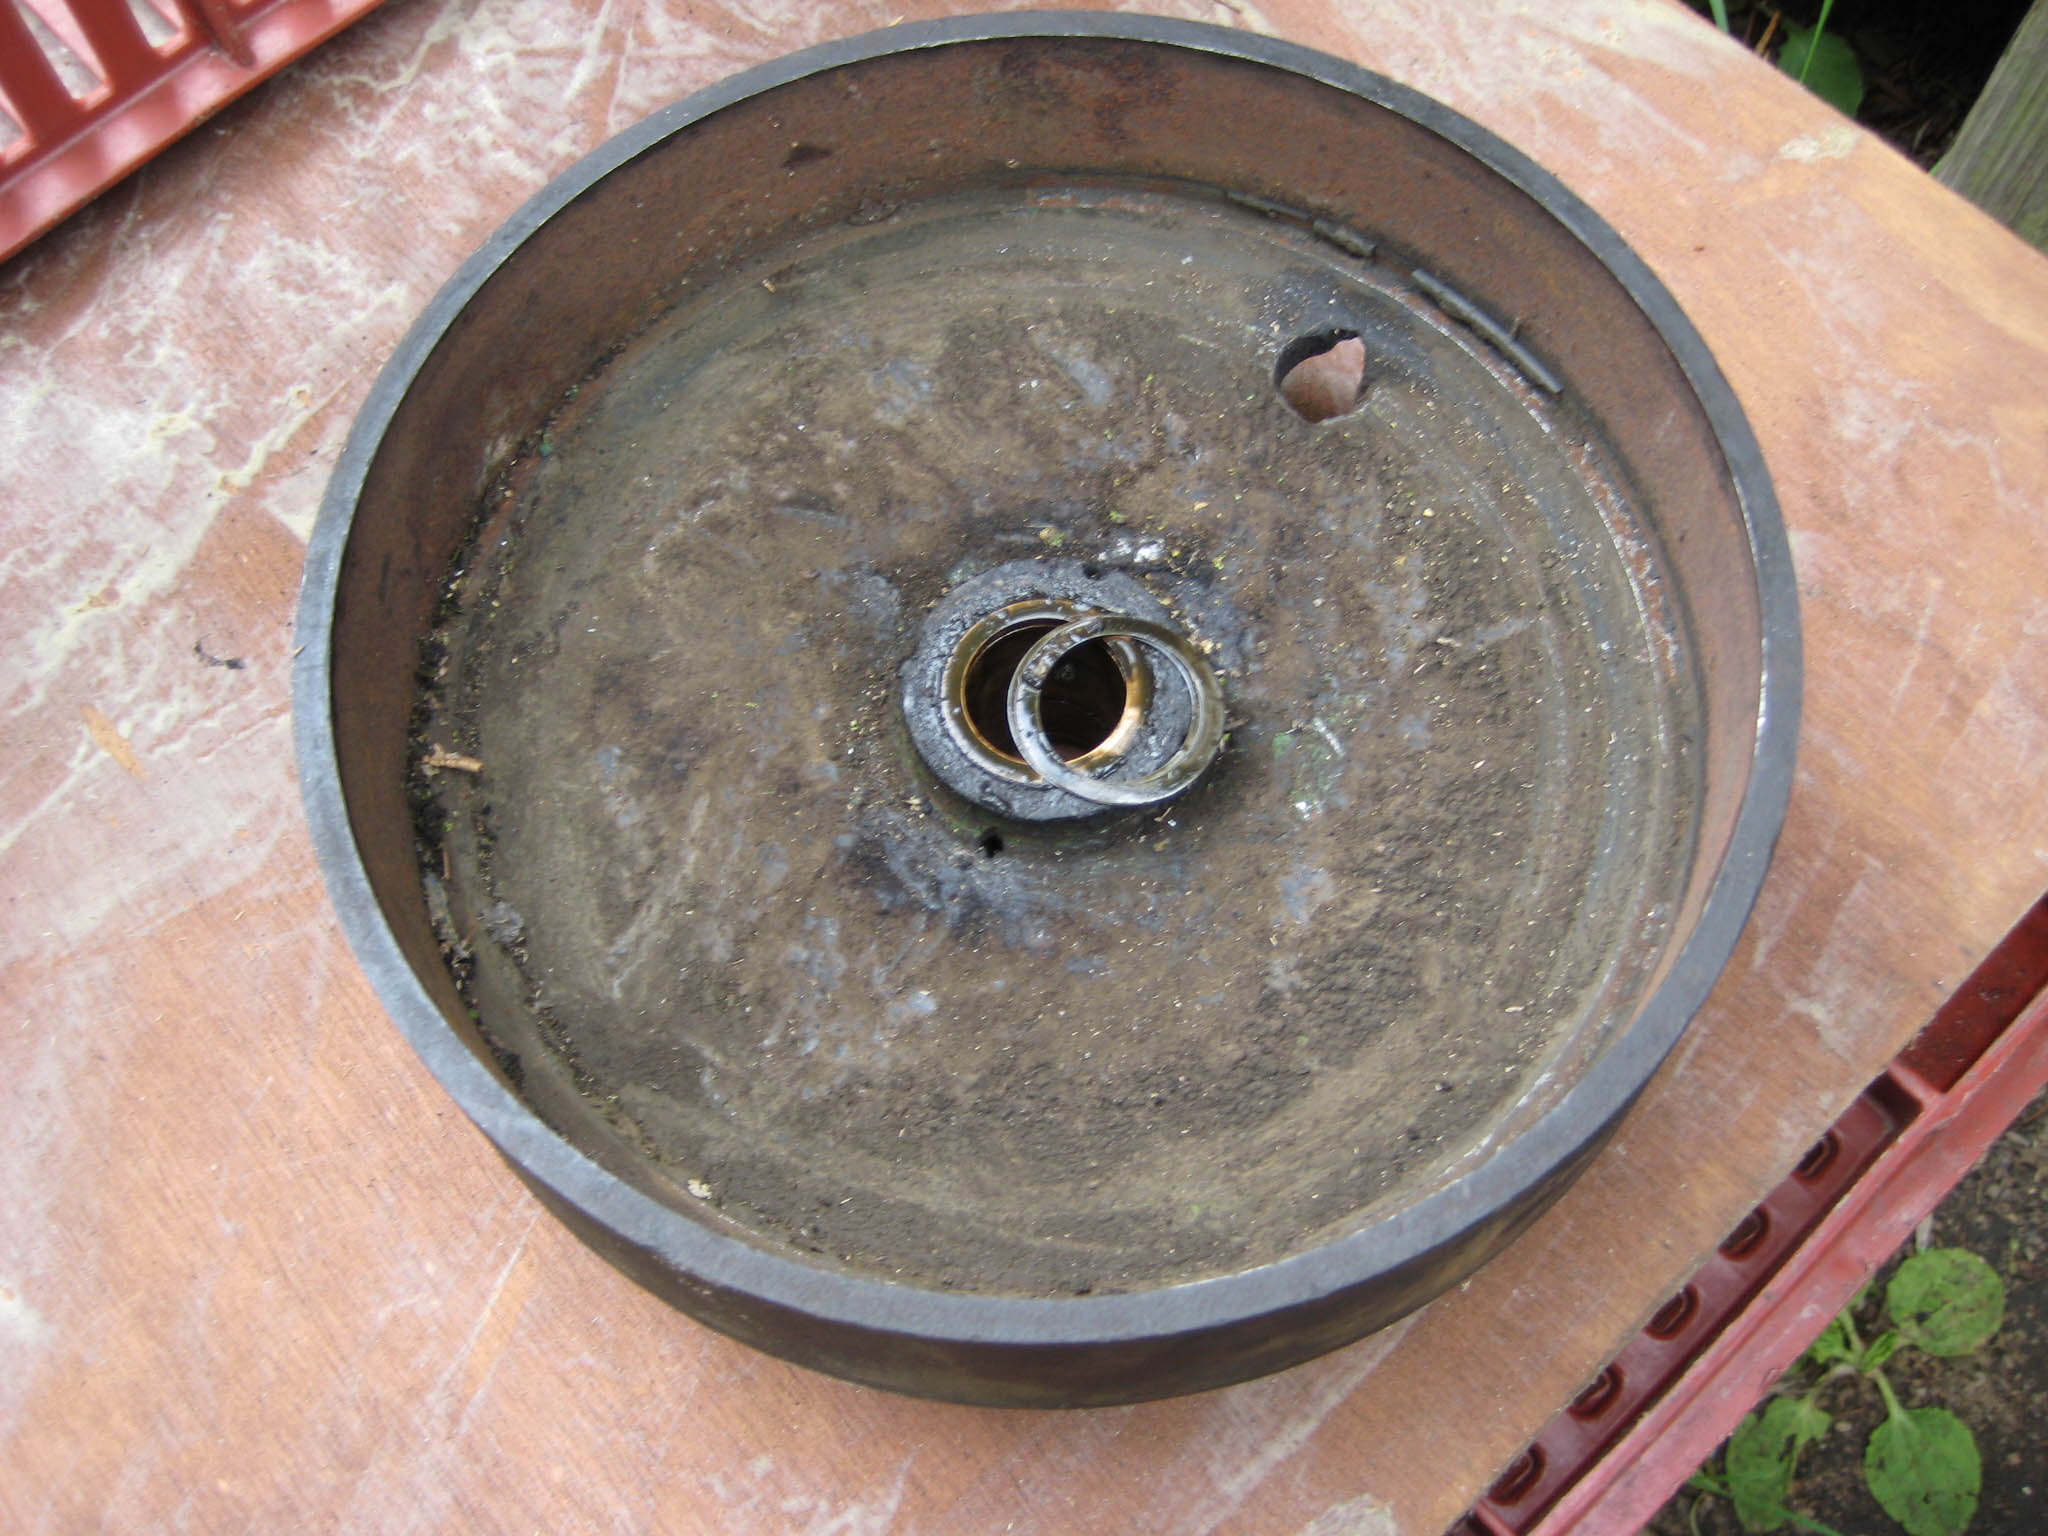
I took the top of the clutch housing off today so I could get to the other side of the clutch drum. There were 3 spacers (see pic) which i cleaned up with petrol and re-greased. I also added more grease to the bush via the grease nipple, this had the effect of pushing out some dirty grease. I then re-located the clutch driver and key just a fraction away from the drum. End result of all this is that the clutch now works perfectly! So thank you.
Next question – How do I remove the clutch shows from the driver, as I need to get them re-lined. BenNovember 6, 2016 at 7:41 pm #22892vhgmcbuddyKeymasterHere’s a photo of the copper washers on my Trusty. They are the same inside/outside diameter as the bronze bush in the drum.
Attachments:
November 5, 2016 at 11:38 pm #22854vhgmcbuddyKeymasterWith the knowledge you all have, I know we will get to the bottom of this problem. (interesting to know trusty220 that this is a modified crankshaft). The gap you referred to I believe to be an optical illusion as there appears to be no gap when seen in the flesh, indeed the drum seems to sit perfectly on the crankshaft.
I will try pulling the key out slightly to see what that does and maybe position the clutch driver slightly away from the back of the drum.
One other thought – Busman, in his restoration (which I have studied on this site) mentioned this: “Don’t forget to fit the copper washer that sits between the clutch drum and clutch driver, otherwise the clutch assembly can rub against the vertical face of the drum.” Well, I don’t appear to have such a washer – do I assume there should be one and if so, wouldn’t it be an unusual shape to fit over the key which sits proud of the crankshaft?Sorry for all the questions and I really appreciate the answers.
Ben.
November 5, 2016 at 6:17 pm #22848vhgmcbuddyKeymasterI would be wary of starting the engine with just the clutch drum attached to the crank. In theory, the drive chain should stop it from sliding off the crank, but if the chain was to jump off the sprocket, you could end up with the clutch drum whizzing across your garden in Dambusters bouncing bomb style!!
As for the orientation of the key in the keyway, I think you are probably correct that the tapered end is located towards the engine, but hopefully someone can confirm. The key on my Trusty is different, in that it has a grease nipple on the outer end, so can only be fitted one way.
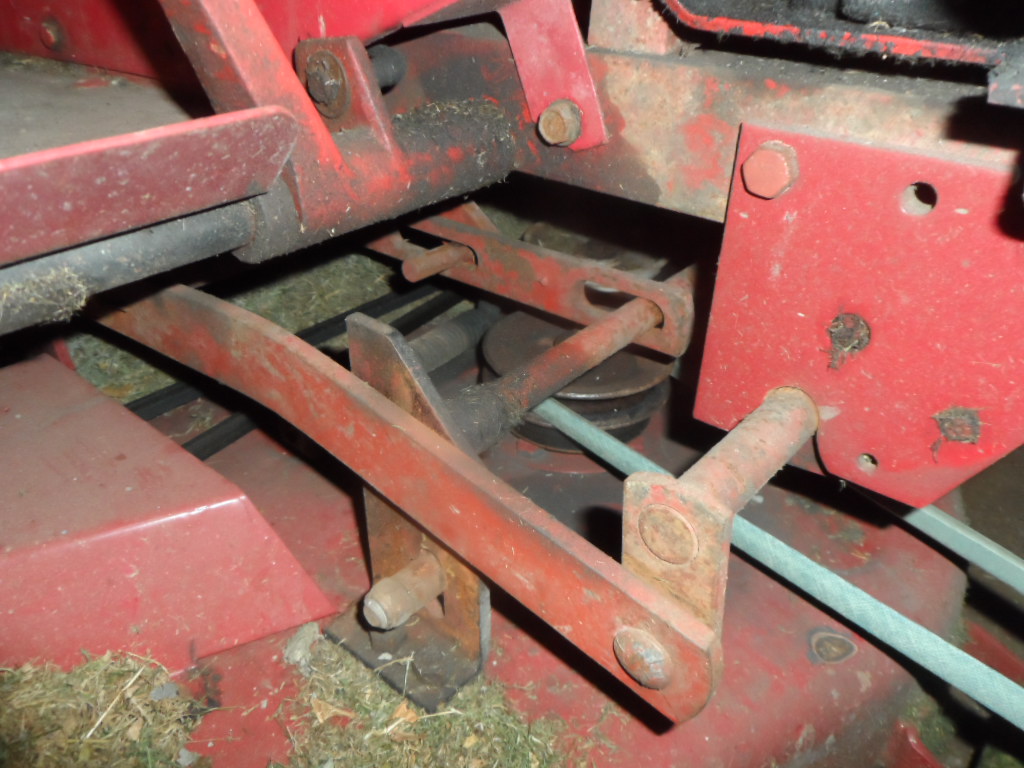
November 5, 2016 at 10:30 am #22845vhgmcbuddyKeymasterHello, I hope this helps. The deck attaches to the hitch o matic and the lifting gear, which is the short pin in slot at the back, see photo. If you PM me your email I can send you a deck manual. Owen. This photo is of my C145.
Attachments:
November 5, 2016 at 12:56 am #22844vhgmcbuddyKeymasterput copper grease on the shaft
Point of order! Copper “grease” is not a lubricant for rotating components but an anti-seize compound and is not a substitute for “proper” grease or oil.
November 4, 2016 at 7:59 pm #22843vhgmcbuddyKeymasterHi Busman. Yes, I did wonder the same thing.
When I originally took the clutch drive off the key just dropped out, so I never got to see how it was situated.
Do I assume the tapered end goes downwards and towards the bush?
I could easily losen the clutch drive and pull the key away from the bronze bush a bit.
One more question. Could I start the engine with the clutch drive removed? If so, I could then see if the drum rotates place – this might narrow down what the problem is.November 4, 2016 at 7:39 pm #22842vhgmcbuddyKeymasterCould the problem be that the key has been driven too far along the keyway and is pressing against the bronze bush on the clutch drum, causing it to spin with the crank?
November 4, 2016 at 3:17 pm #22835vhgmcbuddyKeymasterTake 3
Attachments:
November 4, 2016 at 1:55 pm #22834vhgmcbuddyKeymasterTry again
November 3, 2016 at 8:04 pm #22833vhgmcbuddyKeymasterPicture
-
AuthorPosts