Home › Forums › The Machinery Forums › Pedestrian operated machines › Hard to get Trusty in gear
- This topic has 41 replies, 7 voices, and was last updated 9 years, 7 months ago by
 trusty220.
-
AuthorPosts
-
November 4, 2016 at 3:17 pm #22835
 vhgmcbuddyKeymaster
Take 3
Attachments:
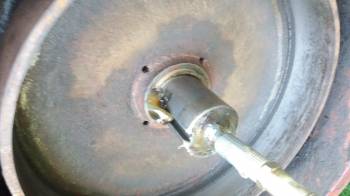
November 4, 2016 at 7:39 pm #22842vhgmcbuddyKeymasterCould the problem be that the key has been driven too far along the keyway and is pressing against the bronze bush on the clutch drum, causing it to spin with the crank?
November 4, 2016 at 7:59 pm #22843vhgmcbuddyKeymasterHi Busman. Yes, I did wonder the same thing.
When I originally took the clutch drive off the key just dropped out, so I never got to see how it was situated.
Do I assume the tapered end goes downwards and towards the bush?
I could easily losen the clutch drive and pull the key away from the bronze bush a bit.
One more question. Could I start the engine with the clutch drive removed? If so, I could then see if the drum rotates place – this might narrow down what the problem is.November 5, 2016 at 12:56 am #22844 wristpinParticipant
put copper grease on the shaft
Point of order! Copper “grease” is not a lubricant for rotating components but an anti-seize compound and is not a substitute for “proper” grease or oil.
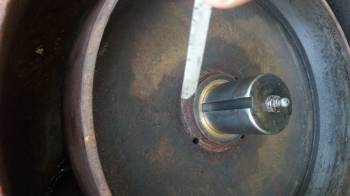
November 5, 2016 at 6:17 pm #22848vhgmcbuddyKeymasterI would be wary of starting the engine with just the clutch drum attached to the crank. In theory, the drive chain should stop it from sliding off the crank, but if the chain was to jump off the sprocket, you could end up with the clutch drum whizzing across your garden in Dambusters bouncing bomb style!!
As for the orientation of the key in the keyway, I think you are probably correct that the tapered end is located towards the engine, but hopefully someone can confirm. The key on my Trusty is different, in that it has a grease nipple on the outer end, so can only be fitted one way.
November 5, 2016 at 6:49 pm #22849 trusty220Keymaster
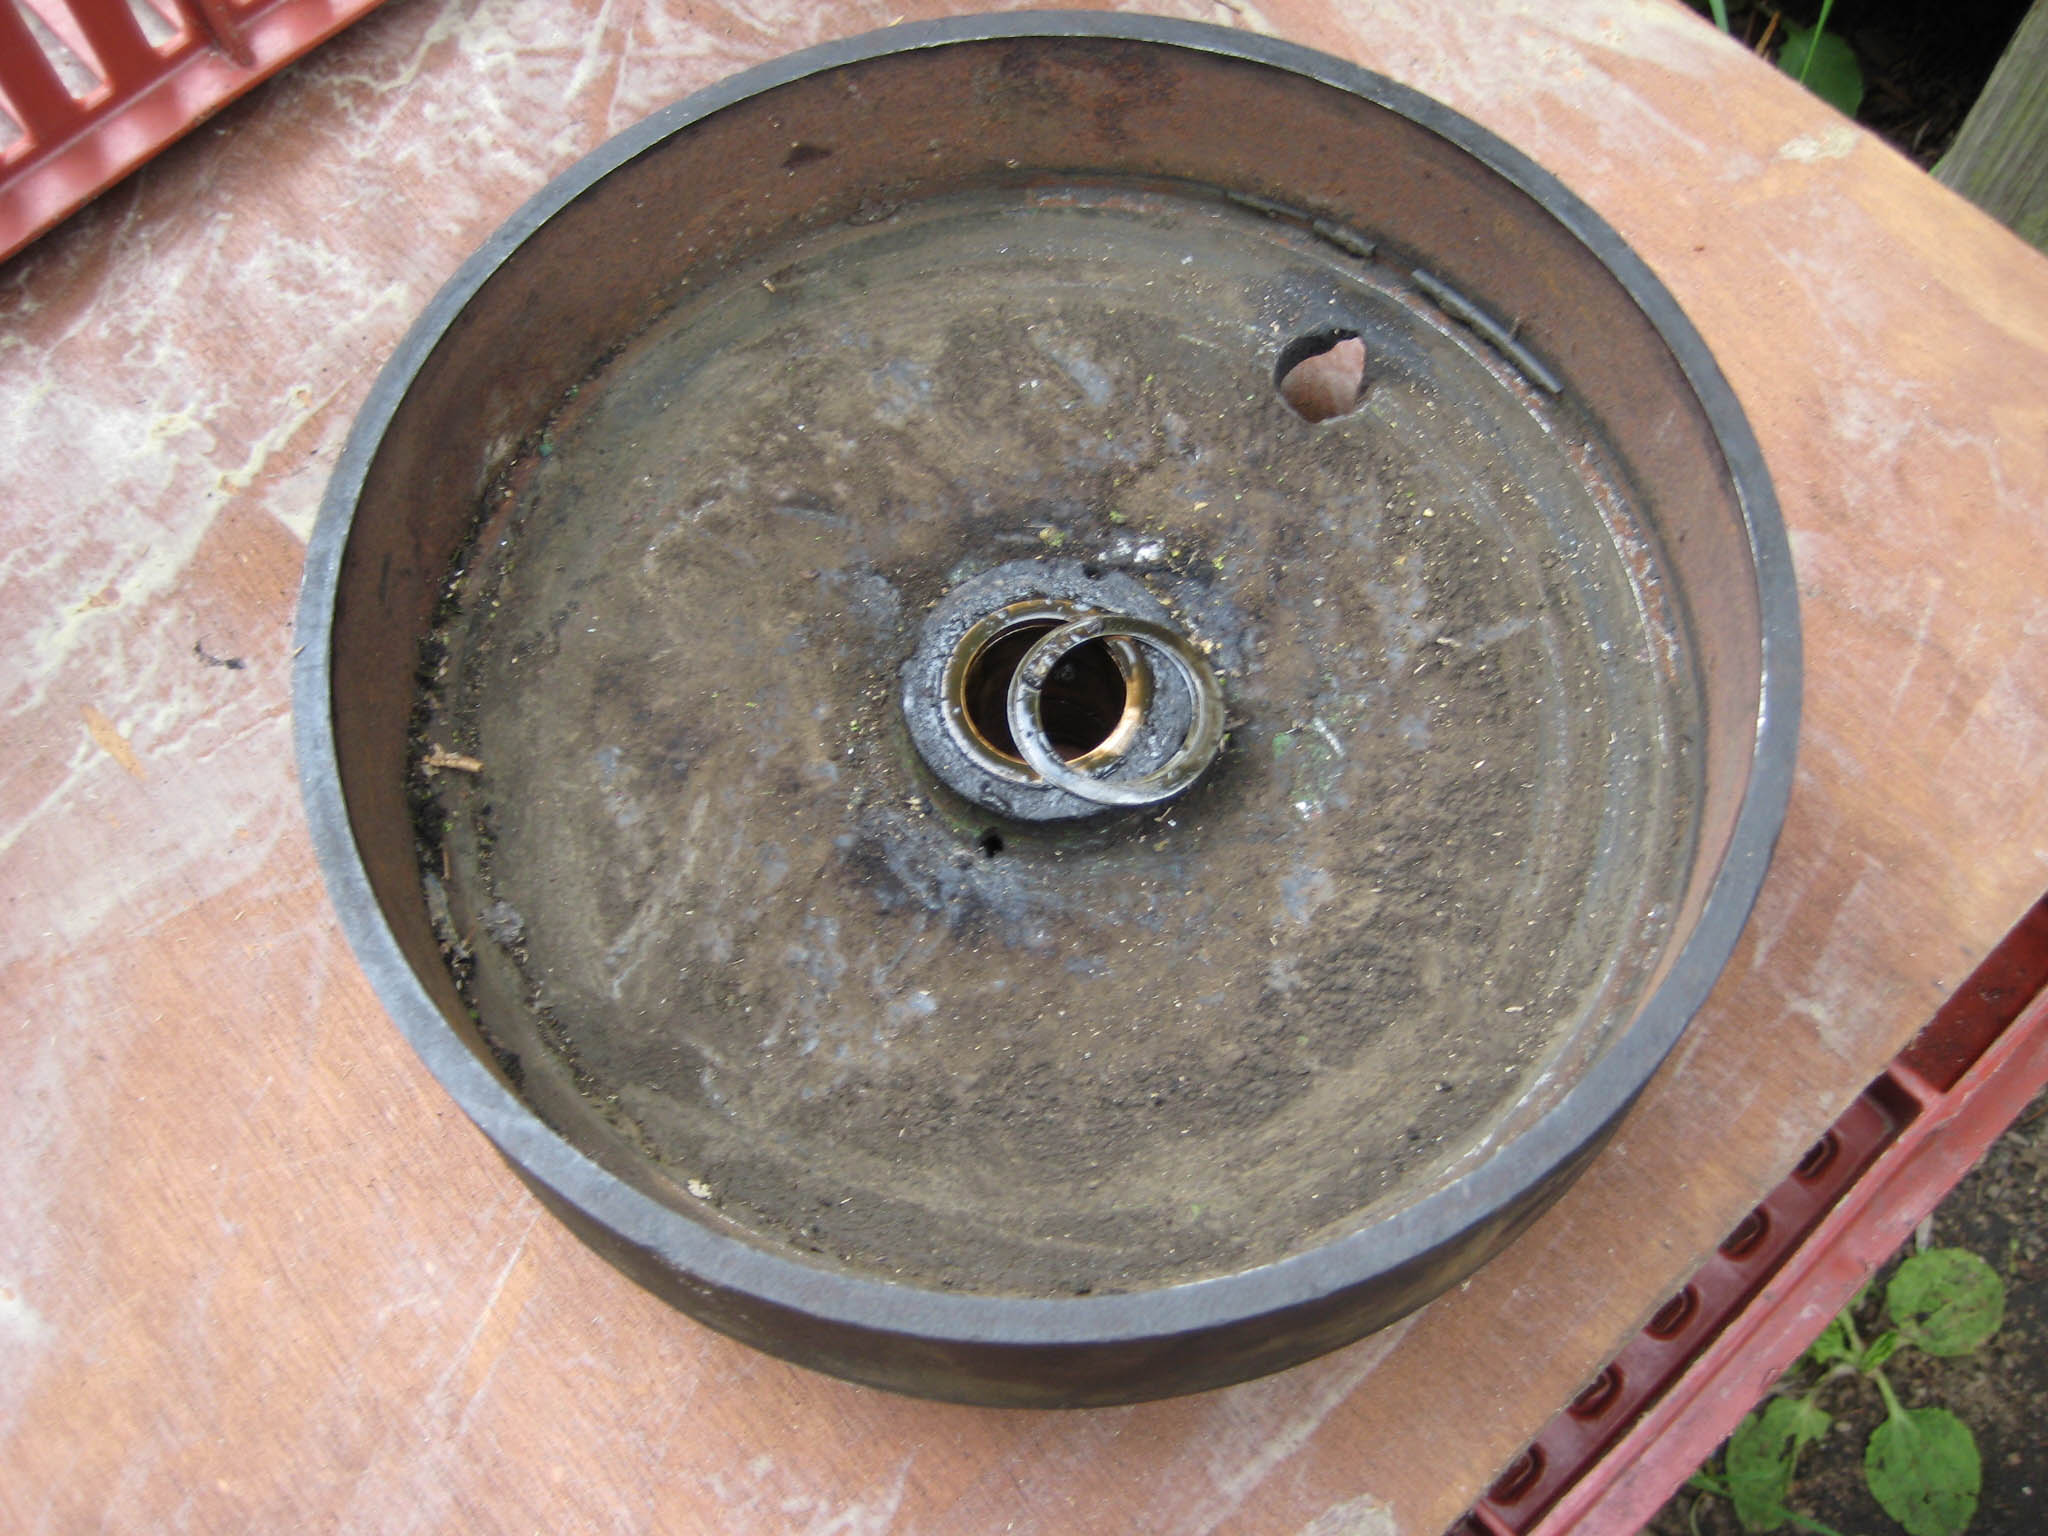
It looks like someone has modified it at some point, as the normal key for this fitting is one with a grease nipple in the end and the key itself is drilled to pass the grease to the bush. The engine crankshaft is not normally drilled like yours, so it possibly has been a problem for the previous owner(s). From the first picture it does look like there’s a large gap between the bush and the crankshaft which will allow the drum to “pick up” every now and again, and no amount of greasing will correct it. It may be that you need to replace the bush- take the dimensions for the inside diameter, outside diameter and length of bush to any bearing supplier and they should be able to sort you out. Some suppliers only stock metric these days, so you may have to search around for one that sells imperial sizes.
Of course, you may be right with your first guess that someone has pushed the key in too far and it is causing the drum to rotate with the clutch. Just pull the key out a little to test the theory.
Wristpin is correct in his copper grease comment. After a short while it does tend to dry out and cause things to stick together that should slip. Best to stick to normal LM grease- that’s what it was designed for after all.
Best of luck.
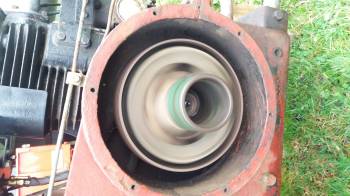
November 5, 2016 at 11:38 pm #22854vhgmcbuddyKeymasterWith the knowledge you all have, I know we will get to the bottom of this problem. (interesting to know trusty220 that this is a modified crankshaft). The gap you referred to I believe to be an optical illusion as there appears to be no gap when seen in the flesh, indeed the drum seems to sit perfectly on the crankshaft.
I will try pulling the key out slightly to see what that does and maybe position the clutch driver slightly away from the back of the drum.
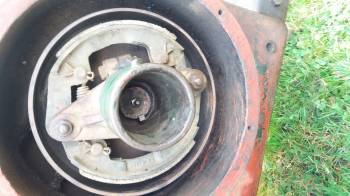
One other thought – Busman, in his restoration (which I have studied on this site) mentioned this: “Don’t forget to fit the copper washer that sits between the clutch drum and clutch driver, otherwise the clutch assembly can rub against the vertical face of the drum.” Well, I don’t appear to have such a washer – do I assume there should be one and if so, wouldn’t it be an unusual shape to fit over the key which sits proud of the crankshaft?Sorry for all the questions and I really appreciate the answers.
Ben.
November 6, 2016 at 7:23 pm #22891trusty220KeymasterThe copper washer should be free to rotate around the crankshaft so that it doesn’t transfer the drive from the clutch carrier to the drum. The key should not protrude from the back of the clutch carrier.
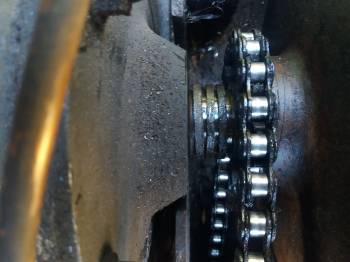
November 6, 2016 at 7:41 pm #22892vhgmcbuddyKeymasterHere’s a photo of the copper washers on my Trusty. They are the same inside/outside diameter as the bronze bush in the drum.
Attachments:
November 7, 2016 at 12:12 am #22894vhgmcbuddyKeymasterThanks for the comments, that all makes sense. Mine does not have the washer, so I will try and locate one of those.
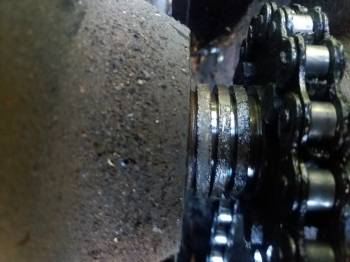
I took the top of the clutch housing off today so I could get to the other side of the clutch drum. There were 3 spacers (see pic) which i cleaned up with petrol and re-greased. I also added more grease to the bush via the grease nipple, this had the effect of pushing out some dirty grease. I then re-located the clutch driver and key just a fraction away from the drum. End result of all this is that the clutch now works perfectly! So thank you.
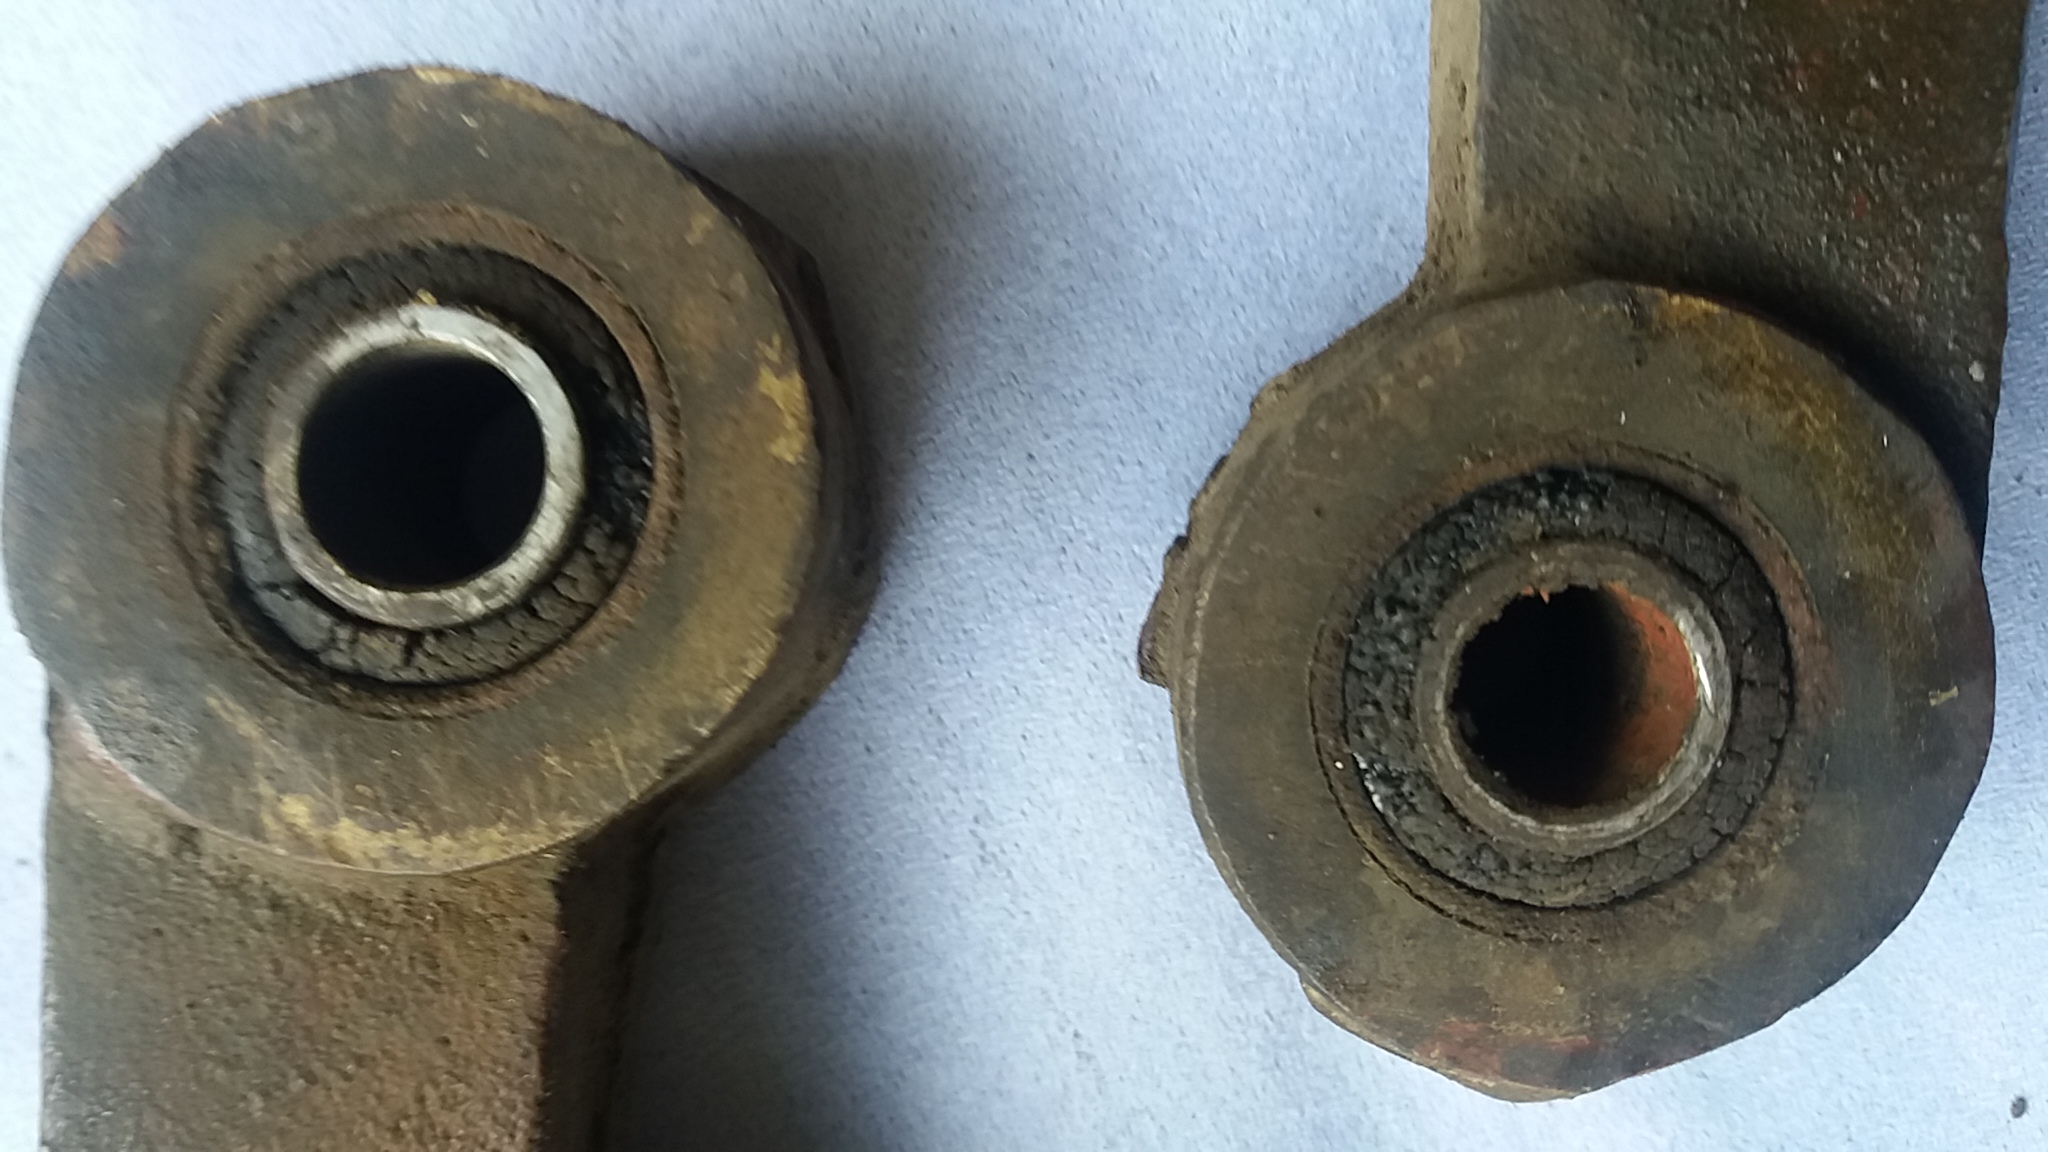
Next question – How do I remove the clutch shows from the driver, as I need to get them re-lined. BenNovember 7, 2016 at 12:23 am #22895vhgmcbuddyKeymasterSorry, can’t seem to get the hang of posting pictures – Here they are (hopefully)
Pictures taken before I cleaned it up.Attachments:
November 7, 2016 at 5:30 pm #22916trusty220KeymasterThe shoes are easy enough to remove once you have the clutch carrier removed from the crankshaft. They pivot on a bolt at one end- this bolt has a cone-shaped head that fits into a tapered hole in the arm of the carrier, and there is a self-locking nut on the other end of the bolt. Just undo the nut and push the bolt out, then push the pins out that hold the return springs in place.
I use my local Truckstop to reline the shoes, but most good car accessory shops will offer the same service.
When you replace them on the carrier make sure the shoes are fitted in the trailing position. If you don’t know what it means, look at the carrier from the end that you wind the starting strap on. If you then rotate the carrier in the direction that the engine runs in (anti-clockwise in this case) you need to fit the shoe so that the pivot with the bolt through it leads the rest of the shoe when it turns, leaving the rest of the shoe to trail behind the pivot end. This way the clutch will drive and also disengage when you want it to.
If you fit the shoes in the leading position they will drive but will not disengage. Also, don’t overtighten the nut on the pivot bolt because the ears can snap off the clutch carrier.
Good luck, come back if you need more help.
November 8, 2016 at 12:05 am #22918vhgmcbuddyKeymasterThanks for that – I will have to be careful tapping the bolts out as there is a slight crack in the clutch carrier around the area where the cone-shaped head of the bolt sits!
(I have had the carrier off several times whilst sorting out the clutch problem and the bolts to which you refer have not dropped out, so I assume they need tapping out gently)November 8, 2016 at 9:06 am #22923 charlieKeymaster
I made the mistake of over tightening those bolts on my Trusty and had to get the carrier welded, if you have a crack in yours it may have been over tightened in the past.
November 11, 2016 at 12:01 am #22991vhgmcbuddyKeymasterOk. The Trusty clutch shoes came out of the driver just fine and I have found a local company that does re-lining. I have also ordered and received new clutch shoe bushes. So my next questions are: What’s the best method/tool for removing the old bushes and installing the new ones? Also what’s the best way / product to clean up the shoes before I have them re-lined (petrol and a toothbrush?)
Attachments:
-
AuthorPosts
- You must be logged in to reply to this topic.