Home › Forums › The Machinery Forums › Pedestrian operated machines › Hard to get Trusty in gear
- This topic has 41 replies, 7 voices, and was last updated 9 years, 7 months ago by
 trusty220.
-
AuthorPosts
-
November 11, 2016 at 9:03 am #22994
 charlieKeymaster
Pressing the bushed out is the best method. Find a piece of tube or a socket that is the same diameter as the outer metal part of the bush, then place another piece of tube (or a socket) which is larger than the outside diameter of the bush on the other side. Place the whole lot in a vice a tighten carefully keeping the whole lot square.If you do not have a vice big enough then a length of threaded rod and two large thick washers can be used. It will help to apply some penetrating oil or some heat, not too much as you will set fire to the rubber. If the bush is firmly stuck then you may have to press out just the inner and cut the outer carefully with a hacksaw from the inside.
This is how I have removed similar bushes from Land Rover leaf springs.November 11, 2016 at 4:06 pm #22995 vhgmcbuddyKeymaster
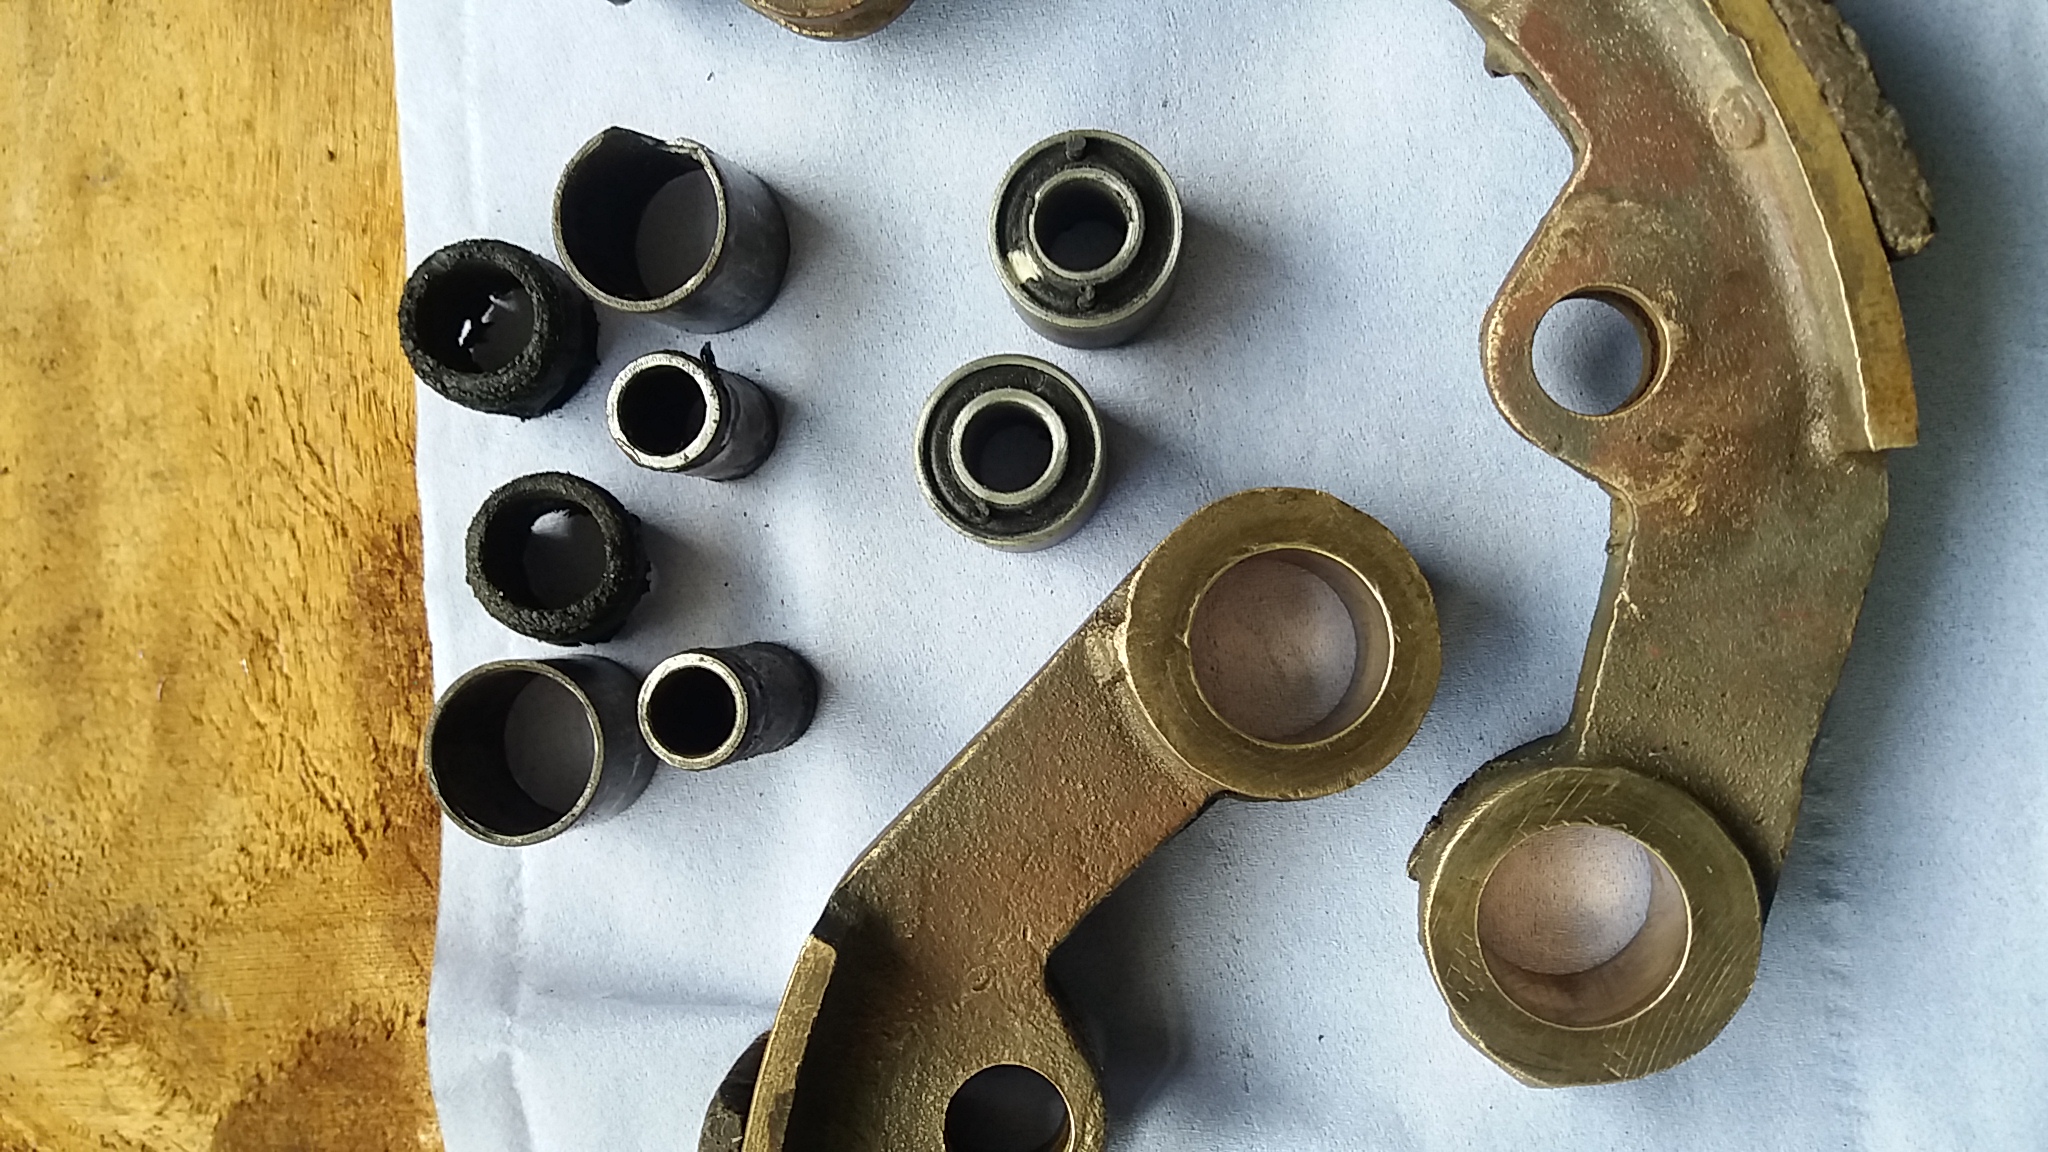
Despite my best efforts only the centre part came out and the outer sleeve stayed in. I gently used a hacksaw to make a cut on the sleeve but as you can see from the picture it is reluctant to come away from the shoe. Any advice to get these out would be much appreciated.
Attachments:
November 12, 2016 at 9:27 am #23079charlieKeymasterI would suggest making another cut opposite the first, be careful not to cut into carrier. Then apply some heat to sleeve, then cool by spraying sleeve with penetrating fluid or WD40, hopefully the thermal shock will break the bond between sleeve and carrier.
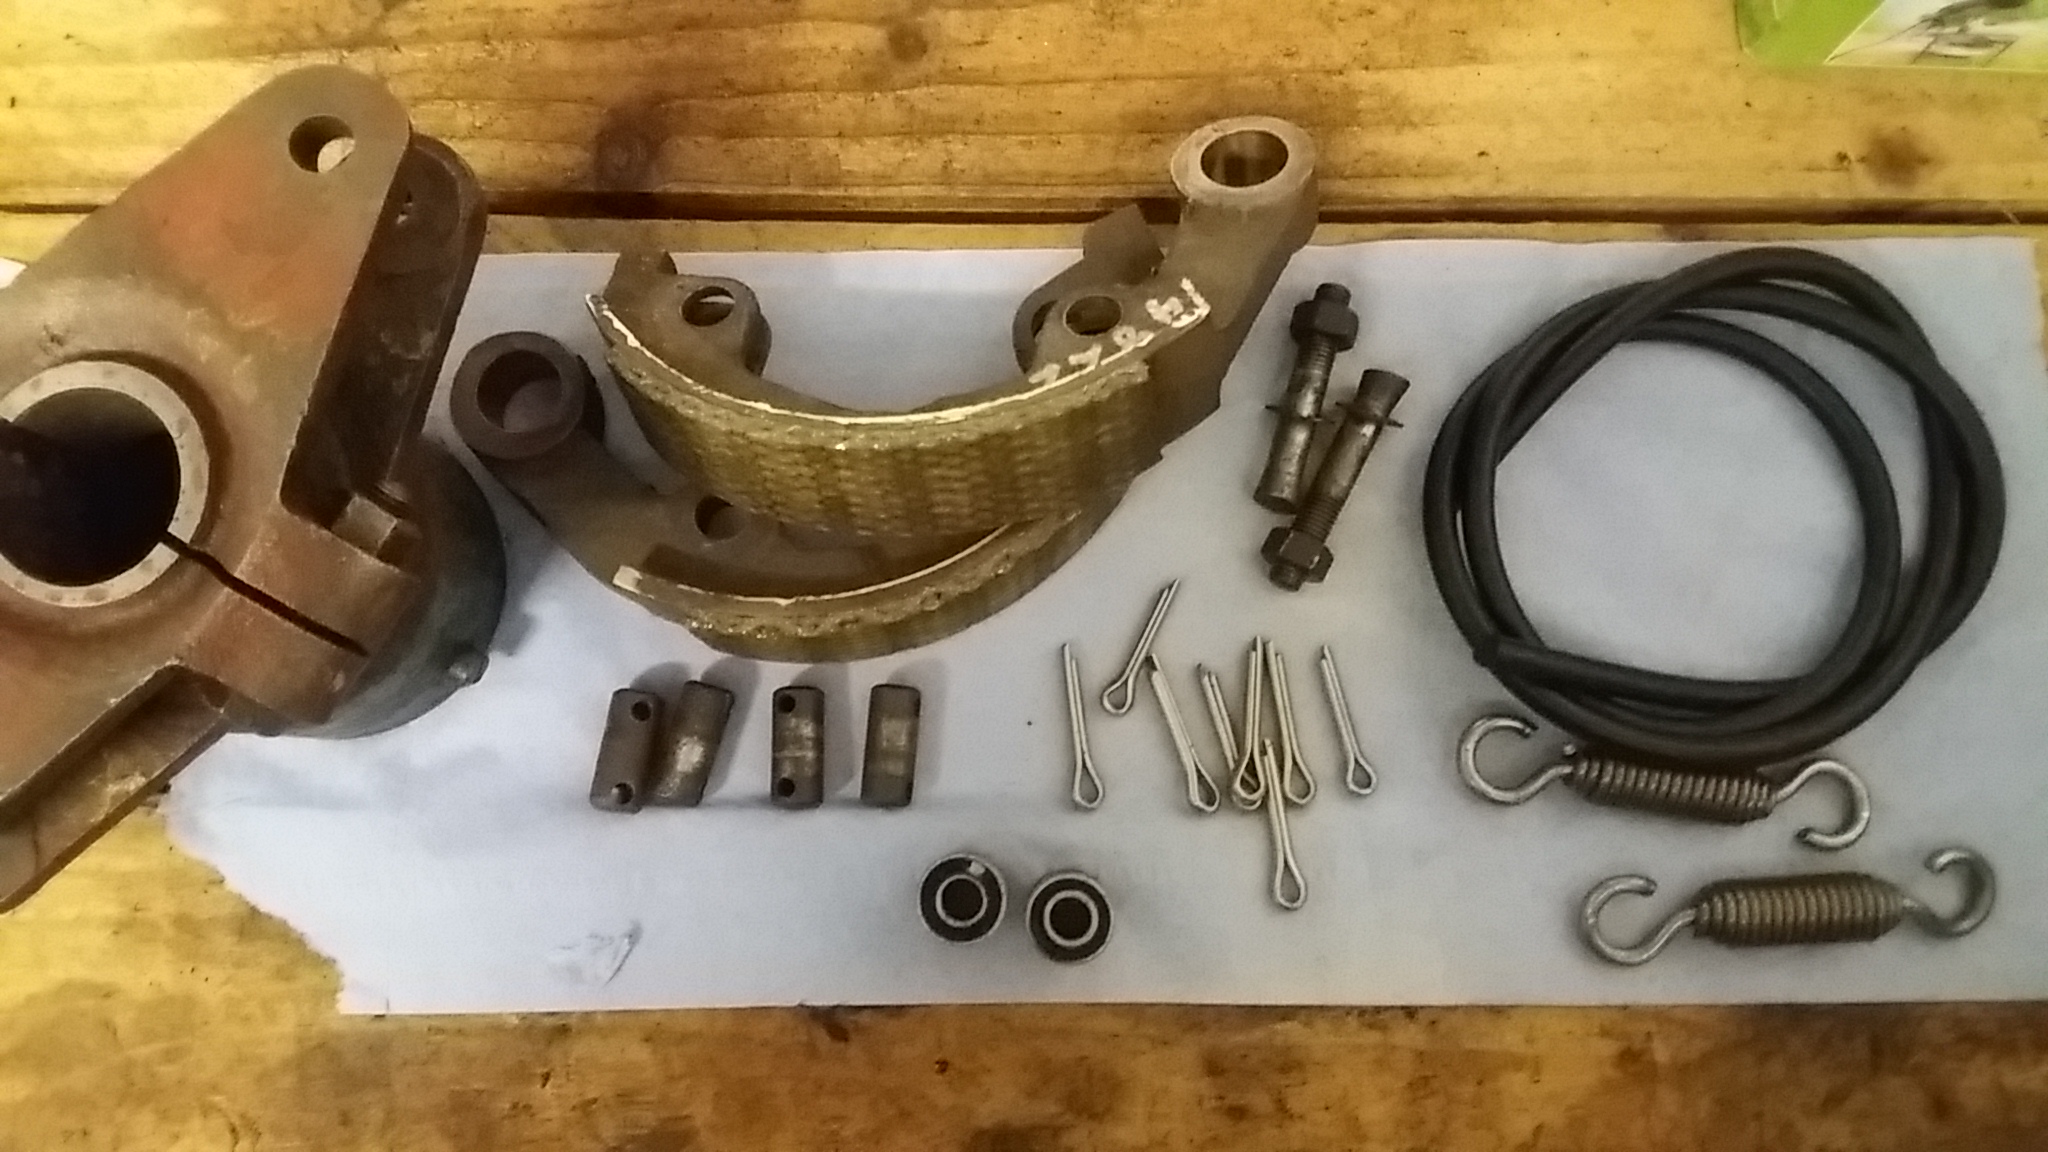
November 13, 2016 at 11:29 pm #23109vhgmcbuddyKeymasterThanks Charlie. I didn’t have to heat them up in the end, I just used lots of penetrating fluid and they eventually pressed out. I have cleaned the shoes up and now ready to put the new bushes in. Question: Do I use any type of lubricant to press them in? If so what? Thanks.
Attachments:
November 14, 2016 at 2:42 pm #23111 trusty220Keymaster
I would send the shoes away for re-lining first because the company that I use puts them in an oven to cure the glue. If you put the rubber bushes in before you send them you will very likely have to do the job again when you get them back!
November 14, 2016 at 3:34 pm #23112vhgmcbuddyKeymasterThanks for the tip – I did wonder if it would be better to wait util after the relining. I have found a very local company that does relining and specialises in old cars particularly. They are E.F. Breen in Maidstone (Kent). They are going in on Thursday for relining.
The bushes came from Robush vibration solutions (thanks to Busman for that tip) and thankfully I have not put them in yet.Any thoughts on the use of a lubrication (if so what) to help with pressing in the new bushes?
November 14, 2016 at 3:41 pm #23113charlieKeymasterSomething like WD40 would help.
December 5, 2016 at 12:29 am #23413vhgmcbuddyKeymasterRe-assembled the clutch today having collected all the parts needed, including new bushes, split pins, copper washer, springs and shoes are re-lined.
Fitted the re-built clutch, fired up the Douglas engine on the Trusty and it worked like a dream.
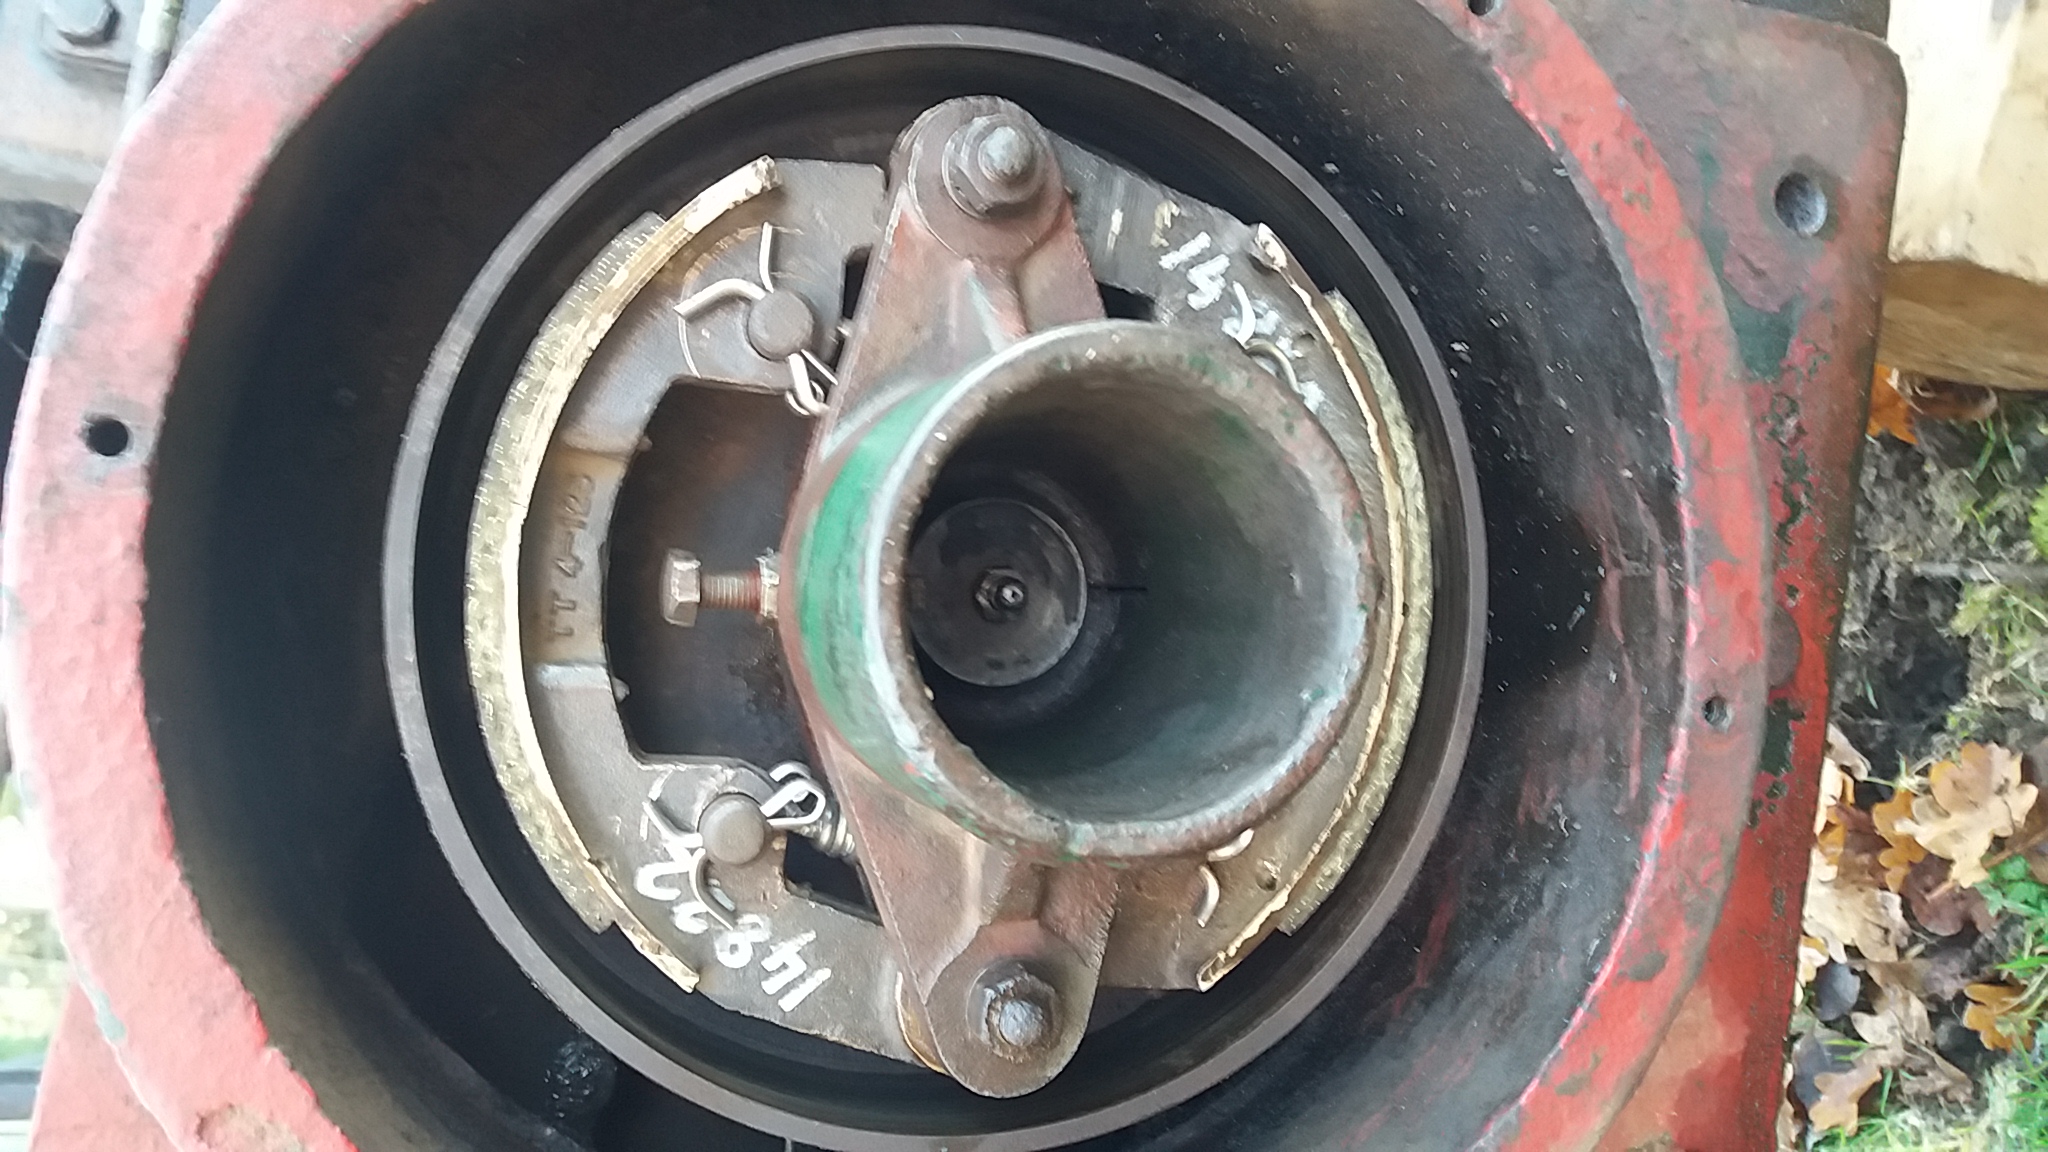
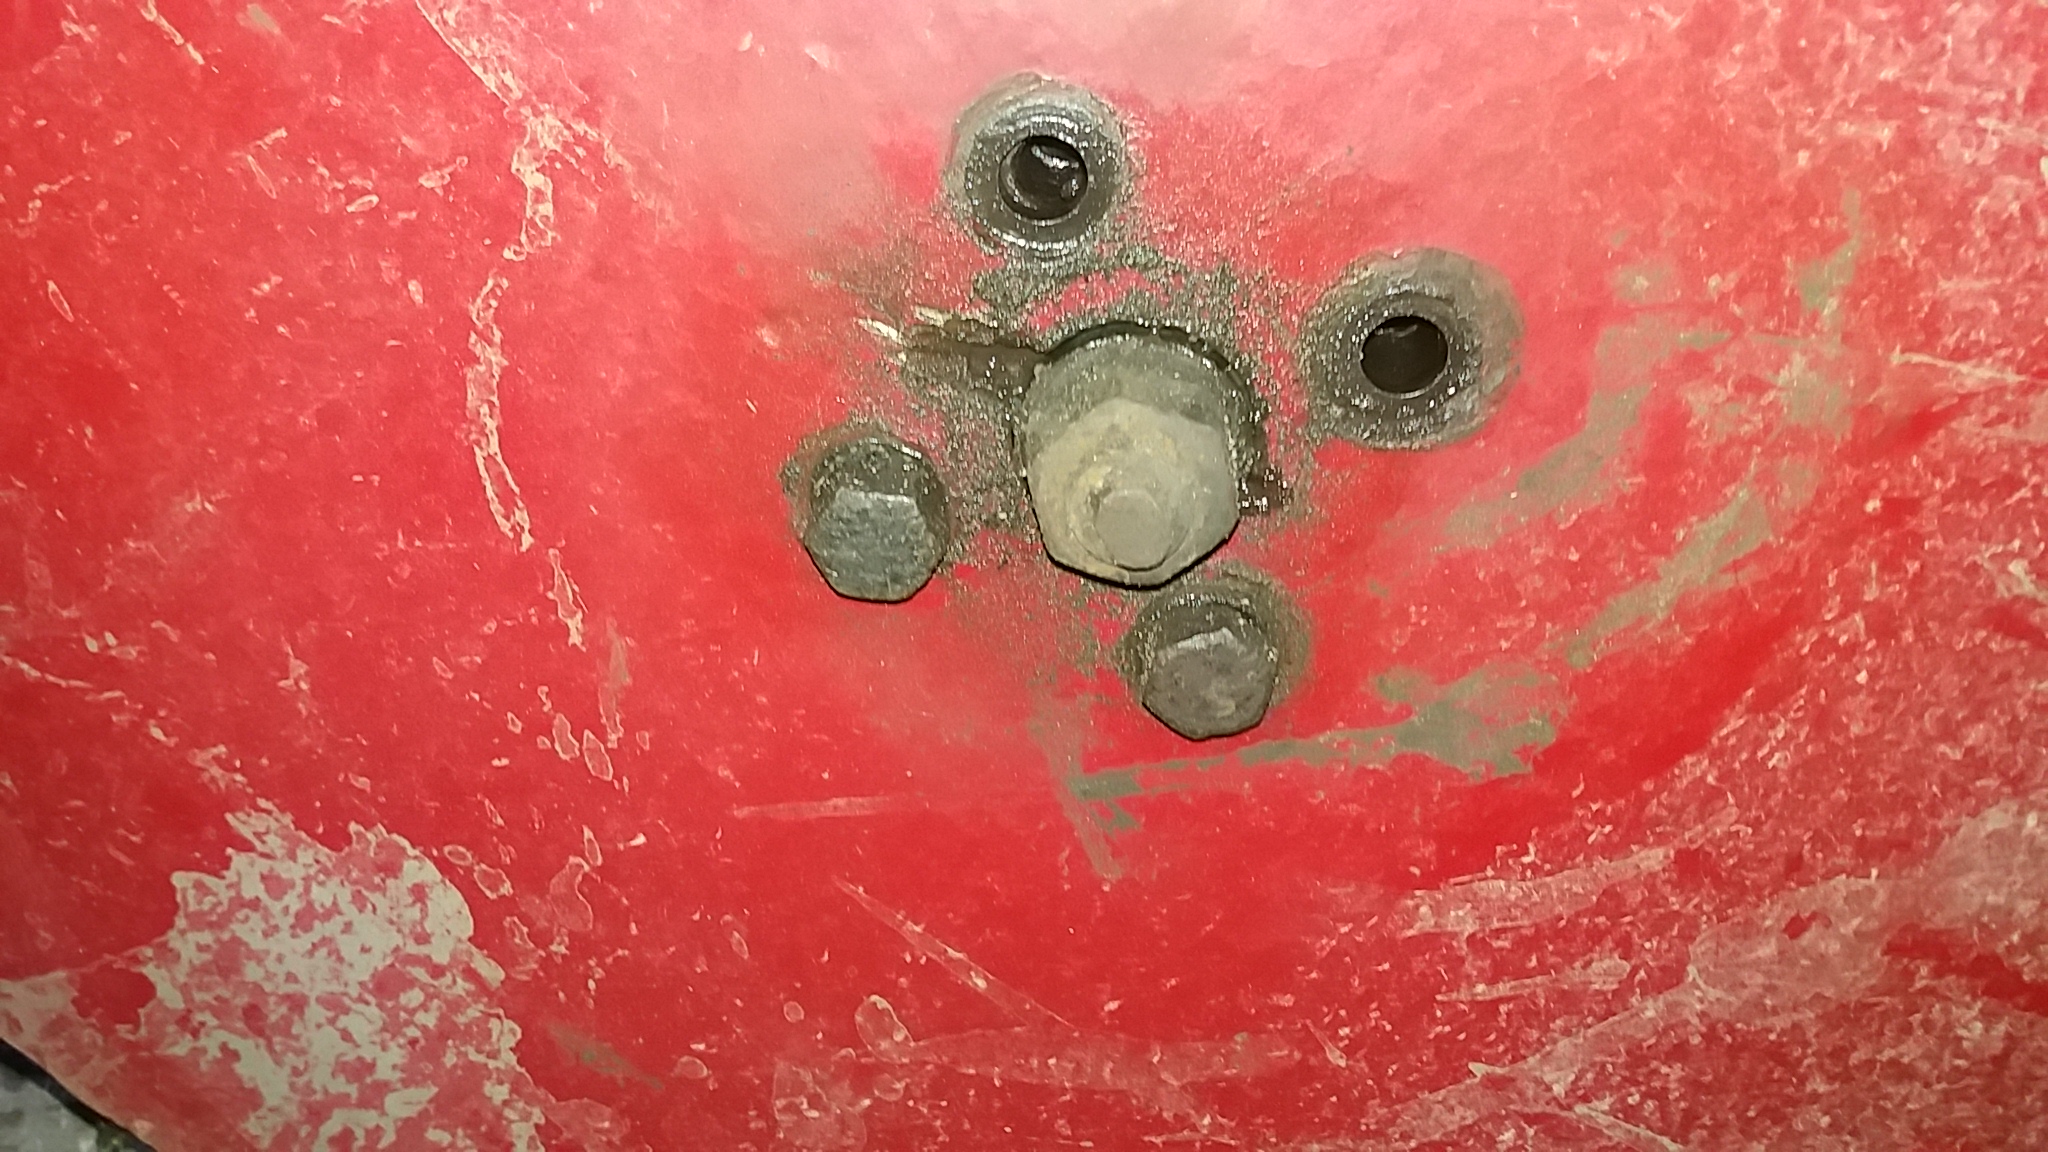
Now want to turn my attention to the wheels as one has two bolts missing and I’m sure I remember somone mentioning the need for felt washers…….?Attachments:
December 6, 2016 at 3:39 pm #23436trusty220KeymasterIf you remove the other two bolts you will find that the wheel will come off easily. What you are likely to find is a whole mass of mud/grease/felt that has congealed behind the hub- don’t worry, just clean it all off with petrol or paraffin so that you can see what you’re working with.
First, have a look at the inside face of the wheel where it meets the hub. It needs to be smooth but most of them tend to be pitted with rust which will tear the new seal if you do nothing about it. The easiest way to overcome a rusty, pitted face is to make a disc out of steel plate and glue it to the inside of the wheel; you can get the diameter of the seal that it has to mate with from the groove around the cast iron reduction gear housing, then add a little more for good luck! Don’t worry, you can’t see it once the wheel is in place and the wheel bolts will hold it in place so you aren’t relying on the glue. Trusty used to make a similar disc that they called a “Dust Shield” which you could buy as an optional extra- I’ll see if I can find a picture of it to post on here.
The seal is fitted to the tractor side and runs around a groove machined in the reduction gear housing. From memory it is 3/8″ square section felt that does the trick.
Whilst the wheel is off it may be as well to find out why the two bolts are missing. Are the threads stripped in the hub? They should be 1/2″ BSF but I forget the length- be aware that if you put a bolt in that’s too long you may lock up the gears or even break the casting at the back, so pay attention to the length and keep rotating the wheel as you tighten the bolts.
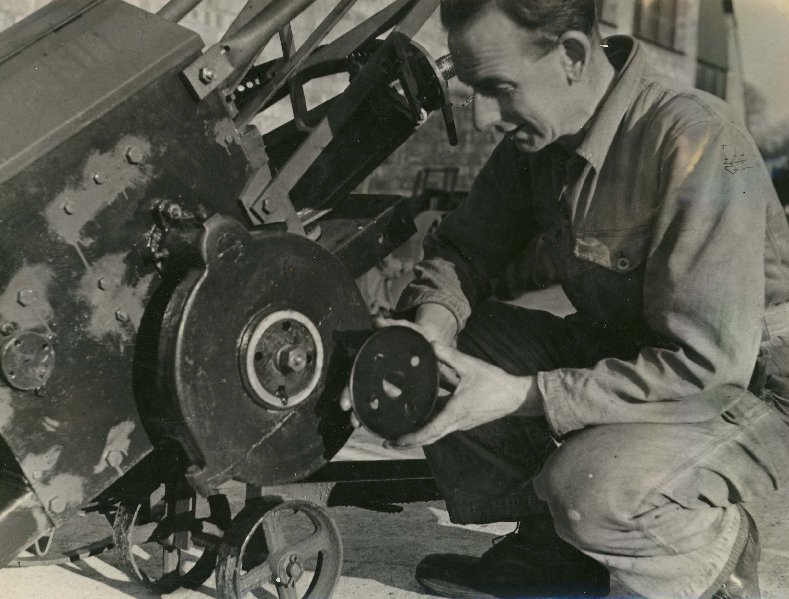
December 6, 2016 at 9:45 pm #23437trusty220KeymasterHere is the picture of the dust cover that I was on about. It is an original factory photo that did appear in one of the tractor brochures.
Attachments:
December 7, 2016 at 12:20 am #23439vhgmcbuddyKeymasterThanks for this Trusty220, I will take the wheel off and have a look.
If the threads on the wheel are stripped (which I suspect is the case) – What is the fix for that?December 7, 2016 at 9:03 am #23440trusty220KeymasterYou may be lucky- the part that you see through the holes in the wheel does not have the threads in; the threads are in the 100-tooth wheel behind and the circular block that you see when you take the wheel off merely has oversize holes drilled through. This has the effect of lining up the bolts when they are inserted, so it is unlikely that they could be stripped.
Try it first! Good luck.
-
AuthorPosts
- You must be logged in to reply to this topic.