Home › Forums › The Main Forum Area › Projects › Simar 56A Rototiller – Serial No. 561621
Tagged: restoration, simar, simar 56A
- This topic has 38 replies, 5 voices, and was last updated 8 years, 6 months ago by
 vhgmcbuddy.
-
AuthorPosts
-
September 22, 2016 at 6:26 pm #22497
 vhgmcbuddyKeymaster
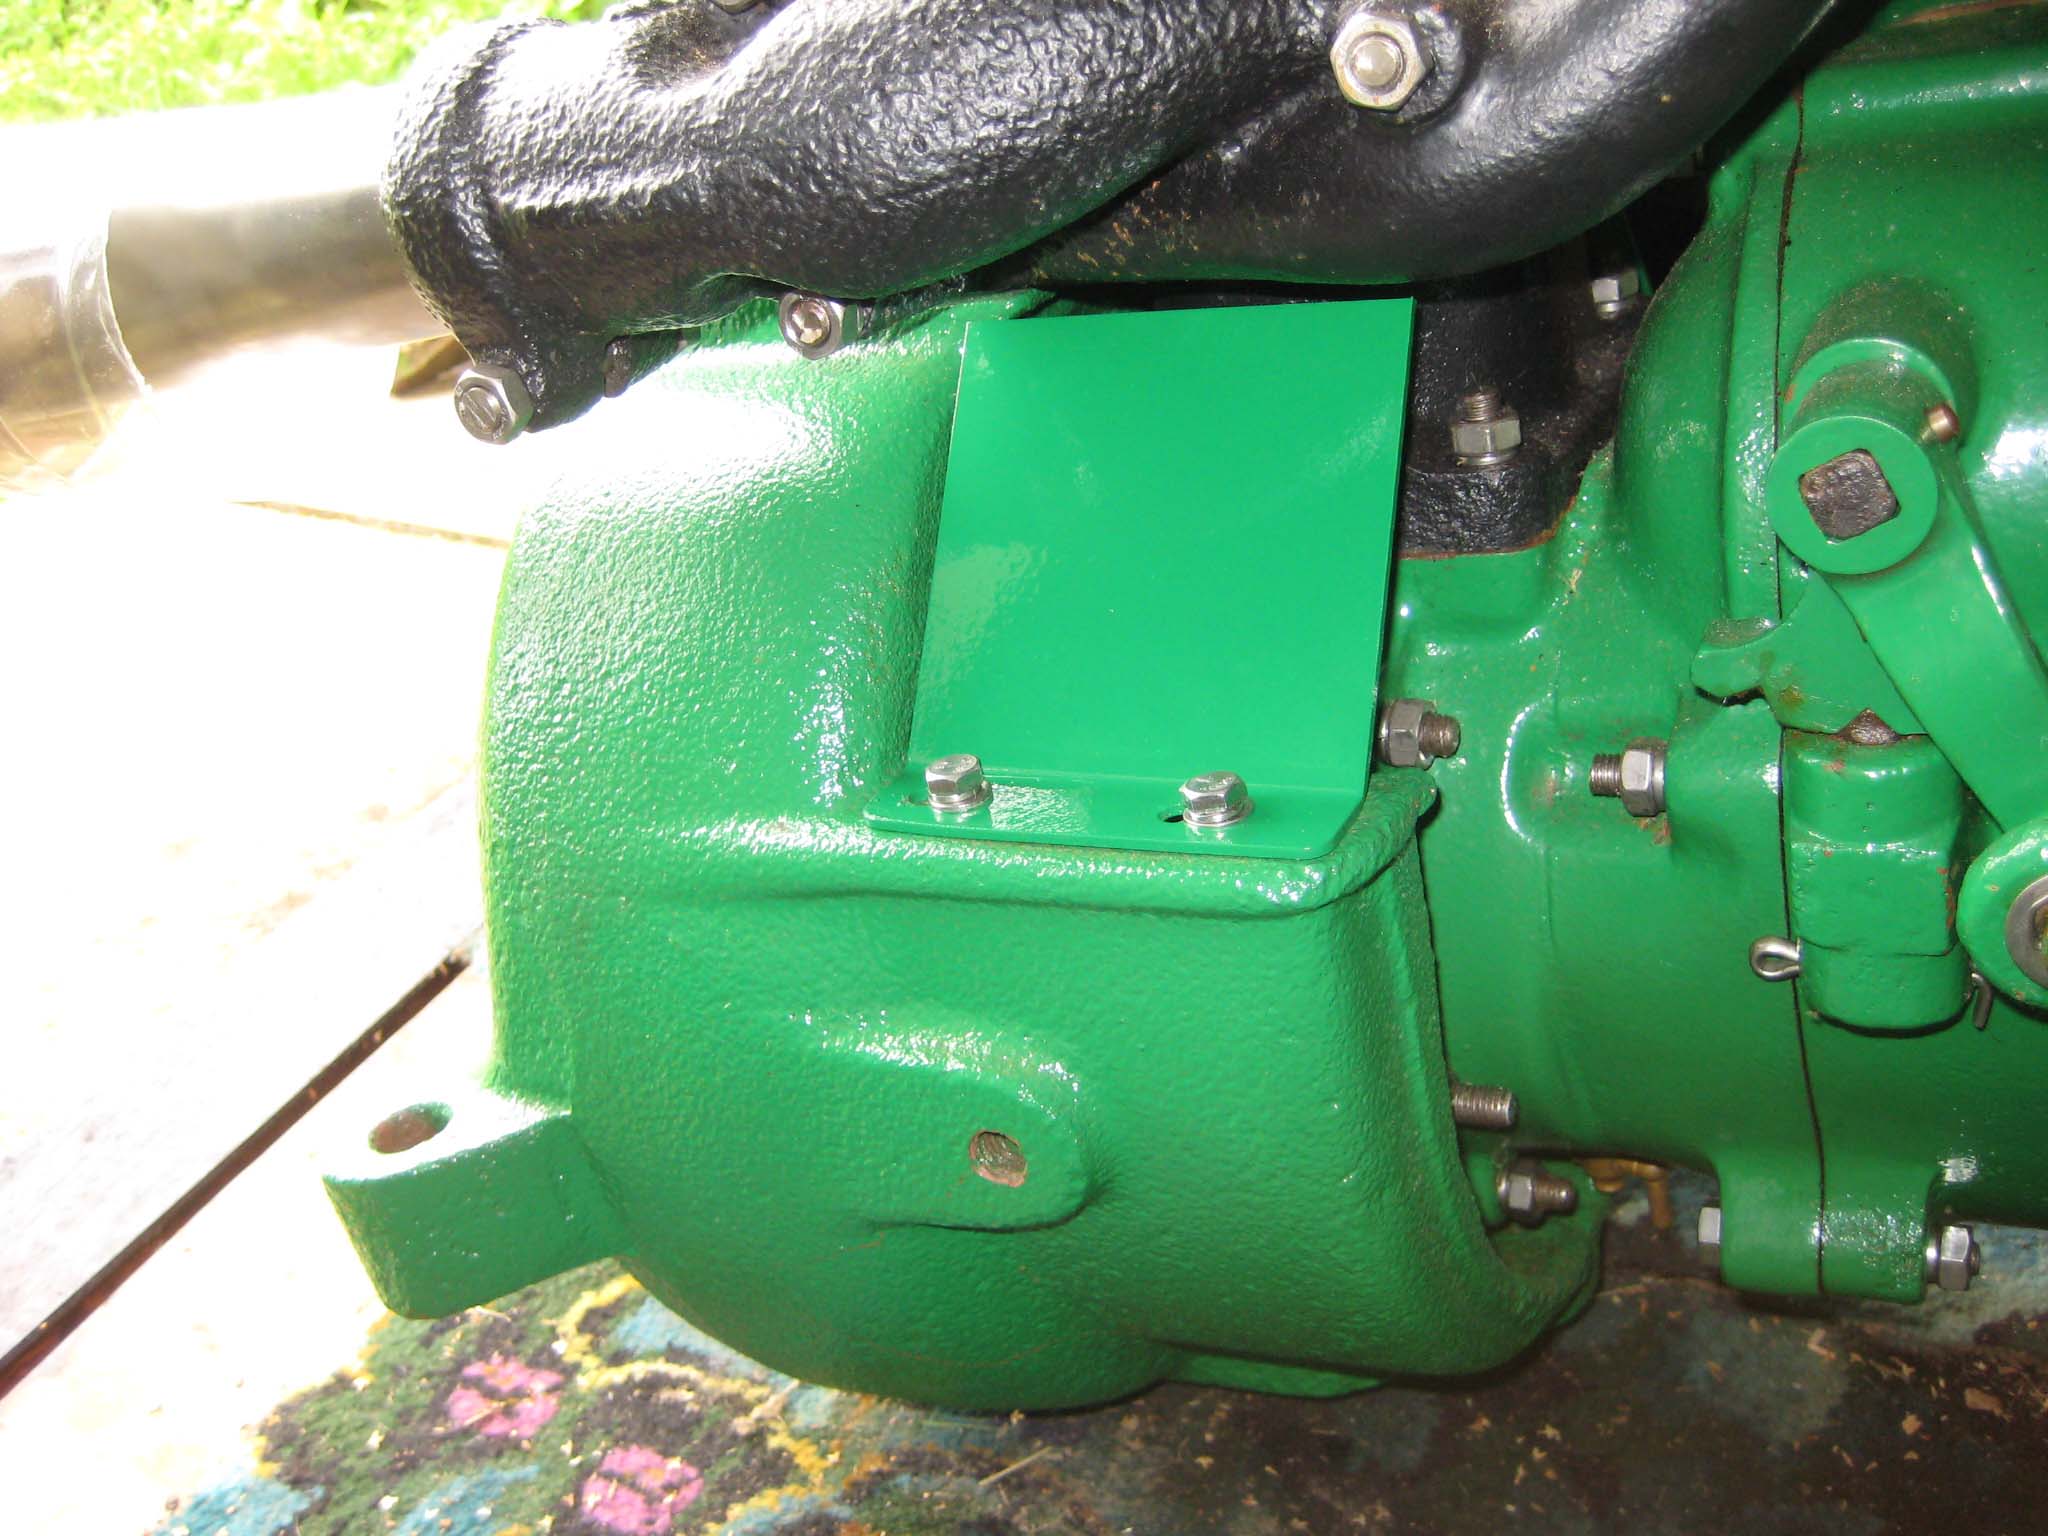
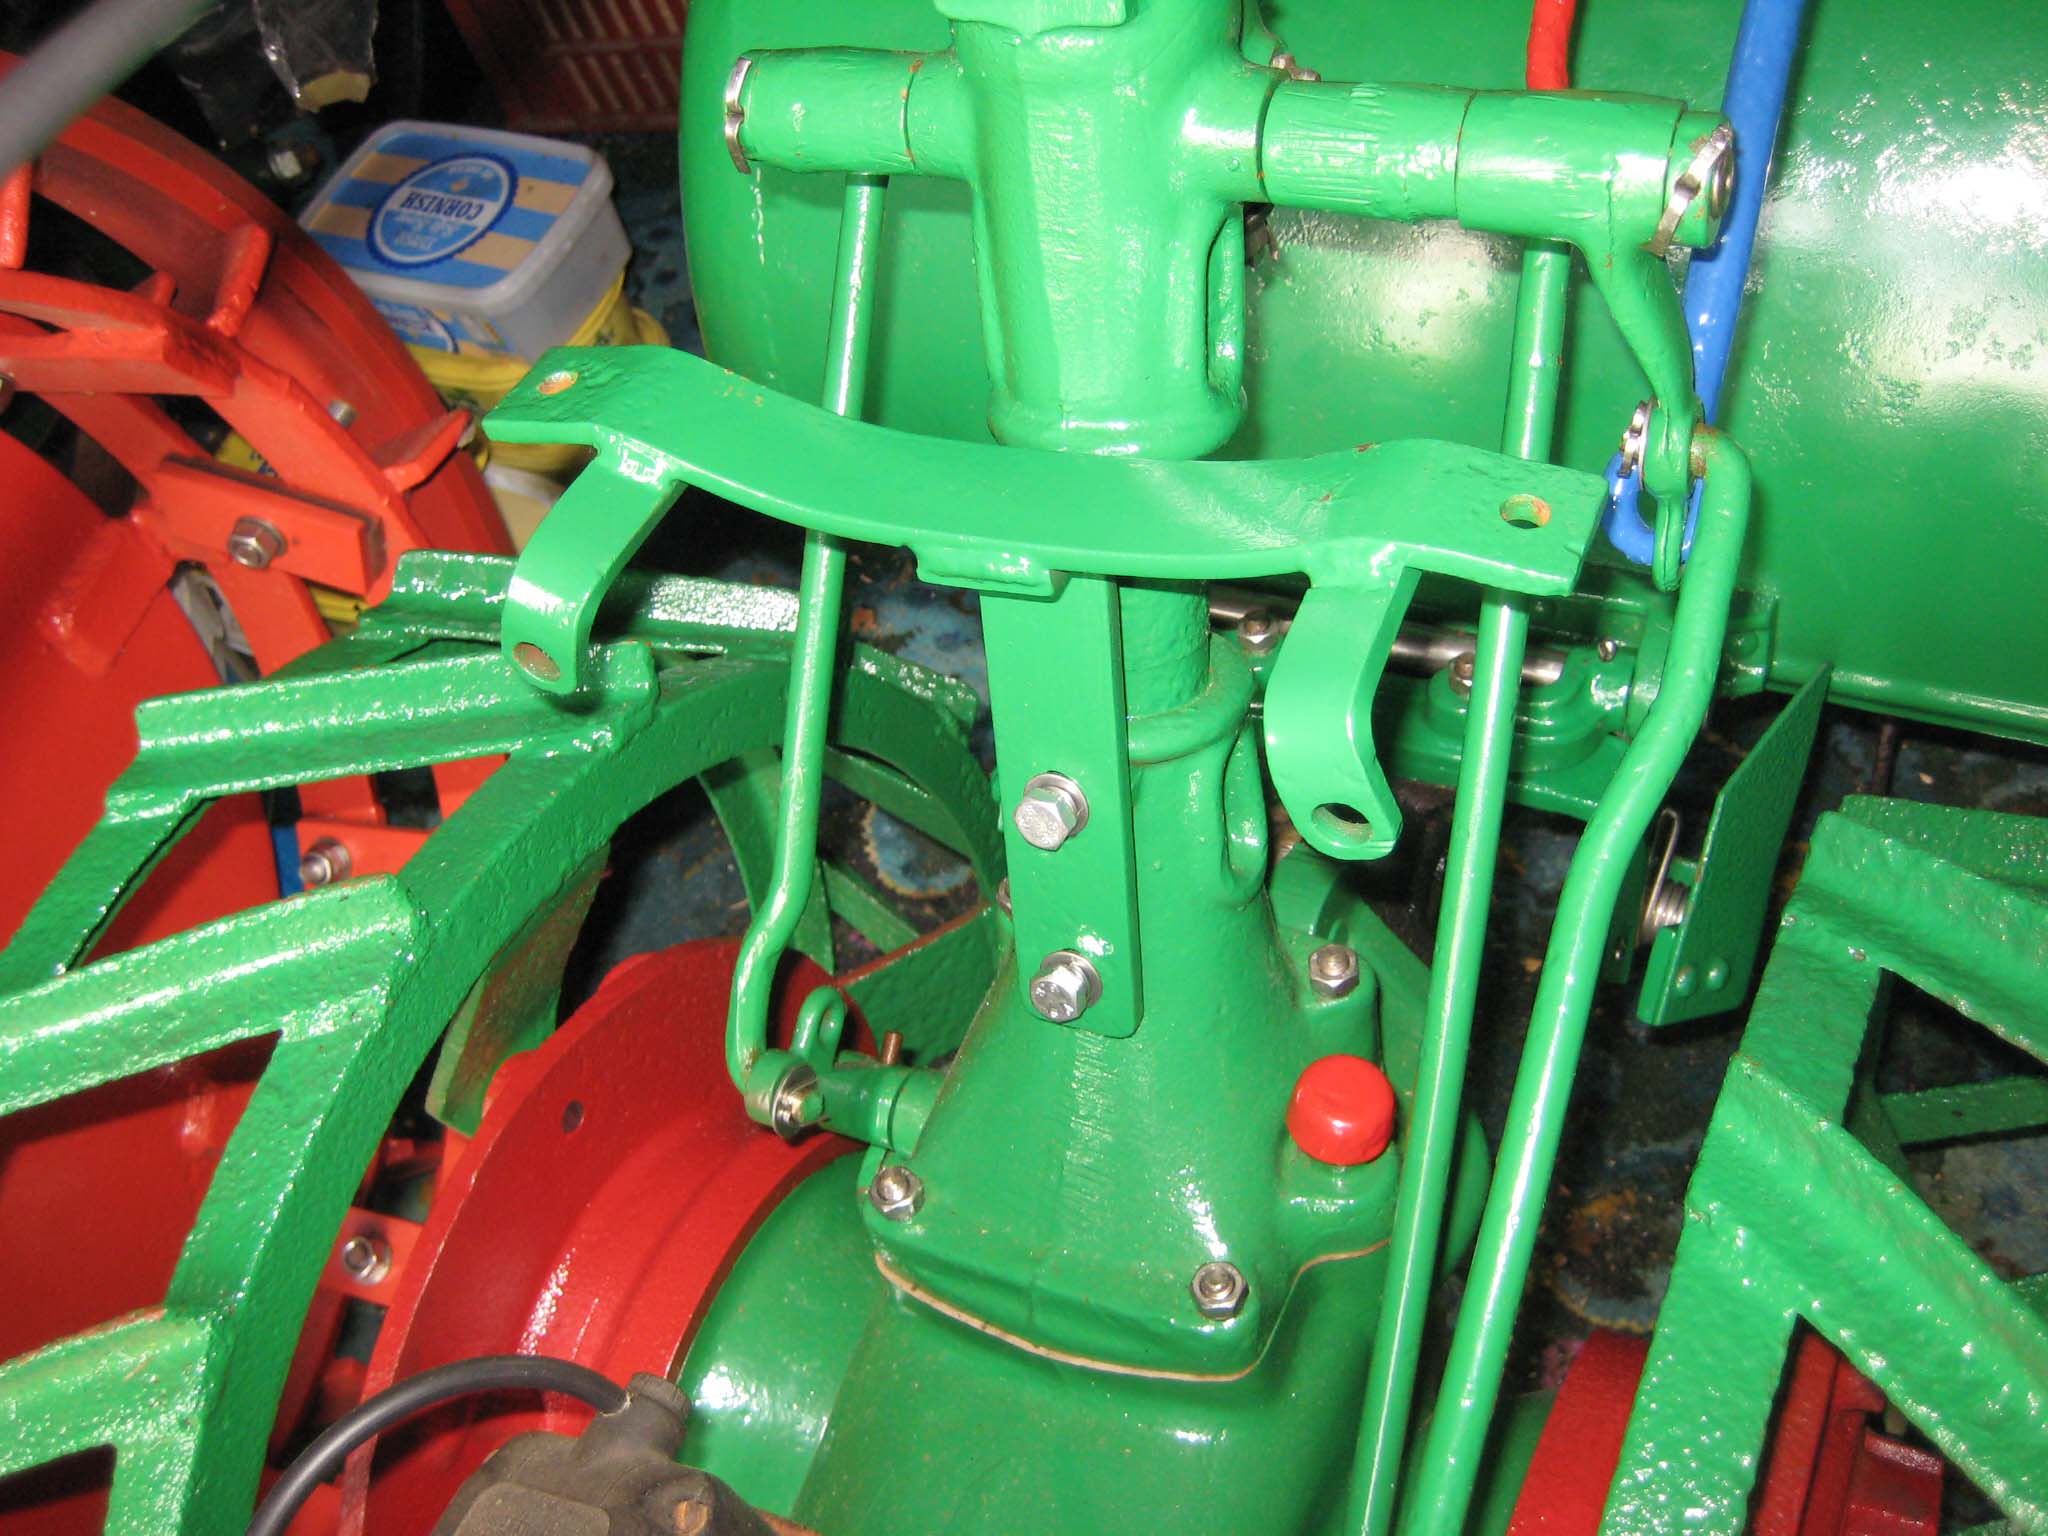
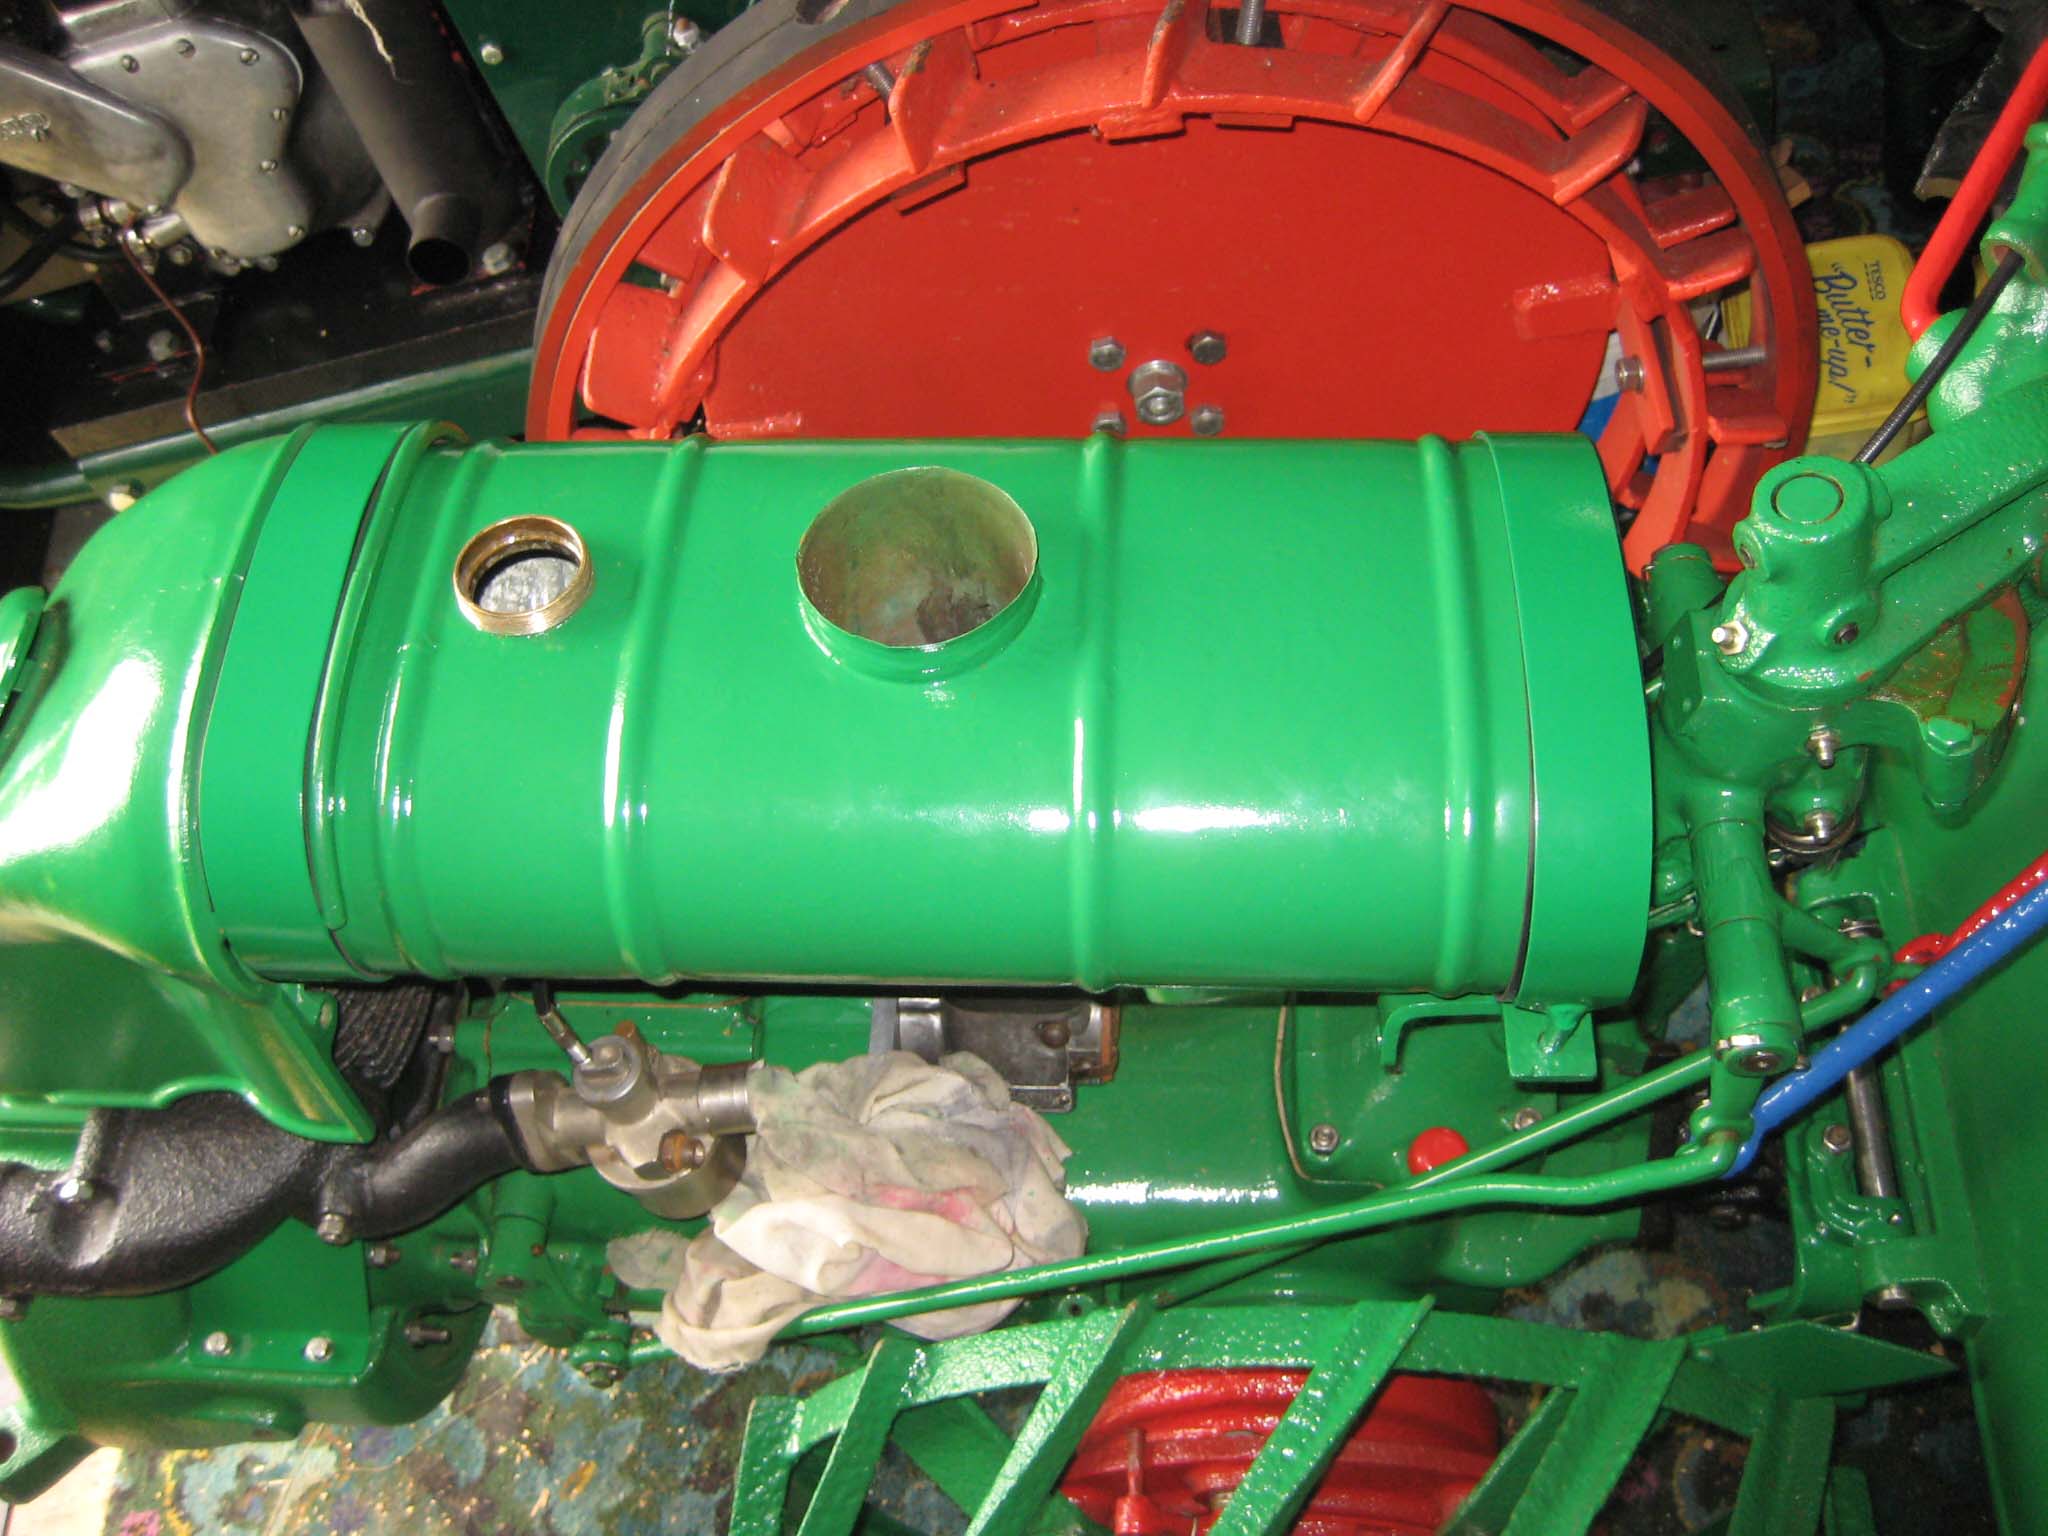
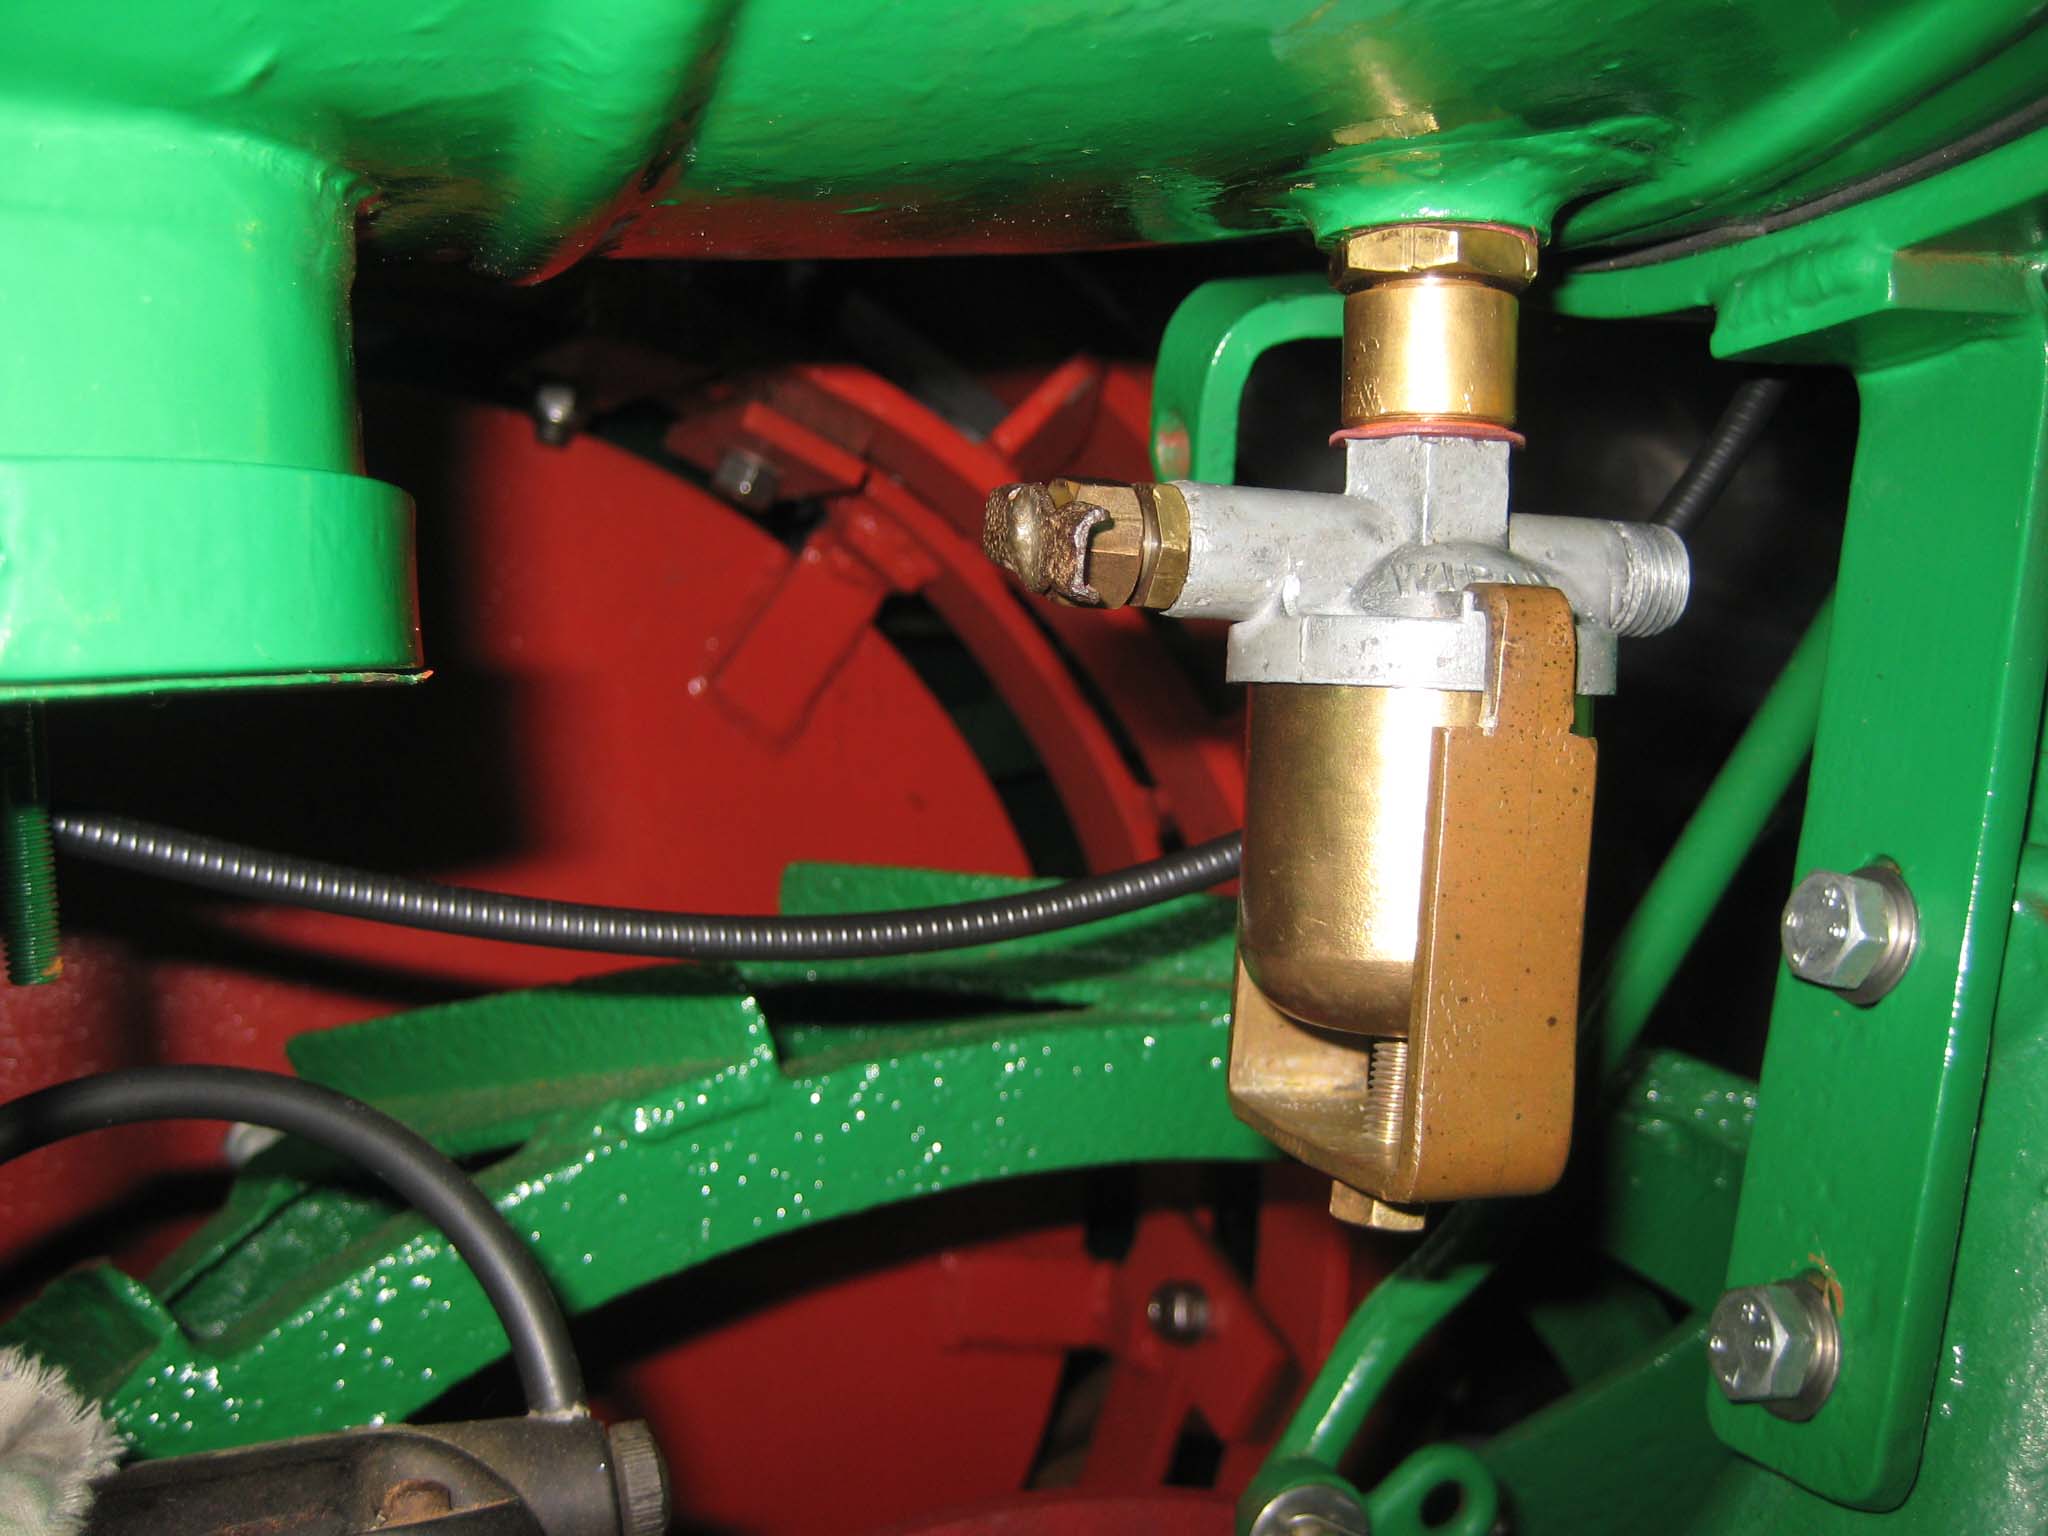
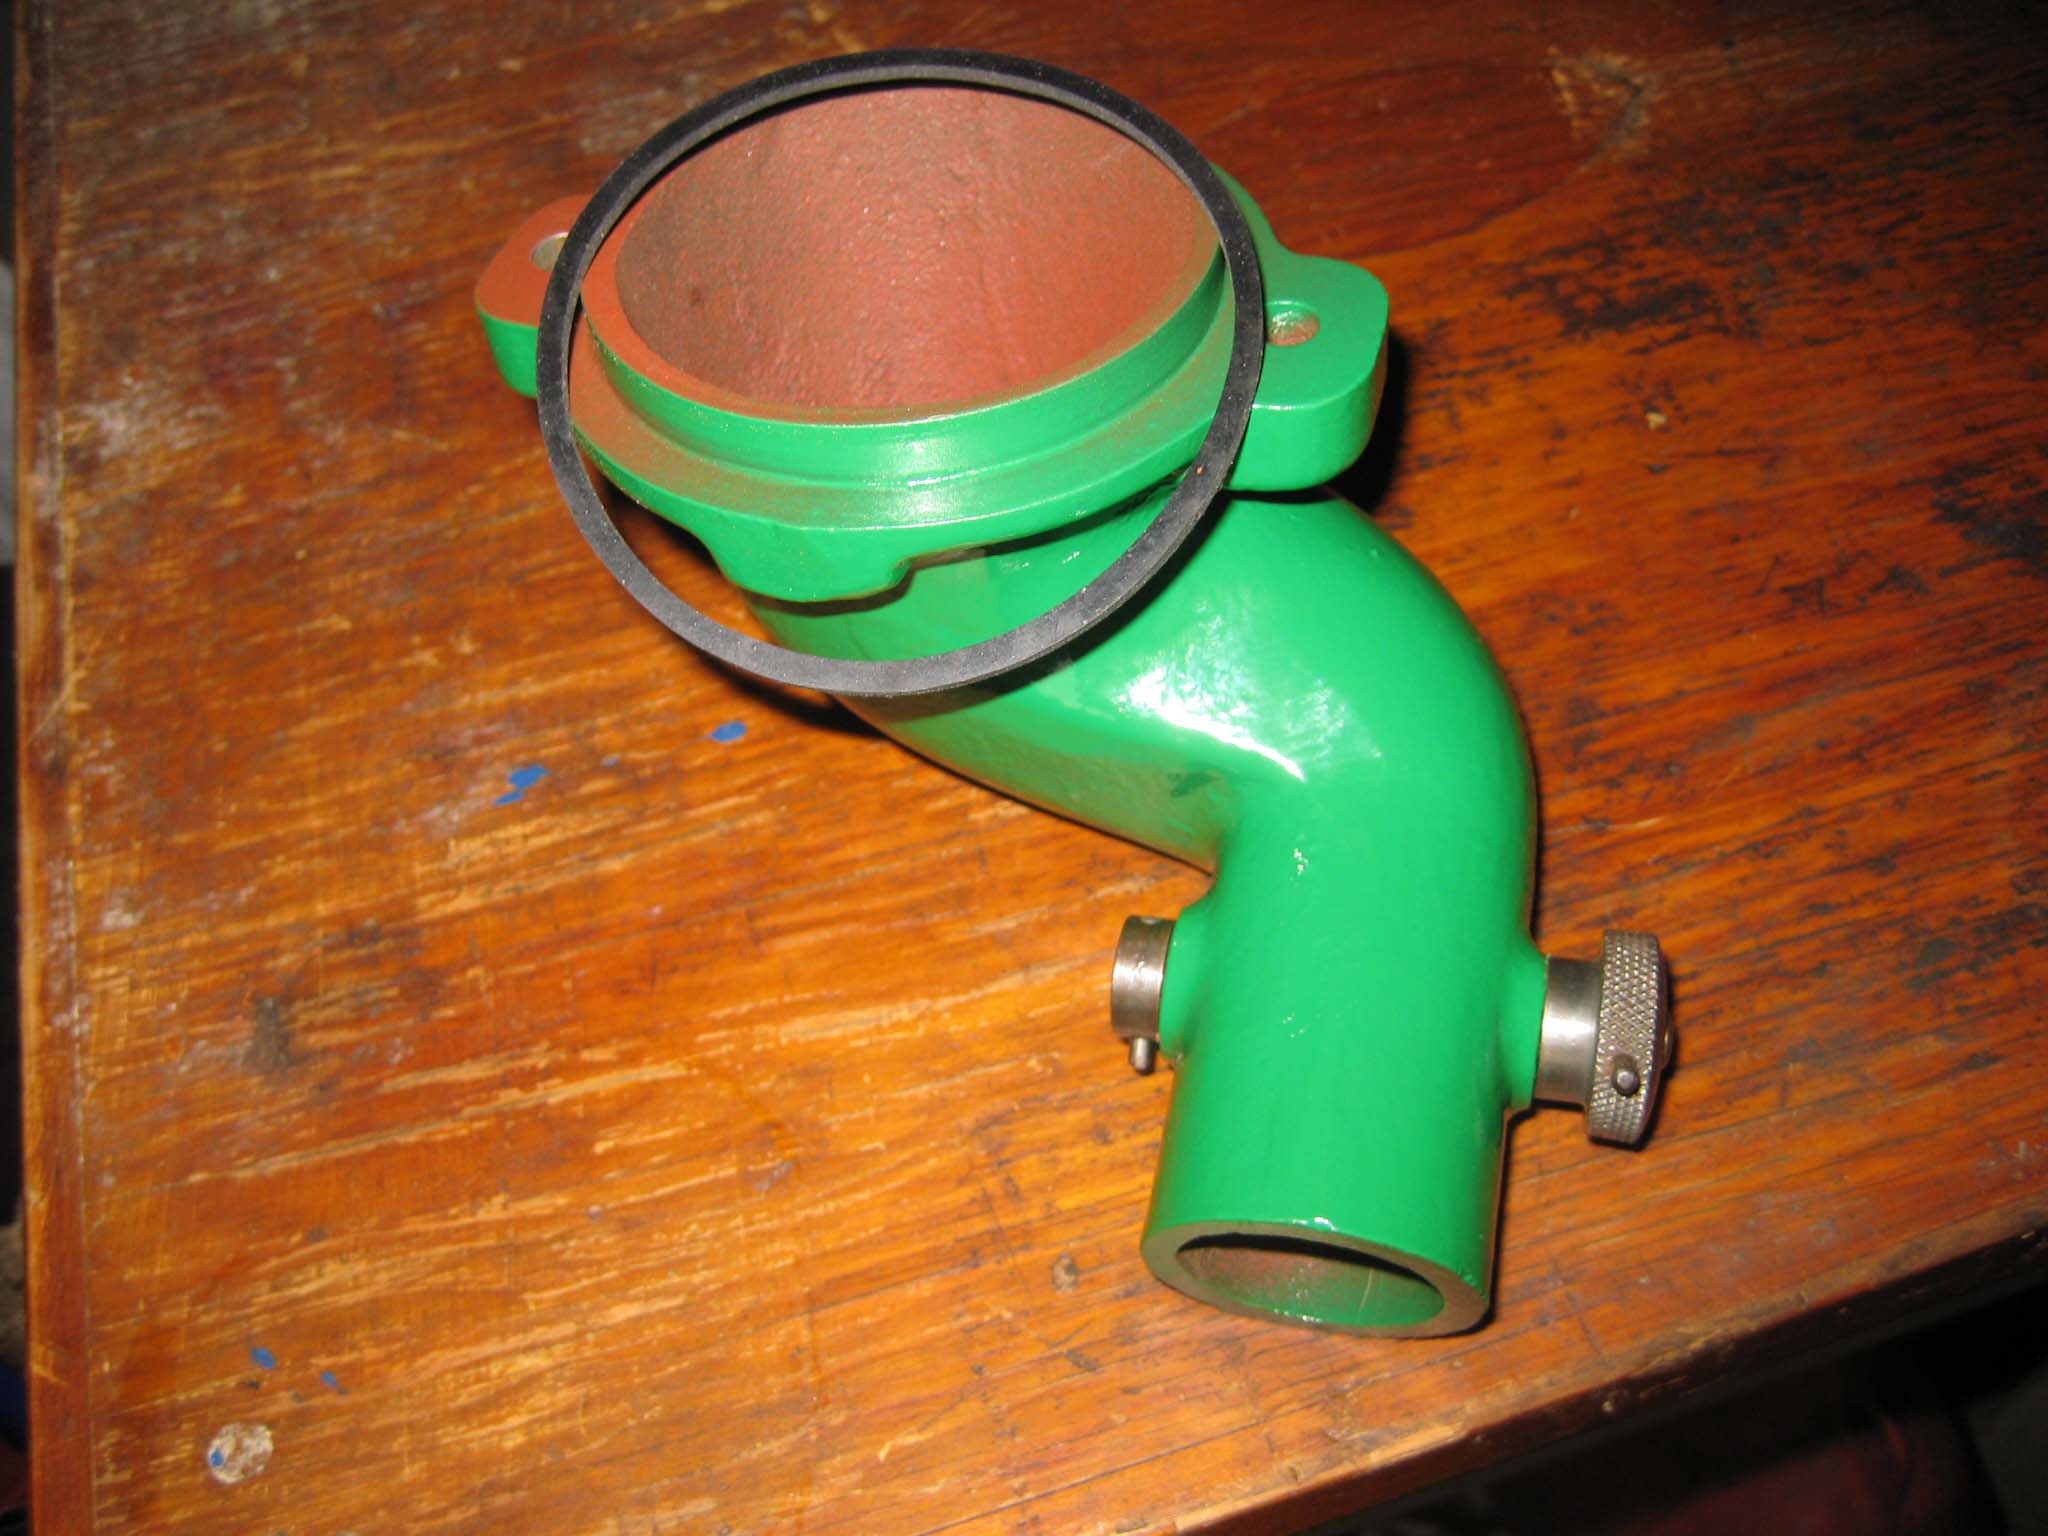
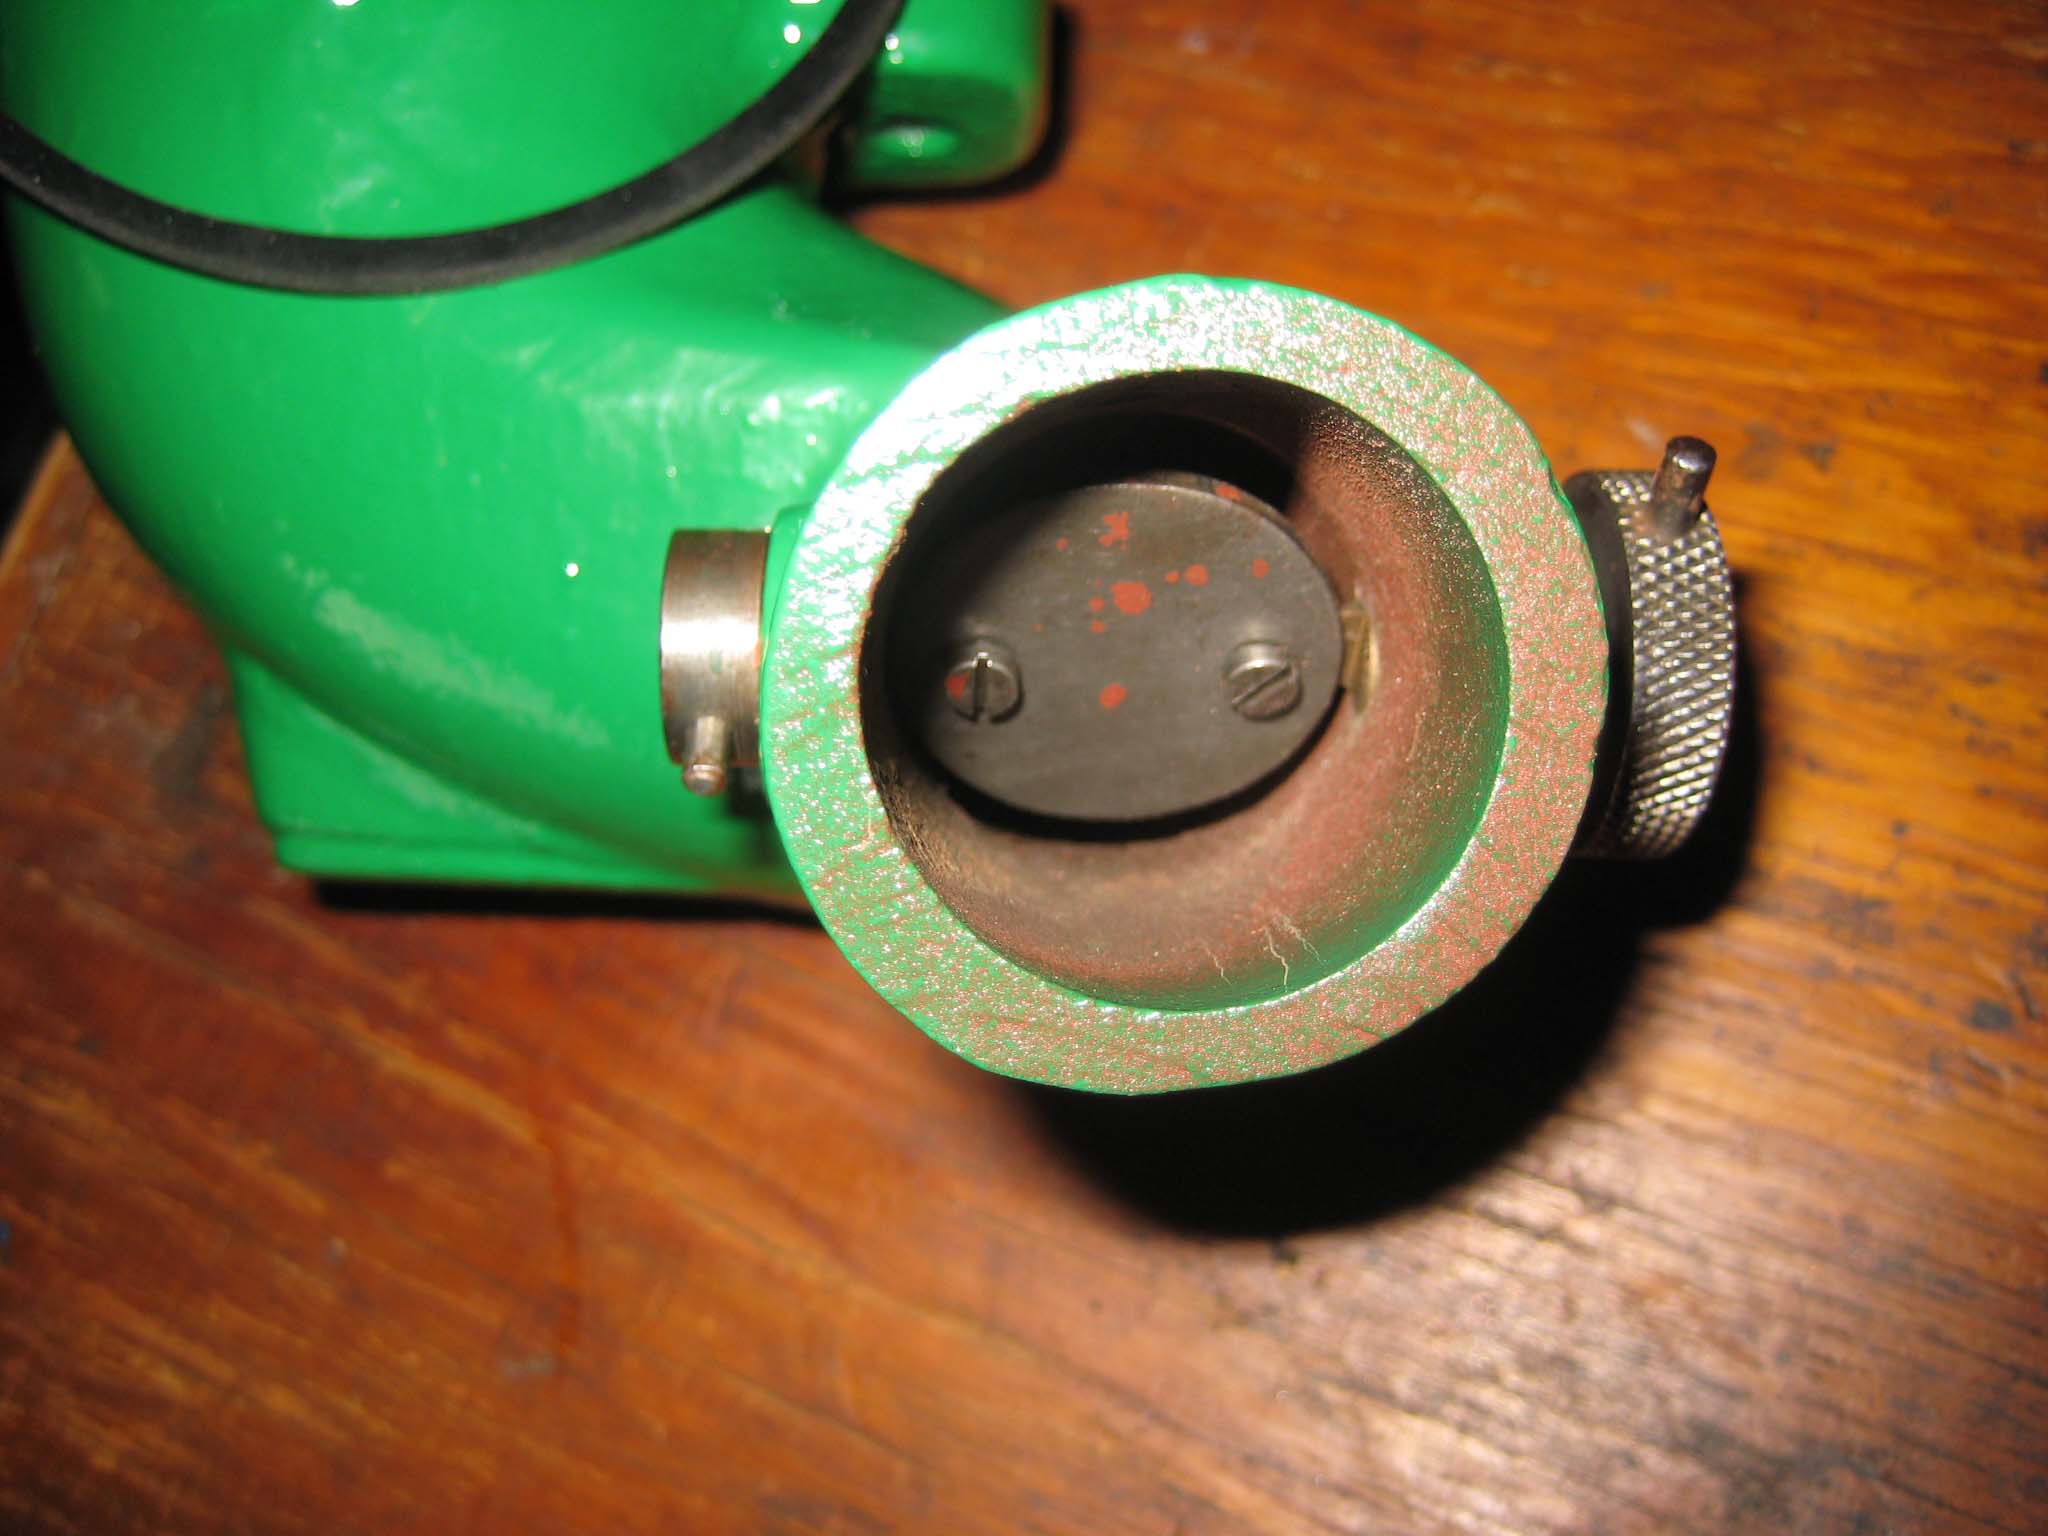
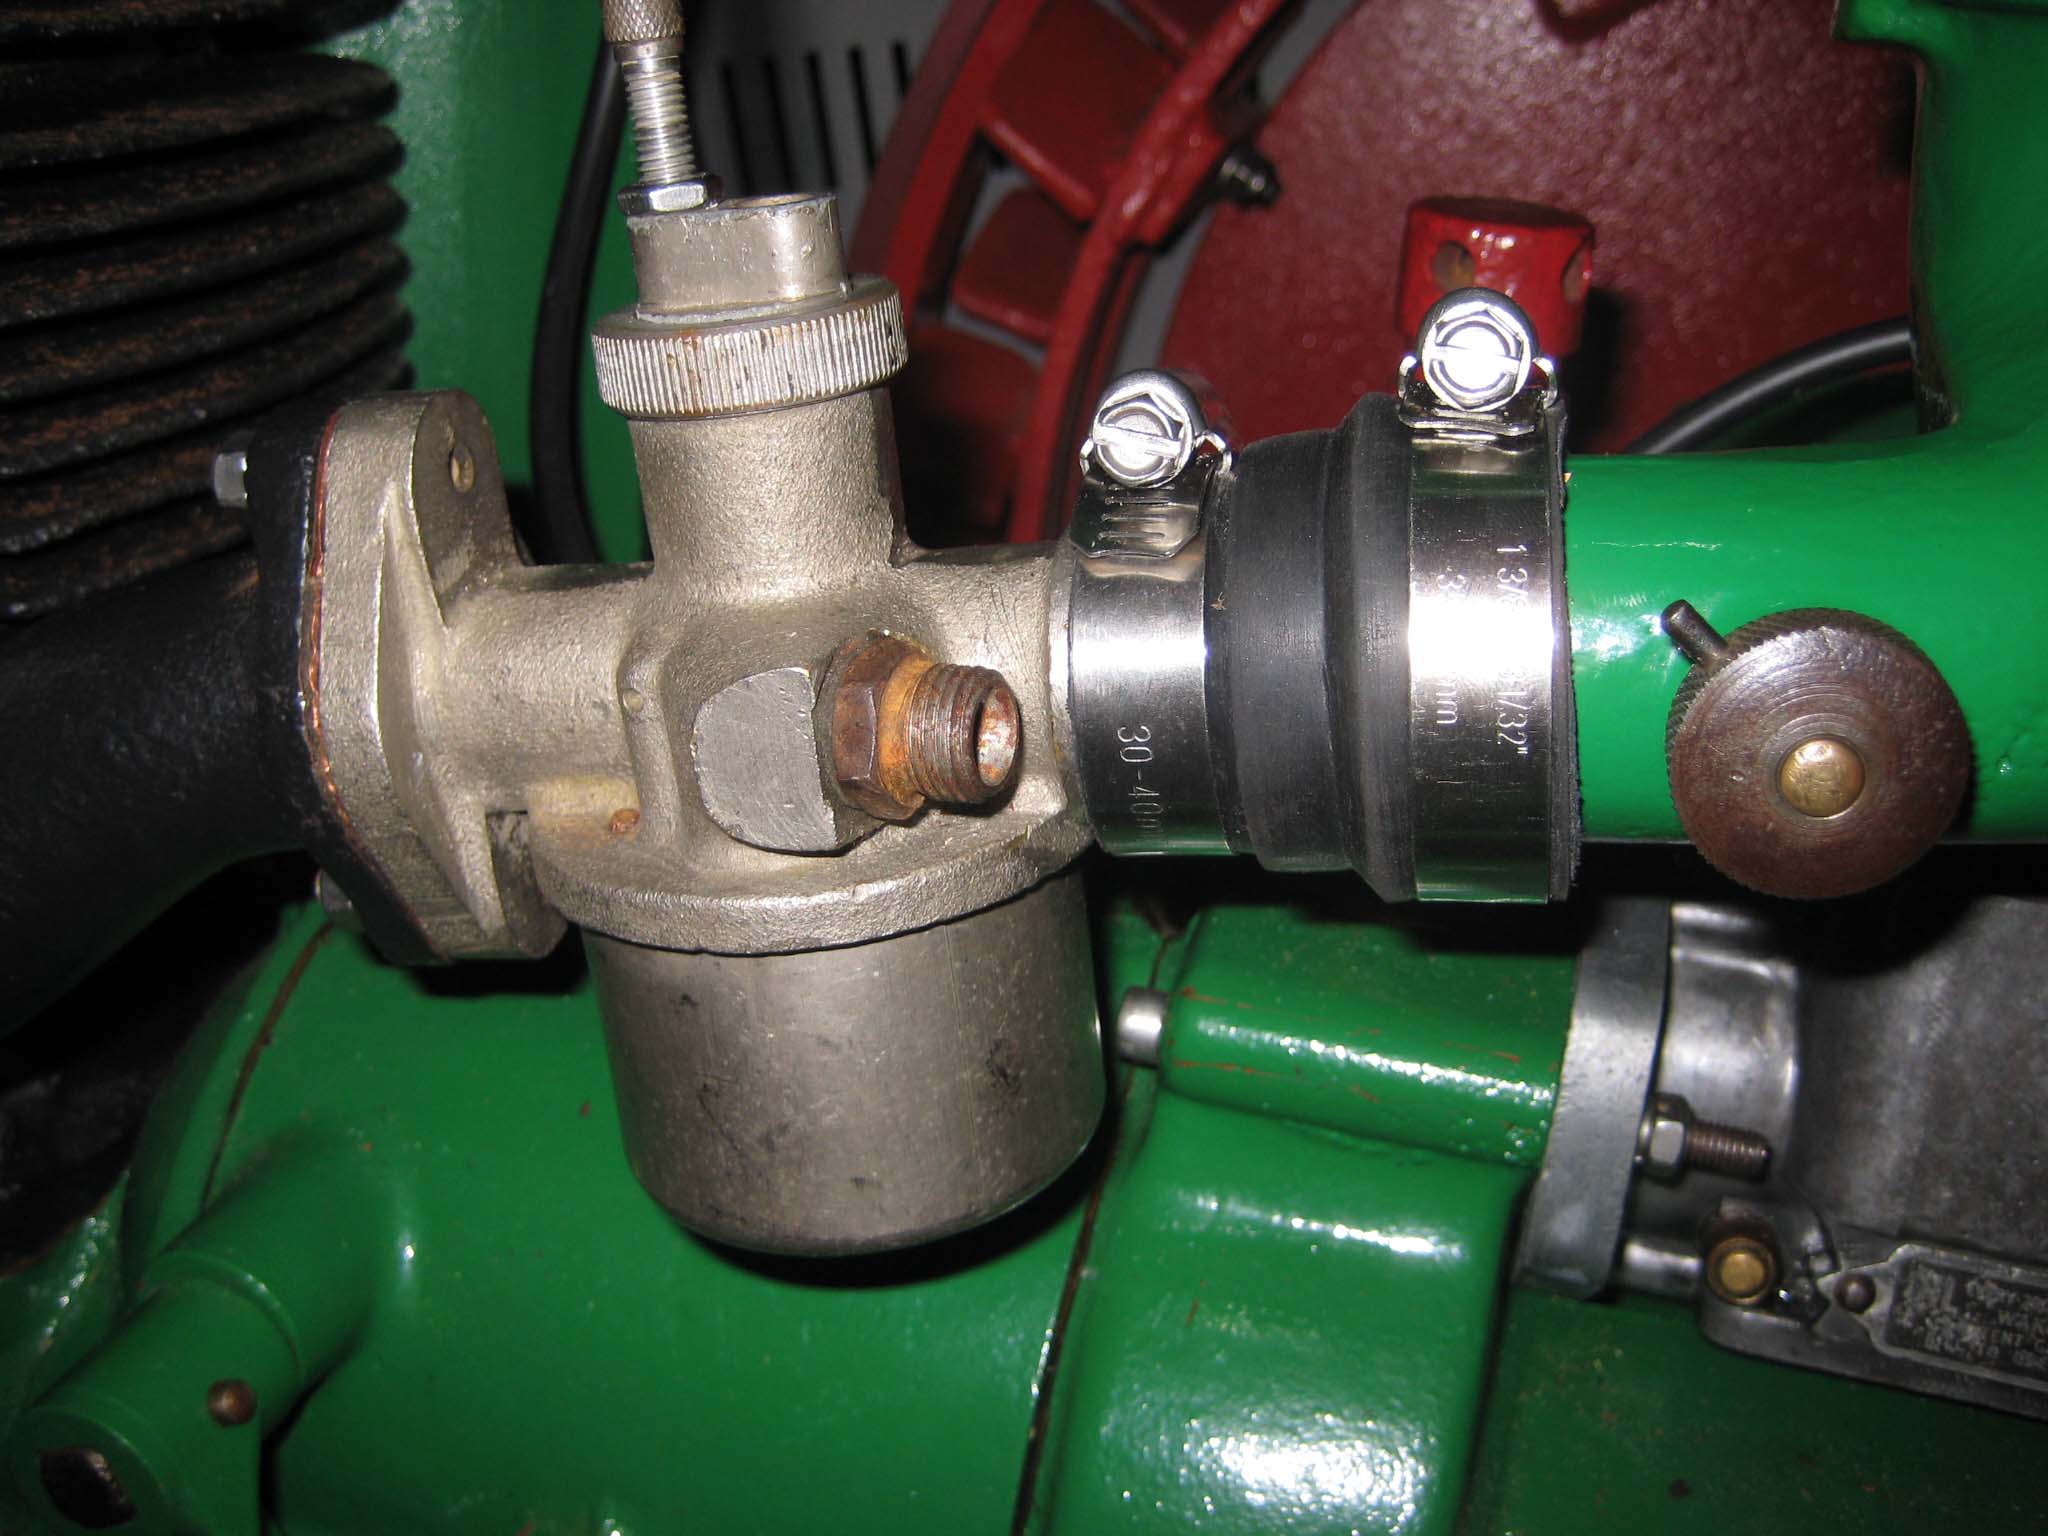
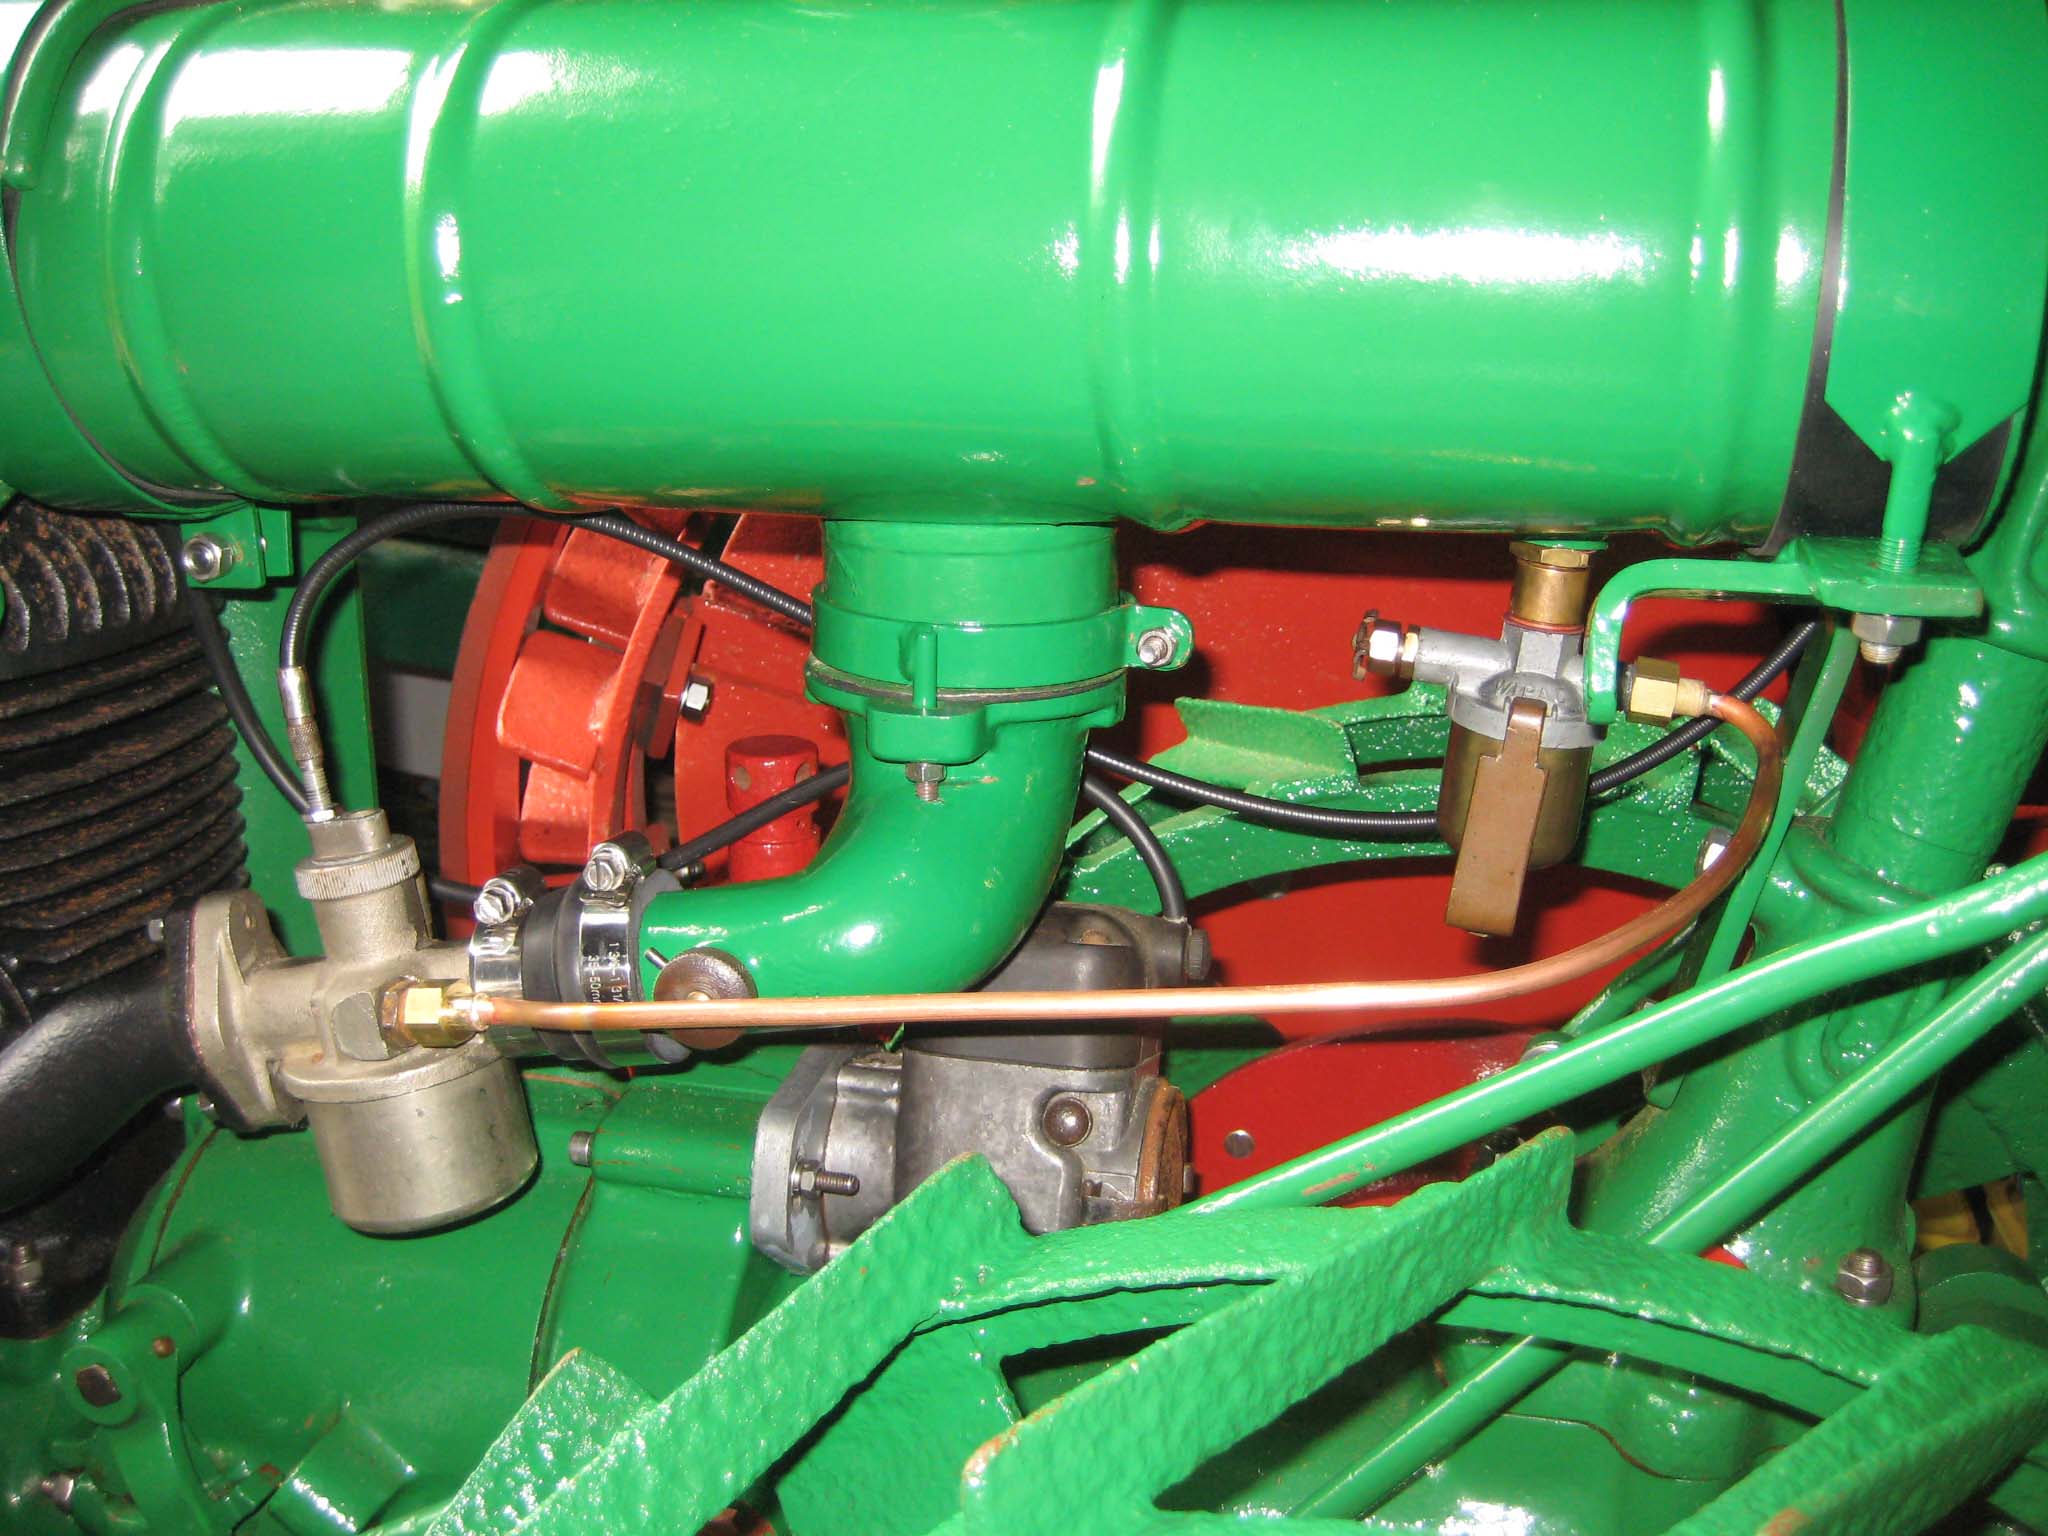
Further missing items were the plates bolted to both sides of the engine fan cowling (Simar 0129). Peter Roat was able to supply dimensions and photo’s of those fitted to his machine, allowing me to make suitable replacements. The rear fuel tank support (Simar 0130) is bolted to the steering column by two M8 x 16 long set screws. The fuel tank is strapped down to the top of the rear support and to the underside of the front engine cowling (Simar 0131). Both fuel tank straps had to be remanufactured as the originals were beyond repair. I placed a thin strip of Neoprene rubber between each strap and the tank. The fuel sediment trap, which also includes the fuel shut off tap, was screwed into the 1/4″ BSP fitting on the underside of the tank (Simar 0132). For the cast air intake elbow which is attached to the underside of the fuel tank, it was Charlie Moore to the rescue again with a replacement (Simar 0133). My machine had at some point been fitted with a different carburettor, which included a choke mechanism. The correct specification Amal 244/544 carburettor now fitted has no choke, this instead being housed inside the air intake elbow (Simar 0134). When the carb was changed, the original intake elbow had been modified by removing the choke butterfly and the cross shaft holes threaded so they could be blanked off by screwing in bolts. The elbow is attached to the tank via a collar (Simar 0135), which also required repairing as one of the M6 studs was broken.
Attachments:
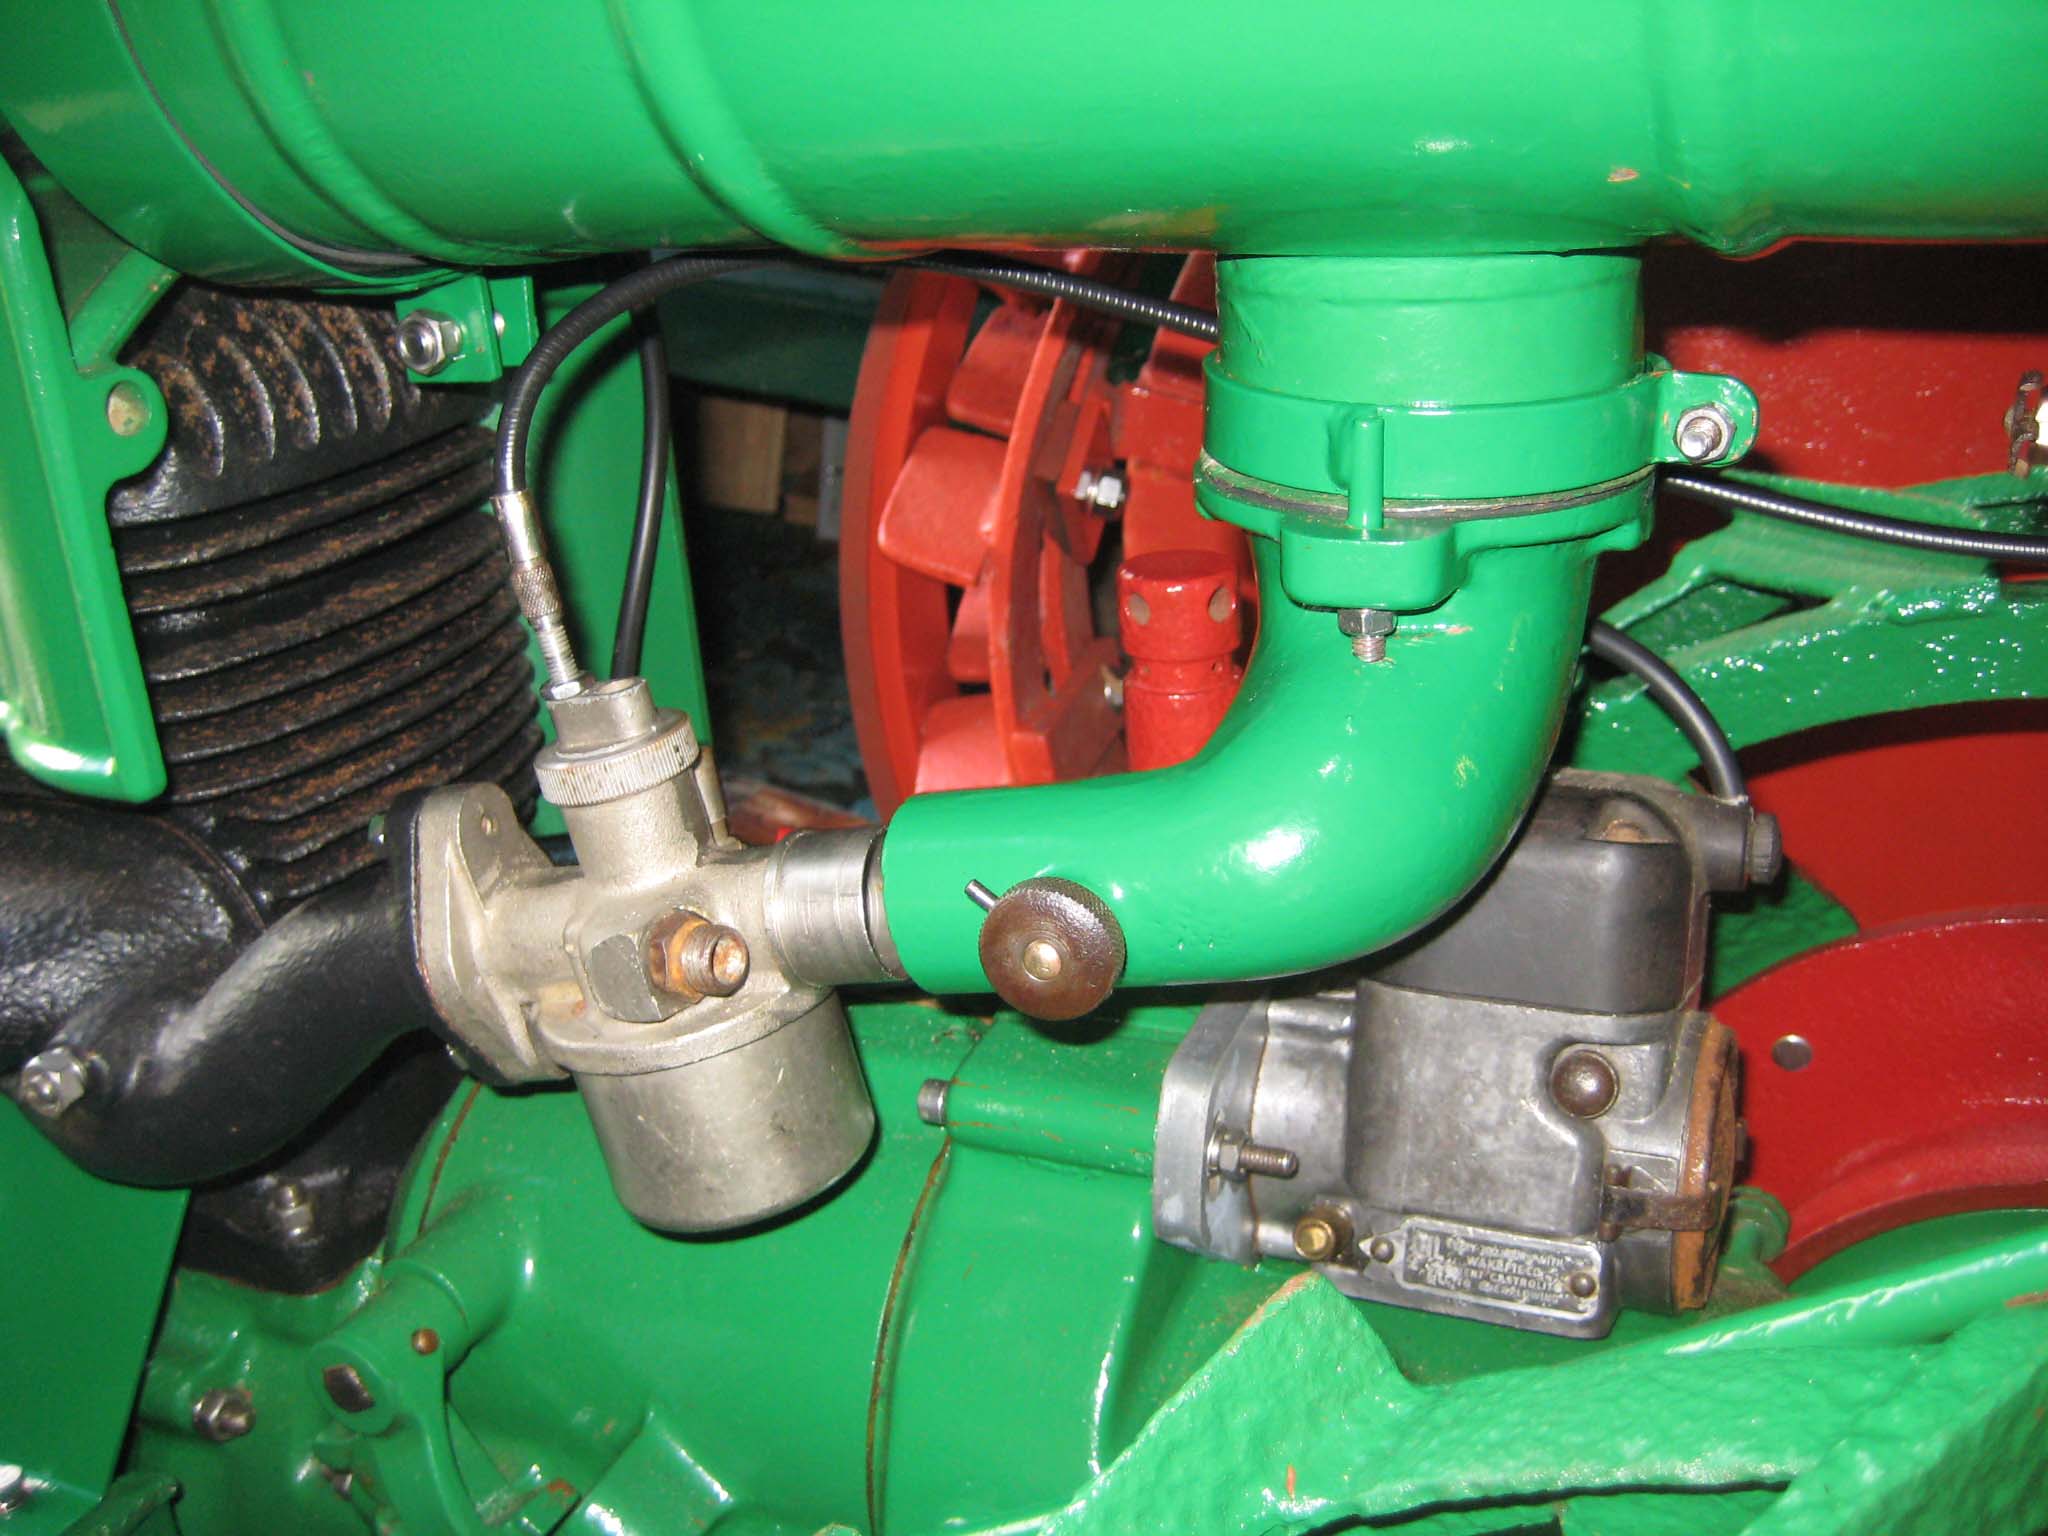
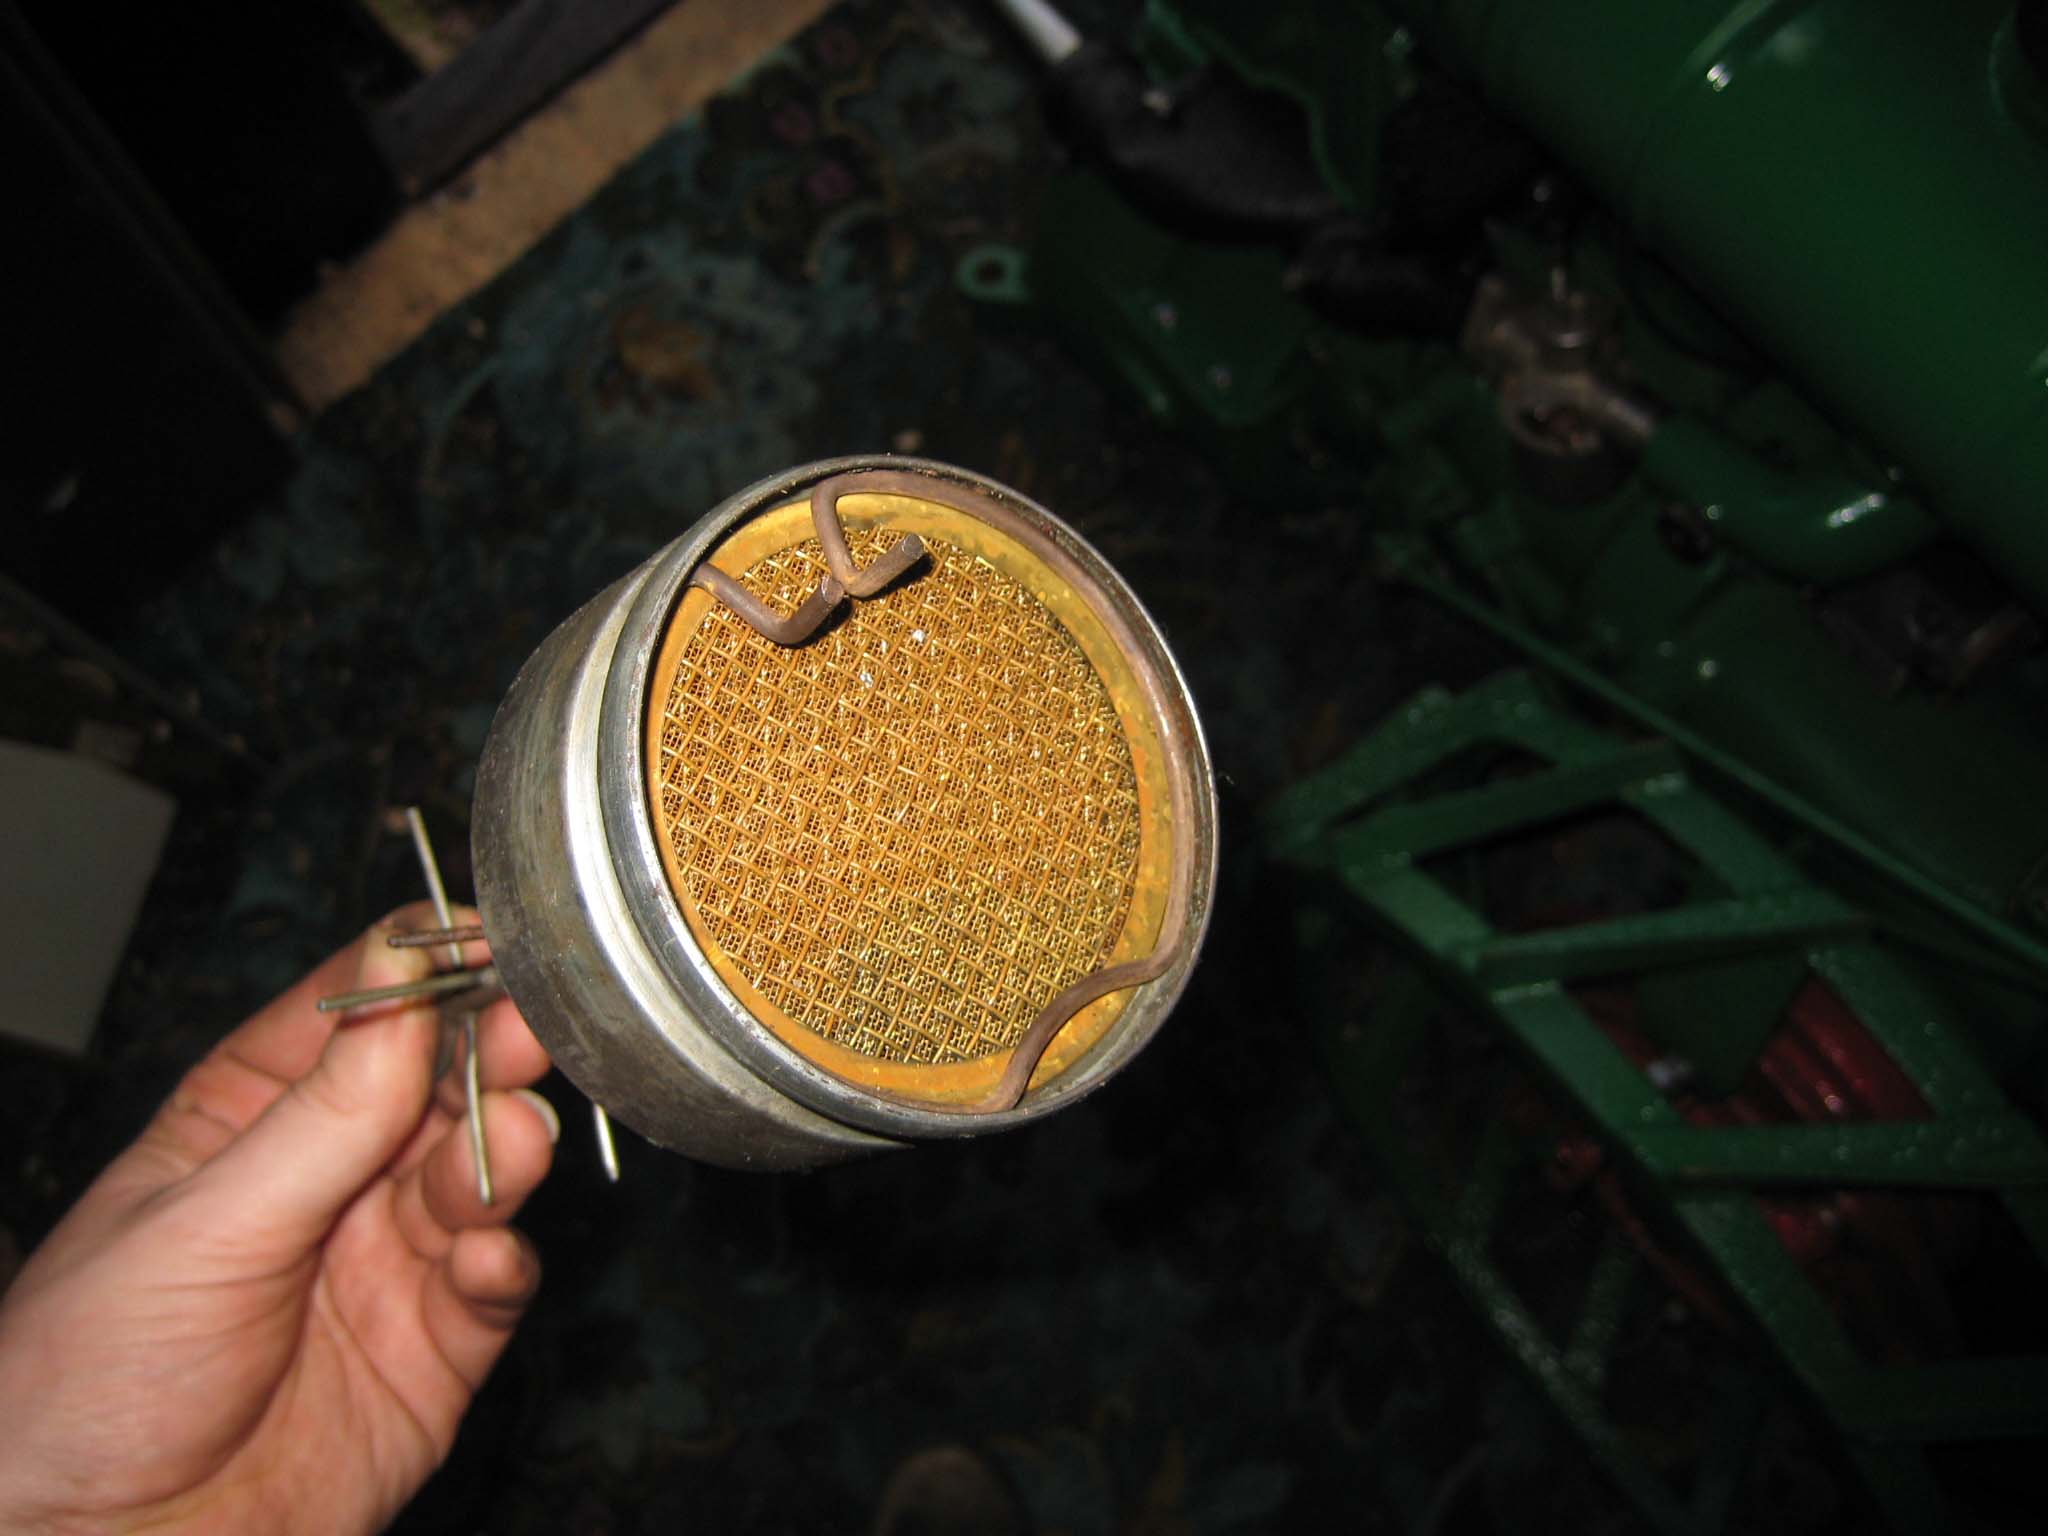
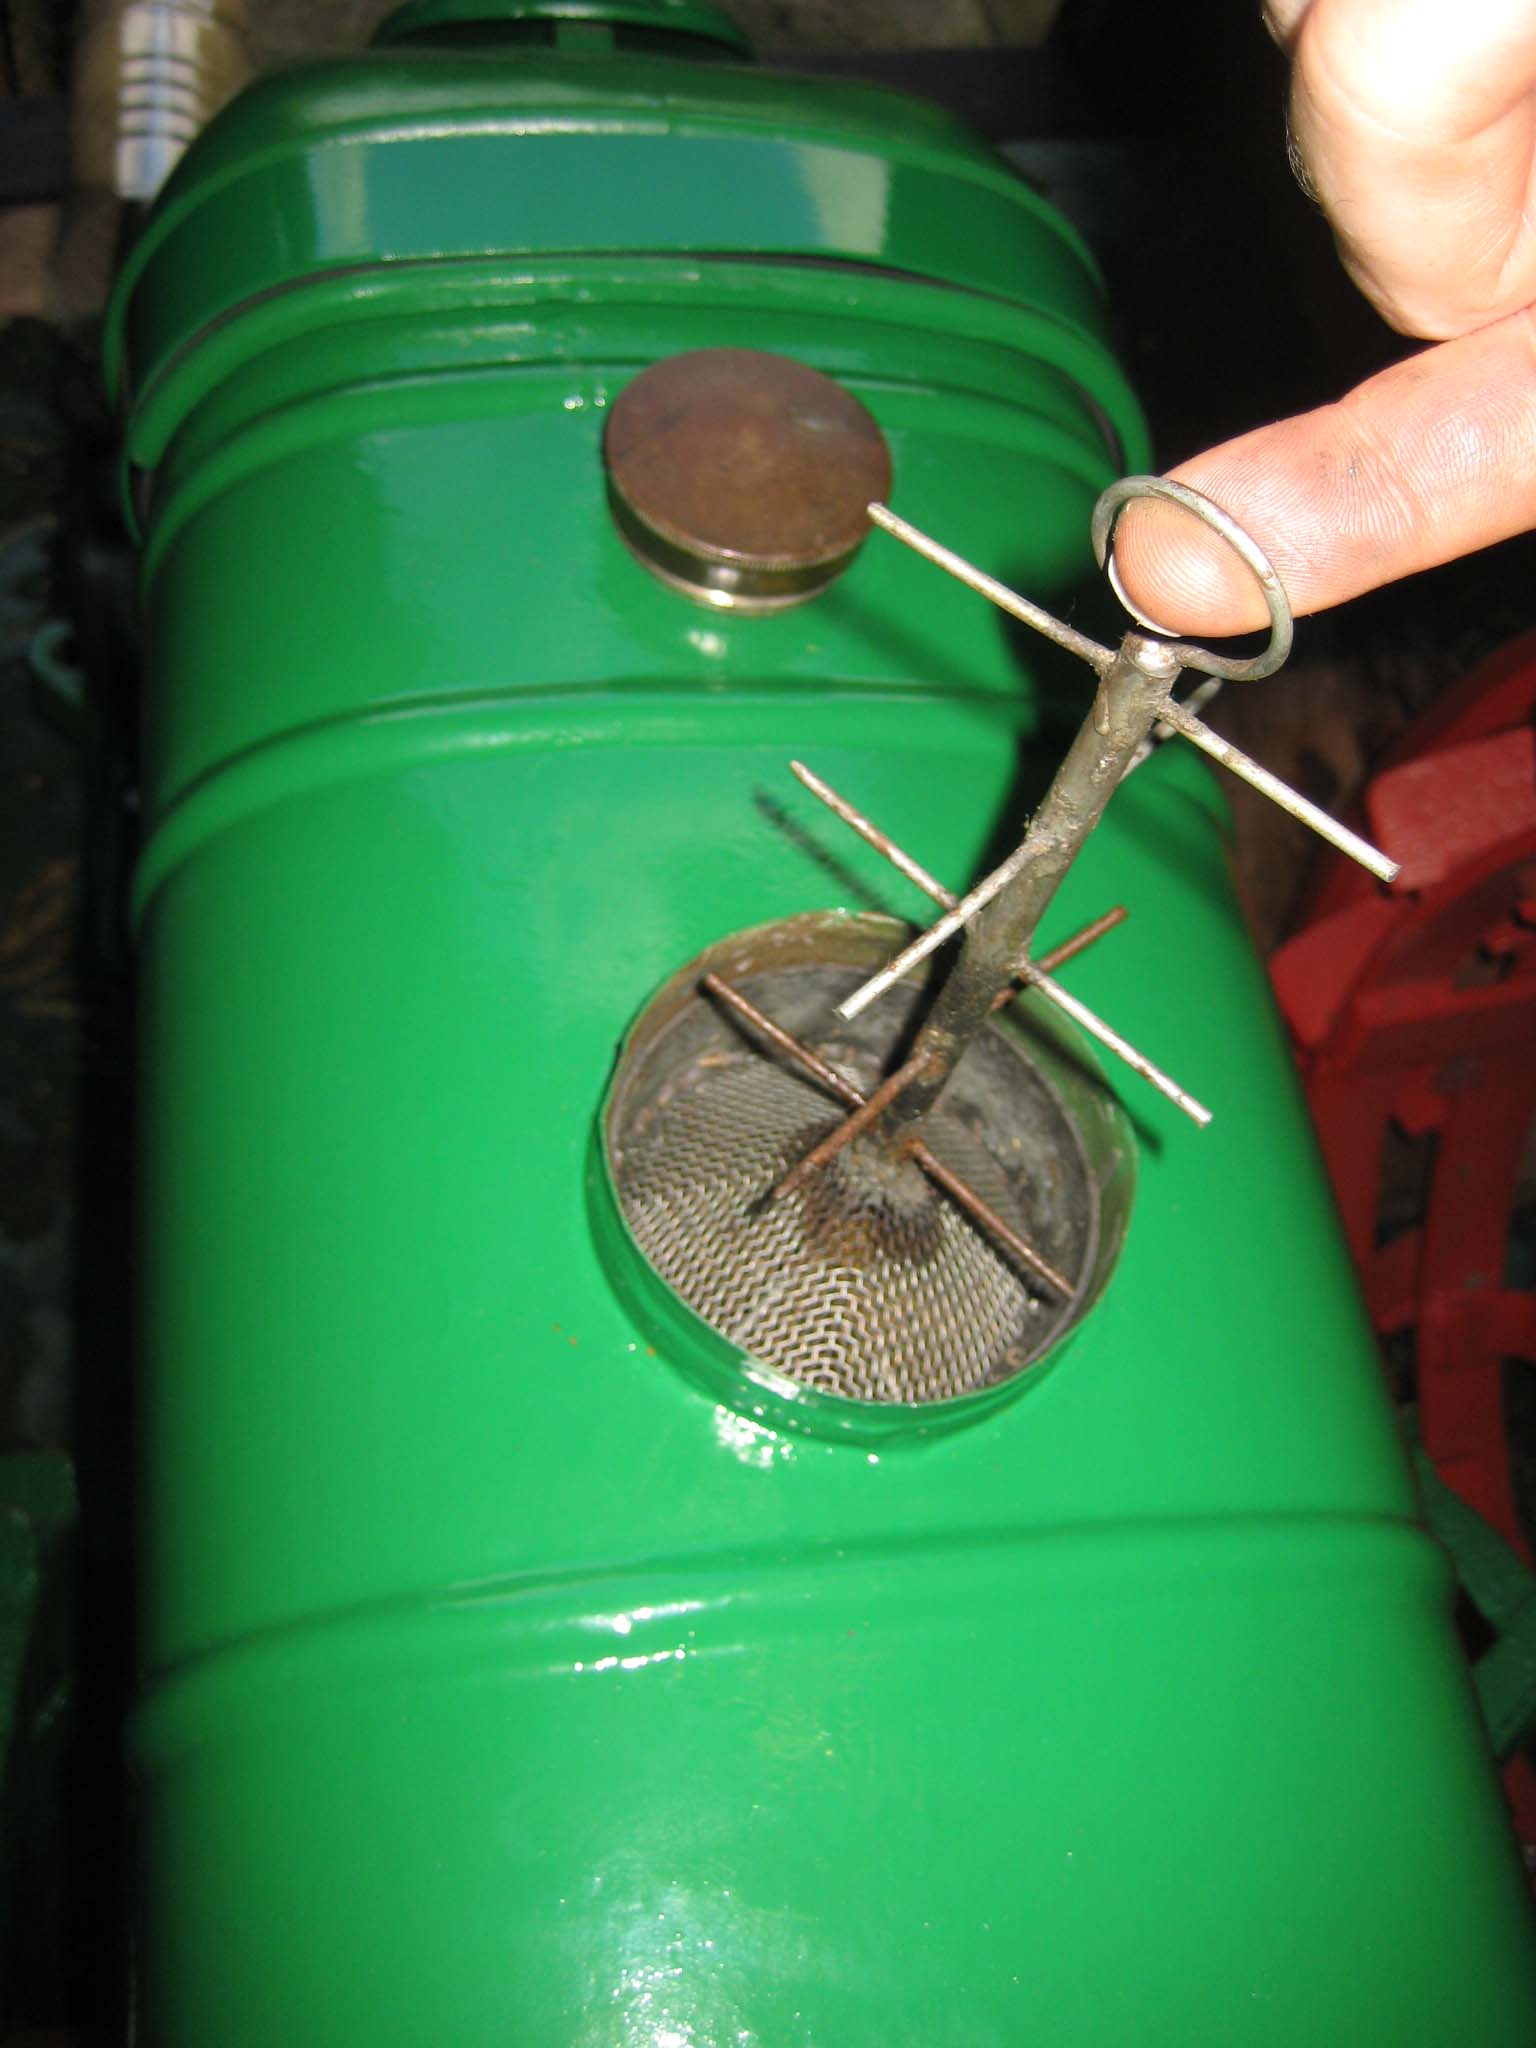
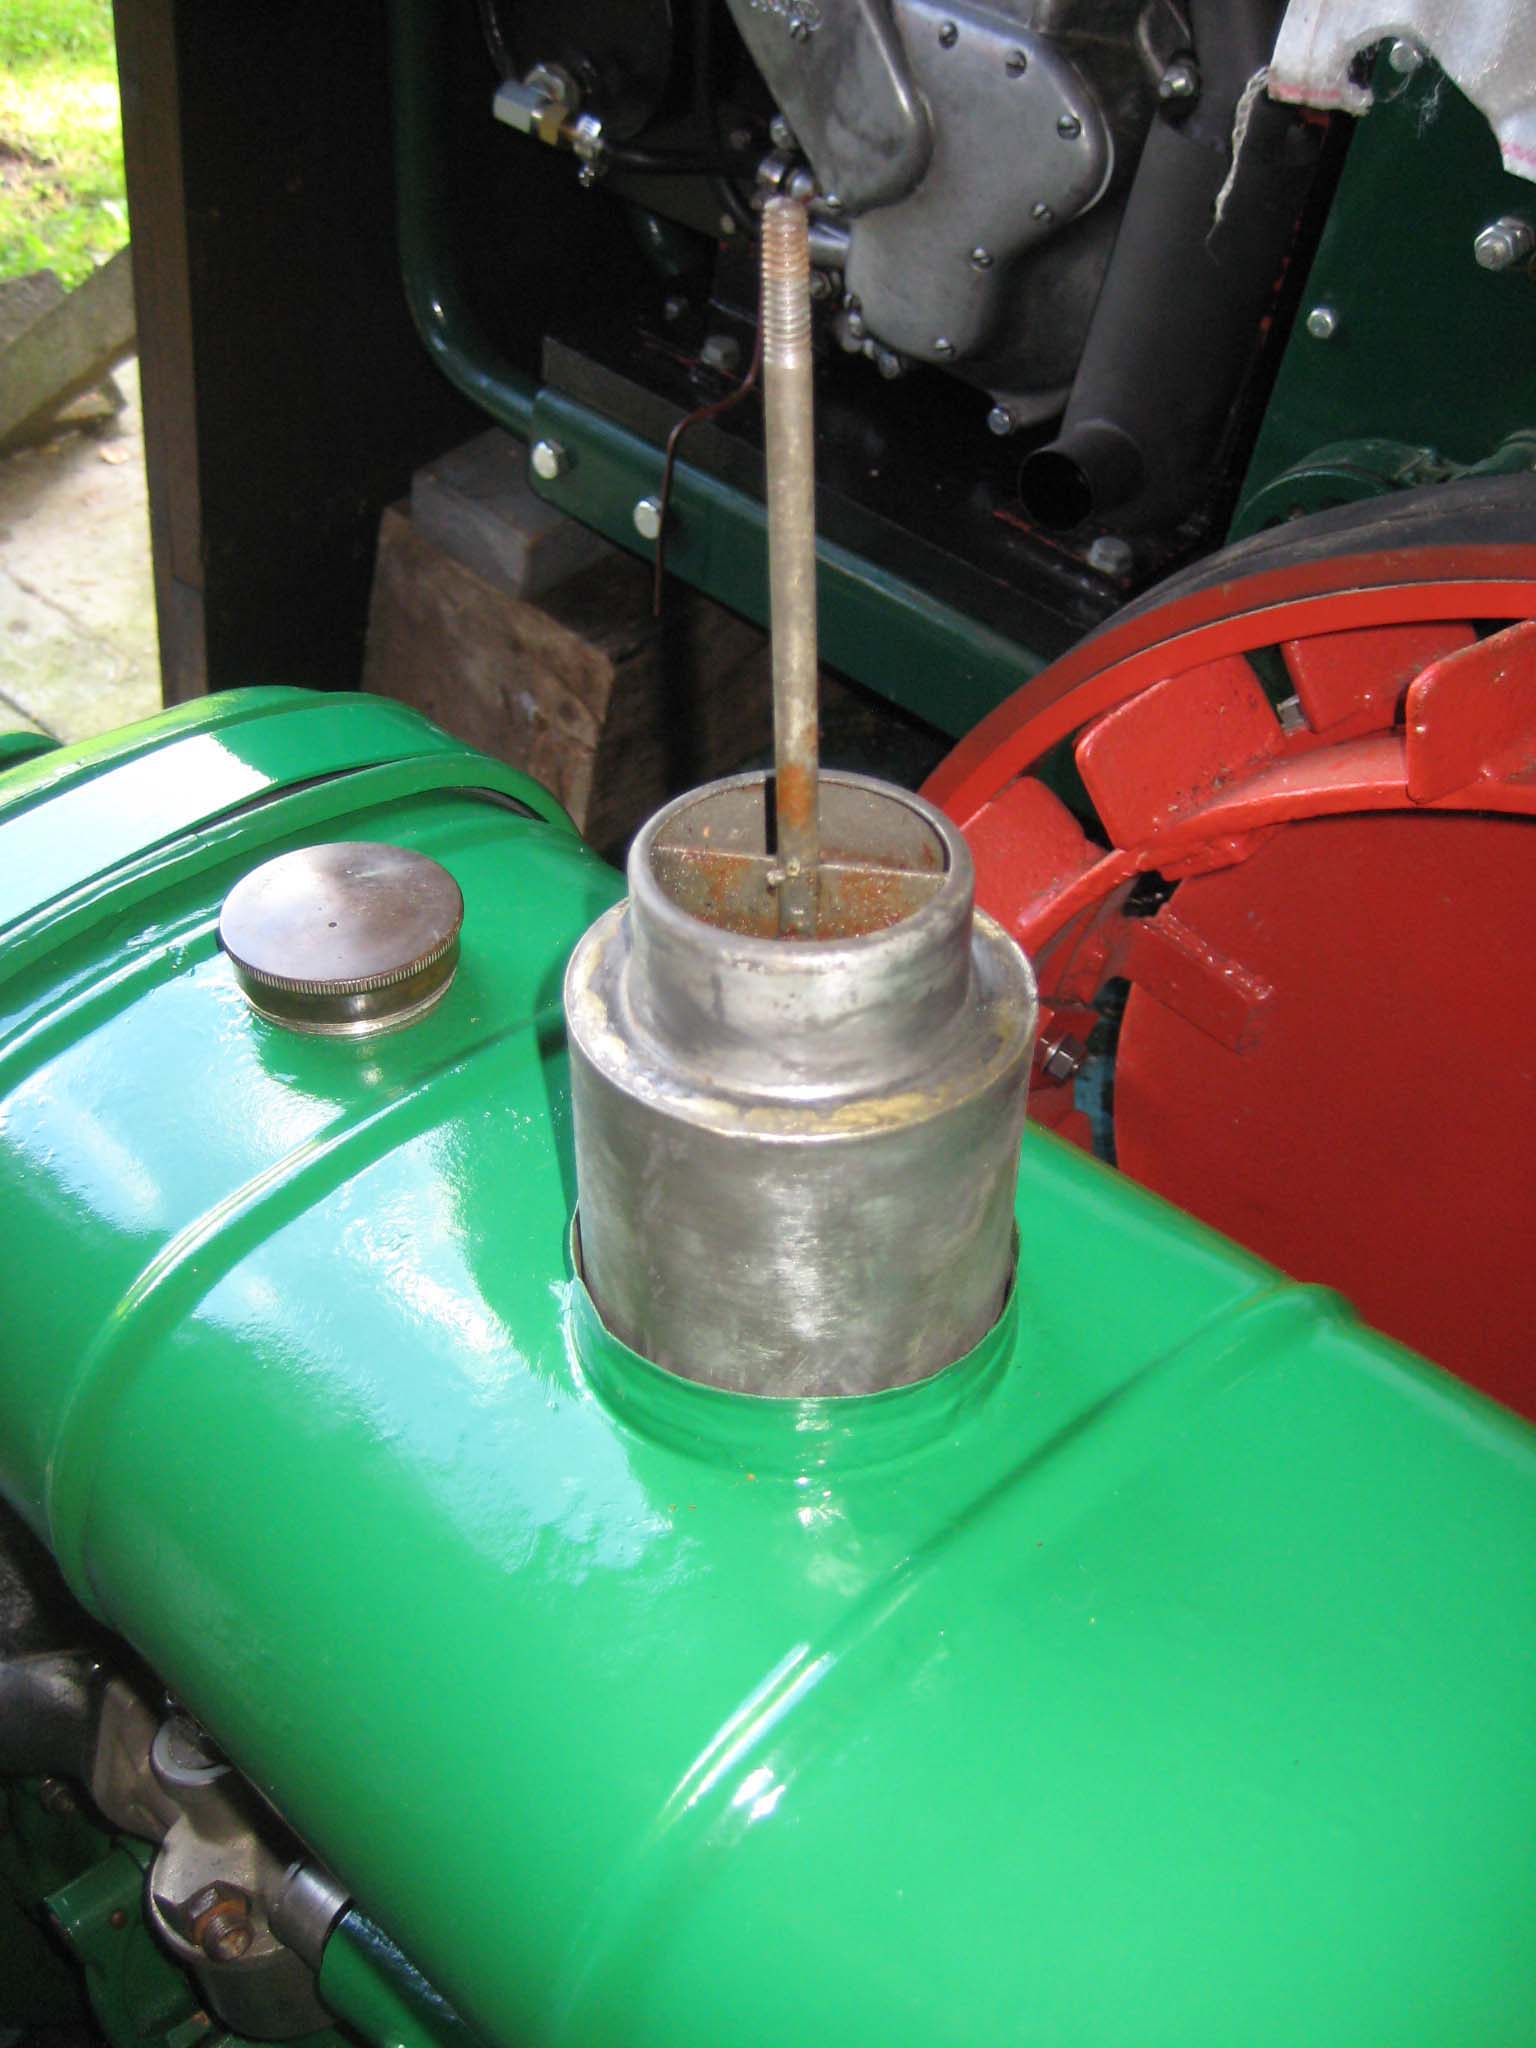
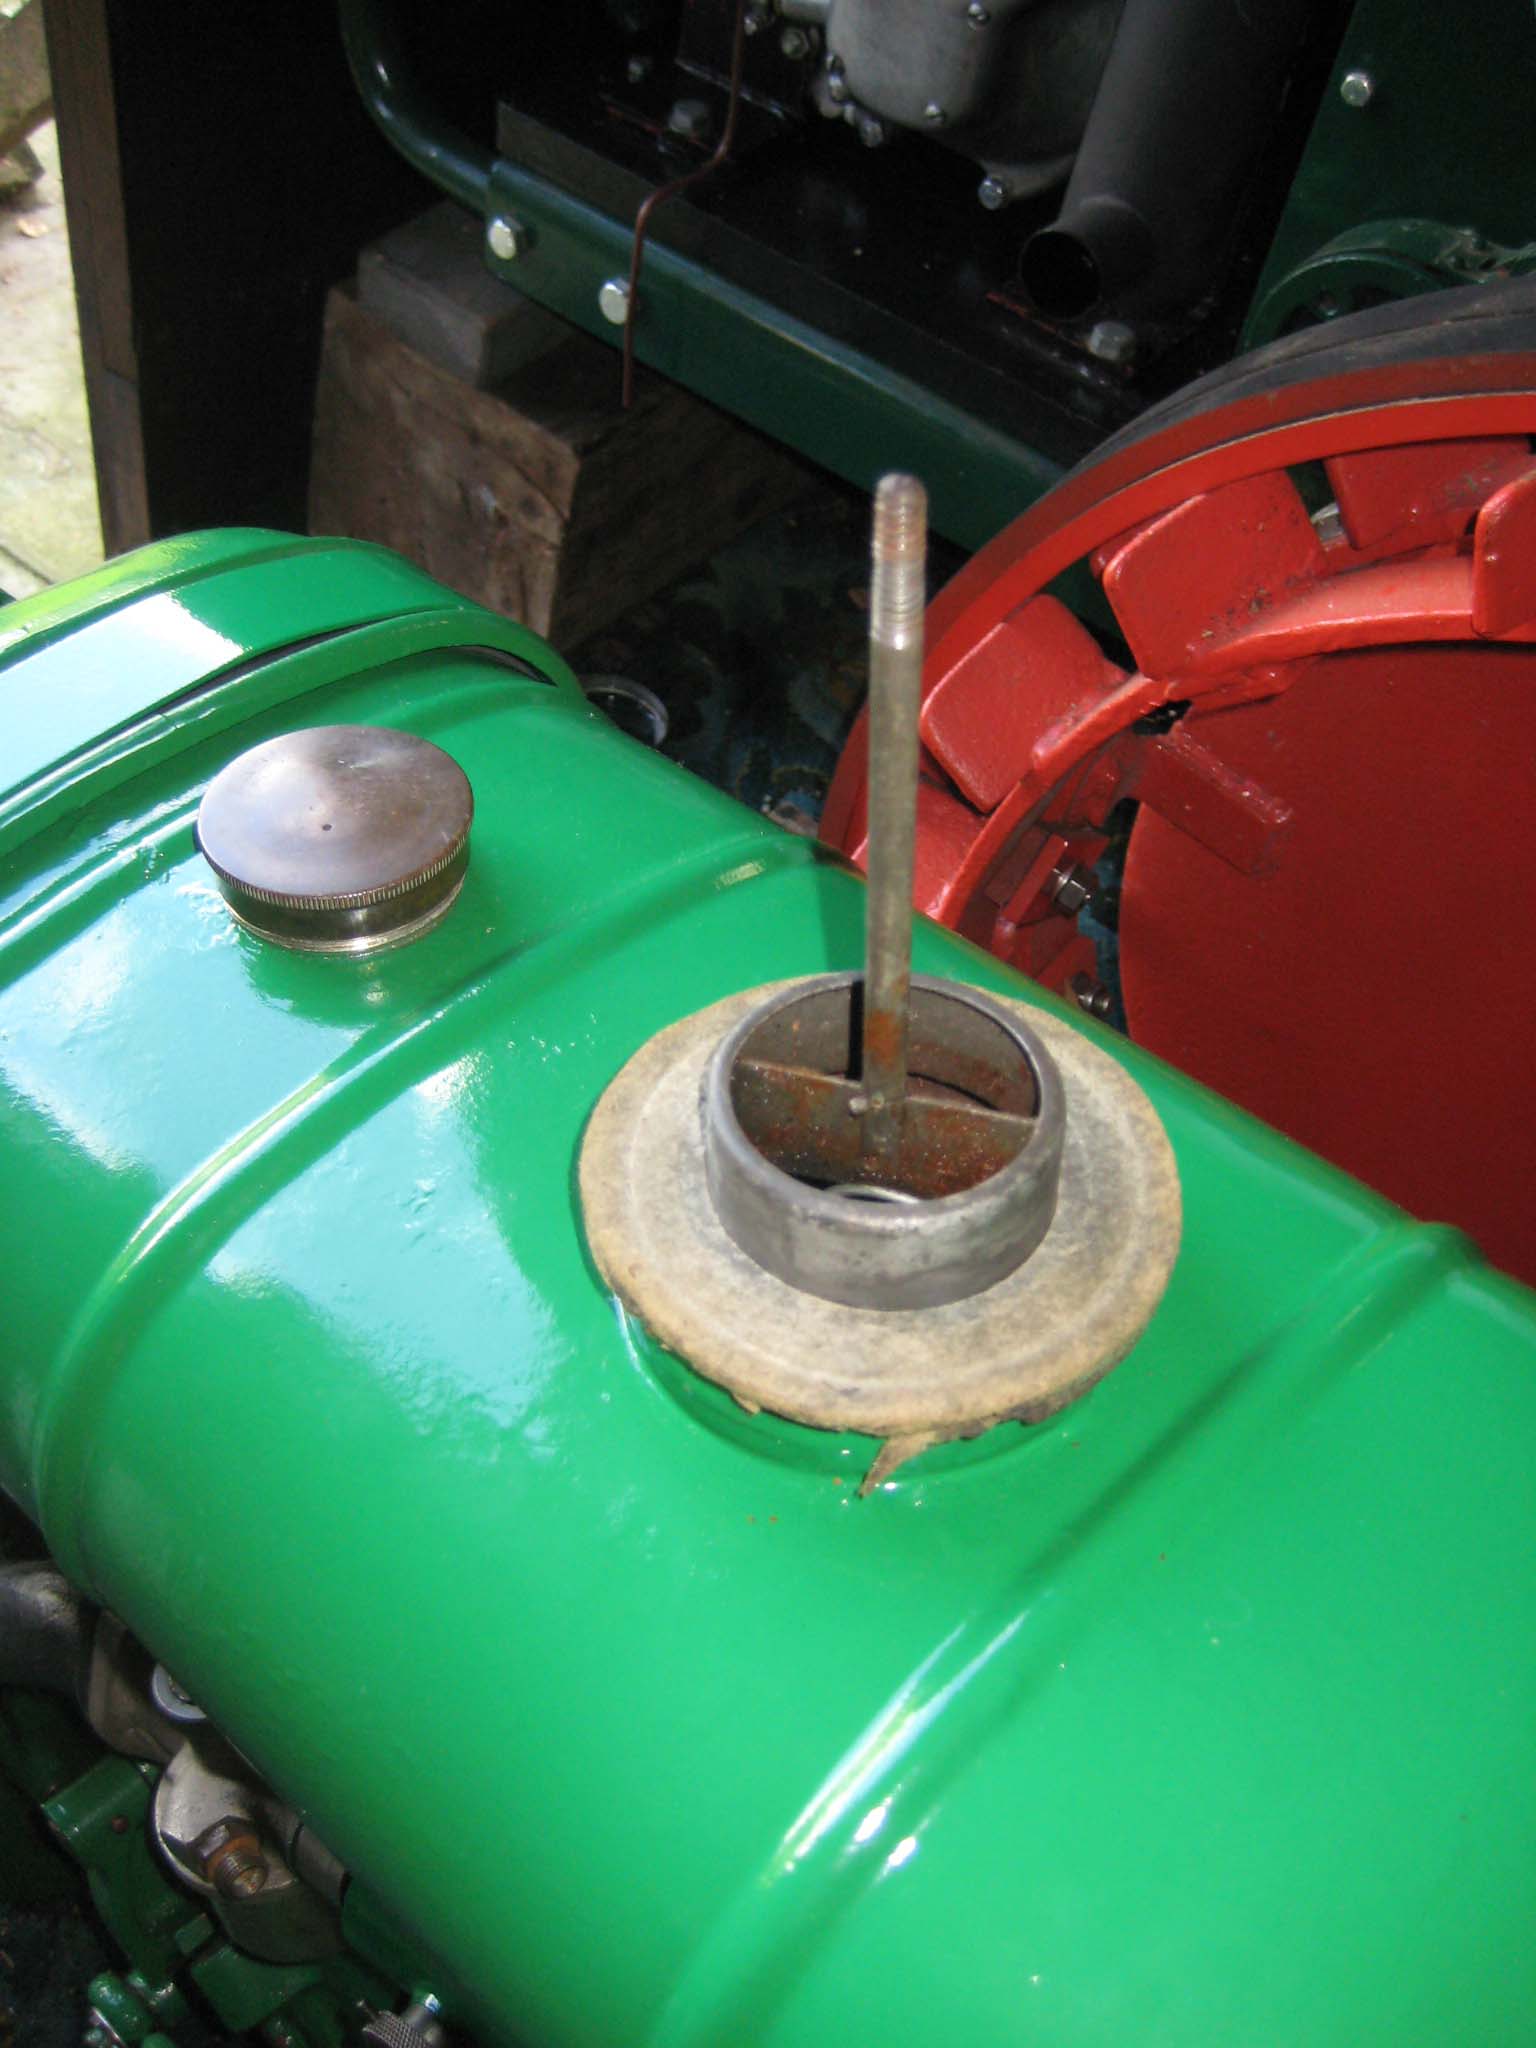
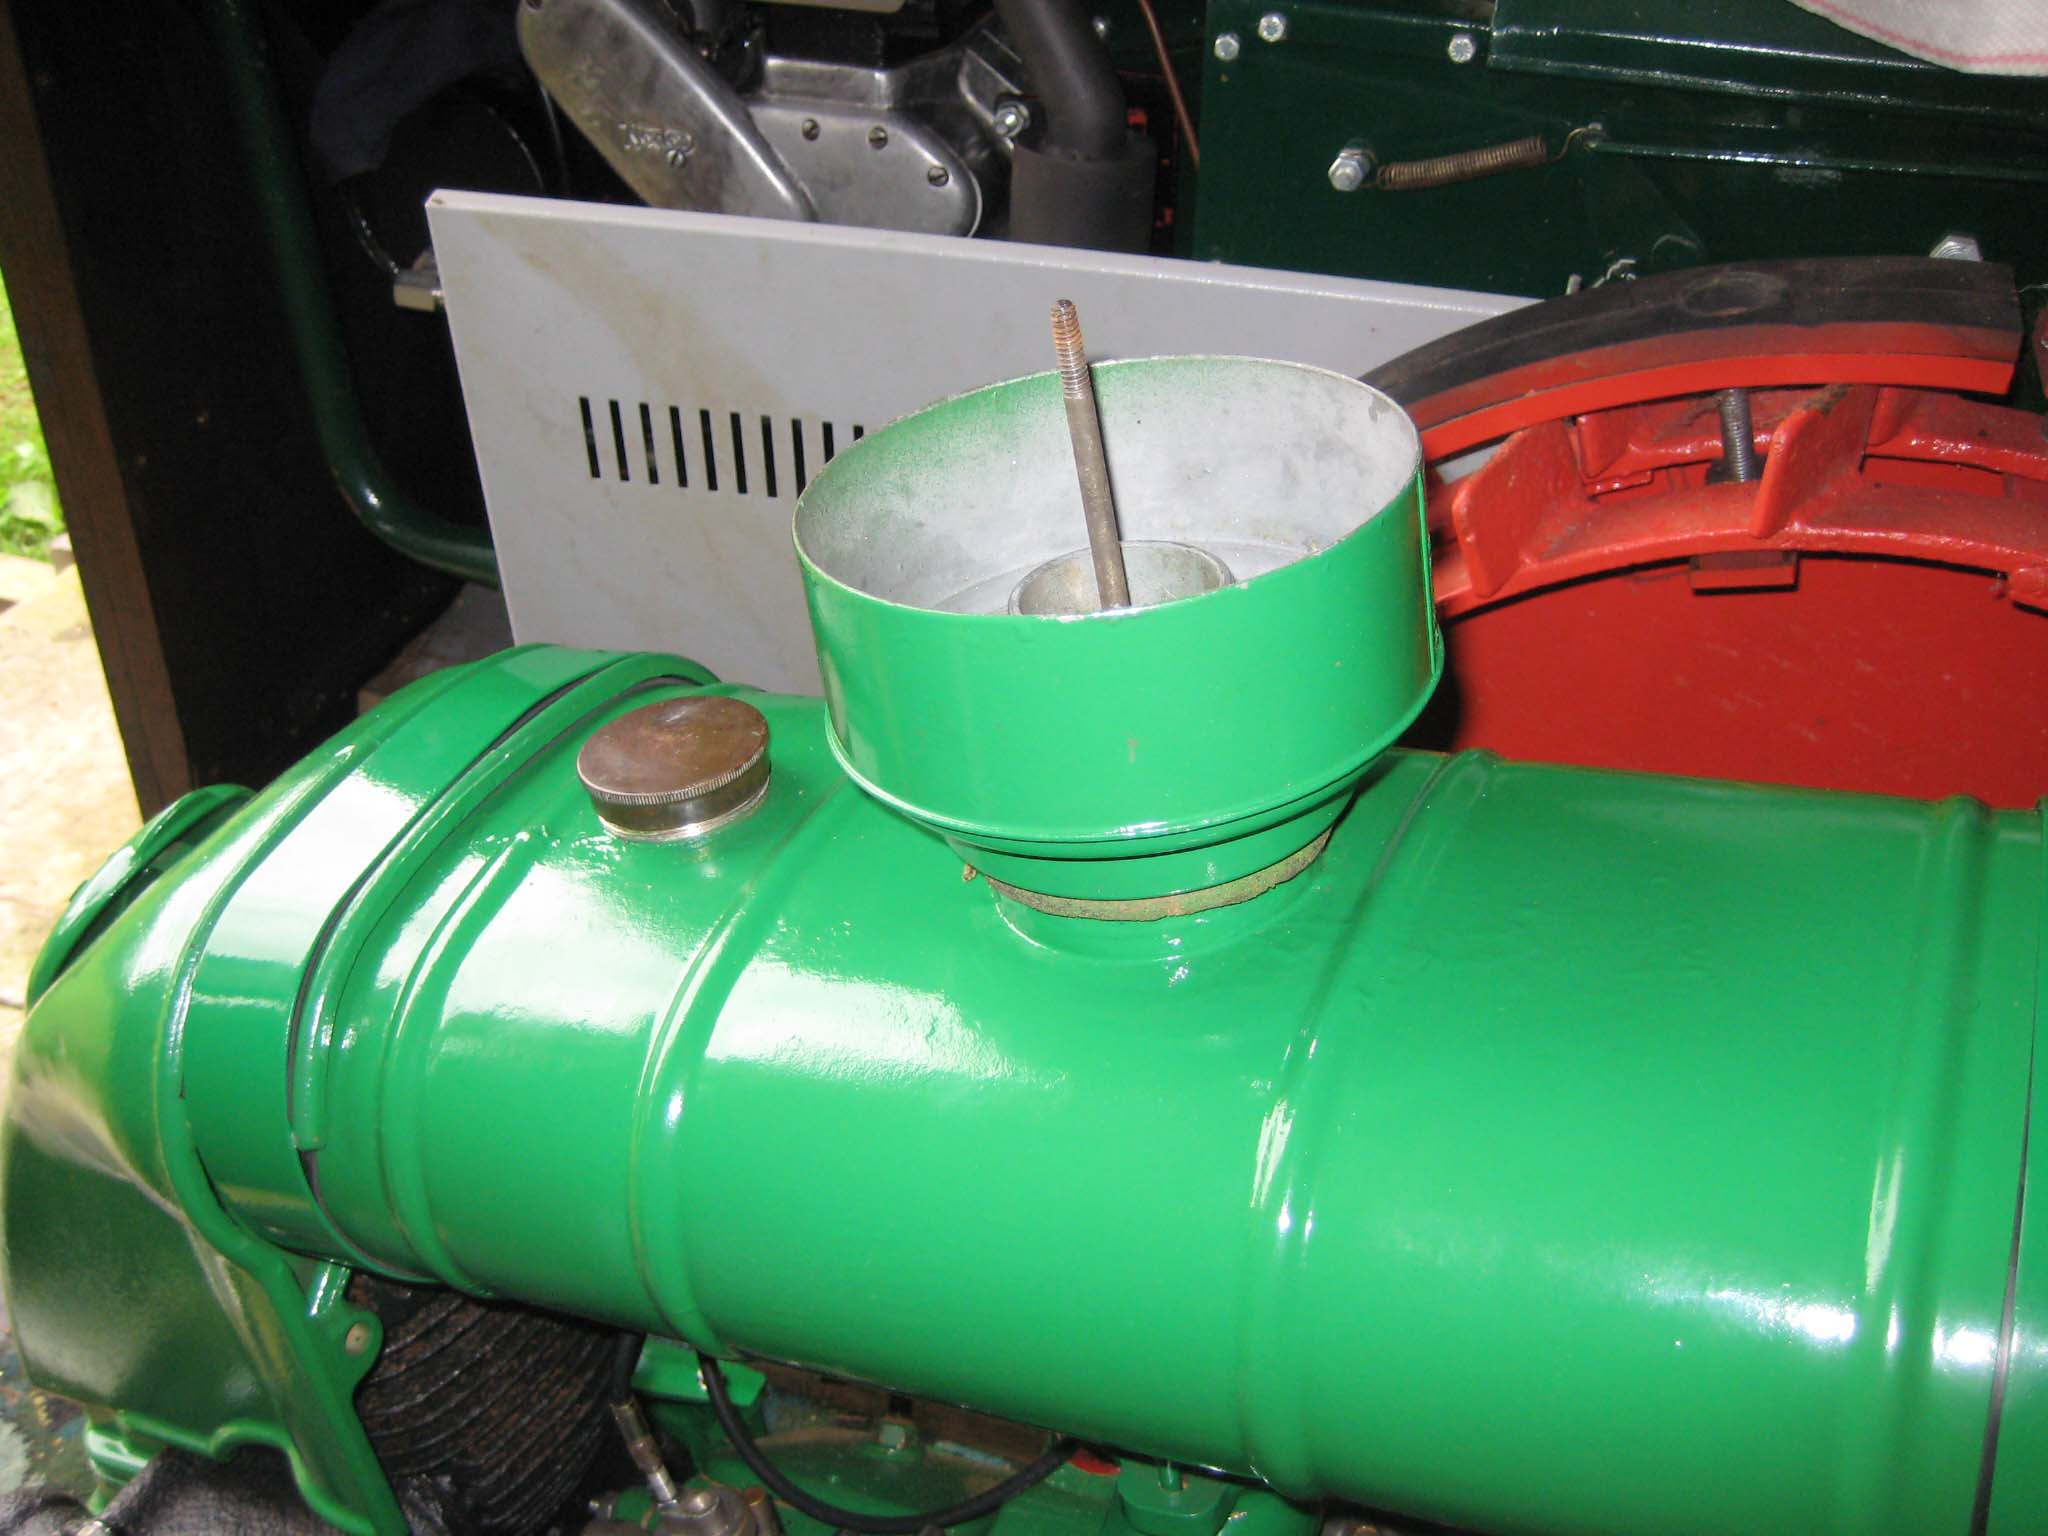
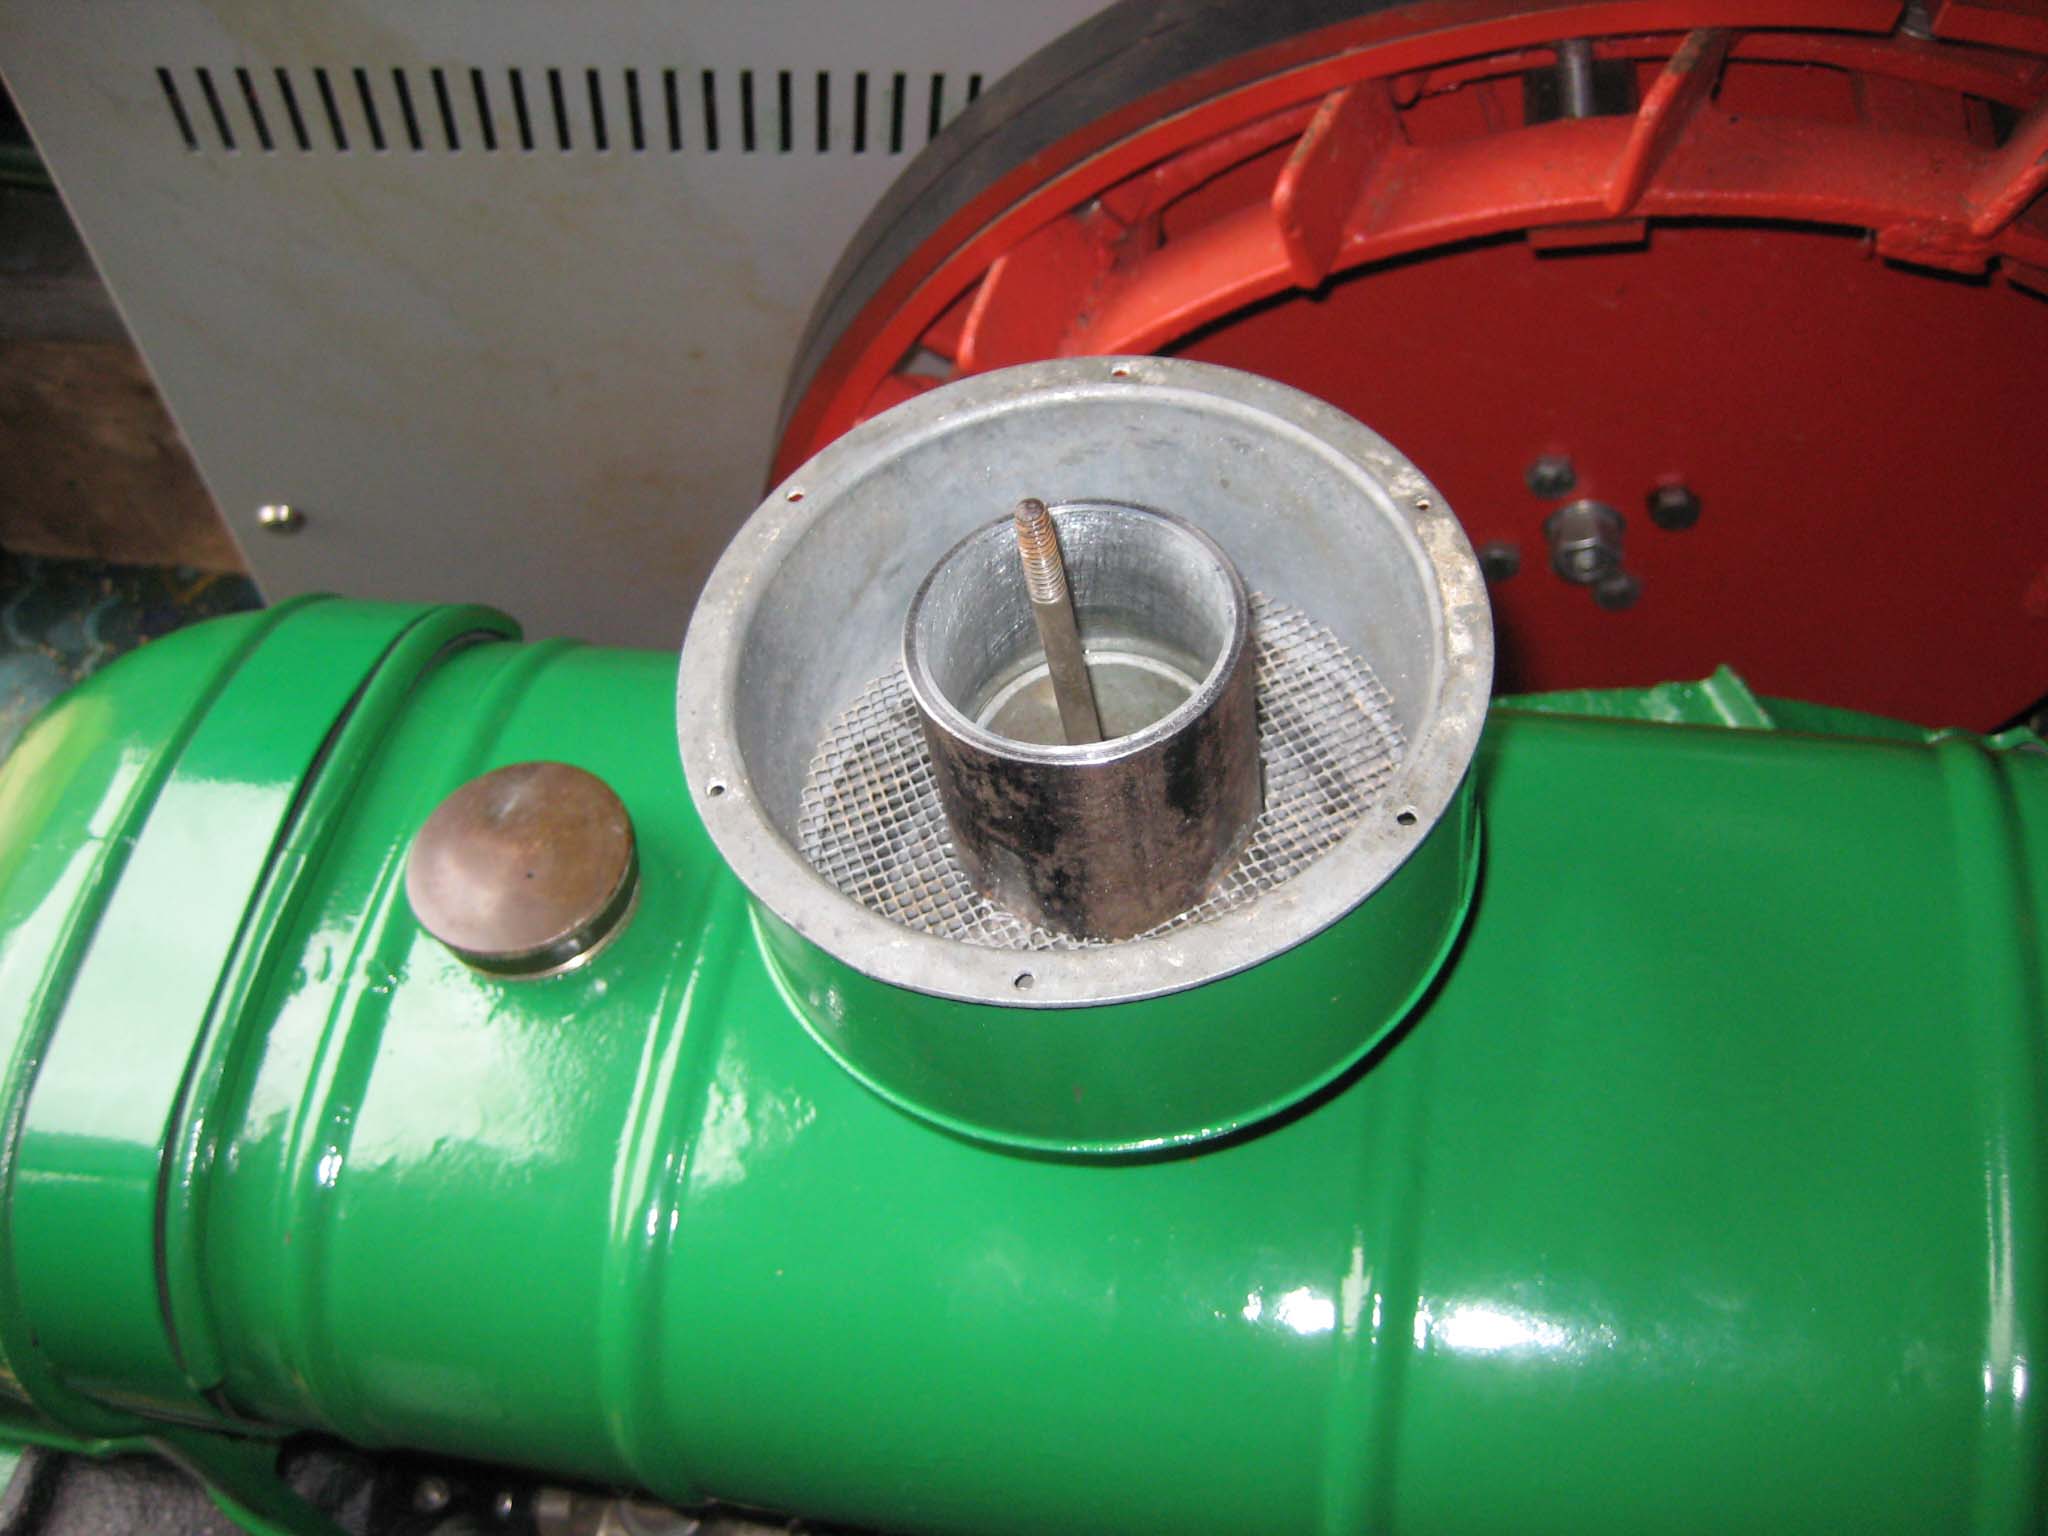
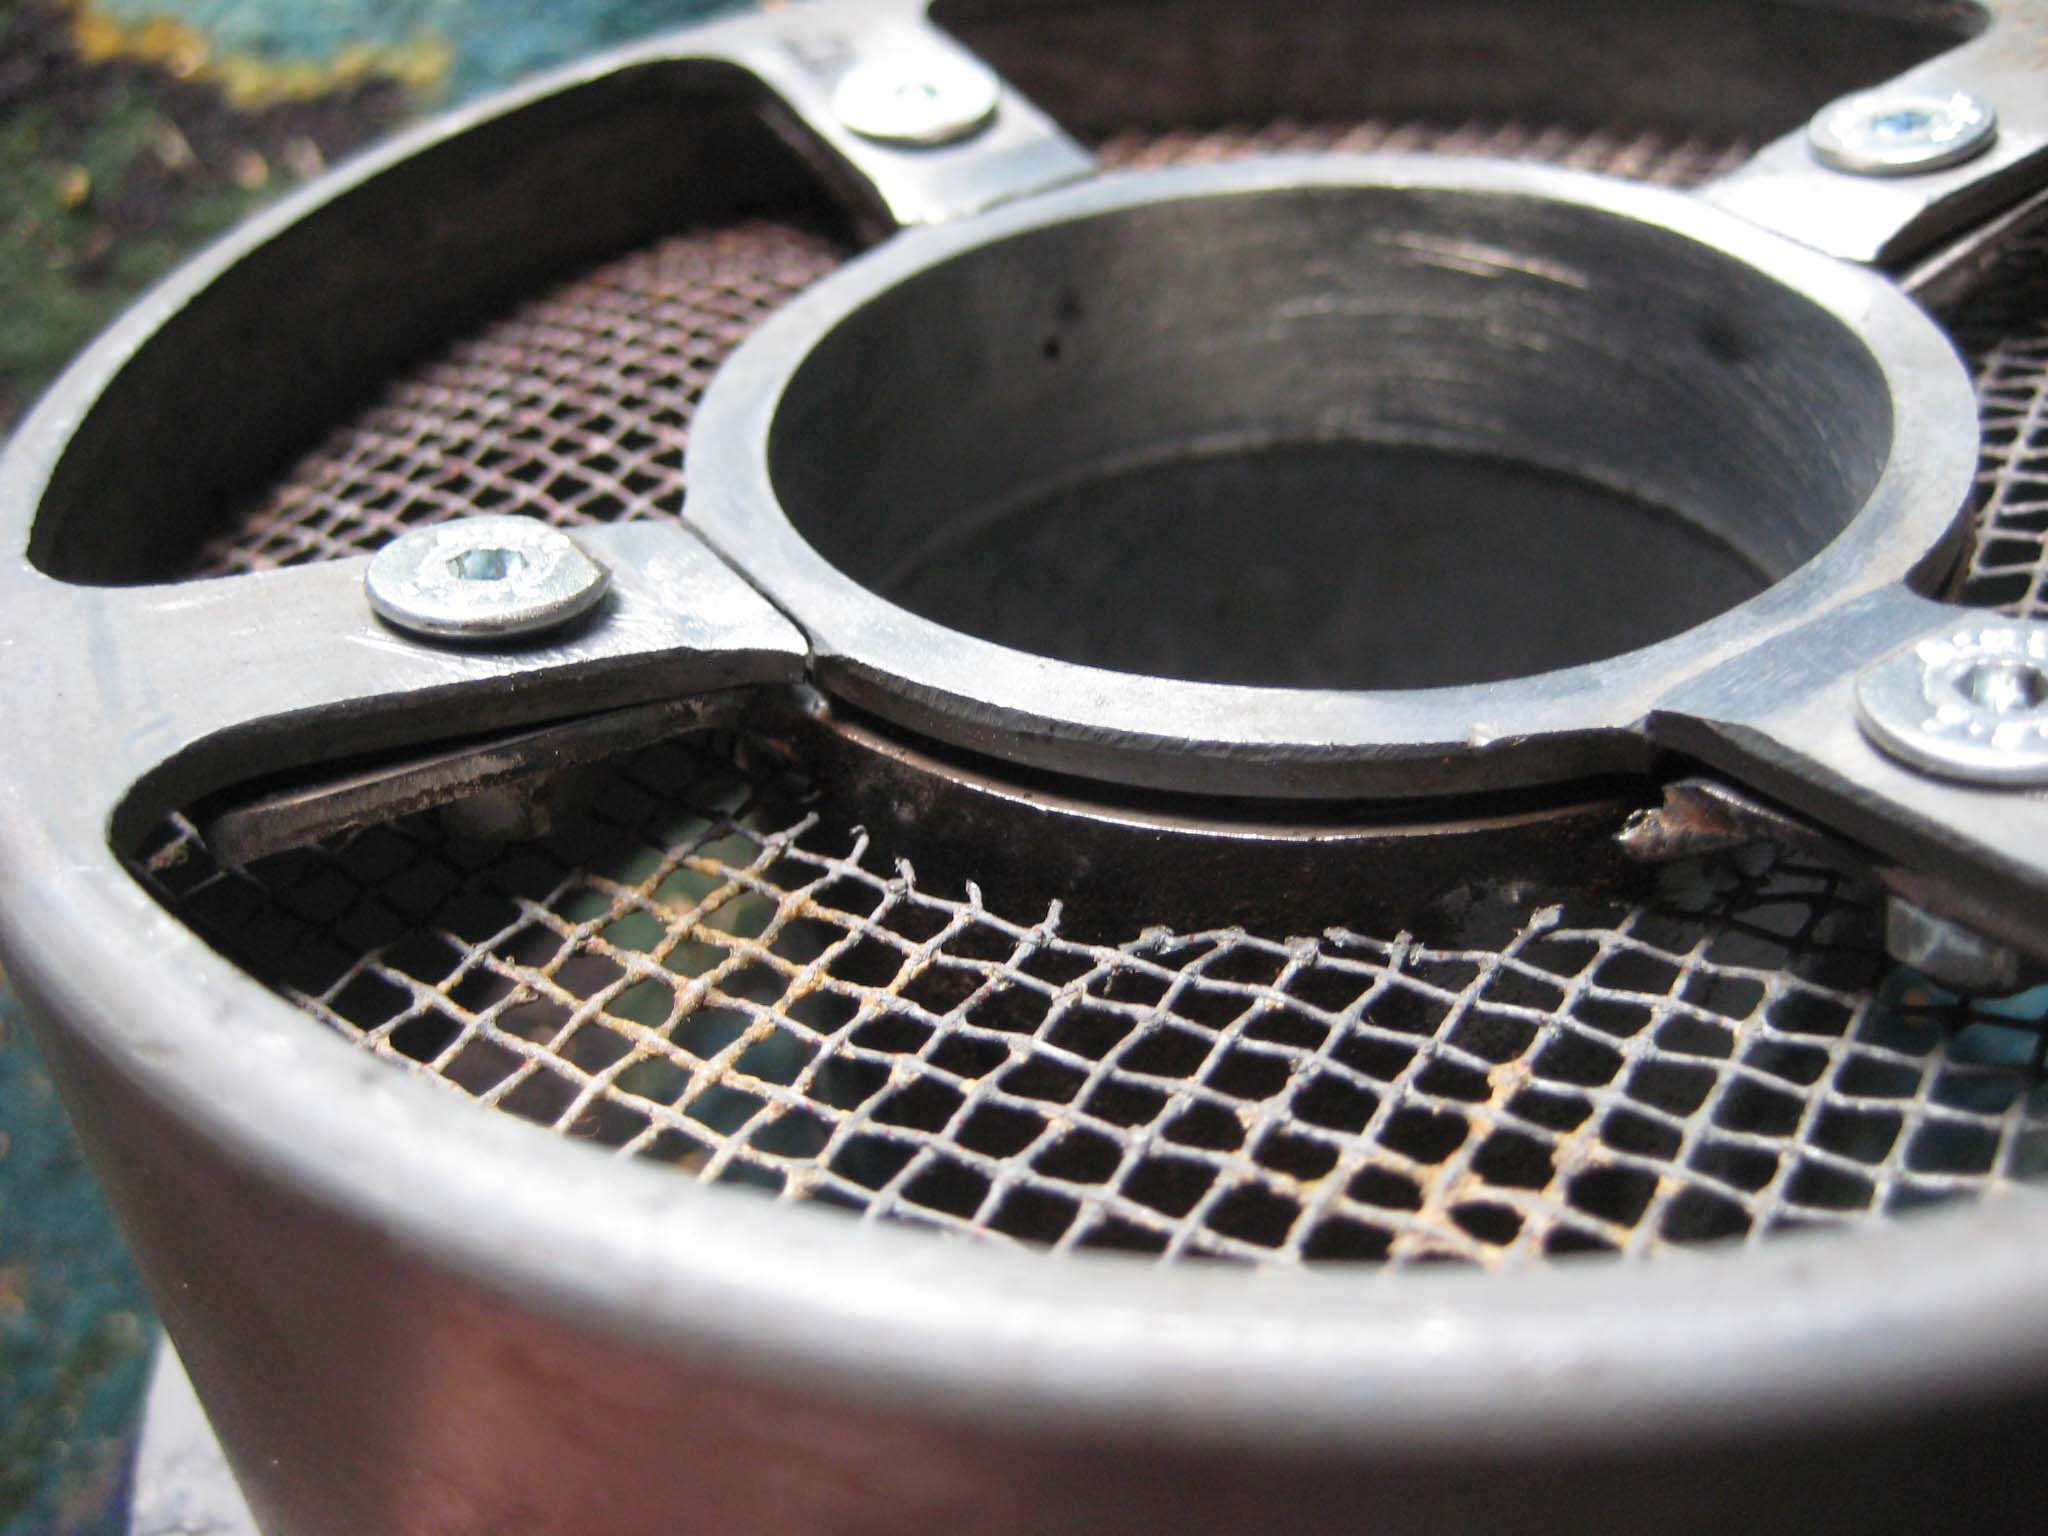
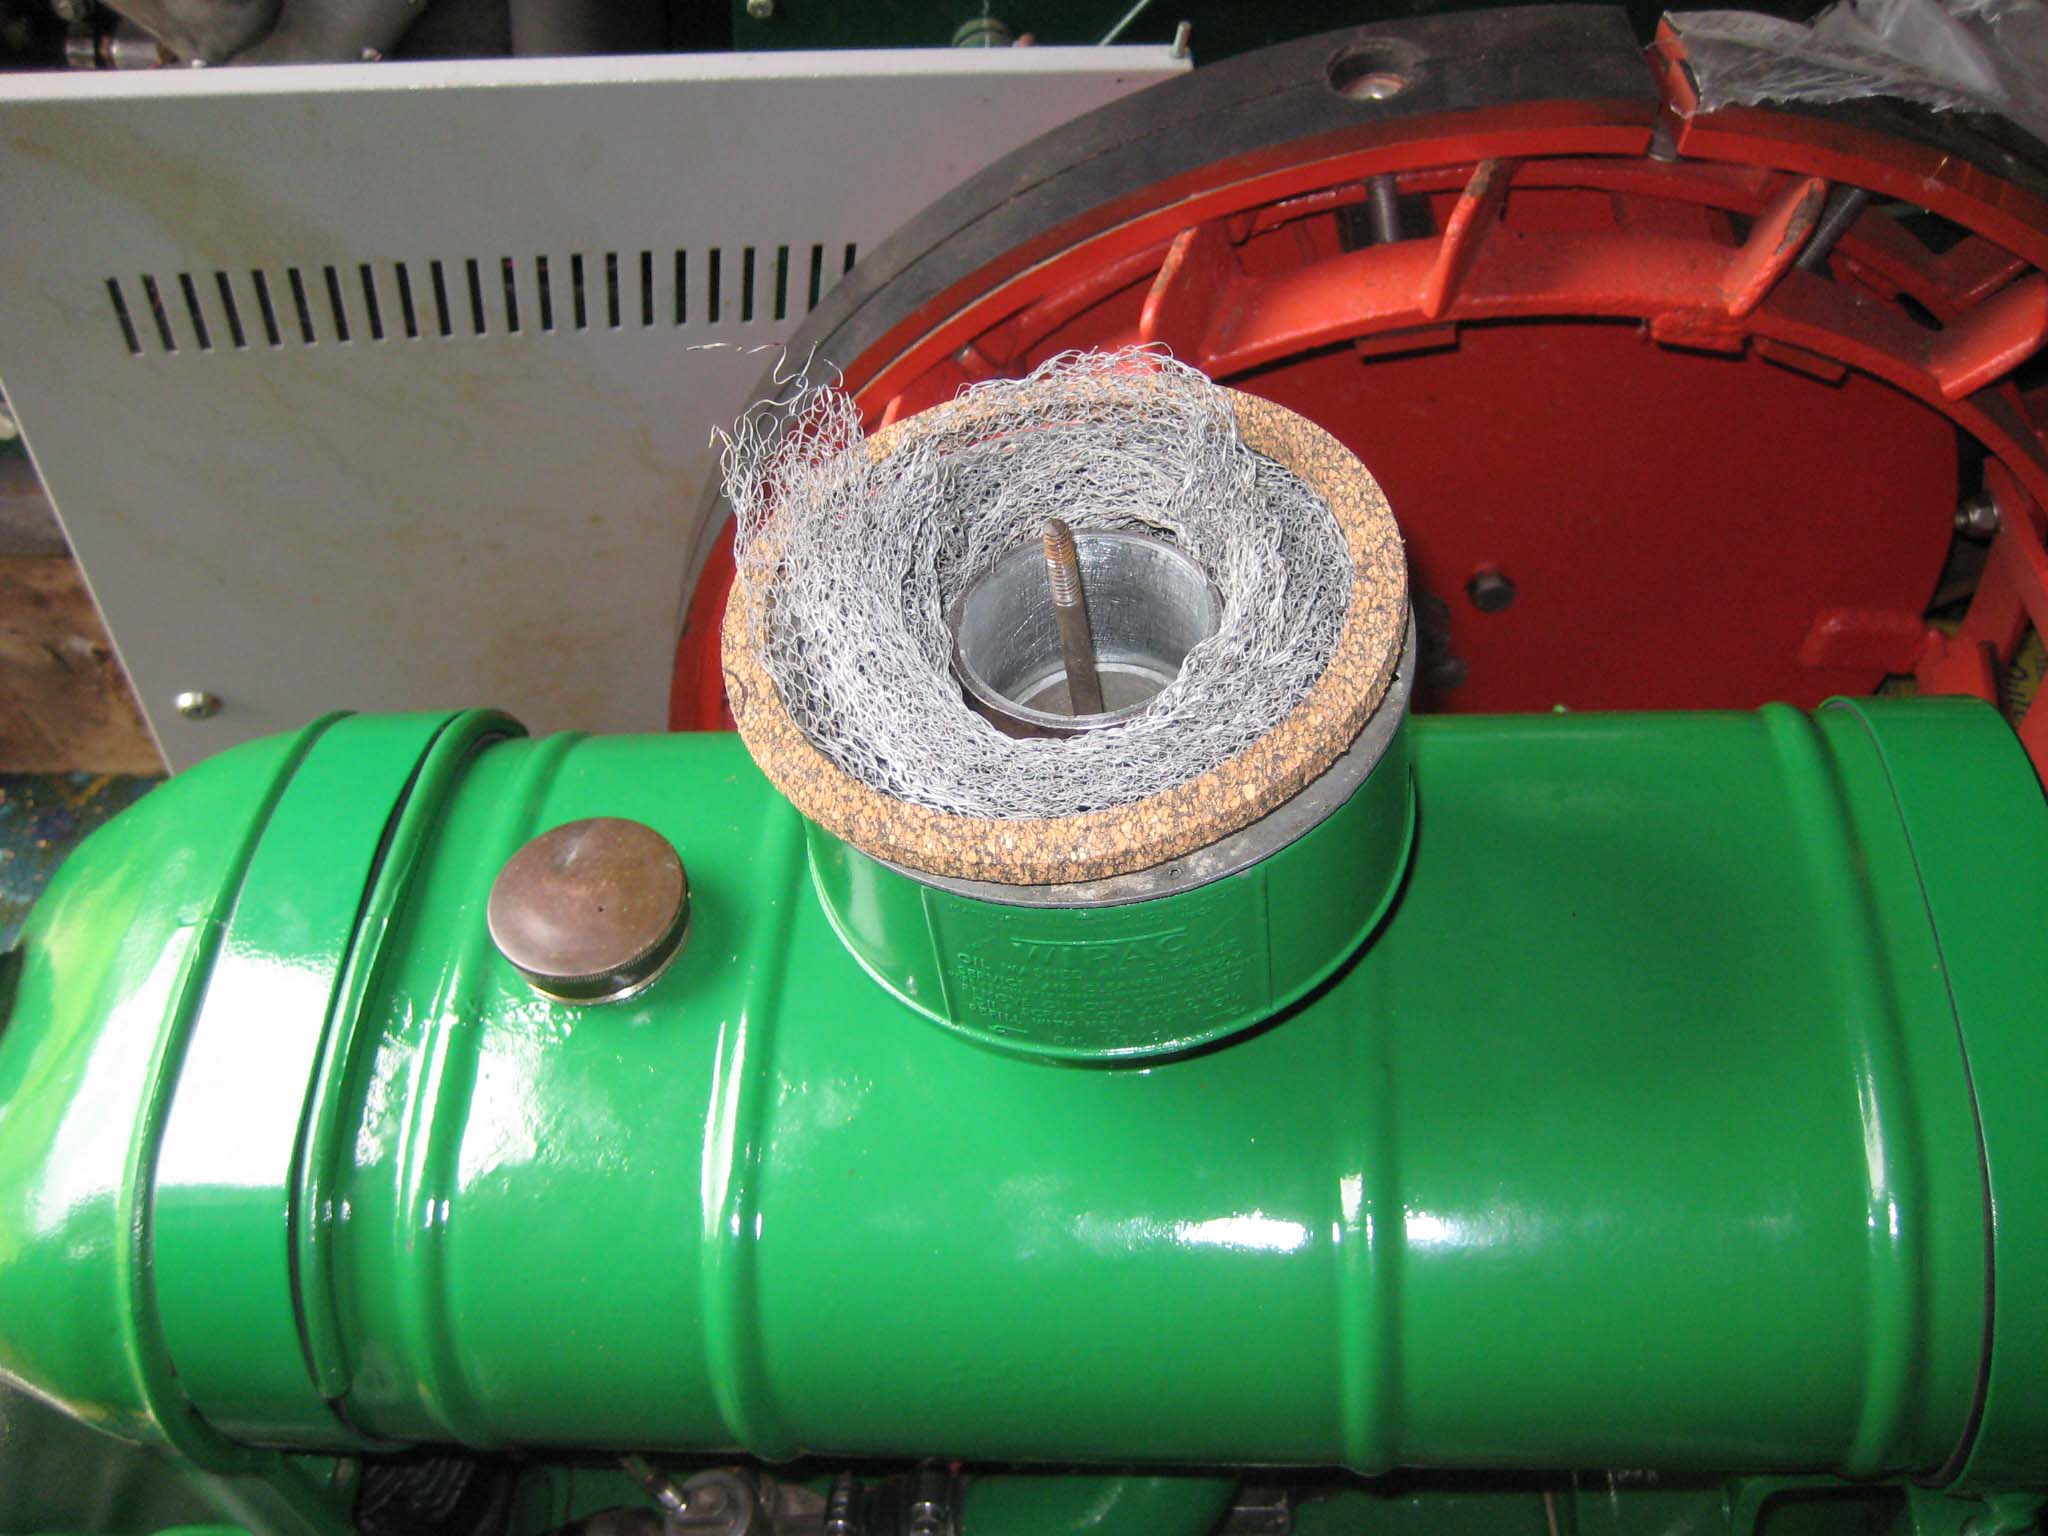
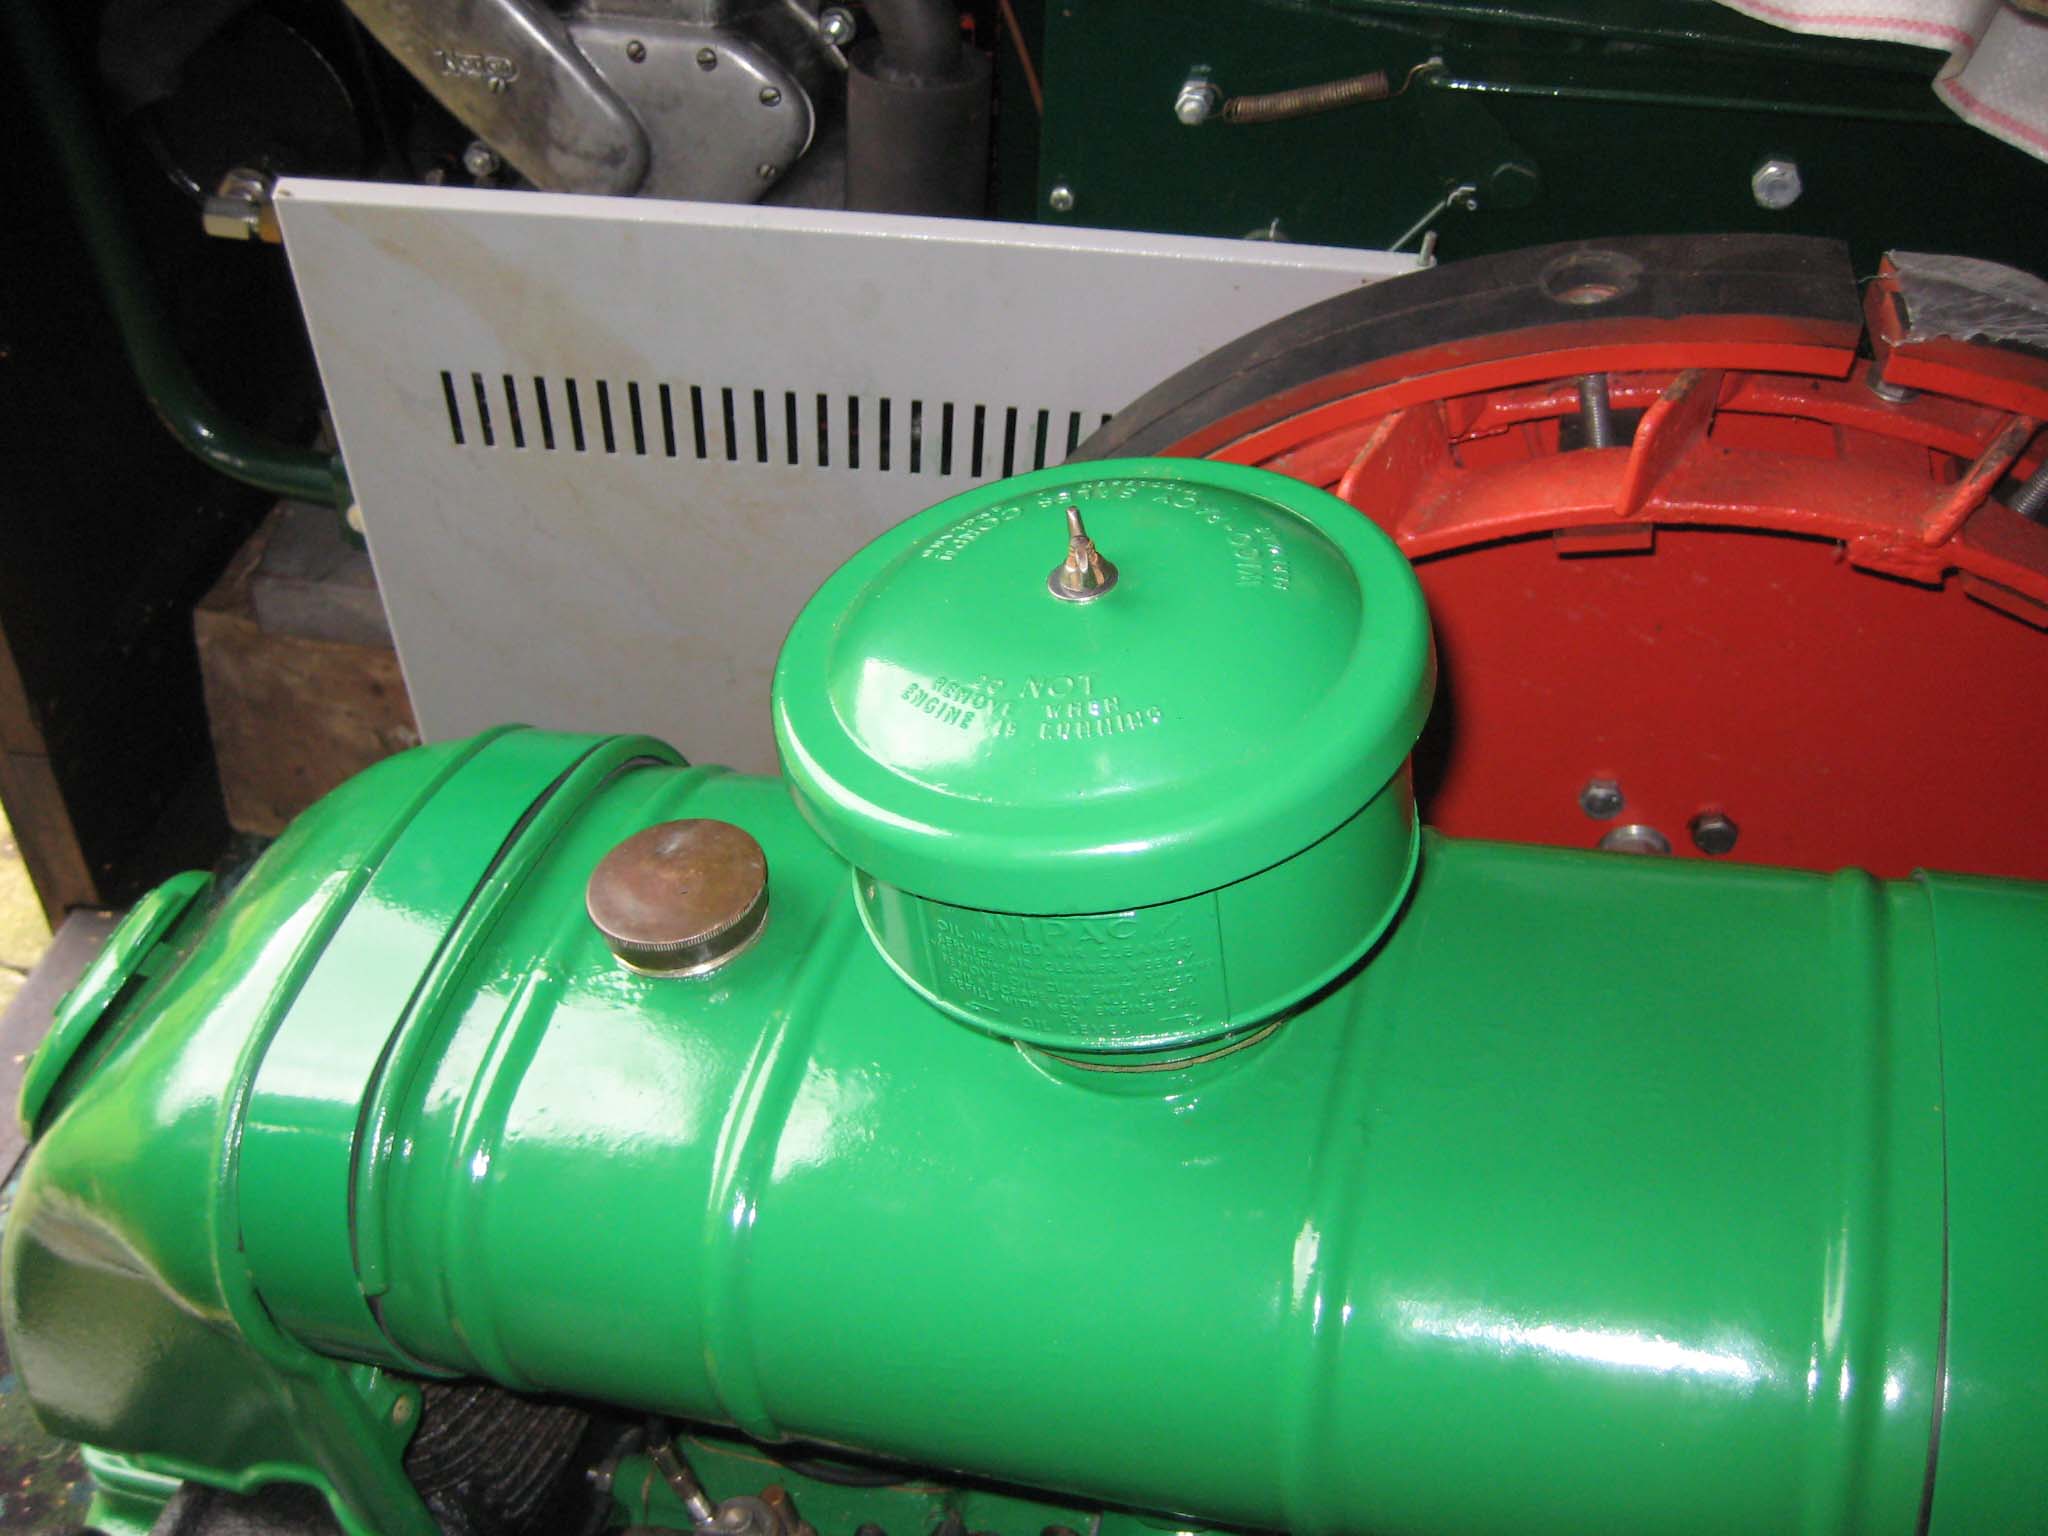
November 8, 2016 at 7:51 pm #22942vhgmcbuddyKeymasterThe air cleaner is made up of several parts. First is a holder for oil soaked wood shavings, which has a gauze on the base held in place by a large retaining clip (Simar 0136). This is lowered through the tube in the centre of the fuel tank so it sits on top of the elbow casting (Simar 0137). The wood shavings will be added when required. Next in goes the air cleaner tube (Simar 0138) onto which is fitted a felt washer (Simar 0139). The oil bath outer body then sits on top of the felt washer (Simar 0140). The oil bath has a removable inner section (Simar 0141). The four webs at the base of this item had broken where they join the inner tubular support. The oil bath seems to be made out of a Zinc alloy (appears to be the same as what carburettors are normally made from), so welding/brazing is not an option. Considered adhesives, but the contact area is very small. My local Blacksmith suggested making a Steel tube to fit over the outside of the central alloy tube, onto which were welded four webs. The whole lot was then bolted together through the new and original webs (Simar 0142). The inner oil bath is filled with a woven mesh filter and has a cork gasket which fits around the top edge (Simar 0143). The whole lot is topped off with a cover held in place by a 1/4″ UNC wing nut (Simar 0144). The air intake elbow is joined to the carburettor by a 40 to 30mm diameter straight rubber reducer (Simar 0145). A new copper fuel pipe was made with 1/4″ BSP ends and fitted between the fuel sediment trap and carburettor (Simar 0146).
Attachments:
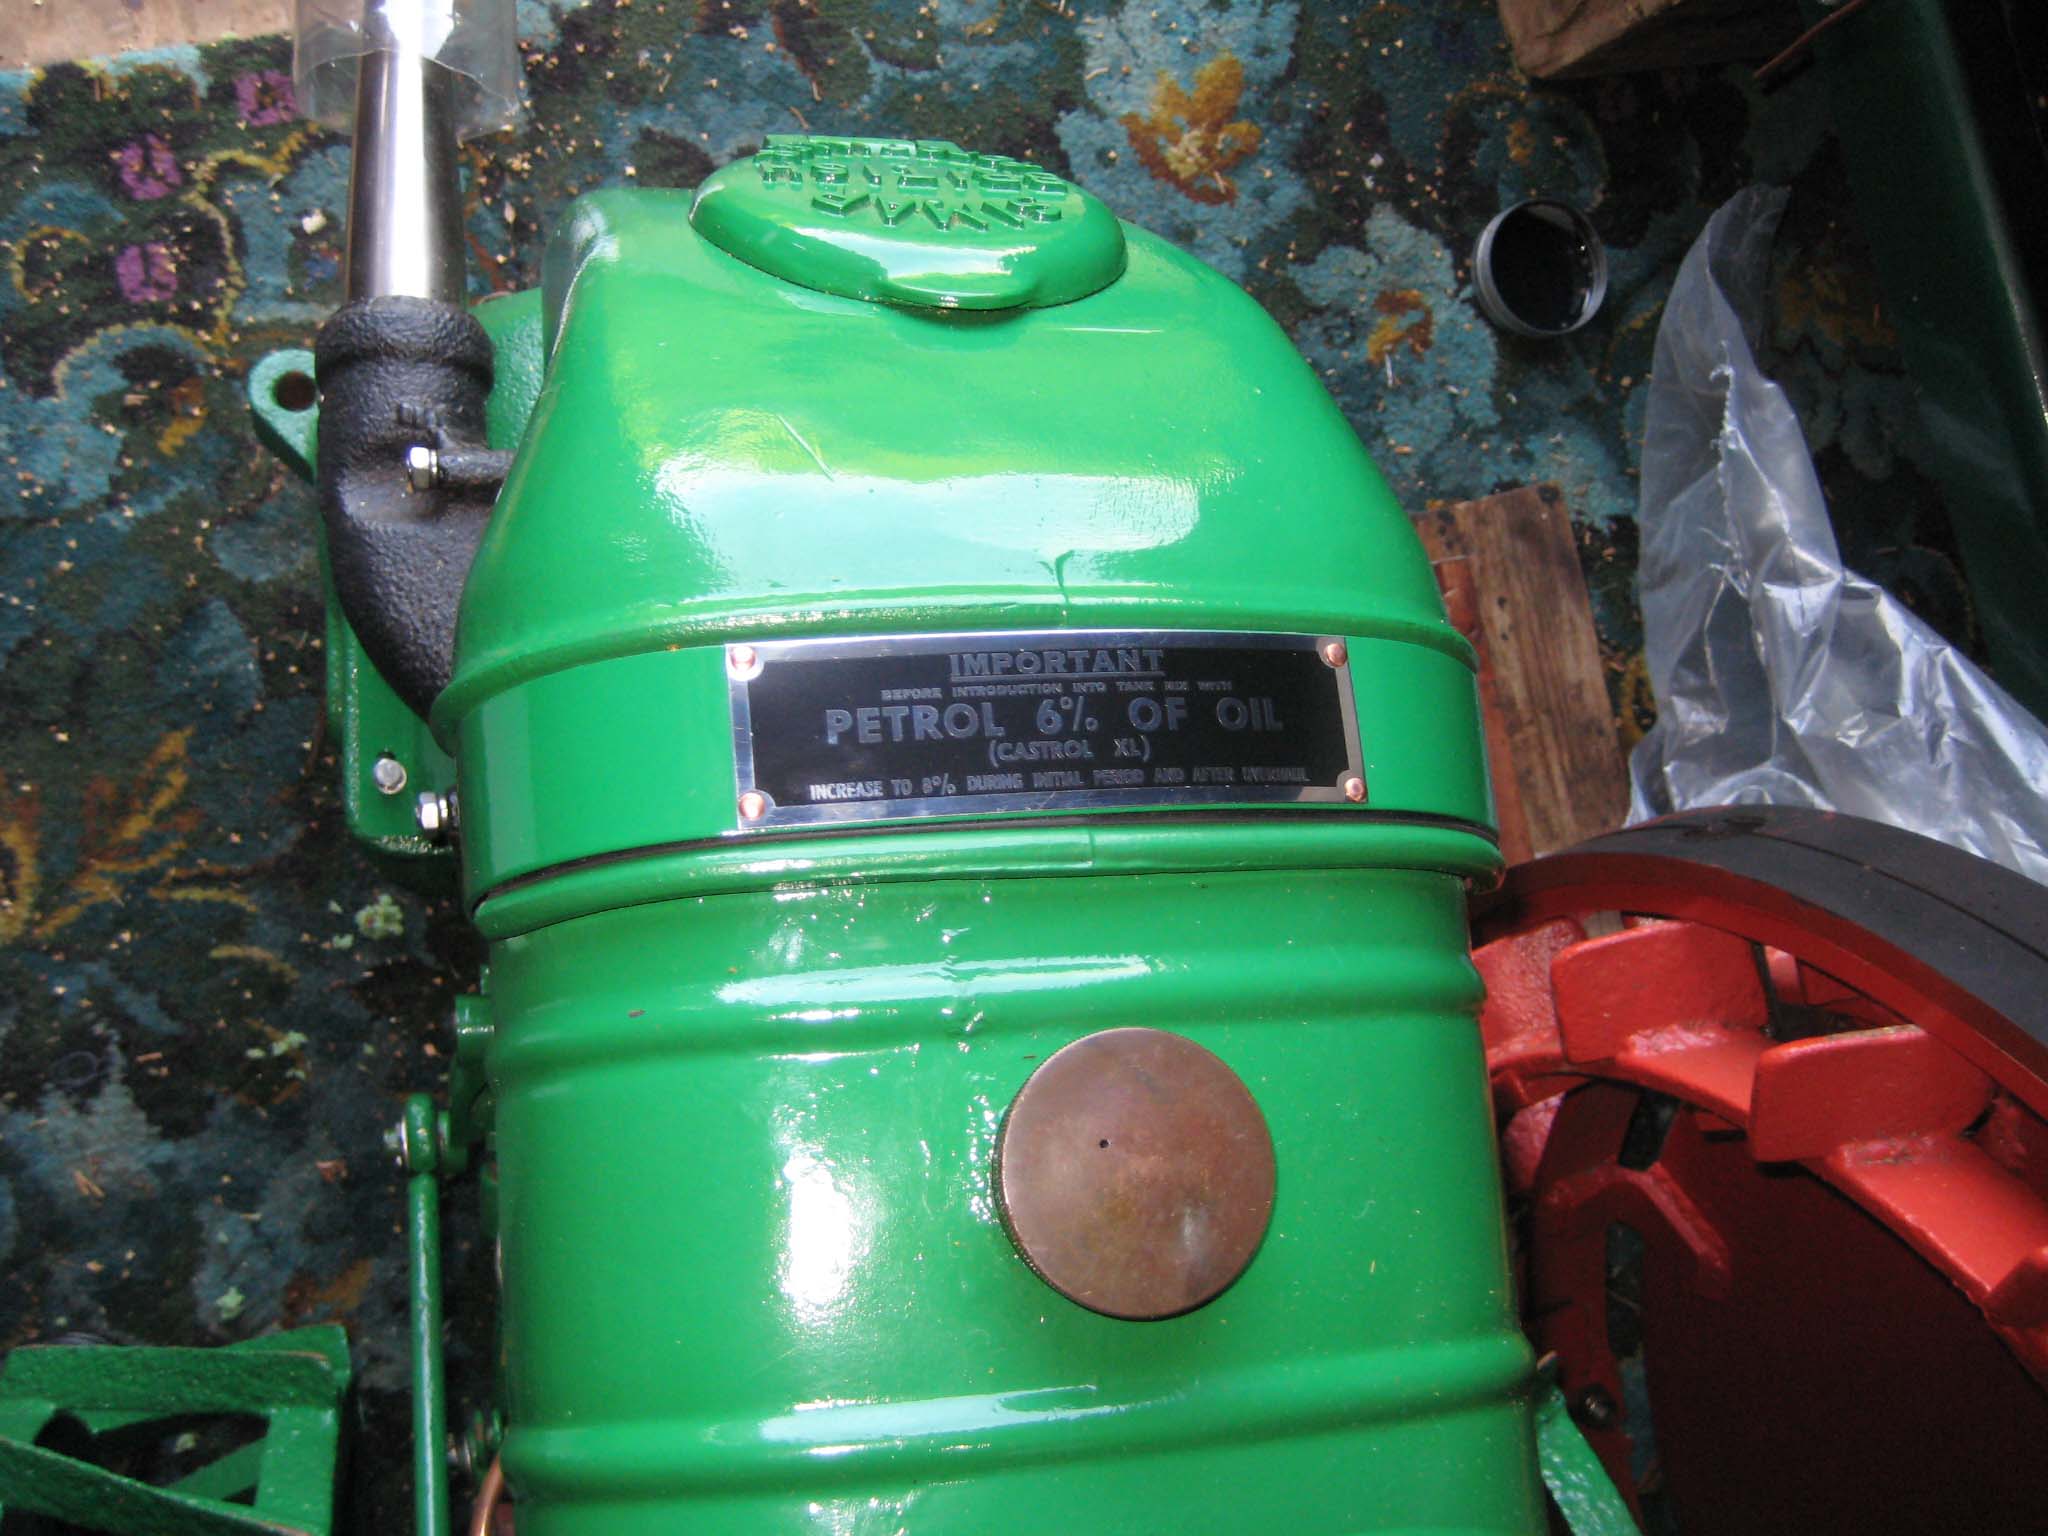
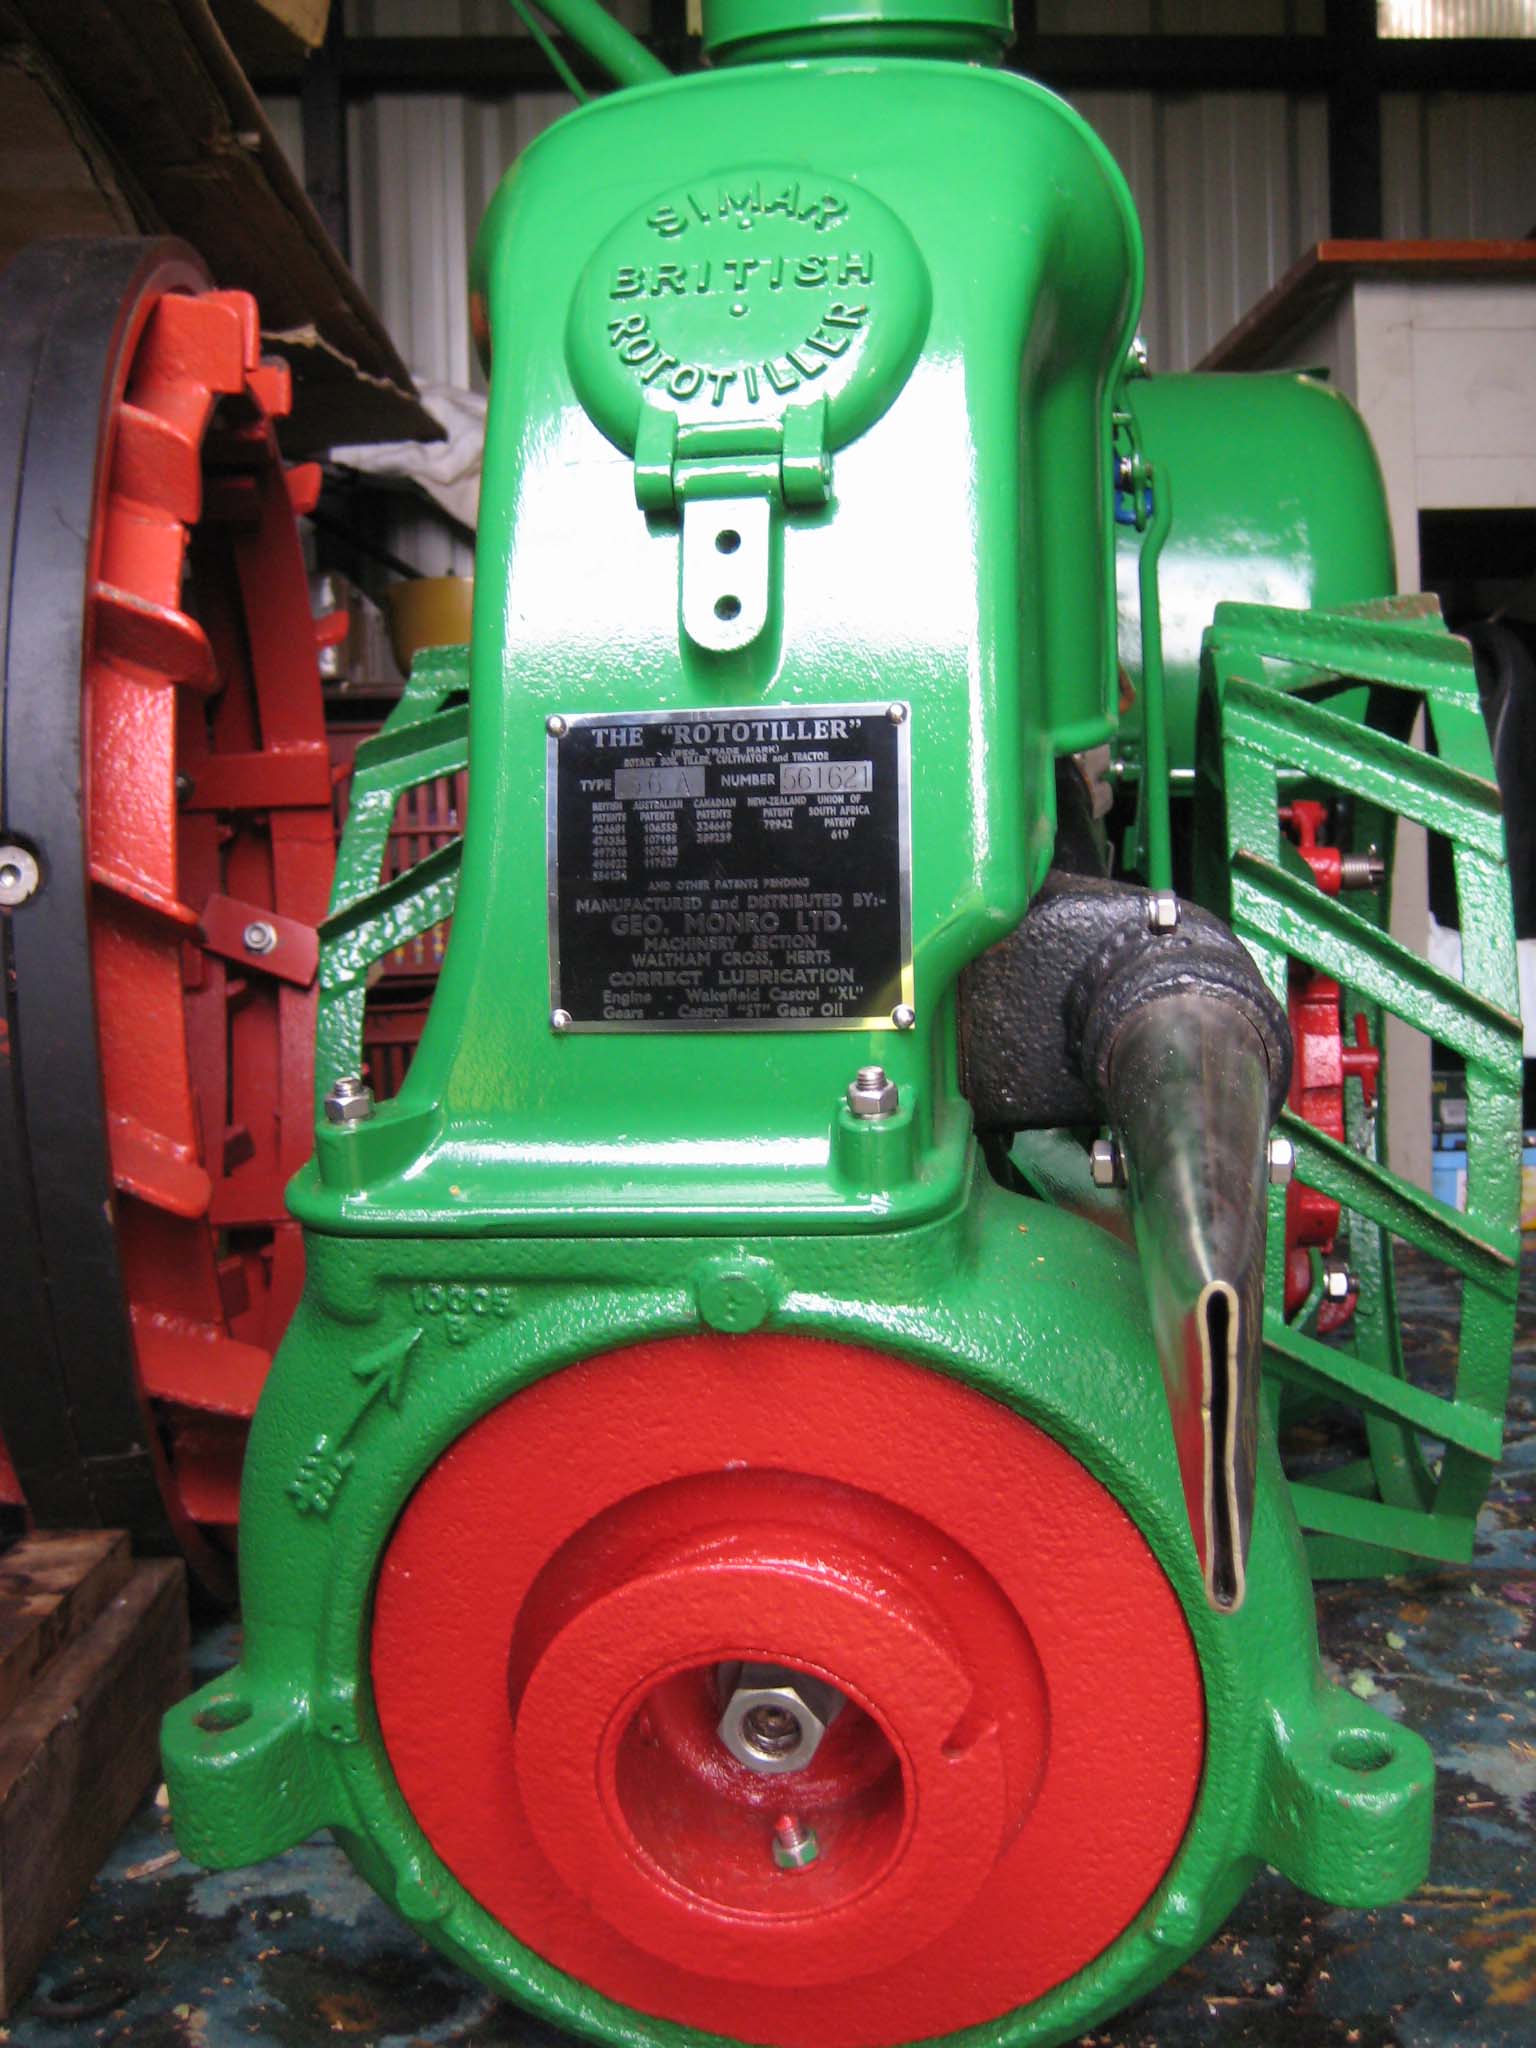
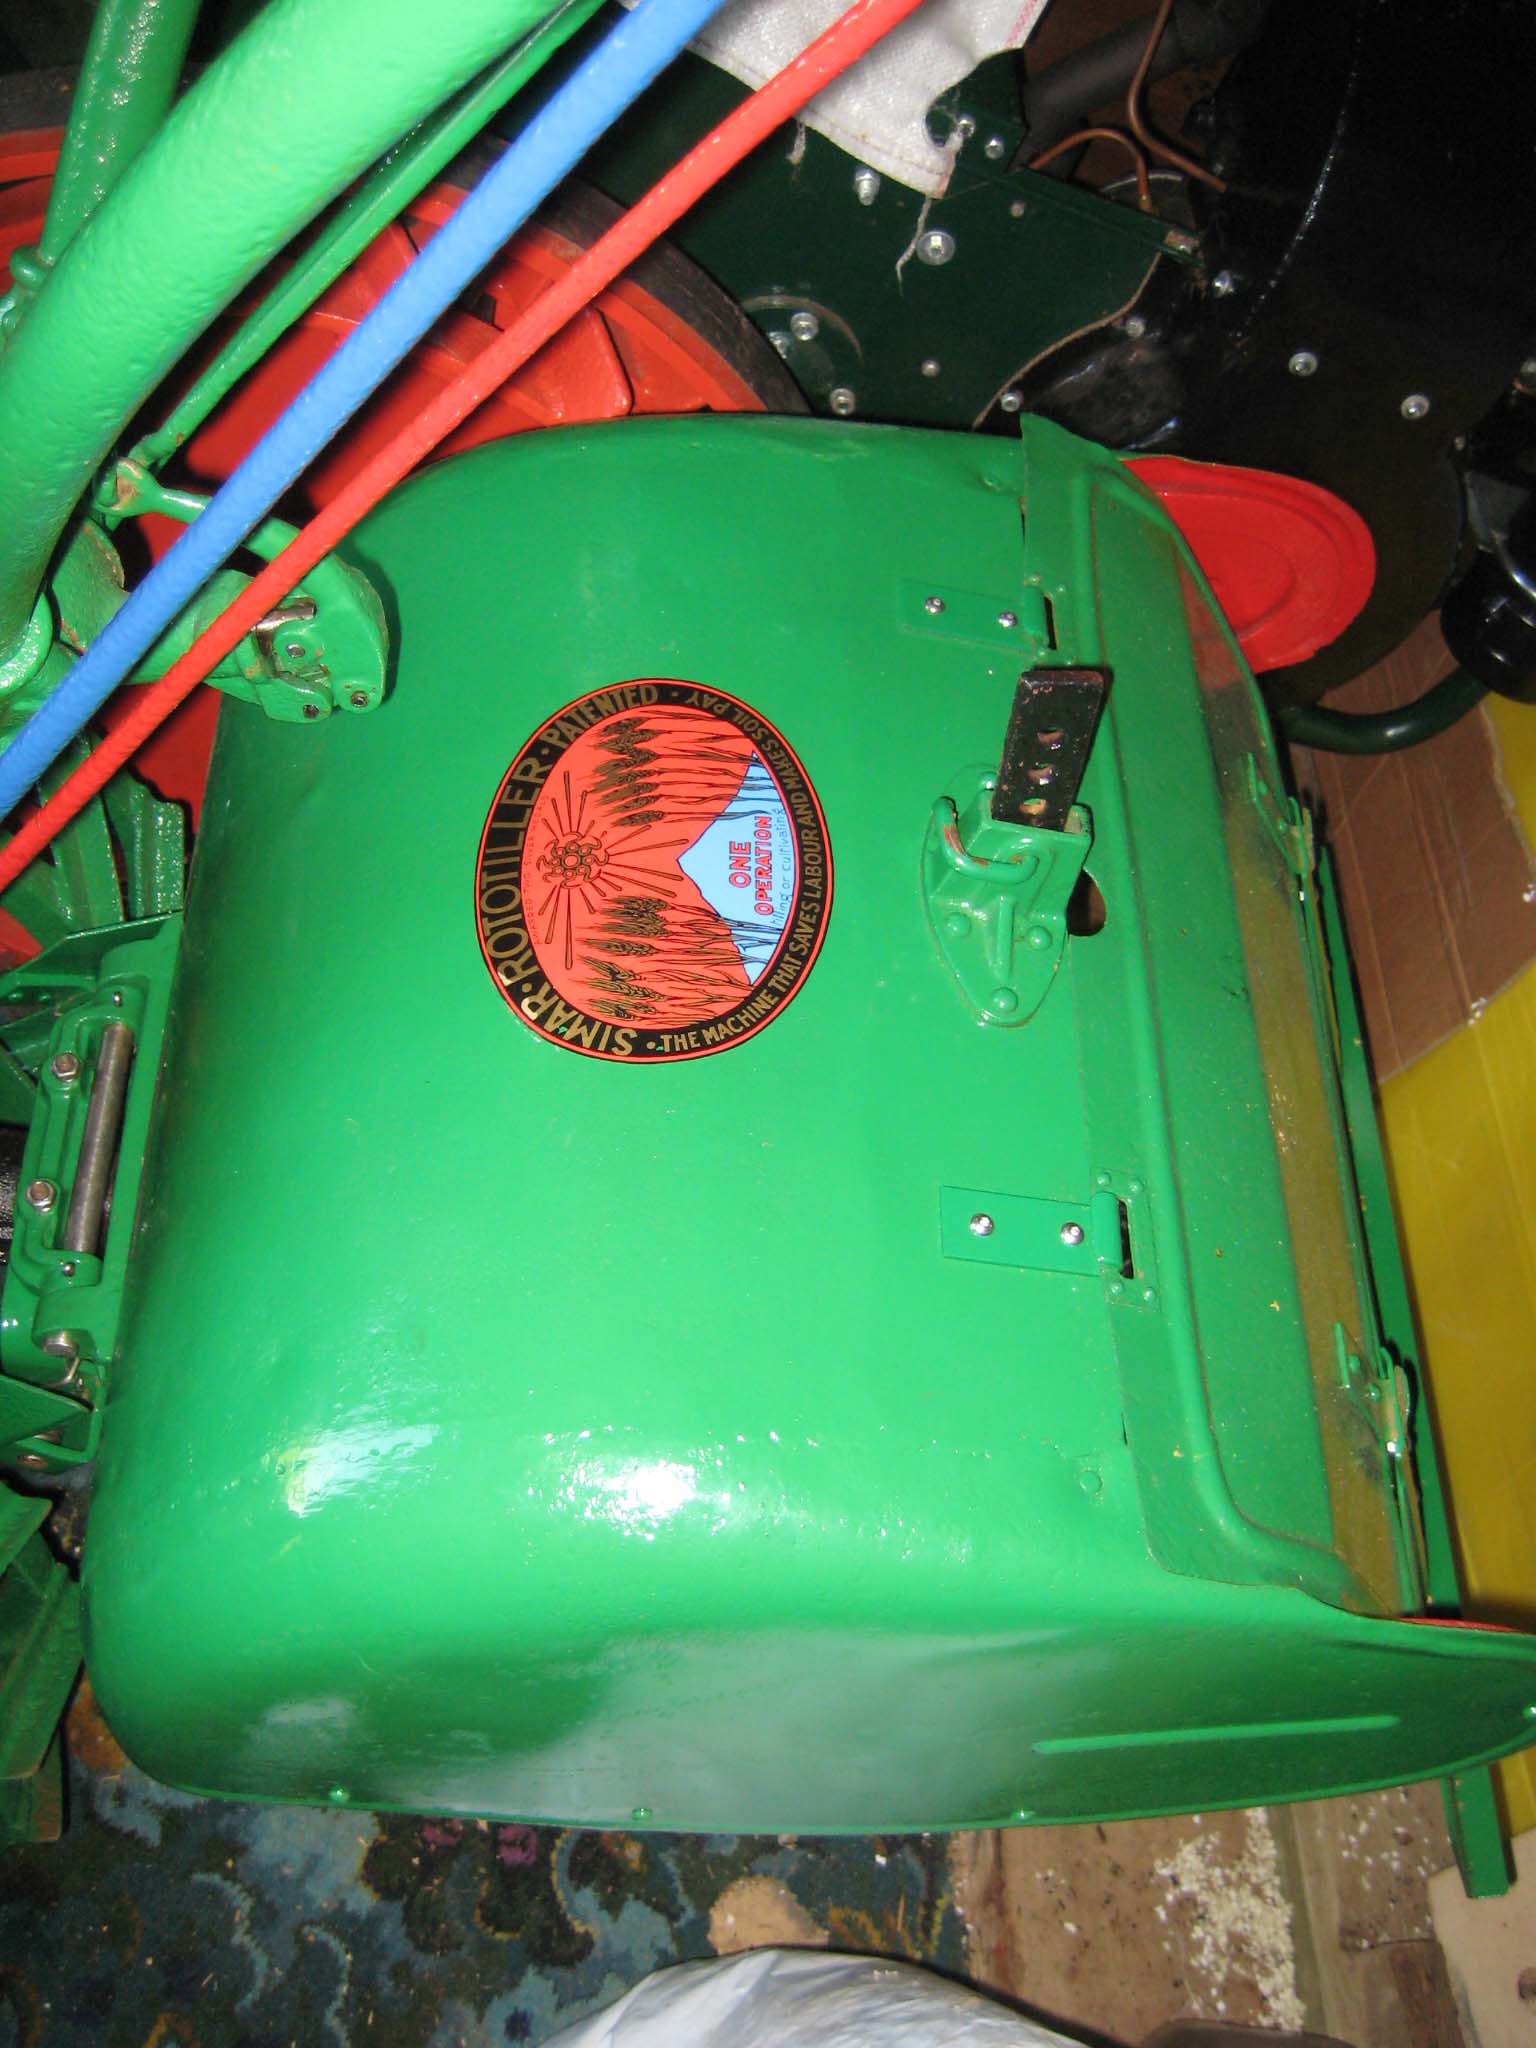
November 9, 2016 at 7:53 pm #22964vhgmcbuddyKeymasterThe original identification plates were damaged, so they were used as templates by Vintage Brass Plates to produce replacements. The fuel mixture plate is riveted to the front fuel tank strap (Simar 0147). I used 2mm diameter copper rivets intended for model steam locomotives, which were peened over with a hammer on the back face of the strap. The main identification plate is fixed to the engine cowl by No. 6 x 1/4″ long pan head hammer drive screws (Simar 0148). A decal for the miller cover was supplied by Charlie Moore (Simar 0149). The only outstanding parts left to fit are the wooden balls which fit into the ends of the handlebar tubes.
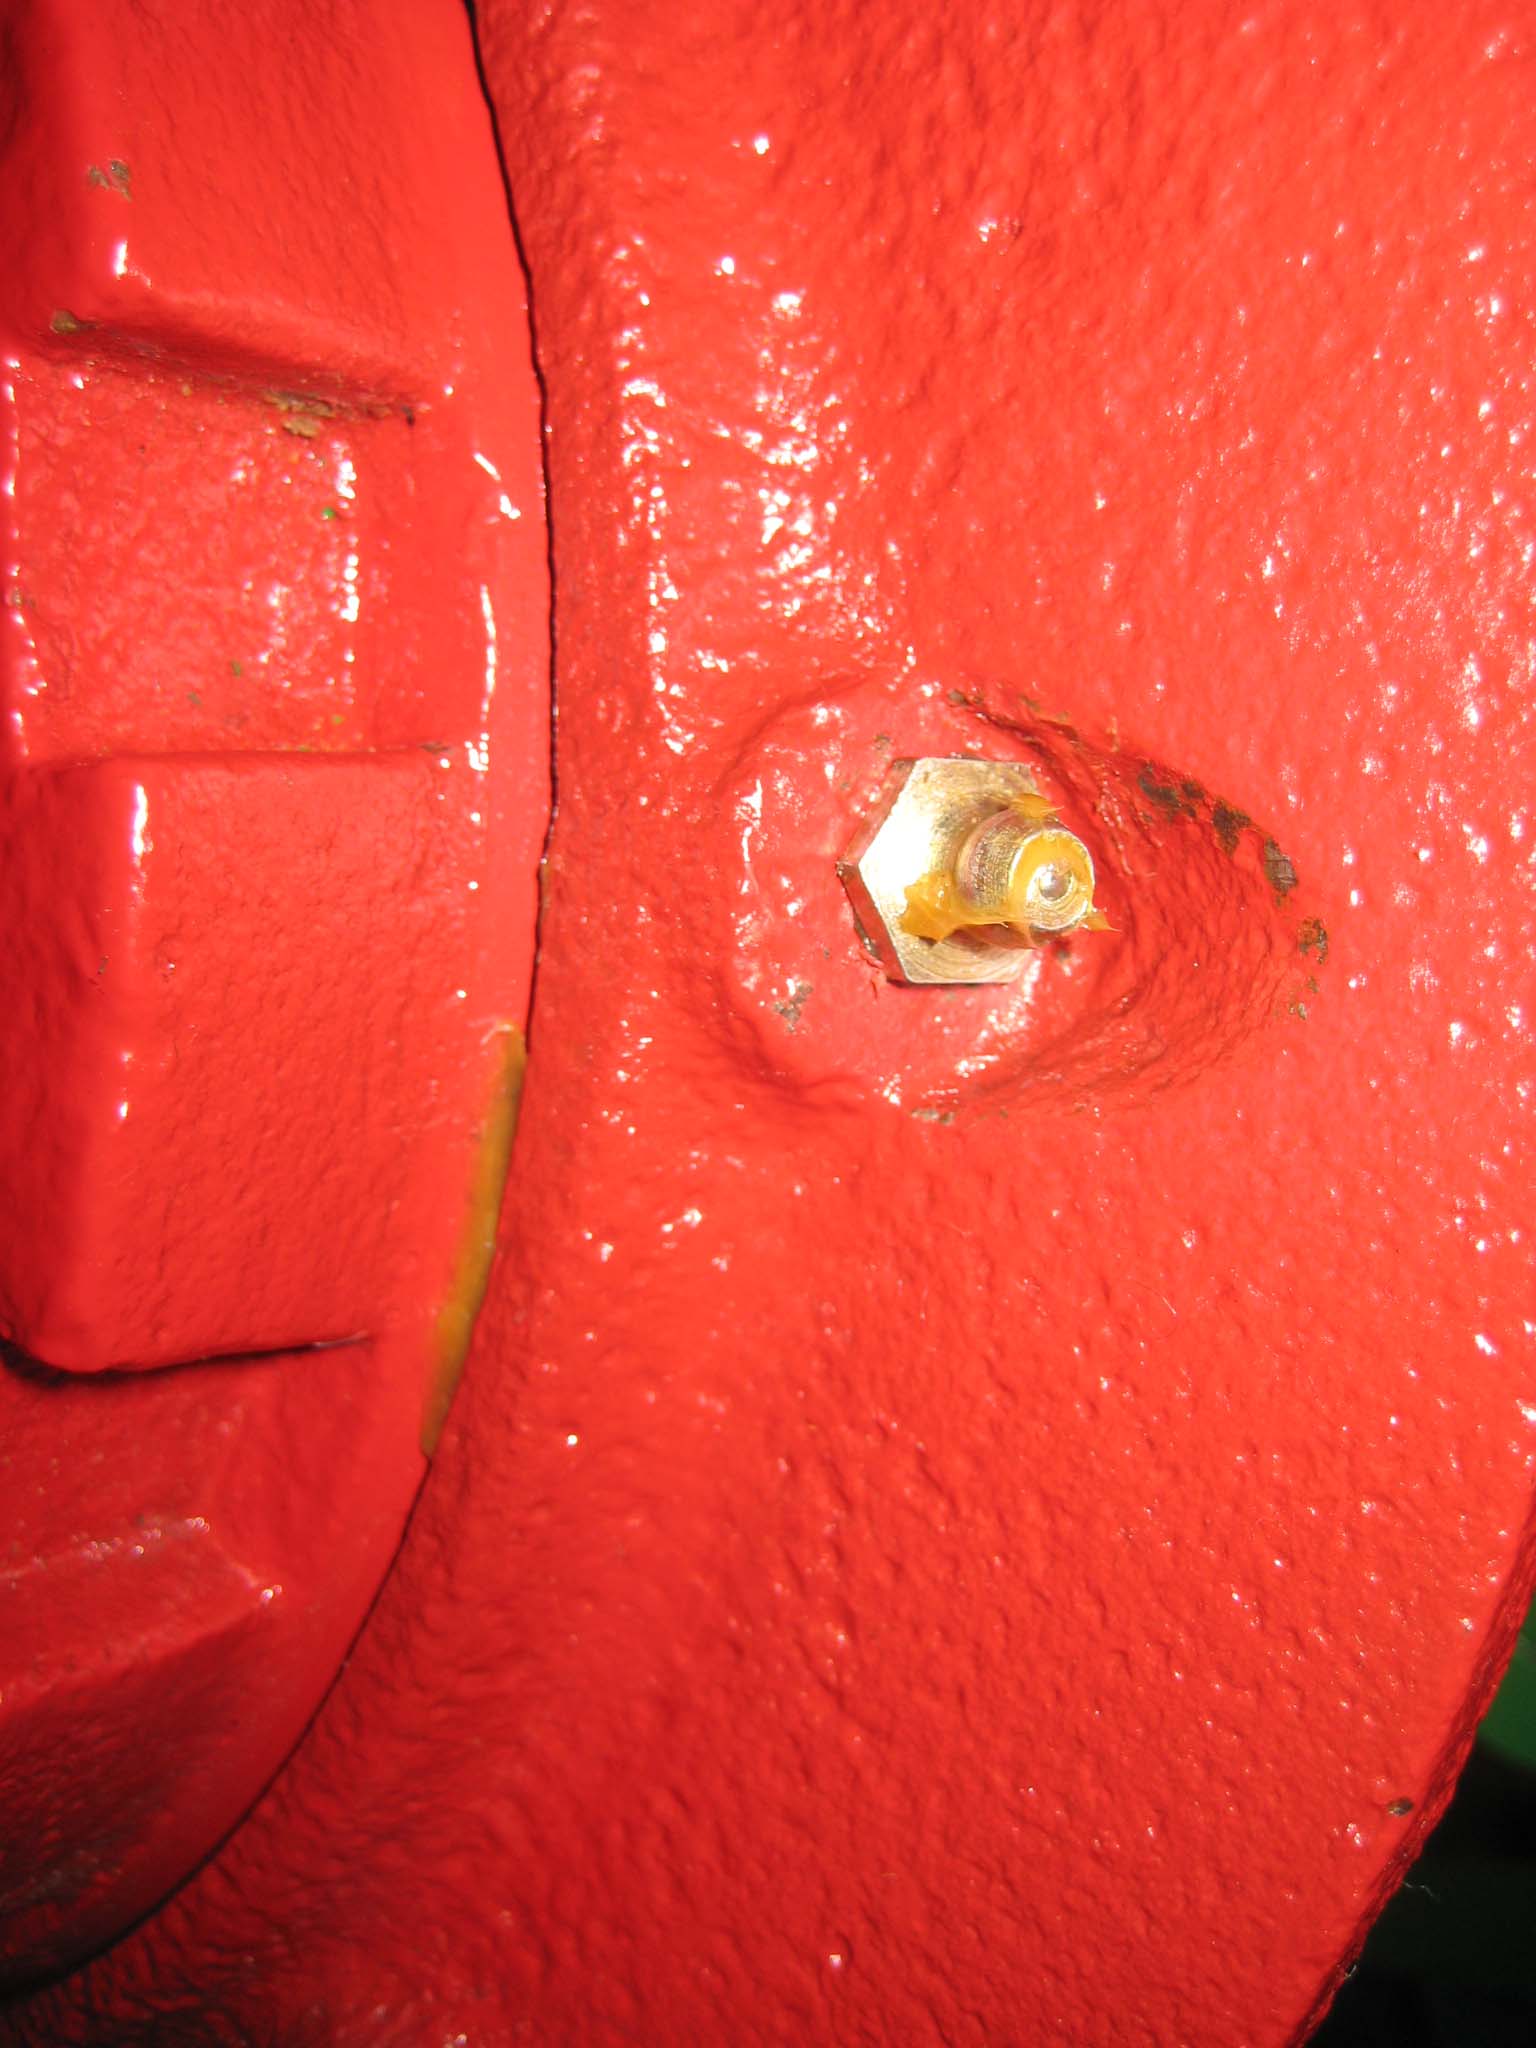
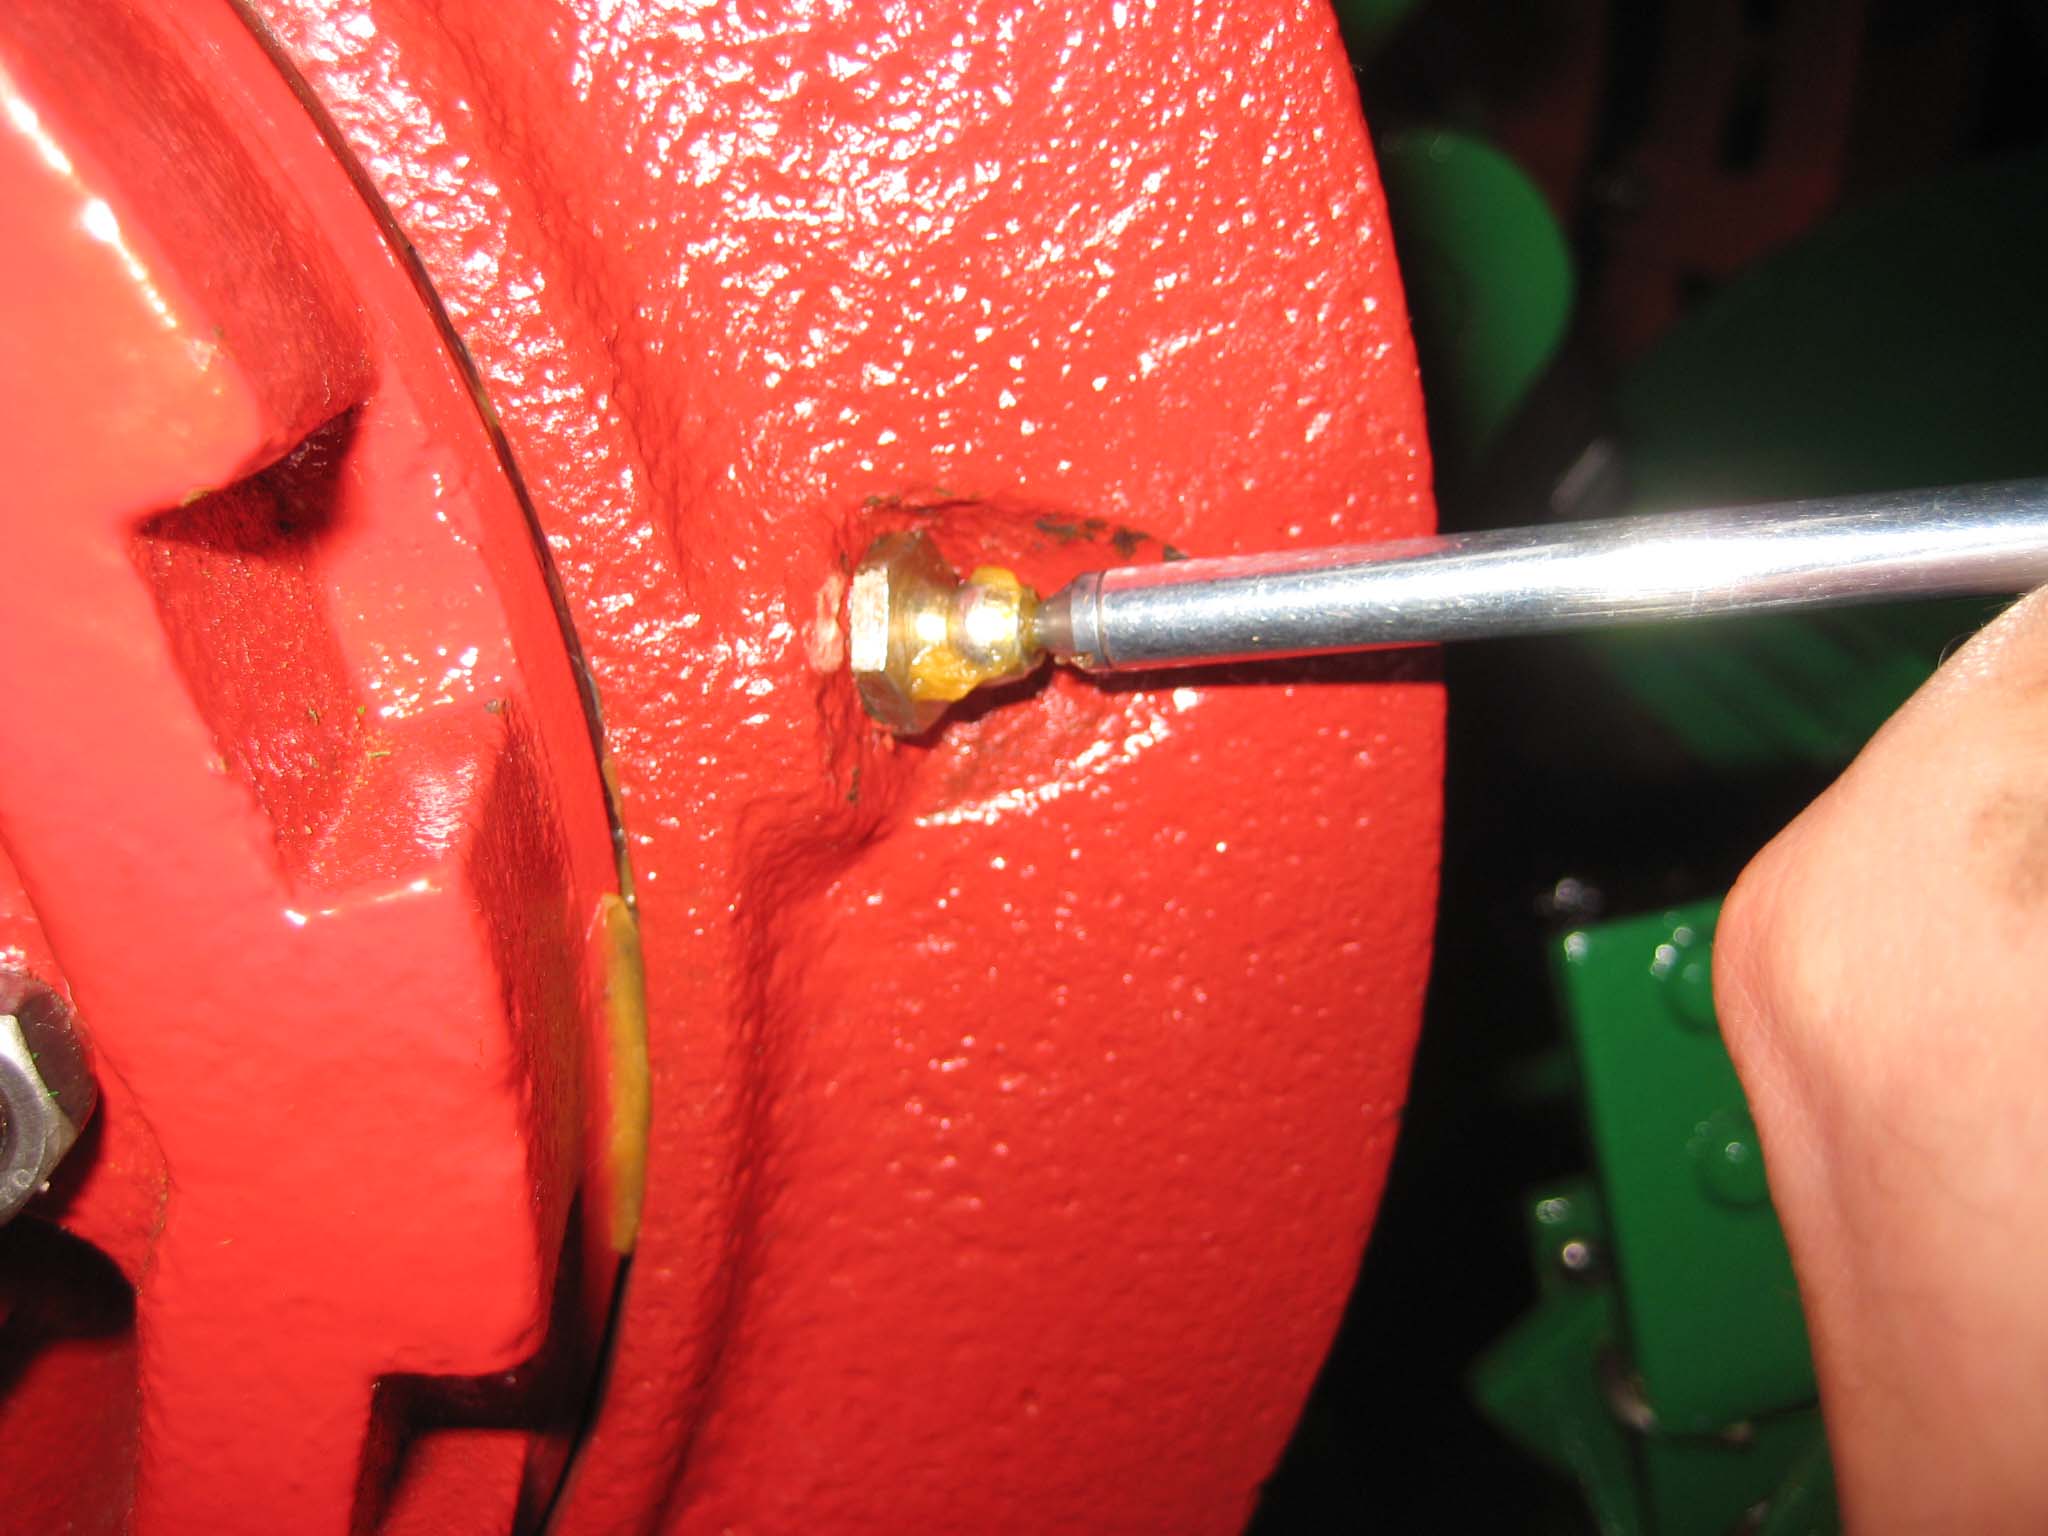
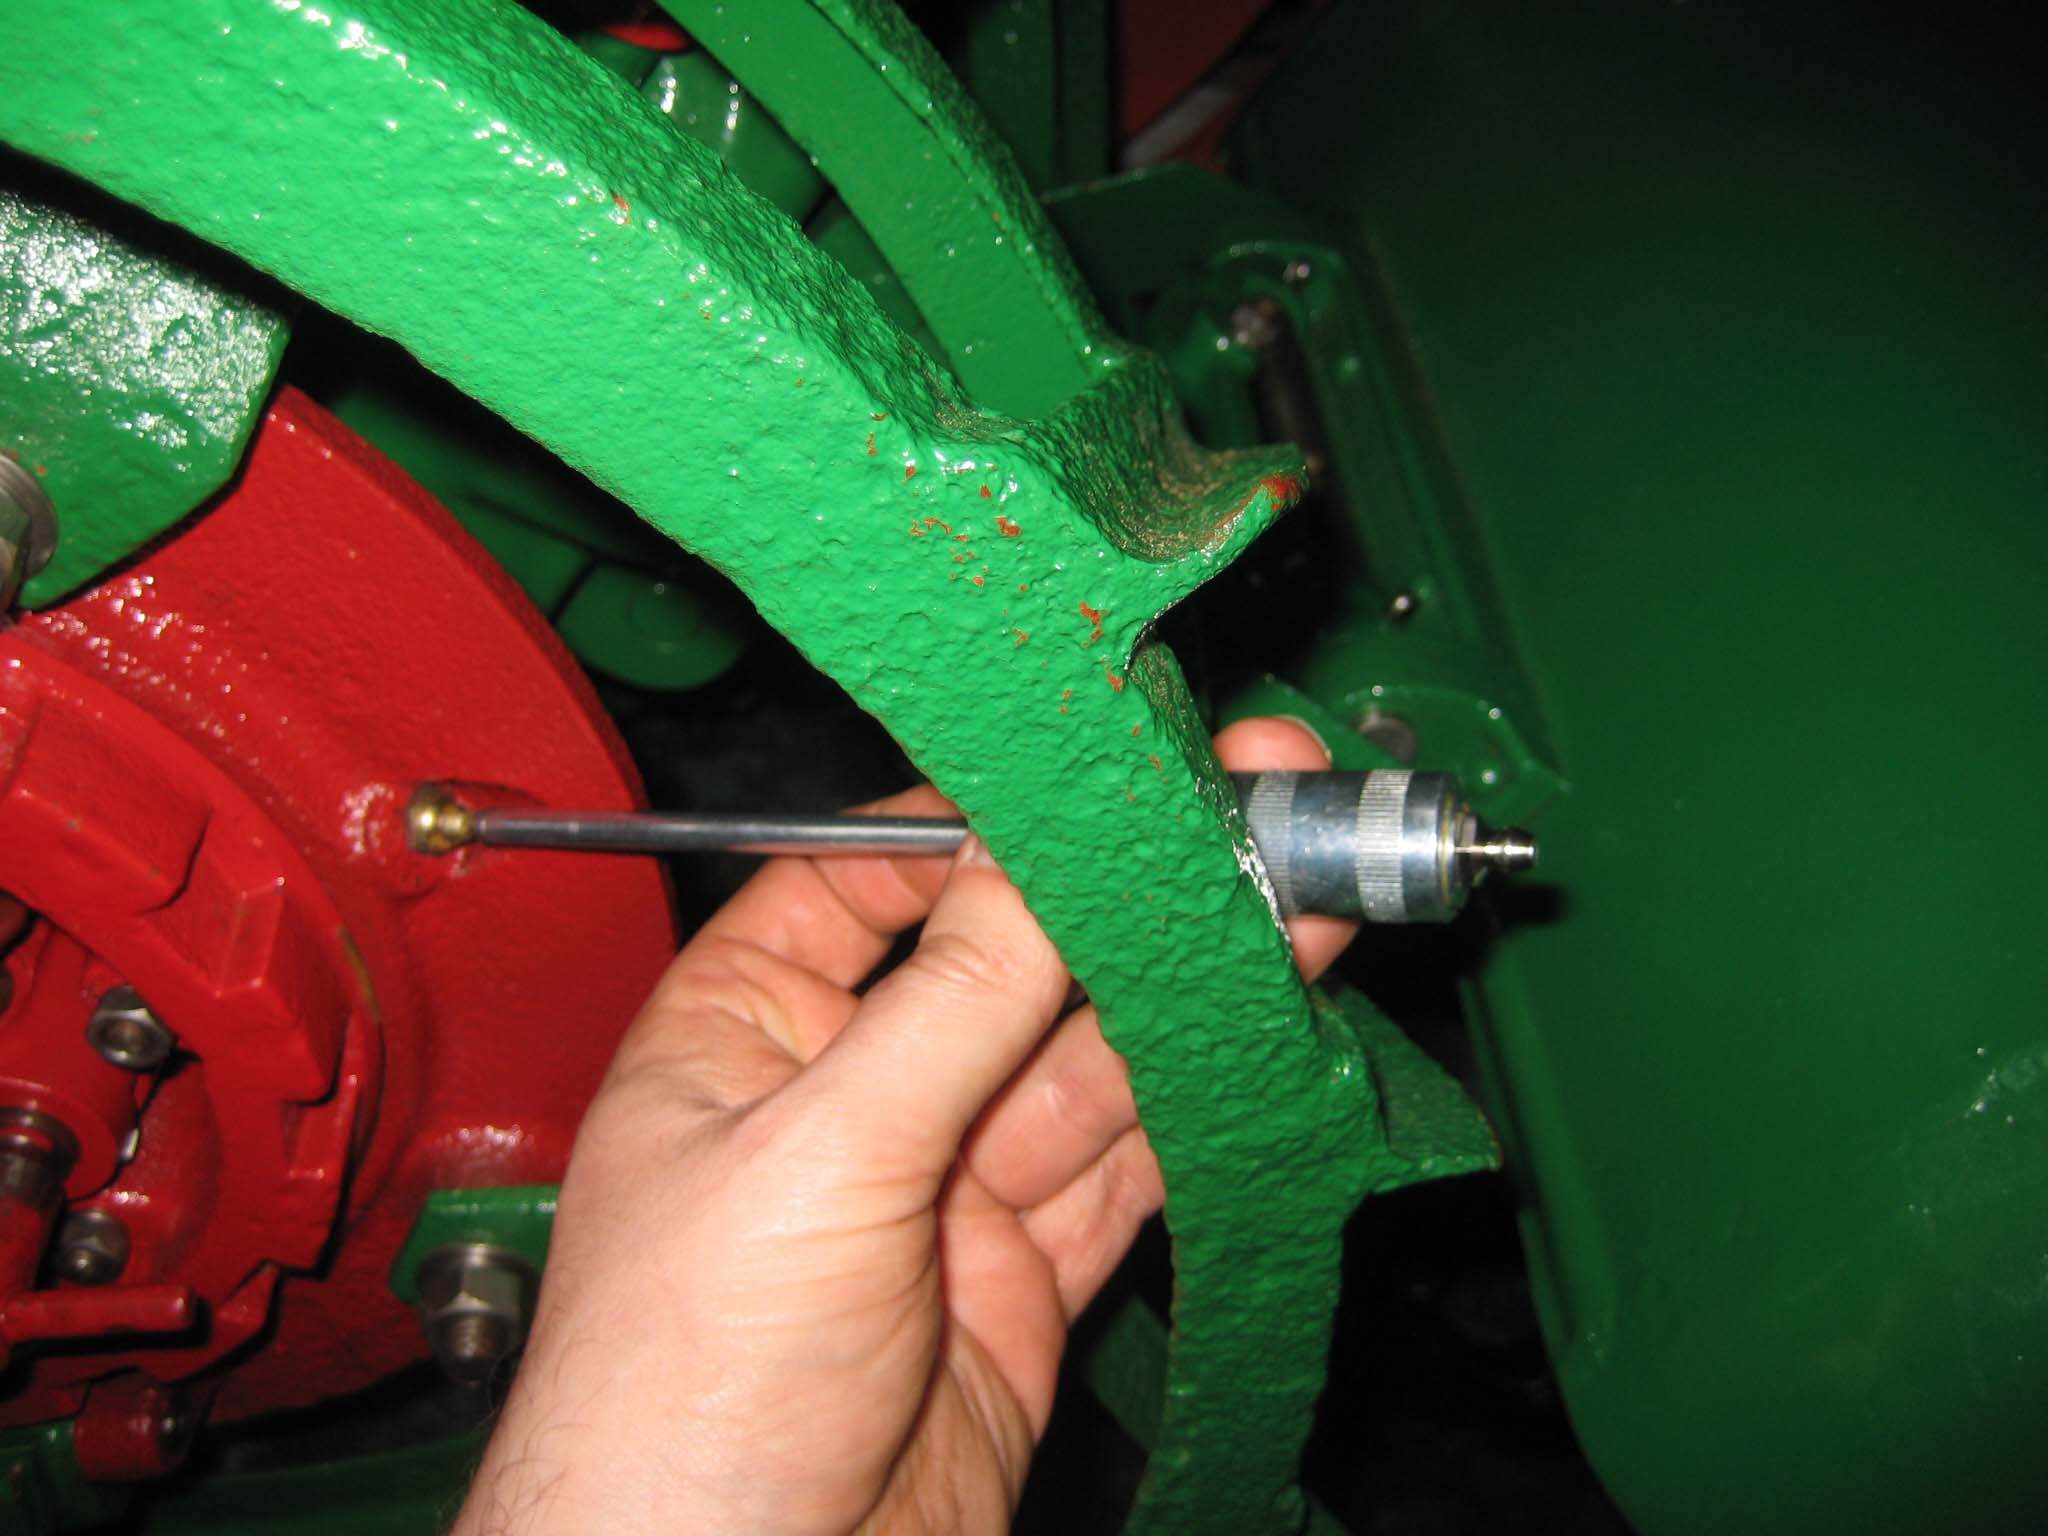
While greasing the various lubrication points on the machine in preparation for it’s maiden voyage, I discovered that whoever drilled the hole for the grease nipple on the left hand wheel hub must have been having a bad day, as it does not sit concentric with the recess in the casting (Simar 0150), which means that a standard grease gun will not fit on to it. Fortunately, I have a needle adaptor which is very handy for awkward to reach grease nipples (Simar 0151 & 152).
Much to my surprise, the Simar fired up at the first attempt, and burbled away smoothly once warmed up a bit. Unfortunately, rain then stopped play, so wasn’t able to film it’s first outing into the veg patch, so watch this space for the grand finale!!Attachments:
November 9, 2016 at 8:59 pm #22971andyfrost
ParticipantVERY VERY nice , good to hear you are going to put it to work.
Top job Andy.
November 10, 2016 at 8:34 am #22980 charlieKeymaster
Looking very smart. That needle adapter looks like a handy tool.
January 1, 2018 at 11:56 am #27562 roatavatorParticipant
Sean, did you ever do a video of your fantastic SIMAR working?
January 1, 2018 at 5:19 pm #27563vhgmcbuddyKeymasterNot yet Peter. The SIMAR is currently buried at the back of a shed behind several other machines. I had hoped to have my new, larger, shed built by now, making everything more accessible, but as is often the way, I just haven’t had the time.
January 1, 2018 at 6:53 pm #27564roatavatorParticipantI certainly know about the time issue! Any chance of seeing it at Weeley? I’m certainly going to get there!
January 2, 2018 at 7:13 pm #27573vhgmcbuddyKeymasterSorry Peter, won’t be at Weeley. Don’t have suitable transport. Besides, if I keep going to events, I’ll never get my shed finished!!
-
AuthorPosts
- You must be logged in to reply to this topic.