Home › Forums › The Main Forum Area › Projects › Atco 14 inch
- This topic has 168 replies, 12 voices, and was last updated 12 years, 5 months ago by
 vhgmcbuddy.
-
AuthorPosts
-
January 17, 2014 at 3:10 pm #5185
 vhgmcbuddyKeymaster
Darren I would also be interested to see which box fits one of these mowers as my recently acquired ATCO 14″ is minus its box, they do pop up on you know where but I would like to get the right one somewhen…
January 17, 2014 at 5:25 pm #5186vhgmcbuddyKeymasterDarren. re cutting cyclinders,on my 14 inch 59/60 the cyclinder is a lot heavier and better made than the 14 inch 64 with sif engine. the later gives me the impression cost cuts where made when the Suffolk engine came into service with atco. so my deduction is the lighter one which you have could be a replacement from a Suffolk due to damage pre you owning it.
January 17, 2014 at 11:16 pm #5189 darmic1Participant
Hi Paul, will be using this grass box, but will replace current brackets with the replica correct ones.
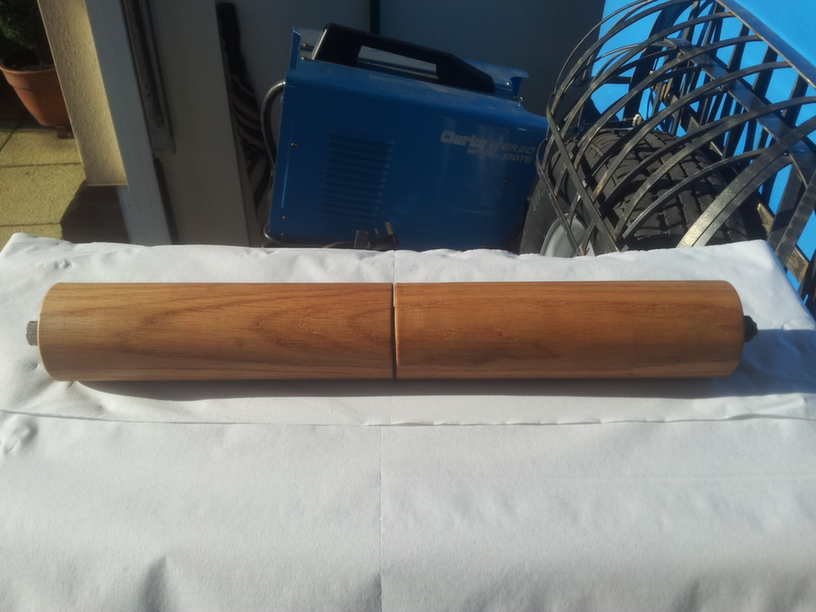
Evening John, thanks for that. It does kinda make sense….. Was thinking something along those lines, or maybe the lighter blades were the older ones, due to metal being in short supply after the war? A 3rd option could be the Light Atco, which these are, had a lighter cylinder……. the heavier one is from a standard 14″ inch machine but both parts were machined the same to keep costs down and make use of common bearing parts?January 19, 2014 at 12:43 am #5211darmic1ParticipantAfter a “Google” of the inter-web thingy…… I found a local organisation who enjoy turning wood, Turning it into all sorts it would seem! After approaching their club chairman and posing my question if they had any members who were local and willing to reproduce some front rollers for my Atco mower. An extremely helpful chap by the name of Tony kindly invited me to his workshop Saturday morning and gave a brilliant demonstration making these. They are turned from some English Oak, seasoned, and moisture content down to 10%. Each roller roughly took an hour to complete from the stock wood. I have had 2 sets made, one to fit and a spare set. I will be treating these with a 50/50 mix of Linseed oil and Turps as advised by Tony. I will leave them to soak overnight, making sure the brass is fitted first as the wood could swell a little.
Attachments:
January 19, 2014 at 12:52 pm #5217darmic1ParticipantSoaked the rollers overnight in the preservative mix, wiped off the excess and took them out to dry in the sunshine. Have made sure the rags are washed out in soapy water before putting them in the bin.
Attachments:
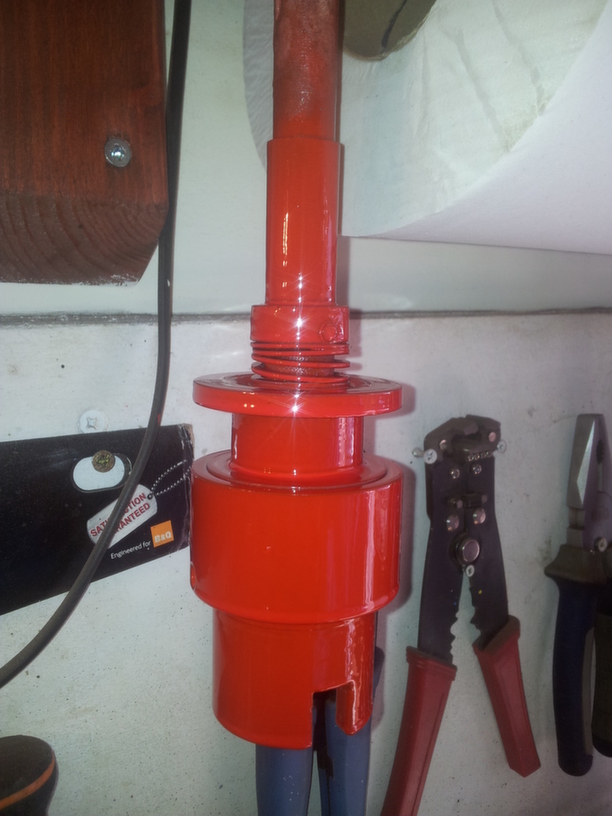
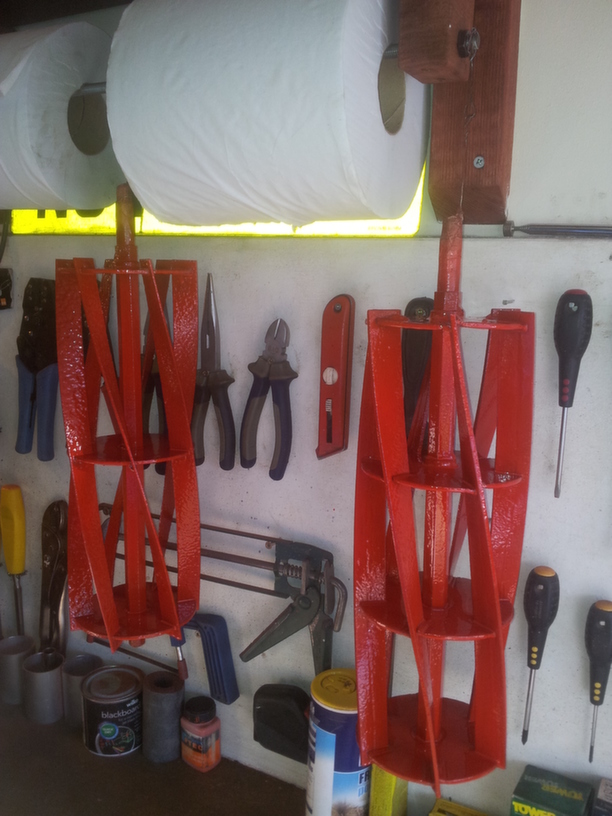
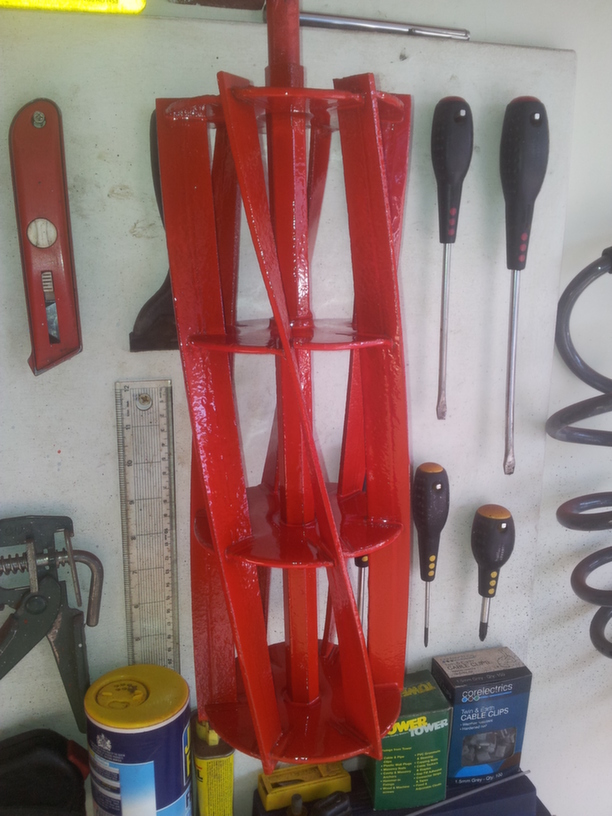
January 19, 2014 at 12:54 pm #5219darmic1ParticipantHave now got some colour on the two cylinders I’m keeping and the clutch.
Attachments:
January 19, 2014 at 7:06 pm #5249vhgmcbuddyKeymasternice rollers and they will last for many years. well done tony.
January 21, 2014 at 11:22 pm #5311darmic1ParticipantGareth kindly sent me some pictures of his grass box, so that I can try to modify the one I have. Mine, when fitted doesn’t fit securely to the mower as its from a different machine. Also when fitted there is only an inch gap for the grass to be thrown into the box. It would appear I’m going to have to do quite a bit of work to make this box work. Ahem…….
Attachments:
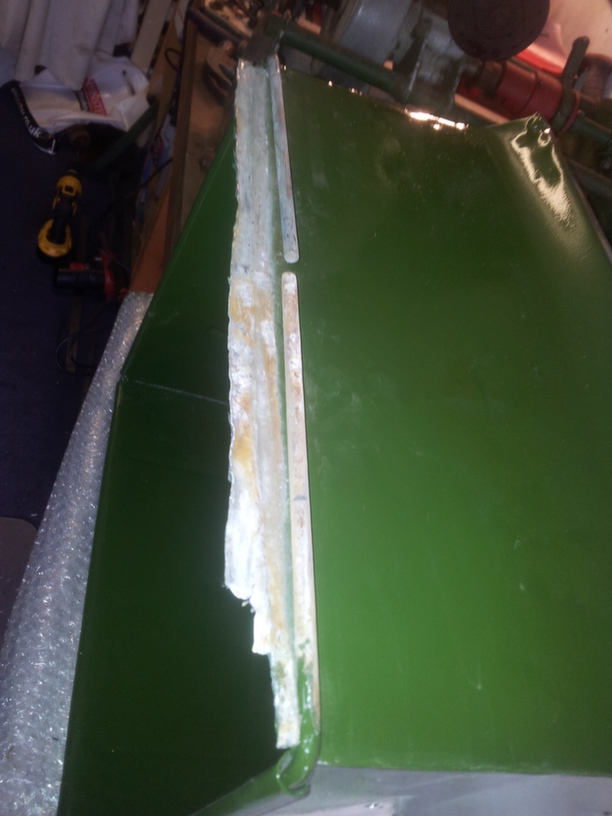
January 21, 2014 at 11:31 pm #5315darmic1ParticipantI decided today was the day to tackle the grass box. I started by removing the old brackets, unfolding the aluminium along the bottom frame, cut the steel frame, so as to turn it through 90 degrees and cutting the excess aluminium away. Once all the cutting was finished, it was time to start re-assembly. Welding some additional bar to the frame and welding the modified frame into place.
Attachments:
January 21, 2014 at 11:33 pm #5320darmic1Participantit seems this forum likes to play with picture sequence too, despite them being renamed…..
January 21, 2014 at 11:35 pm #5321darmic1ParticipantOnce the frame was secured, I folded and rolled the aluminium around the frame, keeping it tight and tapping it into place.
Attachments:
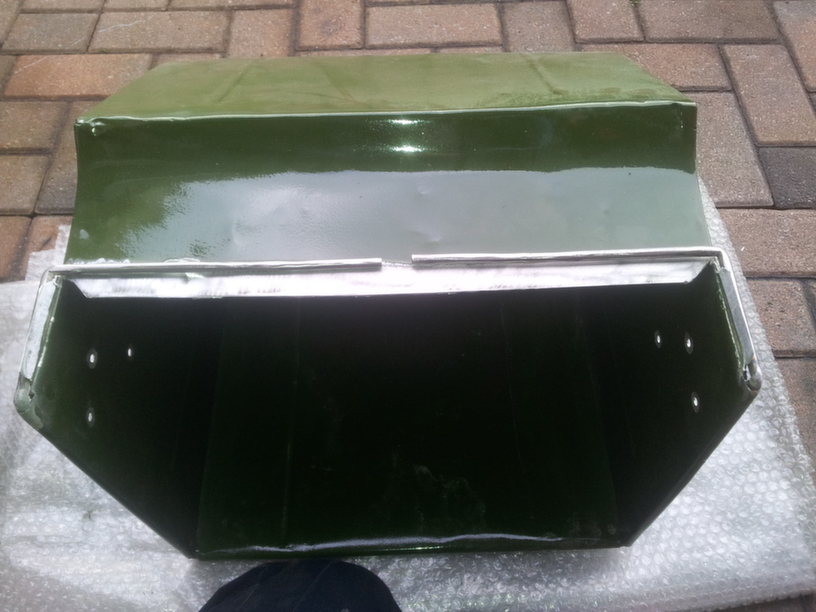
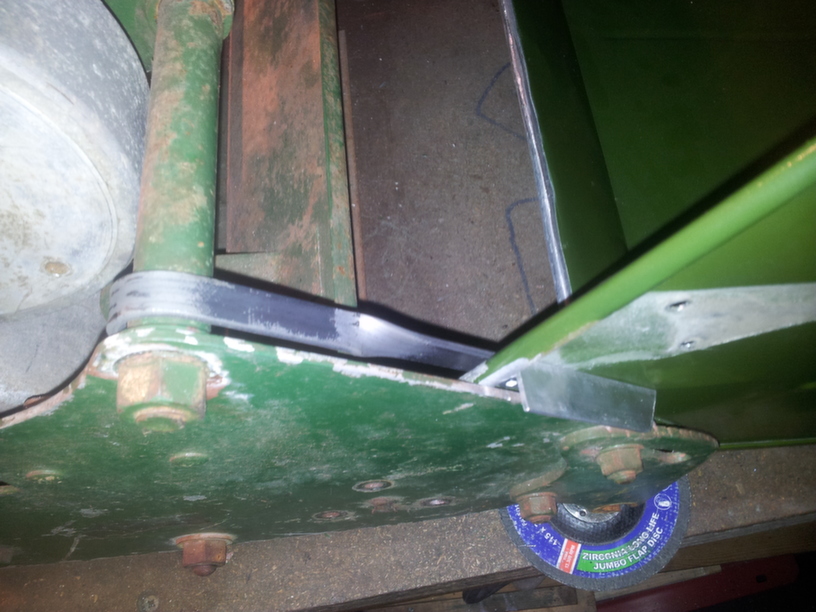
January 21, 2014 at 11:38 pm #5324darmic1ParticipantHere’s the grass box roughly in position, you can see how much extra room has been made by removing 3 inches of the aluminium. The grass clippings should now make it into the box.
Attachments:
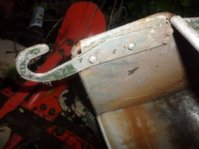
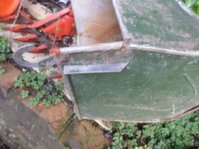
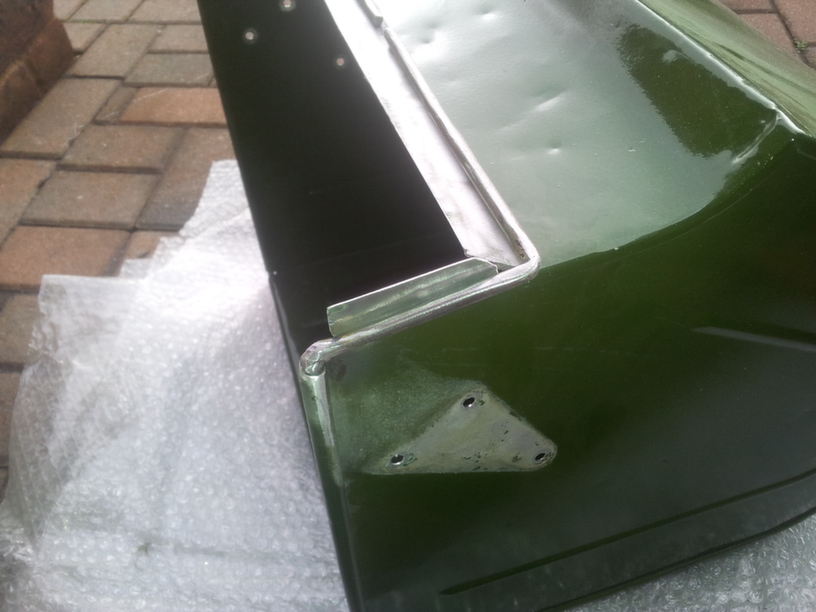
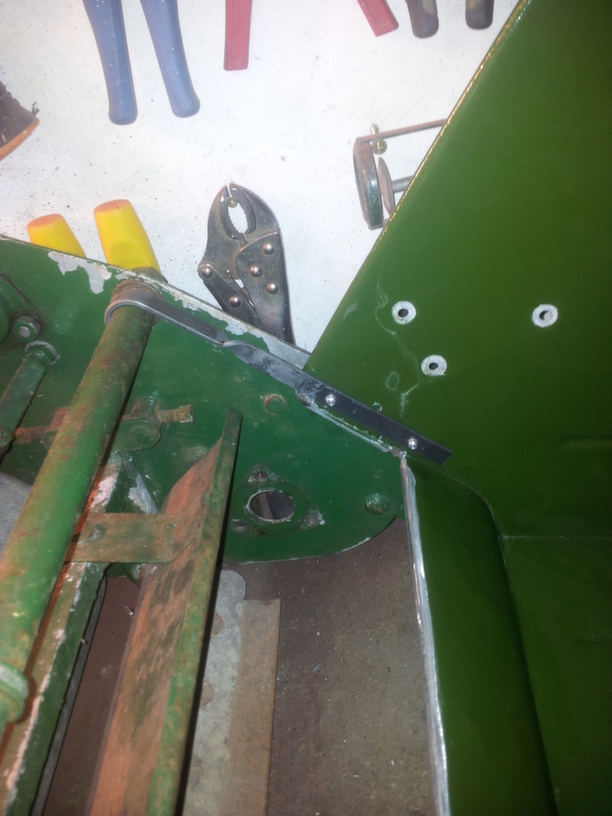
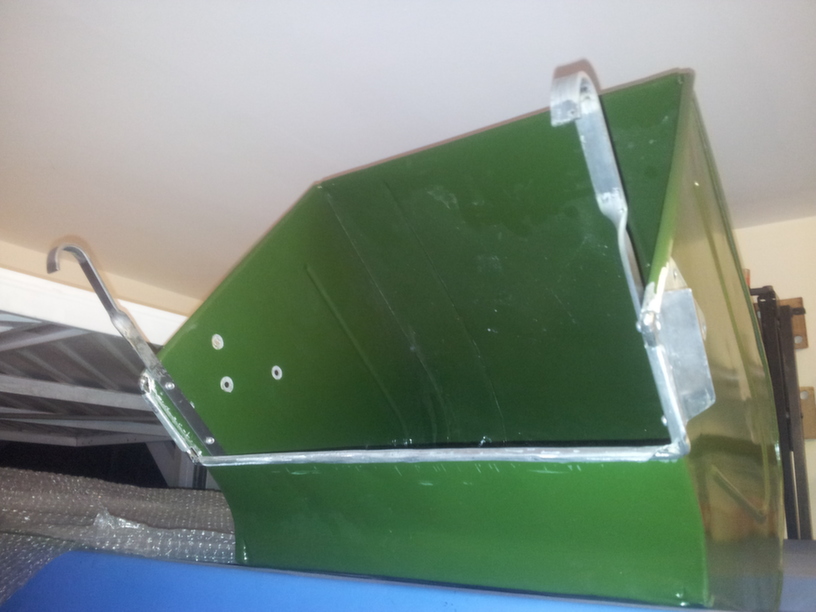
January 21, 2014 at 11:46 pm #5326darmic1ParticipantNext task is to set about making brackets to secure the grass box to the mower. I didn’t have any steel wide enough to copy exactly the brackets which are shown in Gareth’s pictures. However I had a solution, some thinner steel strip, twisted through 90 degrees and curled to fit the frame of the mower. Some aluminium angle was cut to shape the same as the original grass box, this rests on the top of the end plates of the mower. Keeping the grass box central between the end plates. Once the brackets were completed they were riveted through the grass box.
Attachments:
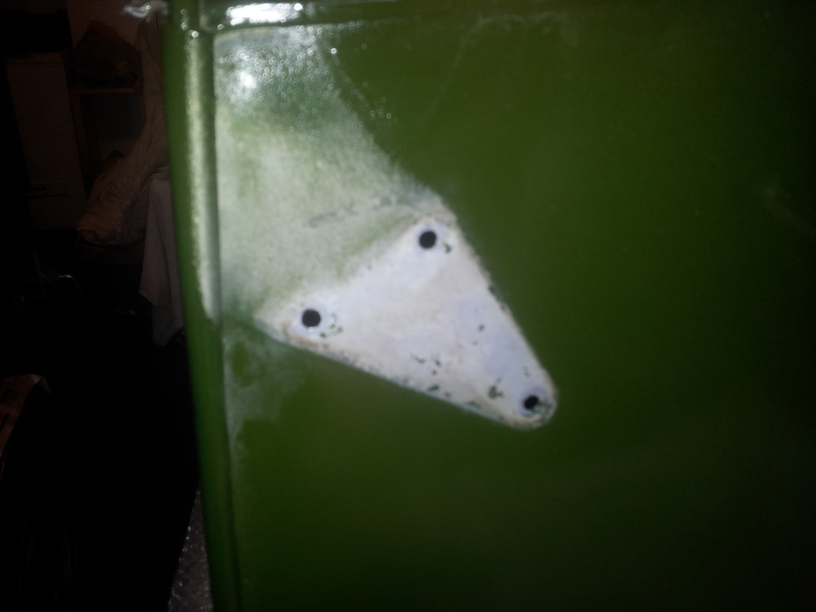
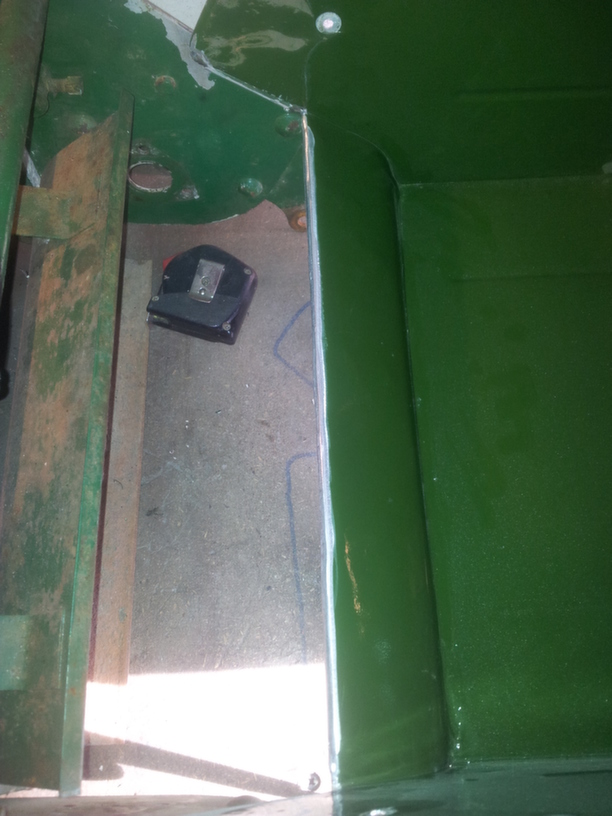
January 21, 2014 at 11:52 pm #5329darmic1ParticipantI think this has turned out quite well, the grass box is secure, not dragging the ground. The brackets do not foul the cylinder and the grass clippings should make it into the box ok. I will fill the holes from the old brackets, prime and re-paint.
Attachments:
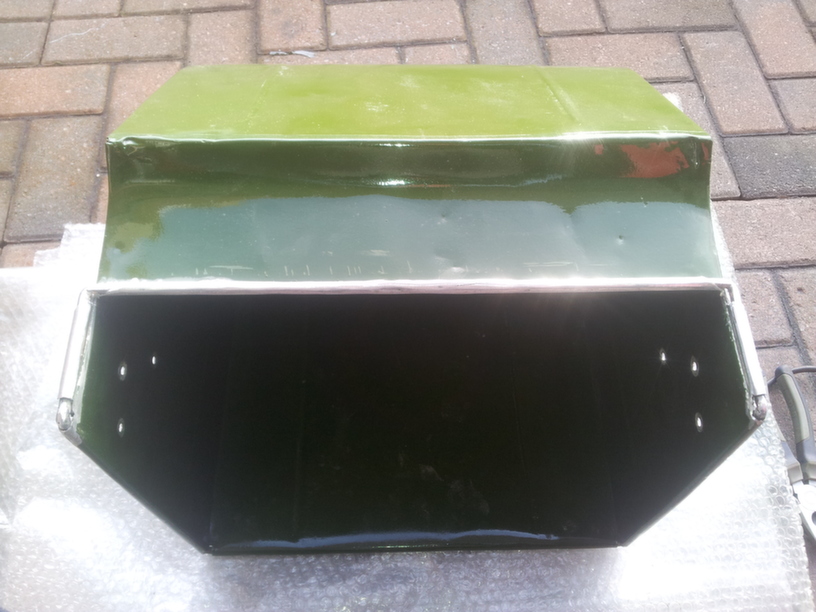
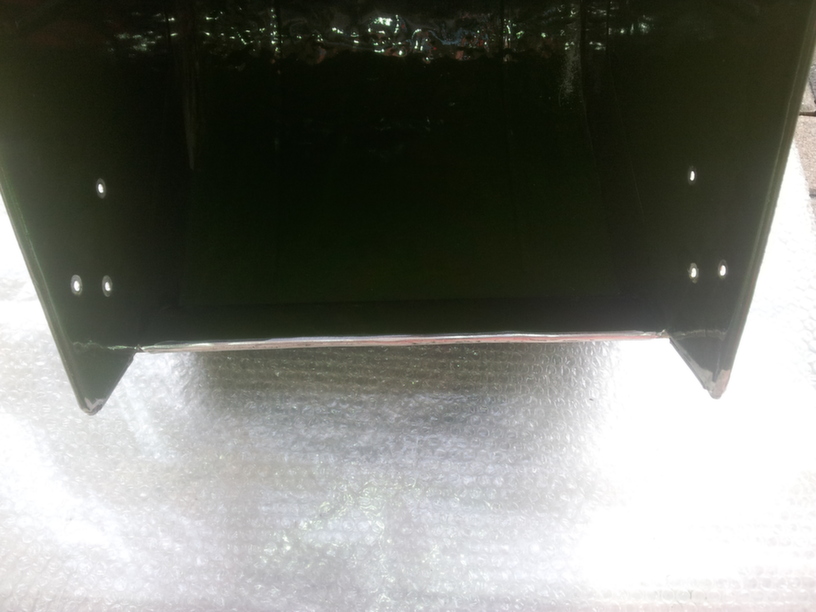
January 21, 2014 at 11:55 pm #5333darmic1ParticipantFilled and primed, will wet sand it tomorrow and get some paint on it.
Attachments:
-
AuthorPosts


- You must be logged in to reply to this topic.