Forum Replies Created
-
AuthorPosts
-
October 21, 2014 at 2:11 pm #10456
 wristpinParticipant
Probably nothing more serious than a restricted fuel supply, a thorough clean should sort it.
Start at the tank , clean inside, check that the breather hole in the cap is clear and that any gauze filter on the tap is clear. Next check the fuel pipe for obstructions and internal collapse, also check any gauze in the banjo where it joins the carb. If that’s ok add some fuel and hold the carb end over a jar and turn the tap on. If there’s and even flow for at least 30 secs that is a pass!
Then strip and thoroughly clean the carb.
If that doesn’t sort it the next step is to check for possible air leaks from perished gaskets or warped flanges weakening the mixture before it reaches the cylinder.October 1, 2014 at 8:23 pm #10248wristpinParticipantBear in mind that with a ten? bladed cylinder the Auto Cortes is not a “once a week” mower. They were designed for golf courses, bowing greens and grass tennis courts etc wher there is a daily mowing regime and don’t take kindly to a week’s worth of ryegrass!
The Mag Kubota replaced a Briggs which had replaced the Sloper and has now itself been replaced by a Honda.
In my opinion the Mag version always felt a bit top heavy, but that is just my personal opinion. However I do have two Sloper engined Marquises – 18 and 20 inch, a Honda engined Marquis 51 and a Kubota engined 51 all of which give the same sort of feel as a Certes.
They are nice simple machines to work on and providing the one you have been offered has been properly maintained it shouldn’t hold any nasty surprises.
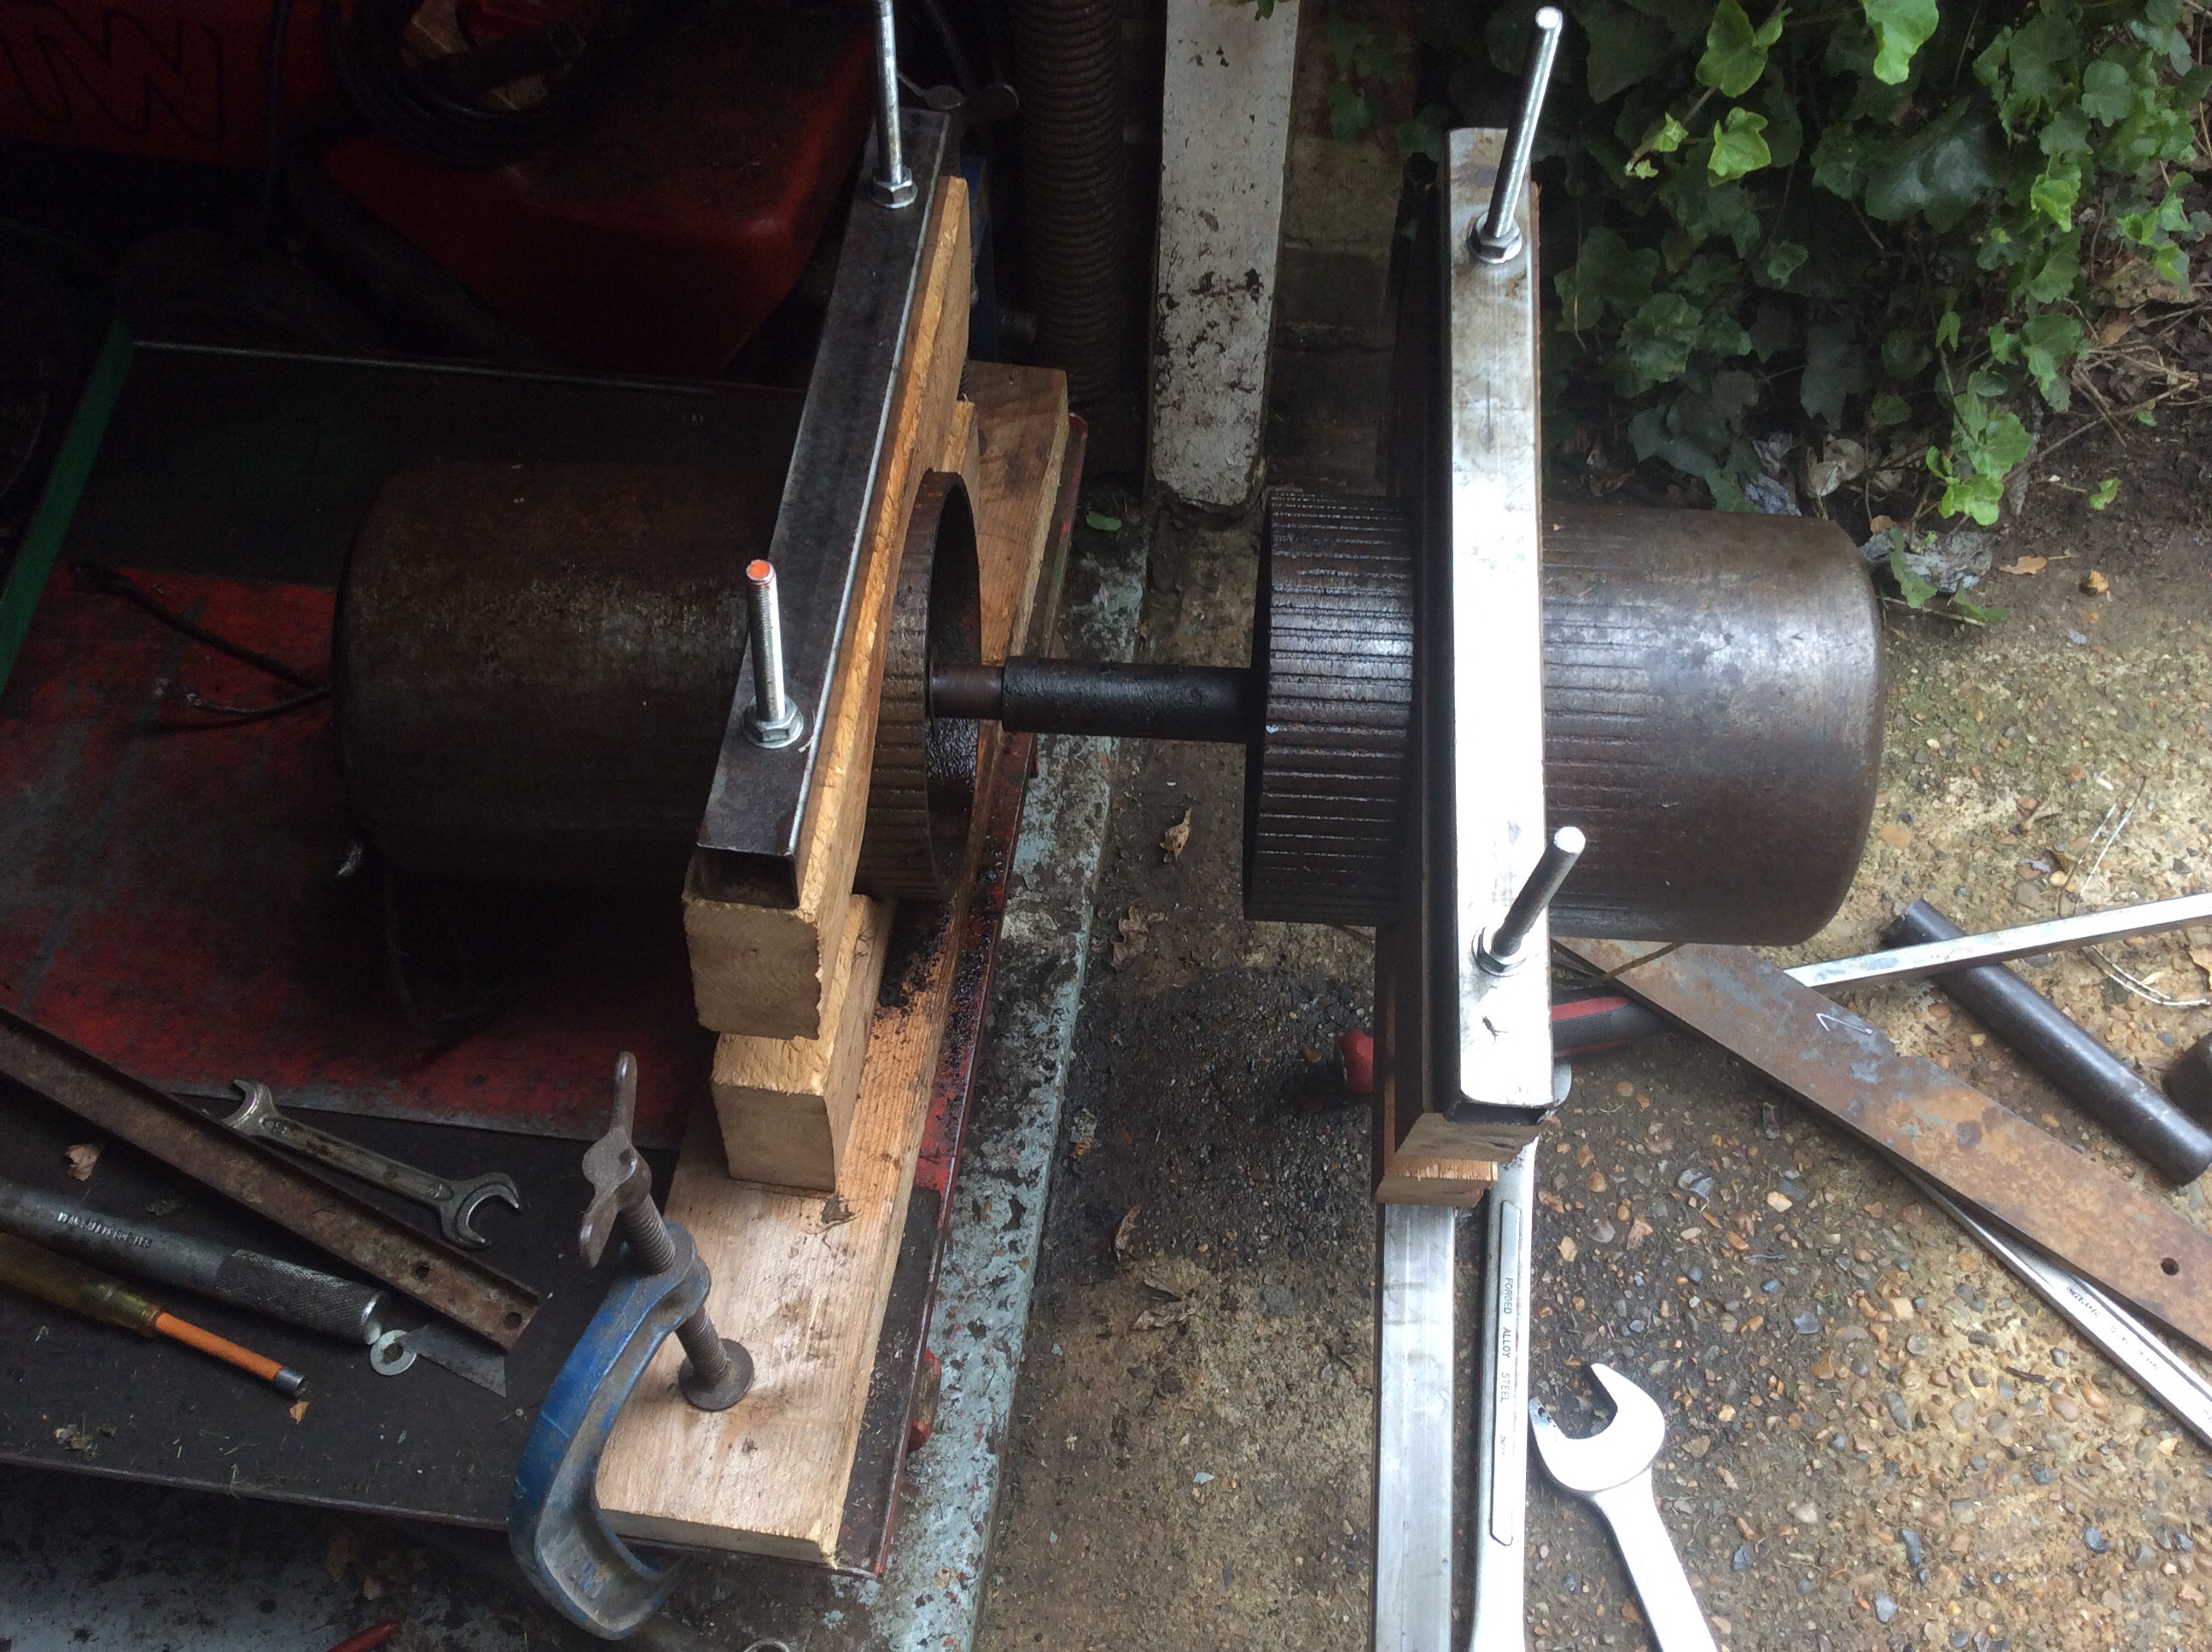
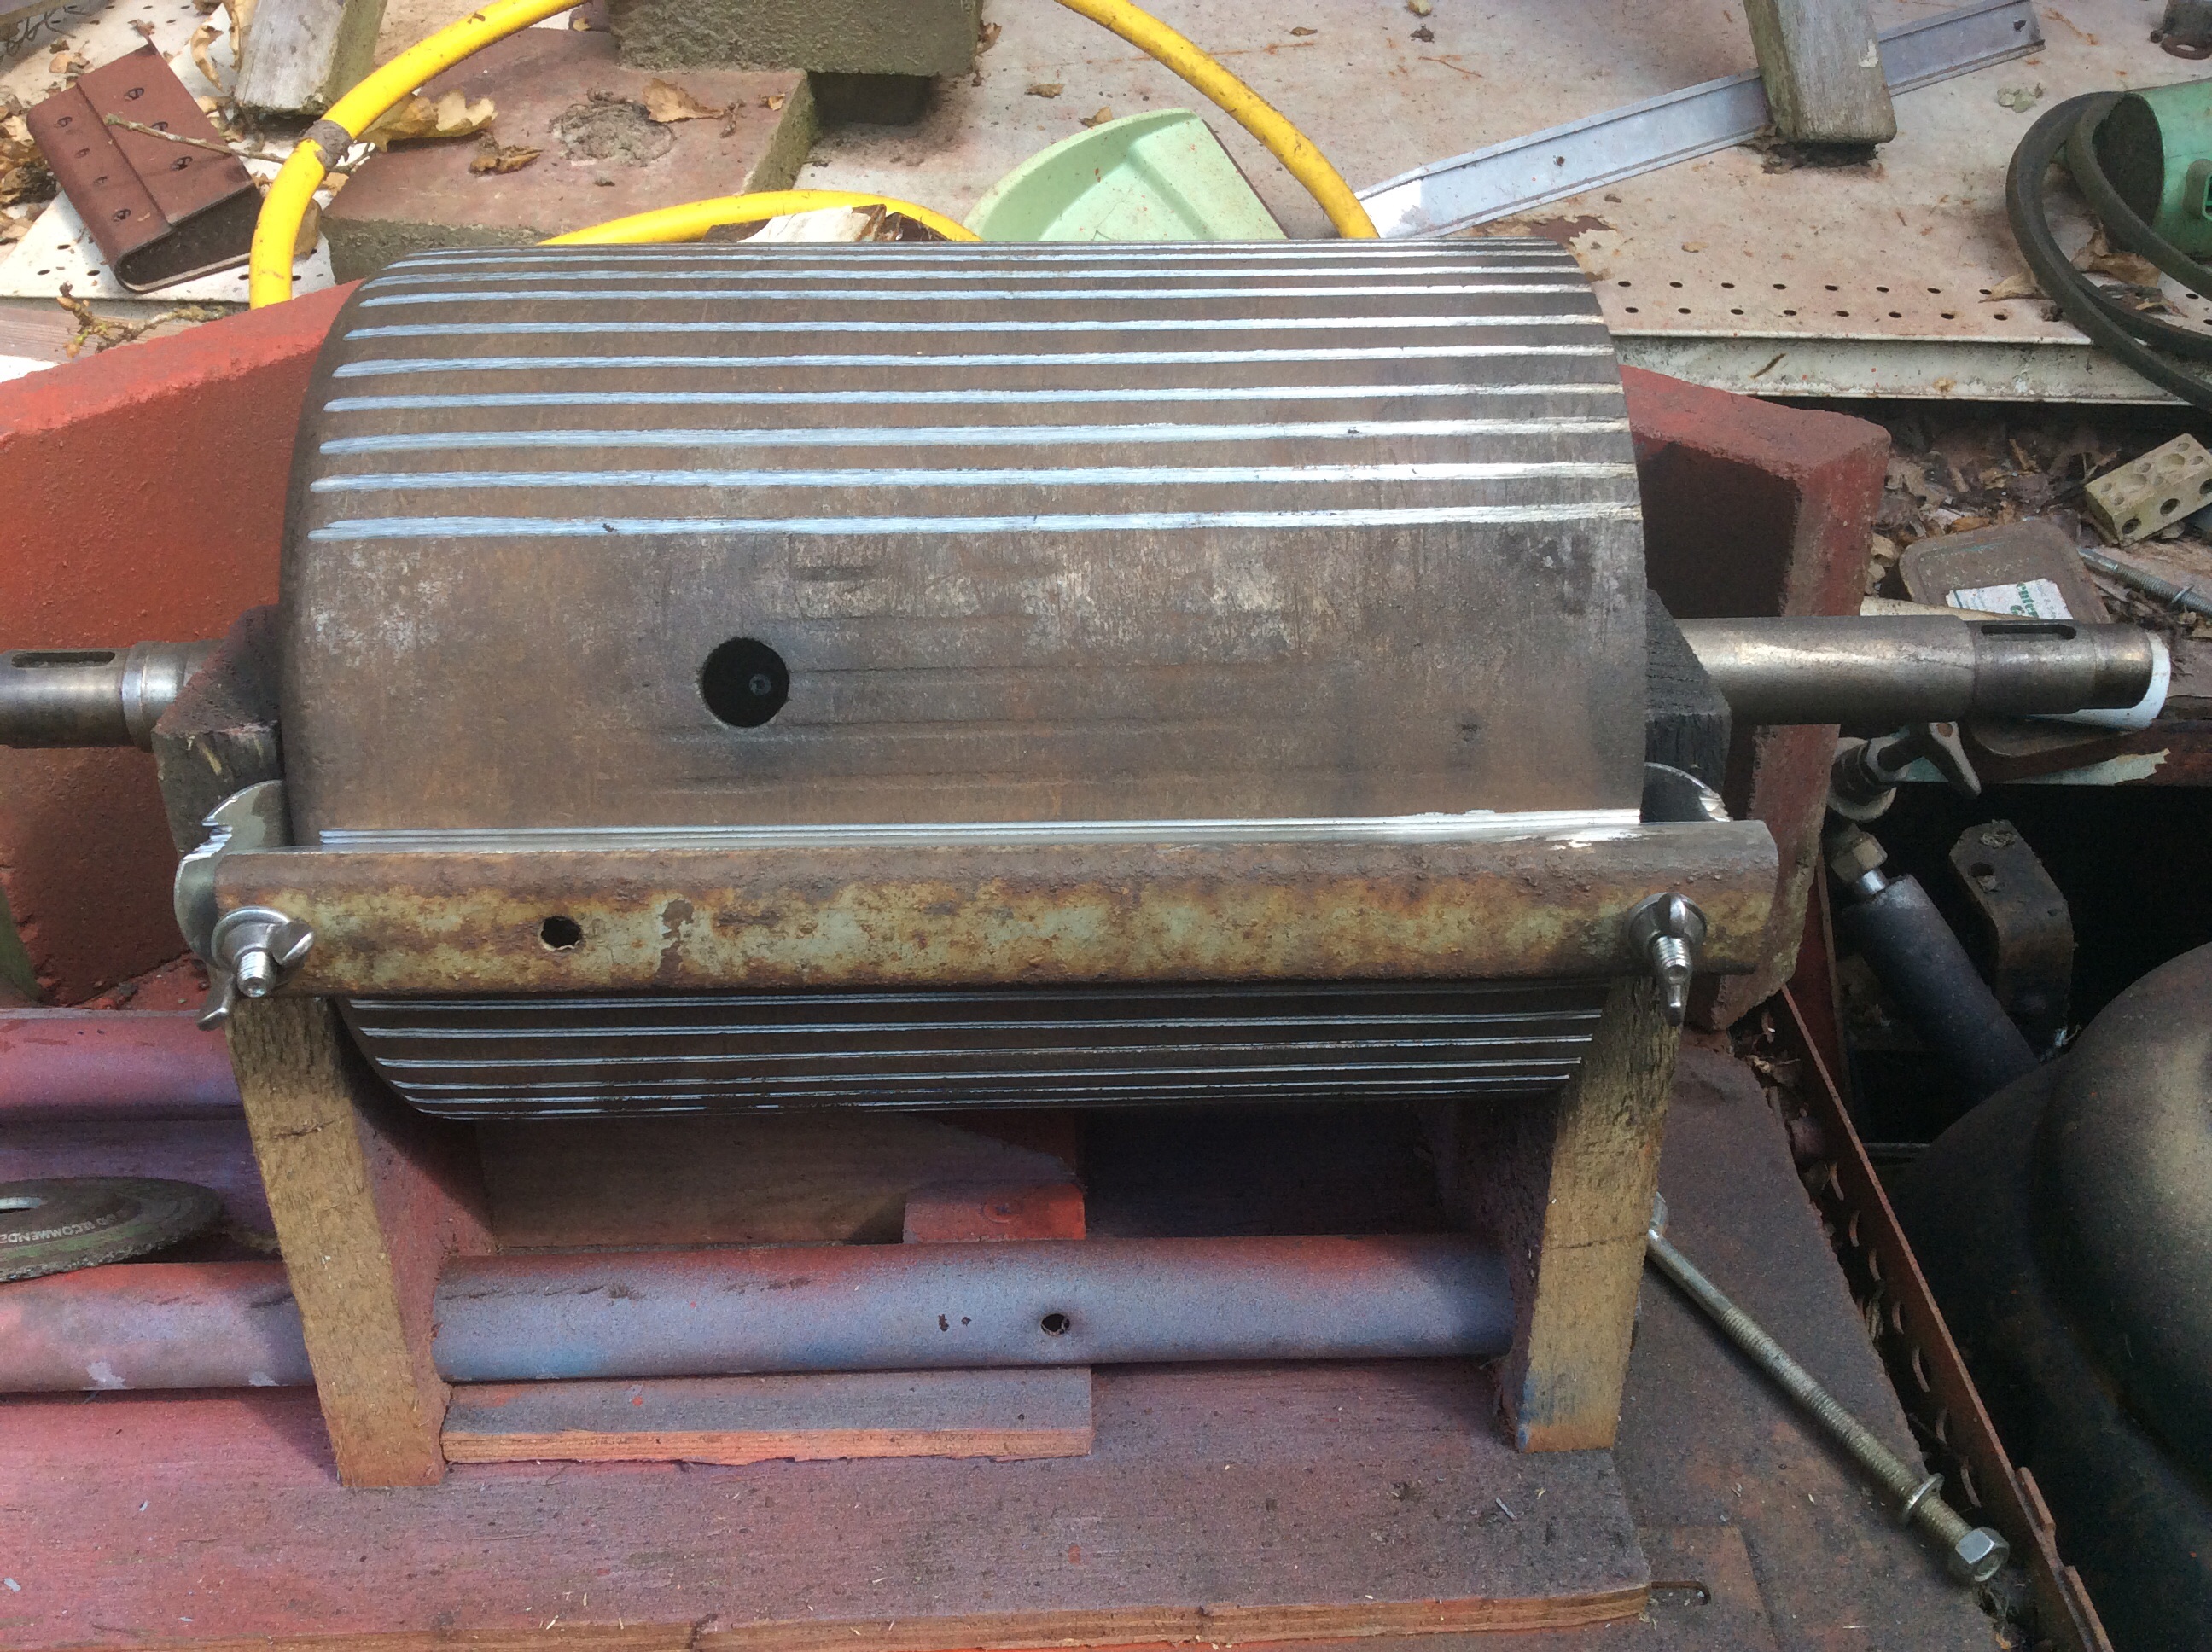
One point to check is that the two rear roller sections move individually on their shaft and are not seized and only moving as one. If they are seized the machine won’t want to turn and will scuff the turf. Freeing off a seized roller without damaging it (£250 + vat a sectional) can be a right pain – I’ve just done one as the attached images show. Also recutting the grooves on worn smooth roller section!Attachments:
October 1, 2014 at 3:58 pm #10242wristpinParticipantHi Ray,
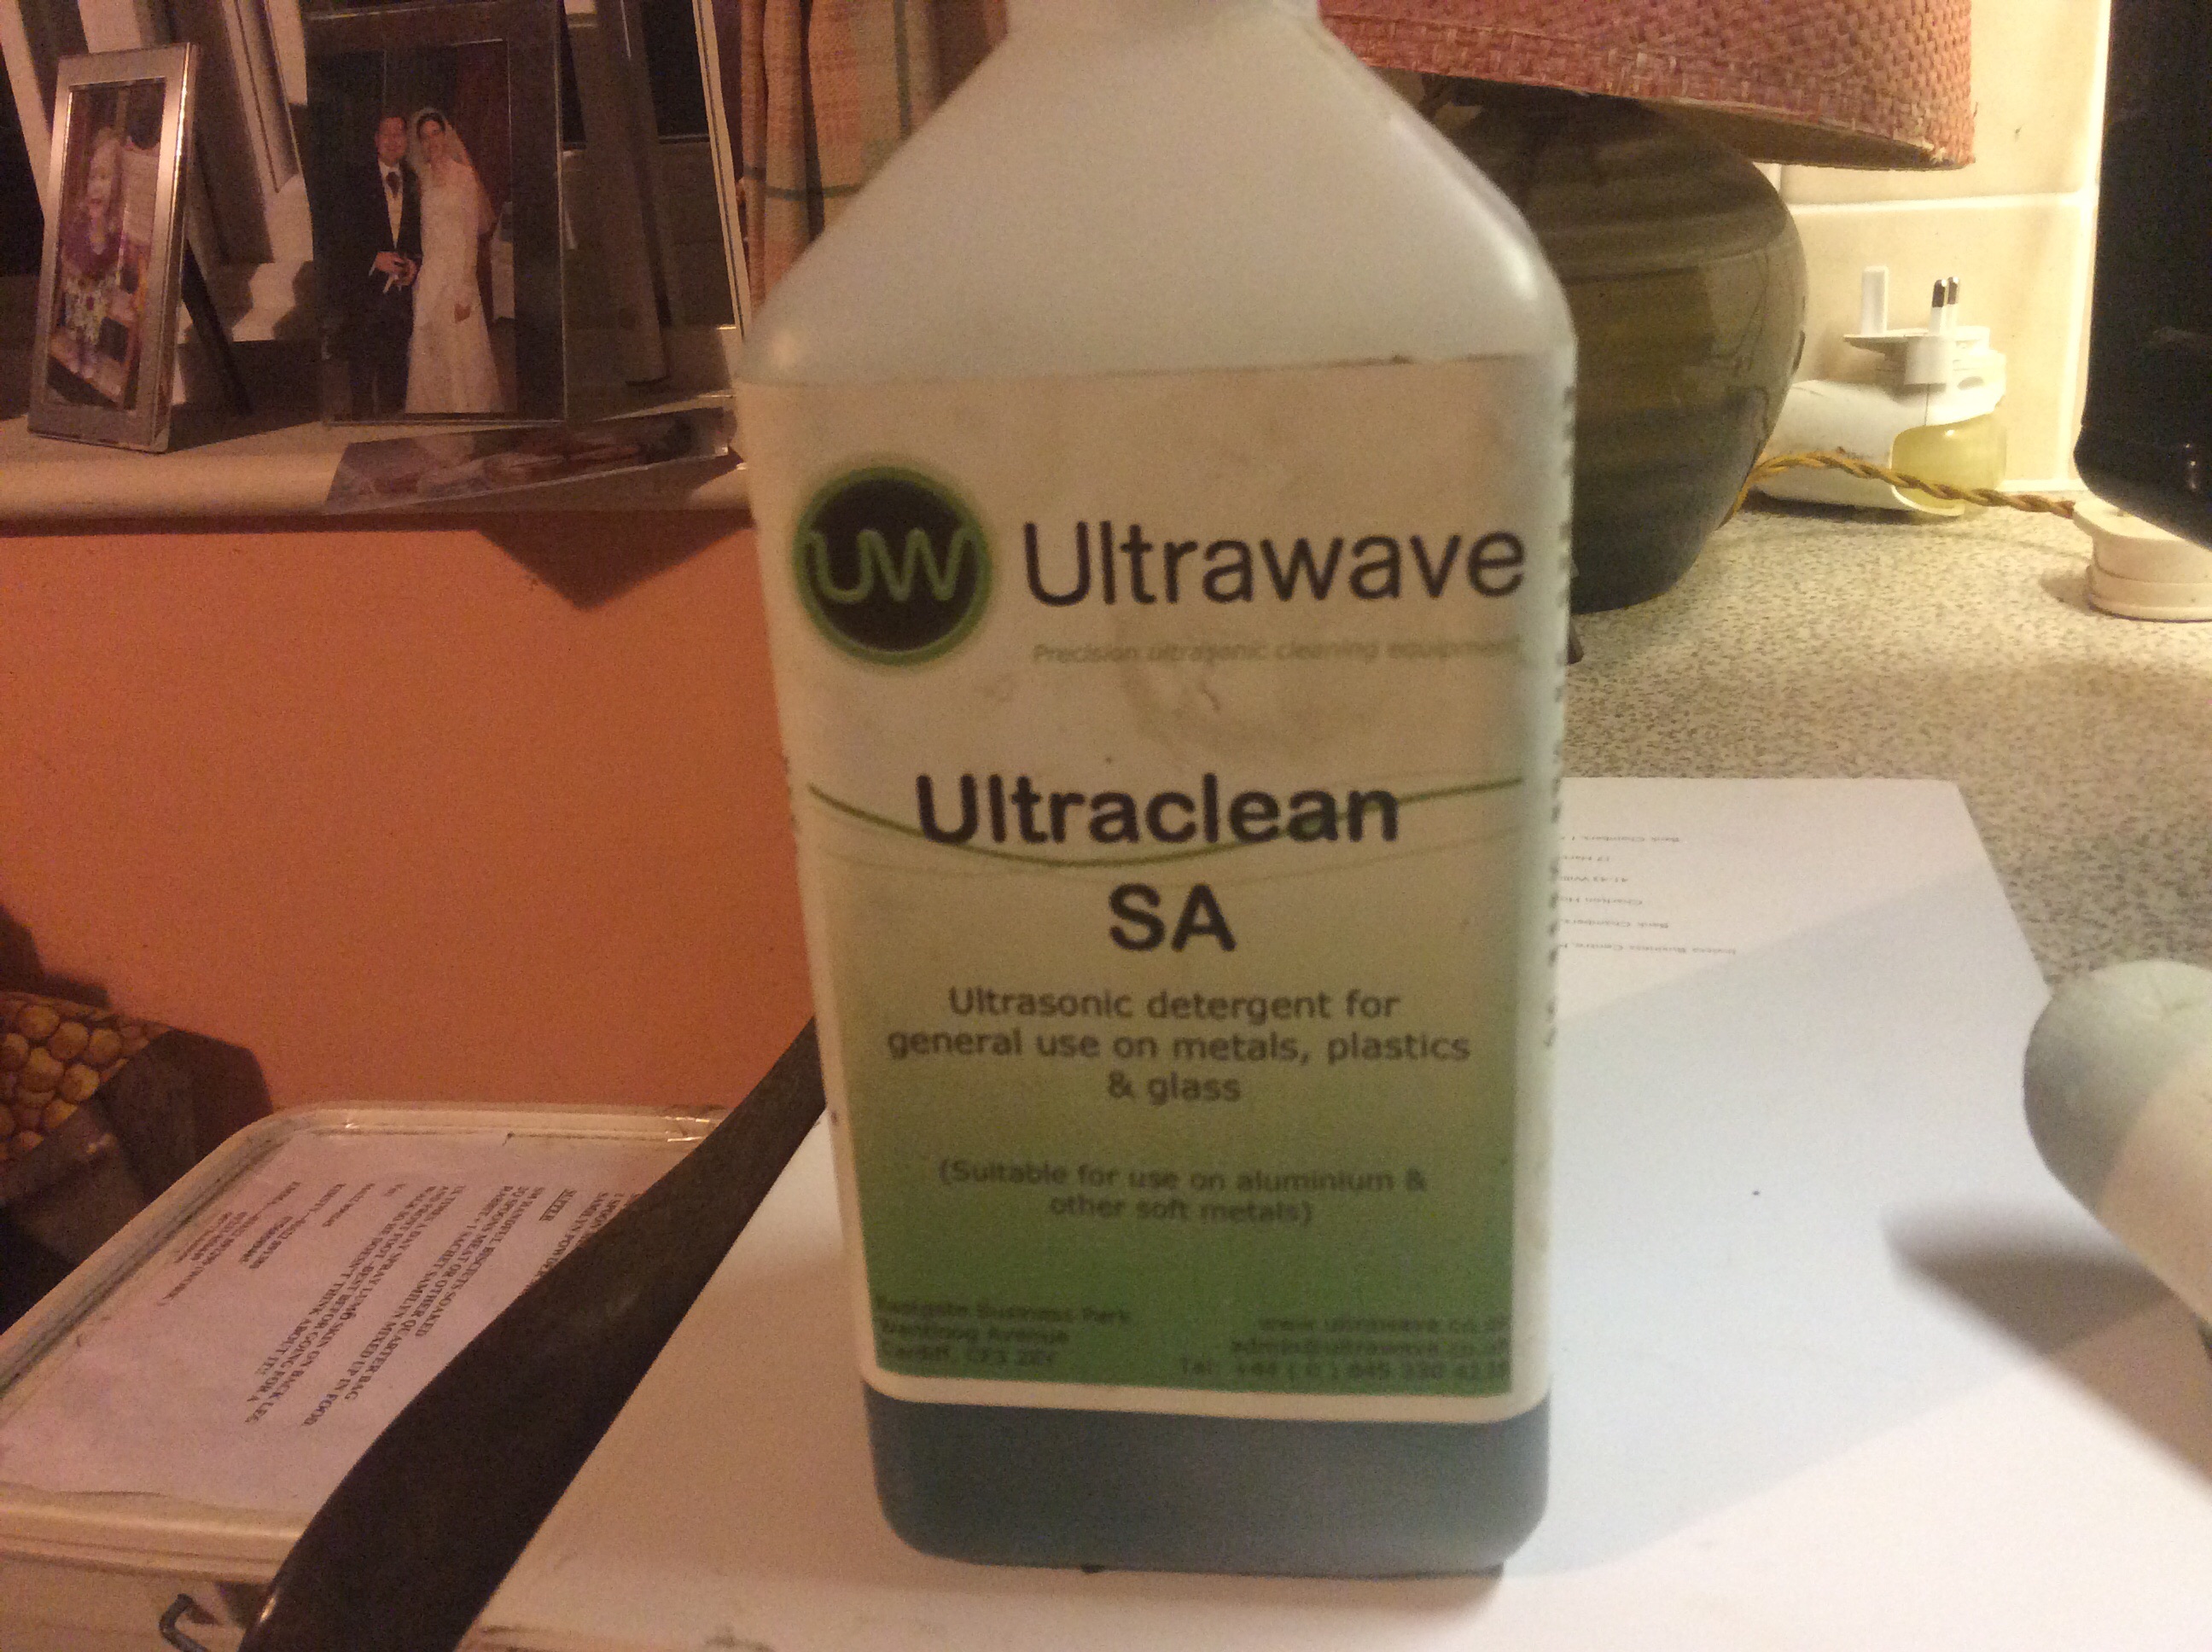
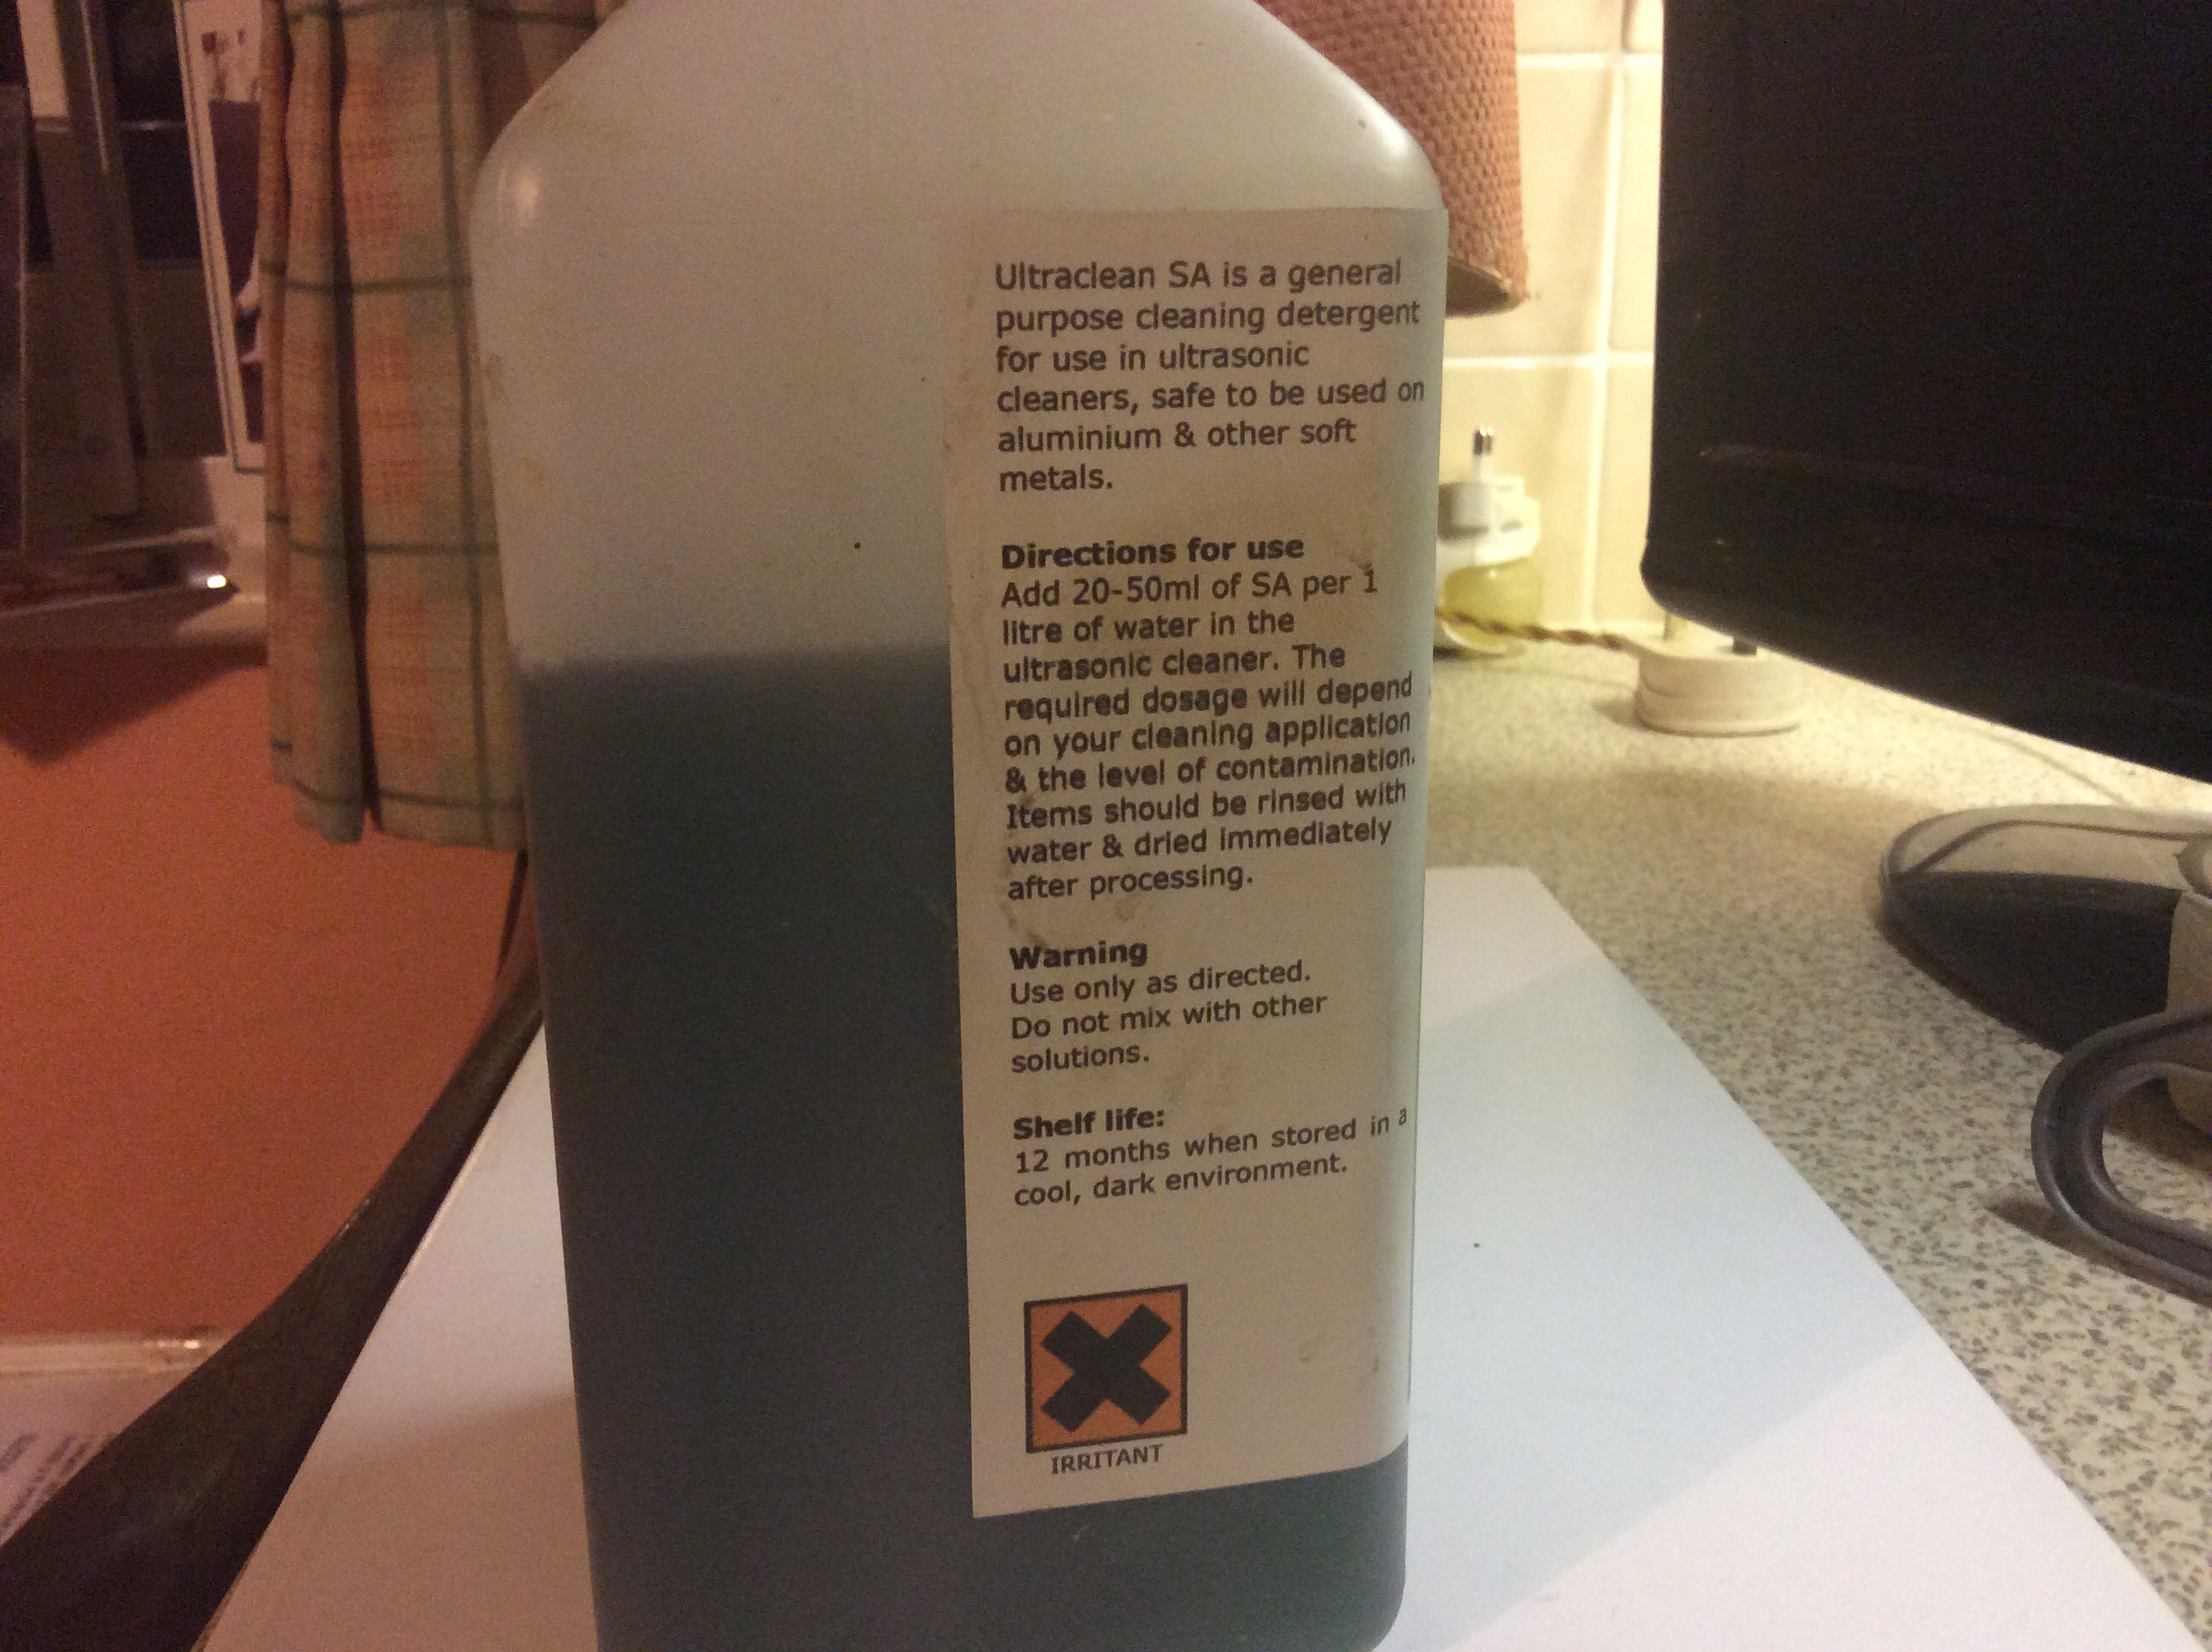
It might have been but wasn’t! Seen references to it on many US sites but the one that I had in mind was the Mechanic in a Bottle which is being distributed in the UK by Rochfords. Had a chat with them yesterday and it seems that the “cure all” product will be freely available Over the counter but the fuel test kit will only be sold as a merchandising package to participating dealers.September 30, 2014 at 8:44 pm #10233wristpinParticipantSome people just use a couple of drops of washing up liquid, on American sites there is quite a following for Seaclean which I believe is available over here . We used to use Ultrawave, Ultraclean SA in the tank at work and I have continued to use it.
Attachments:
September 30, 2014 at 3:04 pm #10230wristpinParticipantThe U/S tank is certainly a useful addition to the carb cleaning armoury. When I had the business we were an early adopter of U/S cleaning and I believe can take the credit for introducing it to Briggs UK.
If anyone is considering buying one I would advise going for one with a heater and if using a basket for the parts a stainless steel mesh one absorbs less (8%)ultrasonic energy than the plastic equivalent (30%). That info came in the instruction book for my present 3ltr domestic tank which came with a plastic basket but when I enquired about a stainless one the suppliers said none available! Struck me as a bit odd. Anyway I found a suitable ss one in a cookware shop!
A useful tip that I was given is that when cleaning carbs, split the cleaning time into two or three and alter the orientation of the carb in the tank between sessions – helps shake the loosened crud out of any blind drillings etc.
When I was learning the trade “way back when” we were always told not to poke bits of wire etc through blocked jets and you can still see this repeated in older workshop manuals. However, four or five years ago when Honda were having horendous carb issues with the Vee twins fitted to Coutaxes and Westwoods etc they came up with a “Dr Carb” cleaning procedure and together with the detailed instructions came a pack of wire probes!September 29, 2014 at 12:13 pm #10224wristpinParticipantThat carb is officially known as the Two Piece Flow Jet and came in three sizes.
Even when new and unmolested they could be a B****** and fuel pooling in the throat is quite common.
On my Landmaster cultivator more than one pull on choke is asking for trouble!
If you Google Briggs Two Piece ….etc there’s a lot of useful stuff but beware of uninformed diy Youtube stuff!!These could be useful
https://outdoorpowerinfo.com/repairs/briggs_medium_two_piece.aspOn older carbs two things to watch out for are – warped flanges between top and bottom halves – often the result of over tightened screws – allowing air leaks.
Internal leaks where the emulsion tube or nozzle screws into the carb , again possibly due to over tightening or corrosion between the brass nozzle and alloy body. The fixes for this include using a modified spare nozzle to carefully lap the seat or using the teflon washer from a Vacu or Pulsa Jet repair kit on the tip of the nozzle to seal it.(Pt No 391413)This link to the now defunct PER forum explains the repair process
https://www.perr.com/tip9.html
Just glad that I don’t see the small, medium and large Two Piece Flo Jets much now!!!September 17, 2014 at 8:08 pm #10092wristpinParticipantWe used to use Tubeline in Harlow but mainly for current machinery.
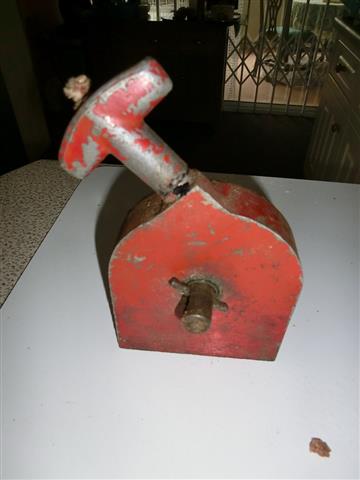
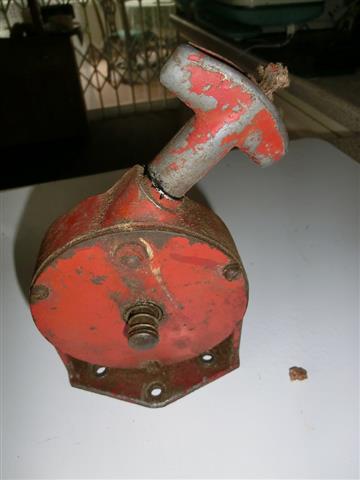
September 3, 2014 at 8:12 pm #9923wristpinParticipantAnything like this?
Attachments:
August 24, 2014 at 4:05 pm #9790wristpinParticipantJust out of curiosity, why do you wish to change the alternator?
You can date the engine precisely from the Code number stamped into the blower housing ( engine cowling) if it was made in 1980 the number will start 80 followed by the day and the month, say 2408. Any digits after that refer to the shift/ production line on which it was made. Assuming that it’s the original engine the tractor was probably made within six months of it.
Westwoods of that era usually has a sticker which often included the year of manufacture. Sometimes the sticker was on the inner engine side of the steering wheel console but could also be on the inner chassis side plate by the cut out for the spare fuel can, or if the machine is so equipped, under the seat in the opening for the power take off pulley for the power grass sweeper.August 13, 2014 at 7:02 pm #9711wristpinParticipantThought that I might be able to edit my previous post and add this on but apparently not, the “mechanics” of this forum drive me nuts at times!
So this may be useful to you
https://www.dropbox.com/s/ttyz98h30996j4o/Tecumseh%20OH1400001.pdf
If you would like the parts list to go with it I will scan it and post it but there are another 20 pages!
A lot of US manufacturers used third party mufflers, many bearing the name Nelson.https://www.nelsonglobalproducts.com/catalogs/
On my puter the above link is very slow to open but it does eventually!
August 13, 2014 at 4:20 pm #9706wristpinParticipantLauson Power Products aka Tecumseh. So you have a Tecumseh OH140, problem solved, sort of!
August 10, 2014 at 6:37 pm #9642wristpinParticipantFive different manuals and not one of them mentions any torque figures anywhere,
If you are not confident in just pinching them up I would guess that 12 foot pounds for clean dry threads will be safe but as the studs /bolts go into an iron block you can possibly go to 16 without fear of doing damage.
Just remember that if you lubricate the threads you should reduce the torque figures; some reference material will say by as much as 30%.August 9, 2014 at 7:01 pm #9632wristpinParticipantYour BSA has a tapered crank, no key.
Everything else is covered in my previous detailed post.
Get a new 3/16″ (decimal 1875″) square key and go from there.August 8, 2014 at 3:06 pm #9598wristpinParticipantGuess that it’s been running with the flywheel loose and that it’s flogged on the key. Hopefully the damage is confined to the key itself and not either the key way in the crank or flywheel.
Get a new key – you can probably get a length of “key steel” from your bearing supplier – and cut it to take up the full length of the key ways. Key steel comes in both metric and imperial sizes – the Briggs engine will be imperial and I’m guessing 3/16 square.
Offer up the flywheel and see if the movement has been eliminated. If it has, put a drop of Loctite on each grub screw and tighten hard.
If the new key has not eliminated the slop there are two options. The easiest is to get some Loctite Bearing Fit and apply it to the bore of the flywheel, assemble the whole thing and leave it overnight before running . Hopefully that will have done the trick.
The second option requires a bit more skill and work and is to make an oversized key to eliminate the slop . I haven’t got any here to measure but you may find that the metric equivalent of 3/16 is a bit oversize and will do the job but S**s law says it will be undersize. You may have to start oversize and dress it with a flat file until it’s a snug fit.
Let’s hope that a new standard key and Loctite does the trick!!August 7, 2014 at 3:35 pm #9588wristpinParticipantIt’s the engine governor.the long end of the lever to the right of your image should have a link going to the throttle butterfly which may be part of the carburettor or installed in the inlet manifold. As shown it is set up with a fixed throttle (the threaded rod with the lock nuts) so possibly no speed control on the handlebars – depending on the type of carb fitted ?
If that doesn’t make sense pls take a wider angle image including the carburettor. -
AuthorPosts