
Forum Replies Created
-
AuthorPosts
-
November 11, 2013 at 8:02 pm #2863vhgmcbuddyKeymaster
Yes well done Phil to you and all the organising team, we had a great weekend
Paul and Wendy
November 11, 2013 at 7:03 pm #2860vhgmcbuddyKeymasterThe model I formed the basis for the later Suffolk Iron Foundry mower engines, I have a 1942 one in my shed. Good solid little engines, as were most of the pre 1950’s models. I also have a model B and just handed over an A type to a new owner at Newark, missing it already!
Pete.
November 11, 2013 at 6:56 pm #2859vhgmcbuddyKeymasterEnjoyed it very much Phil, you all worked hard as usual. Good to have our fencing supplied as well, and a few other’s interested in exhibiting outside next year if there is enough space! We got plenty of public interest as well which was good, never knew my little Cooper-Stewart shearing set could attract so much attention, especially when it refused to start……haha!
Thank’s again.Pete.
November 11, 2013 at 5:16 pm #2856vhgmcbuddyKeymasterYep, everything everywhere was well set out I thought.. except for the food & drink prices!
Now how the huddy bell do I get a picture on here……testing testing (me)
Attachments:
November 11, 2013 at 5:05 pm #2854vhgmcbuddyKeymasterare thats good news charlie, i will give it a try over the next few days, (smiley face)
November 11, 2013 at 3:35 pm #2853vhgmcbuddyKeymasterGreat photos mr haggle, nice to see you there
350 mile round trip for us too, luckily the showman got the shiny 8 finished in time for the show, we had a good weekend, I’ll put some photos on later…
November 11, 2013 at 3:23 pm #2852vhgmcbuddyKeymasterHello Titch
Good to see you as well, thanks for the latest batch of decals
Your BMB President lineup looked great !!
November 10, 2013 at 11:03 pm #2828vhgmcbuddyKeymasterPosted your query on the new US PPETEN forum (formally the PER forum) and this was the reply
MODEL I — (1938-1949, 3/4 – 1 HP, 2.00″ Bore, 1.50″ Stroke, L-Head)
Small industrial quality L-head engine based on WM series cylinder block. These engines have a deep oil sump with an oil pump and a float feed carburetor. Most were direct mounting, ball bearing engines. Many varieties of this model are found. This engine is commonly found on WWII motor generator sets.
Another link!
https://asecc.com/data/briggs/engnotes.htmlNovember 10, 2013 at 11:01 pm #2825vhgmcbuddyKeymasterI’m hoping this evenings efforts are going to save me a few pounds. The coil looked like it had seen better days. It had a wire pulled off, broken outer insulation and generally in a poor condition. So I cleaned it up, removed the remains of the old ‘soldered’ HT lead, re-attached the broken wire and repaired the outer insulation as best I could.
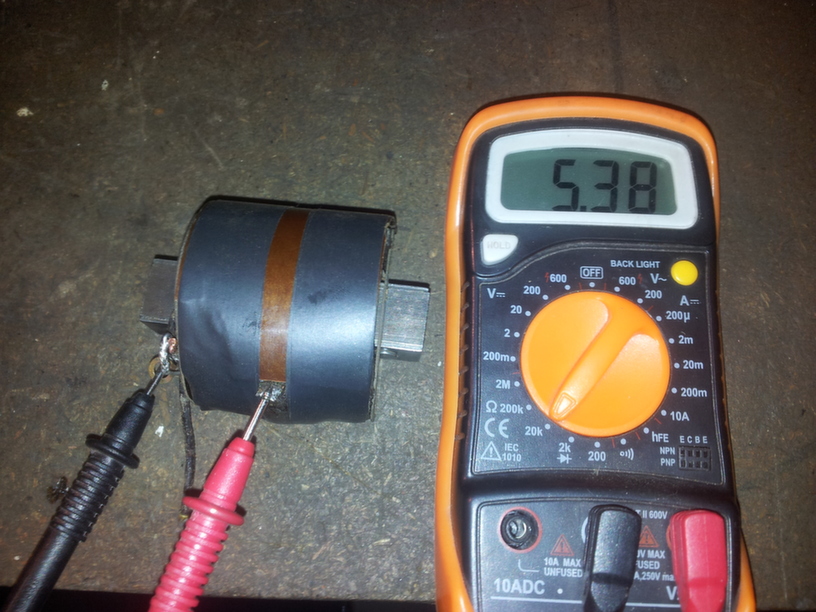
Having done a little reading up, I hope I’ve got this right….. The first picture I am hopefully testing continuity across the primary winding. The test resulted in a beep, which if I am correct, means no broken windings? The second picture I set the meter to 20k ohms and tested the coil at the point where the HT lead would be connected. This resulted in a reading of 5.38. From my research, any result over 5 is good? Somebody please tell me this is right?Attachments:
November 10, 2013 at 10:36 pm #2824vhgmcbuddyKeymastermy allotment neighbour has a cadet which is like yours and he replaced the transport wheel at the front for a heavy cast one it improved the tiller no end in our heavy clay soil. Yours looks a much better made machine with a steel belt guard instead of plastic.I think they are under rated. We also made a little tool bar to replace the strake at the rear so he has 4 duck feet for weeding. Im jealous as our site is far to wet and all we can do is drink tea in the shed and think about planting broad beans. have you a plan for your freshly tilled space or is this a weeding exersize.Sorry to rabbit on i think you have done a great job on your tiller..
November 10, 2013 at 9:01 pm #2823vhgmcbuddyKeymastermany thanks to everyone who has helped with the various subjects that have cropped up. I have the original old green which has been supplied by wristpin and it will make its way to the paint supplier who I use for DNA testing and soon we will get the colour named so others can order it by RAL 0R BS codes.WILL start the restoration at Christmas time when we get the builders holidays 14 days worth.
November 10, 2013 at 8:56 pm #2821vhgmcbuddyKeymasterHi John I do remember you saying something about it, however doubt I am young enough to be classed as a young farmer now! Anyway it doesn’t matter as my work is sponsoring me to do it, only problem is it means I have to do a full days work, then travel to college and do another couple of hours welding, by the time I get home it’s a 14 hour day!
November 10, 2013 at 8:48 pm #2820vhgmcbuddyKeymasteryes martin I do remember you and I look forward to seeing your restoration. will be making a start on mine when I have a couple of weeks over the Christmas break so we can get stuck in. I have got a sample of old atco green to get DNA tested so when I know I will post on here.
November 10, 2013 at 8:41 pm #2819vhgmcbuddyKeymasterhi gareth . do you remember some while ago when I was restoring the auto culto,i mentioned about the young farmers free welding classes. you may not have gone to them .but you have started some so that’s good. you will be restoring ships soon !!!!!!! [thumbs up ]
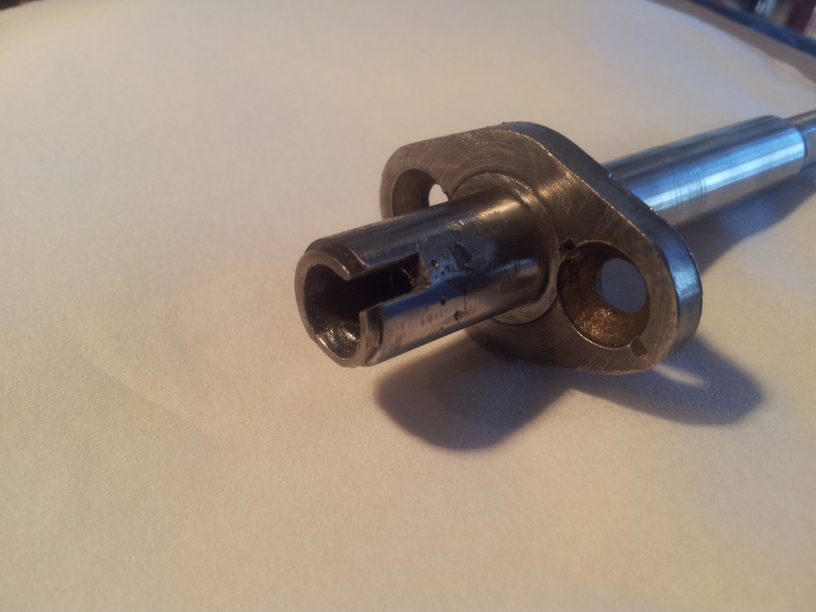
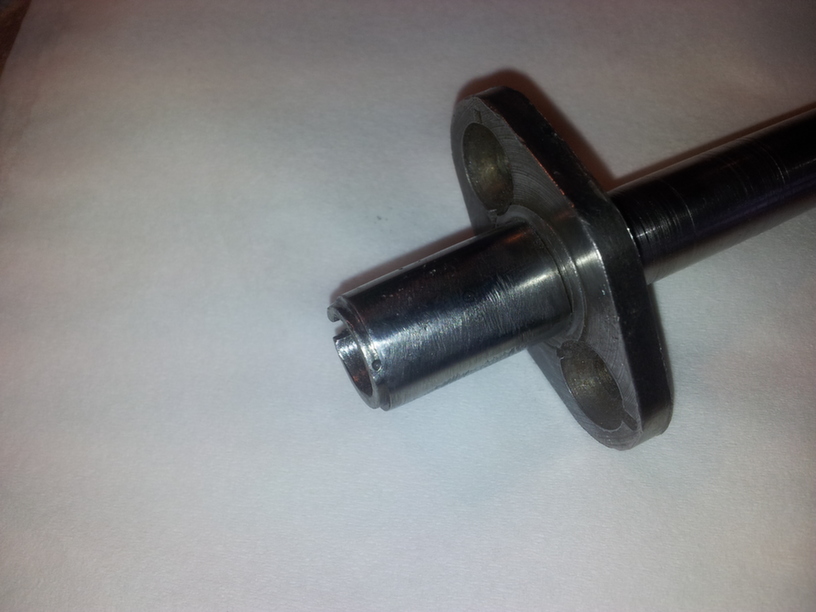
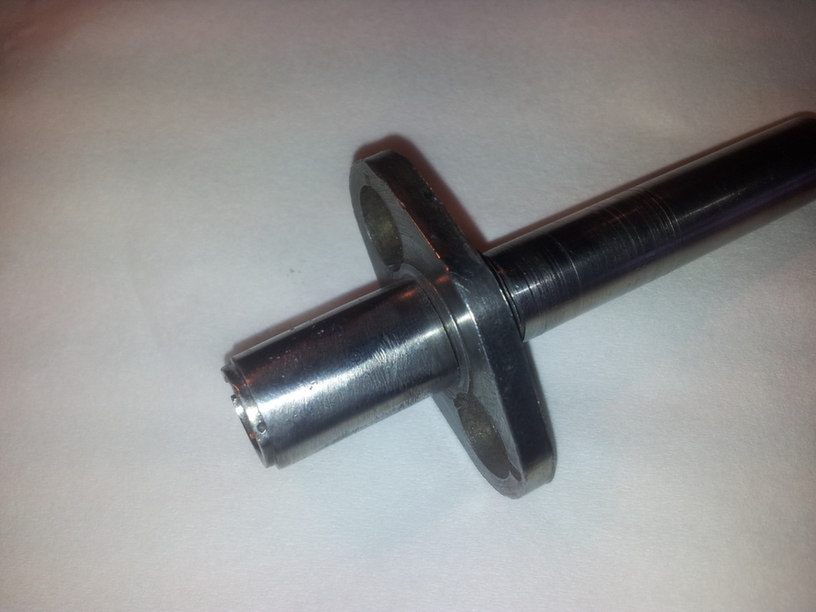
November 10, 2013 at 7:23 pm #2813vhgmcbuddyKeymasterI decided to try Charlie’s fix for the cam…..
I ‘v’d the broken edges to take the weld, used a strong magnet to hold the 1/4″ broken piece in place, turned the welder down a tad and slowed the wire feed. I then tacked either end of the repair, left it to cool slightly then filled the rest of the repair using small tacks, one after another whilst the weld pool was still glowing. I then removed the majority of the surplus weld on the bench grinder. Finishing off with the small files. Once the cam was repaired I then used finer grades of emery to ‘polish’ the surface. Most of the repair was over the ‘Dwell’ of the cam, so I was able to copy the shape from the undamaged section. The centre just needed a drill running down it a short way to remove a small amount of surplus weld. It looks pretty good but wont know for sure until all is reassembled. Here’s the finished article….
Might have a go at the coil next???Attachments:
-
AuthorPosts