
Forum Replies Created
-
AuthorPosts
-
January 22, 2014 at 8:51 pm #5363vhgmcbuddyKeymaster
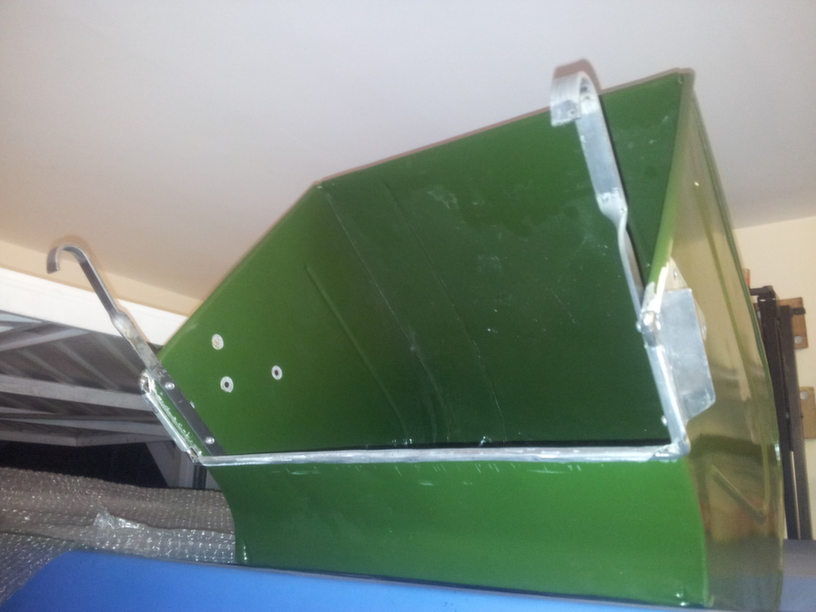
Decals applied ….
Attachments:
January 22, 2014 at 8:48 pm #5360vhgmcbuddyKeymasterThis is the beast! think made 89/90 guess I will be making a mount for it!
Attachments:
January 22, 2014 at 8:39 pm #5359vhgmcbuddyKeymasterWow ! Thats so helpful thank you so much ! Glad I joined you all ! I will check mounts and lines etc ! Thx again for photo advice ! I can see I have a lot to learn !
January 22, 2014 at 8:33 pm #5358vhgmcbuddyKeymasterJust exchanged emails with a friend who used to work for Westwood and he confirms that the only chipper of that era was side mounted. A square section spigot bolted to the chassis and a mating one on the chipper which he says was a copy of an Alko one.
Those D1200s were prone to catching fire as a result of engine vibration damaging the fuel line and wiring loom. The engine is mounted on “rubber cotton reels” similar to exhaust mounts and these soften and allow excessive engine movement particularly as it hits the final compression when switched off. So may be as well to check the mounts and also ensure that you have some slack in the loom and fuel feed.
He says that a rear mounted chipper was not introduced until after the merger with Countax and was not available for the D1200.On the subject of image size, correspondence on this forum would suggest that Shrinkpix is the way to go. No argument with that but if you are running Windows XP or 7 the reduction facility is there with a couple of clicks of the mouse – that’s all I use!
January 22, 2014 at 7:38 pm #5356vhgmcbuddyKeymasterThx for help, think it goes on back , how do I add a photo here ? It has a 4in square box coming from middle base section and a square hook like bar coming from it !I will try to add photo’s
January 22, 2014 at 6:07 pm #5355vhgmcbuddyKeymasterFrom memory there were two types, one fitted on the side of the tractor and drove off the deck, but never saw one in the metal and have no idea how. The second and later type fitted to the rear and used the same mounting bar as the Powered Grass Collector and was driven by the PTO pulley under the seat.
Post a couple of images, rear of tractor and the shredder and it may help.January 22, 2014 at 5:44 pm #5354vhgmcbuddyKeymasterNearly finished it now looking great.
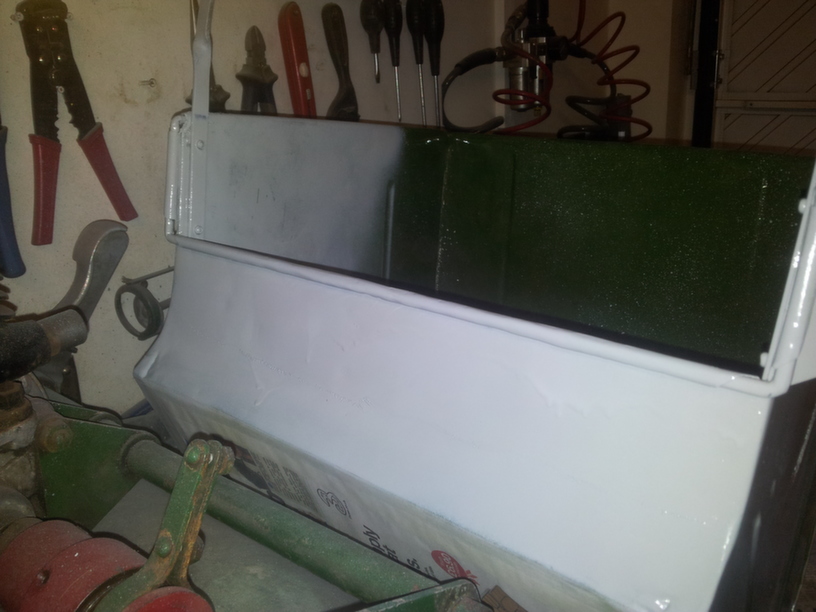
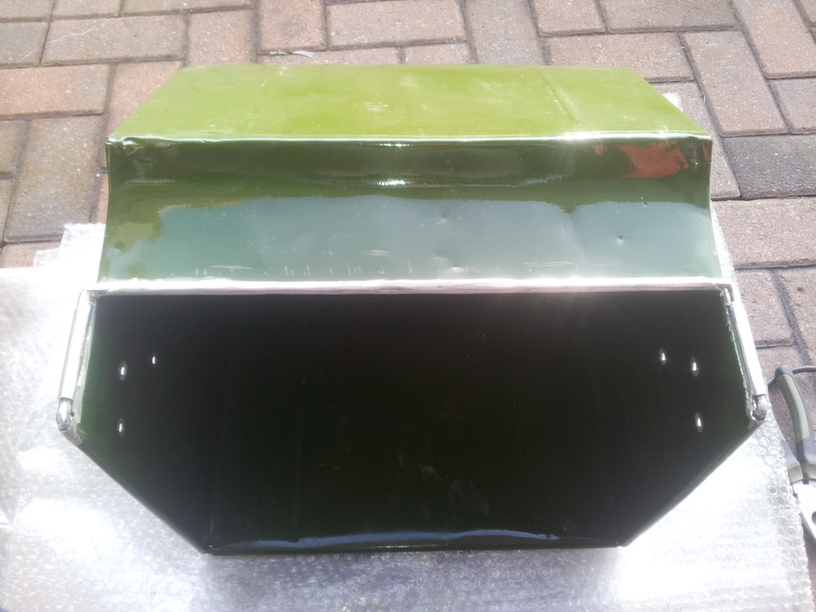
January 22, 2014 at 5:25 pm #5349vhgmcbuddyKeymasterWet sanded the fresh primer on the grass box today. Masked, and wrapped up the front as that didn’t need any work. Eventually got some paint on. To look at, this box looks right and fits right…….. I am just hoping it works right!
Attachments:
January 22, 2014 at 7:42 am #5345vhgmcbuddyKeymasterIt looks very complete so thats a good thing,
January 21, 2014 at 11:55 pm #5333vhgmcbuddyKeymasterFilled and primed, will wet sand it tomorrow and get some paint on it.
Attachments:
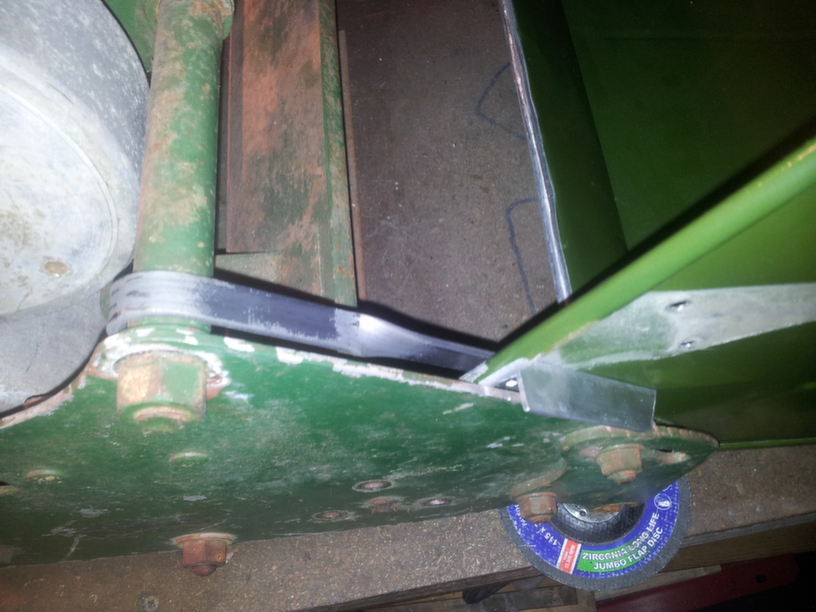
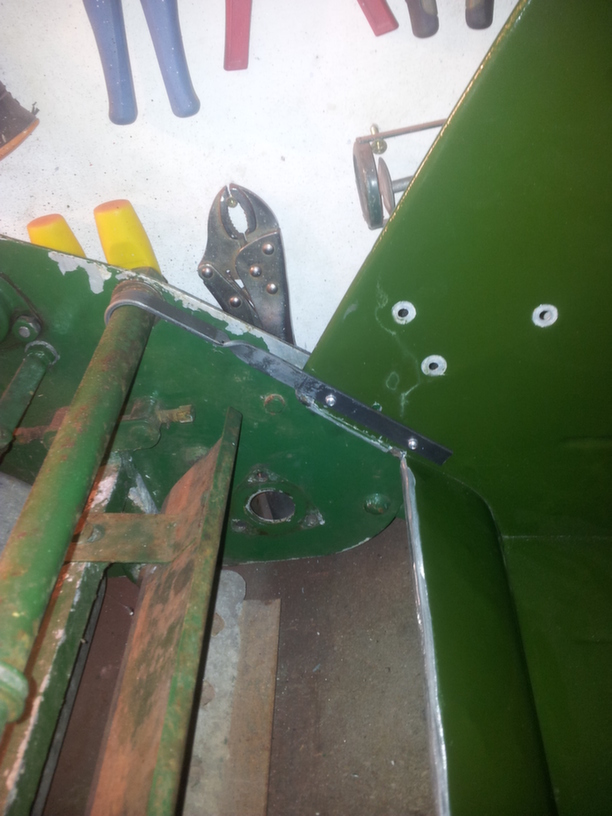
January 21, 2014 at 11:52 pm #5329vhgmcbuddyKeymasterI think this has turned out quite well, the grass box is secure, not dragging the ground. The brackets do not foul the cylinder and the grass clippings should make it into the box ok. I will fill the holes from the old brackets, prime and re-paint.
Attachments:
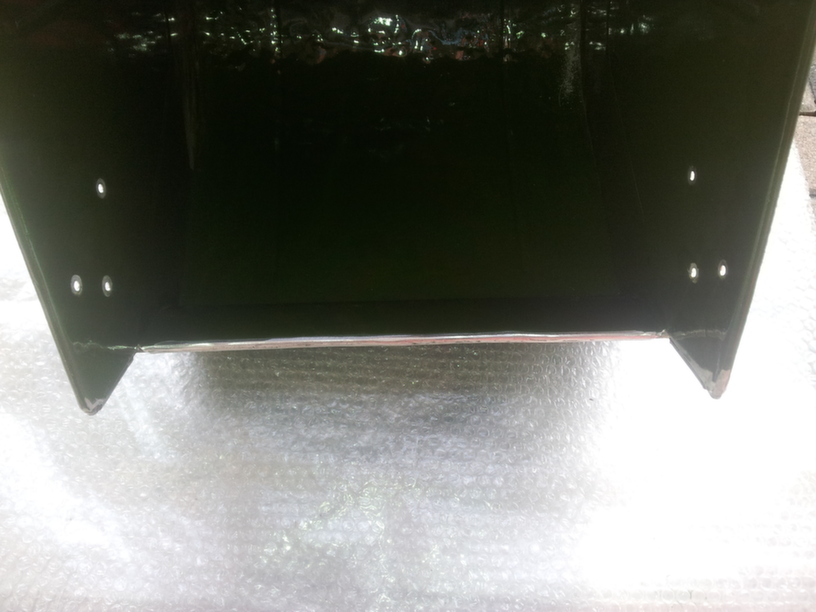
January 21, 2014 at 11:46 pm #5326vhgmcbuddyKeymasterNext task is to set about making brackets to secure the grass box to the mower. I didn’t have any steel wide enough to copy exactly the brackets which are shown in Gareth’s pictures. However I had a solution, some thinner steel strip, twisted through 90 degrees and curled to fit the frame of the mower. Some aluminium angle was cut to shape the same as the original grass box, this rests on the top of the end plates of the mower. Keeping the grass box central between the end plates. Once the brackets were completed they were riveted through the grass box.
Attachments:
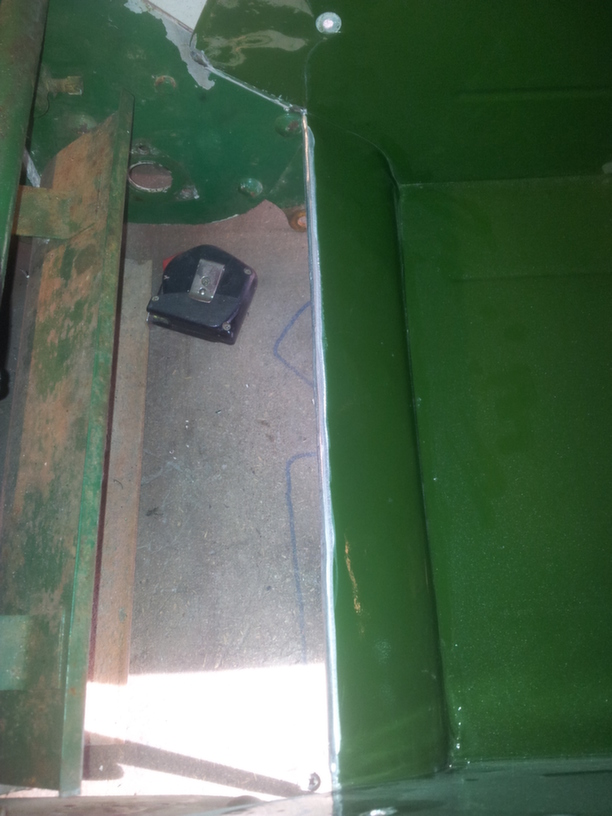
January 21, 2014 at 11:38 pm #5324vhgmcbuddyKeymasterHere’s the grass box roughly in position, you can see how much extra room has been made by removing 3 inches of the aluminium. The grass clippings should now make it into the box.
Attachments:
January 21, 2014 at 11:35 pm #5321vhgmcbuddyKeymasterOnce the frame was secured, I folded and rolled the aluminium around the frame, keeping it tight and tapping it into place.
Attachments:
January 21, 2014 at 11:33 pm #5320vhgmcbuddyKeymasterit seems this forum likes to play with picture sequence too, despite them being renamed…..
-
AuthorPosts