
Forum Replies Created
-
AuthorPosts
-
December 3, 2015 at 10:02 pm #15388vhgmcbuddyKeymaster
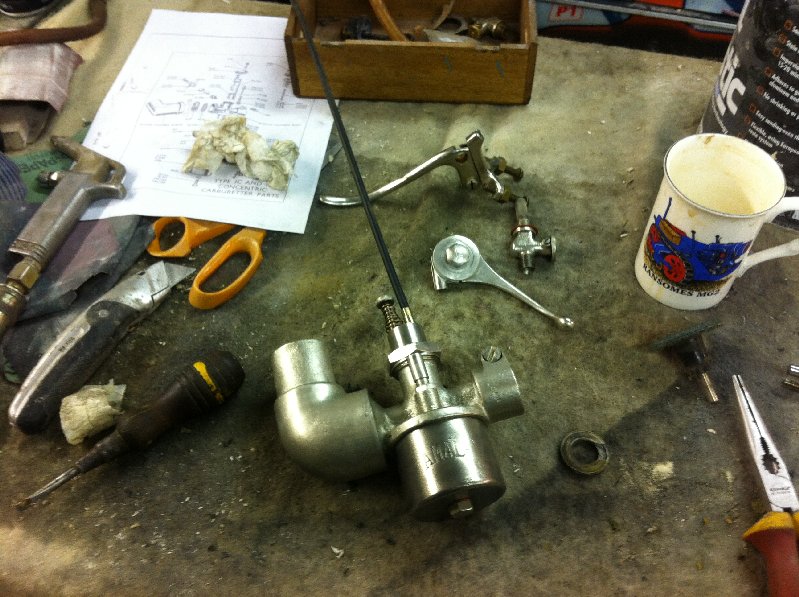
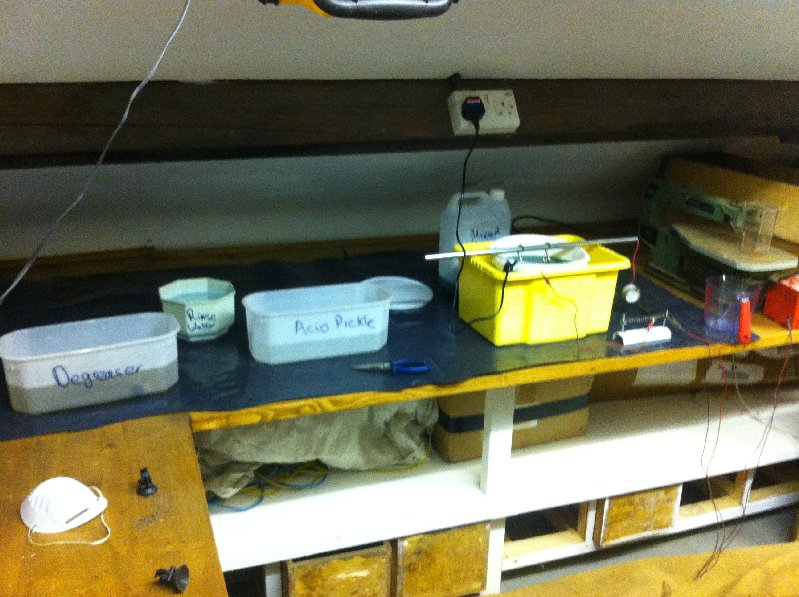
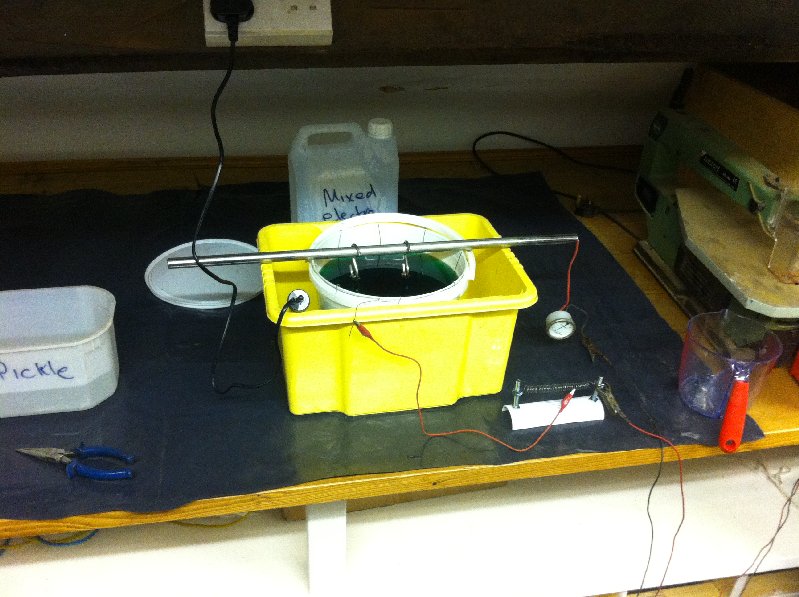
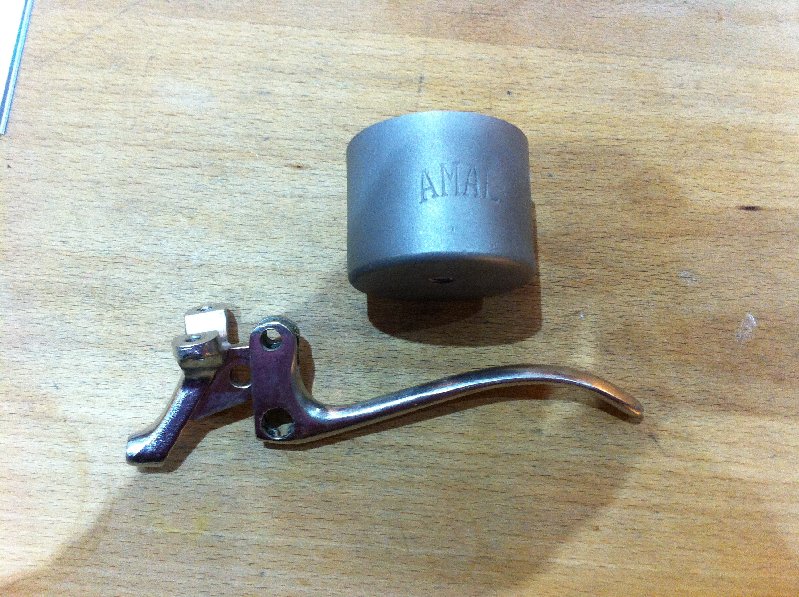
Todays tasks have been plating the carburettor parts, throttle lever,rebuilding fuel tap and reassembling carb. The slides of the carb were originall quite worn and a sloppy fit in the body, by plating the body and main slide with Nickel it has now restored the slide function to a neat sliding fit in fact I had to rub the slide down a bit with 1200 grit. Useful tip if you have a worn carb. loose fitting slides give rise to lumpy tick over or poor slow running. I am very pleased with the results of my nickel kit, I have tried to achieve a sensible balance between retaining an element of the patina of age whilst restoring the original finish so nothing is too shiny and some of the dings and scratches remain.
Attachments:
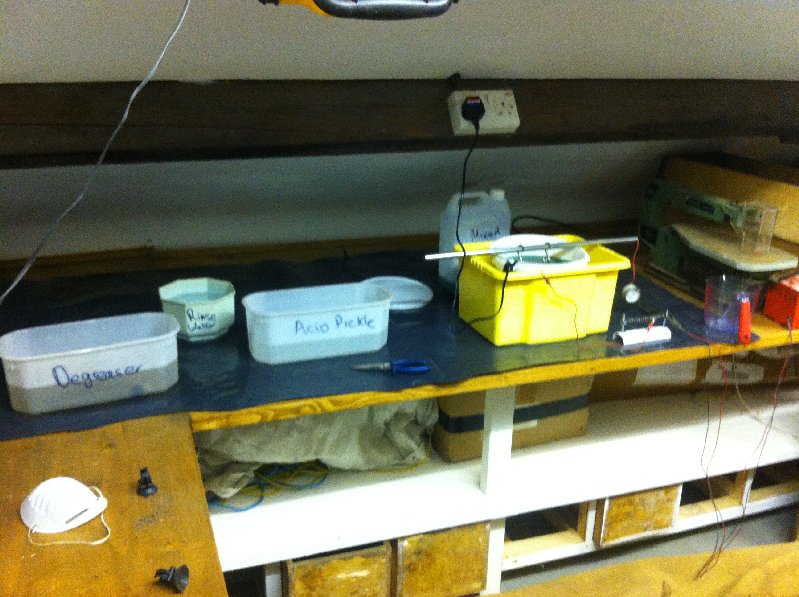
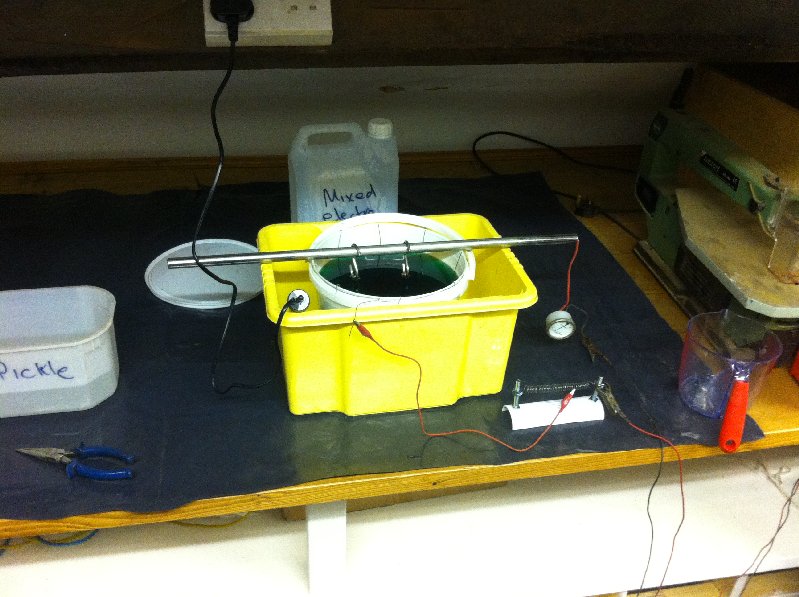
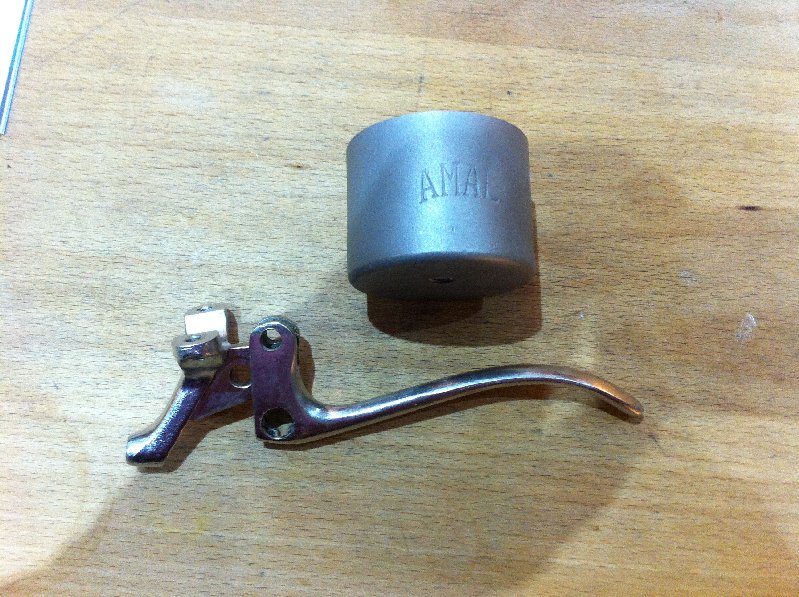
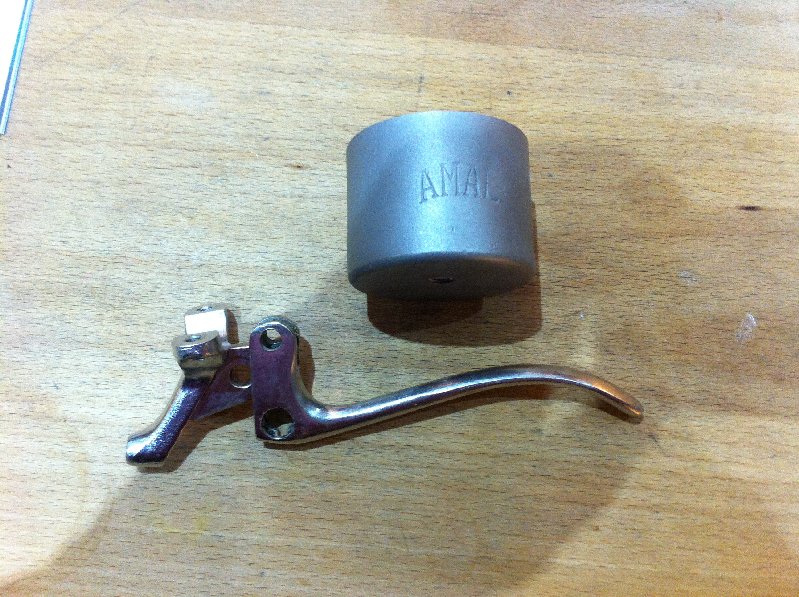
December 1, 2015 at 8:31 pm #15377vhgmcbuddyKeymasterYesterday I sandblasted the kettle because it was black and very dull. Today I set up my nickel plating kit and spent a lovely time sitting in a comfy armchair watching molecules swap over. Chuffed with the results the sand blasted fuel filler bowl from the carb has come out a dull finish ( what I wanted ) and the de compressor lever has come out shiny ( also what I wanted ) I tried to buy a new lever but could not find one identical. My ethos has been if I could recover an original part then I would, this lever was corroded to B ——-ery but after an hour with my power file dremel and some 1200 wet and dry it looked half decent. The main carb. is in the tank as I write.
Attachments:
December 1, 2015 at 7:31 pm #15372vhgmcbuddyKeymasterYesterday I sandblasted the kettle because it was black and very dull. Today I set up my nickel plating kit and spent a lovely time sitting in a comfy armchair watching molecules swap over. Chuffed with the results the sand blasted fuel filler bowl from the carb has come out a dull finish ( what I wanted ) and the de compressor lever has come out shiny ( also what I wanted ) I tried to buy a new lever but could not find one identical. My ethos has been if I could recover an original part then I would, this lever was corroded to B ——-ery but after an hour with my power file dremel and some 1200 wet and dry it looked half decent. The main carb. is in the tank as I write.
Attachments:
December 1, 2015 at 4:30 pm #15366vhgmcbuddyKeymasterI had one of these little things i posted pictures on the old website
Attachments:
November 30, 2015 at 8:57 pm #15363vhgmcbuddyKeymasterHi Charlie, what you have there is a yellow bird. I have the front end of one – i used to have the back end as well but thats another story! Simon
November 30, 2015 at 1:07 pm #15361vhgmcbuddyKeymasterThe offset is probably more than it needs but seems to work ok
Attachments:
November 29, 2015 at 1:50 pm #15353vhgmcbuddyKeymasterHi Lenbatten sorry for the late reply been really busy at work so havent had time to update or check.
yeah i am have you got one ?tom
November 29, 2015 at 12:11 pm #15352vhgmcbuddyKeymasterRemove the flywheel as it will be SO much easier to work on the ignition system !!.Remove the flywheel nut in an anti clockwise direction when it will start to feel tight.Keep on turning the nut and this will then draw the F/W of the crankshaft taper.The condenser is situated behind the contact breaker box and will need removing from the alloy armature plate to fit a new one.
November 29, 2015 at 6:13 am #15350vhgmcbuddyKeymasterJoin the Old Lawnmower Club; full Villiers magneto strip and rebuild instructions in the Technical section of their website.
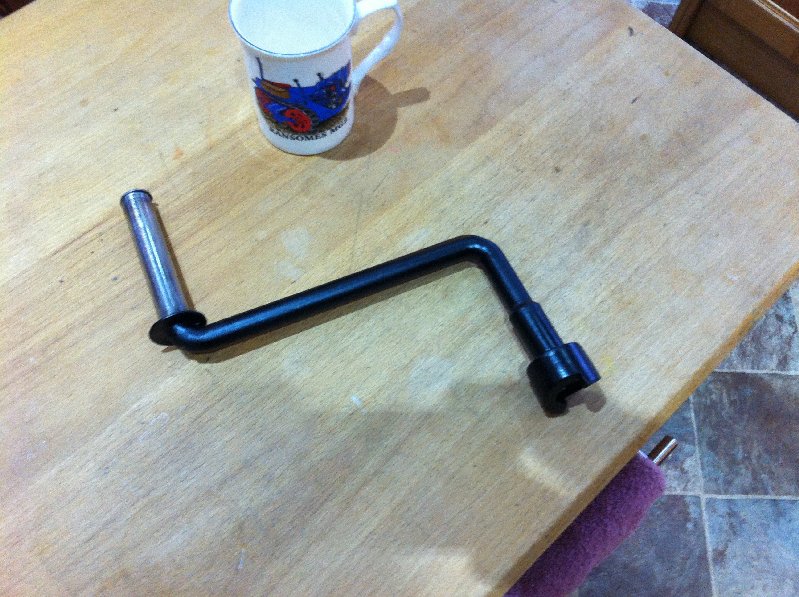
November 28, 2015 at 7:50 pm #15348vhgmcbuddyKeymasterA significant part missing from 137 was the starting handle, these early machines were notorious for wrist breaking so I need to get it right. Today I discovered that the female starter dog off the later TB engine was a perfect match for the male dog on the T engine. It took me hours to machine down a TB receptor they are a shrink fit and then welded but I got there in the end.
November 28, 2015 at 11:42 am #15345vhgmcbuddyKeymasterJoe I have an identical MG40N with a red bonnet which I imported from the south of France it cost much less, currently there are 6 MG Crawlers for sale in France on the Leboncoin site. If Santa wants to make me an offer I am happy to go and buy another one!!! You are right about the fitments the hydraulic pack is French but I understand they were fitted in Ipswich all the decals are also in French as was the handbook.I am expecting to display mine at Malvern.
November 25, 2015 at 11:06 pm #15311vhgmcbuddyKeymasterHere a few pictures of a JD that ploughed at a match at banbury in 2011 with a brindley plough it did quite a good job.
Attachments:
November 25, 2015 at 9:01 pm #15297vhgmcbuddyKeymasterBit of a set back but sorted now. The tine rotor shaft had lots of lateral play and a fair bit of up and down movement so off came the side plate to reveal a bit of devastation. At some point the solid pin securing the bronze worm gear to the shaft had worked loose and while sticking out of the gear had clouted the housing and broken out a chunk of the gear boss. The chances of finding a new gear are pretty slim but talking it over with forum member Hillsider he suggested a couple of possible work arounds, one of which was to drill a new pair of pin holes in the gear. This done, we have a serviceable machine for exhibition purposes and perhaps a bit of light tilling.
I’ve secured the gear with a roll pin and a tight fitting solid pin inside it. To make sure that neither pin can drop out I’ve modified a Jubilee clip to go round the Gear boss. There was some wear on the bearing areas of the rotor shaft so as I had a bit of inch diameter bright steel bar it was a fairly simple job to make a new one and two new oilite bushes and seals completed the job.
Don’t suppose anyone has a bronze gear for a Rotogardener ?Attachments:
November 20, 2015 at 5:56 pm #15250vhgmcbuddyKeymasterProgress with the Shay. Have now done a permanent installation of a Briggs and Stratton condenser to replace the dud original and the engine runs well.
The outstanding job concerns the tine engagement mechanism which is a swinging jockey pulley controlled by a solid rod from the red knob in the centre of the handle bars that passes down inside the handlebars and fuel tank and emerges just short of the engine and then forward to connect to the swinging arm. Unfortunately the person from whom I obtained the machine had unbolted the handlebars without first disconnecting the rod which, as a result, was badly bent out of shape.So far my attempts to reshape it have not resulted in a free moving jockey arm. As it’s probably not my intention to keep the machine I may leave it for someone else to sort out as I’m more interested in mowers and have just retrieved a Ransomes Antelope from Southampton!The images show the BS condenser in place and the dud Shay one that it replaces.
Attachments:
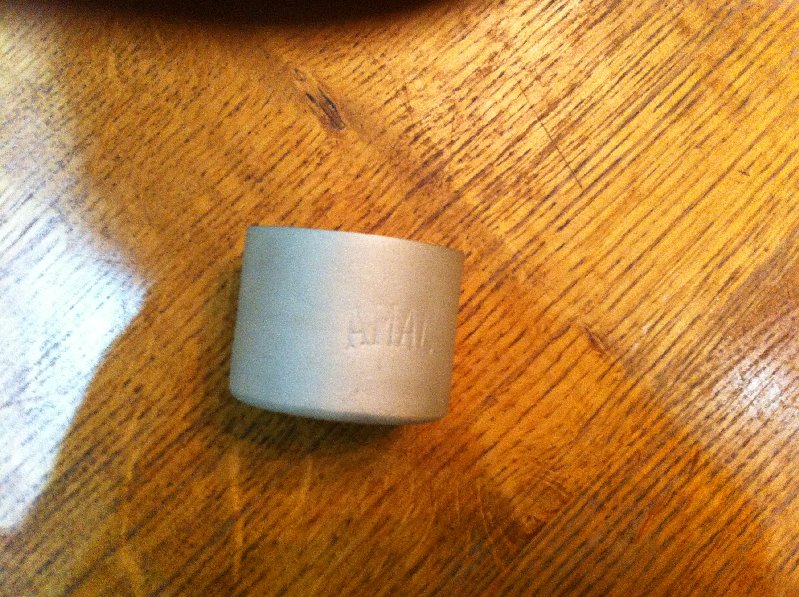
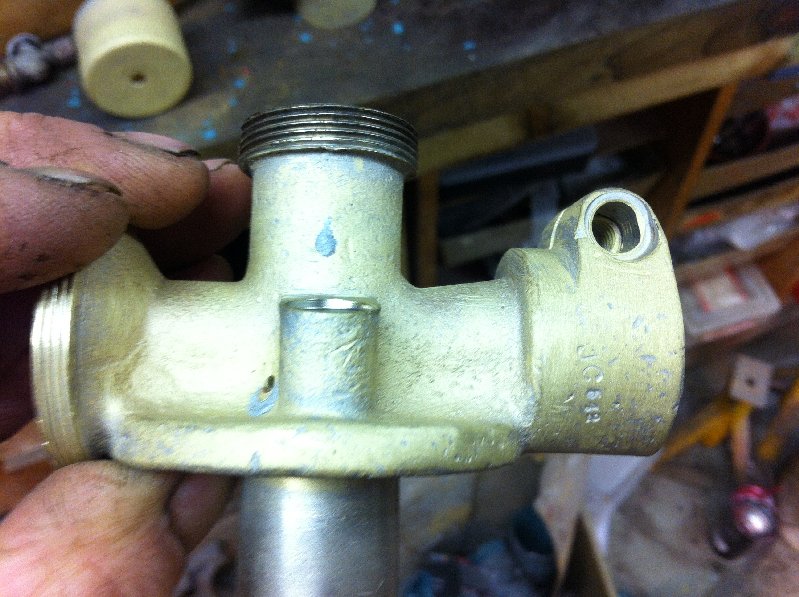
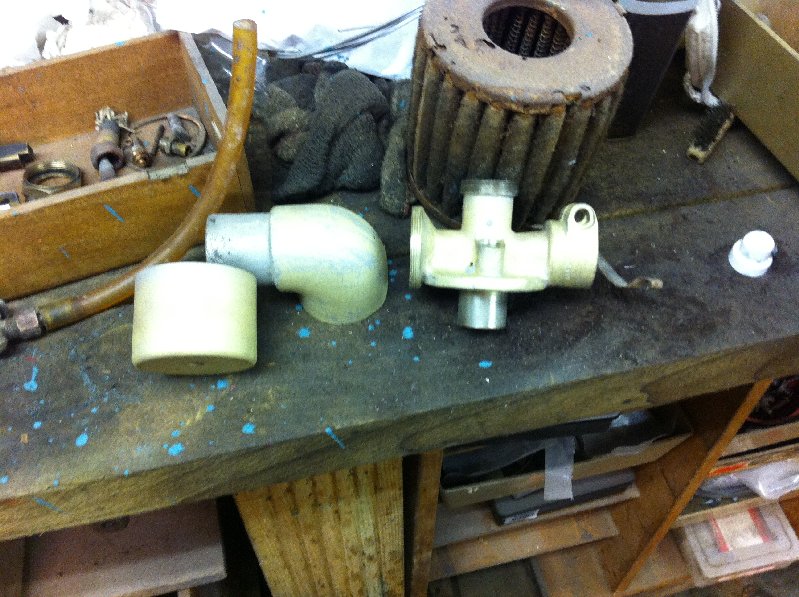
November 19, 2015 at 7:06 pm #15242vhgmcbuddyKeymasterToday I have been restoring the carburettor which is a brass cast Amal, nickel plated. Over the years it has been bruised and bashed and had a number of nasty vice marks. I polished these out with my Dremel but did not like the shiny finish as the original would have been peat flour sand cast. After a bit of thought I dug out some brass plumbing fittings and polished them up with the Dremel and then shot blasted them with glass beads to see what effect it produced. Very pleasing effect and by a strange coincidence the carb is stamped “JC 648” must be an omen! Next job is to Nickel plate it .
Attachments:
-
AuthorPosts