
Forum Replies Created
-
AuthorPosts
-
November 19, 2015 at 8:17 am #15239vhgmcbuddyKeymaster
Seems I was wrong about the Ransomes number stamper being dozy, Anthony has found an ITW which is numbered 350 and so it would appear that Ransomes had a different numbering sequence for some of the industrial machines. Has anyone else come across this?
Attachments:
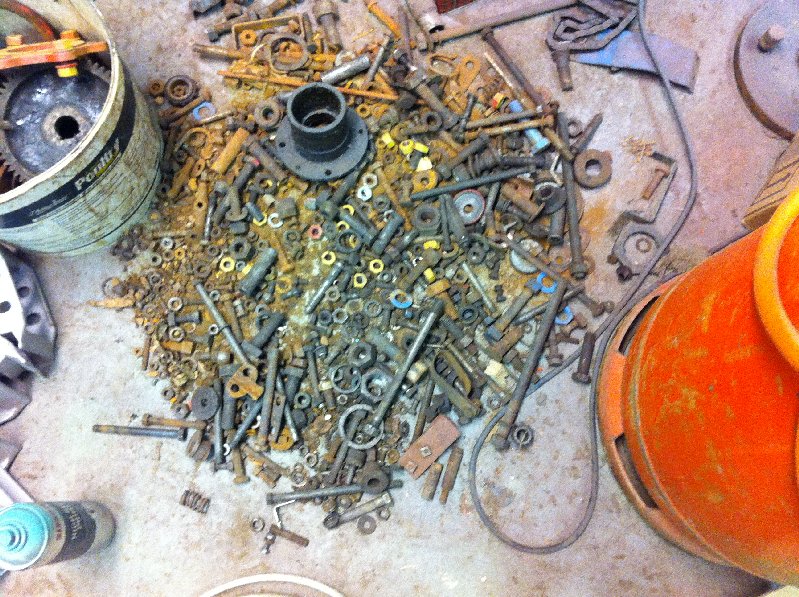
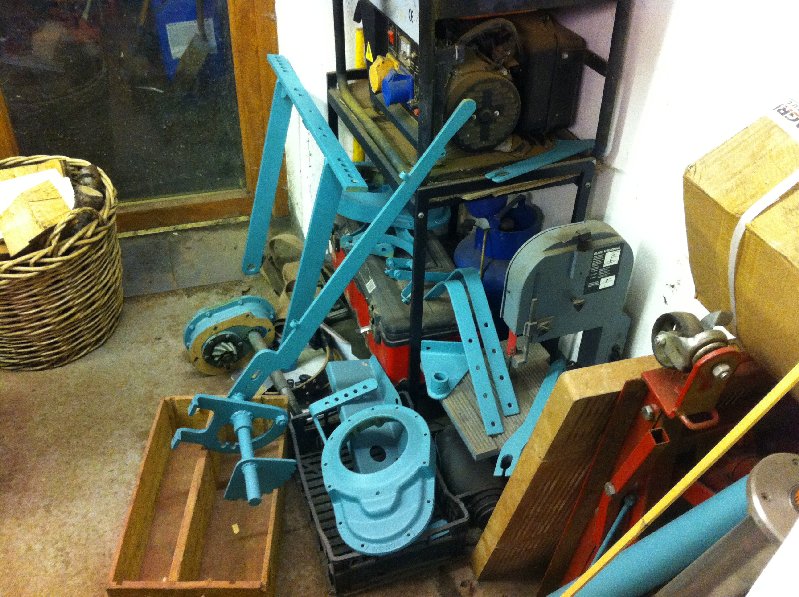
November 18, 2015 at 7:13 pm #15233vhgmcbuddyKeymasterMalvern is beginning to seem awfully close and I still have a lot to do on 137. Progress is slow but steady, basically every component was badly rusted and in need of rebuild. The engine is now fully rebuilt , new clutch, track rollers rebuilt with new bearings and seals, final drive bearings and seals, new steering brakes,cooling fan rebuilt, tracks refurbished with new bolts and rubbers. Idler wheels restored to original size, drive wheels restored , track load rollers restored to original size. The 1936 machines only had side decals which were the scrolls off lawnmowers no decal on the fuel tank front and no Royal warrant tempting though it is to add a few extras I am resisting and sticking with it as it was which includes no track roller mudguards , no final drive casing protectors and no extra signage. Where practical I am restoring and re using original nuts and bolts but when they are badly rusted or abused I am replacing with new.
Attachments:
November 18, 2015 at 6:56 pm #15232vhgmcbuddyKeymasterChris at Vintage Brass Plates now has the originals of the i.d. plates off both skimmers and 137, he has identified that the numbers of the sand skimming tractors are 310 and 311 not 1311 as I thought. This means that either Ransomes started a new numbering sequence for the sand skimming tractors or the bloke that stamped them was half asleep and forgot the first 1!!! Whilst I suspect it may be the latter scenario I will stick with what I have and use 310 and 311 even if only as a discussion point.
November 18, 2015 at 9:01 am #15227vhgmcbuddyKeymasterIf you want to give me a call on 016974 78292 I can help, failing that if you have a look at the parts listings it can help show what goes where.
November 17, 2015 at 7:52 pm #15225vhgmcbuddyKeymasterI am installing new brake shoes on a ransomes mg5 crawler and am stuck it is 1 year since it was stripped and I have forgot how to put it back together any help would be welcome regards Dicky
November 16, 2015 at 7:18 am #15216vhgmcbuddyKeymasterHello, this is a photo taken a a machinery sale. The frame on yours looks to be in good condition,
Attachments:
November 15, 2015 at 8:25 pm #15212vhgmcbuddyKeymasterFound time to do a bit more this afternoon and have had it running. Need to make a proper bracket for the Briggs condenser which will also Earth the casing to the stator plate. Any idea wherher it’s safe to solder to the condenser casing or whether the heat will kill it?
November 15, 2015 at 3:46 pm #15210vhgmcbuddyKeymasterHi Guys just a quick update. It looks like Peter French is no more or has moved on, the guy on the other end of the line had no idea what I was talking about what so ever.
So it looks like I might try stapling the tines to a new canvas belt myself. Any idea’s, hints or tips on where is might get the staples and what tool/ tools to use to attach it to the belt.
Any ideas or thought s would be greatly received. Once again thankyou.November 15, 2015 at 1:22 pm #15209vhgmcbuddyKeymasterWell, progress of a sort, the condenser is dud. It looks as though a Briggs one will fit and even the terminal is in the right place. Just need to devise a securing bracket but as I’m otherwise occupied for a few days A trial run will have ro wait.
November 14, 2015 at 10:40 pm #15208vhgmcbuddyKeymasterThanks, if the weather is anything like today it will be a workshop day tomorrow and I’ll investigate further. At least the flywheel comes off easily and doesn’t need re-timing! Would rather a dud condenser than coil – easier to get around the problem!
November 14, 2015 at 8:58 am #15197vhgmcbuddyKeymasterOK, so the crank has been re-ground and after trying to flush out the Oil gallery with WD40 and compressed air I had to remove the plug.
MMMM, quite a job. Ended up welding a nut to it and using an impact gun.
Glad I did. Found a lot of old carbon deposits.
I hope to start the rebuild next week. Can anyone tell me the torque for the big end nuts?
Also will the Main bearing require reaming after it is fitted, or is a finished size?Thanks again
Silverfox
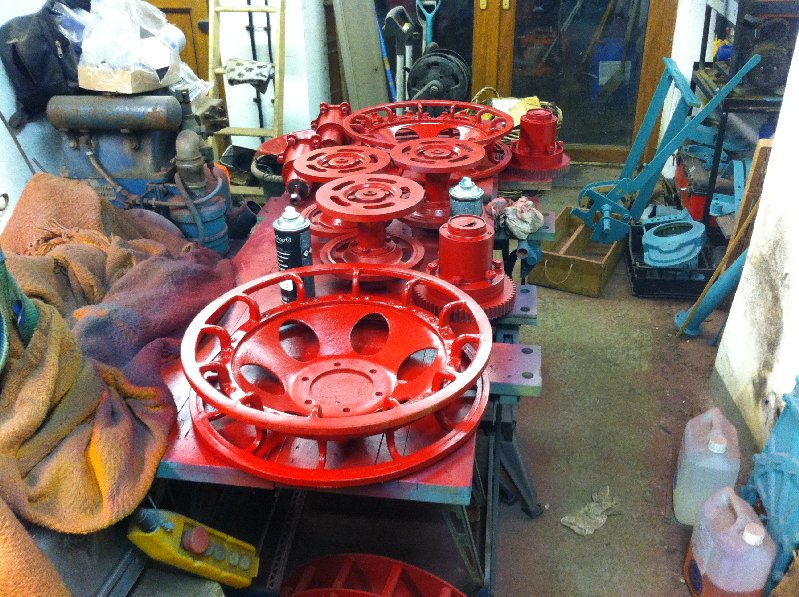
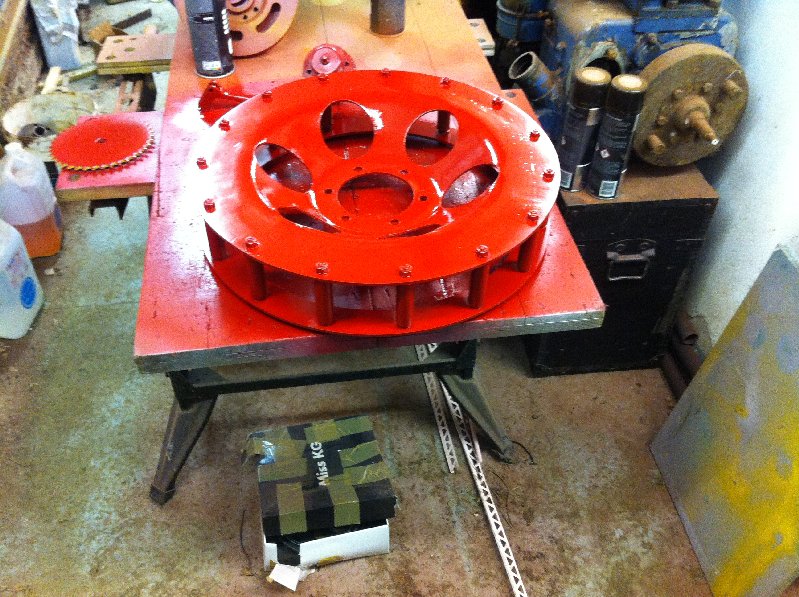
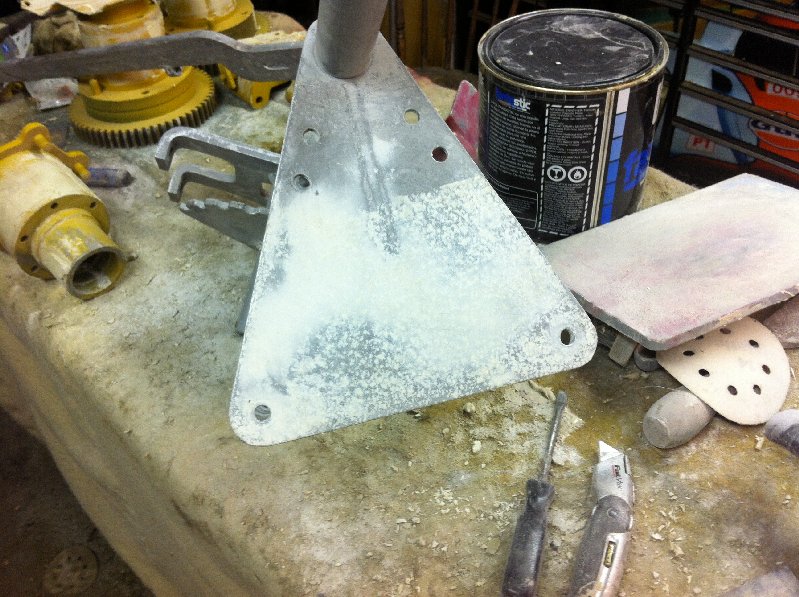
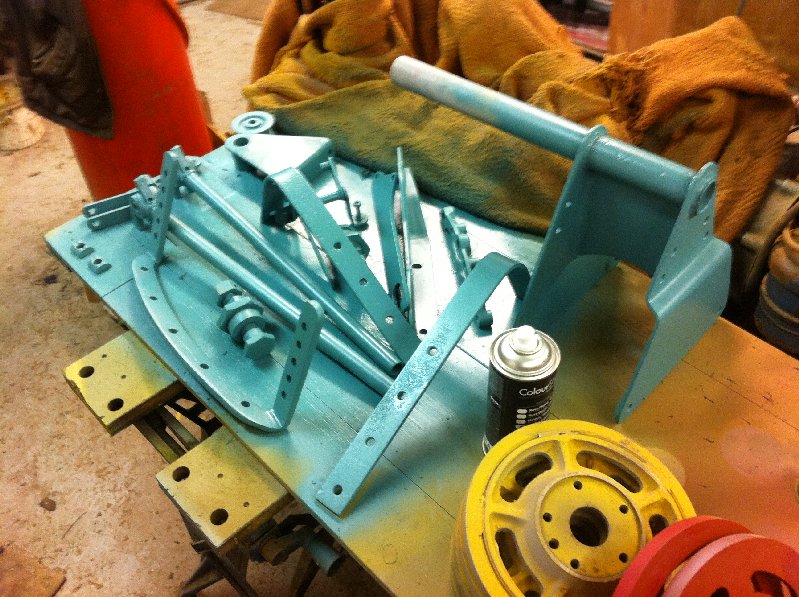
November 13, 2015 at 7:55 pm #15187vhgmcbuddyKeymasterReached a milestone today finally managed to complete the rebuild and paint of the drive wheels I seem to have been on with them for months. Having to be careful that I dont get carried away with finish I keep looking at other original machines to see what level of marks/gouges etc were sent out from the factory I do not want it to be better than original I just want original and that means defects. Skimming with filler to reduce the pitting is a chore but the effects are very pleasing.
Attachments:
November 13, 2015 at 2:07 pm #15177vhgmcbuddyKeymasterAre the upstanding combs stapled on to a canvas belt? If so why not try rebuilding what you have with new canvas?
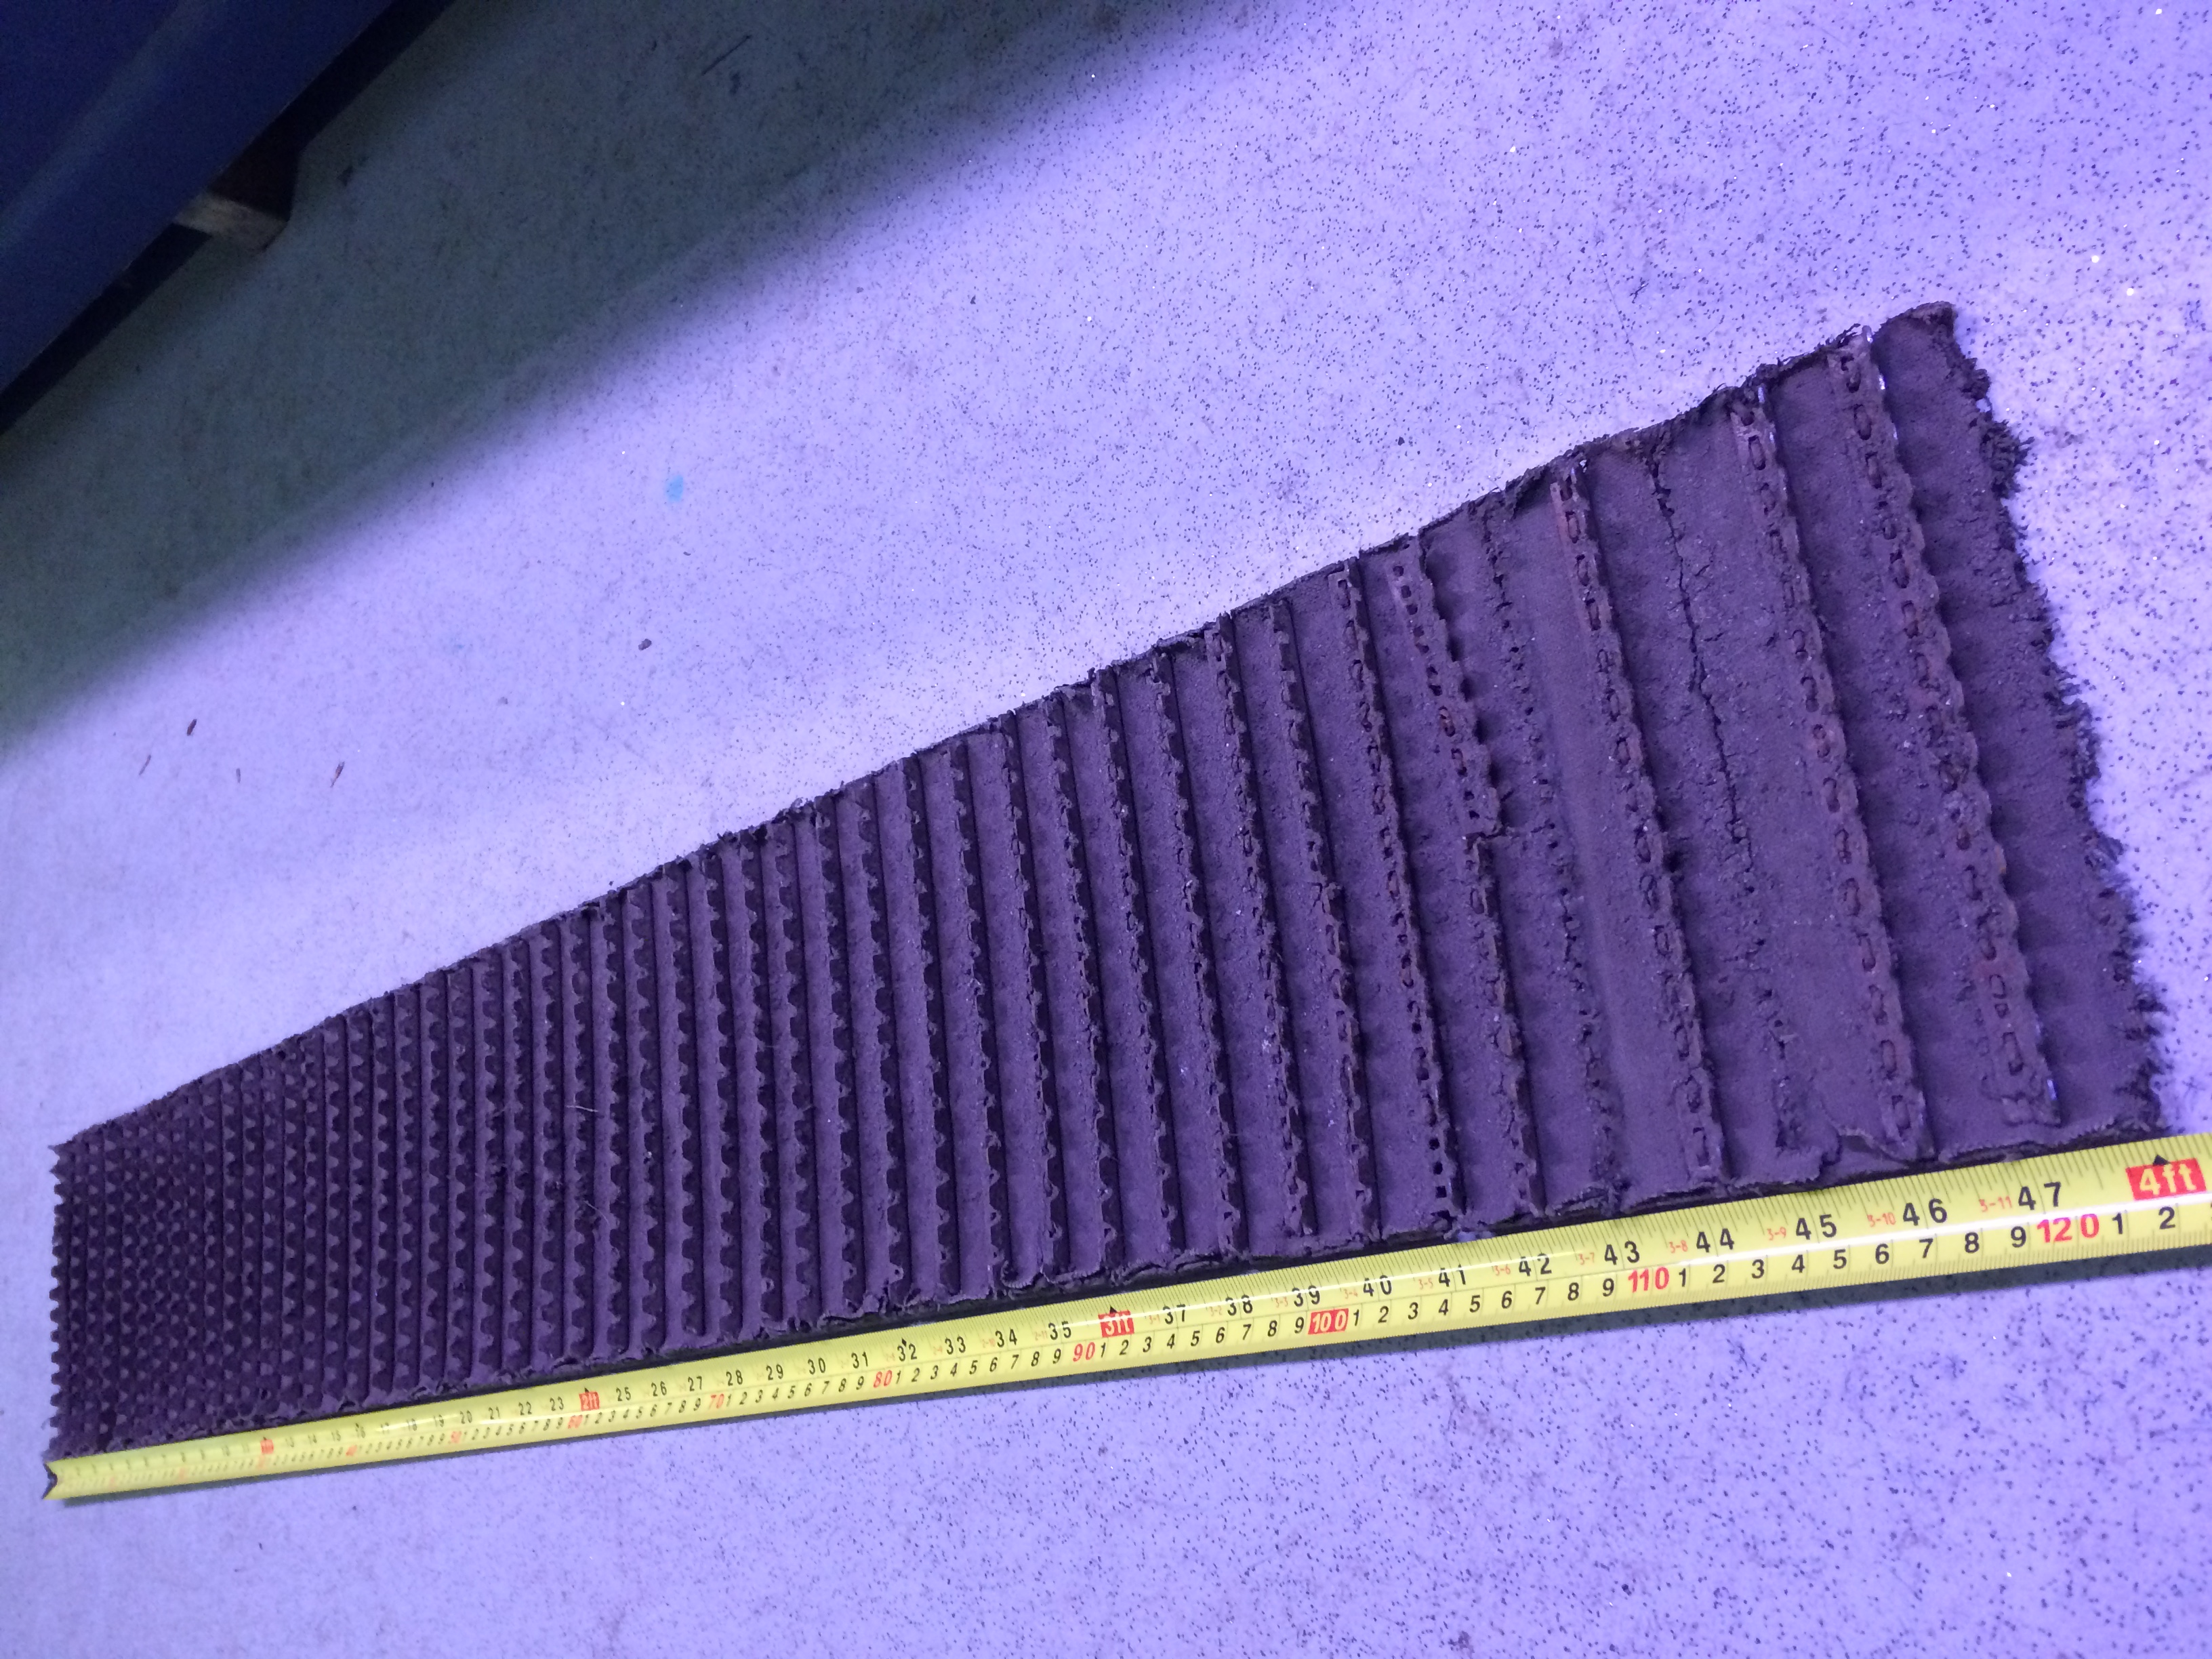
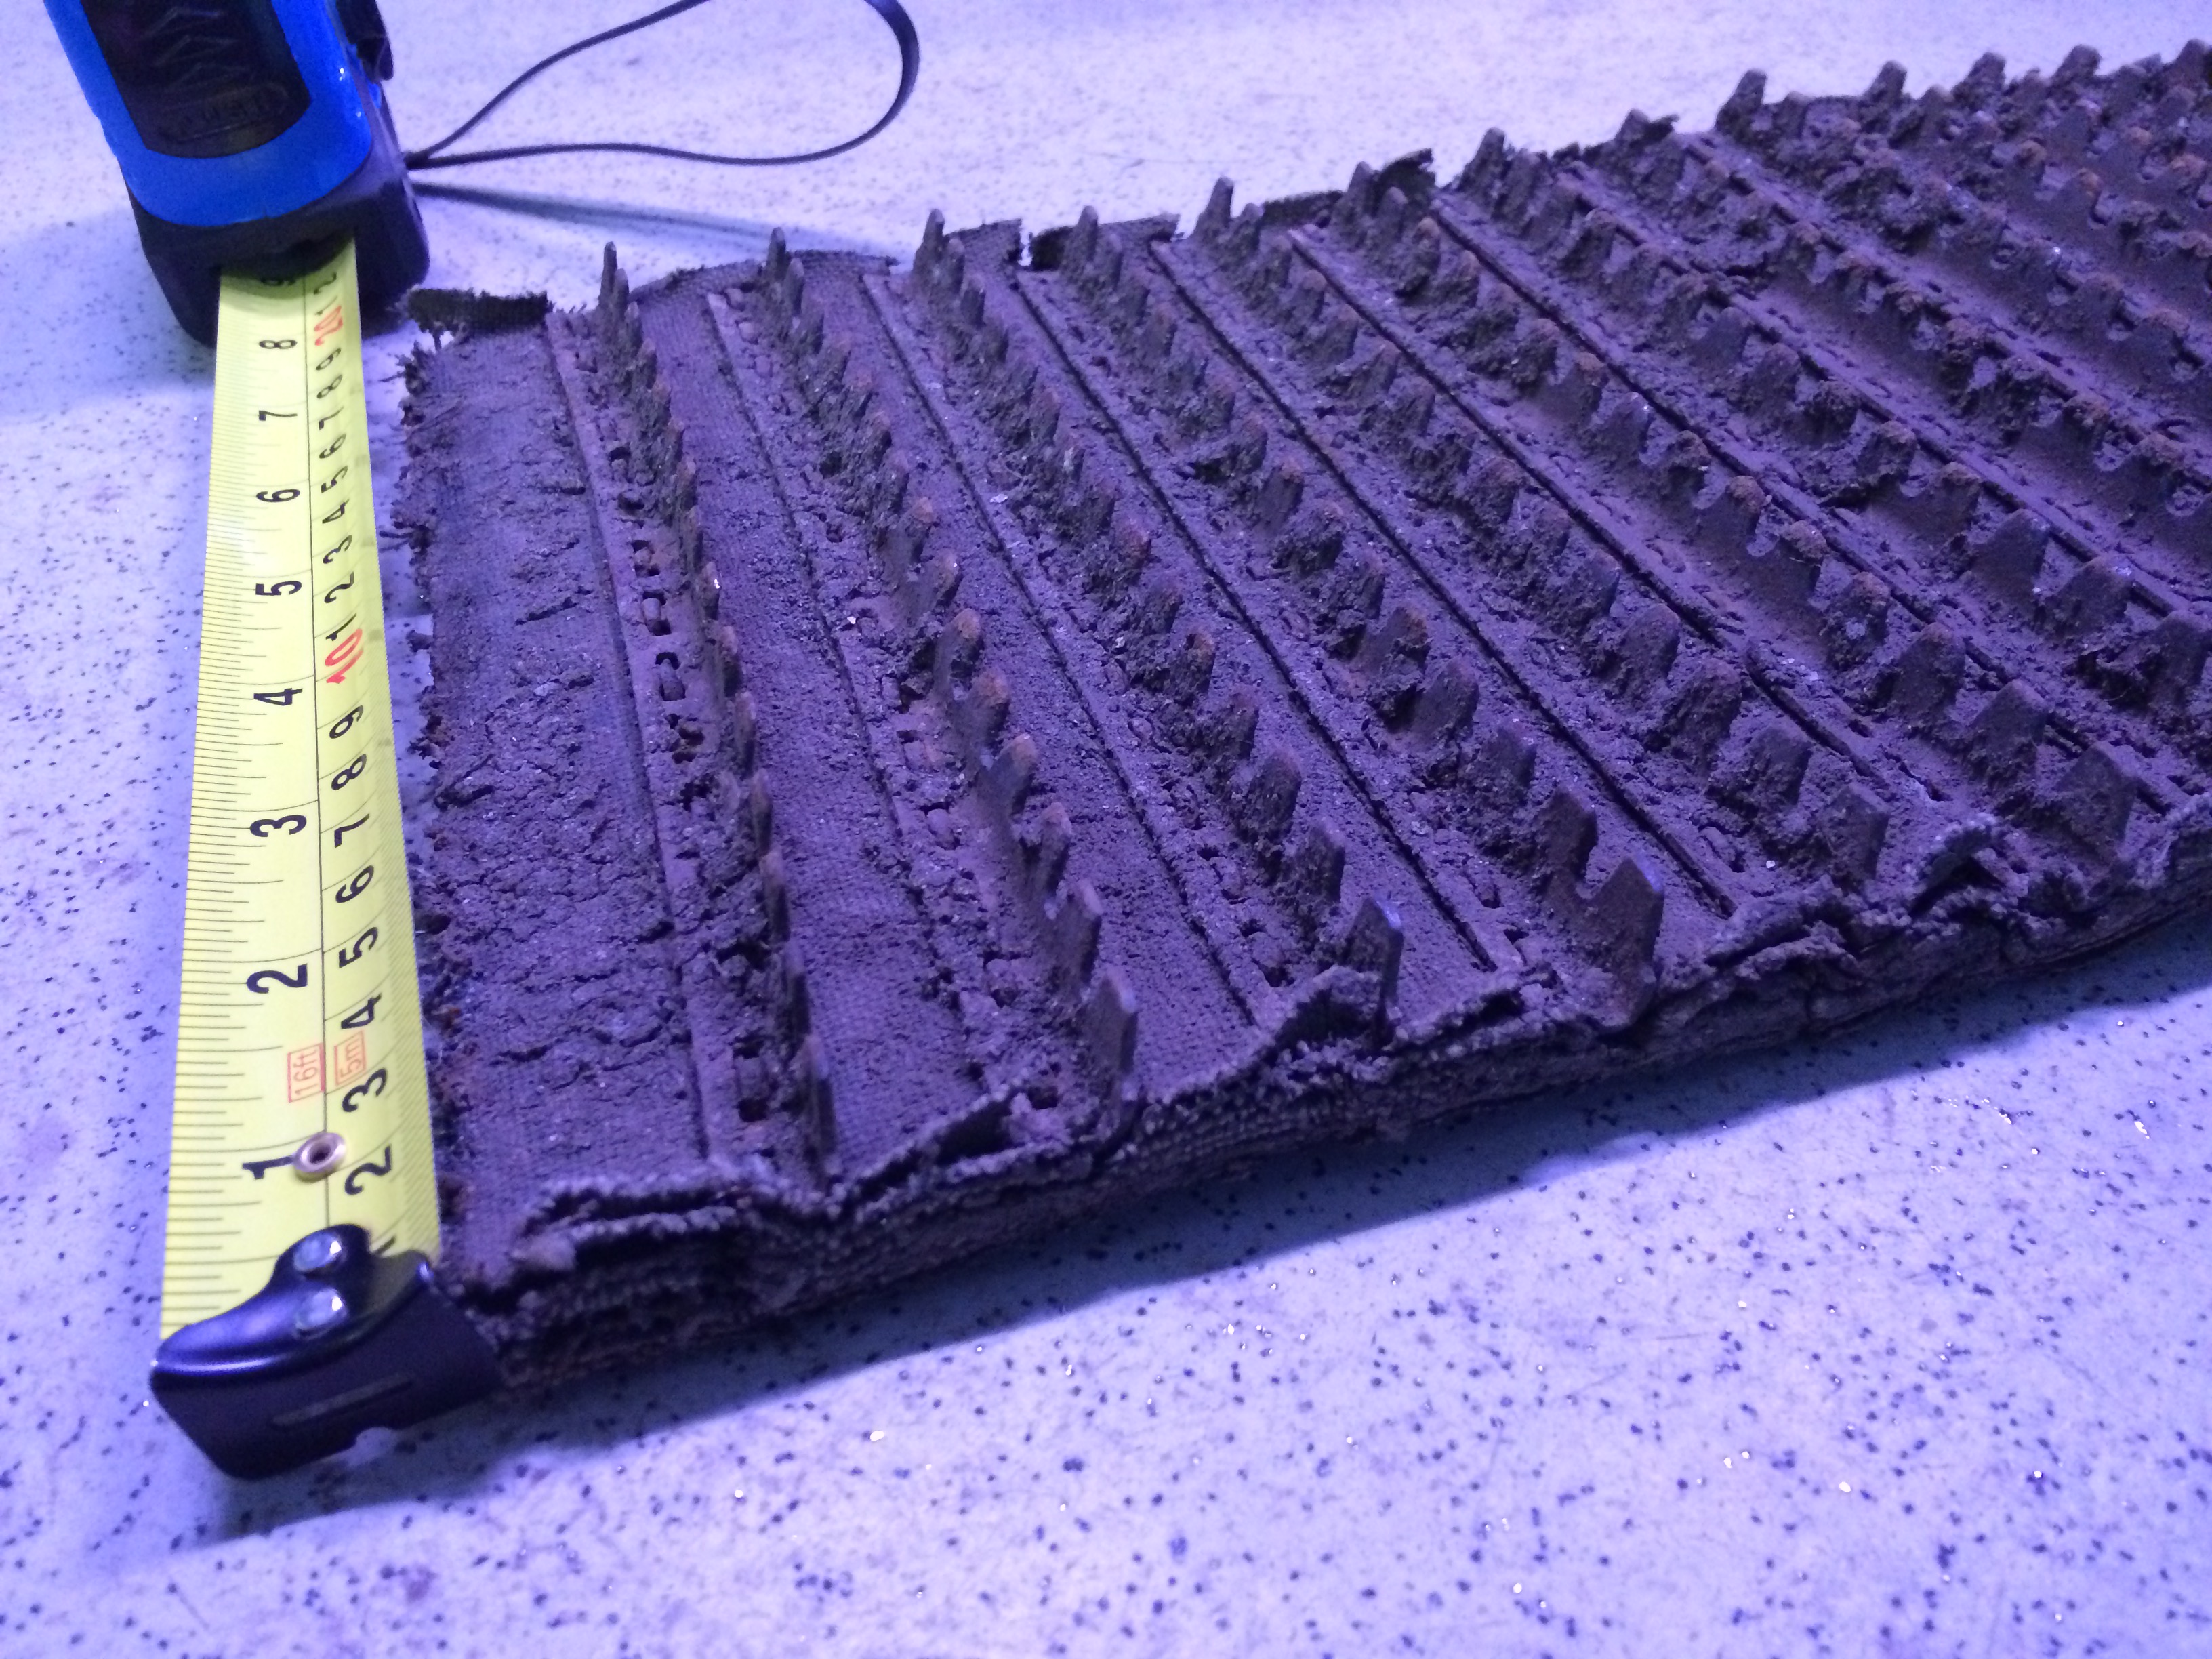
November 13, 2015 at 1:47 pm #15174vhgmcbuddyKeymasterHi Guys. Thankyou for the responses, I thought I’d post a few photos so you can get the gist of what I’m talking about.
The problem I’m getting isn’t the belt, everyone does belts Lol, it’s the tines (teeth) attached to the belt where I get stuck.
Royer industries was the one that wanted $600 for the privilege, which I thought was a bitter pill to swallow just for a belt.
I am trying the other contacts joegrgraham and you hortiman kindly gave me but I’m not holding out much hope.Attachments:
November 11, 2015 at 8:38 pm #15168vhgmcbuddyKeymasterHi Swampy look at the website Tractor World and download an application form. Add a note on the form to say you are part of the Ransomes 80 display.
-
AuthorPosts