Home › Forums › The Main Forum Area › Projects › Ransomes MG2 Serial number 137
- This topic has 62 replies, 11 voices, and was last updated 10 years, 6 months ago by
andyfrost.
-
AuthorPosts
-
December 1, 2015 at 7:31 pm #15372
expeatfarmer
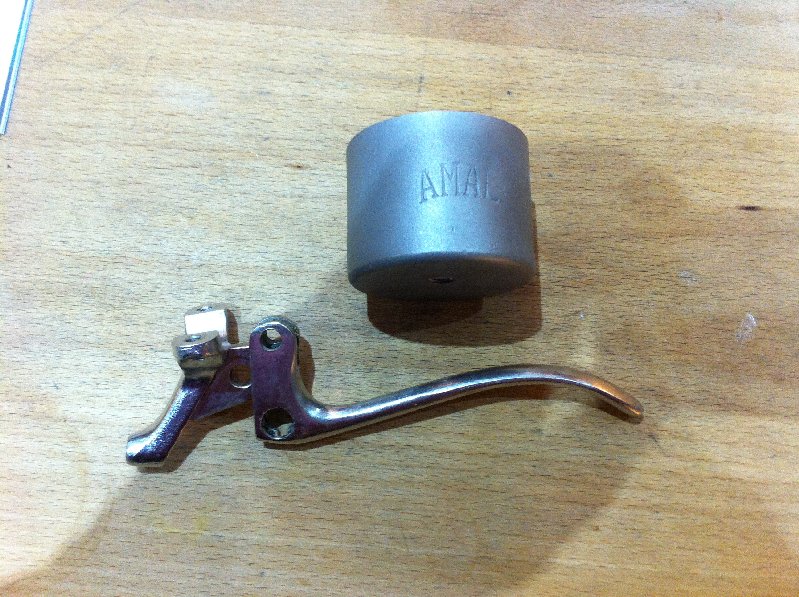
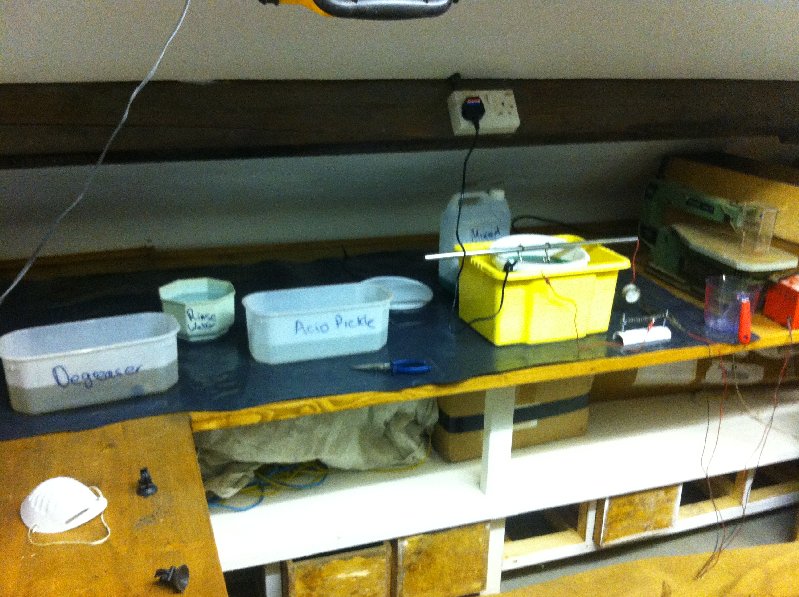
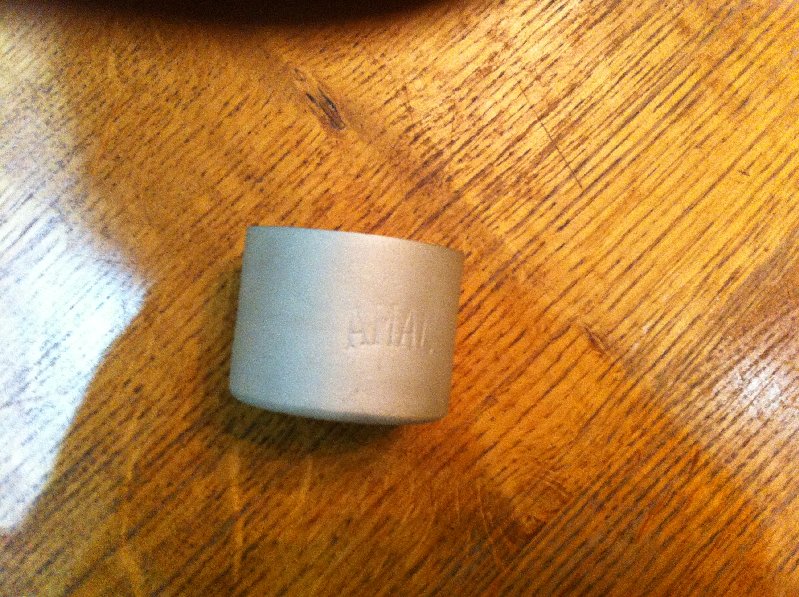
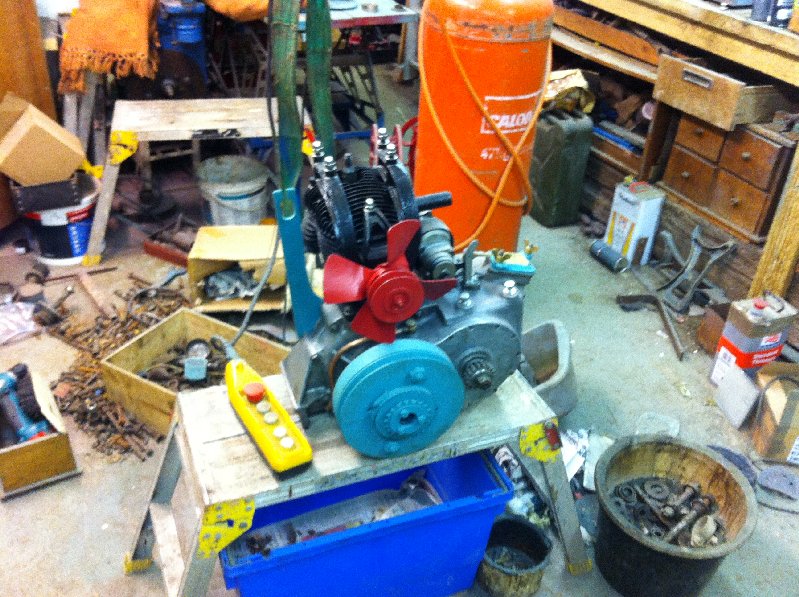
ParticipantYesterday I sandblasted the kettle because it was black and very dull. Today I set up my nickel plating kit and spent a lovely time sitting in a comfy armchair watching molecules swap over. Chuffed with the results the sand blasted fuel filler bowl from the carb has come out a dull finish ( what I wanted ) and the de compressor lever has come out shiny ( also what I wanted ) I tried to buy a new lever but could not find one identical. My ethos has been if I could recover an original part then I would, this lever was corroded to B ——-ery but after an hour with my power file dremel and some 1200 wet and dry it looked half decent. The main carb. is in the tank as I write.
Attachments:
December 1, 2015 at 8:31 pm #15377ParticipantYesterday I sandblasted the kettle because it was black and very dull. Today I set up my nickel plating kit and spent a lovely time sitting in a comfy armchair watching molecules swap over. Chuffed with the results the sand blasted fuel filler bowl from the carb has come out a dull finish ( what I wanted ) and the de compressor lever has come out shiny ( also what I wanted ) I tried to buy a new lever but could not find one identical. My ethos has been if I could recover an original part then I would, this lever was corroded to B ——-ery but after an hour with my power file dremel and some 1200 wet and dry it looked half decent. The main carb. is in the tank as I write.
Attachments:
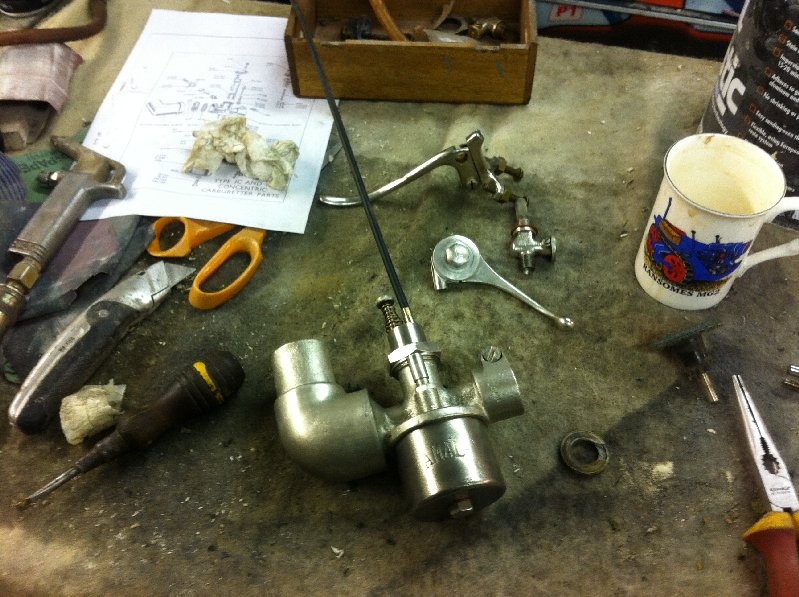
December 3, 2015 at 10:02 pm #15388ParticipantTodays tasks have been plating the carburettor parts, throttle lever,rebuilding fuel tap and reassembling carb. The slides of the carb were originall quite worn and a sloppy fit in the body, by plating the body and main slide with Nickel it has now restored the slide function to a neat sliding fit in fact I had to rub the slide down a bit with 1200 grit. Useful tip if you have a worn carb. loose fitting slides give rise to lumpy tick over or poor slow running. I am very pleased with the results of my nickel kit, I have tried to achieve a sensible balance between retaining an element of the patina of age whilst restoring the original finish so nothing is too shiny and some of the dings and scratches remain.
Attachments:
December 9, 2015 at 9:51 am #15458ParticipantHaving used Upol filler to skim over the marks remaining from welding up the scars on the tub caused by worn track idler bearings, I decide to try using celulose putty from a tube to fill the remaining rust pitting, it has worked well and is a lot quicker than filler due to the finer grade of the paste enabling you to literally apply a smear over the surface which is quickly flatted back with 800 and 1200 grits on a block. Result is that all bar two sides of the tub are now first coated with the final colour albeit gloss rather than satin. I have decide to reverse the coating and apply the satin as final coat as for some reason the gloss does not show the filler through that the satin does. I have also restored a fuel cap from rusted out scrap condition by buffing away all the rust pits using a Dremel grinder and my lathe, I produced a very shiny polished finish with wire wool and cutting paste which I then nickel plated. For some reason the plating has not formed on a couple of patches so I shall have to buff it off and start again. I can only think that there was some grease on the cap which did not come off in the degreasing process.
Attachments:
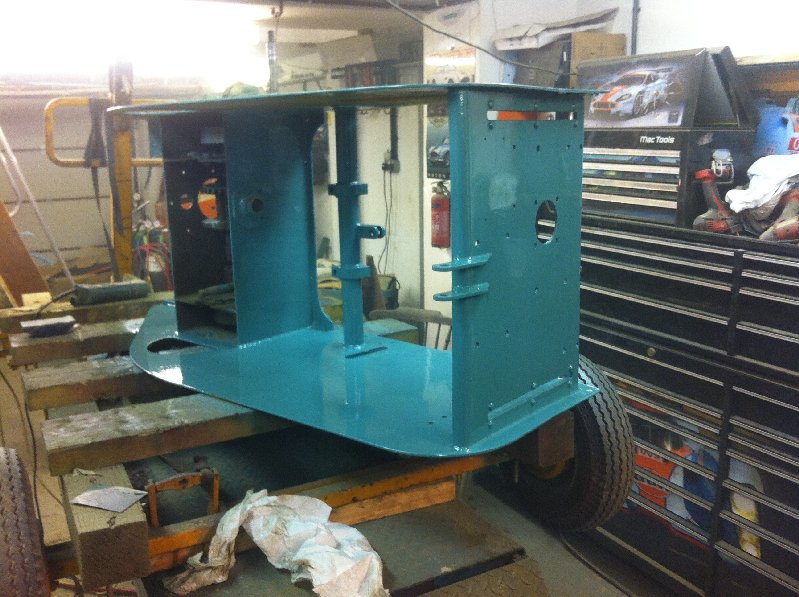
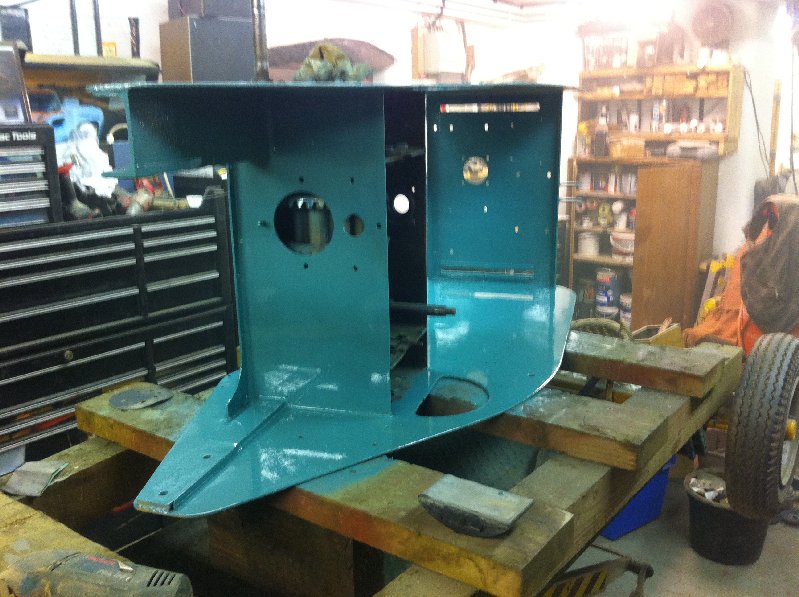
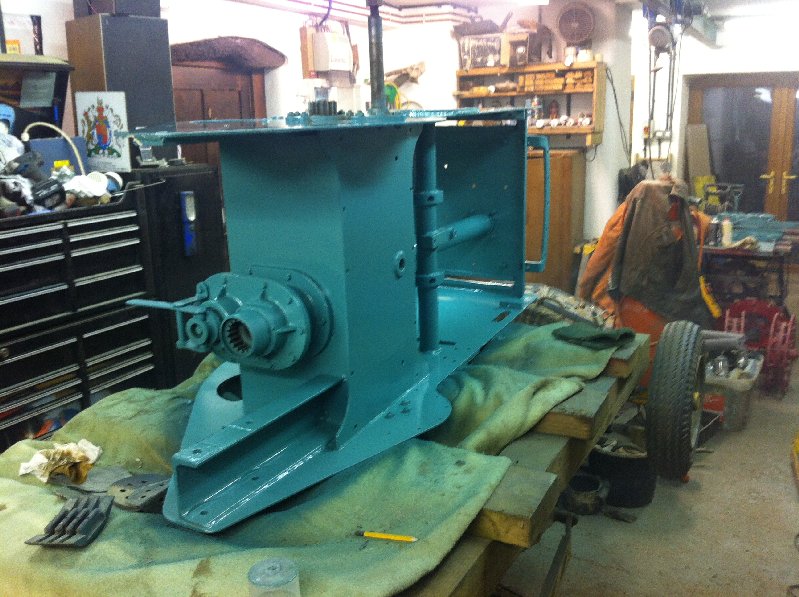
December 13, 2015 at 7:37 pm #15504ParticipantFinally managed to put a coat of blue on the whole tub, had a disaster yesterday primed one side and top coated another only to find that both paints came up in little blisters due to moisture on the surface, the primer settled back but the blue dried with a surface like sandpaper which required half a day rubbing back to smooth. Increased thge workshop temperature and upped the speed on the de humidifier also went over both sides with a heat gun before I started any painting today. Bolted on the pto shaft and gearbox plus a few other bits and bobs ad then spent a couple of happy hours cleaning up nuts and bolts to bolt back the other major components.
Attachments:
December 13, 2015 at 7:37 pm #15508ParticipantFinally managed to put a coat of blue on the whole tub, had a disaster yesterday primed one side and top coated another only to find that both paints came up in little blisters due to moisture on the surface, the primer settled back but the blue dried with a surface like sandpaper which required half a day rubbing back to smooth. Increased the workshop temperature and upped the speed on the dehumidifier also went over both sides with a heat gun before I started any painting today. Bolted on the pto shaft and gearbox plus a few other bits and bobs ad then spent a couple of happy hours cleaning up nuts and bolts to bolt back the other major components.
Attachments:
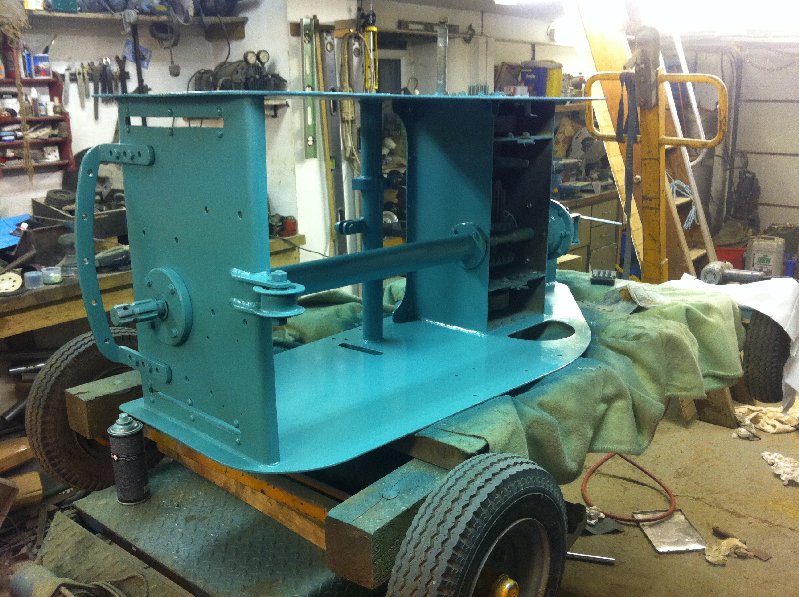
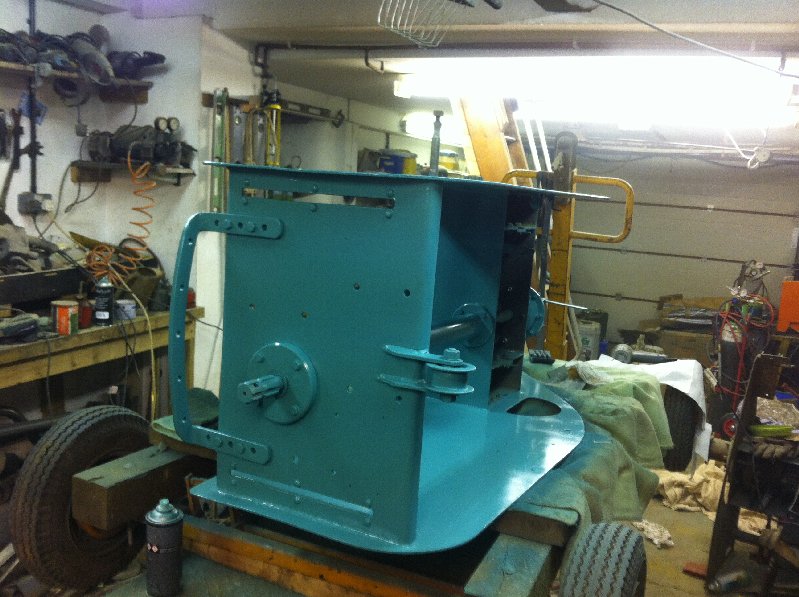
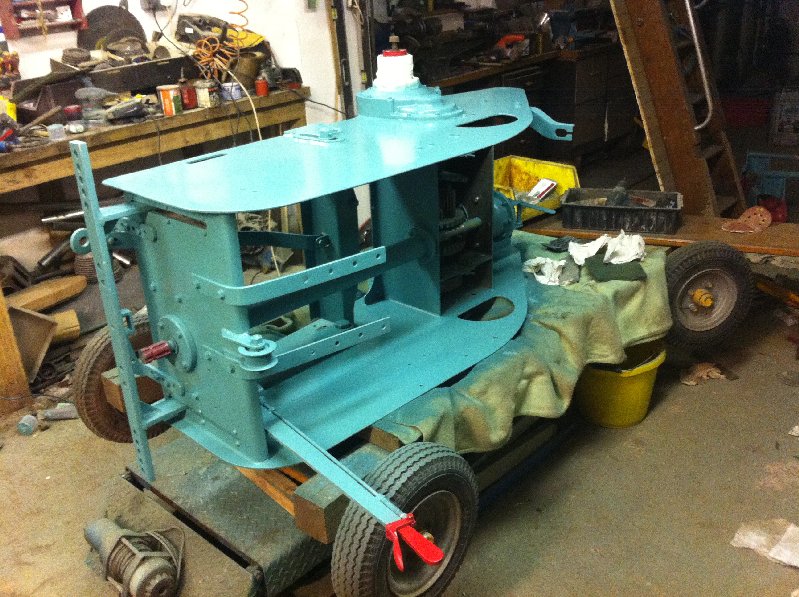
December 14, 2015 at 6:54 pm #15513ParticipantMoved on a bit today, one final drive fitted, drawbar seat mounts and lift system fitted and final painted.
Attachments:
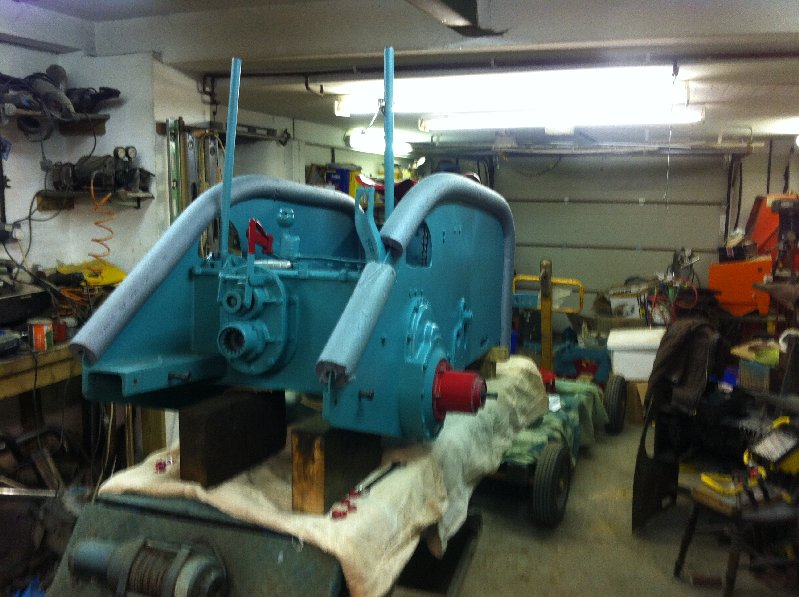
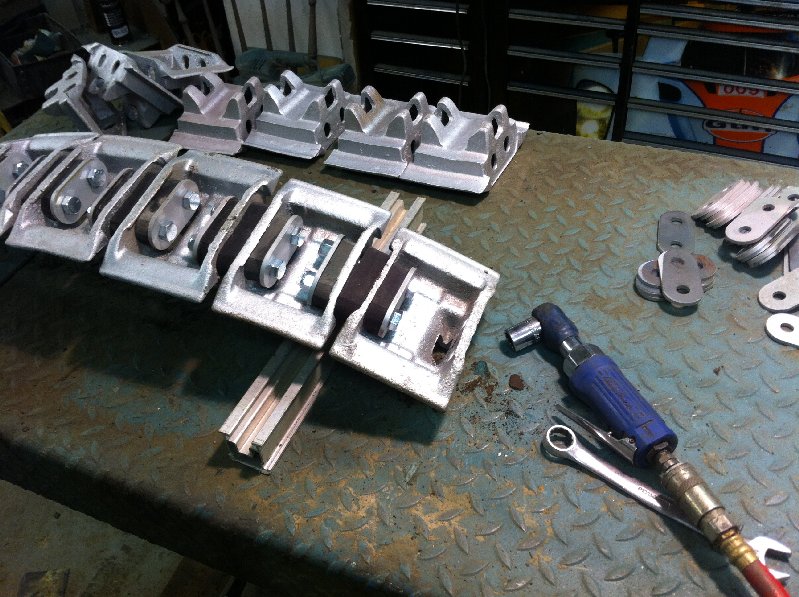
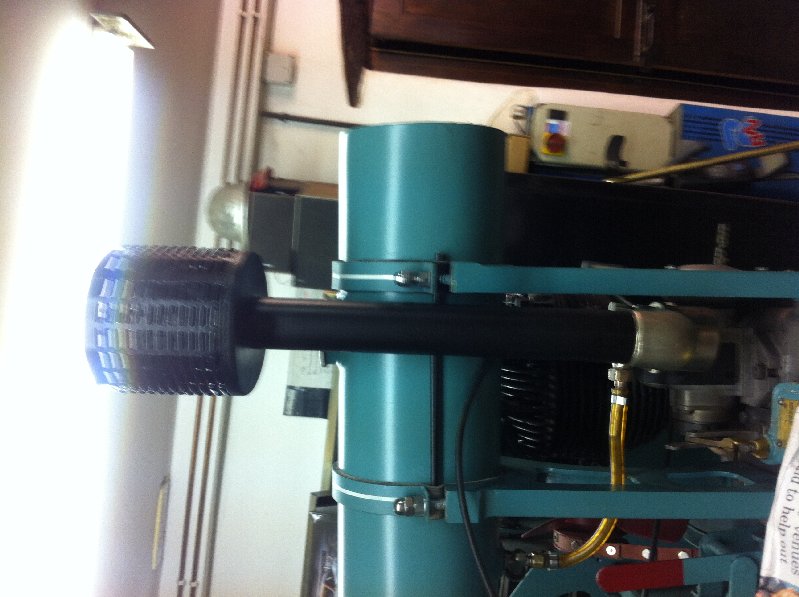
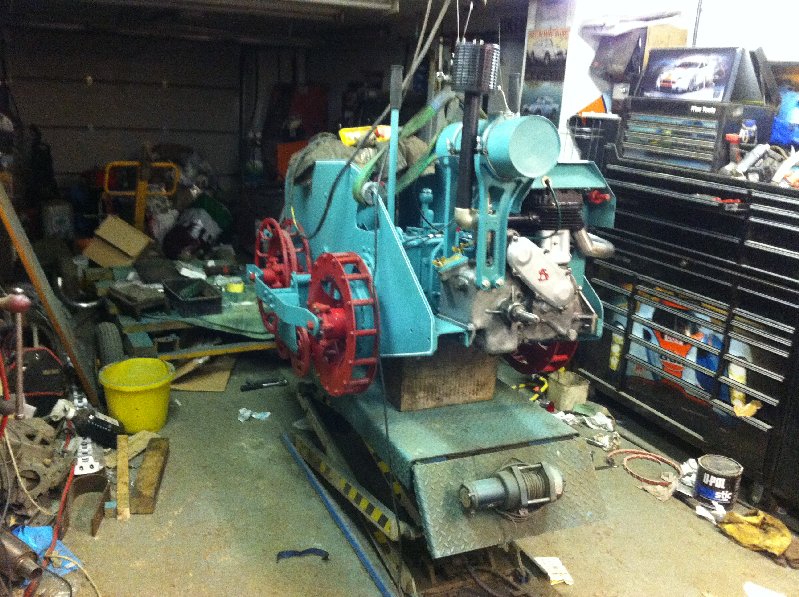
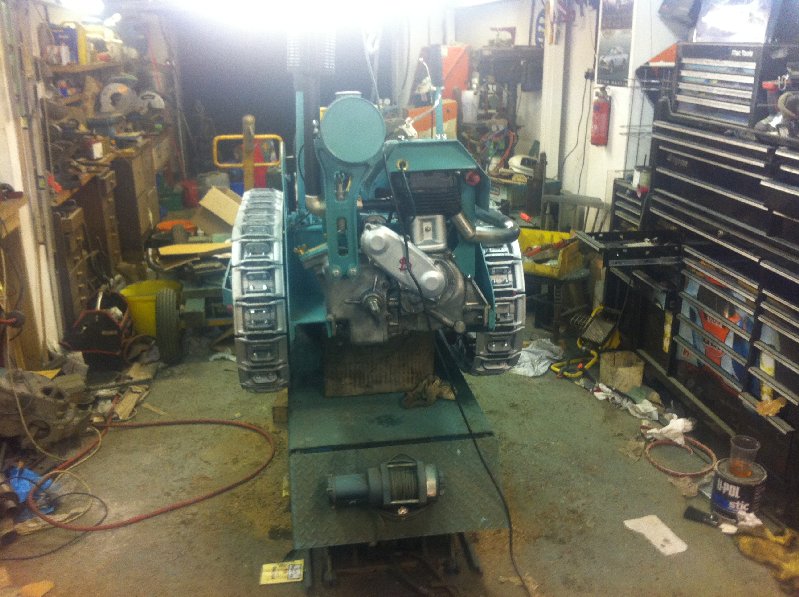
December 19, 2015 at 9:44 am #15537ParticipantMade a very stupid mistake yesterday, I masked up the pinstripes on one side and painted them in only to realise that the side I had masked up was only final painted the night before as I peeled of the making tape it removed the topcoat down to the grey primer! Managed to redeem the error with the amazing cellulose putty I have which filled the removed paint.l137 is now turned around and the right way up ready to accept the engine! I have
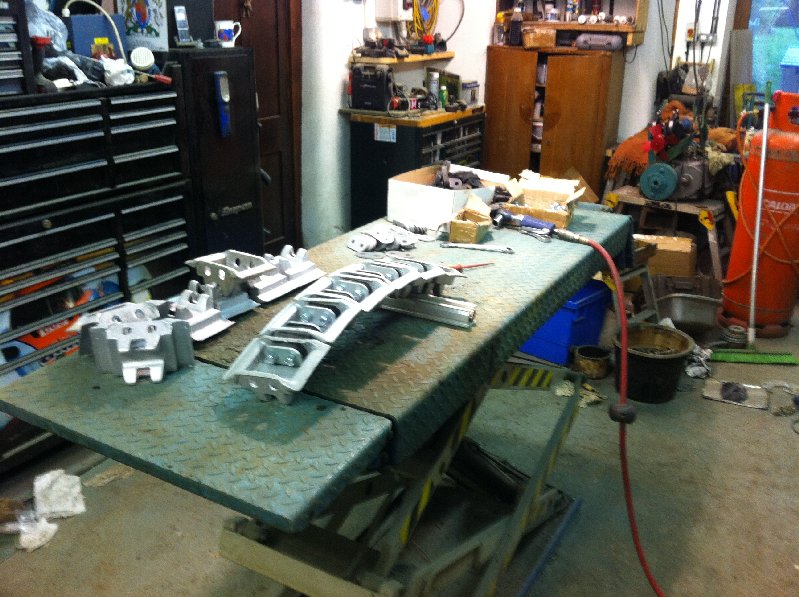
protected the vulnerable parts for onward restoration using pipe lagging rescued from the mice in the loft that seem to thrive on it. next step is engine back in.Rebuilt the second track today, I set out all the various parts on the bench and then using a 2x 2 aluminium extrusion I happened to have I set about reasssembly the two by two is invaluaable in that it kicks up the pads enough to make fitting the rubbers and washers without hassle. I used an air wrench to take up the slack in the bolts up to the Nylock. I find tha if you tension the tracks to final spec at this stage the tracks are un manageable in terms of wrapping them around sprockets and making a join I leave item loose to the Nylock until atter final fititing
Attachments:
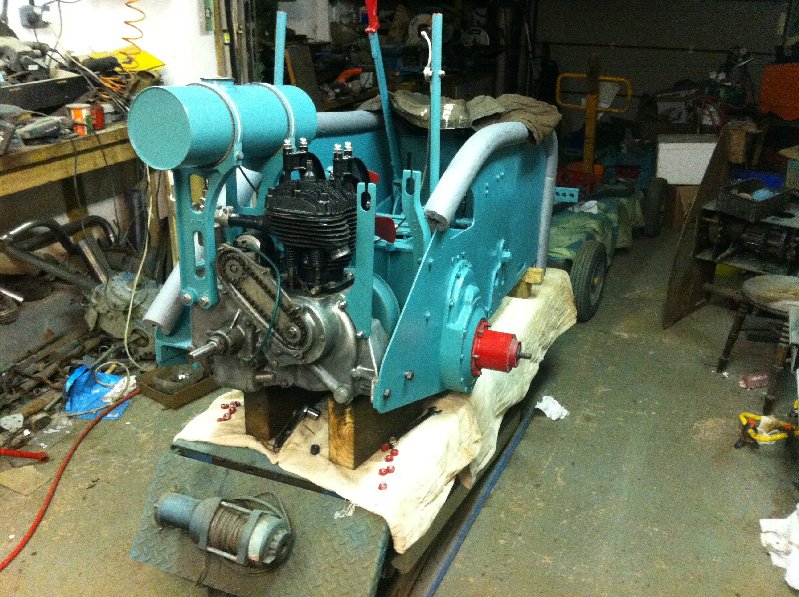
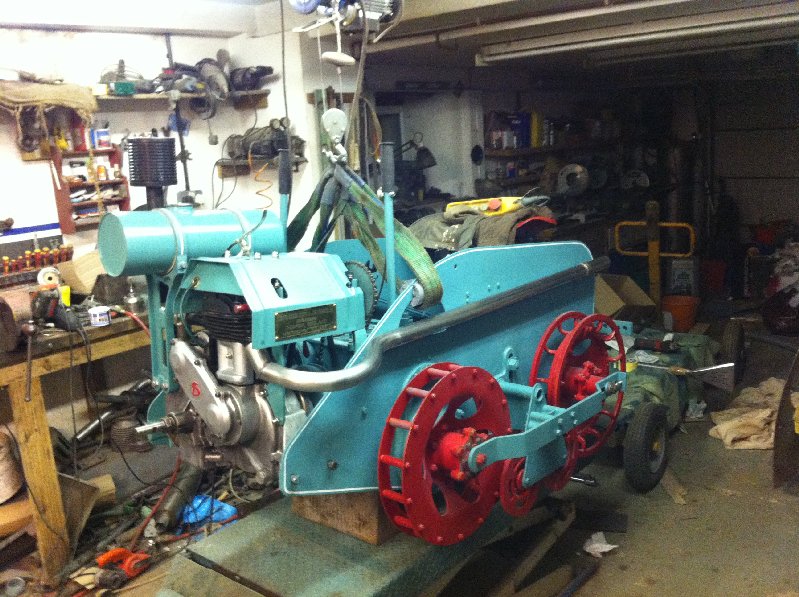
December 19, 2015 at 9:11 pm #15546Participantengine back in today, bolted gearbox top back on with new studs, fuel tank mounted with leather cushions as per spec. Can’t fit drive wheels until I have completed pin-striping, waiting as long as I can to make sure paint is dried through.
Attachments:
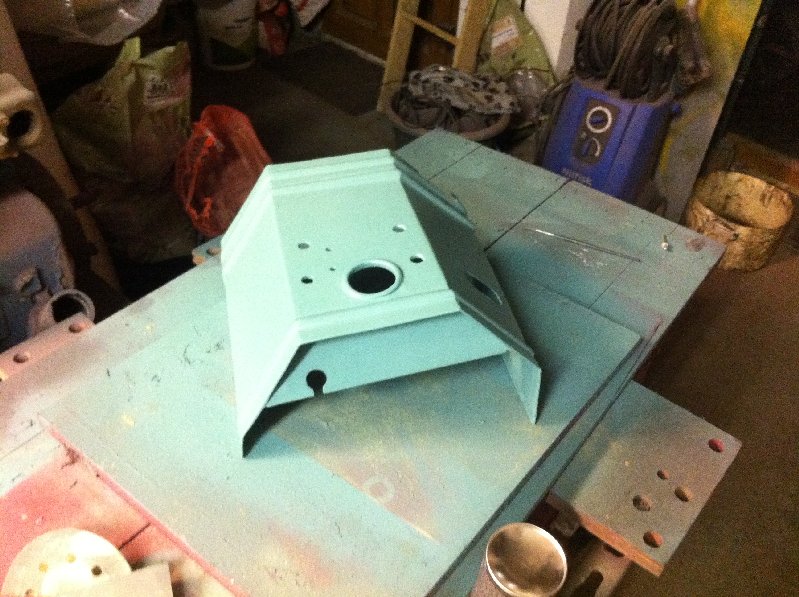
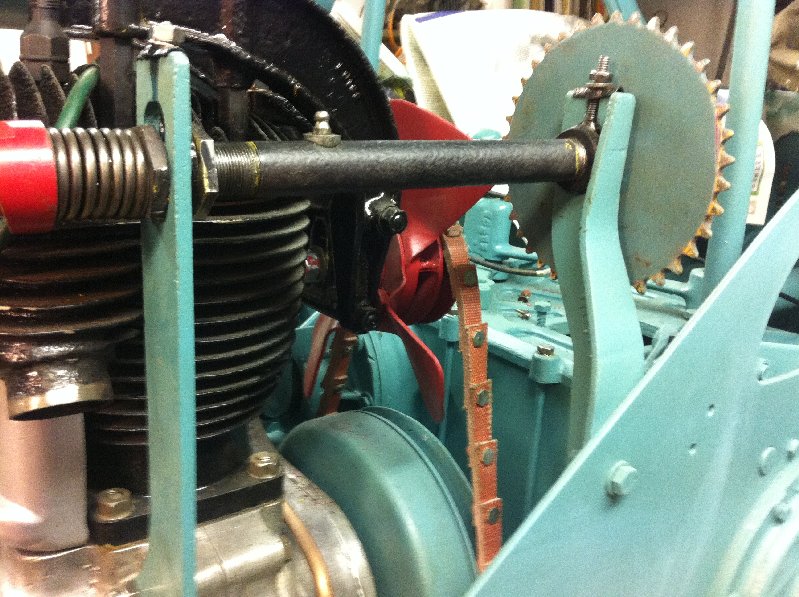
December 21, 2015 at 8:08 pm #15559ParticipantLots of small jobs today, made a replica of the Vokes air filter pipe, fitted fan belt, I have used a joinable belt on the basis that to replace the belt you have to remove the engine or at least slide it out of its mounting. Fitted the patent flash at the back which is 1/16 of an inch bigger than later ones of which I have a stock so Chris at Vintage Brass plates scaled one up for me.Timing chain cover fitted and logo painted. Bought some cycle chain for the starter mechanism only to find I had such a thickness of paint and filler on the sprockets that I had to file them all down to get the chain to sit properly. And Finally I have sprayed a topcoat on the engine cowl which has taken hours and hours of bashing,brazing,filling and sanding to get it to look as it should.
Attachments:
December 22, 2015 at 2:38 pm #15569 charlieKeymaster
Really looking forward to seeing the finished machine at Tractor World next year.
December 22, 2015 at 4:48 pm #15570 trusty220Keymaster
The engine cowling has certainly come up well considering how bad it was to start with. A shame that all the hard work is hidden with these little jobs, but you get a great deal of satisfaction from achieving this kind of finish as well as knowing that you are still using the original part.
Looking forward to seeing it at Tractor World as well.
December 23, 2015 at 7:38 am #15578ParticipantThe underside is not so pretty I have had to plaster it with resin to give the whole structure some rigidity. Just hope it does not melt!
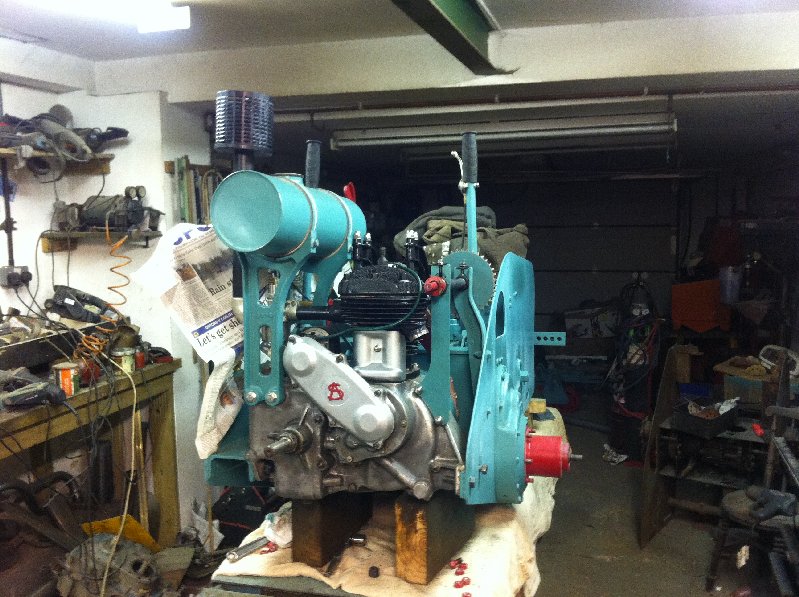
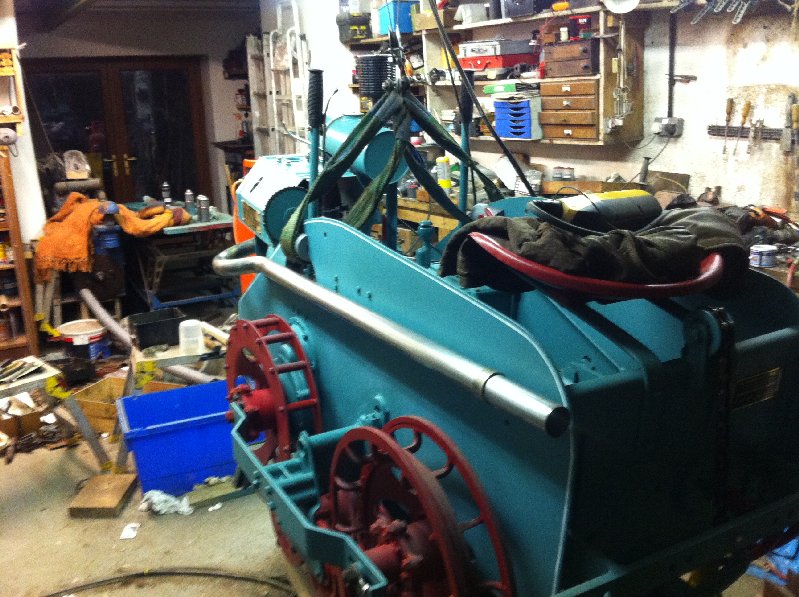
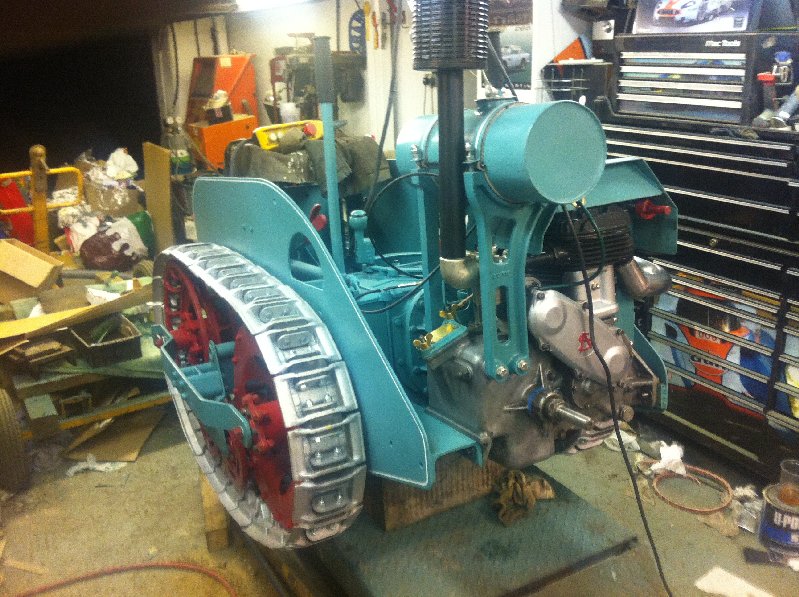
December 31, 2015 at 12:07 pm #15623ParticipantMade a bit more progress over the last two days, cowling fitted, decompressor lever set up, exhaust fitted, main wheels and load rollers fitted. Next job will be to fit the tracks and then fill up all the oils.
Attachments:
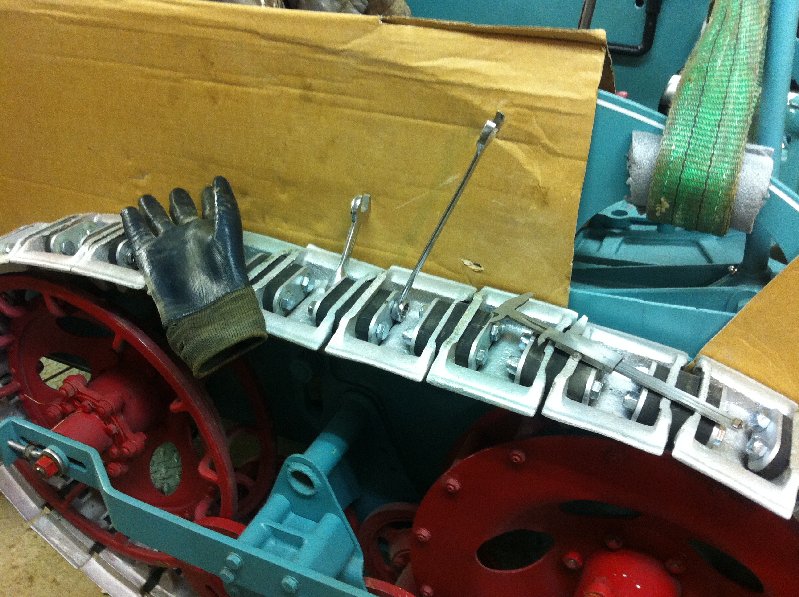
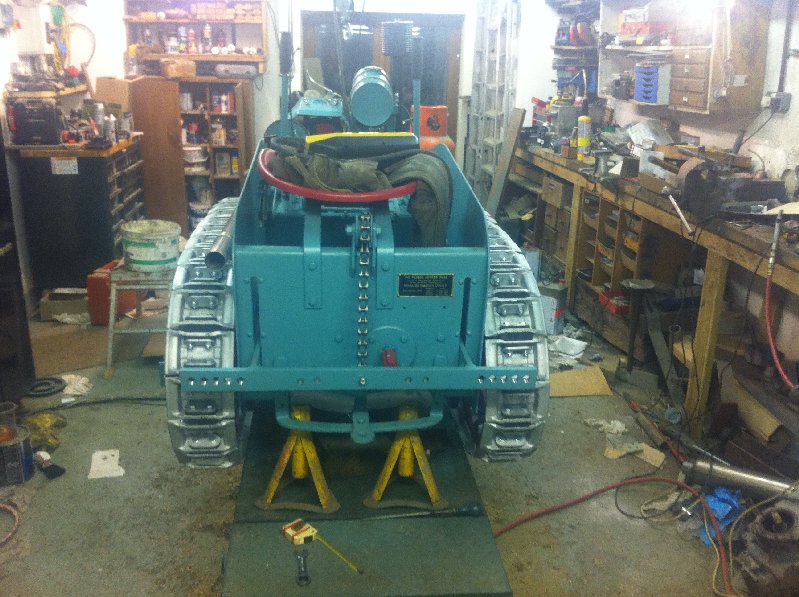
January 2, 2016 at 7:49 pm #15644ParticipantToday was track fitting and lubricating hubs,final drives and track rollers. The arduous task of tensioning both tracks was also finalised 29 track pads per side, two bolts per track , 116 bolts to tighten to achieve a spacing between track plate faces of 21/16″. Boring and laborious but has to be done, planet rock on the radio a glove on the right hand and get stuck in! two hours later ,job done! Using a ratchet spanner on one side and a long spanner on the other makes it bearable. Both tracks set for pitch and then tensioned to 1 1/2″ below load roller for correct track tension. I used three clamps to hold the tracks in position whilst I made the join. Tomorrow I will top up the engine and main gearbox oil and then fingers crossed start the engine, no idea how long it is since this engine ran but I hope I have everything at optimum to achieve a good start without breaking my wrists as these engines are notorious for doing. I have a secret weapon which I hope will make it both easier and safer.
Final jobs are to make up floorboard sections, front bumper and then final touch up.
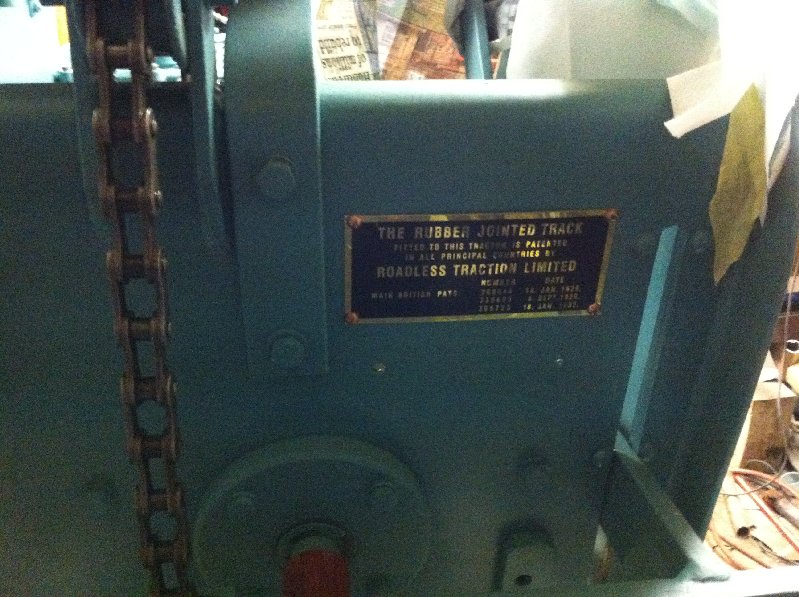
And finally to apply the two decals to each side which are the only Ransomes reference on the whole machine. Over it’s life 137 was serviced by a main dealer and had a number of later fitments such as a tool box and track mudguards but my ideal has been to restore it to a condition in which I believe it left the factory some time in February 1936.
Attachments:
-
AuthorPosts


- You must be logged in to reply to this topic.