Forum Replies Created
-
AuthorPosts
-
December 31, 2020 at 5:22 pm #36297
 trusty220Keymaster
All of the Villiers engines that I have worked on have used Cycle Thread (CEI) throughout, which is a constant 26 threads per inch in every imperial diameter.
Best of luck with it, and a Happy New Year!
December 24, 2020 at 11:07 am #36253trusty220KeymasterHenton and Chattell have been a long established machinery dealer with a main depot in Nottingham.
When I was writing my second book I contacted an old friend who has worked there for as long as I can remember and managed to get a few more of their old photo’s (and permission to print them!) from their Managing Director. A very friendly and well-thought-of company that deserves to do well if my experiences of them are anything to go by.
December 24, 2020 at 11:00 am #36252trusty220KeymasterOver the years I have found that the Trusty was first offered with both Villiers and Blackburne engines. Neither of these was possessed of huge amounts of horsepower but was adequate for most jobs around the smallholding. Don’t forget that most of these were originally used for rowcrop work with cultivators behind them; this work doesn’t require a lot of power and the fuel economy would have been used as a selling point.
Most smallholdings would have had soil very much like a large vegetable garden which would be easily dug- or in this case, ploughed- and so a large horsepower would not be needed. As time went on the single cylinder petrol engines became more specialised instead of being converted motorcycle engines, and the JAP 5 engine from J.A. Prestwick of Tottenham gave more power than any other to date that the factory used.
As with all machinery most people want just that little bit more power; look at cars, they’re always increasing the power outputs due to “customer demands” and things that the Trusty was never designed to do suddenly became possible, like ploughing stubble which was definitely not on the original design criteria. Then customers would have wanted to use them on heavier soils which would be more compacted, also wanting more horsepower, so you can see how it progressed over the years.
Even in the later days of the factory you could still buy a single speed Trusty with a JAP 5 engine if you wanted, and some were sold in this form. If you had light soil why spend more than you have to by buying something with a huge engine that guzzles lots of expensive fuel that was rationed?
That’s the main reason why you see such a large diversity in the engine fitments on the Trusty. My own experience tells me that my 3-speed Trusty will only plough our Midland clay soils in second gear, dropping down to first gear for the tricky bits, yet I have ploughed in third gear on full throttle when I used to go to Holbeach (which is on The Fens). The soil over there is light loam and the JAP 6 engine on my tractor doesn’t even notice the load!
I hope that goes some way to explaining why you see so much variation- obviously, if you want to plough heavy soil you need lots of horsepower, but if you don’t need to plough then it’s just wasted having a large engine.
Have a good Christmas, everybody. I hope we’re going to!
GeoffDecember 22, 2020 at 9:42 am #36224trusty220KeymasterWell said, Chris! Let’s all hope that a vaccine will be soon with us and we can get back to normal.
Merry Christmas to everyone and I hope to see you all around the shows next year, Covid-allowing.
Geoff
December 22, 2020 at 9:38 am #36223trusty220KeymasterWhy not start a new posting in the Projects section, Kevin? It would be interesting to see the problems you have and how we can help to get you out of trouble.
Don’t forget, whatever problems you are going to encounter with your tractors somebody on this forum will have had the same and, more importantly, will have a solution.
December 21, 2020 at 4:49 pm #36218trusty220KeymasterBe careful now, Alan, this isn’t the Fenland Ladies that you’re talking to now! I wonder what happened to Fenland Dawn and Fenland Eve, they haven’t been seen for a while.
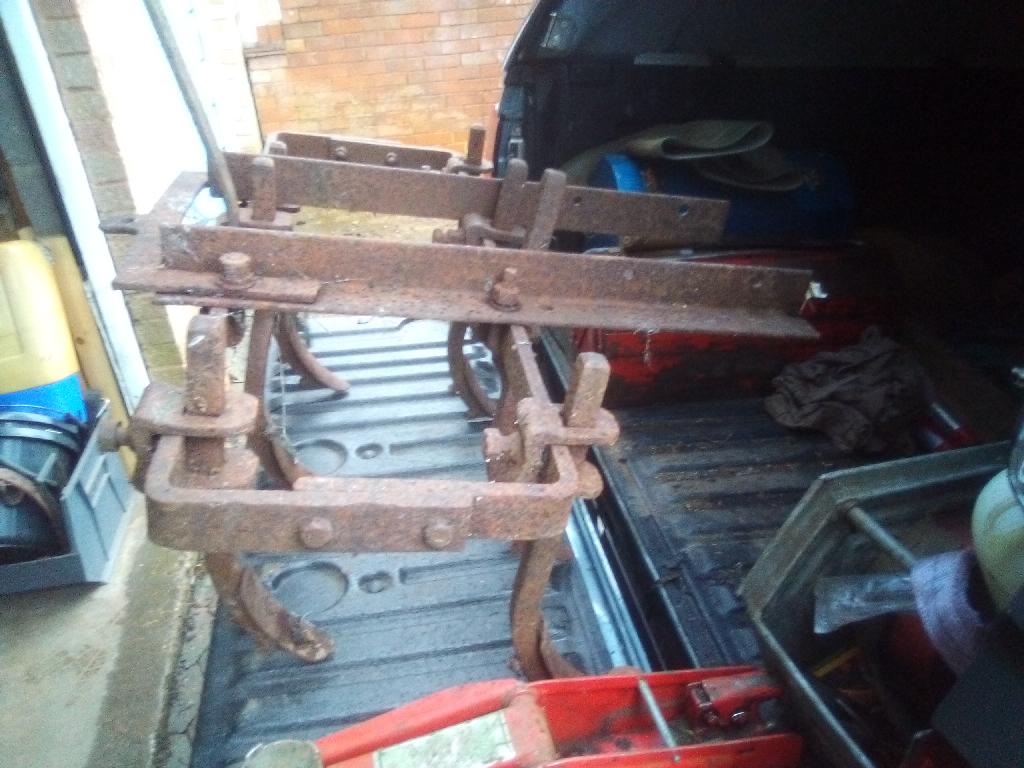
December 21, 2020 at 4:44 pm #36213trusty220KeymasterRain again today, so I thought I’d have a go at some of the larger pieces that won’t fit in the tank. No problems encountered and I used a small angle grinder with a wire wheel attachment which really made the rust fly! At one point the neighbour rushed in thinking the place was on fire because there were literally clouds of dust blowing out of the garage door and they thought it was smoke!
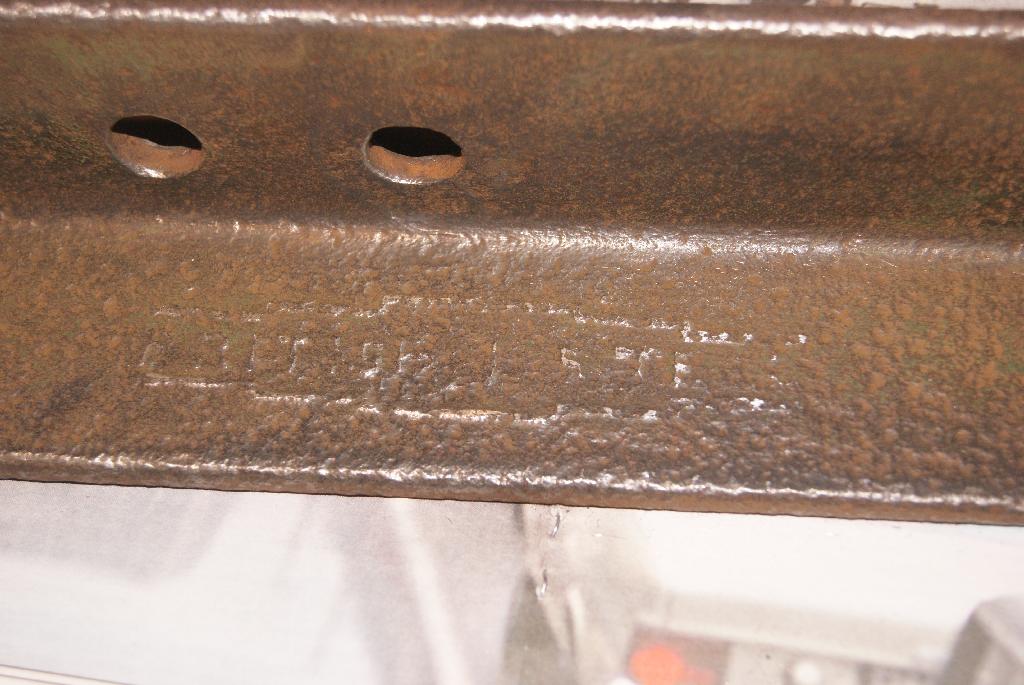
One nice surprise was that the cleaning process uncovered stamps in the metal; on closer inspection they both proudly read “British Steel” framed within a stepped outer surround. A nice find, I wonder if we will ever get those businesses back in the future? Somehow “Tata Steel” doesn’t have the same ring to it, does it? I will try to make these stamps more visible when the restoration is finished as they do add something to the whole job.
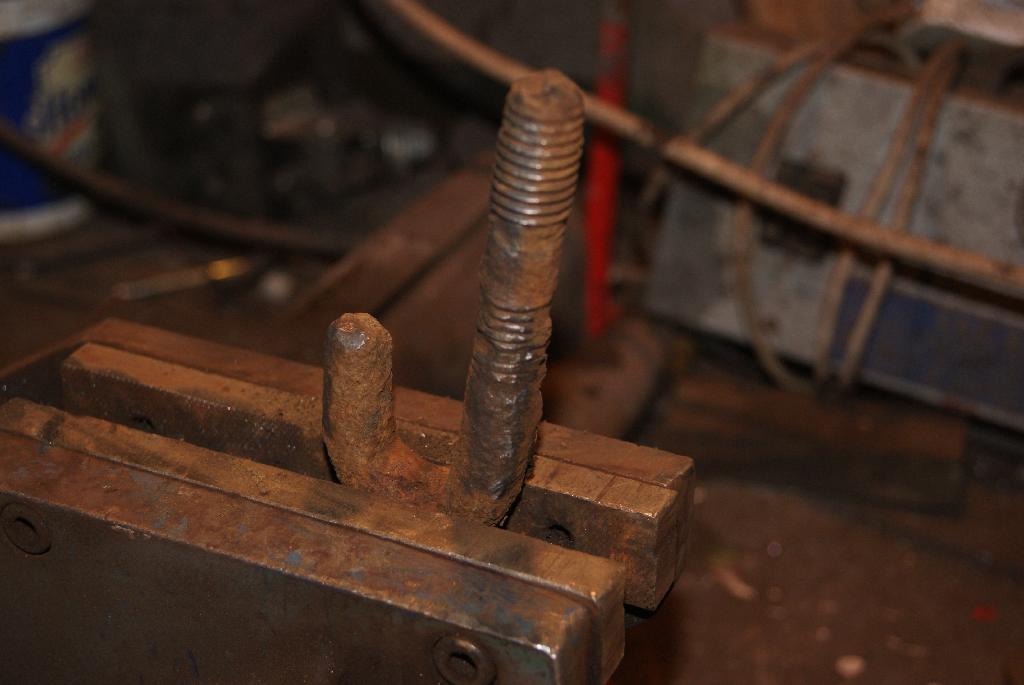
I took the opportunity to fish around in the bicarbonate tub and found a clamp that had been rusted solid with a bolt stuck in it. The bolt came out with no trouble at all so I continued with the wire wheel and it came up bright metal. You can see the difference by comparing the two pieces- the clamp is silvery whereas the angle iron is still a brown-ish colour with rust still colouring the steel. Once it’s painted and sealed from the atmosphere it should be fine, so that’s what I’ll do with the larger pieces.
Not so good was the hook bolt that held the cultivator frame to the angle pieces. I only took one out of the tub and gave it a quick clean with the wire brush and straightaway I could see that it had been heavily eaten away with rust. I will have to make a jig and pay another visit to my mate to make some more.
Anyway, here are the results of the acid versus non-acid de-rusting techniques.
Attachments:
December 20, 2020 at 12:45 pm #36209trusty220KeymasterAnd there was me thinking that Steve Woollas would be somewhere in the picture!
Merry Christmas to you all.
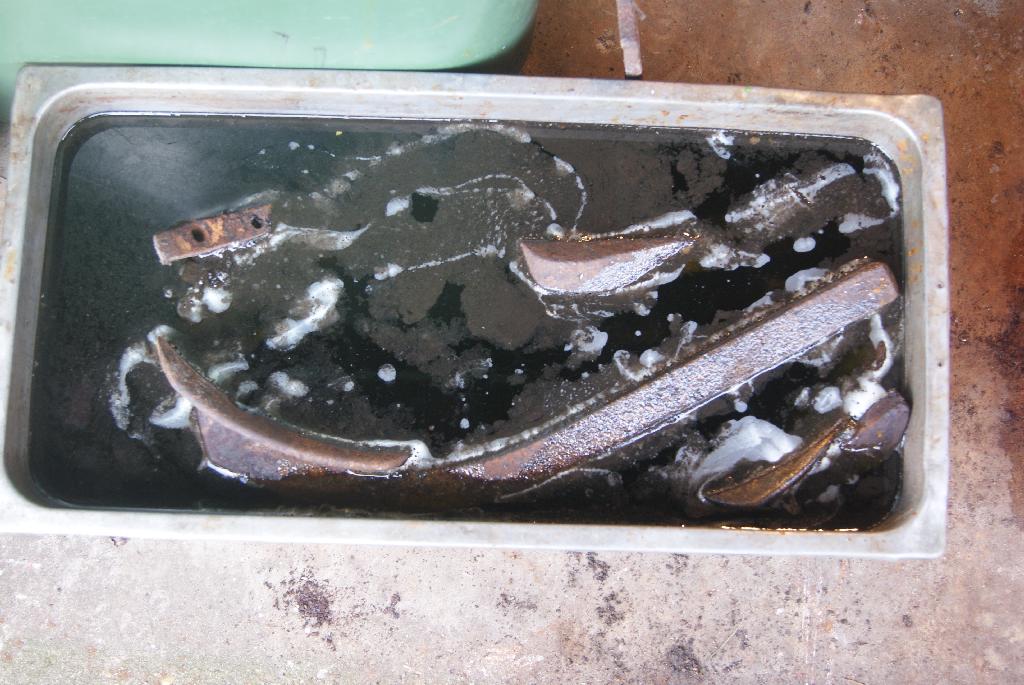
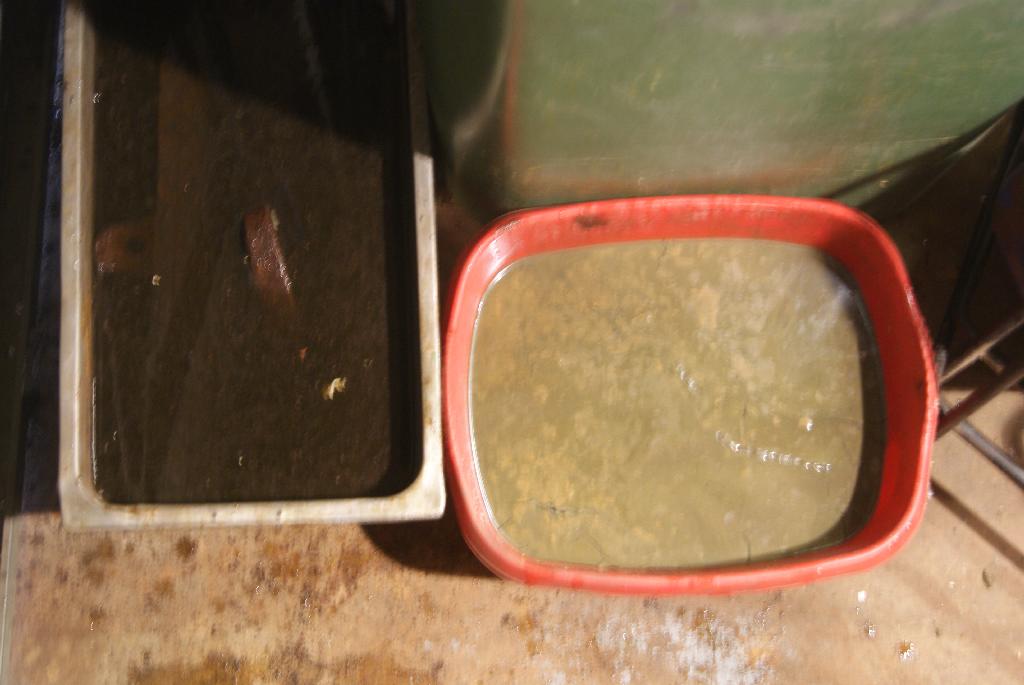
December 19, 2020 at 6:18 pm #36201trusty220KeymasterA few people have asked about my method for cleaning rust off using the dilute acid. Here are some pictures to show the results during the process; you can see the rust floating on the top of the acid bath (the stainless steel tub) in the one picture and even more rust in suspension in the Bicarbonate bath (the red washing up bowl- don’t tell Mrs. Geoff!).
Because the acid has been used quite a few times now I’ll leave the parts in there soaking for about a week; new acid should only need a day or two at the most, but it loses it’s potency after a few times. When I soaked the parts of the Trusty Sawbench they buffed up silver like new steel, not old and brown like you would expect old steel to look like.
I’ve now moved the clamps to the bicarbonate solution to neutralise the acid, so in a few days I will start to refurbish them. The aim is to make all of them identical with matching threads so I will have to reduce the holes in some of them- it could be interesting!
Attachments:
December 18, 2020 at 9:19 am #36193trusty220KeymasterHello, Kevin, glad to see that you made it onto the forum.
The cultivator that I have for this tractor is a genuine one, not the dealer made ones that I have included in the book. Where it is similar is that it bolts to the back of the chassis- most of the later Trusty implements fit on the swinging drawbar but this tractor was made before the swinging drawbar system came into production.
Most of the smaller parts I am now soaking in Brick and Mortar Cleaner from Jewsons. This is a dilute Sulphuric Acid which lifts the rust out of the steel but it must be done in a well ventilated area because it gives off toxic fumes (Hydrogen Sulphide). By the time Mrs. Geoff starts complaining about the smell- after a few days- they are normally ready for a soak in water and bicarbonate of soda to neutralise the acid. My biggest problem with this method is the size of the tub that I use and the cost of the acid; if I have to de-rust large parts I don’t have a tub big enough and the cost of filling it with acid would be prohibitive. I may experiment with the electrolysis method, but then again I’m going to have to buy a bigger tub, find somewhere to put it then find a convenient point to plug the battery charger into the mains.
I think for this job I’ll just use a wire brush on the angle grinder to clean up the bigger bits. At least then I can move on and get the interesting stuff done, which is the repair of the threads on the cast iron clamps.
December 17, 2020 at 10:11 pm #36191trusty220KeymasterYes, you’re quite right Robert, it’s the chain drive for an Albion finger bar mower. If you look closely you can see the dog clutch for engaging/disengaging the drive on the right hand side. Normally the chain will be in motion when the countershaft is rotating, so you’re quite right in saying that it looks lethal!
Obviously people in those days knew not to put their fingers into moving things! I wouldn’t like to try to market one in today’s climate of litigation.
December 17, 2020 at 12:03 pm #36177trusty220KeymasterA couple of things for you to catch up on this time. Firstly, the transfers are taking a little longer than I anticipated because I keep learning new things with Photoshop which improve the appearance; I then throw away all that I’ve done up until then and start again! Frustrating, but rewarding learning a new skill. I’ve included a couple of pictures to show the original transfer on a tractor and my progress so far. The transfer may look a little rough but it will clean up with the later processes; my time is spent at present getting all of the letters in the right places and all the same widths.
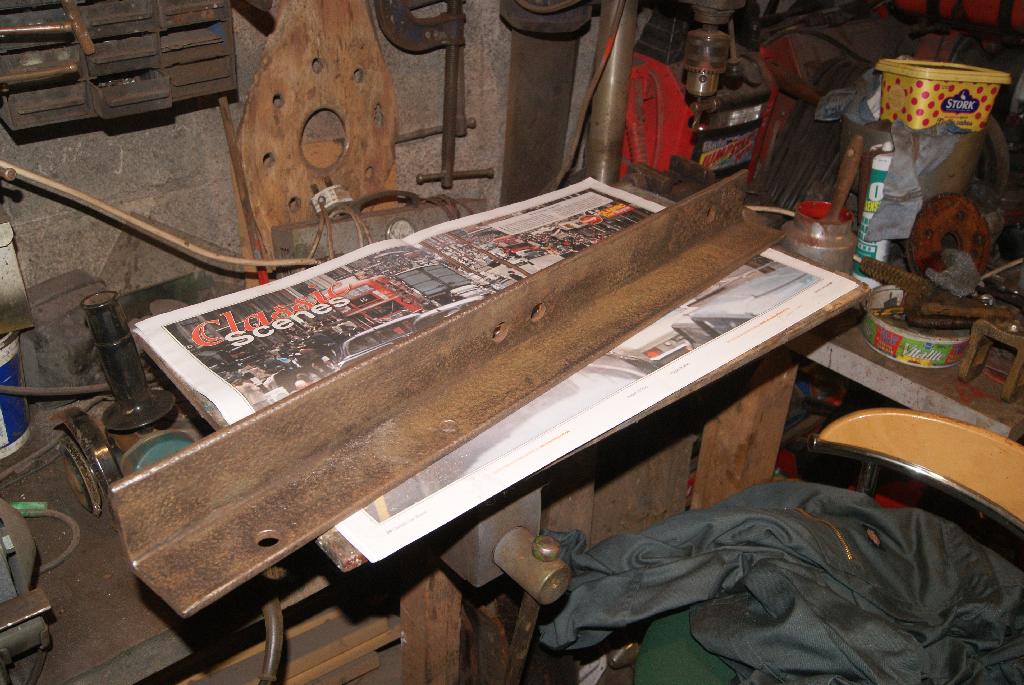
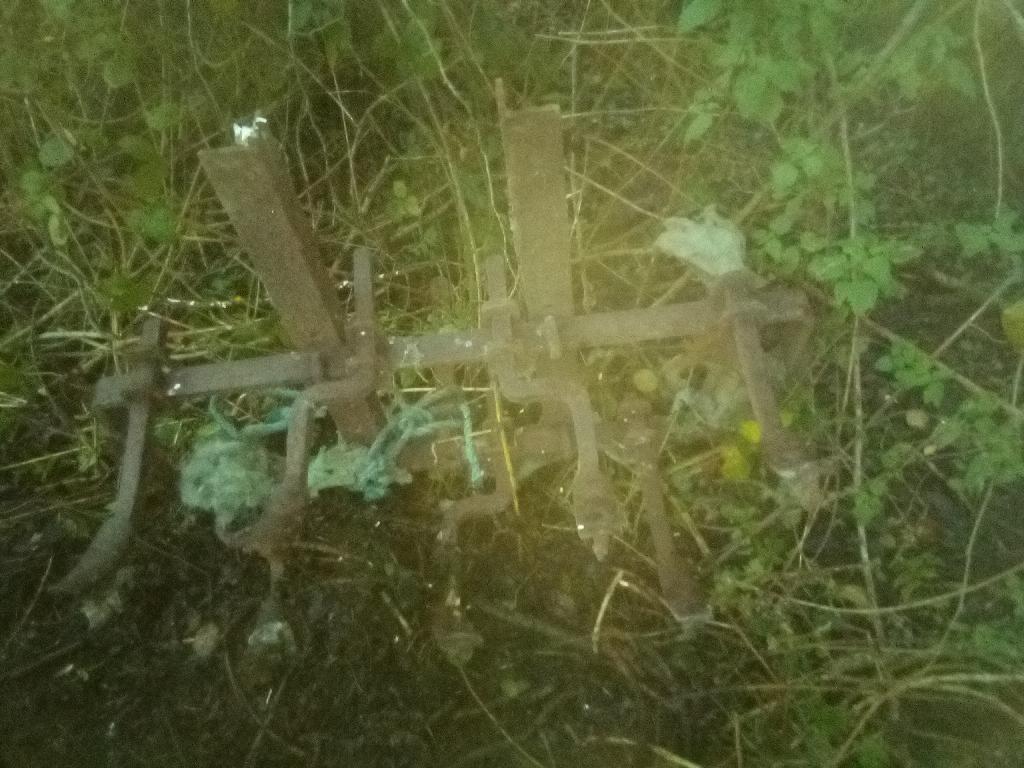
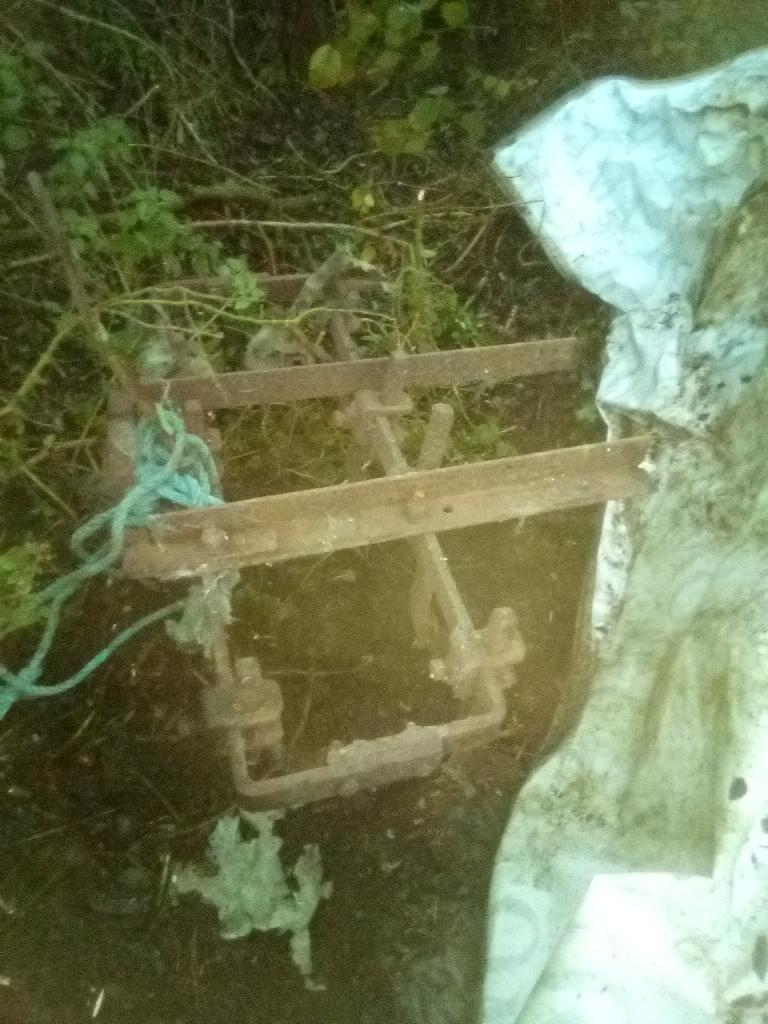
The other time that I’ve spent (in the rain, funnily enough) is digging out the cultivator and dismantling it so that I can strip it of it’s rust and repair all of the messed-up threads in the tine clamps. Ideally they should all be of the same thread so that I only need one spanner to adjust. So far I have counted three different threads, and not all of them Imperial.
This may take a little longer than I thought.
Attachments:
December 16, 2020 at 2:31 pm #36174trusty220KeymasterWelcome to the forum, Eric.
I have added your two tractors to the Trusty Register but you won’t see them on the website listing until I’ve been to look up the numbers. With lockdown as it is I don’t know when that will be, but keep checking and eventually we’ll get there.
What I can tell you is that 3952T was sold in February 1945 and 6657G was sold in July 1946. This was a period when they were fitting a lot of lend/lease American engines because they couldn’t get hold of the British ones. The later tractor was probably just using up stocks of these engines before the factory went back to JAP and Douglas engines.
The question you ask about the throttle rotation can’t be answered easily as it’s a matter of preference. I’ve seen both on the tractors that I’ve collected but it would make sense to change them so that they both work the same way. To change the direction simply slacken off two of the four bolts on the throttle rod joiner (usually alongside the toolbox on the outside of the right hand side of the tractor). You can then turn the rod through 180 degrees and then tighten the bolts again; you will find that you’ve changed it from clockwise to anti-clockwise rotation (or vice-versa) in a couple of minutes.
Best of luck with them.
December 14, 2020 at 9:32 am #36169trusty220KeymasterIf you use the bike manual be very careful. There are two types of Big 4 engine- the bike engine was fitted to the Mk2 Steed with tapered shaft, BTH magneto and cooling fins on the head going from front to back, and also having an oval valve cover.
On the two wheeled tractor the crankshaft is parallel, valve chest is rectangular, the head has the fins running from side to side and it has a Wico A magneto with opposite rotation to the bike engine.
Most of the dimensions and clearances are the same on both except the bike engine is (I’m working from memory now) 639cc and the 2-wheeled tractor engine is 599cc. Don’t get caught out by the opposite rotation mag and set the points gap to 15 thou.
December 14, 2020 at 9:24 am #36168trusty220KeymasterThe transfers are taking a little time. I’m halfway through the artwork but took time out to restore an old Terry’s Anglepoise lamp that I rescued from my parents’ house when we cleared it; that and trying to protect the chicken runs from Avian Flu it’s been a little hectic lately.
Hopefully I will be able to get down to finishing the artwork today and then we’ll see how good it is. Oh, and I almost forgot, I’ve been digging around at the farm in my “To Do” pile looking for a suitable attachment to go on the back to counterbalance the tractor. It’s no good restoring just the tractor if it’s just going to sit there with it’s nose on the ground. A plough came with this one (which has the special linkage on the front) but I’ve already got a restored plough of this sort on Trusty 220, so I managed to find a rigid tine cultivator that should look good on the back. At least it’s something different that you don’t see every day.
-
AuthorPosts