Home › Forums › Groundcare Machinery › Grass Cutting Machinery › Allett Regal No.1
Tagged: Allett Regal Mk1
- This topic has 96 replies, 10 voices, and was last updated 3 years, 8 months ago by
 trusty220.
-
AuthorPosts
-
July 17, 2022 at 3:31 pm #39466
 wristpinParticipant
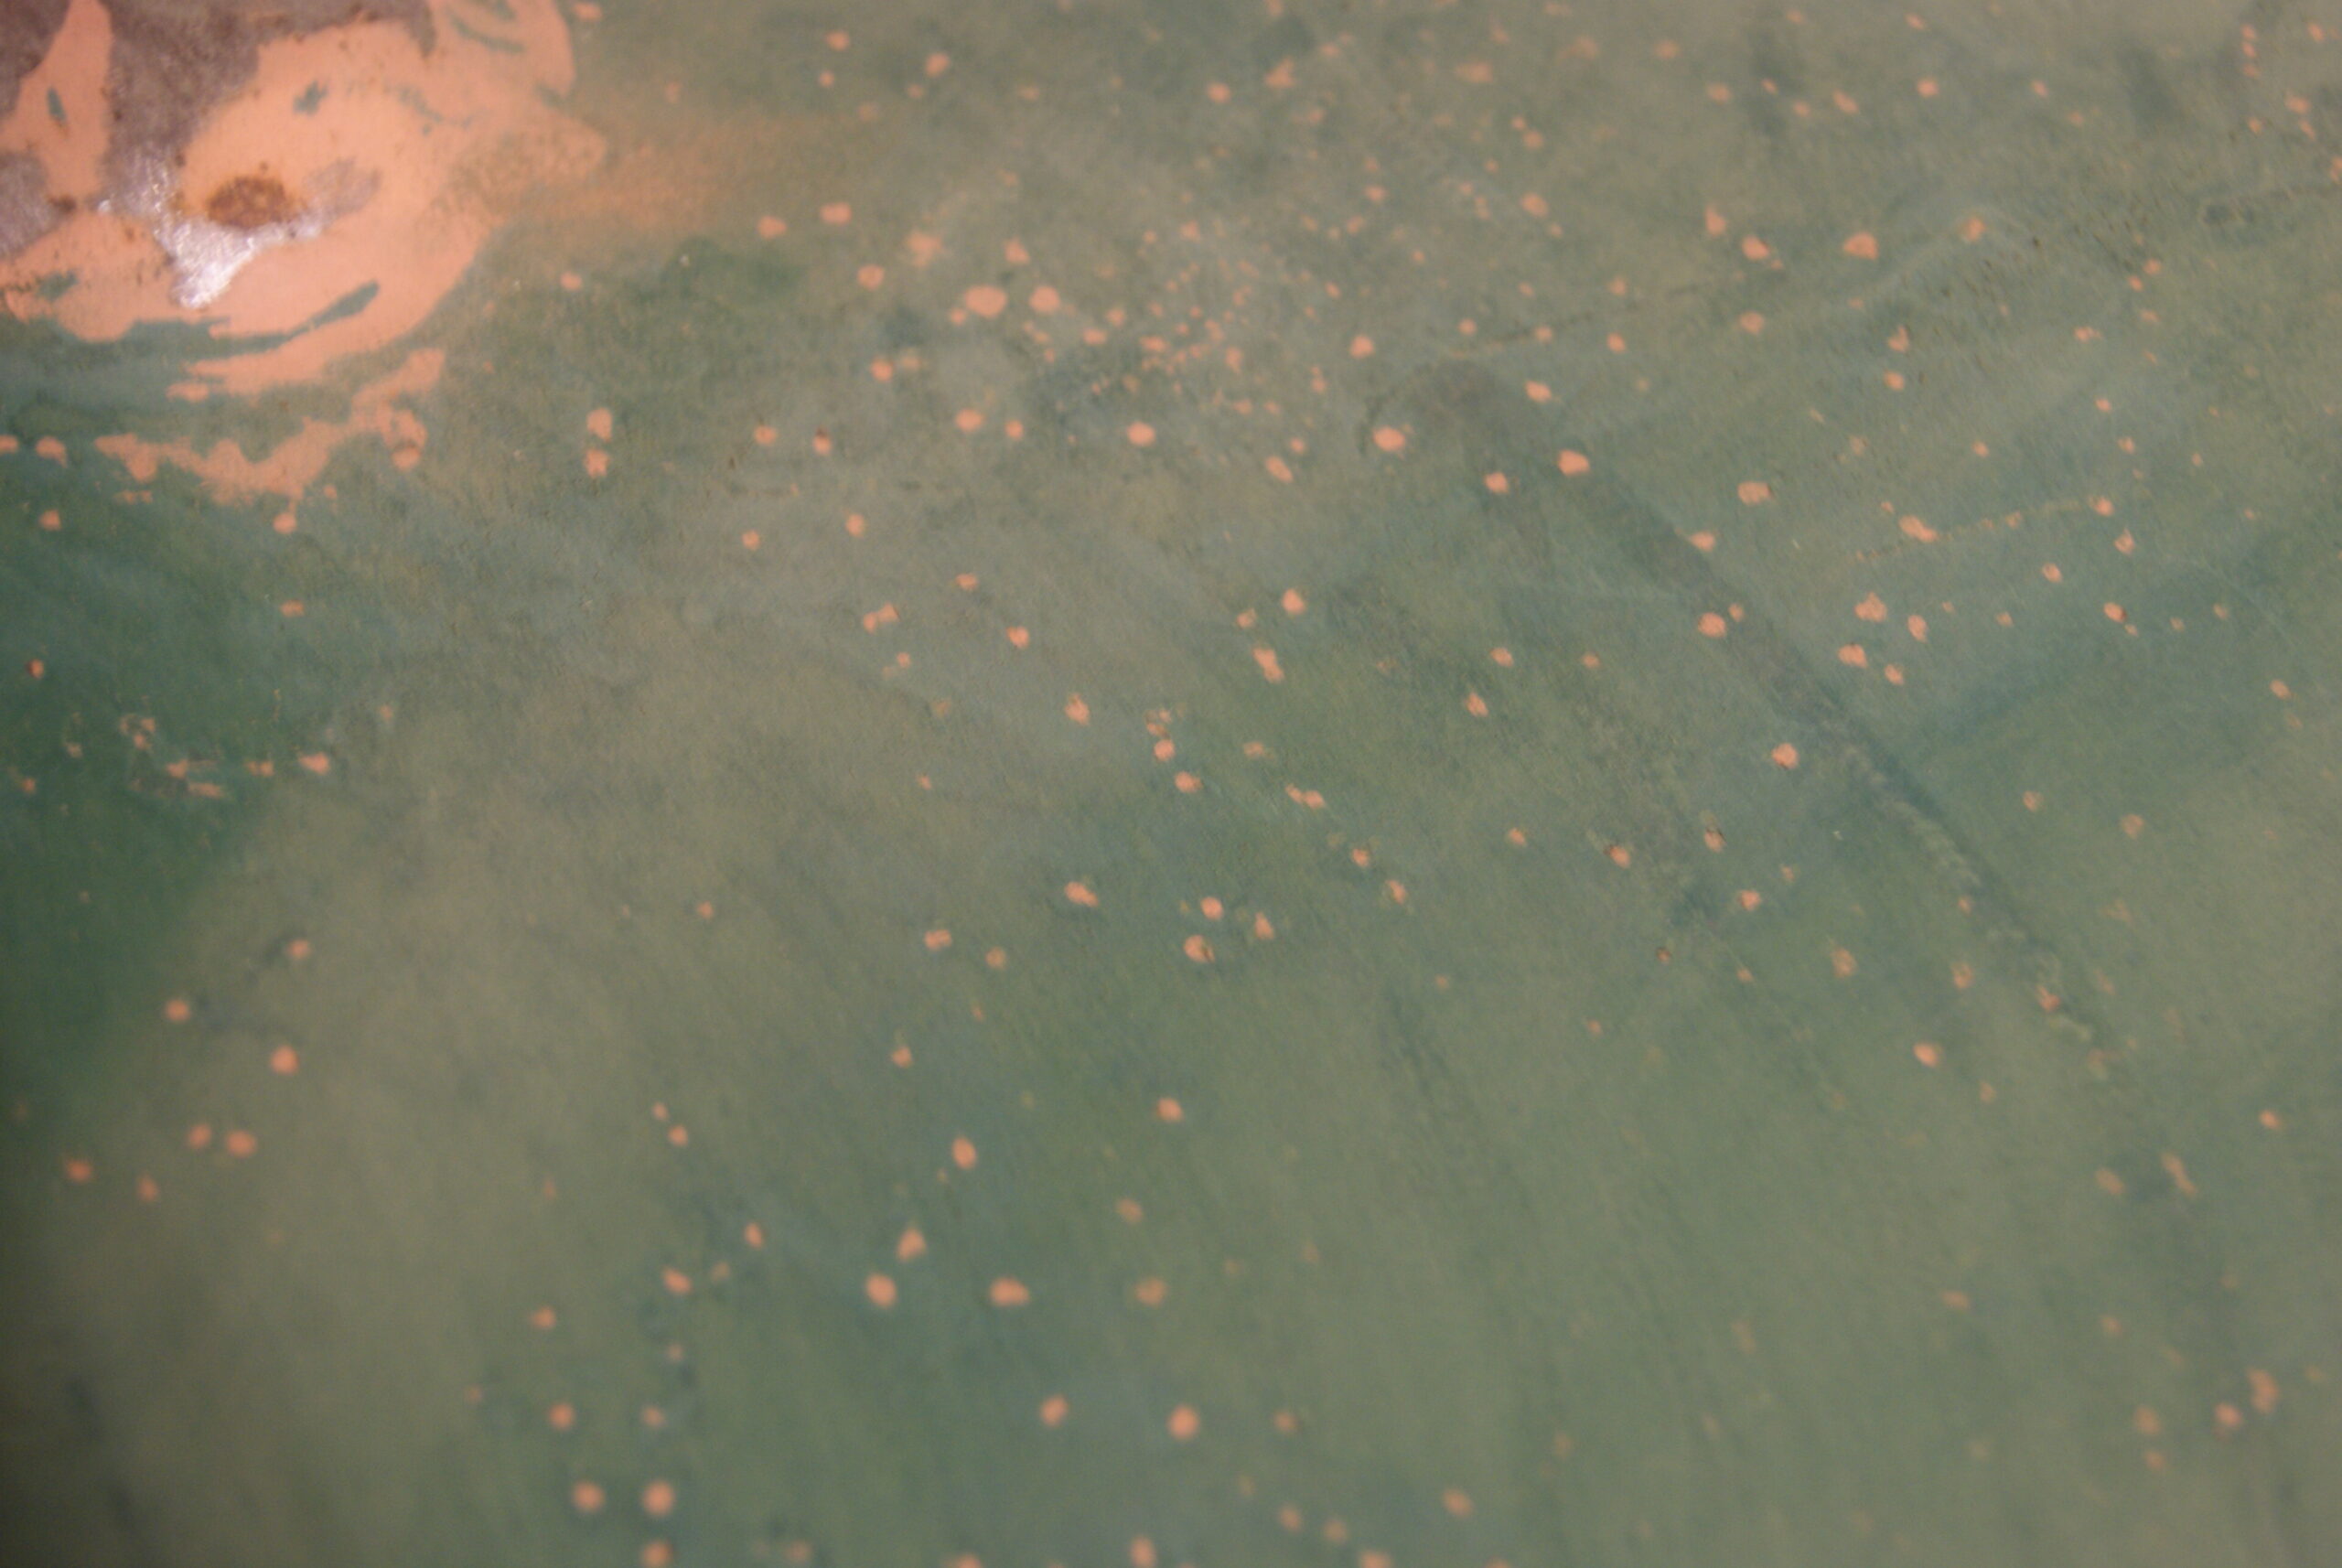
It really has been some time since I updated this story but I haven’t been slacking. The main piece of news is that I’ve had a minor disaster with the fibreglass lid; it had many dents and scratches which I was filling with stopper (a very fine filler used for small imperfections) but when I went to flat them back to blend them in with the rest it proved impossible without rupturing hundreds of microblisters. It looks like somebody in the past has repainted the lid with a high-build primer/filler; this was coloured orange. The green paint was applied over the top of the orange primer but because the surface preparation was not good enough at the time, the primer/filler has lifted in hundreds of blisters and lifted the green topcoat with it. What this meant in this case was that when I flatted it down it left lots of orange spots in the green paint- not a good look!
That’s why those who do a proper job on fire glass bodied cars , Charge what they do. Looks like the chaps who last repaired it or even those who made it skimped / omitted the gel coat. Normal finishing products for steel bodywork are not usually suitable for fibre glass.
July 18, 2022 at 7:23 am #39468 trusty220Keymaster
I’m pretty sure the gel coat is intact, Angus, but the thickness of the primer/filler they used on the repaint is the main culprit. With successive heat and cooling cycles from the engine this would be sufficient to make the primer lose adhesion if the preparation had been poor in the first place.
I seem to have used the wrong photo on the sequence but it should show the lid with most of the paint and primer removed. Now that it won’t be used for extended periods the temperature build-ups shouldn’t be a problem anyway, but the action I’ve taken in removing the thick coat of primer should correct the fault anyway.
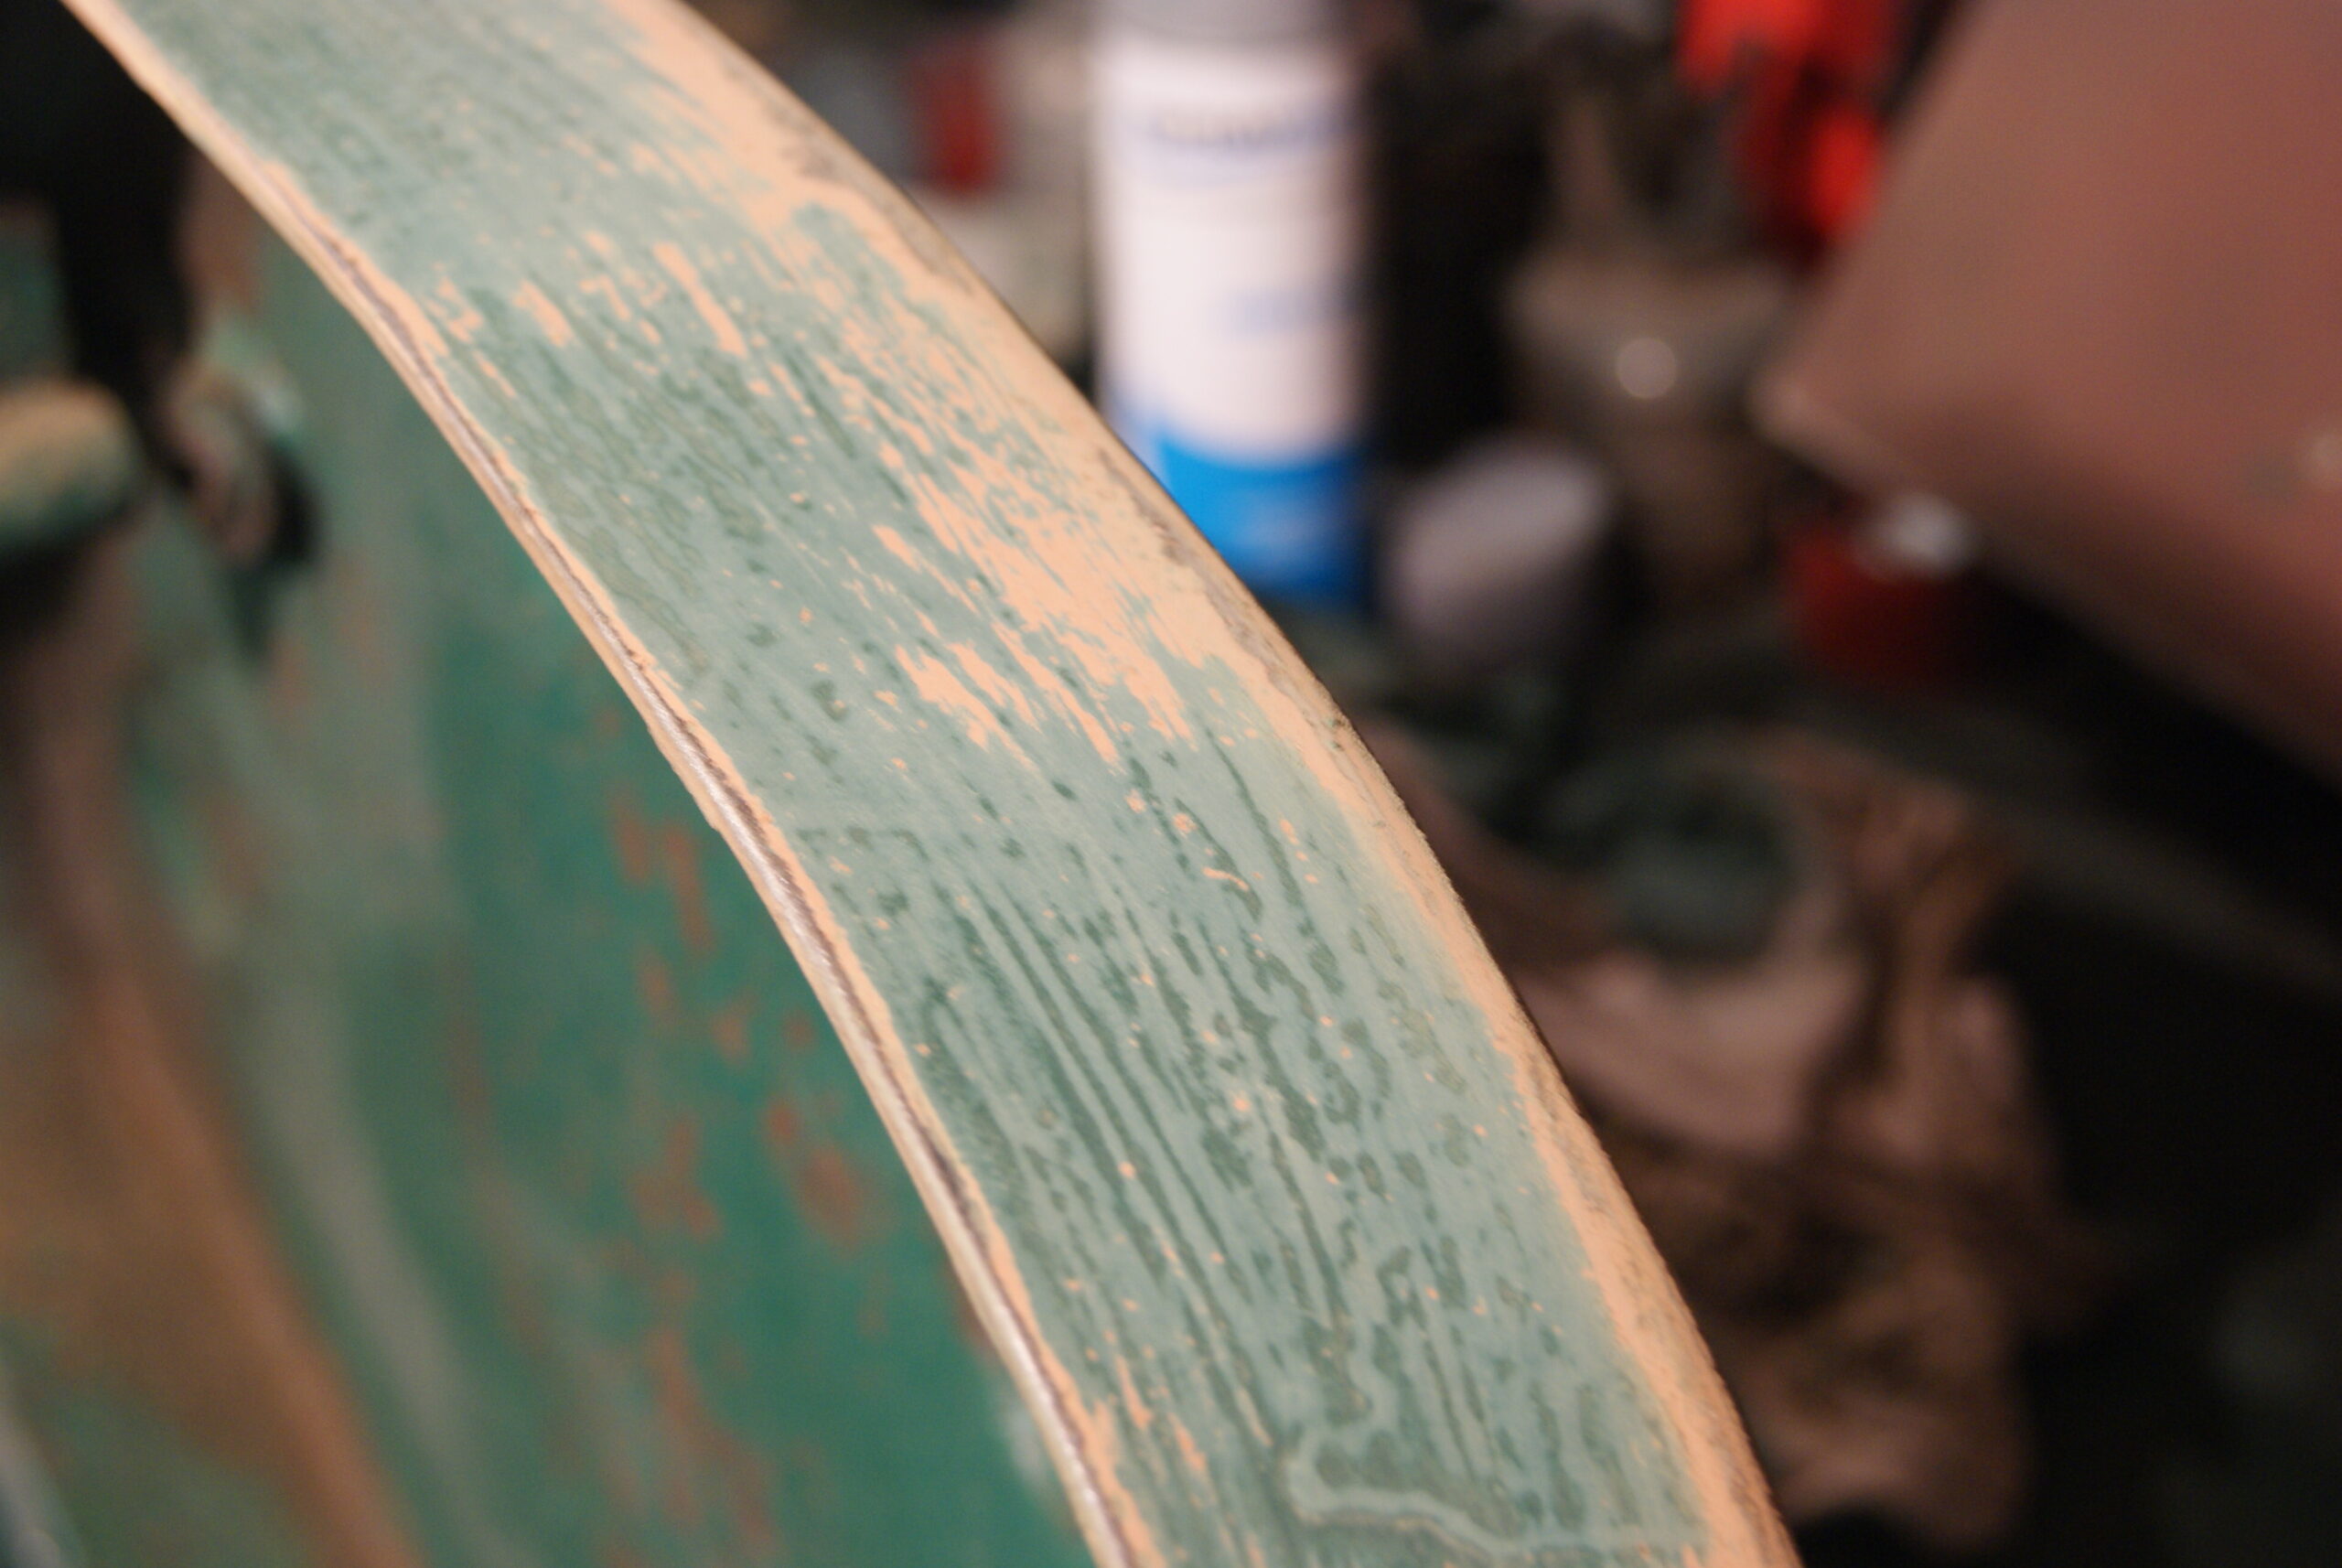
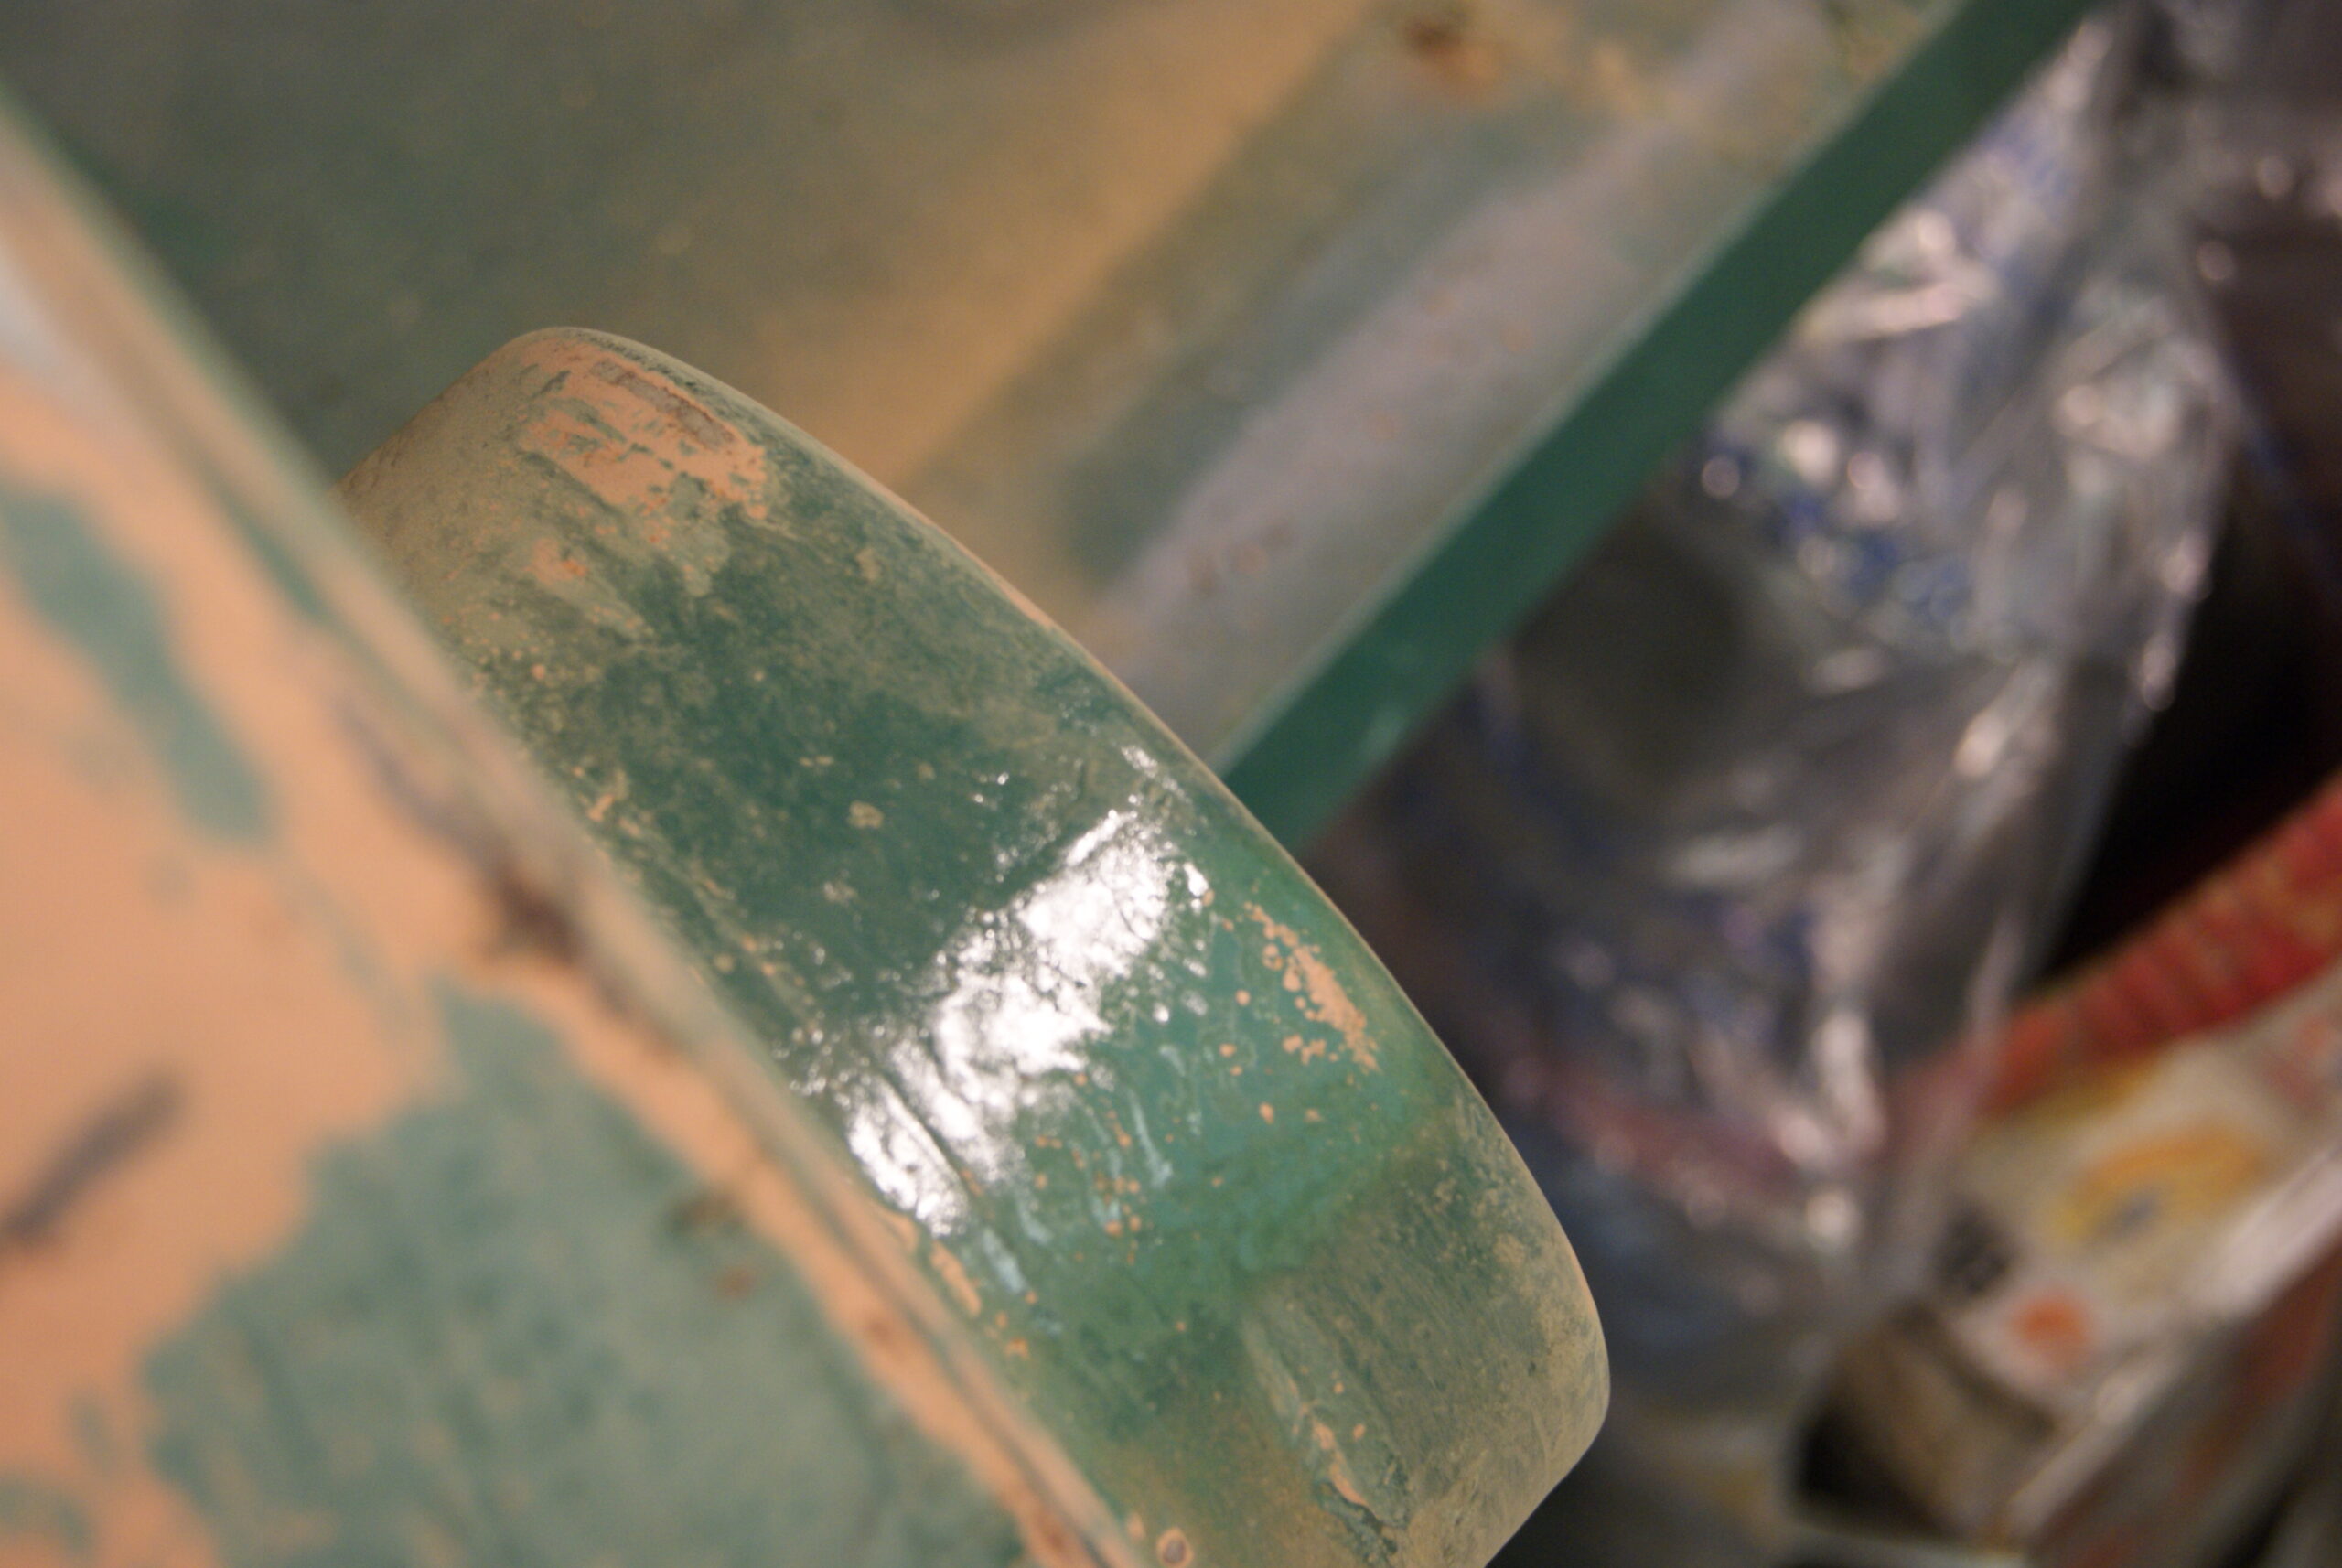
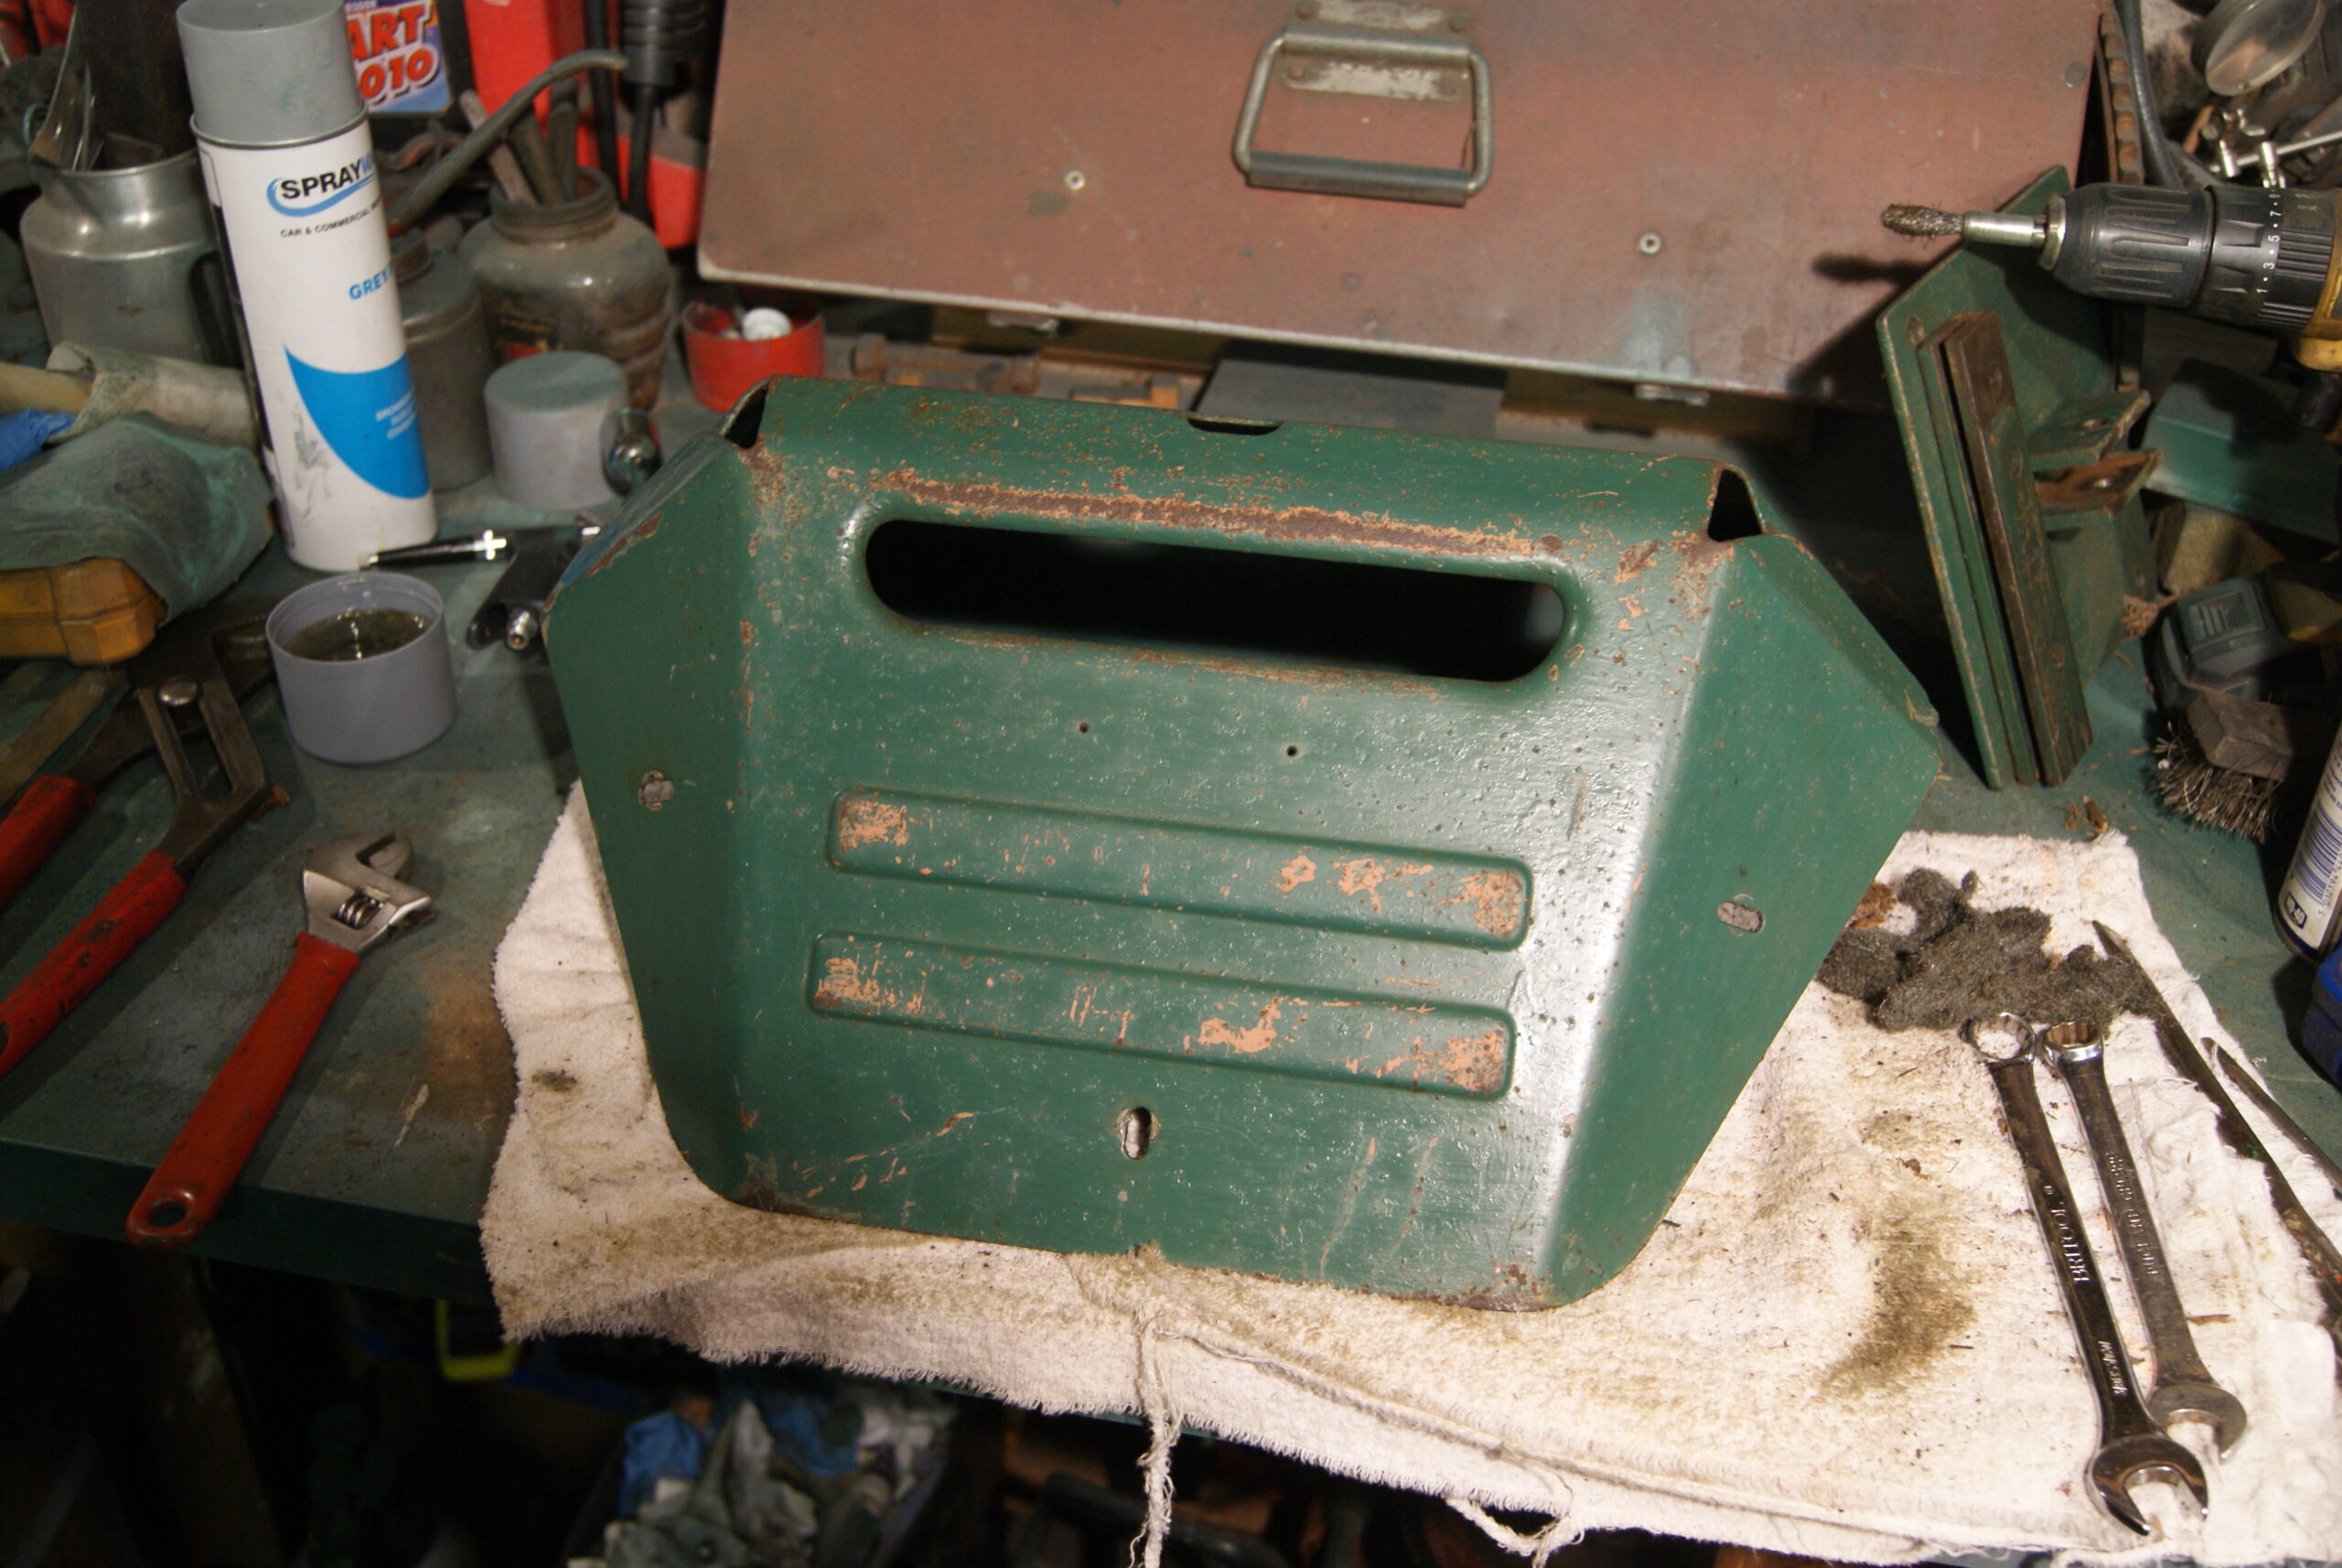
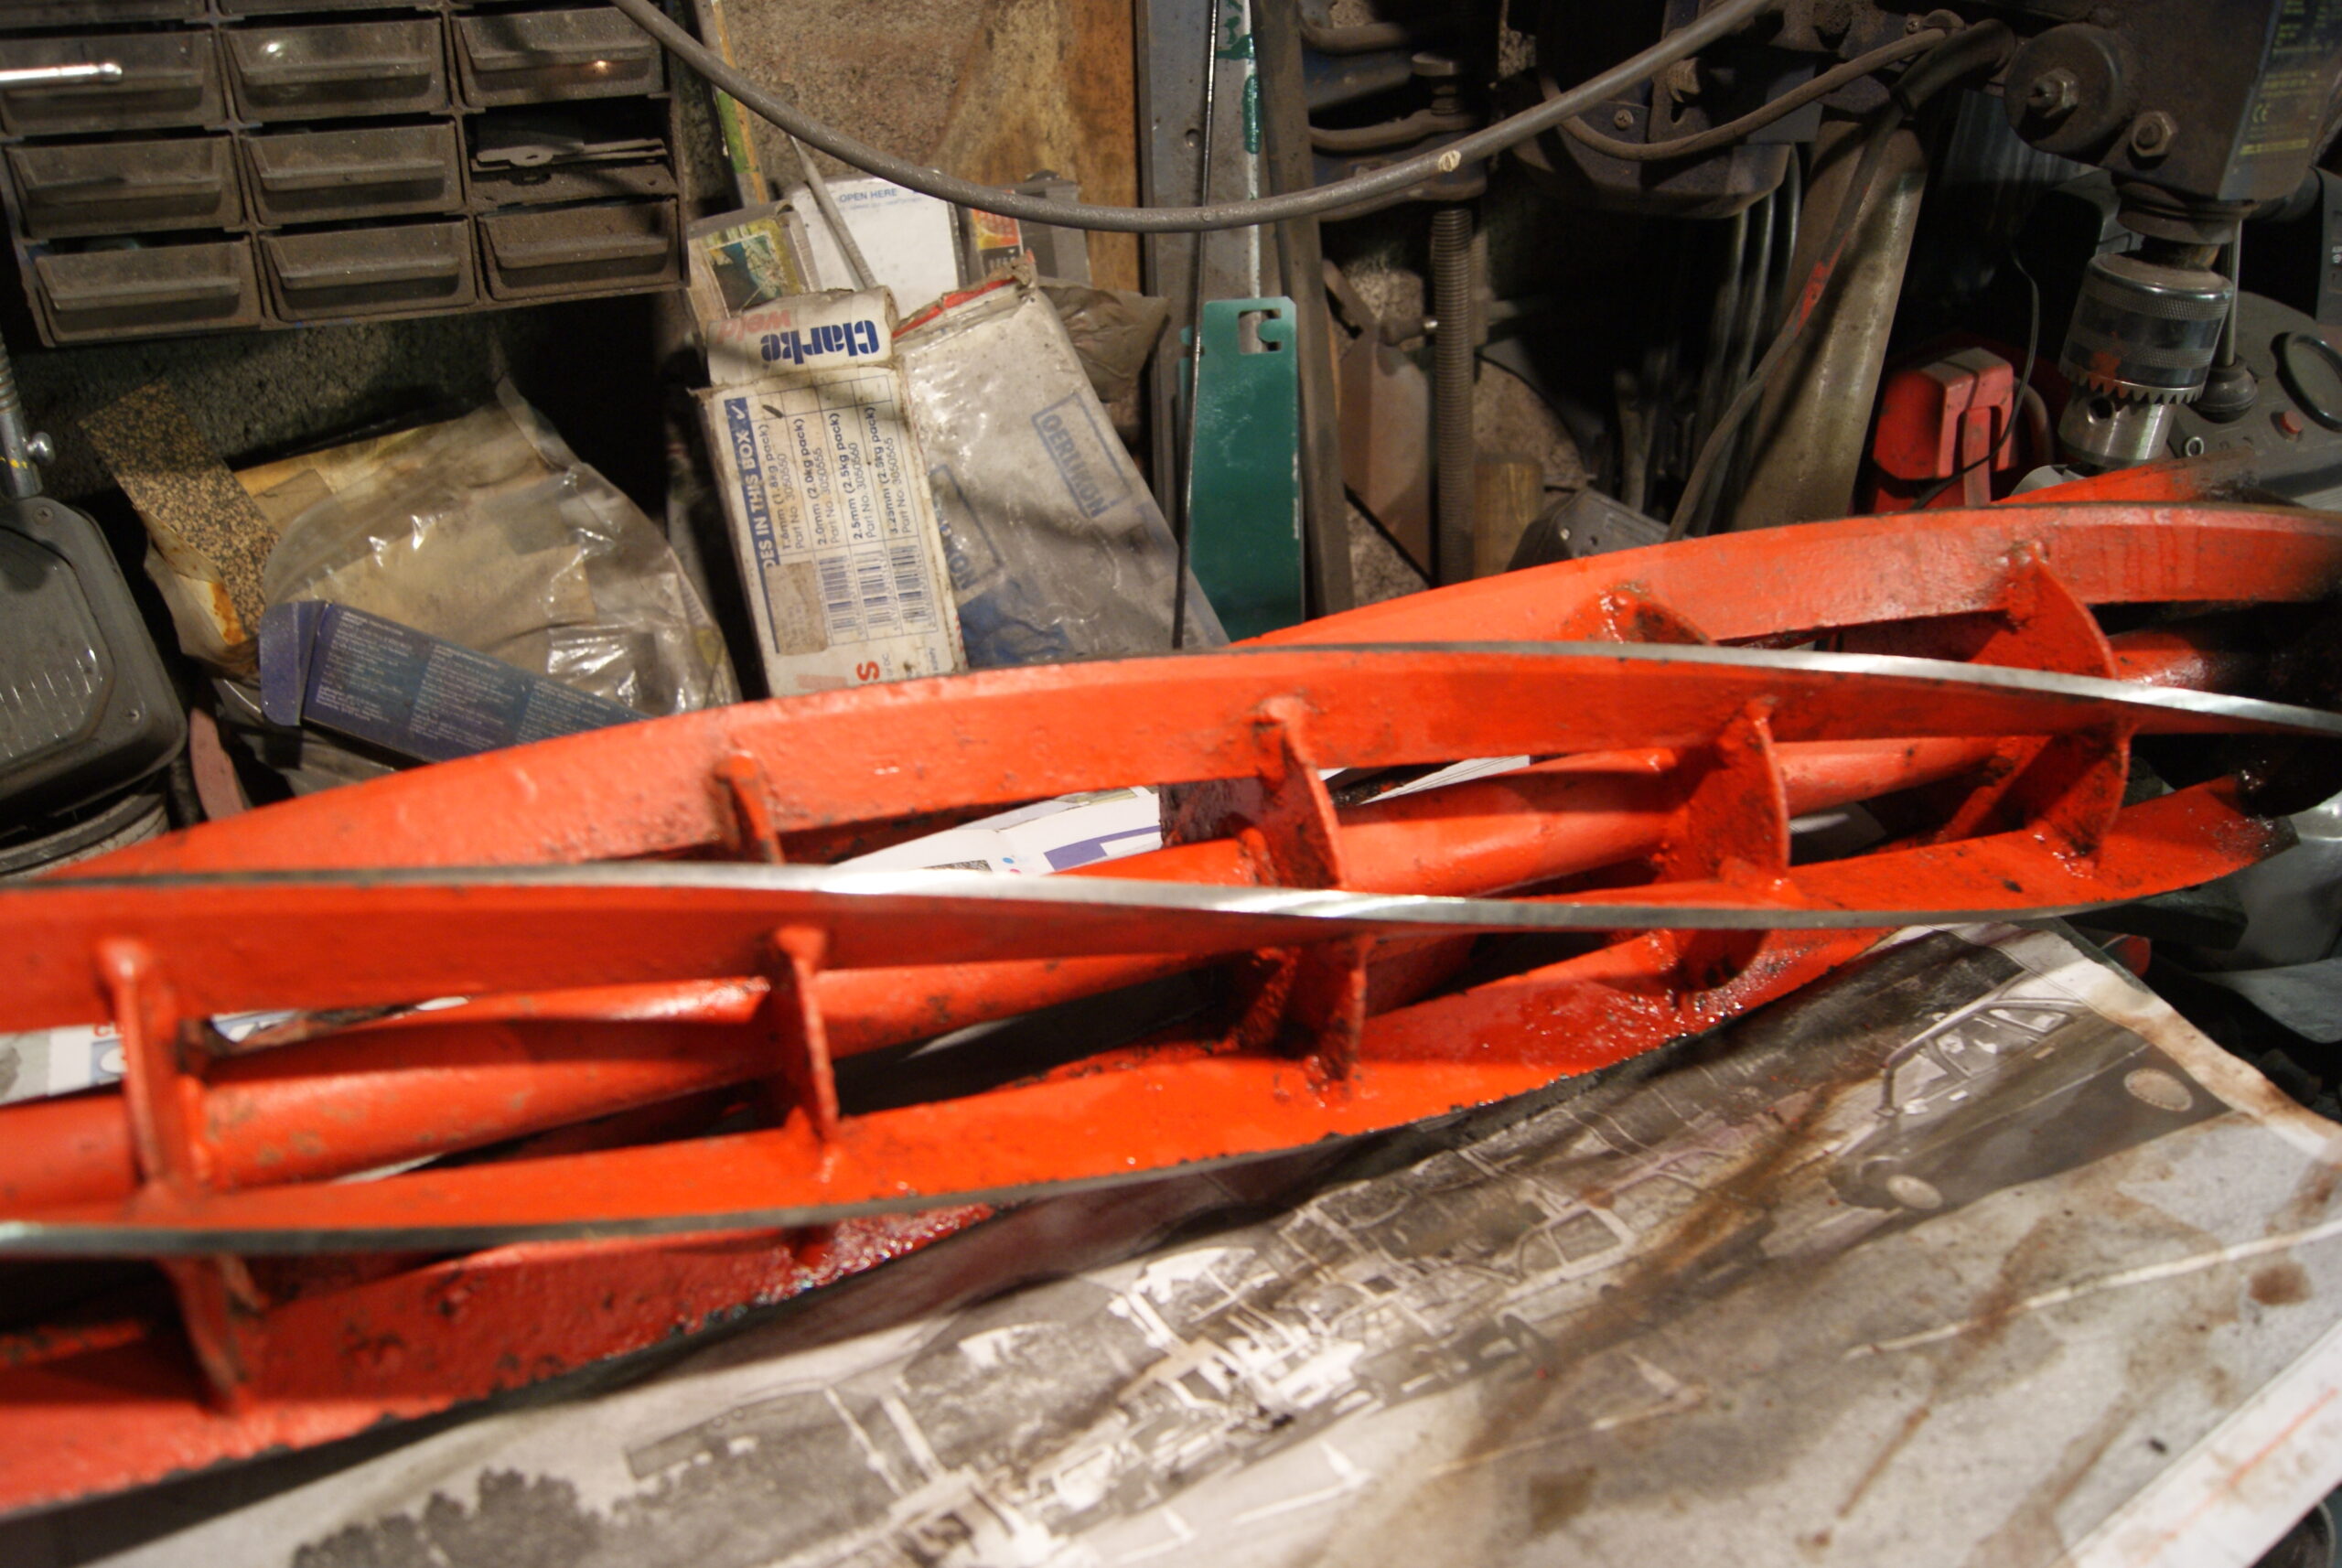
July 20, 2022 at 9:18 am #39481trusty220KeymasterI’ve been battling that primer again today and I’m sure you’ll see from the pictures how much of a problem it was. I think I’ll have to modify my diagnosis of the microblisters on the lid, though- I decided to tackle the chain guard which looked decidedly the worse for wear with great long rust streaks, deep brush marks and big runs and drips in the paint.
The guard is a steel fabrication, made up of various parts all welded together. When attempting to flat out the brush marks I came across the same orange pimples showing through the green topcoat, and on closer inspection it appears that the primer used was very thick and lumpy, probably a result of using an old tin and not being too careful about straining it before use. The brush marks simply would not flat out before the orange primer made an appearance so the whole guard was taken back and re-finished; at least that explains the lid! The inside of the cover looked to be the original green paint, applied with no primer, and so I thought I’d leave that untouched as it is as a record for future restorers to use as a reference to match the paint, plus they can see what the original finish was like.
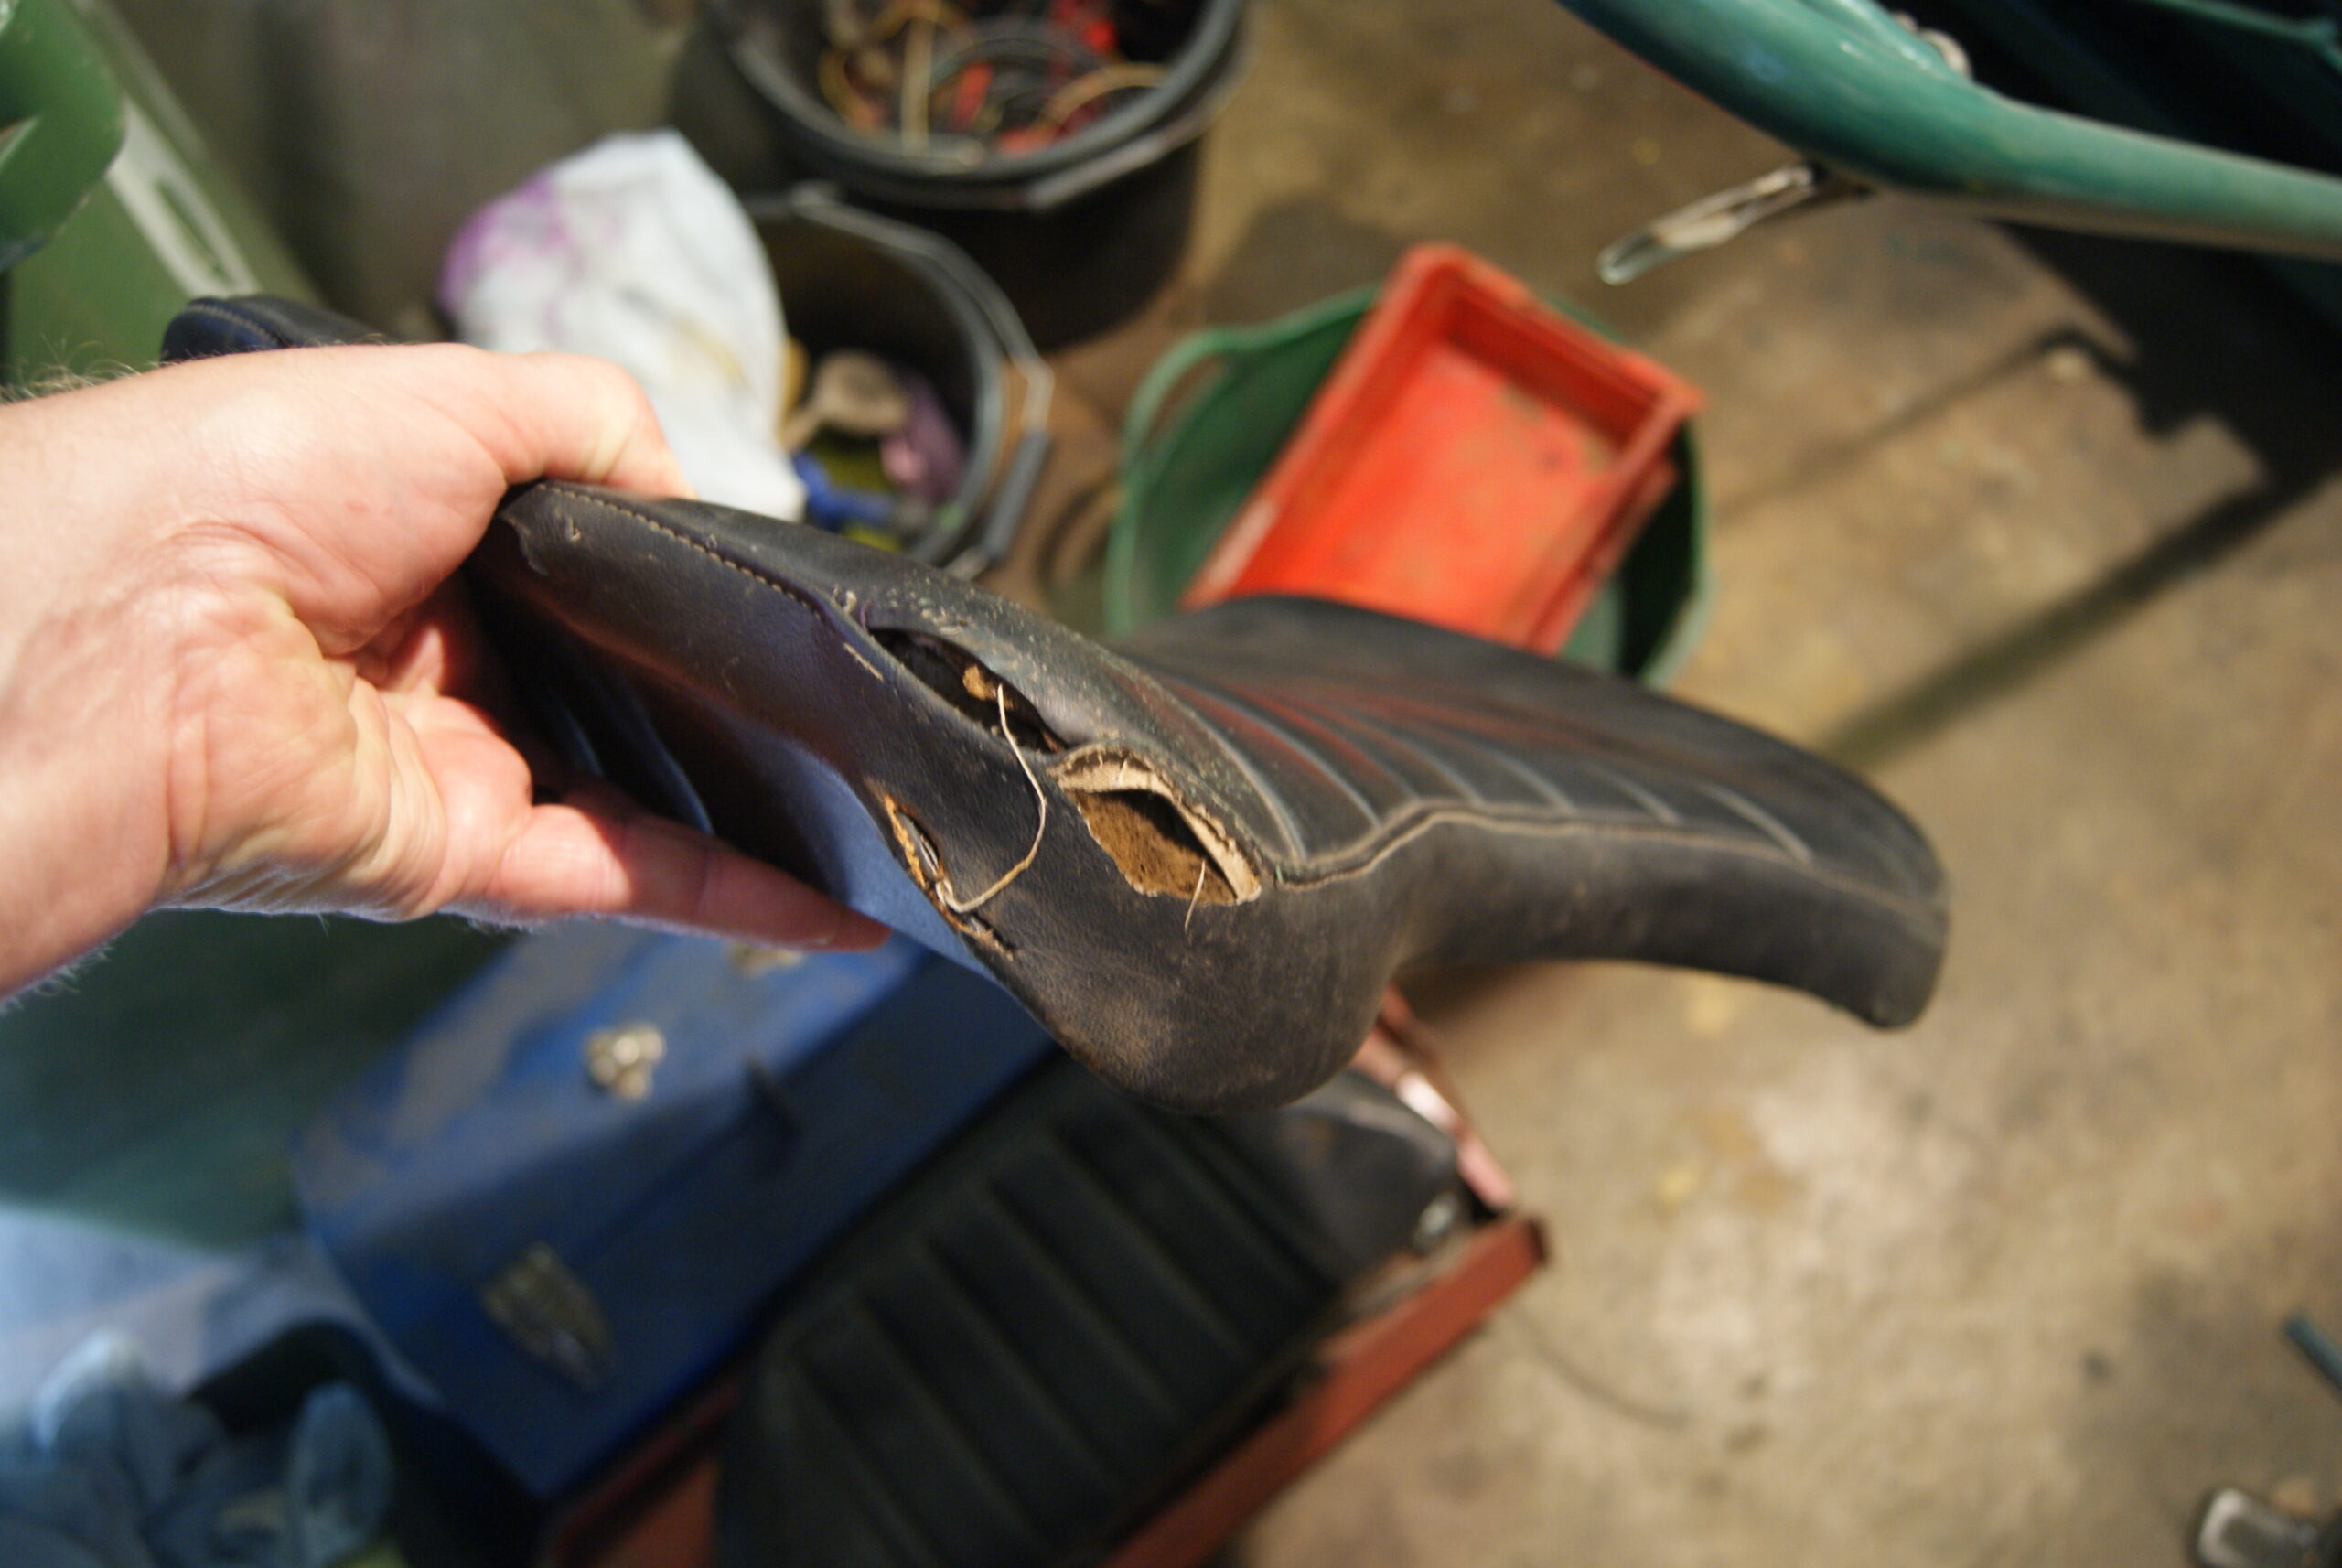
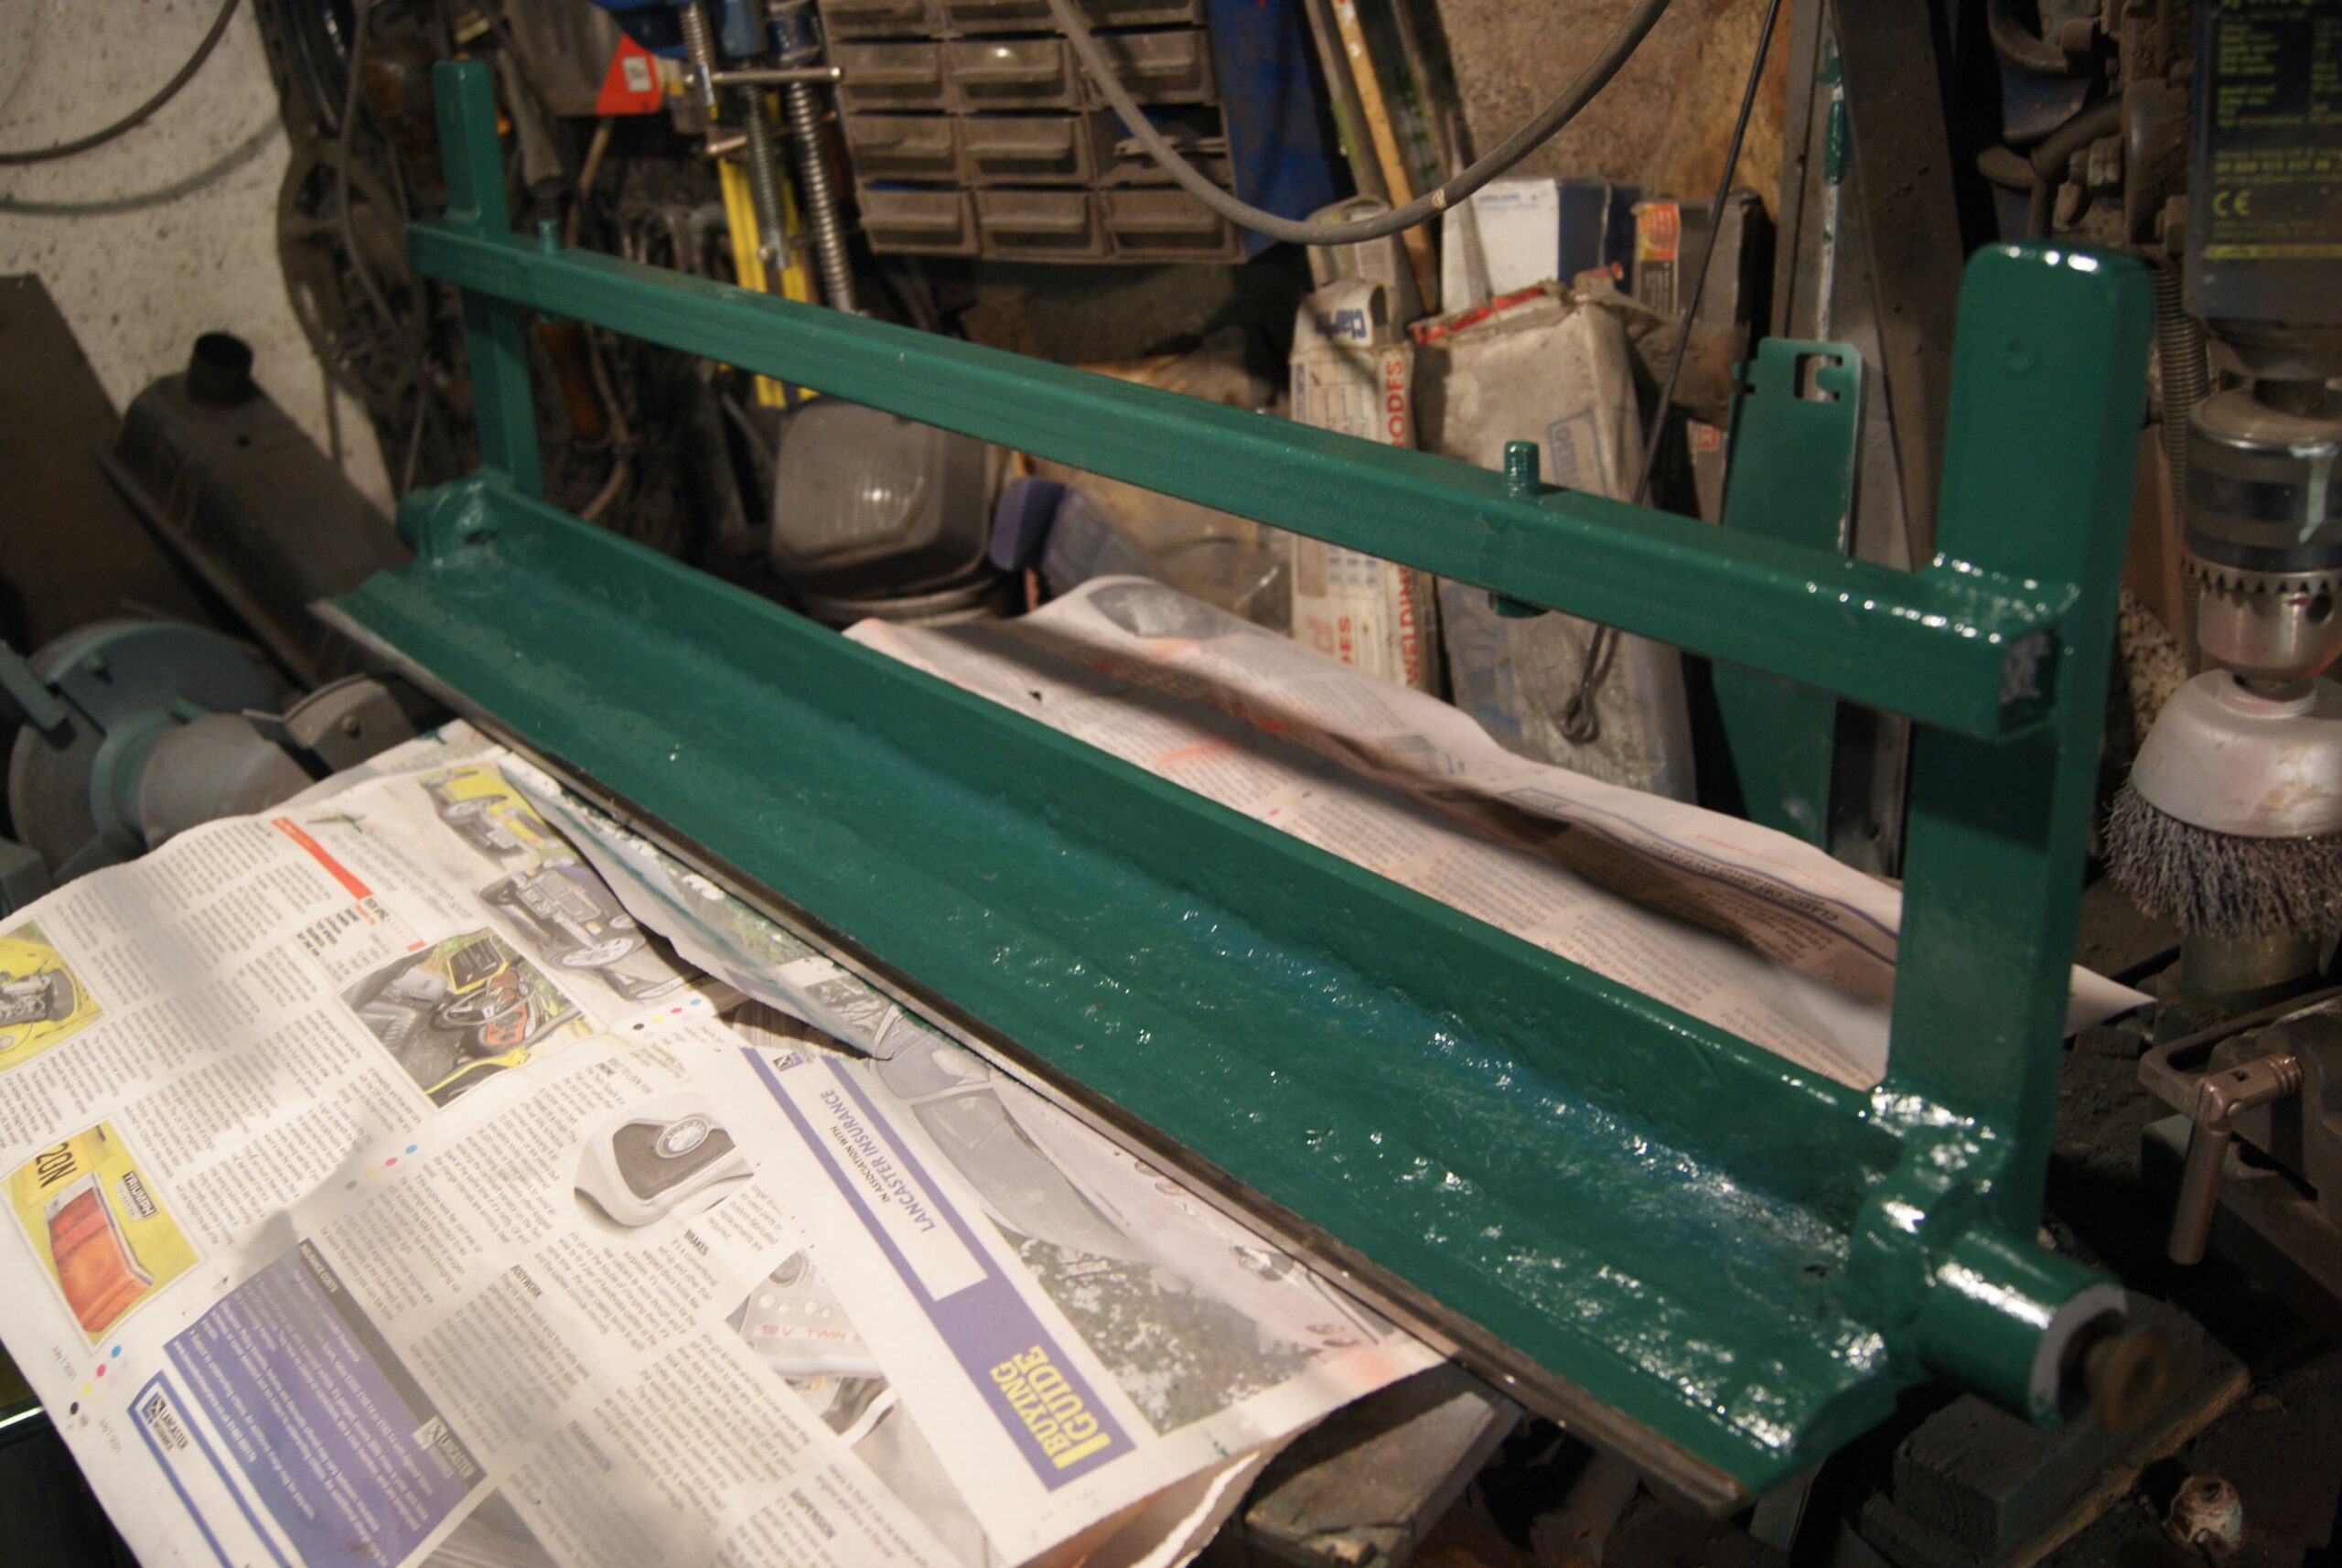
Before I can get any further I have to wait for the paint to harden and so I thought I’d start on the trailing seat. This is an important part of the machine as there is no way that you’d walk behind this mower when it’s in the faster gears. Apart from everything being seized solid with rust it did eventually come apart with plenty of patience and WD40.
A judicious amount of elbow grease and wire wool later the seat assembly does look acceptable; it has rust and primer showing in a few places but nowhere near as bad as the mower was, so I have every confidence that it will clean up with no trouble. There is a split in the front edge of the cushion where drivers have got on and off over the years, so I’ll have to hunt out a vehicle trimmer to see if it can be repaired easily. To my untrained eye it looks straightforward, but then I’m no expert!
Now, where’s that kettle…..?
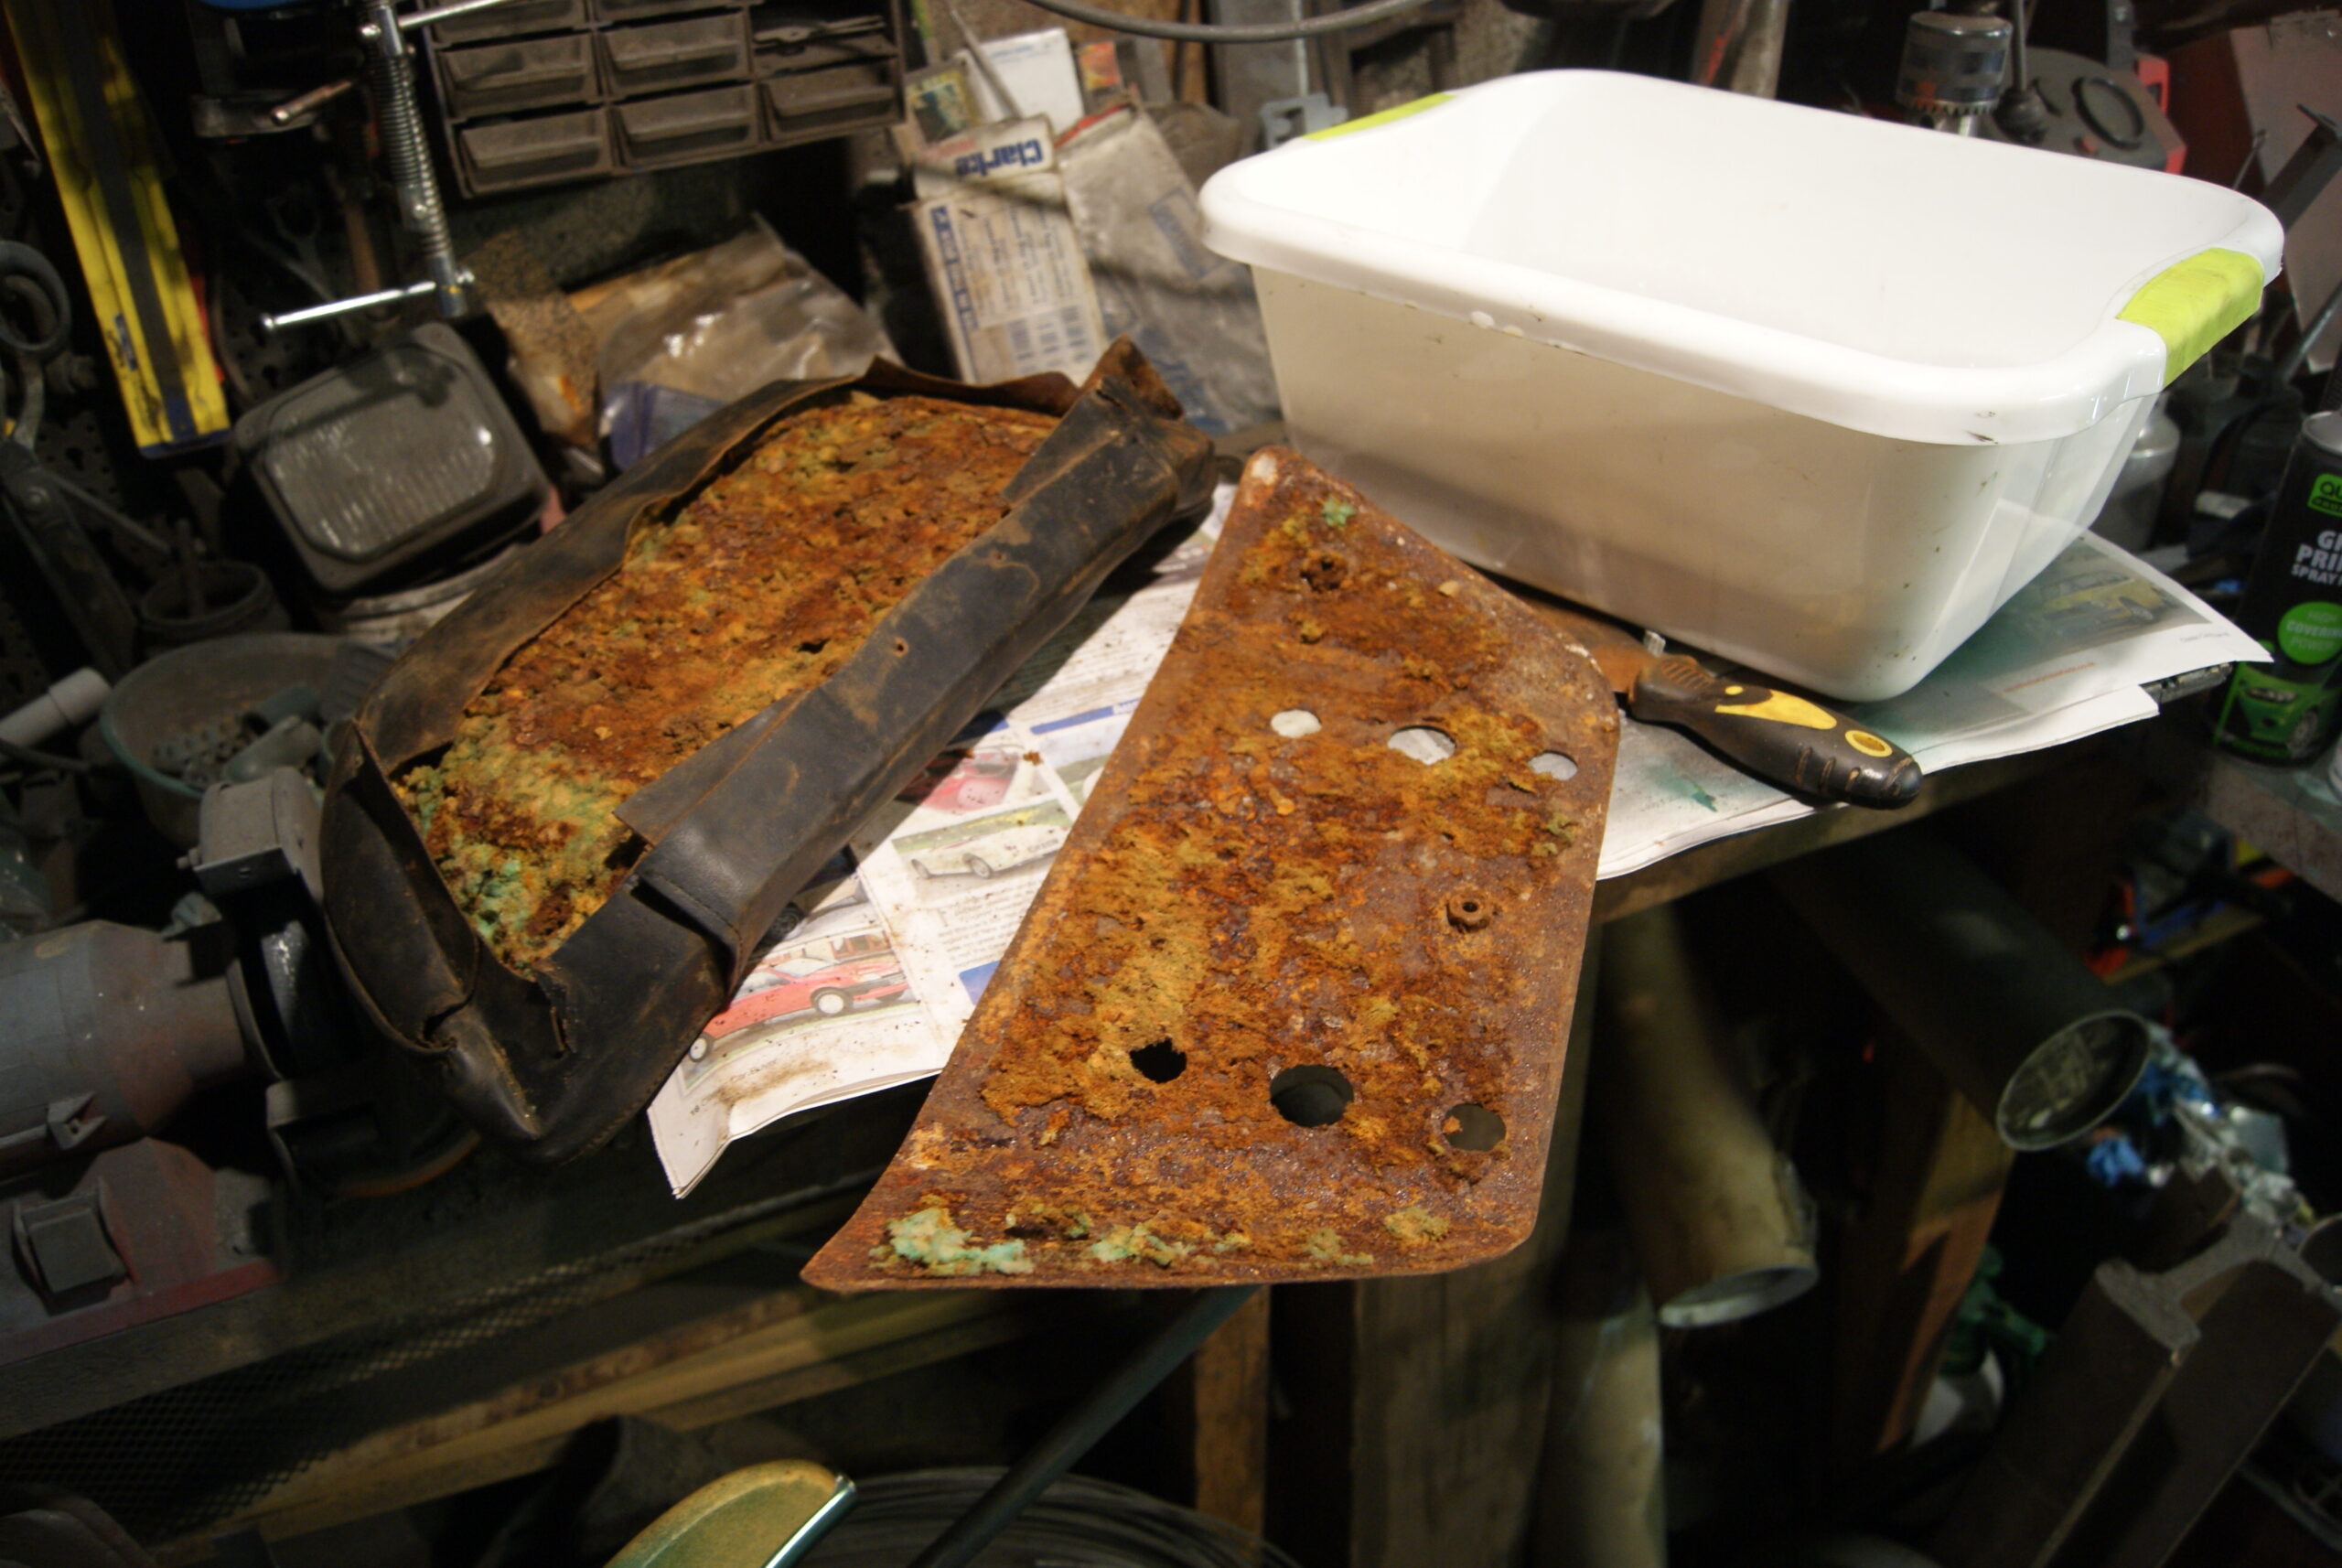
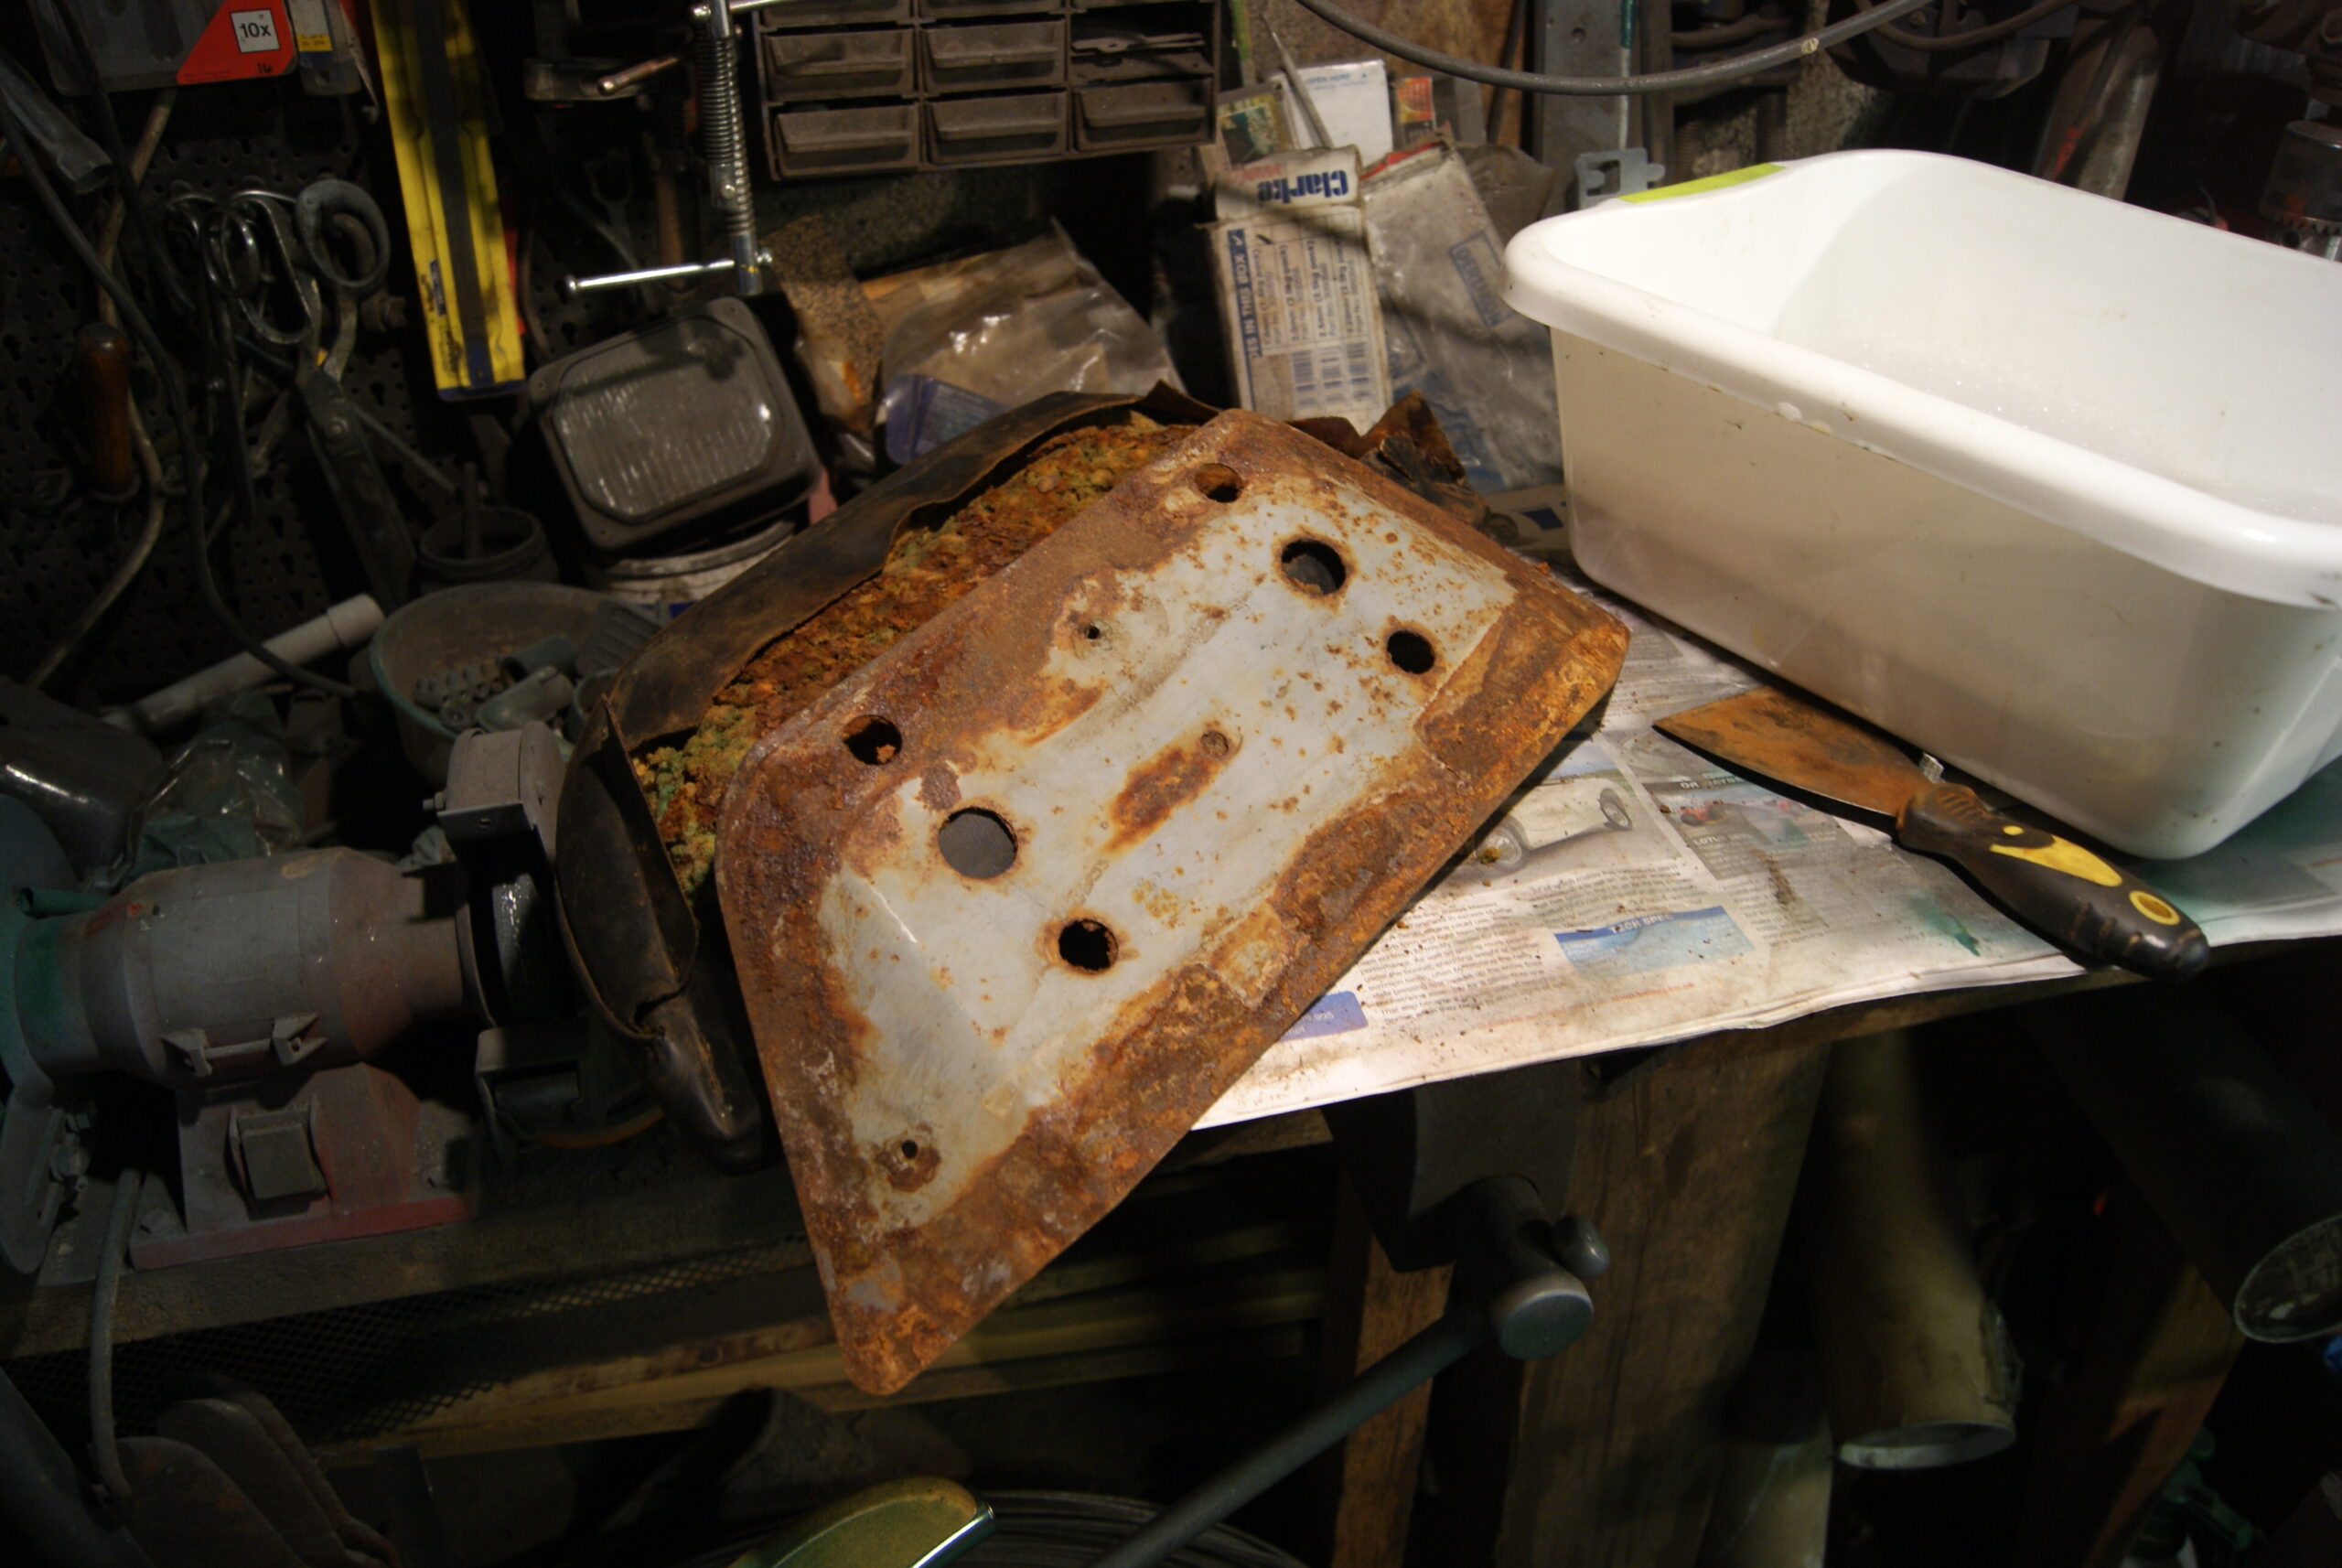
Attachments:
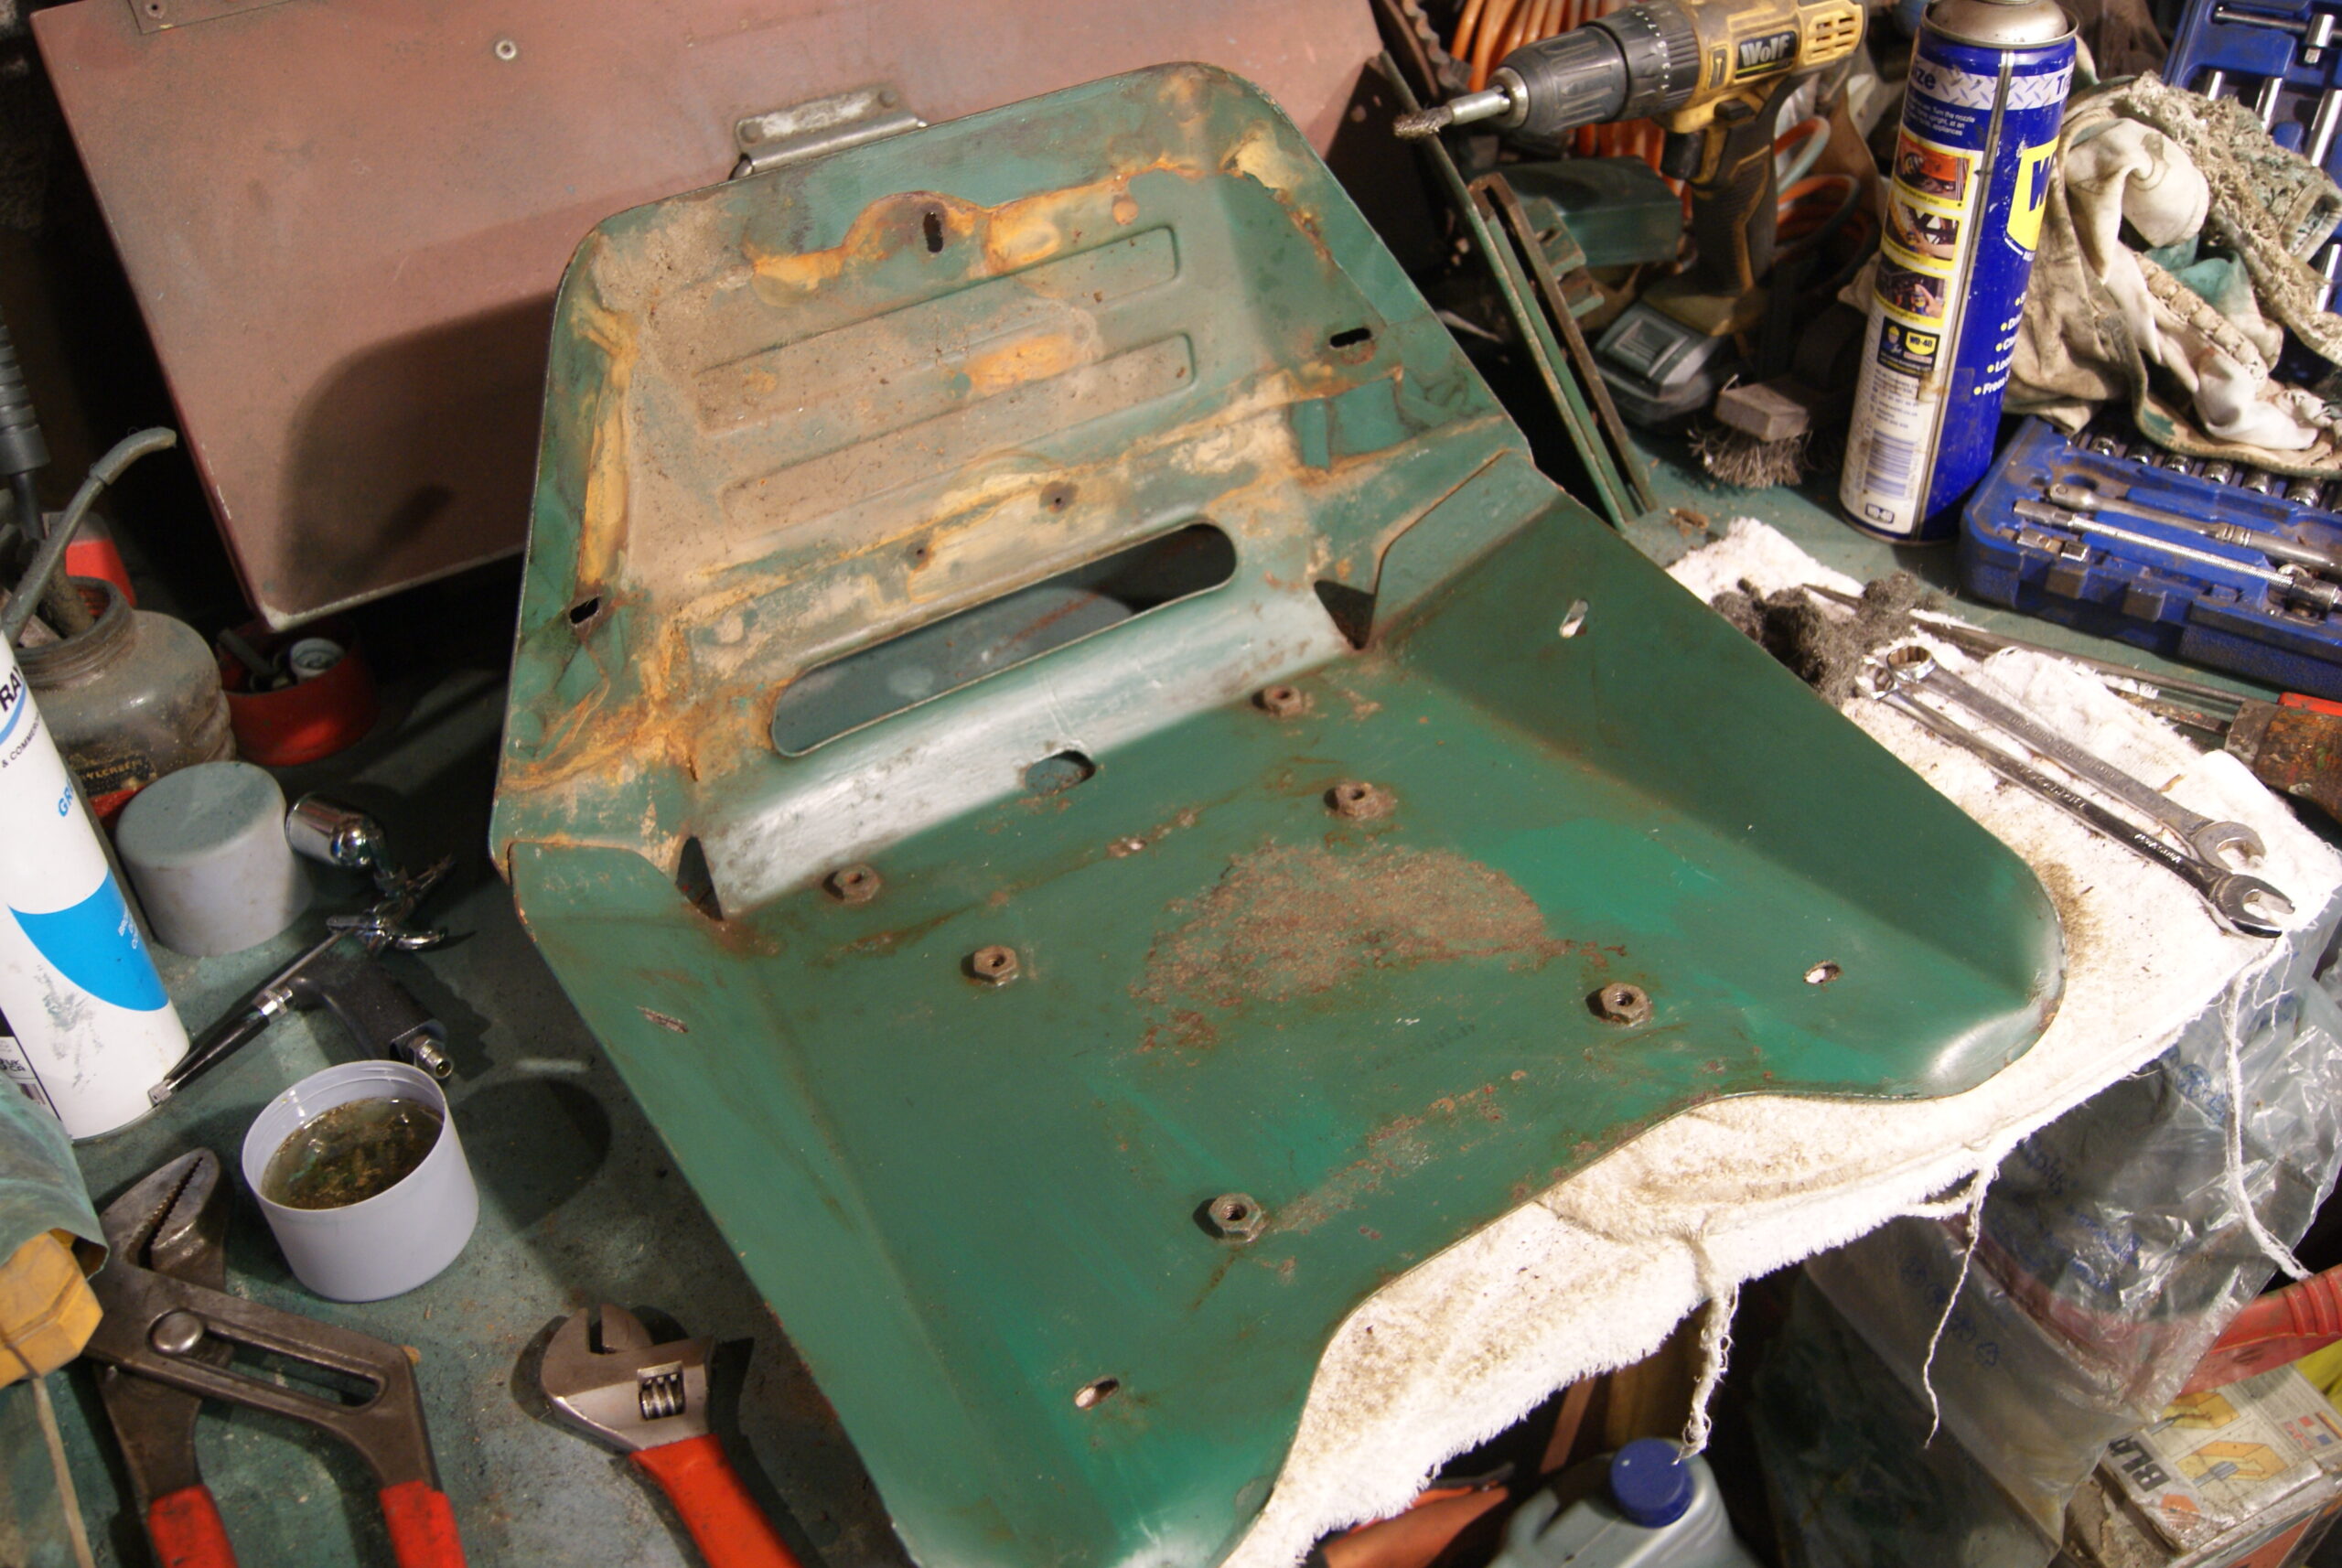
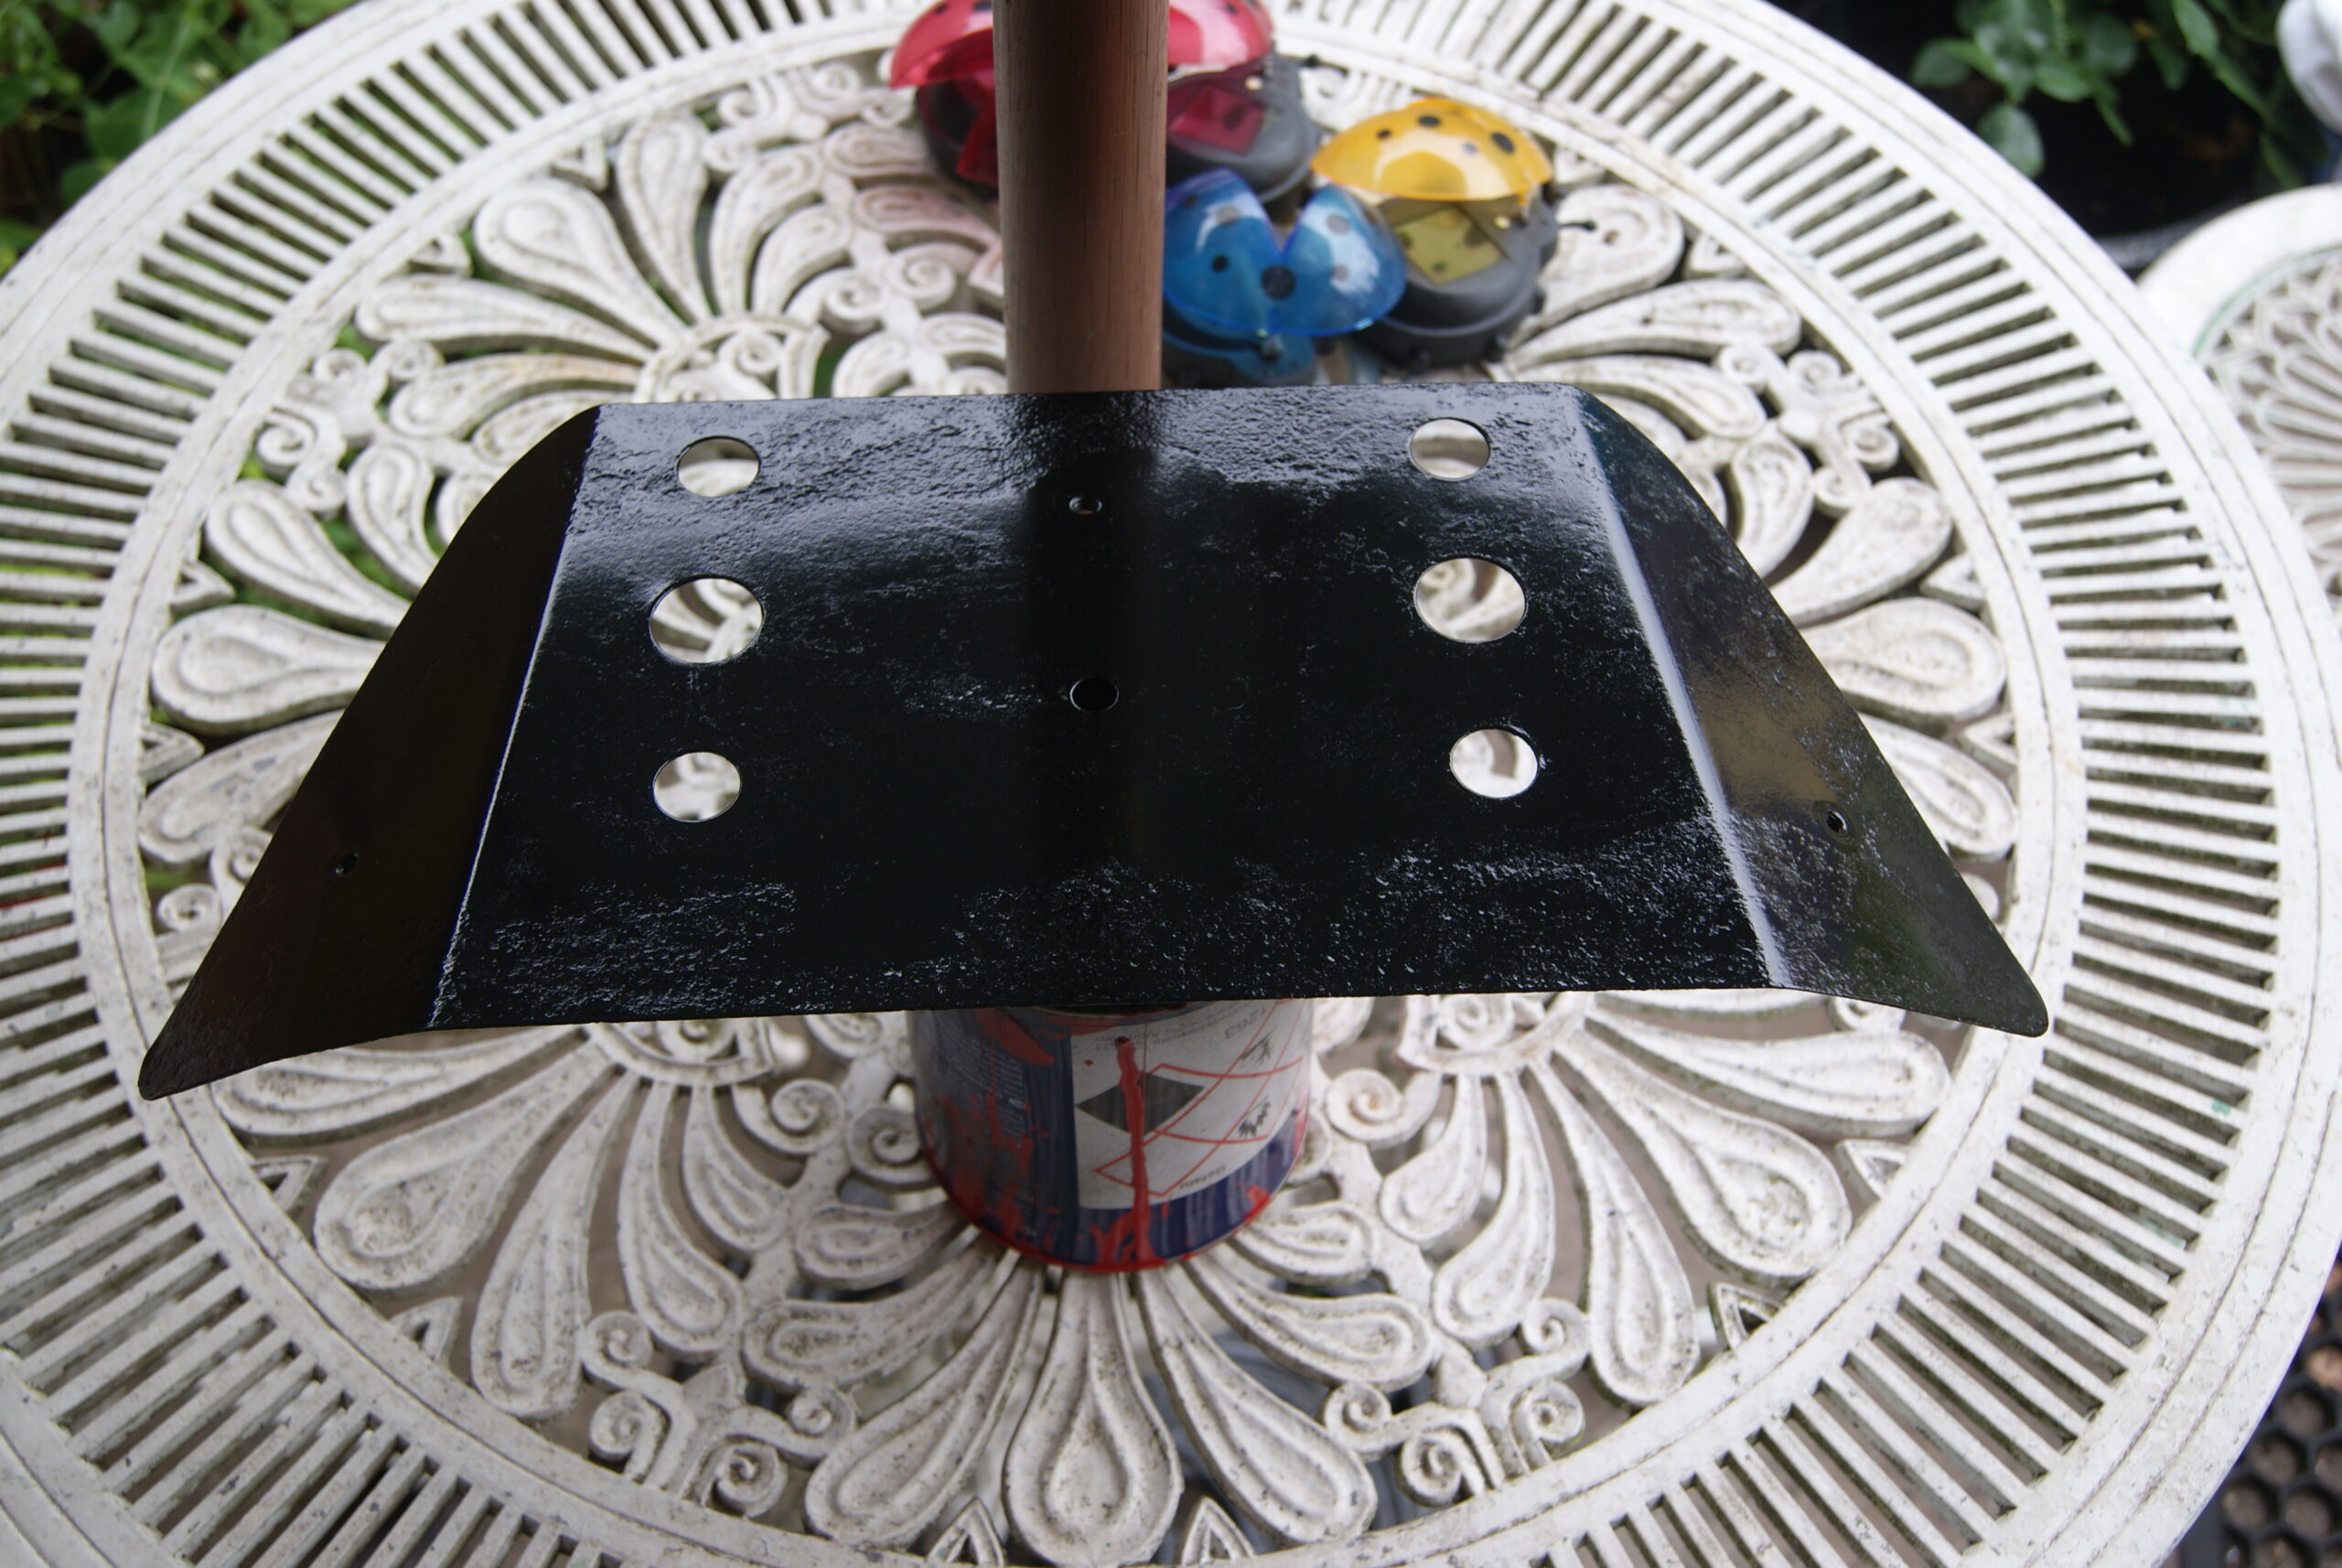
July 20, 2022 at 4:12 pm #39490trusty220KeymasterOn closer inspection the seat cushions were suffering from age and the foam filling was starting to go hard. I’ve got the same problem with the GT6 and every time I sit in the driver’s seat a trickle of powder comes out of the bottom of the seat; I’ve tried losing weight but it doesn’t seem to make any difference. Fearing that this seat is getting close to the same state I think it best to get the cushions re-padded and at least that will be good for a few more years yet. You will also see that once I separated the foam from the steel backing plate, the rust had just taken over inside so it was a good thing to dismantle it. I have now cleaned the plate up and it’s sitting in the garden with a good coat of black Hammerite on it; I haven’t taken much care over the finish as it won’t be seen once assembled, and the rough surface will give glue on the outer cover something to grip to.
The cylinder and bottom blade arrived back today complete with a pair of new cylinder bearings and a new set of countersunk screws to locate them with. The new bearings are imperial sized but the threads are different; the old bearing housings were tapped out 1/2″ BSF but the new ones are 1/2″ UNF- same diameter but different TPI, hence the new screws.
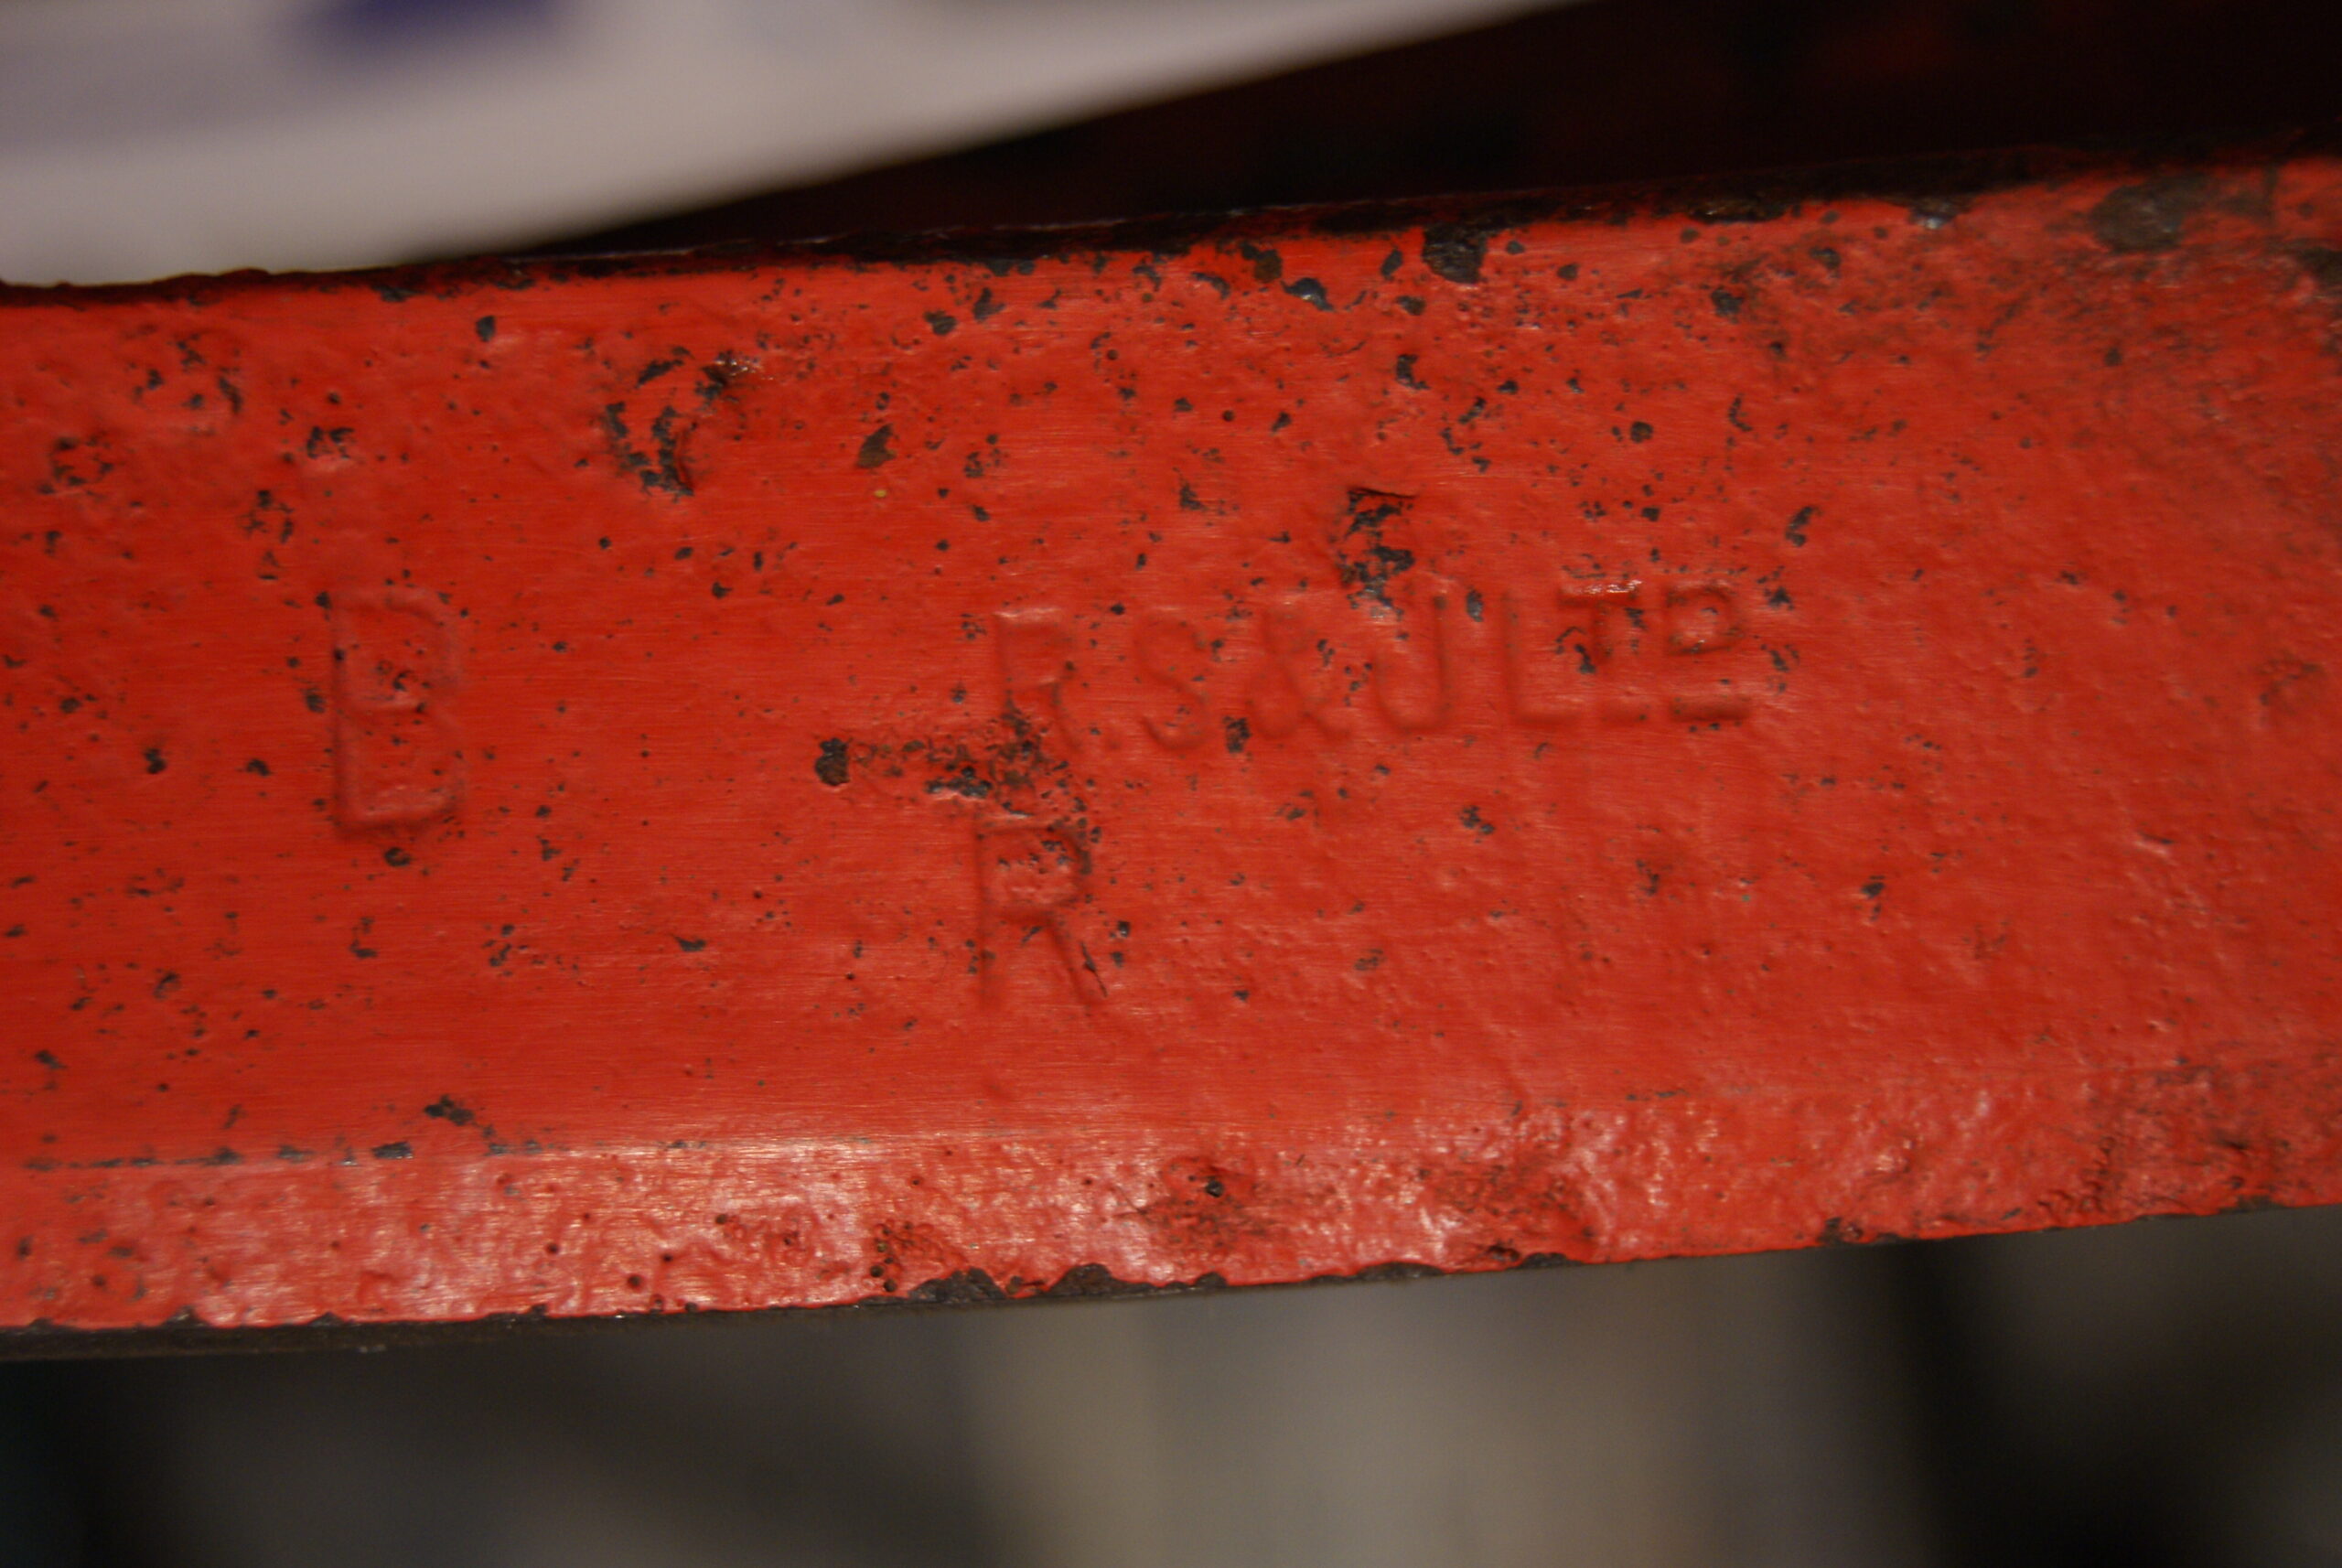
When cleaning up the cylinder I came across a reminder of my past- each spiral is stamped RS&J Ltd- so it looks like somebody at some point has either re-spiraled the original cylinder, or maybe Allett used Ransomes spirals at some point in their production. I’m not suggesting that this is the original cylinder as a mower of this age will no doubt have got through quite a few cylinders, but it is an interesting find all the same.
That’s enough for one day, time for that kettle again!
Attachments:
July 20, 2022 at 5:13 pm #39496wristpinParticipantThe old thing is slowly giving up its secrets. I presume that Allett have a record of the original buyer but is there any information of its life in service? Re the Ransomes identification letters on the spirals, is it dangerous to suggest that Allett may have used complete Ransomes cylinder ?
July 21, 2022 at 6:55 am #39497trusty220KeymasterThat will be something to work on in the future. I know that you could buy spirals from Ransomes in the 80’s because one job I had was to re-spiral some of our hire Motor Triples to save the expense of replacing cylinders in them- a false economy as it turned out, the labour to remove the old ones and weld in new spirals just made it too much work.
My theory- and I don’t base it on any evidence at this stage- is that Allett made the centre shaft and the webs and bought in the spirals from Ransomes. These would be made from a special alloy as they are the wearing part of any cylinder and if you get it wrong it reflects badly on the whole machine. If it’s too hard it keeps a sharp edge but if you hit a stone it can shatter or crack; too soft and it won’t keep a sharp cutting edge, so the metal needs to be a compromise between hard and soft- hard enough to keep sharp, but soft enough to bend if it meets a foreign object. Ransomes have a long history of getting this right so it may be the way they decided to go.
Of course, somebody may have re-spiraled the Allett cylinder at a dealership using Ransomes spirals. No doubt the secrets will come to light in time, but we have to ask the questions first!
This is getting deep, isn’t it…?
July 22, 2022 at 6:37 am #39499wristpinParticipantThese would be made from a special alloy as they are the wearing part of any cylinder and if you get it wrong it reflects badly on the whole machine
The difference between the characteristics of various manufacturers’ blade materials is very apparent when regrinding cylinders, both in spark colour and sound. Two examples from domestic machines come to mind – Hayter Ambassador cylinders seemed to be hard and brittle and it was usual to find damage to the ends of the blades. On the other hand the material used in the Atco DeLuxe 14,17,and 20” machines of the 1960s to 70s was very soft and quite badly buckled blades could be hammered straight and reground with no ill effect. Again noticeable with bottom blades, some being quite soft and responding to a quick skim while others needing a well dressed wheel and and lots of coolant.
The bottom blades from Saxon Triples (now Baroness) used some rather special alloy and really needed a “green wheel”. In the day those blades were very expensive but outlasted those used by Ransomes several times over.
Re-blading cylinders may be a thing of the past but a while ago I bought a very cheap Ransomes Marquis for “Spares or repairs” as it had an “unblemished” grass box but interestingly it had a very good cutting cylinder in terms of lack of blade wear but the quality of the welding suggested a rather amateurish re-blading job.July 22, 2022 at 7:42 pm #39509trusty220KeymasterI think the debate about the best alloy for blades will go on for ever. The manufacturers who choose a hard material always harp on about the sharpest cutting edge which lasts for many seasons. My experience with Ransomes machinery is that their blades will take a certain amount of re-aligning after a foreign body has distorted them, but if it’s large enough it will snap a spiral.
Most of the cylinders that Ransomes make are to fit to their local authority ride-on machinery. Although unconfirmed, we always used to reckon that they were designed to cope with beer cans without damaging the cutting surfaces. The newer cutting units have tapered roller bearings which are tensioned by a heavy duty compression spring so that the cutting cylinder can move in relation to the bottom blade; this does go a long way to prevent damage on the modern machinery.
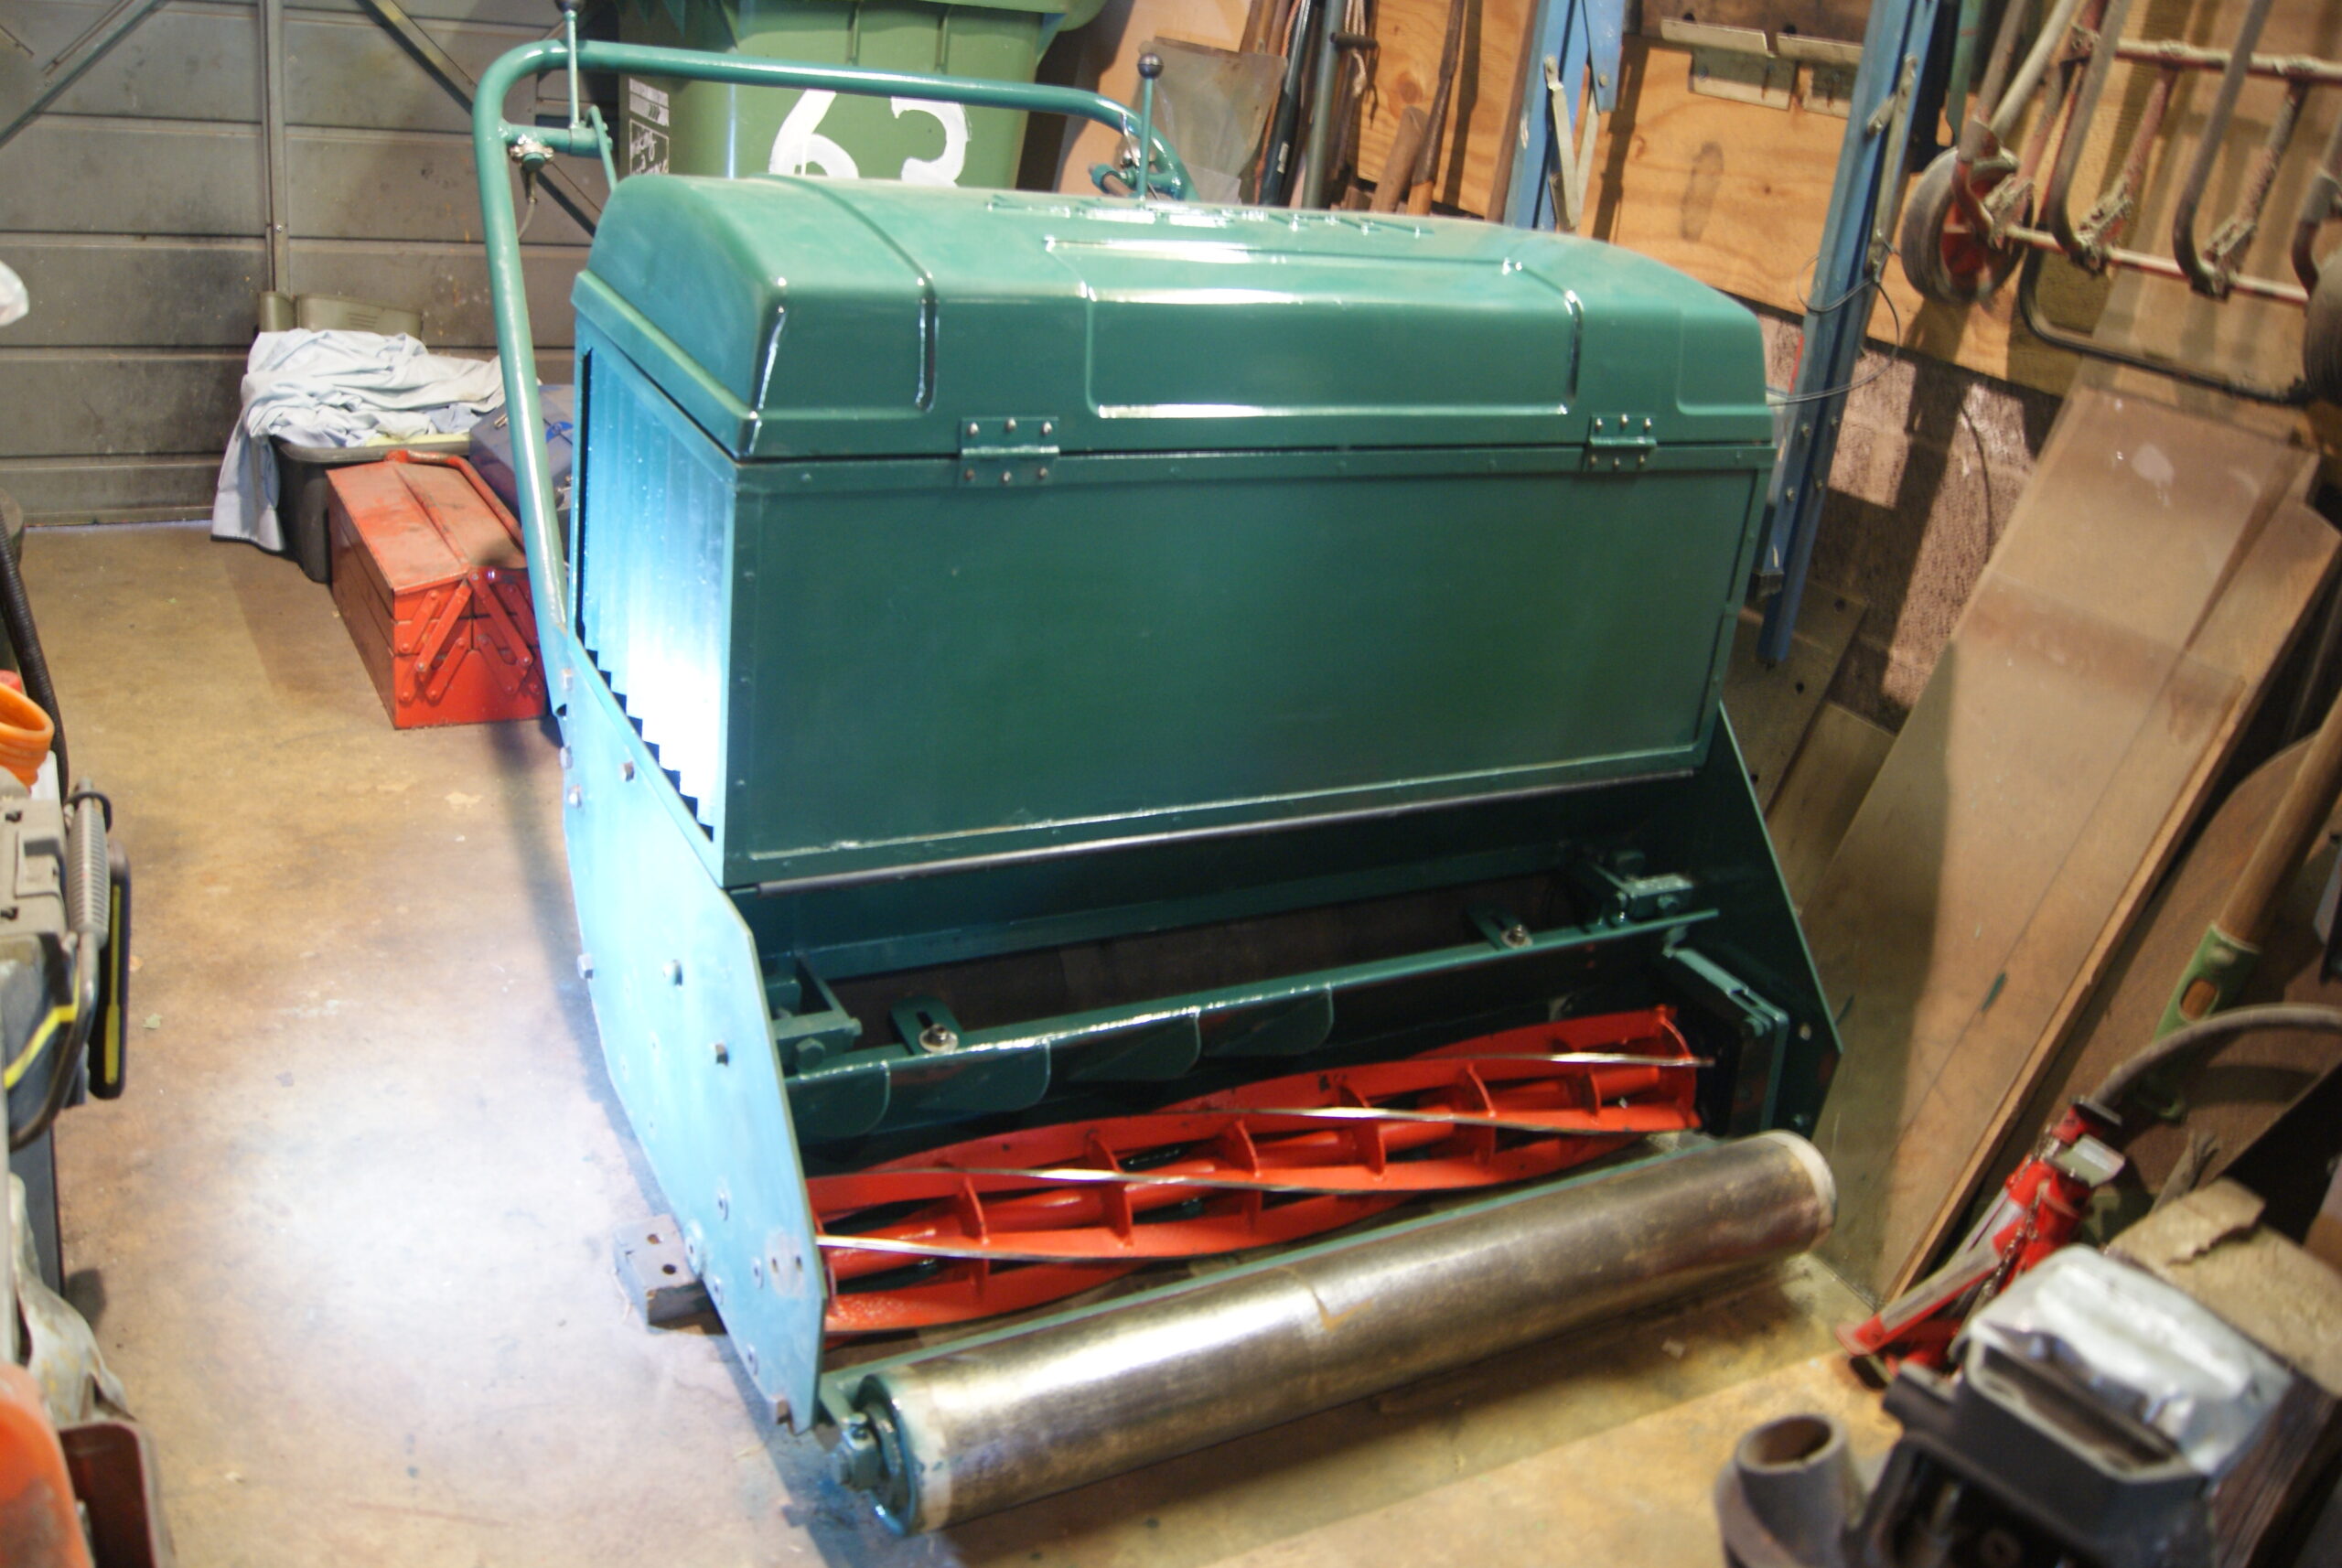
July 25, 2022 at 4:11 pm #39522trusty220KeymasterBack to the workshop today. The cylinder fitted in very nicely with the new bearings and screws kindly supplied by Allett Mowers; the old cylinder bearing that I couldn’t get off the shaft had obviously posed a problem for somebody as the red paint had turned brown with the heat applied to get it moving, so a quick dose of grey primer and then Ford Sunburst Red over the top sorted that one out.
On Sunday I masked up the cutting edges of the bottom blade then gave the whole carrier assembly a coat of primer and Allett Green. This morning it was dry enough to handle, so I fitted that as well and adjusted it up using the four-point adjusters. In this machine the cylinder is bolted rigidly to the frame and adjustment is done by moving the bottom blade up to the cylinder; the advantage in this is that the cutting height remains constant as the bottom blade wears. If you bolt the bottom blade rigidly to the frame it does give a very strong structure but the height of cut gets lower as the bottom blade wears.
Anyway, enough of the sales patter (but it’s difficult not to after thirty years!). The concave had been repaired at some point in it’s life but the repair looked to be a good one. It’s also part of the machine’s history so I thought I’d just tidy up the frayed bottom edge to smarten it up a little; it fitted well with the three clips that fit over the bottom blade carrier and two 3/8″ BSF nuts on the top secured it in place.
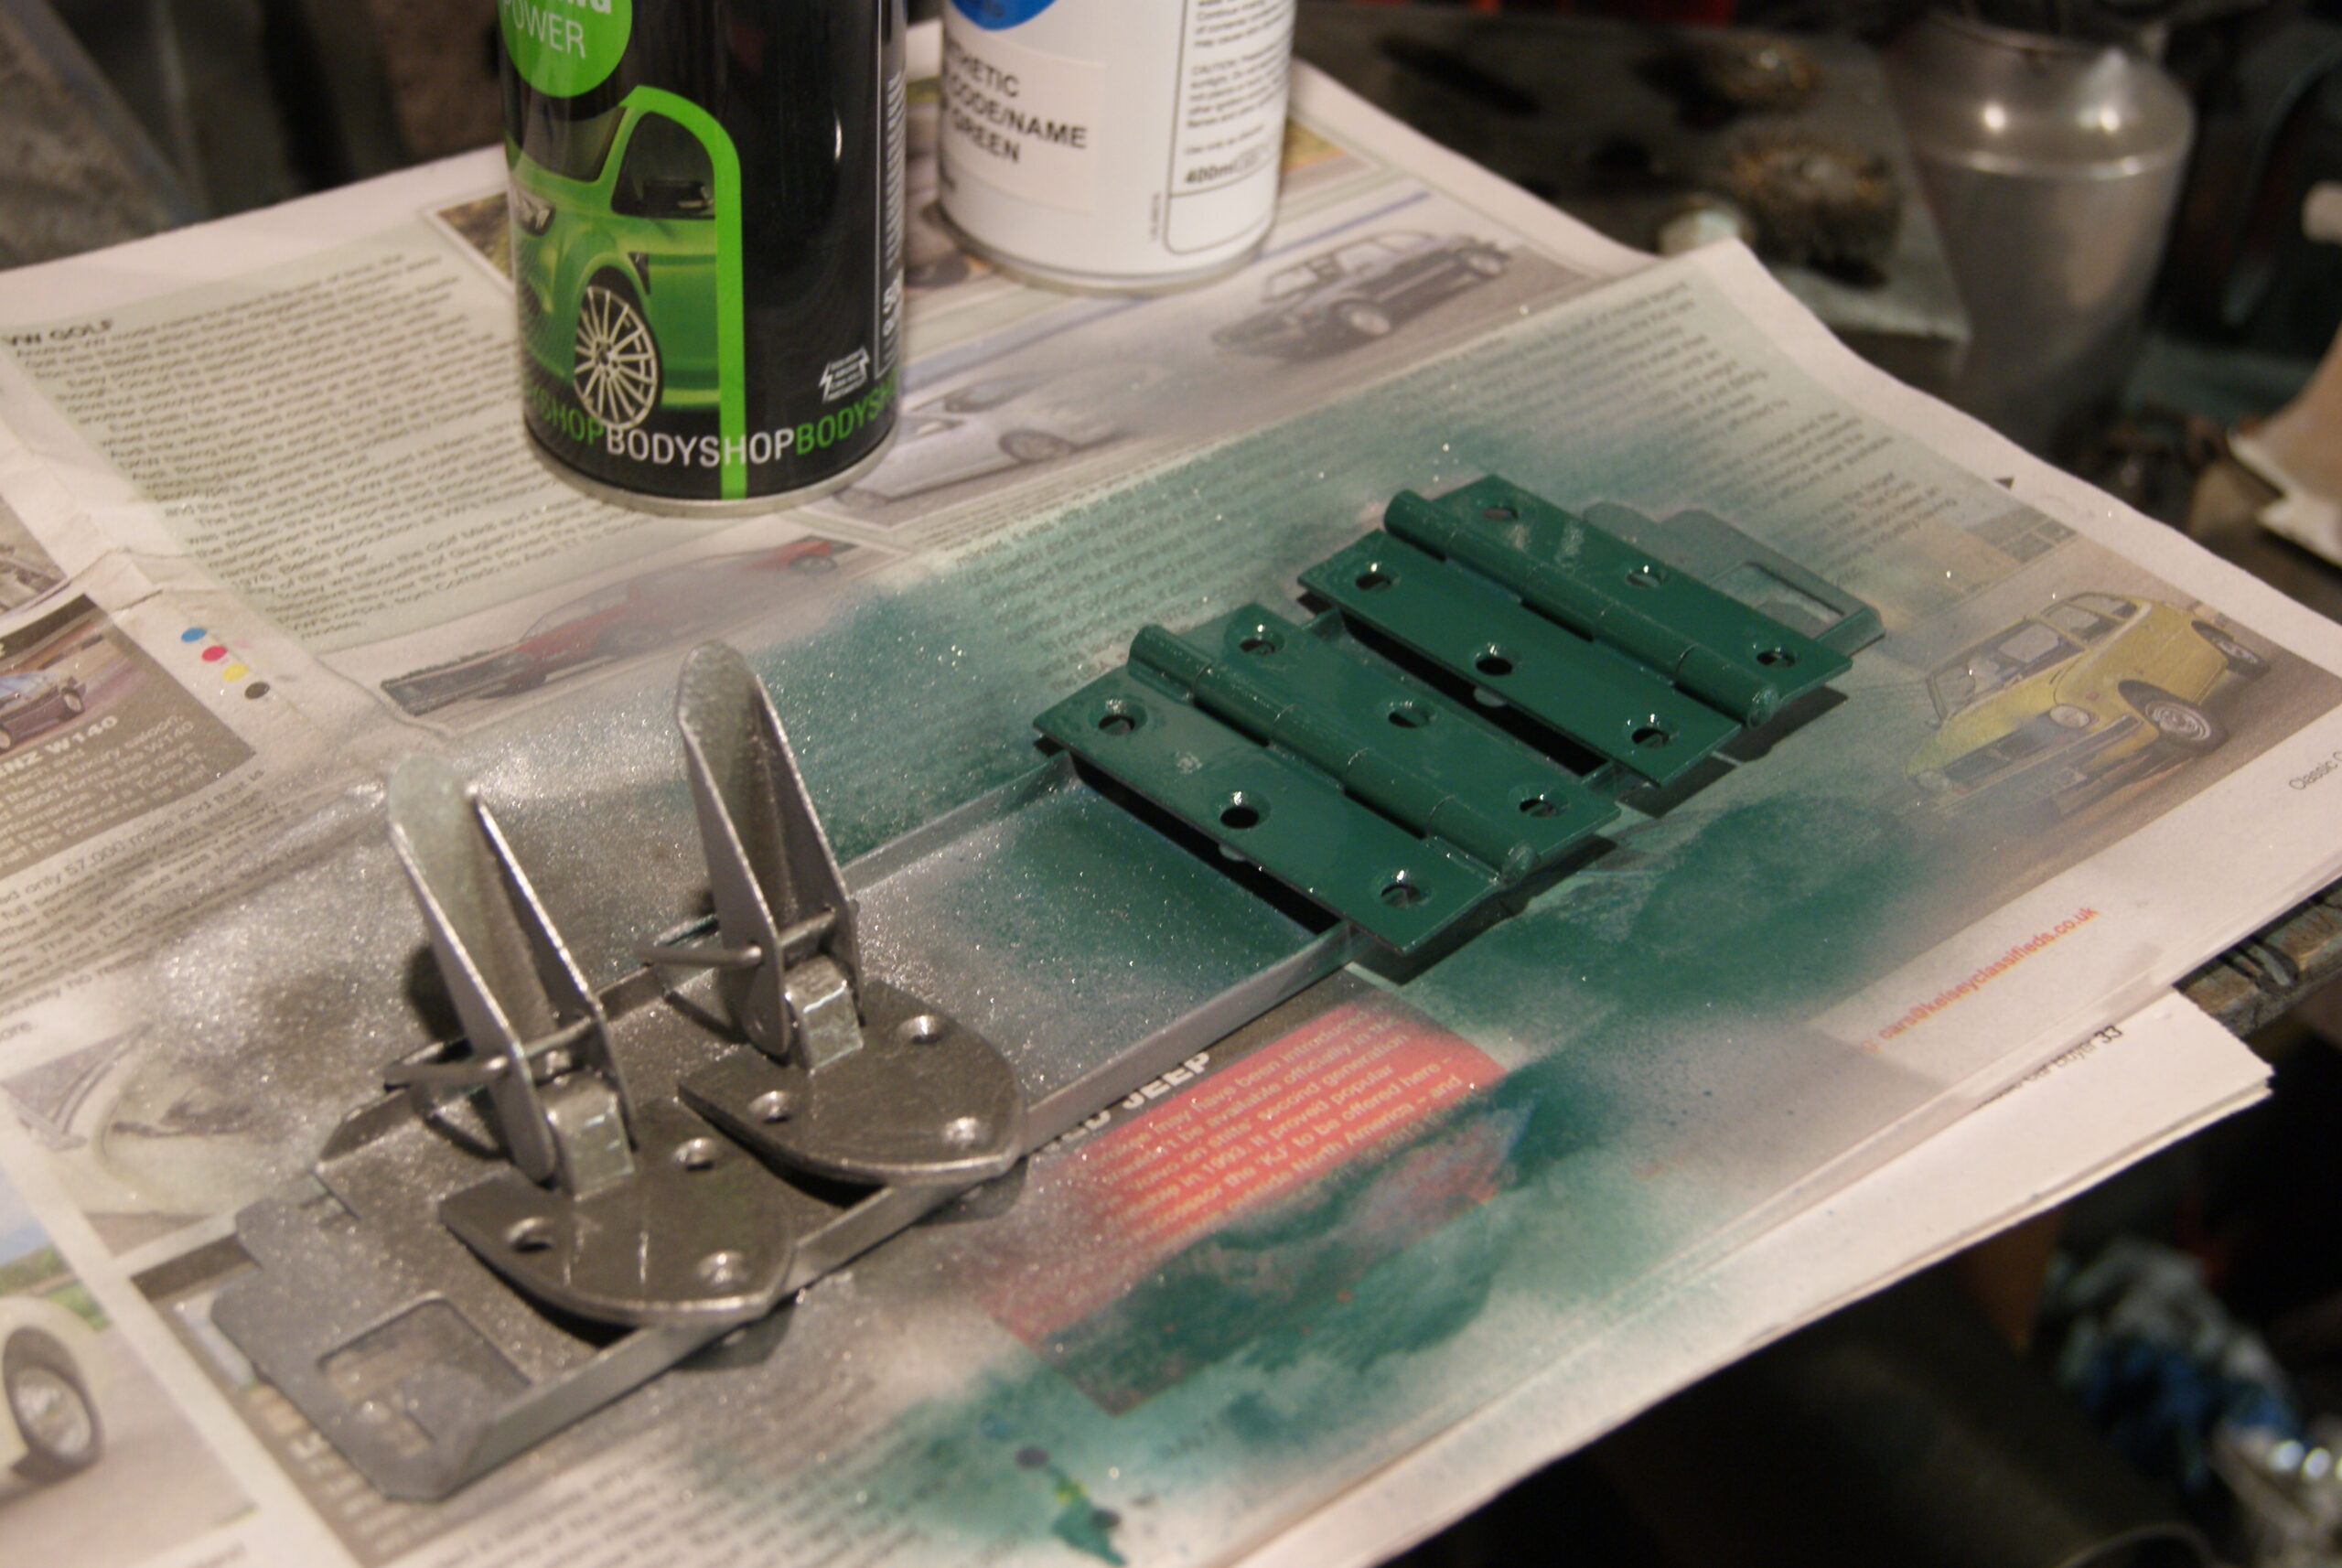
The rest of the day was spent tidying up loose ends such as attaching the hinges to the lid, the catches on the back of the lid and touching up heads of bolts that needed a coat of green paint. I’ve even gone to the trouble to wash the stays for the lid- these are made from lengths of recoil rope that loop through parts of the framework and stop the lid from going too far and breaking. It would have been easier to use some new rope, but there wasn’t much wrong with the originals and I’ve tried to keep as much of the original machine as I can with this rebuild.
Tomorrow will come the big move outside so that I can turn it around and work on the drive chains. I wish I had the luxury of a large workshop again!
Attachments:
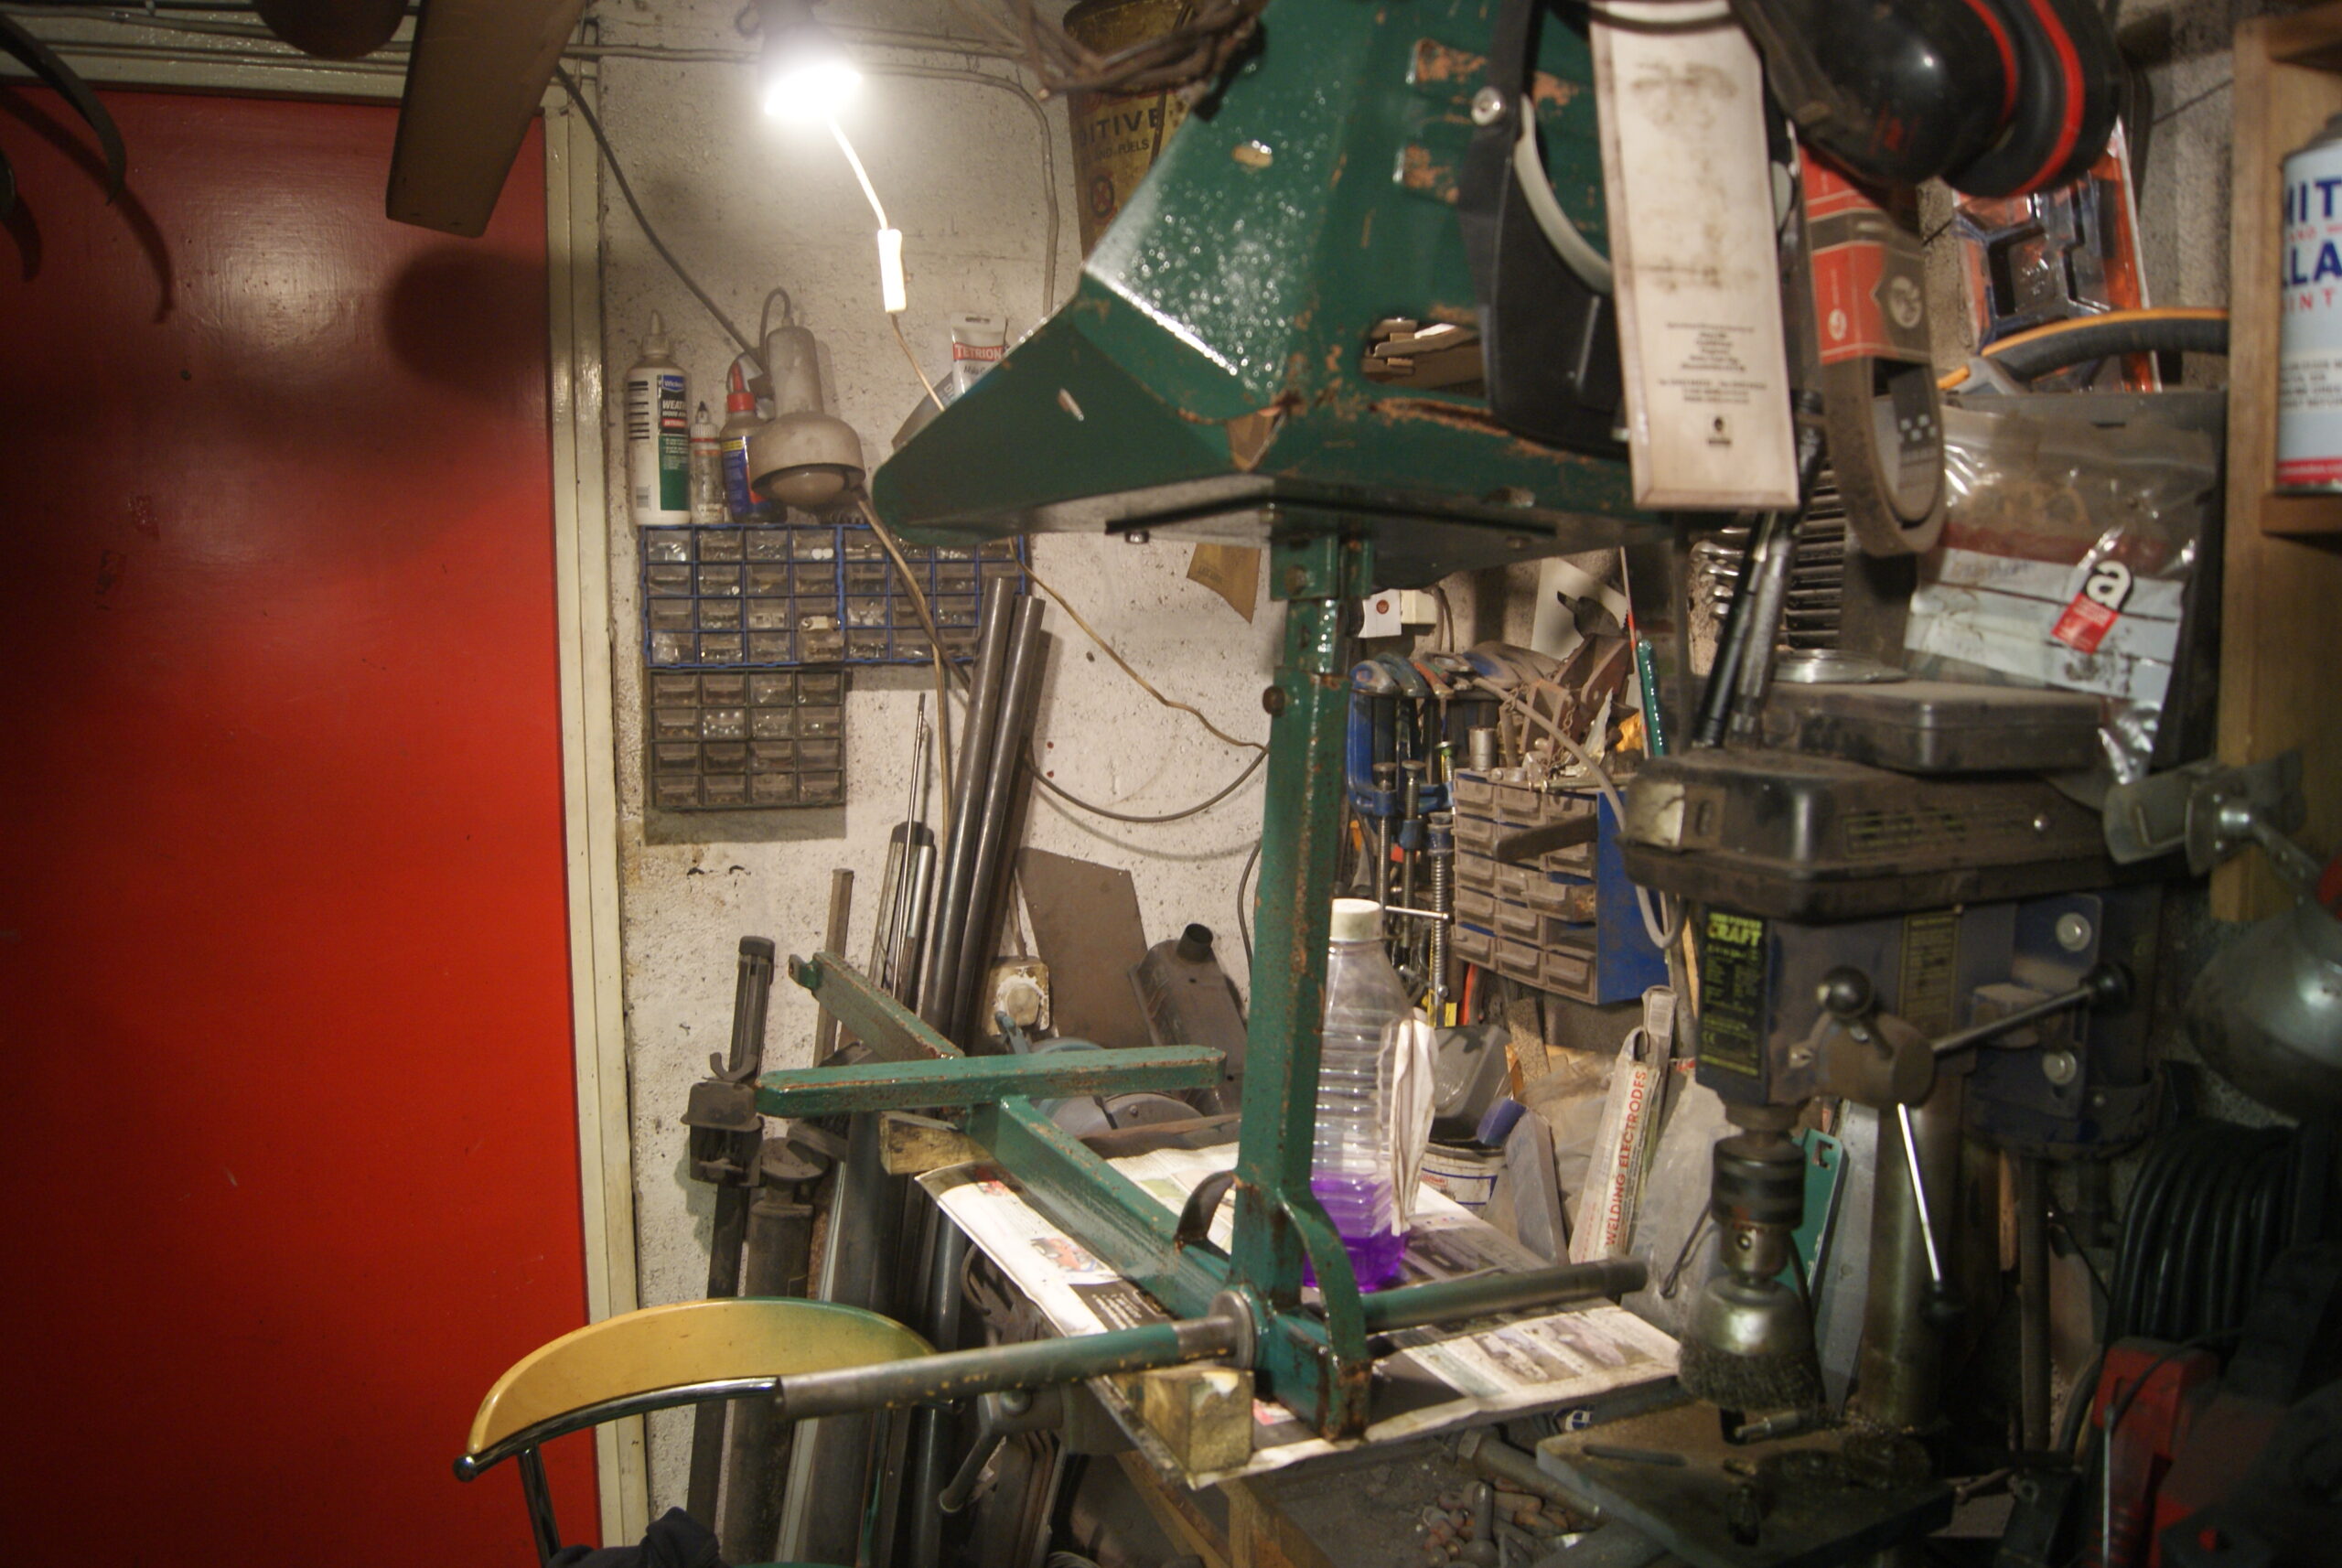
July 26, 2022 at 6:57 pm #39529trusty220KeymasterI managed to avoid a soaking this morning, but only just! No sooner had I turned the mower around and dragged it back into the workshop than the heavens opened. Phew!
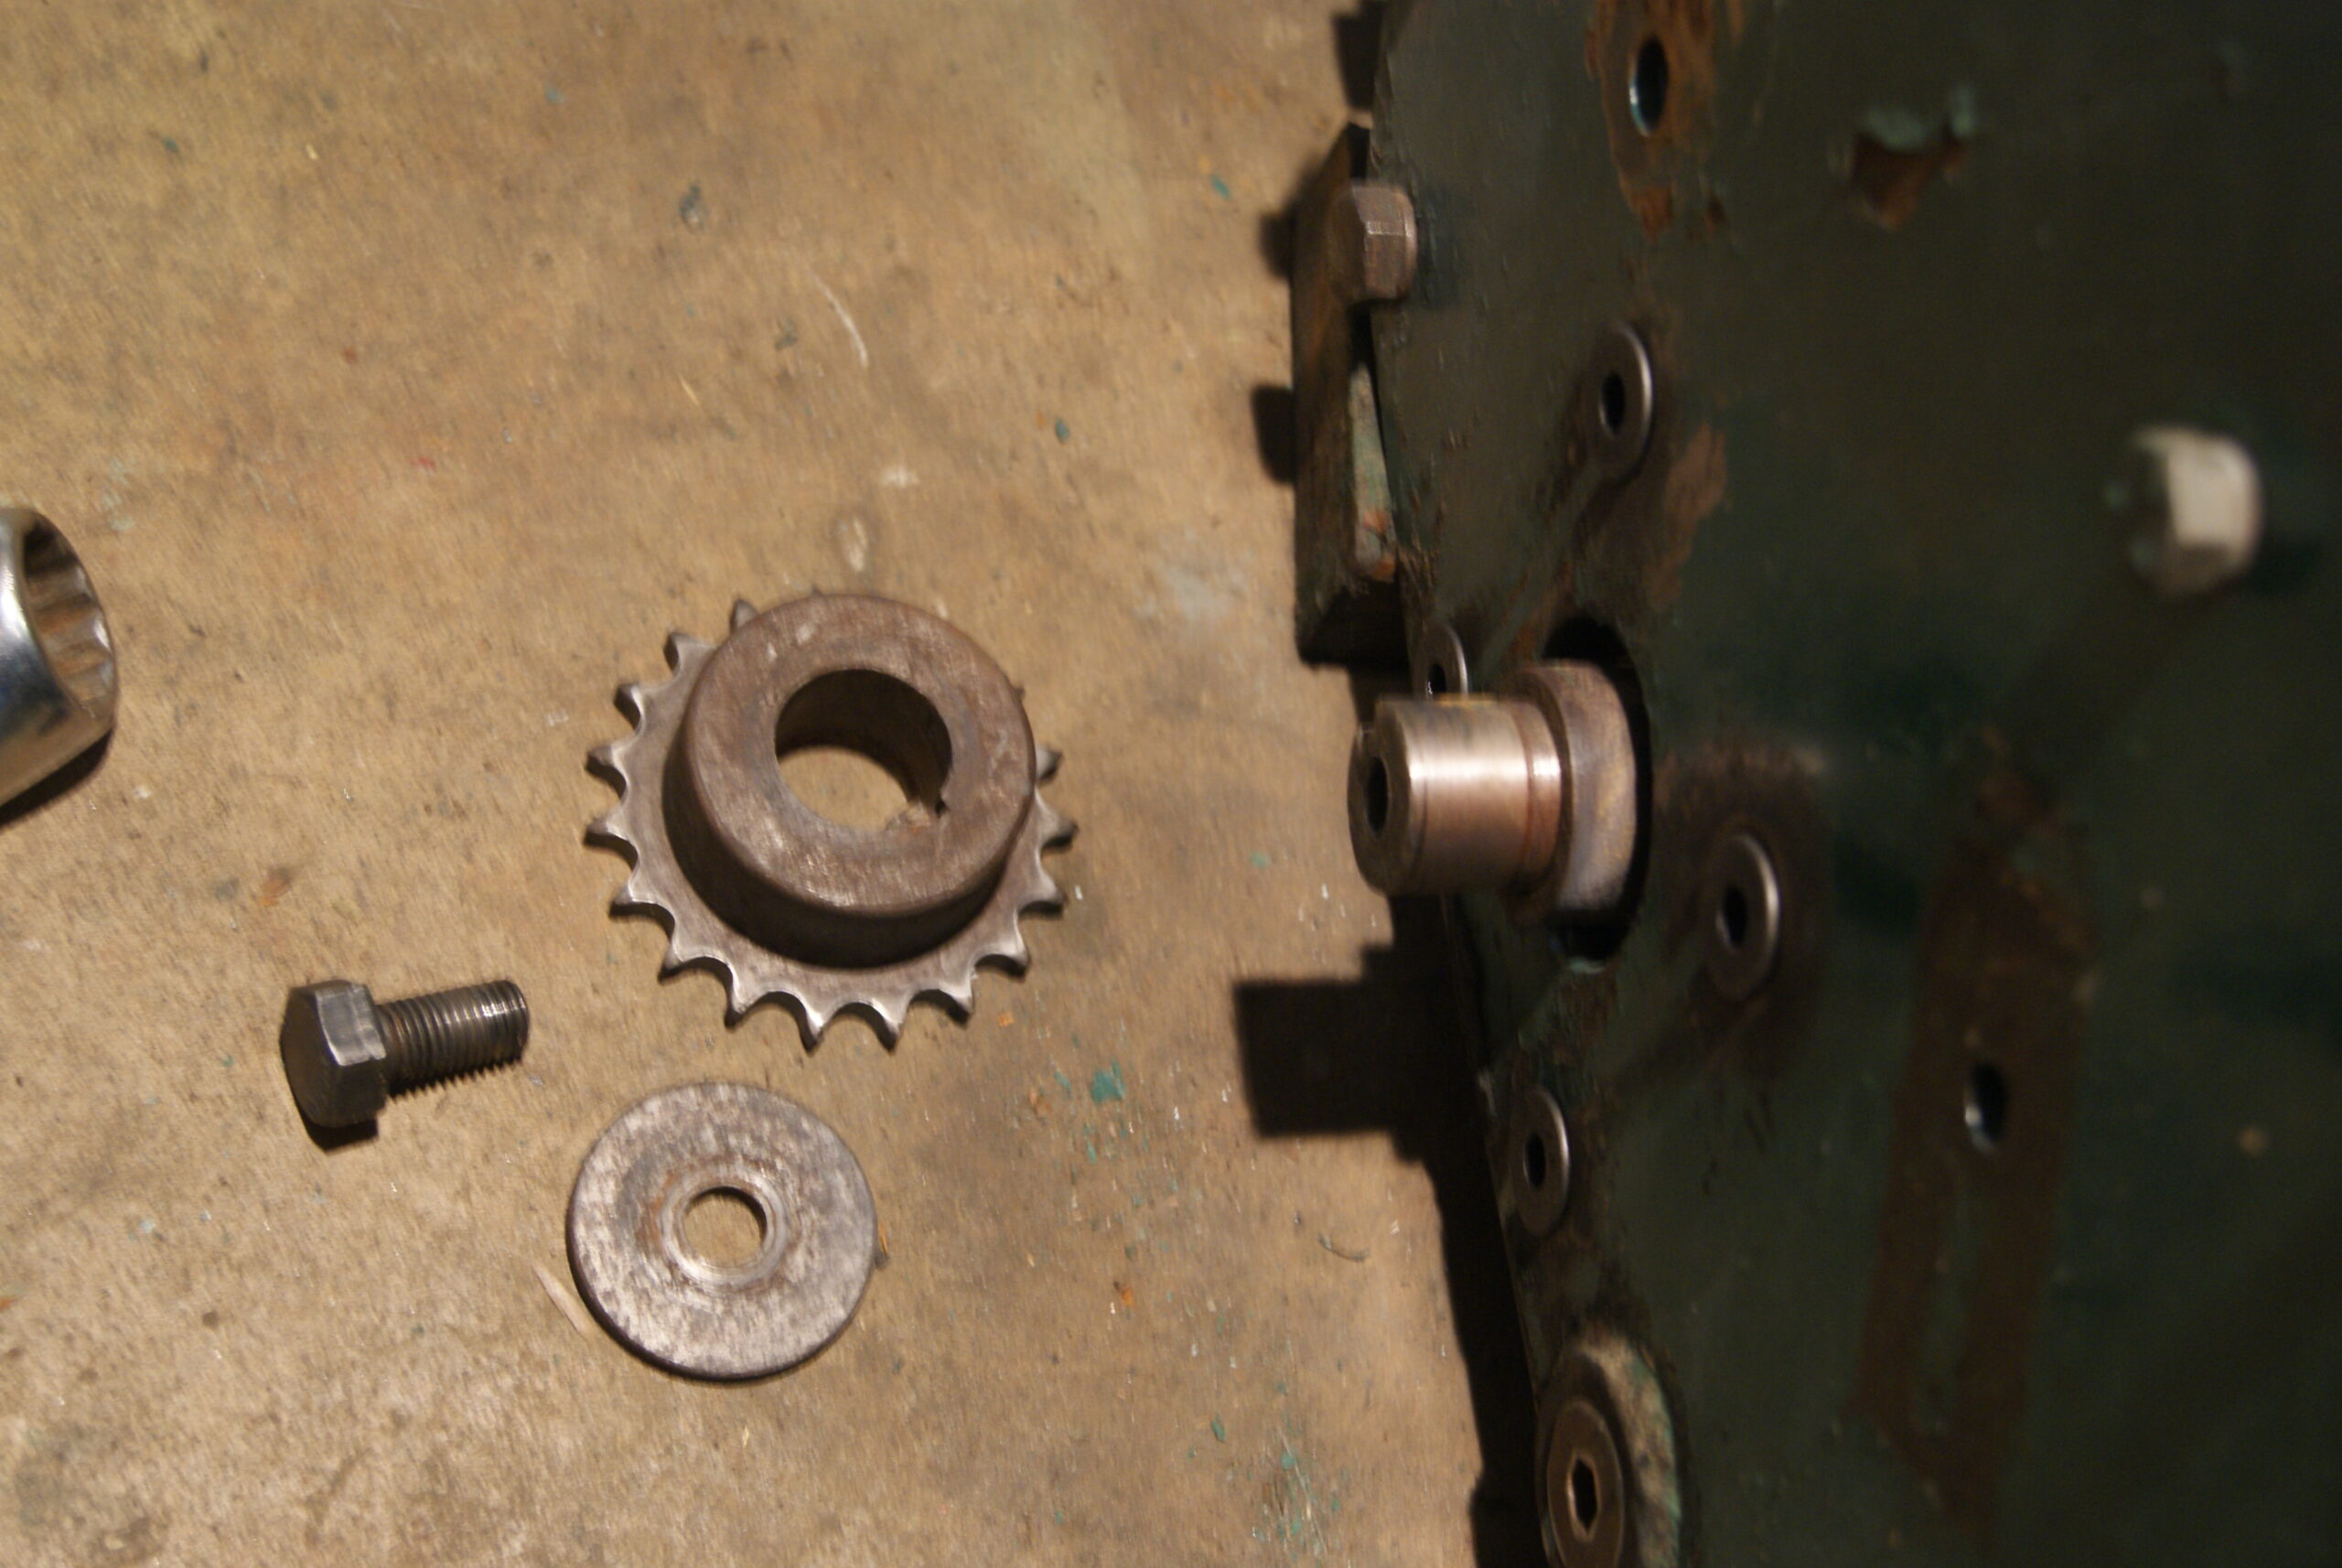
Starting on the cutting cylinder, I thought it would be the work of a couple of minutes to re-attach the drive sprocket. No such luck! I think it must have had some mishap when it was away because the centre bolt just would not enter the thread perpendicularly (a good word, I hope I spelled it right!). Luckily I had the correct taper tap for that thread, so gently and using plenty of patience I managed to restore the thread to how it should be. A good dose of grease and it all went together perfectly.
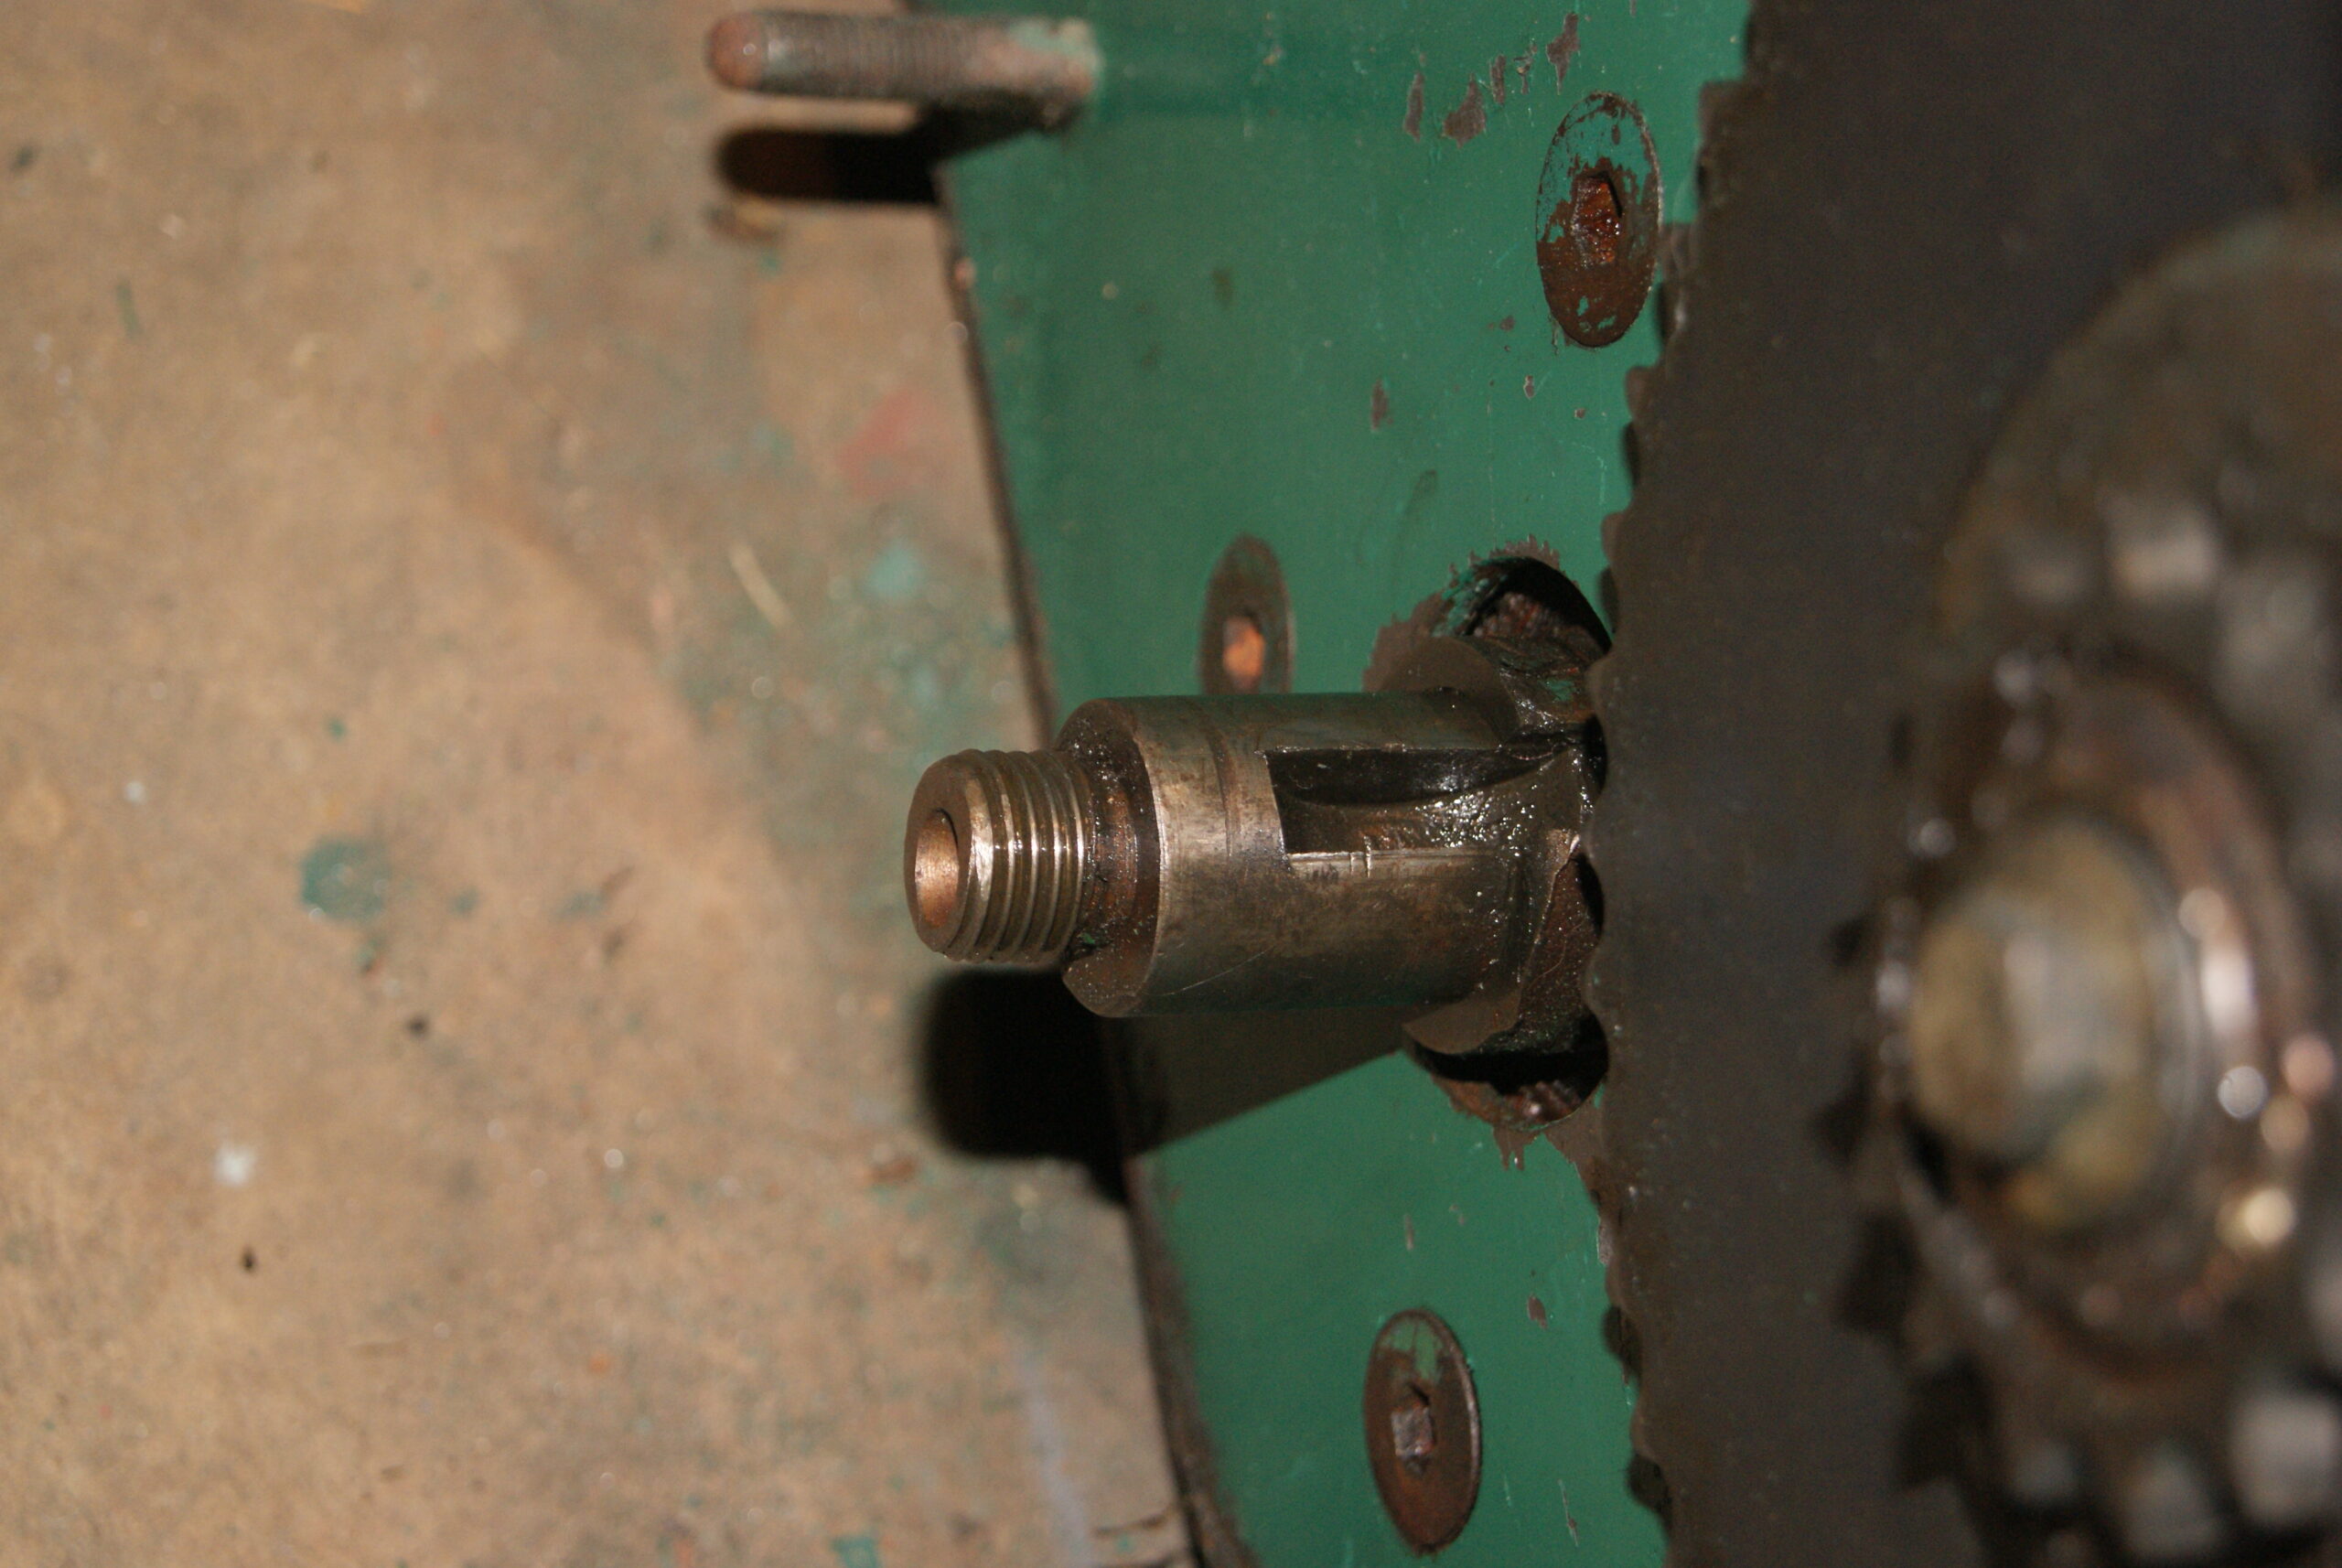
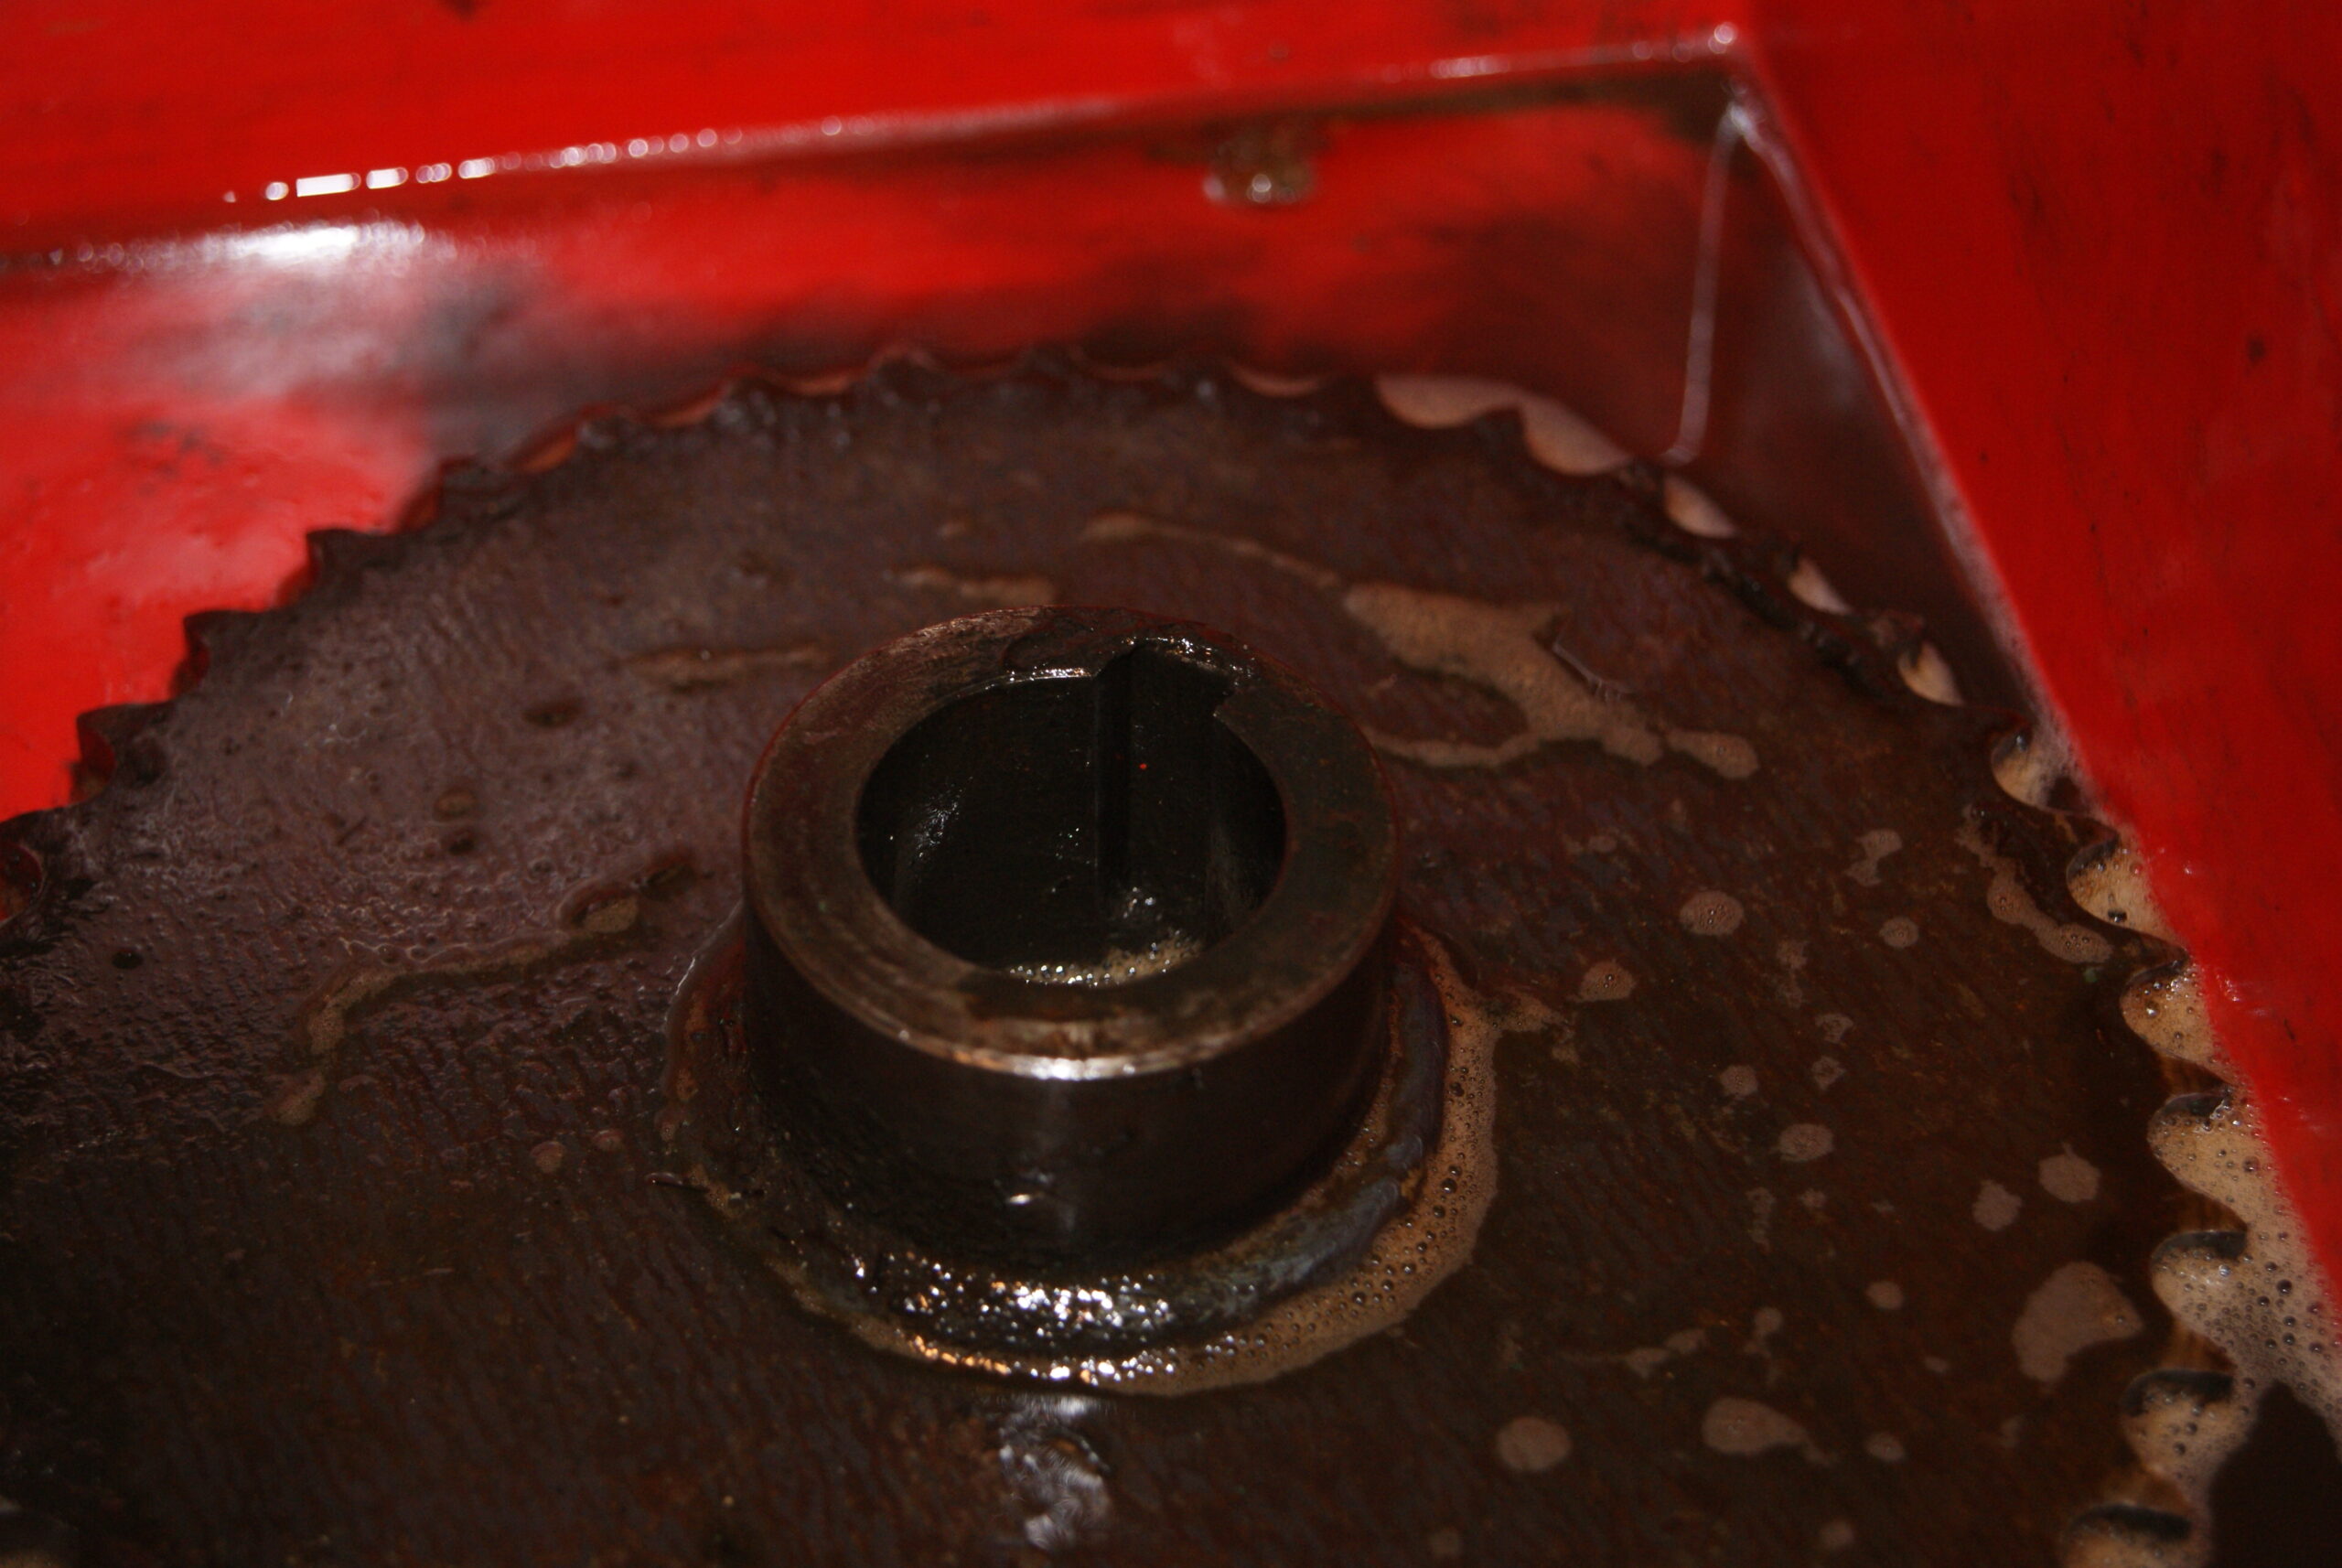
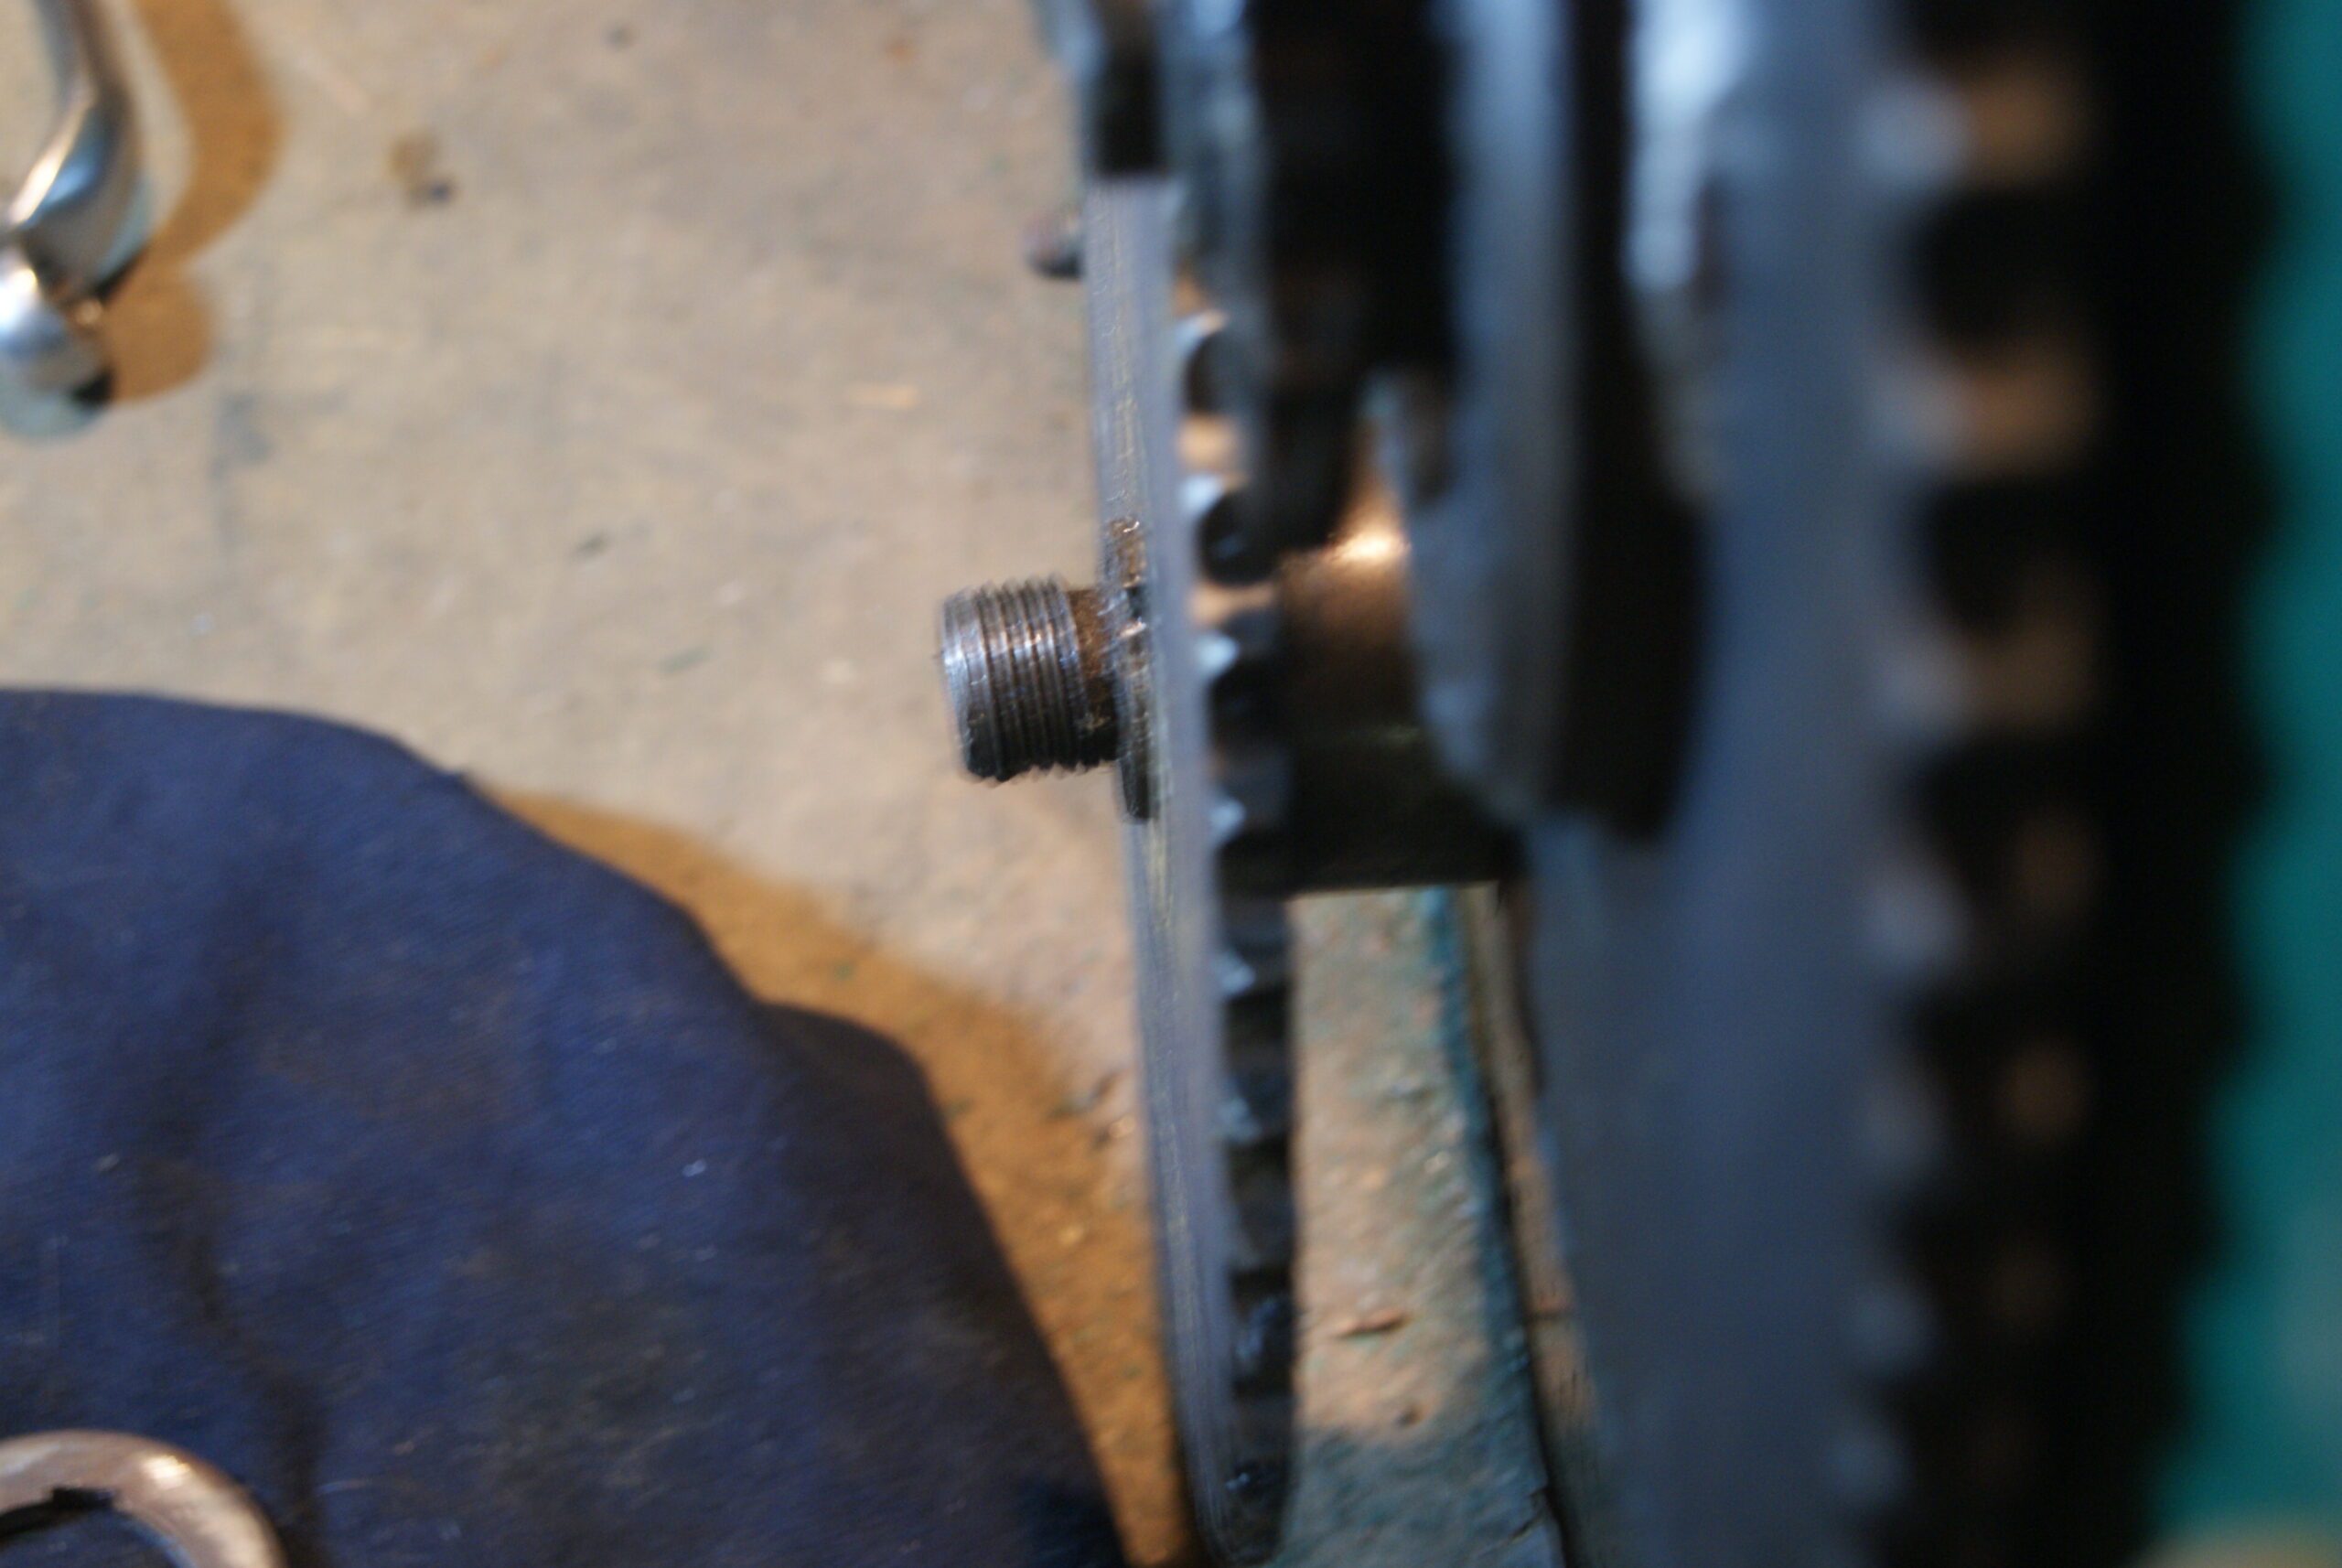
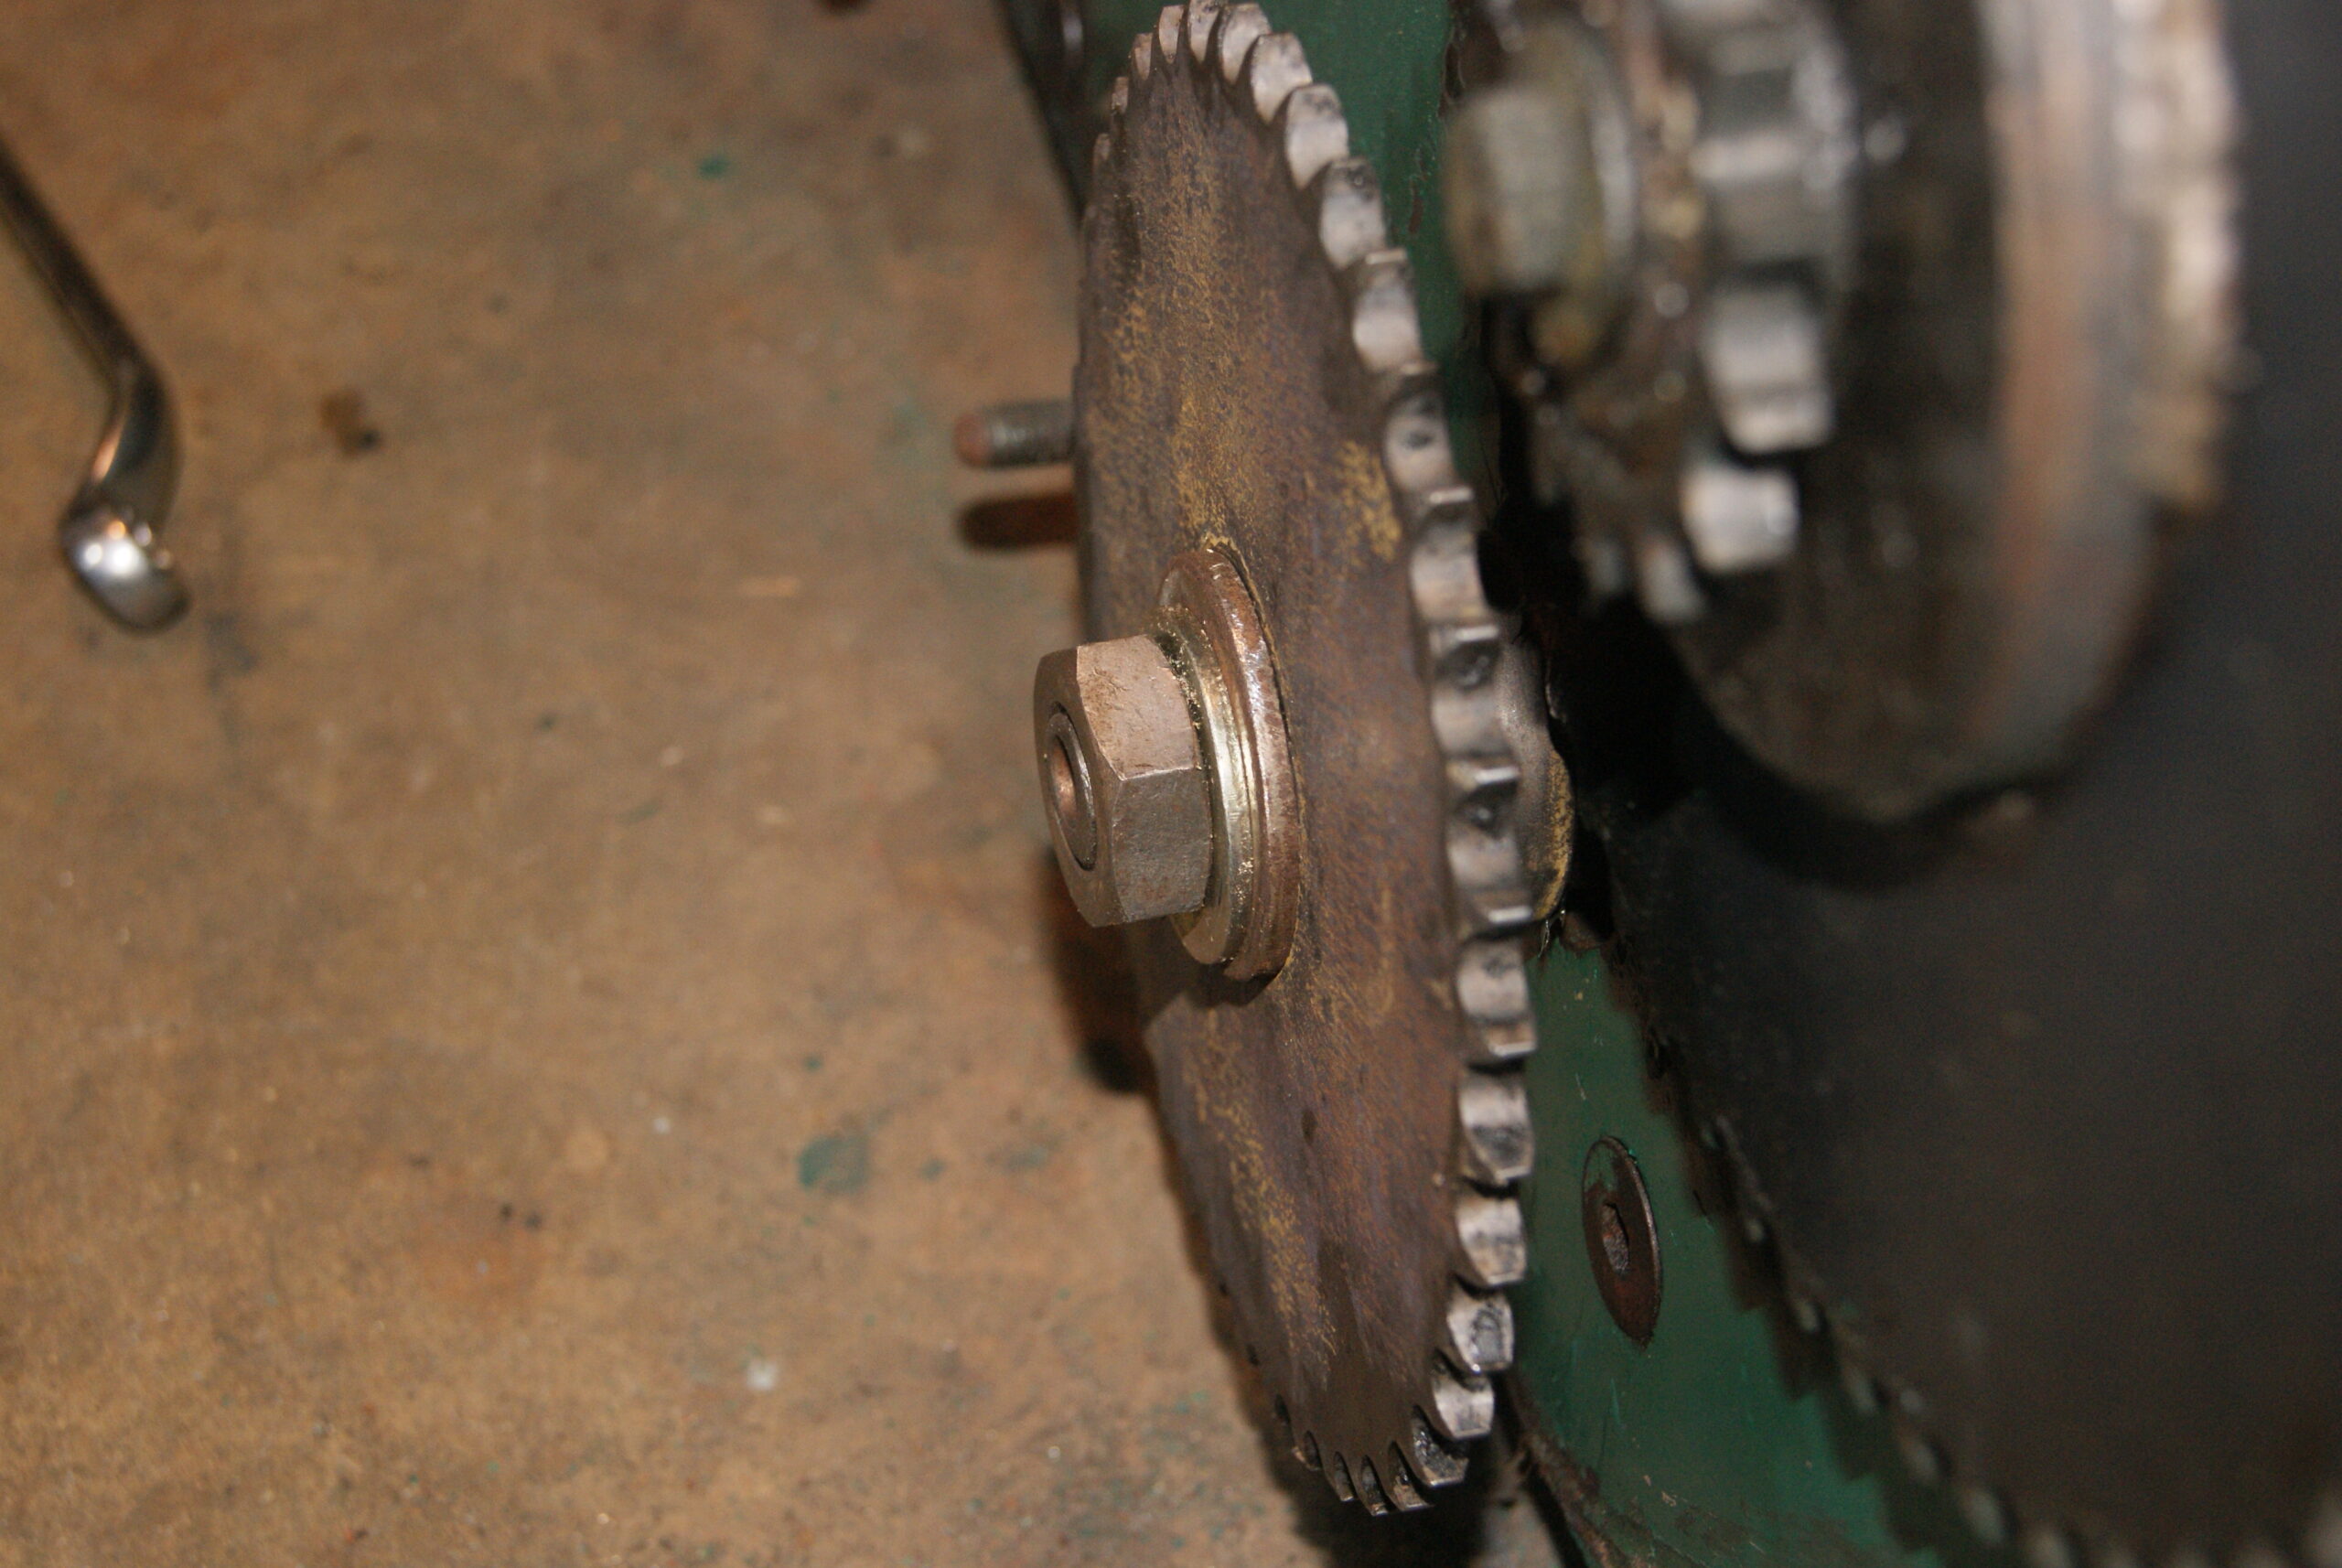
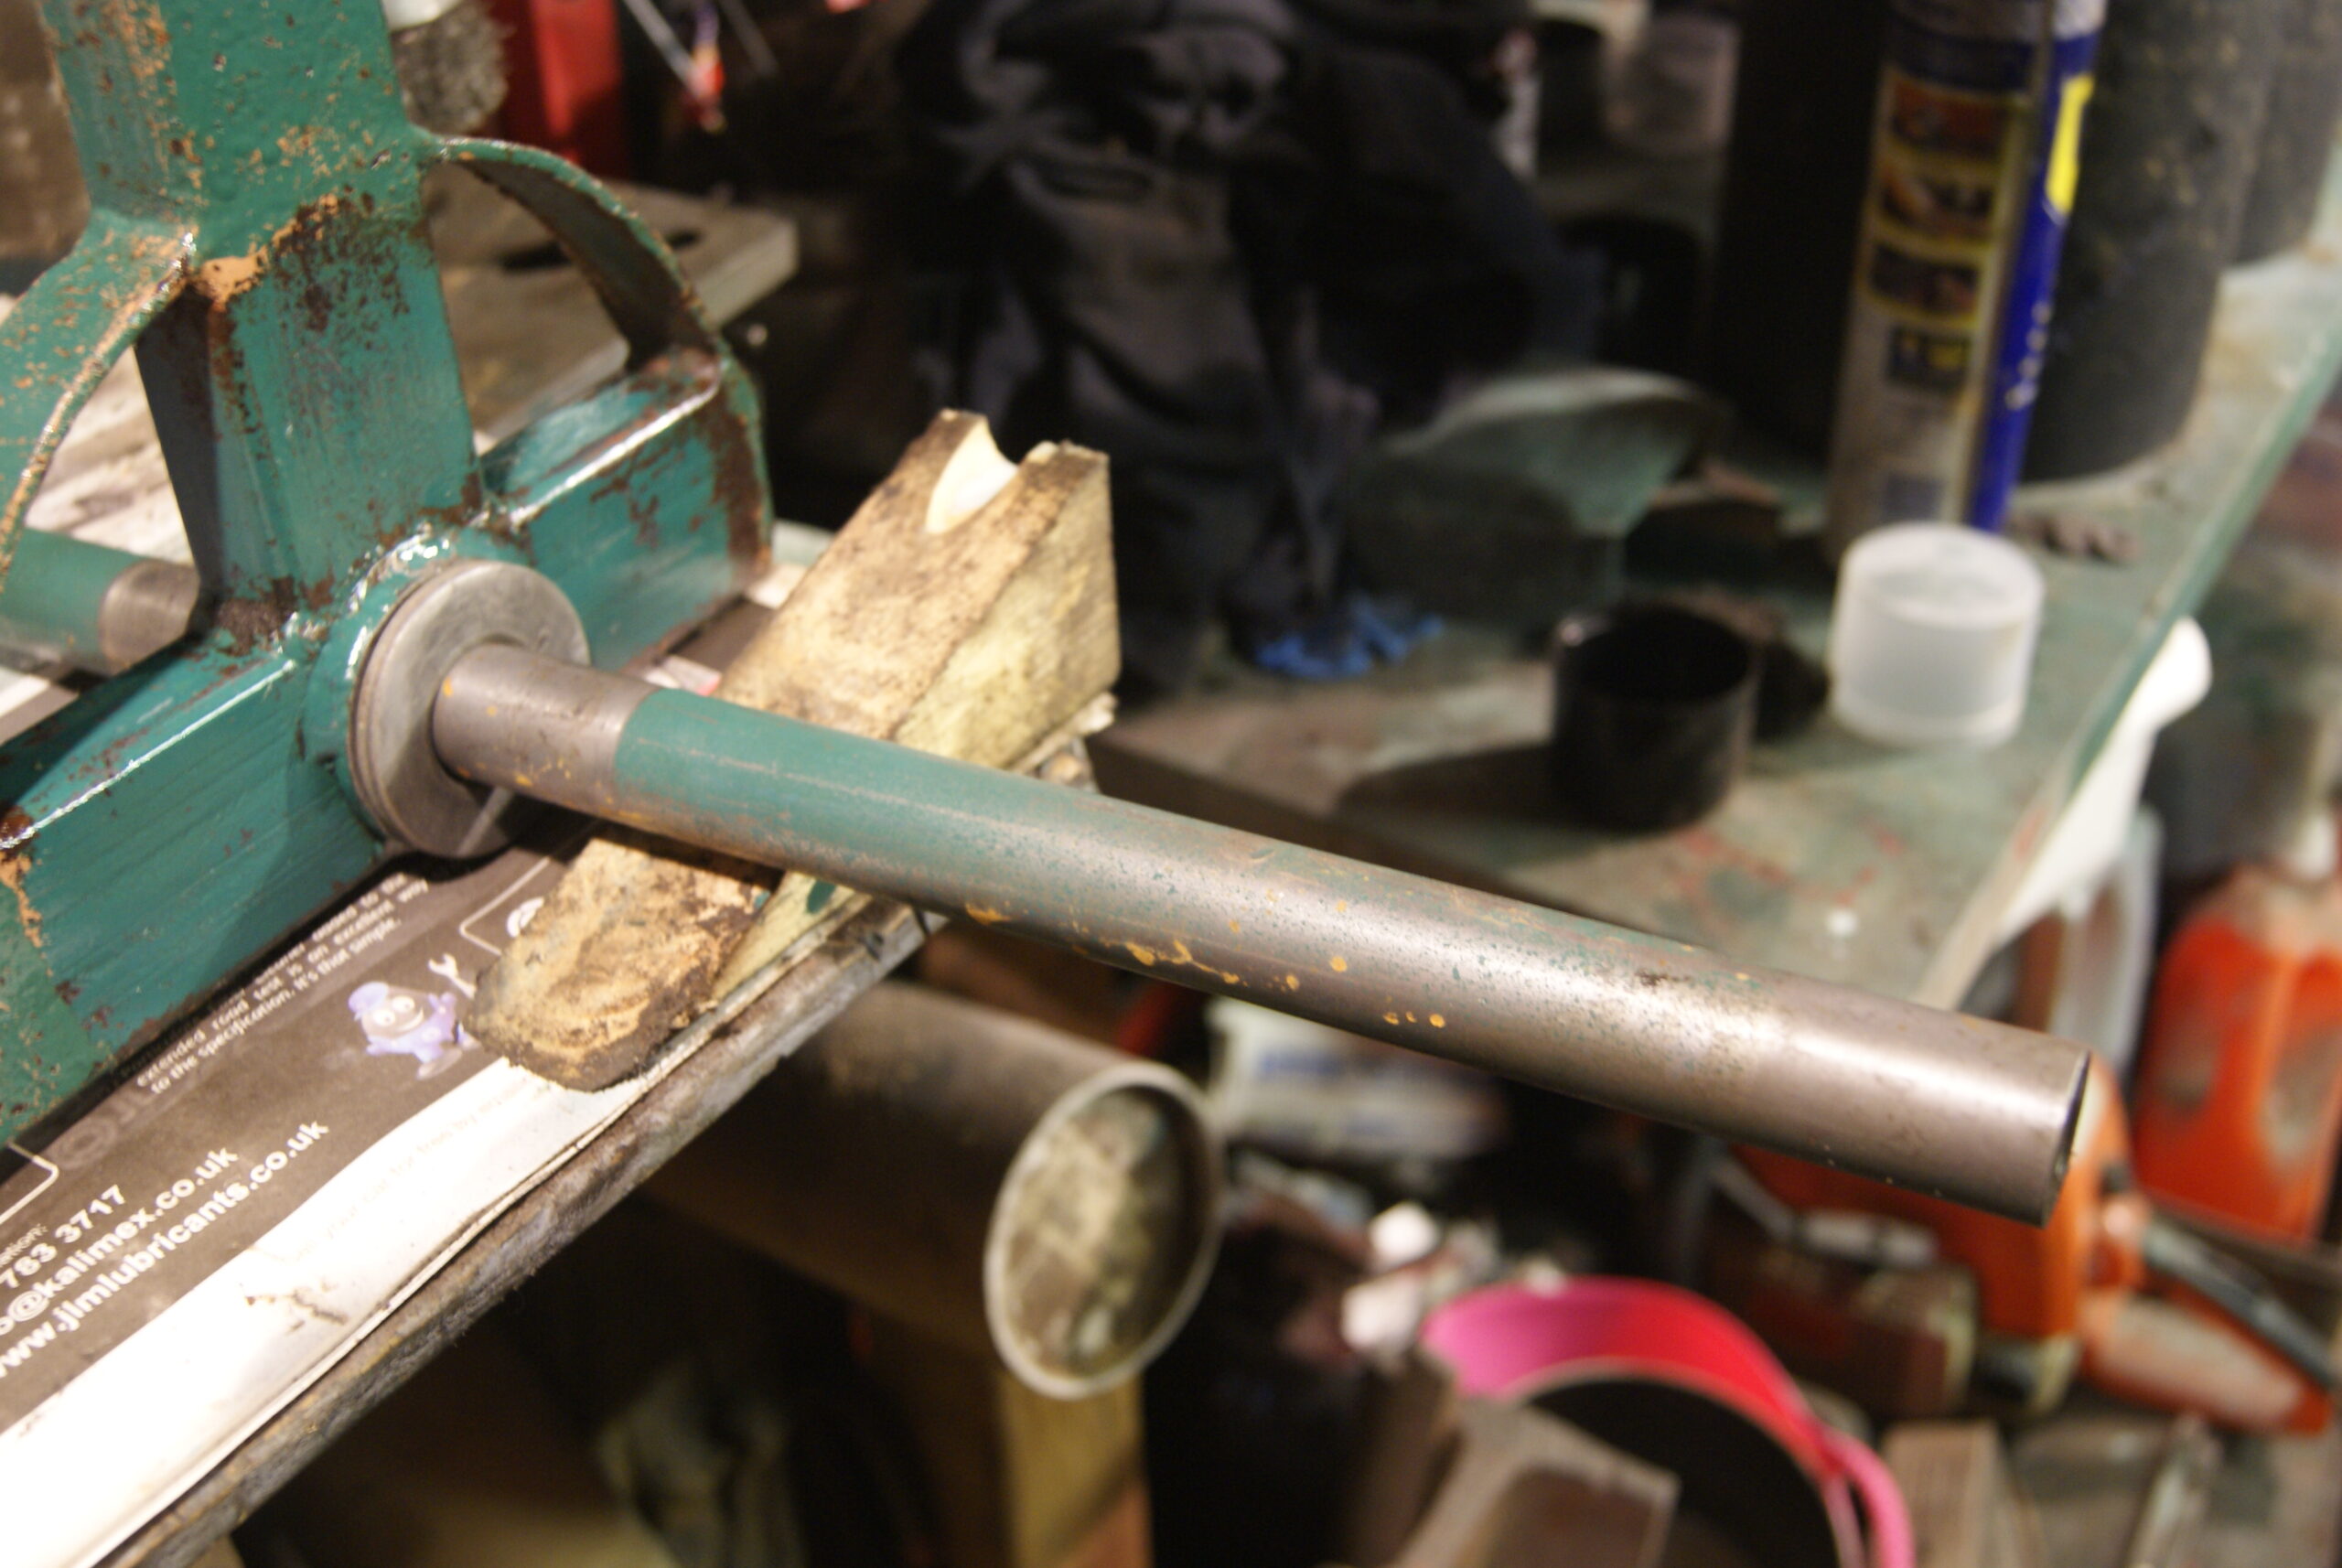
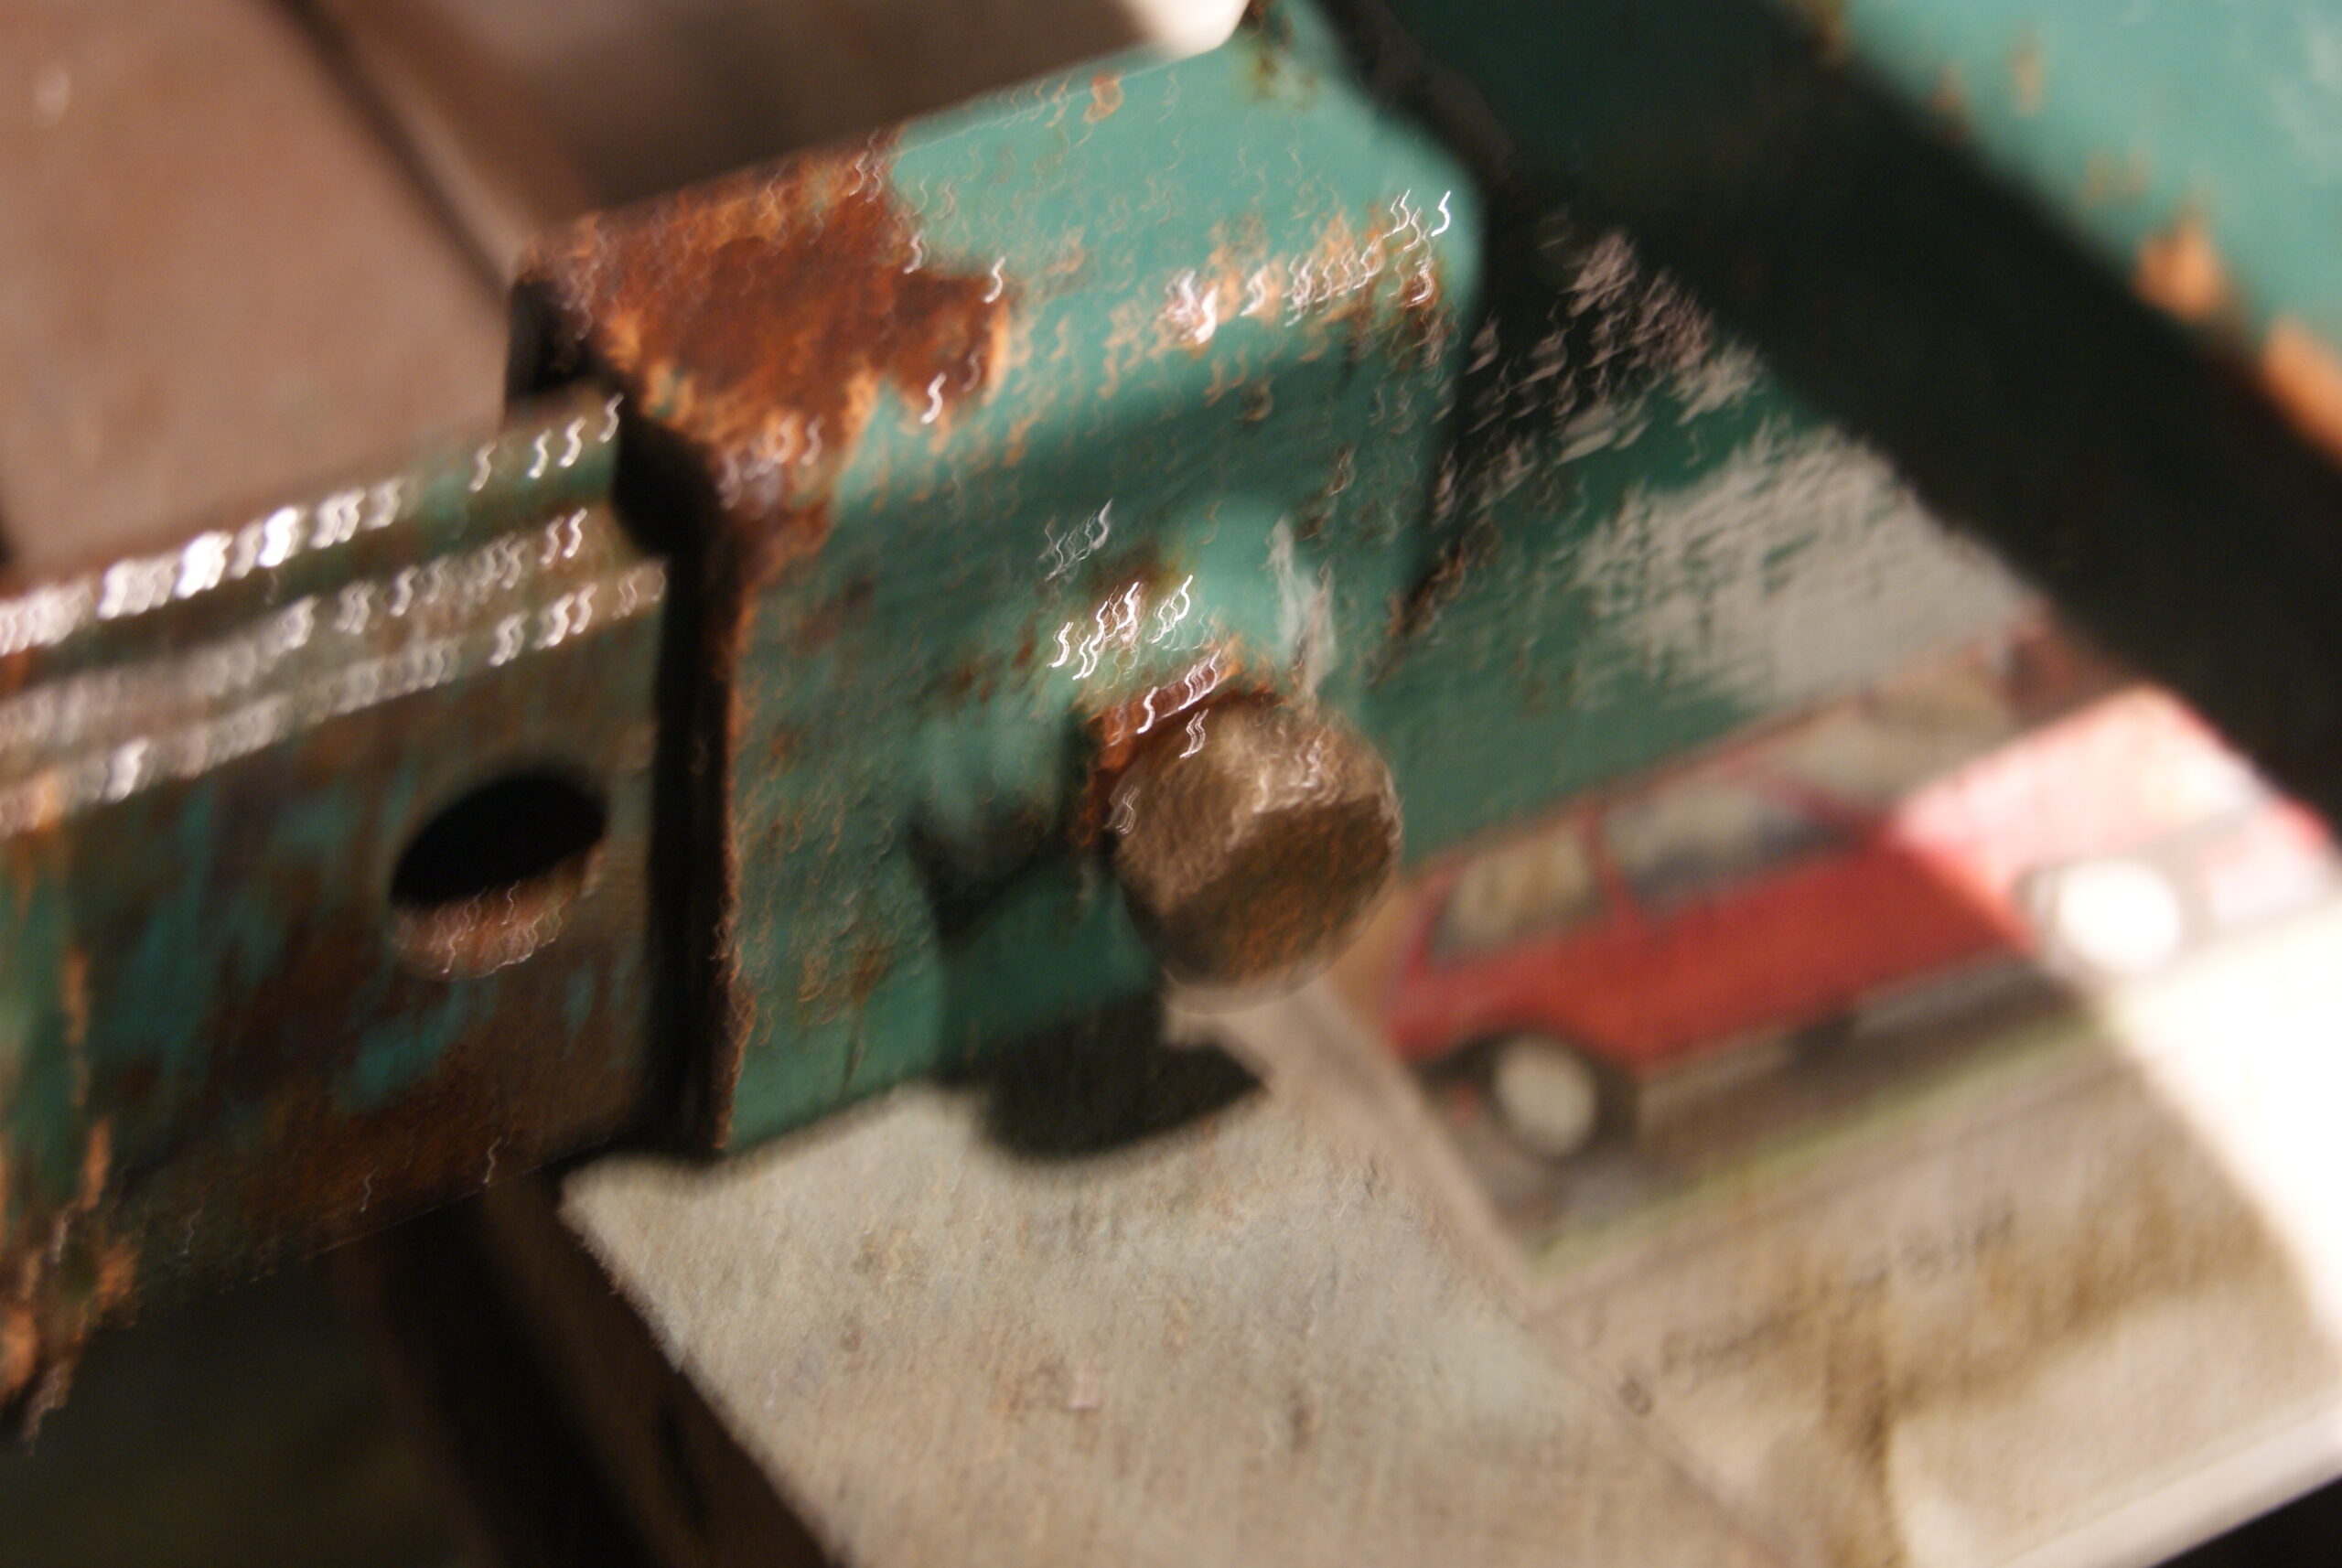
Next came the roller drive sprocket, and I suspect that somebody was in the middle of a repair when it was decided to replace the mower as the sprocket was loose on the shaft and the nut barely threaded on. On closer inspection it appears that somebody has made a new sprocket and made quite a good job of it; the shaft it fits on looks like the Woodruffe key that locates the sprocket has worn and rolled somewhat in it’s groove, then somebody has cut another groove on the opposite side of the shaft. That would have been fine, but the new keyway has been cut too far towards the centre of the mower and cuts into the shoulder that the boss butts up against. To compound the problem even further the external thread for the locating nut has been bent slightly out of true. I’m not going to swear, not yet anyway.
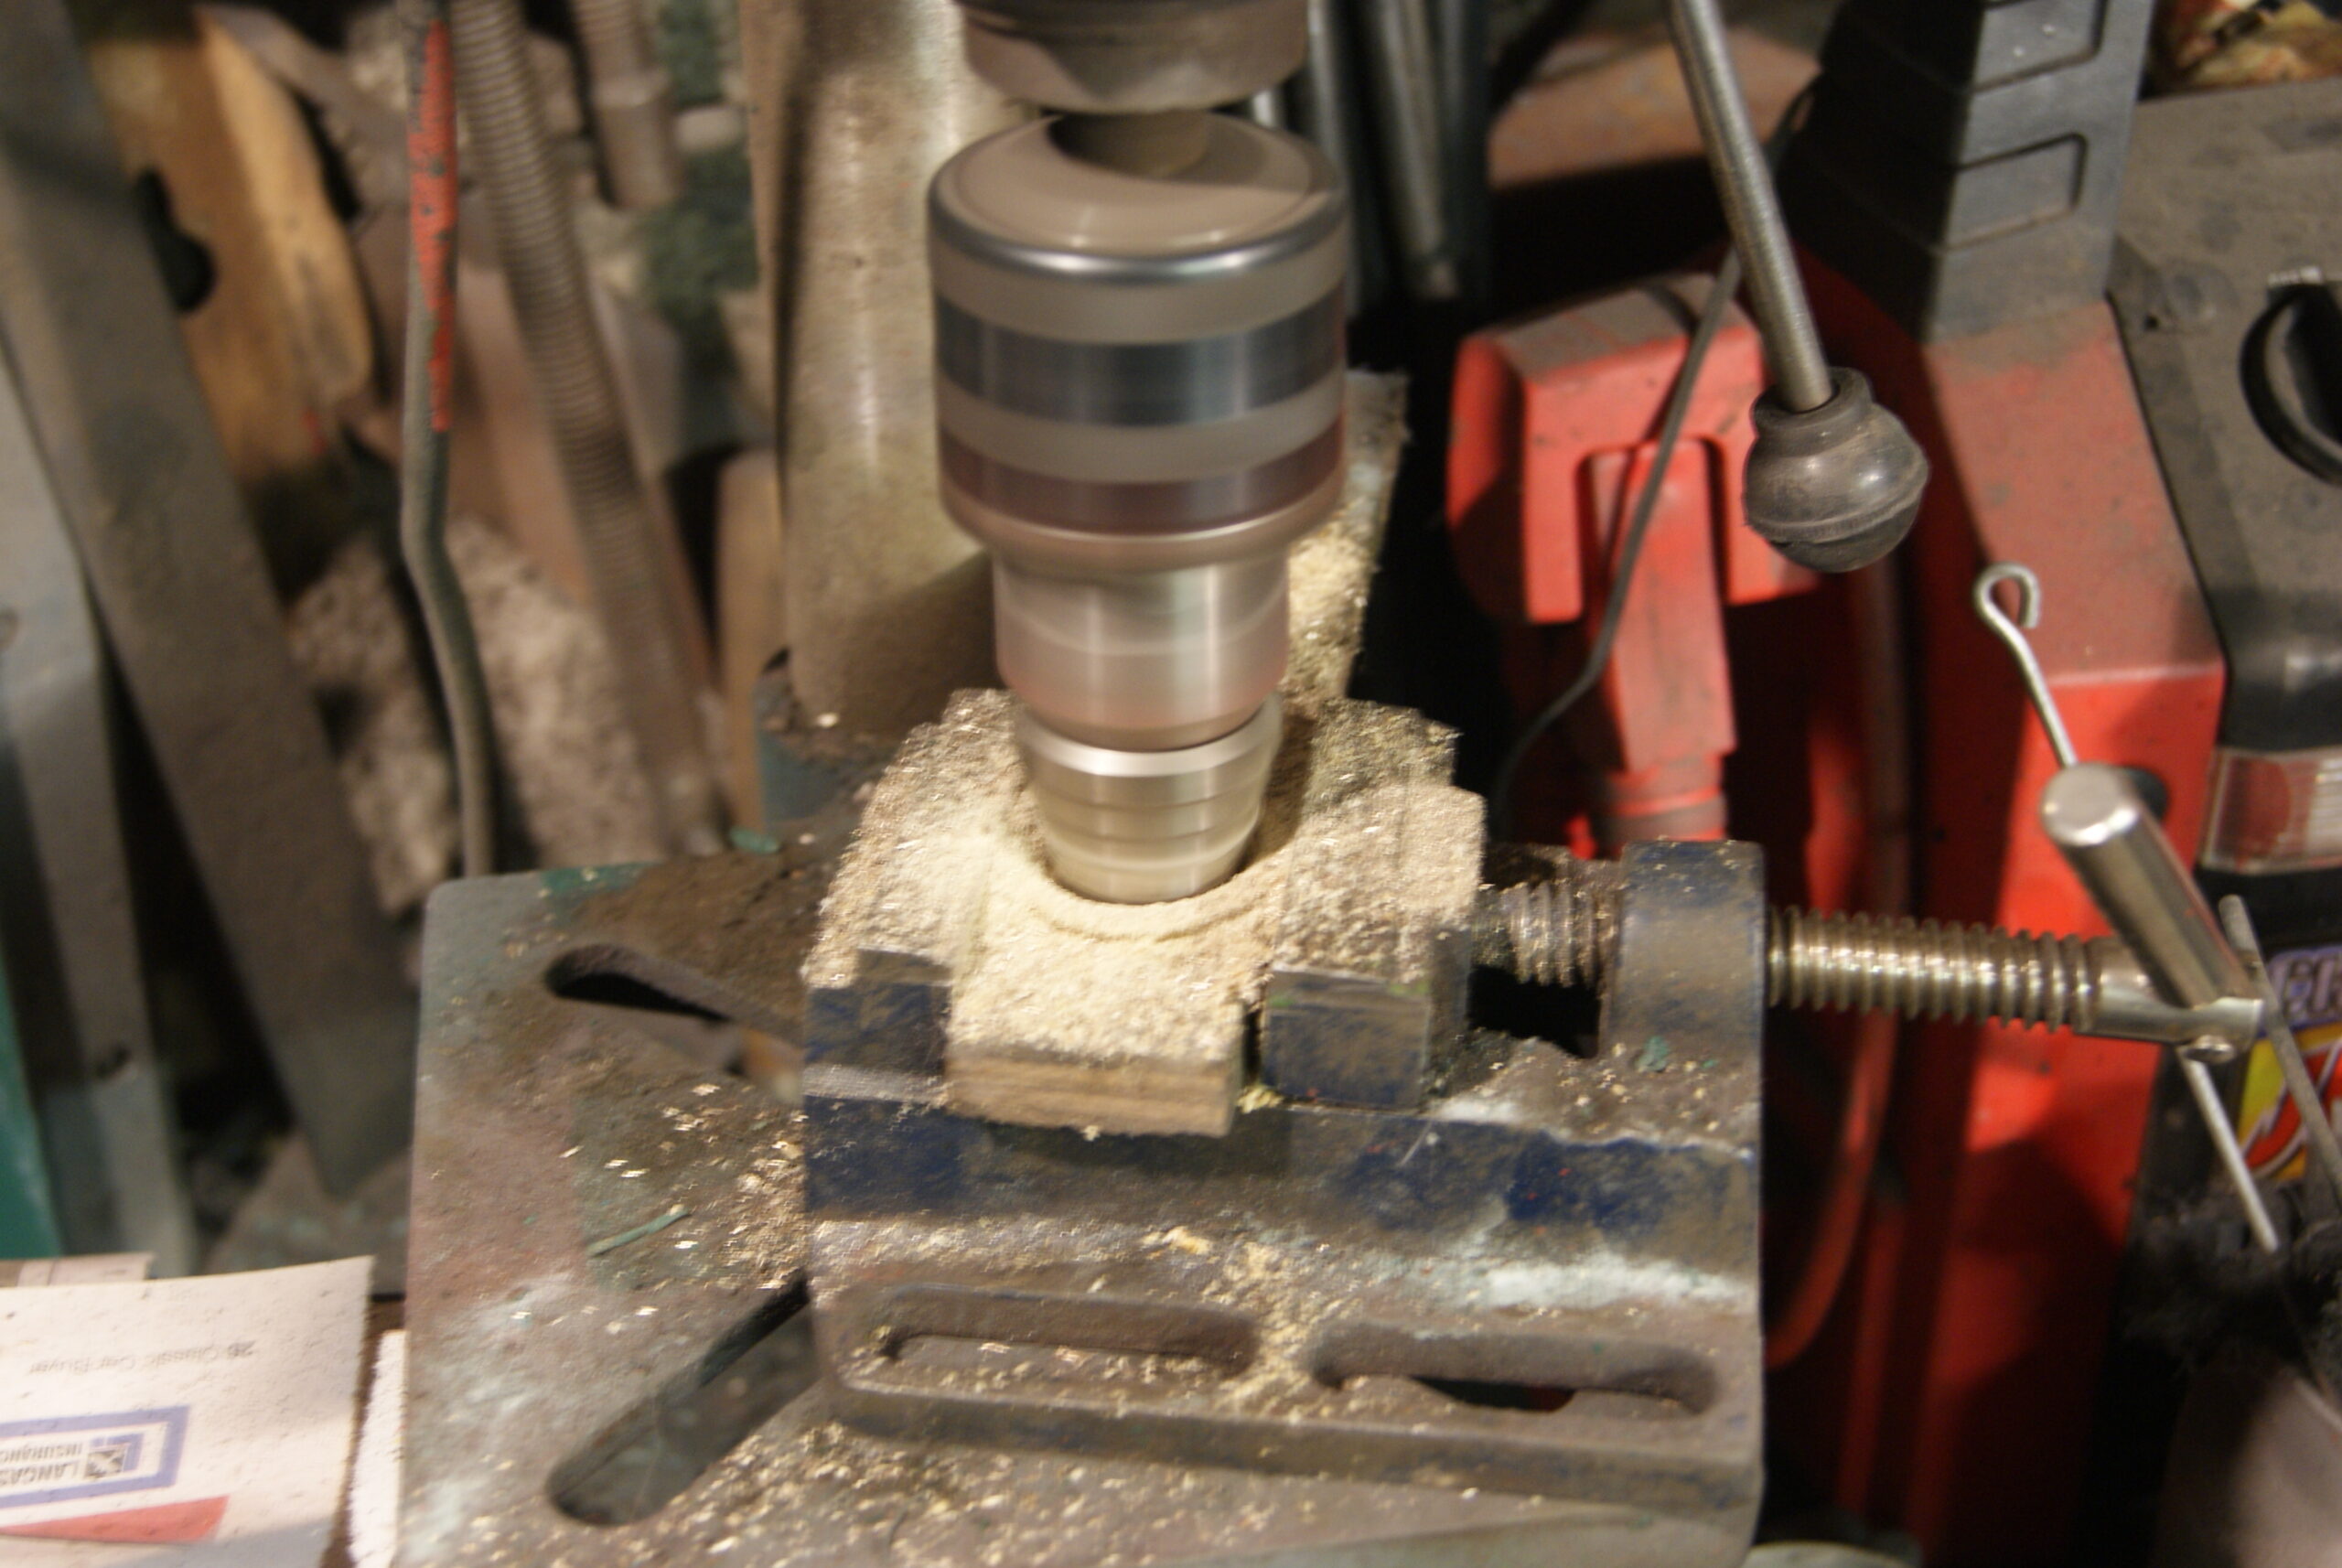
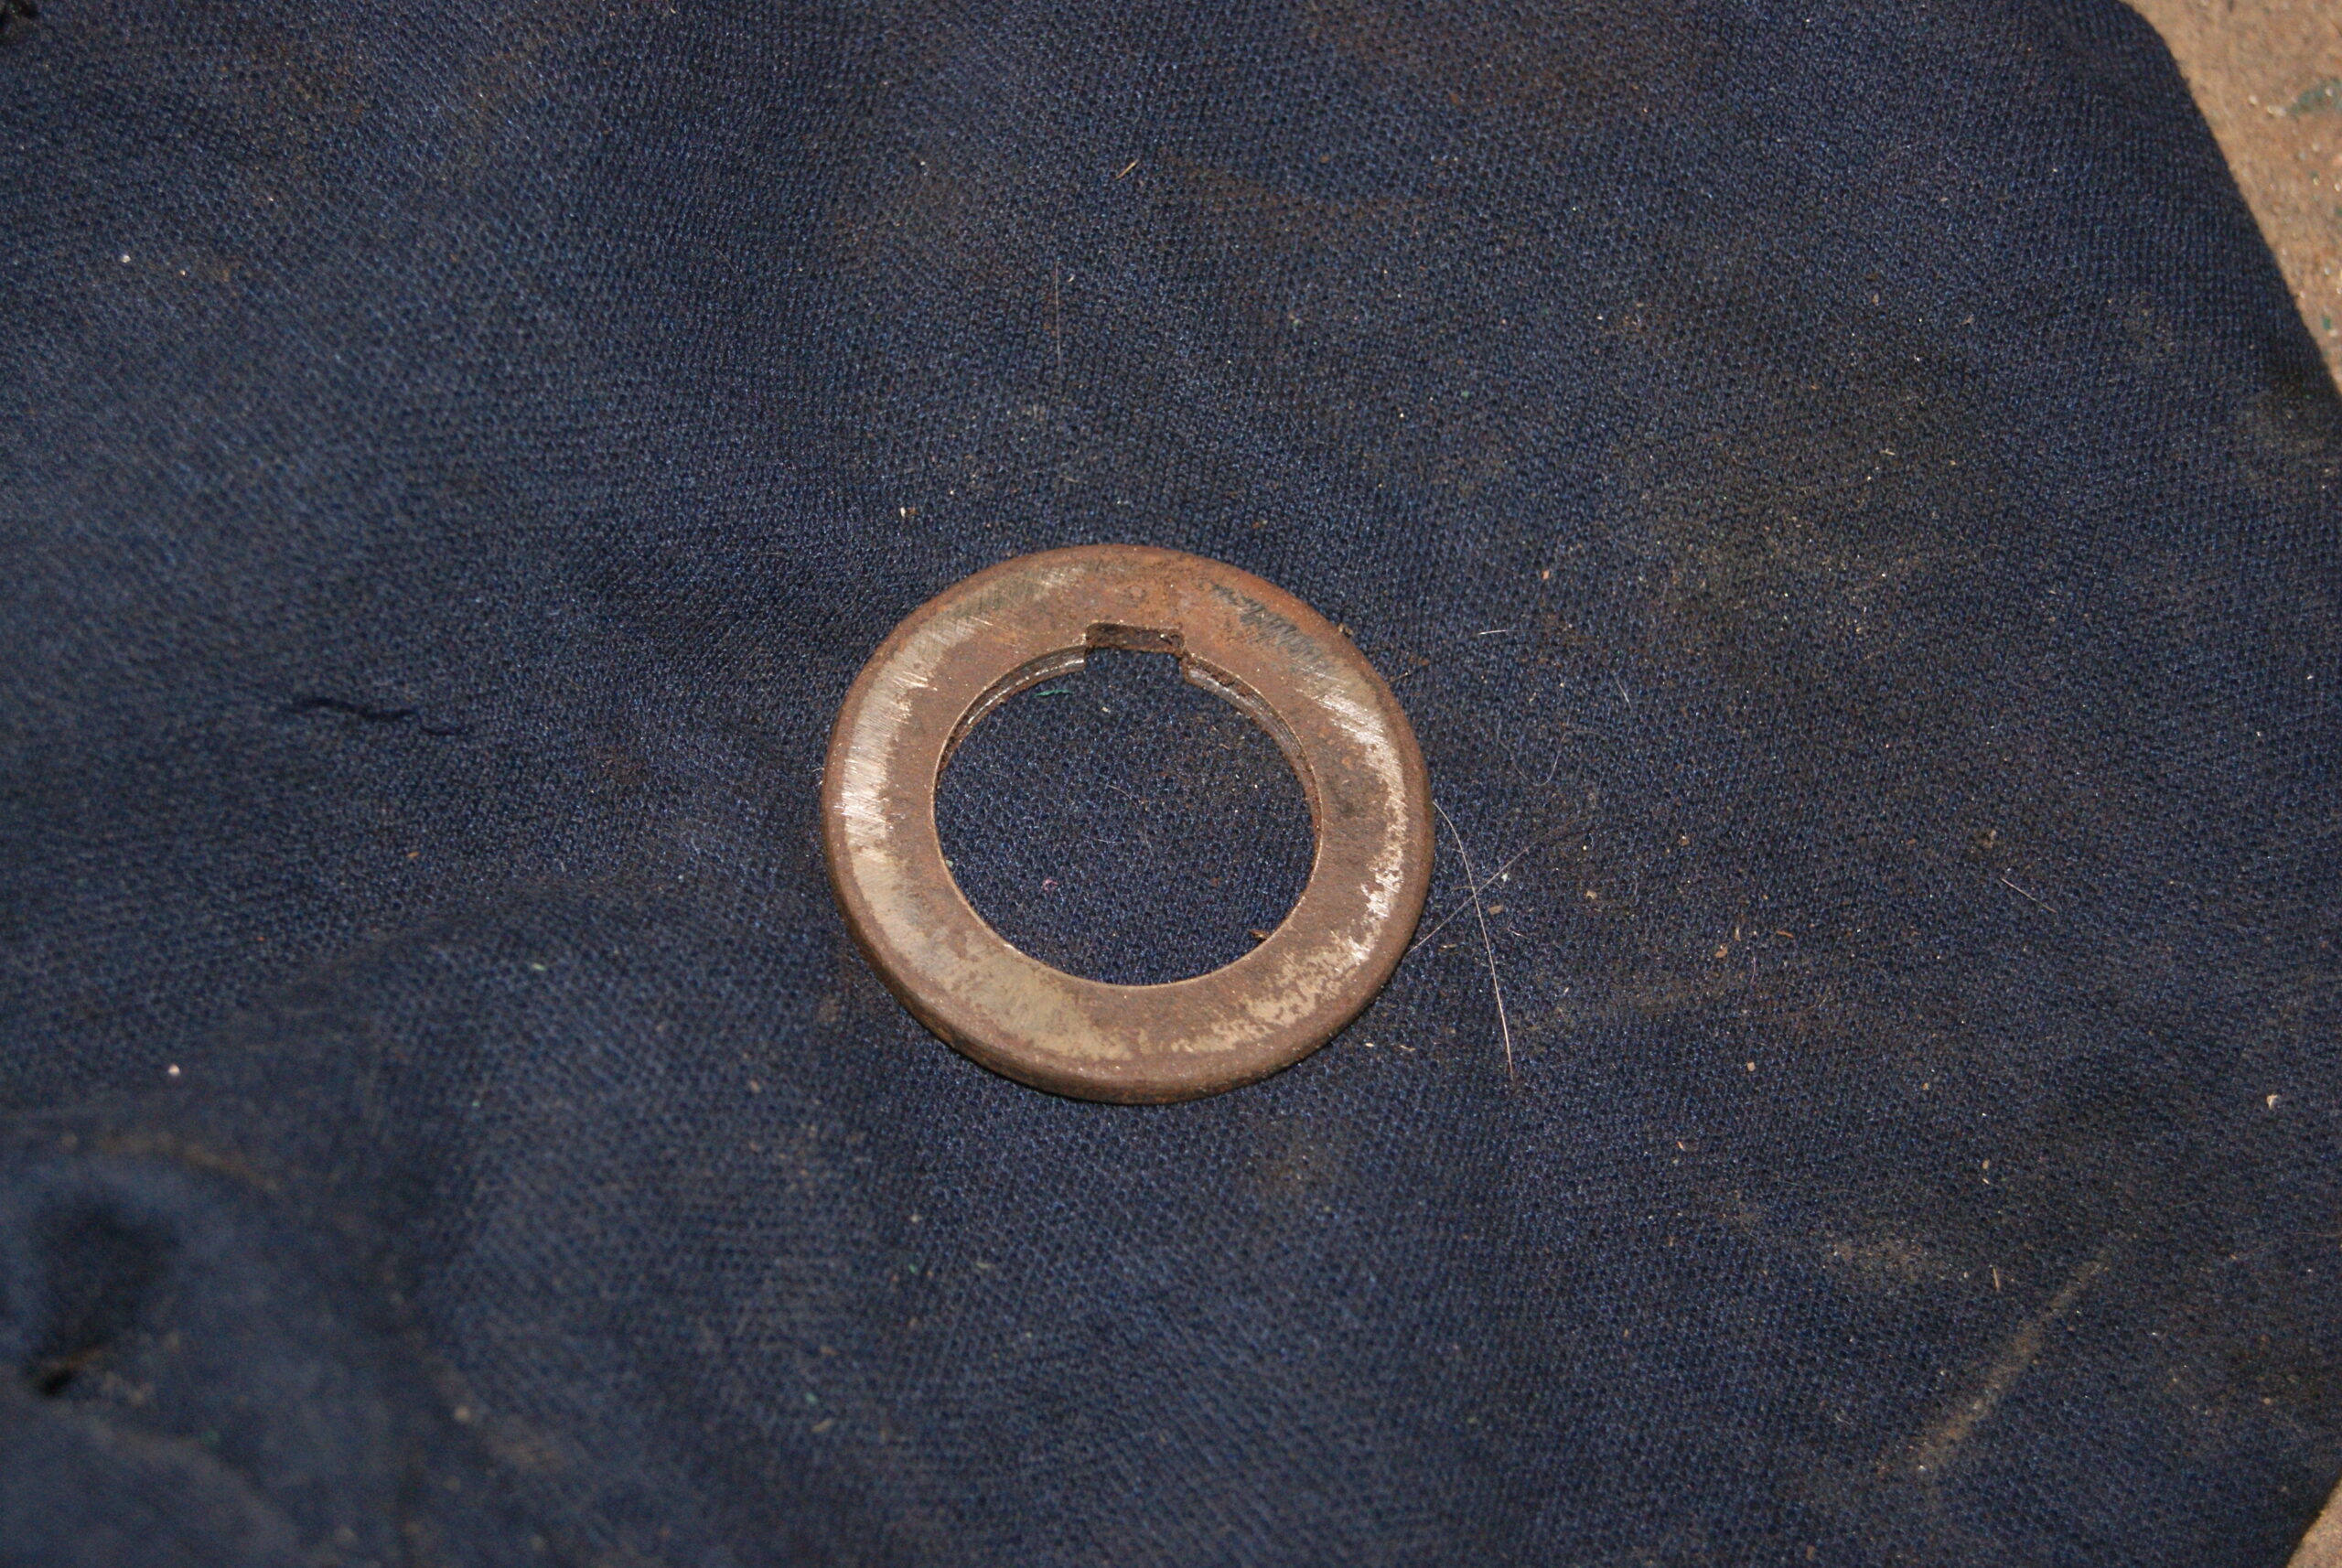
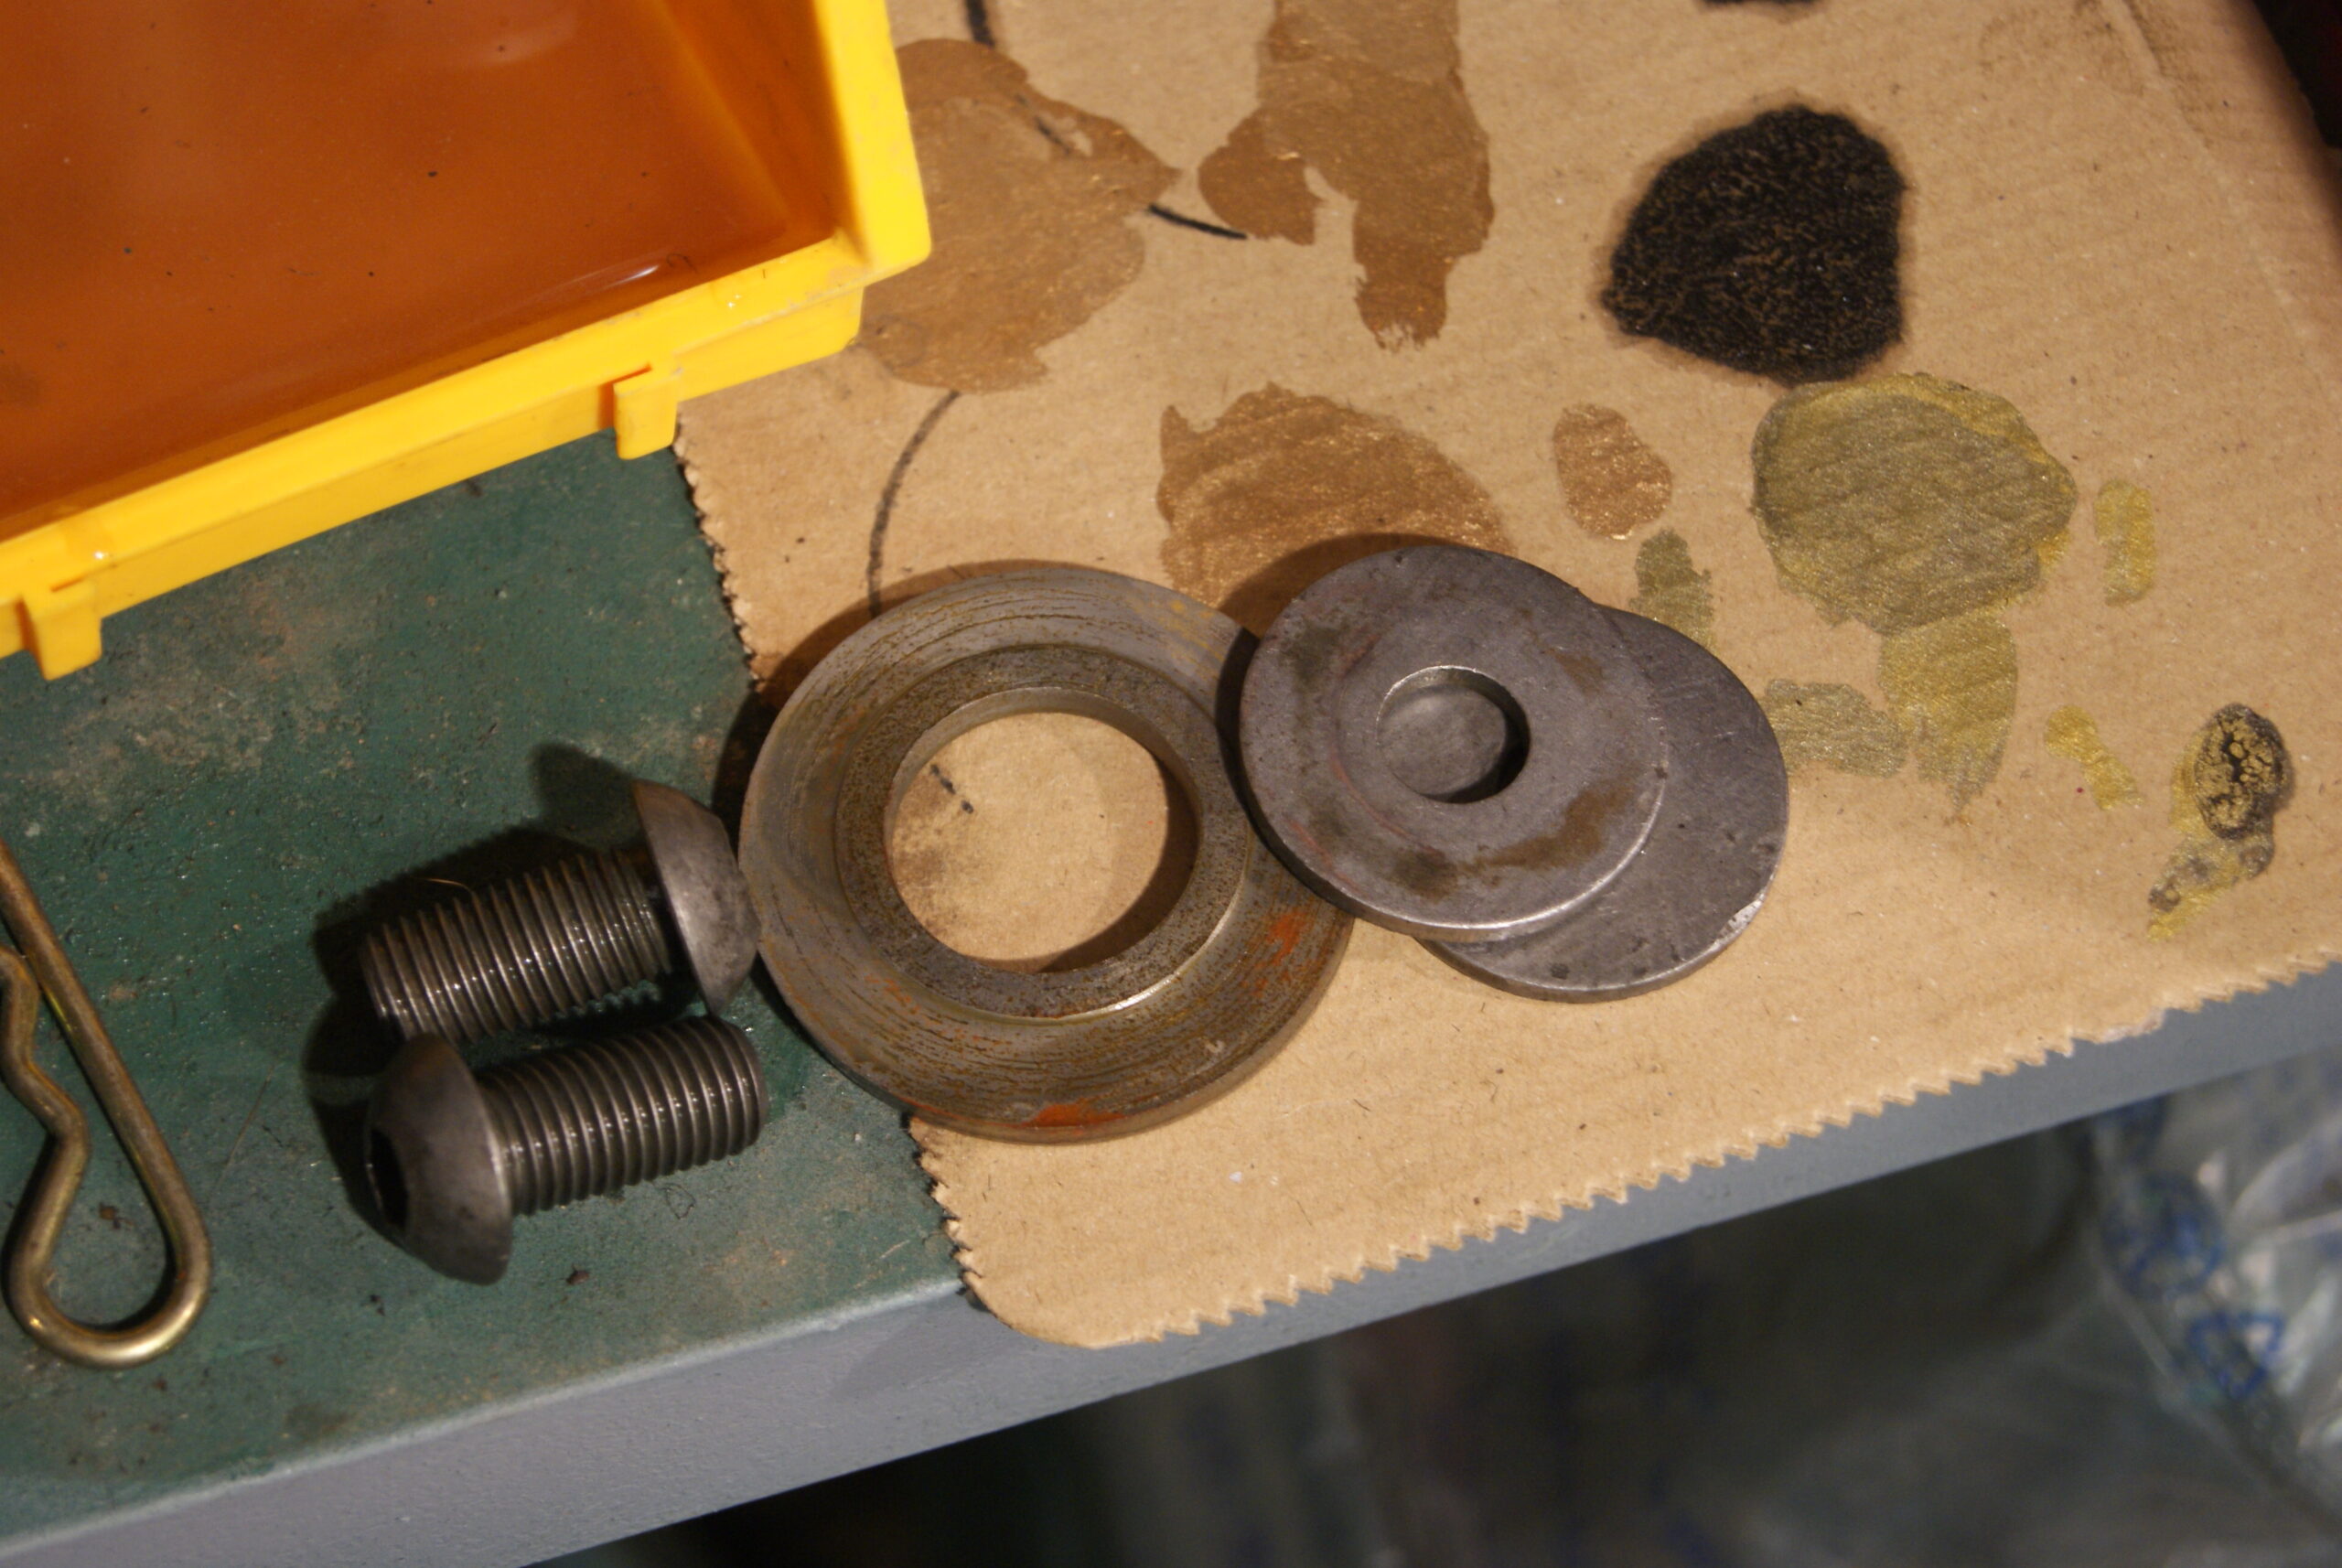
A new key was filed up and the old keyway used to seat it in. The sprocket was then pushed onto the shaft right up to the shoulder- it was then that I discovered that the boss was too short by about 60 thou and the shaft was still sticking out of the end of the sprocket. An appropriate spacer needed to be made, so an old Trusty washer was cleaned up and opened out with a step drill then a slot filed in it to clear the key which was also making a short appearance. Once that was on, a plain washer and the nut were then wound down and a finish tighten applied. It all looks tight and business-like so I think I’ll breathe a sigh of relief at that stage.
Chains next….
Attachments:
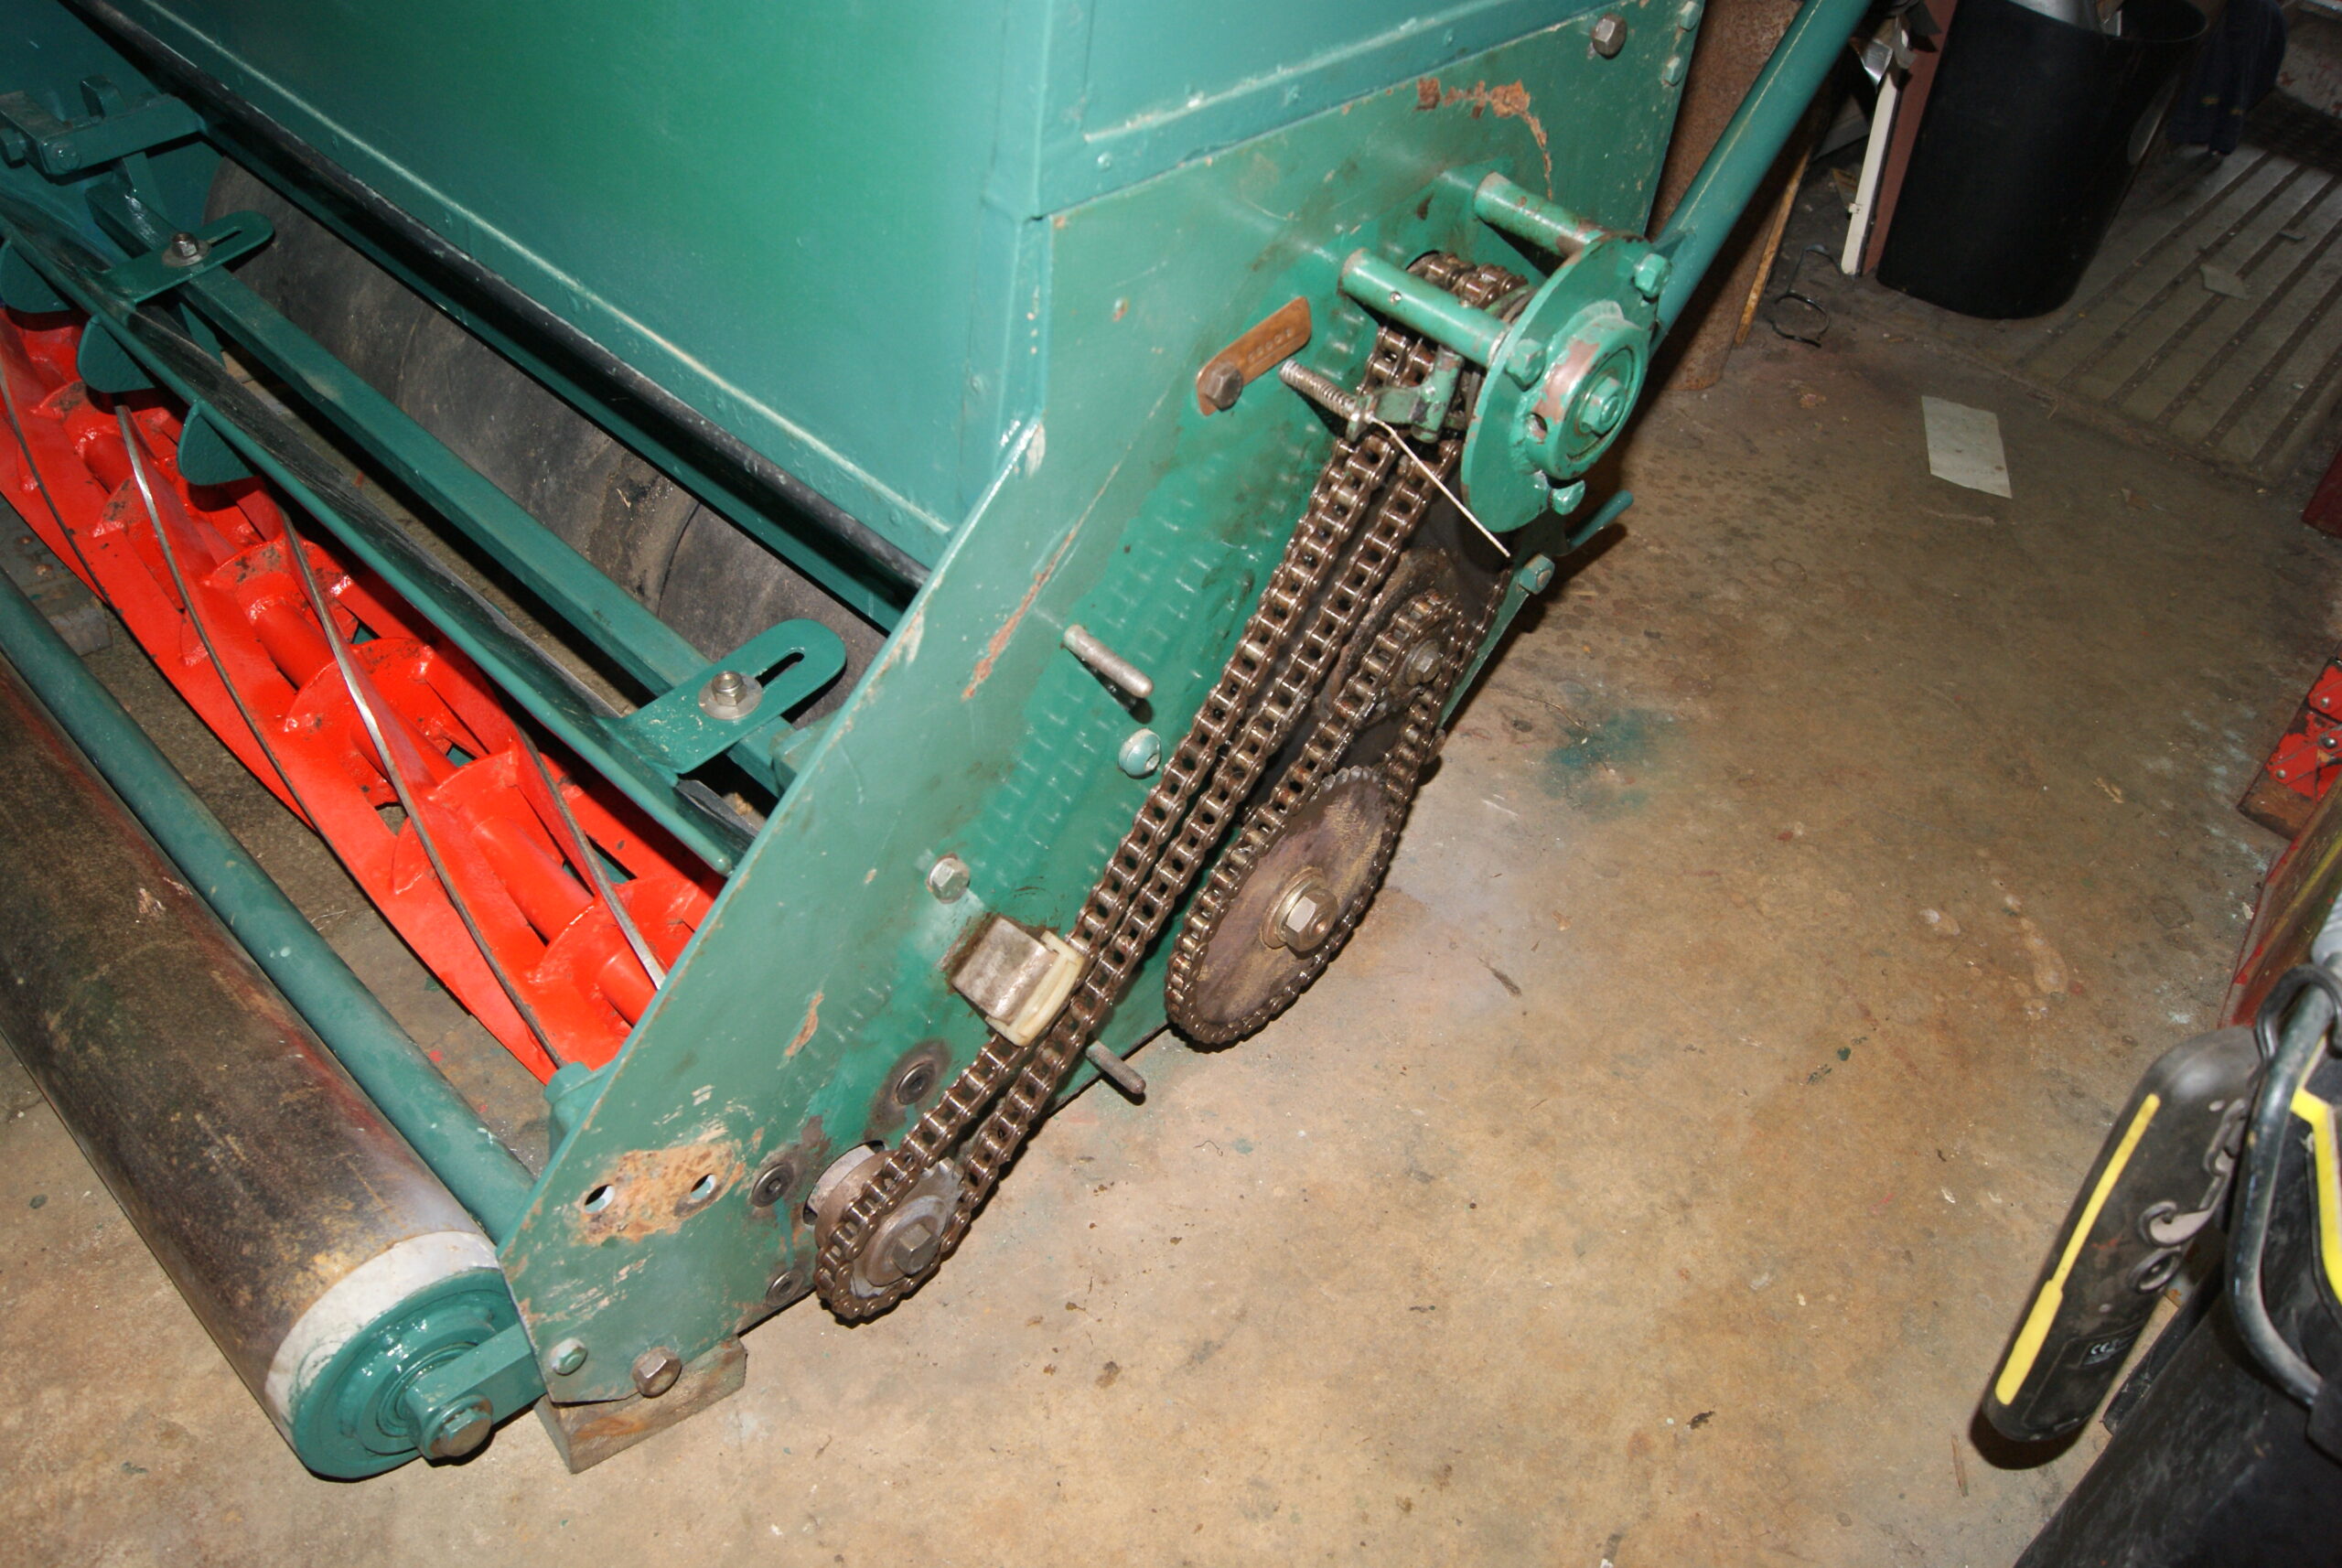
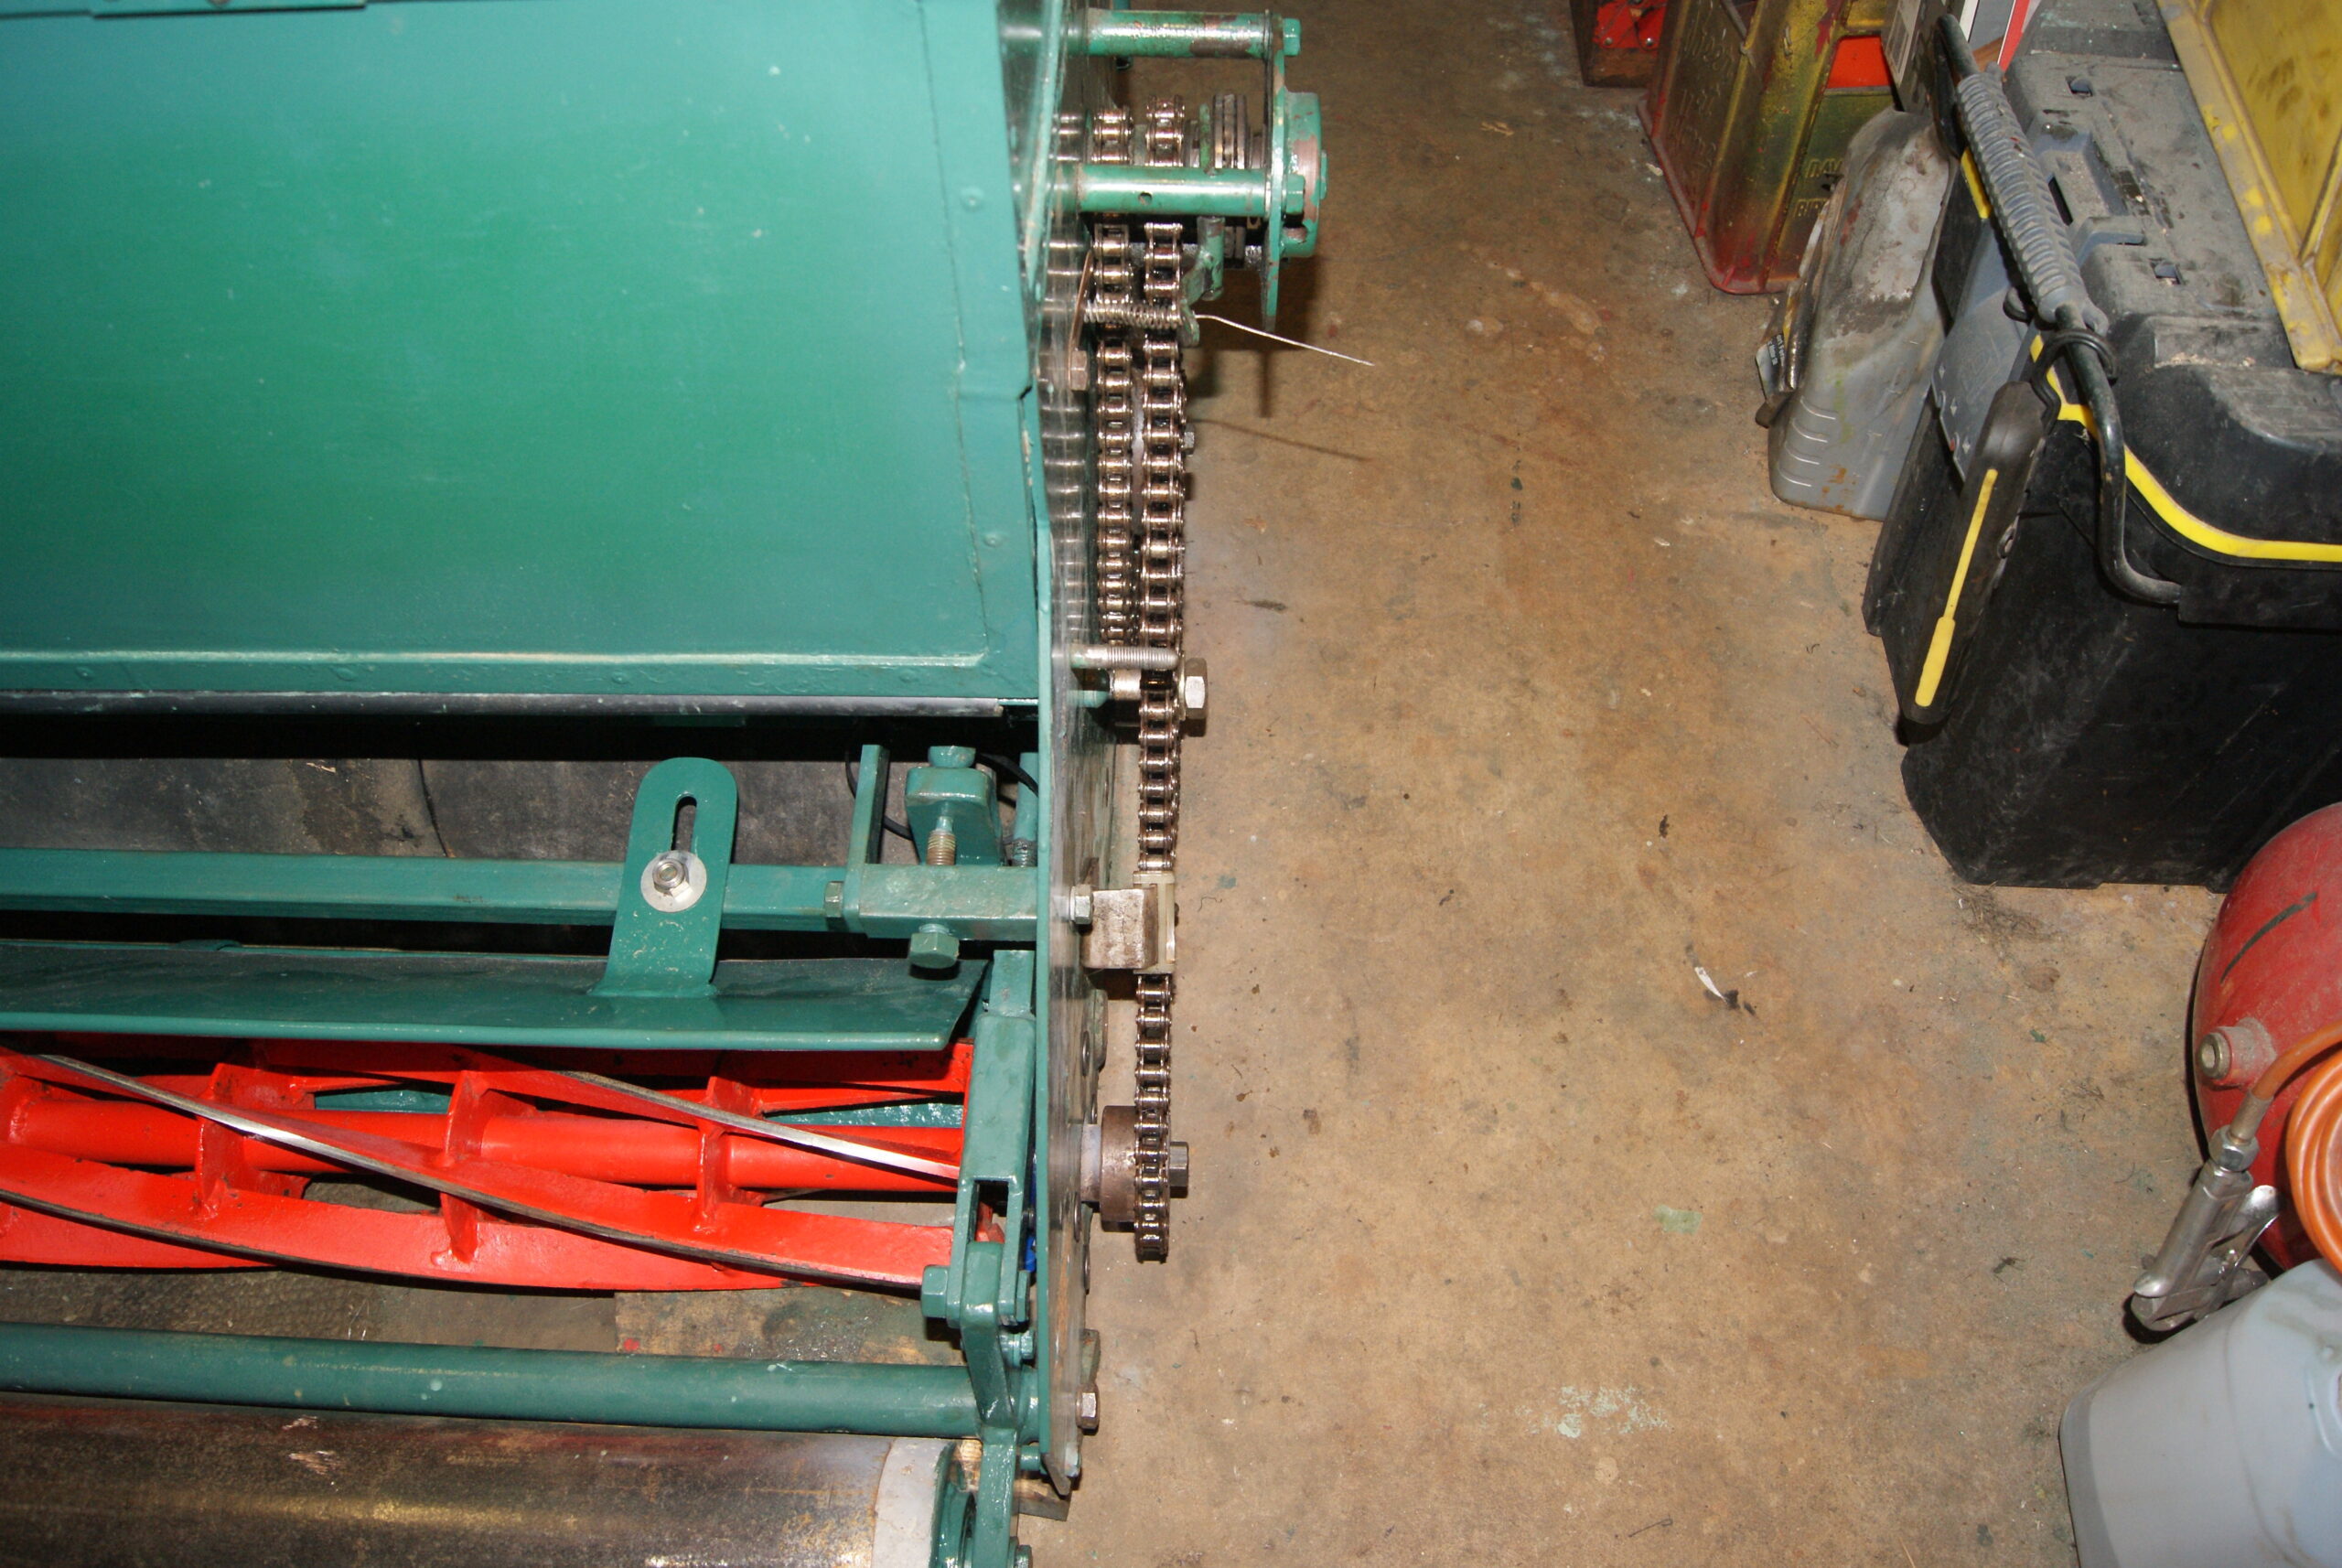
July 26, 2022 at 7:17 pm #39538trusty220KeymasterChains are always difficult things to clean properly and if you leave dirt in them they have hundreds of places that it can grind away at. Putting grease on the outside just makes up a grinding paste and accelerates the wear, so cleanliness is very important.
When I took these chains off a few months ago I put them straight into a bath of petrol to give them a good long soak. That soak took two weeks before I got around to getting them out again and all of the old oil had been dissolved. Once the chains had dried out I then worked them backwards and forwards to make sure all of the dried dirt was removed, then hung them up to dry. That was about six weeks ago, so when I came to re-oil them this morning they were well and truly clean and dry.
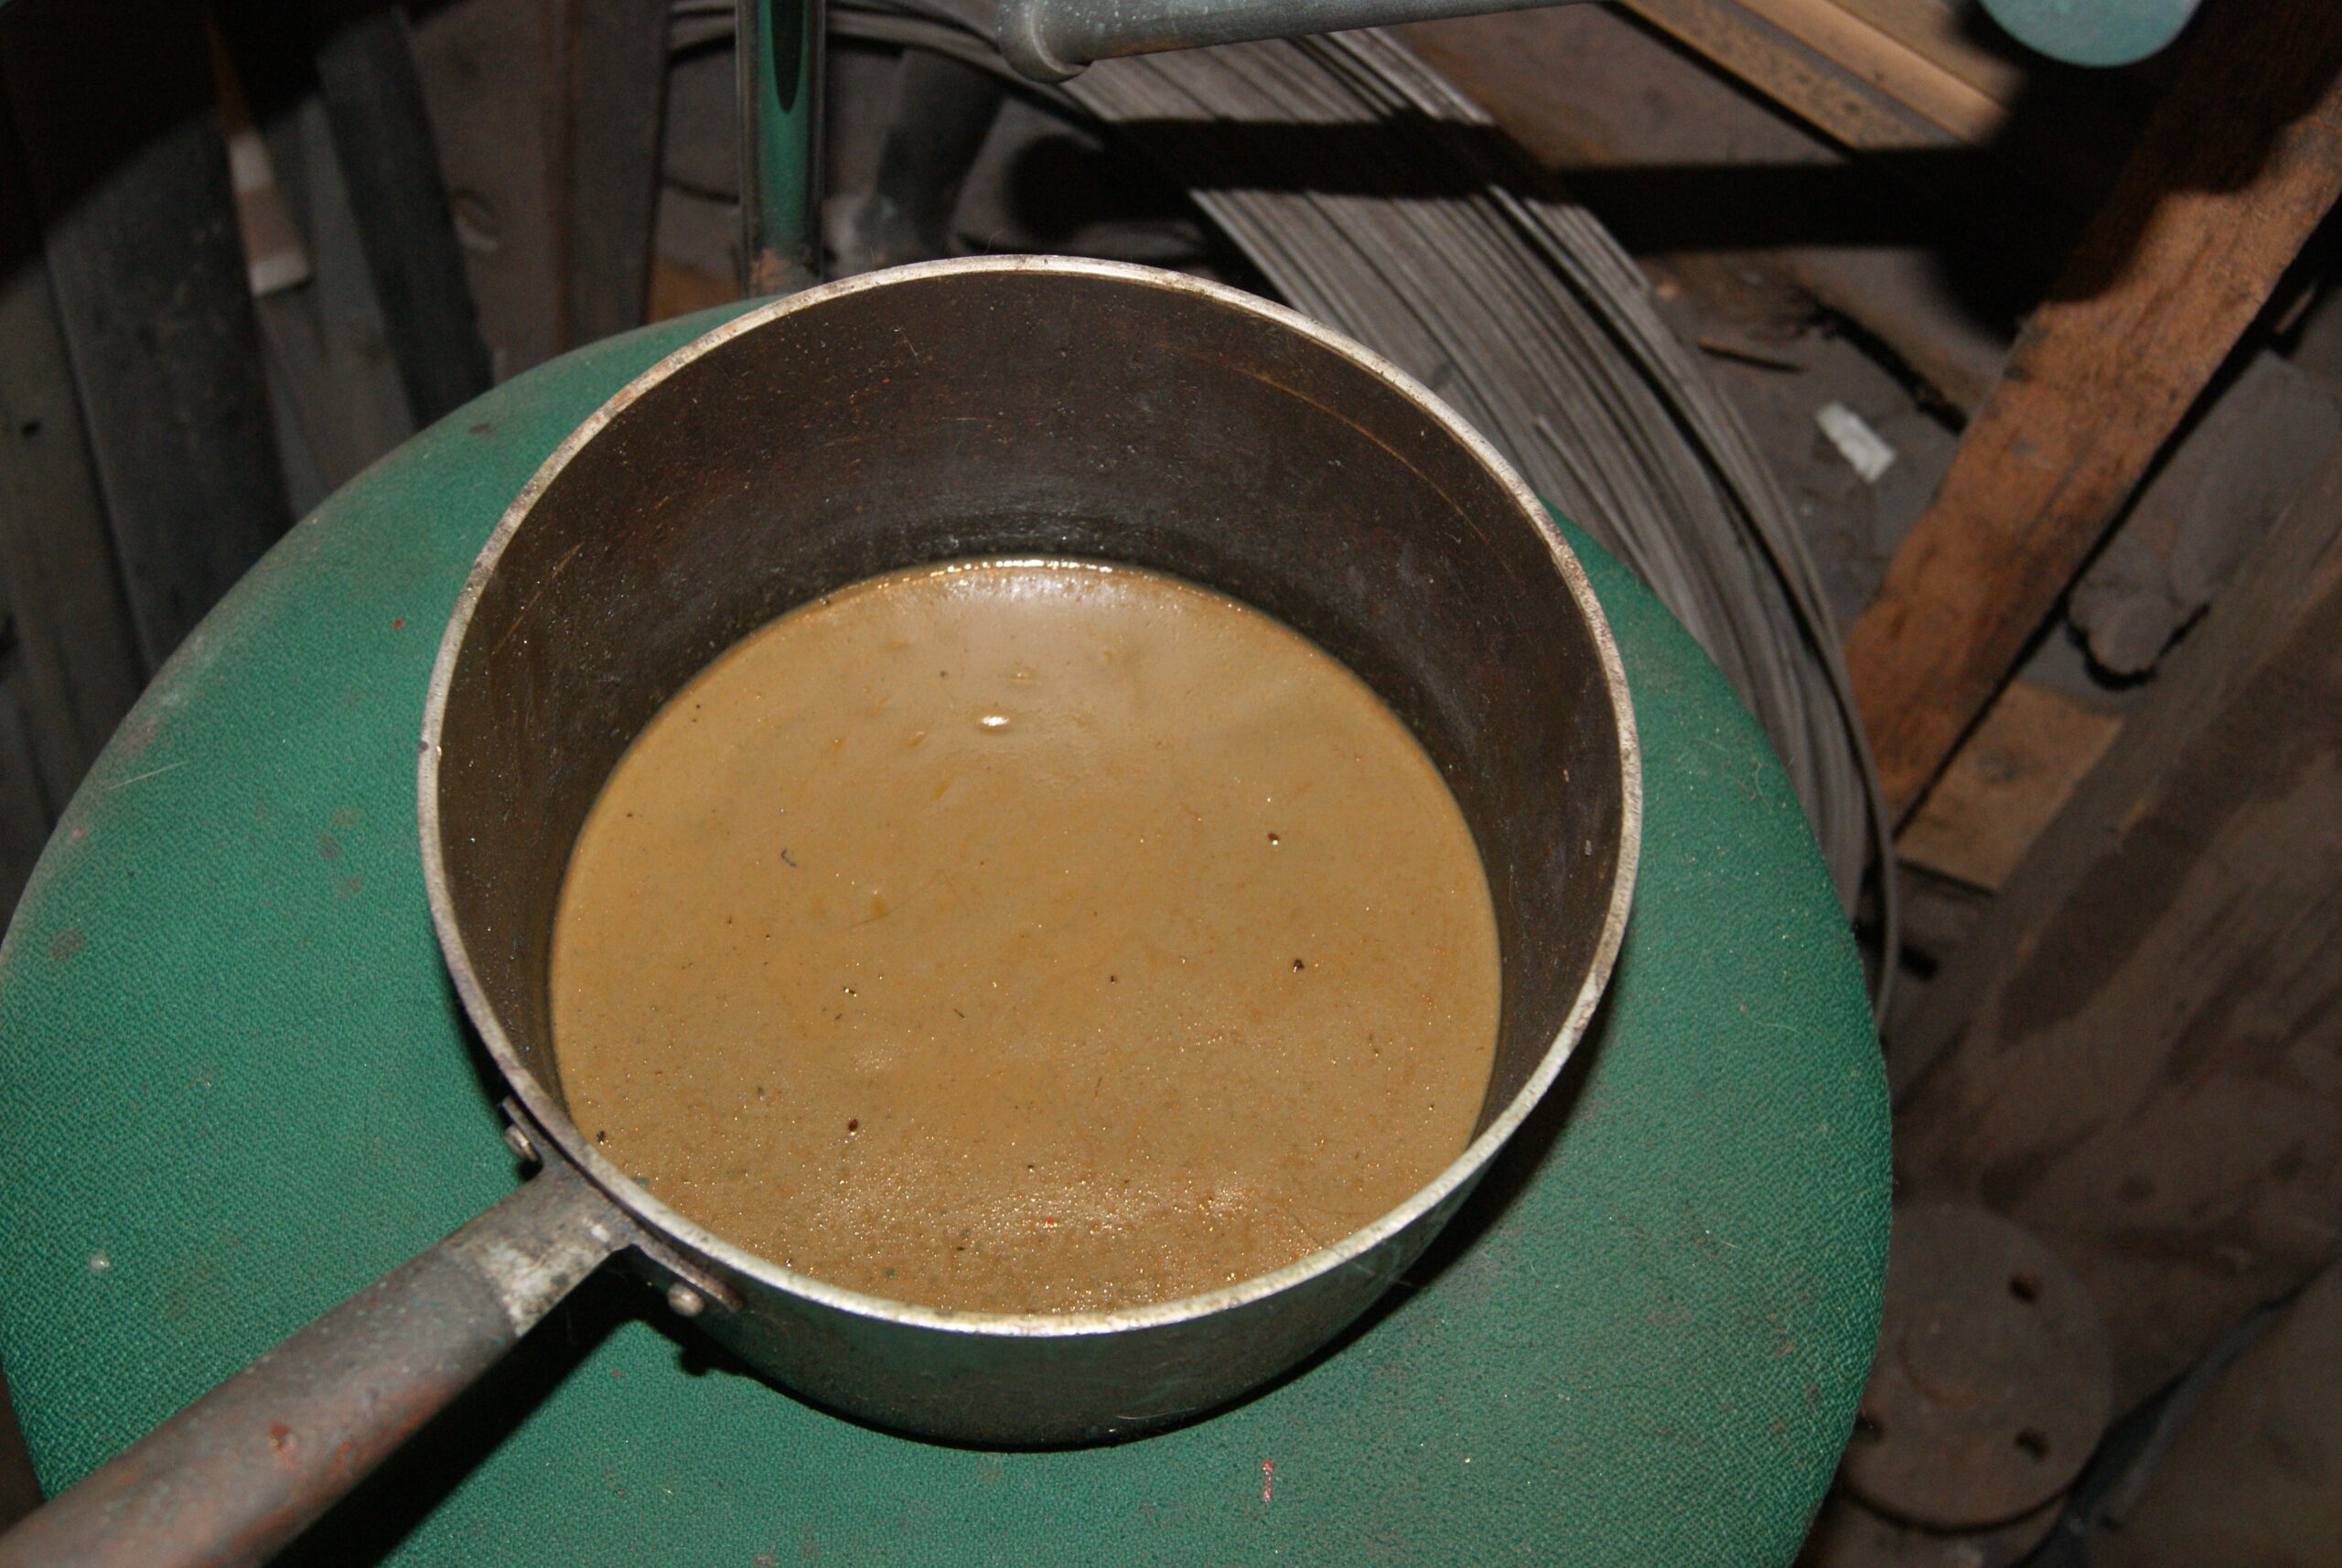
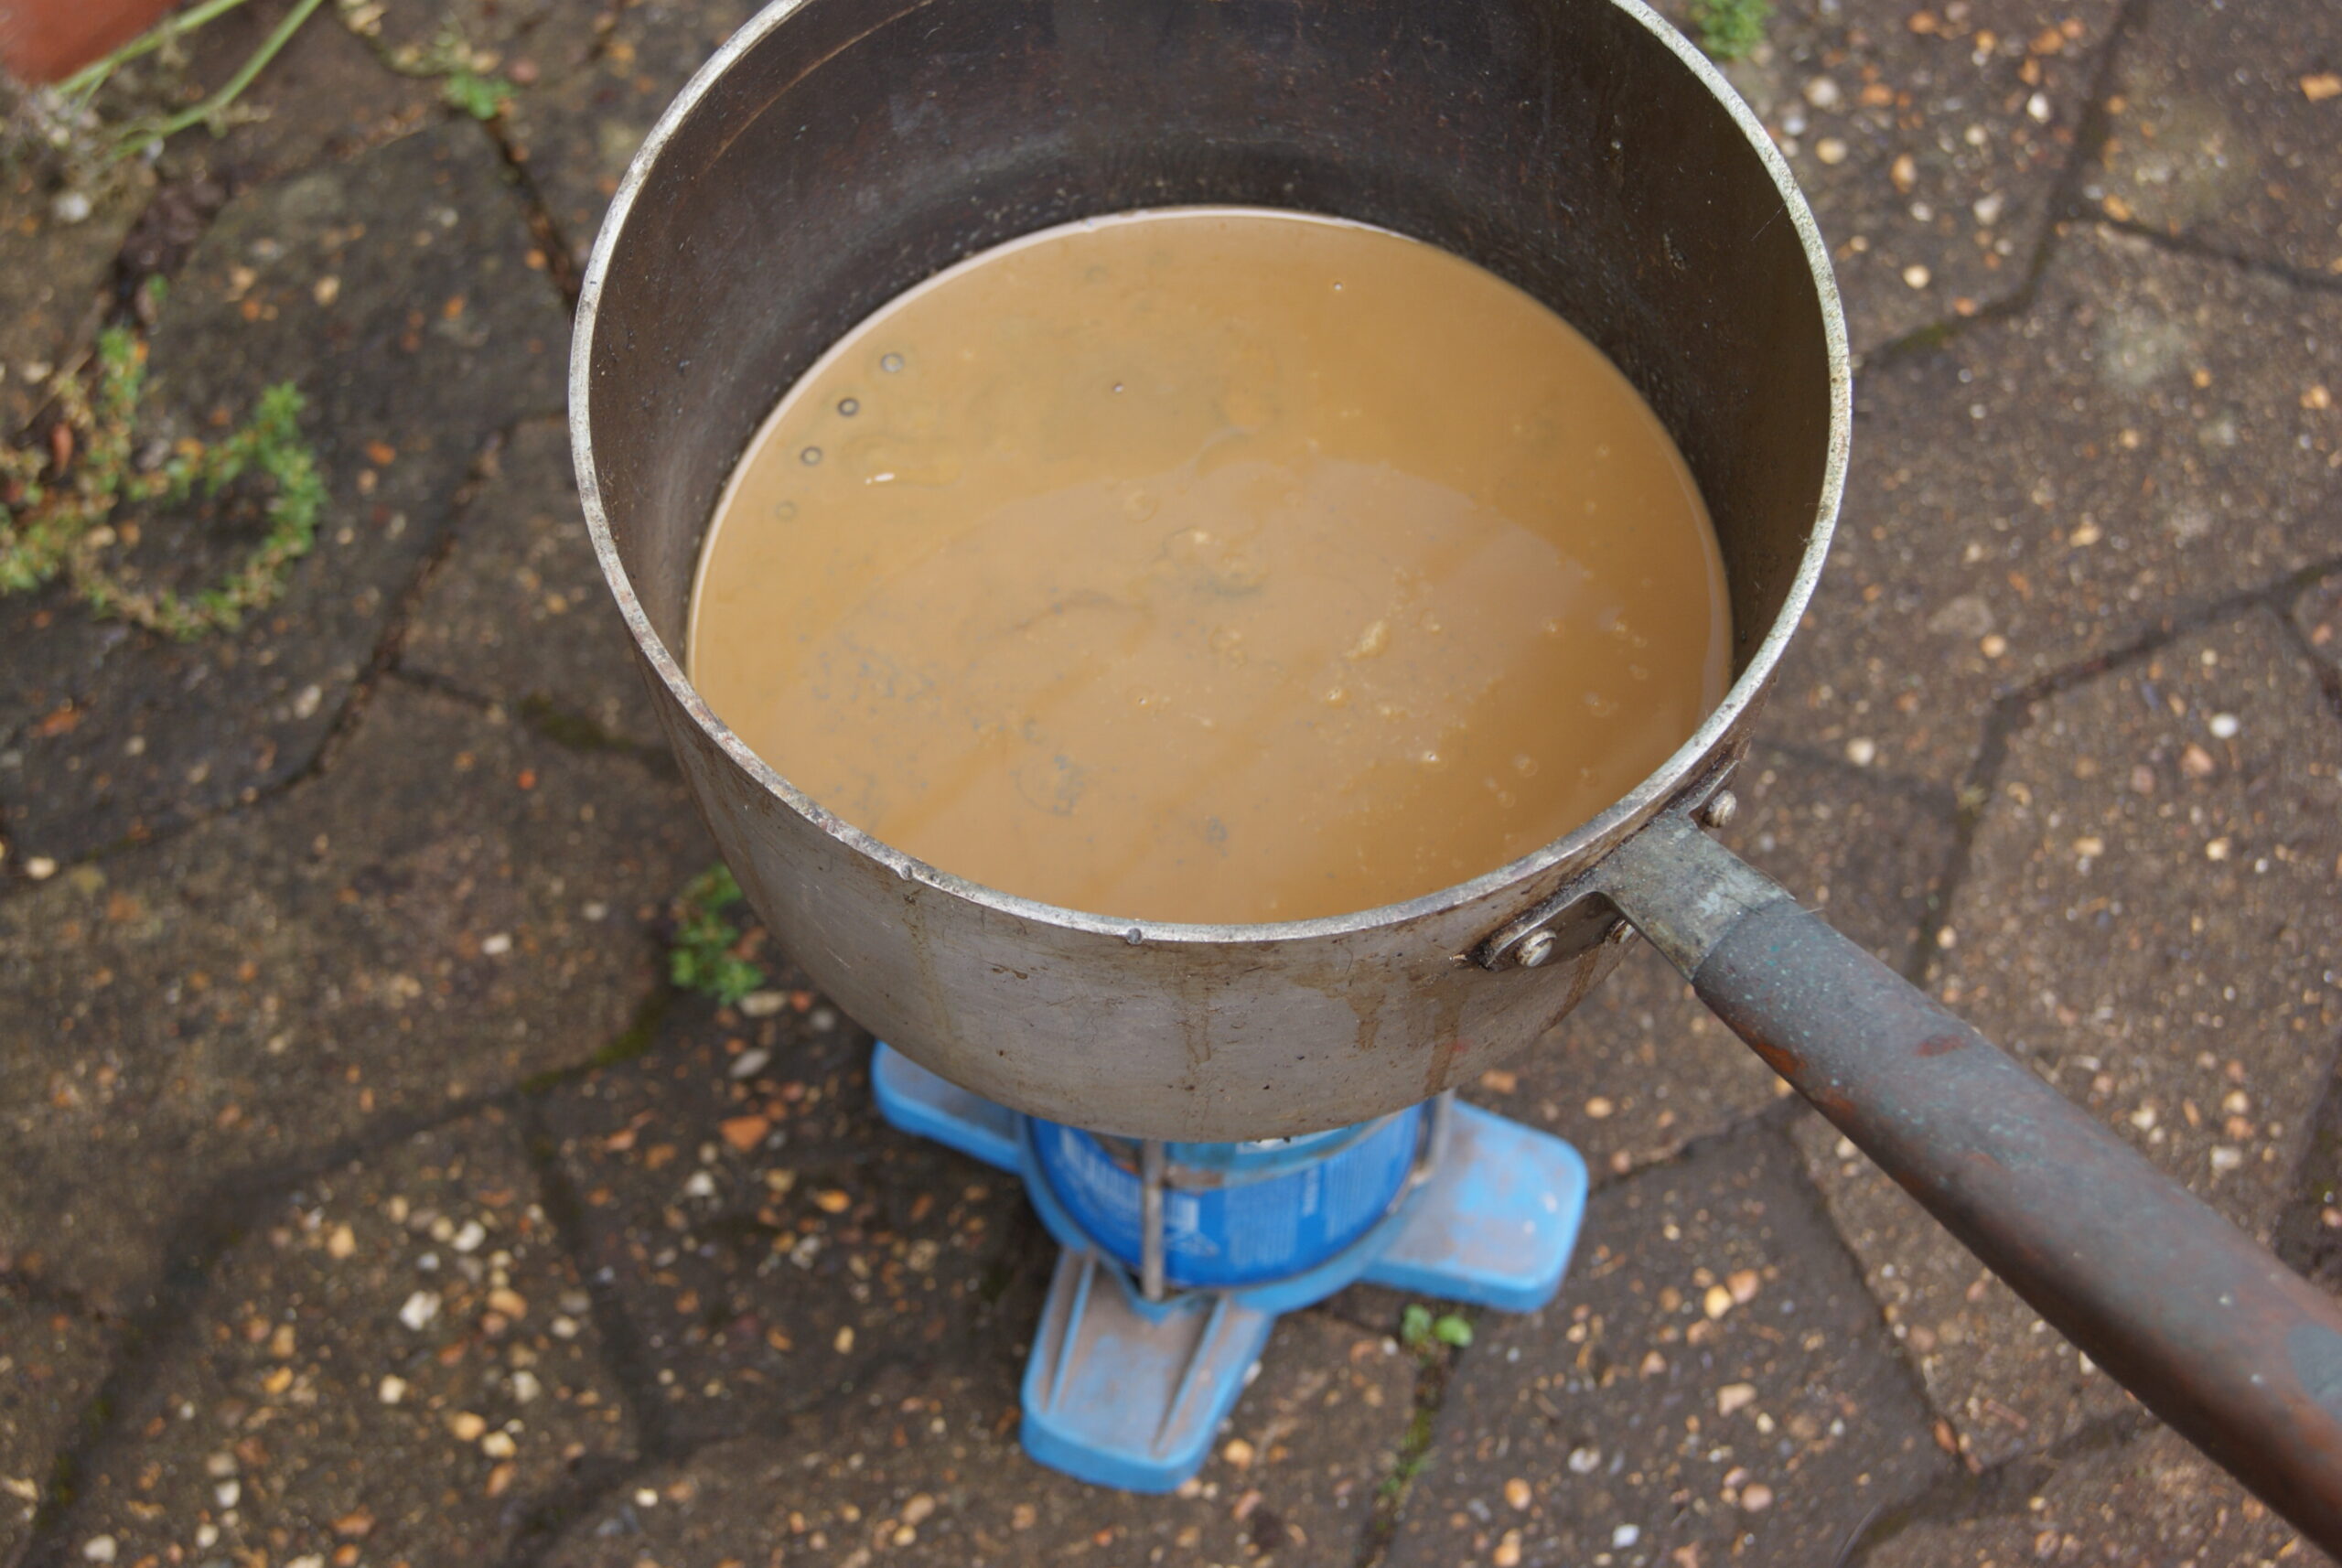
What I find best these days is to heat up a pan of grease on a camping stove- Mrs. Geoff won’t let me do it on the house cooker- and drop the clean chains into the boiling grease and leave them boiling away for about ten minutes so that they reach the same temperature as the grease. At this point most of the air has been pushed out of the spaces in the chains and I then leave it all to cool naturally; that way the grease is sucked into the cavities on cooling.
I then heat it up again to a liquid and fish the chains out, wiping them with a cloth to clean the excess off and then I can pour the grease back into the tin to use next time.
Anyway, that gets the chains clean so then all I have to do is fit them to the mower. That’s exactly what happened without any further dramas, so tomorrow’s work will be cosmetic I think.
Attachments:
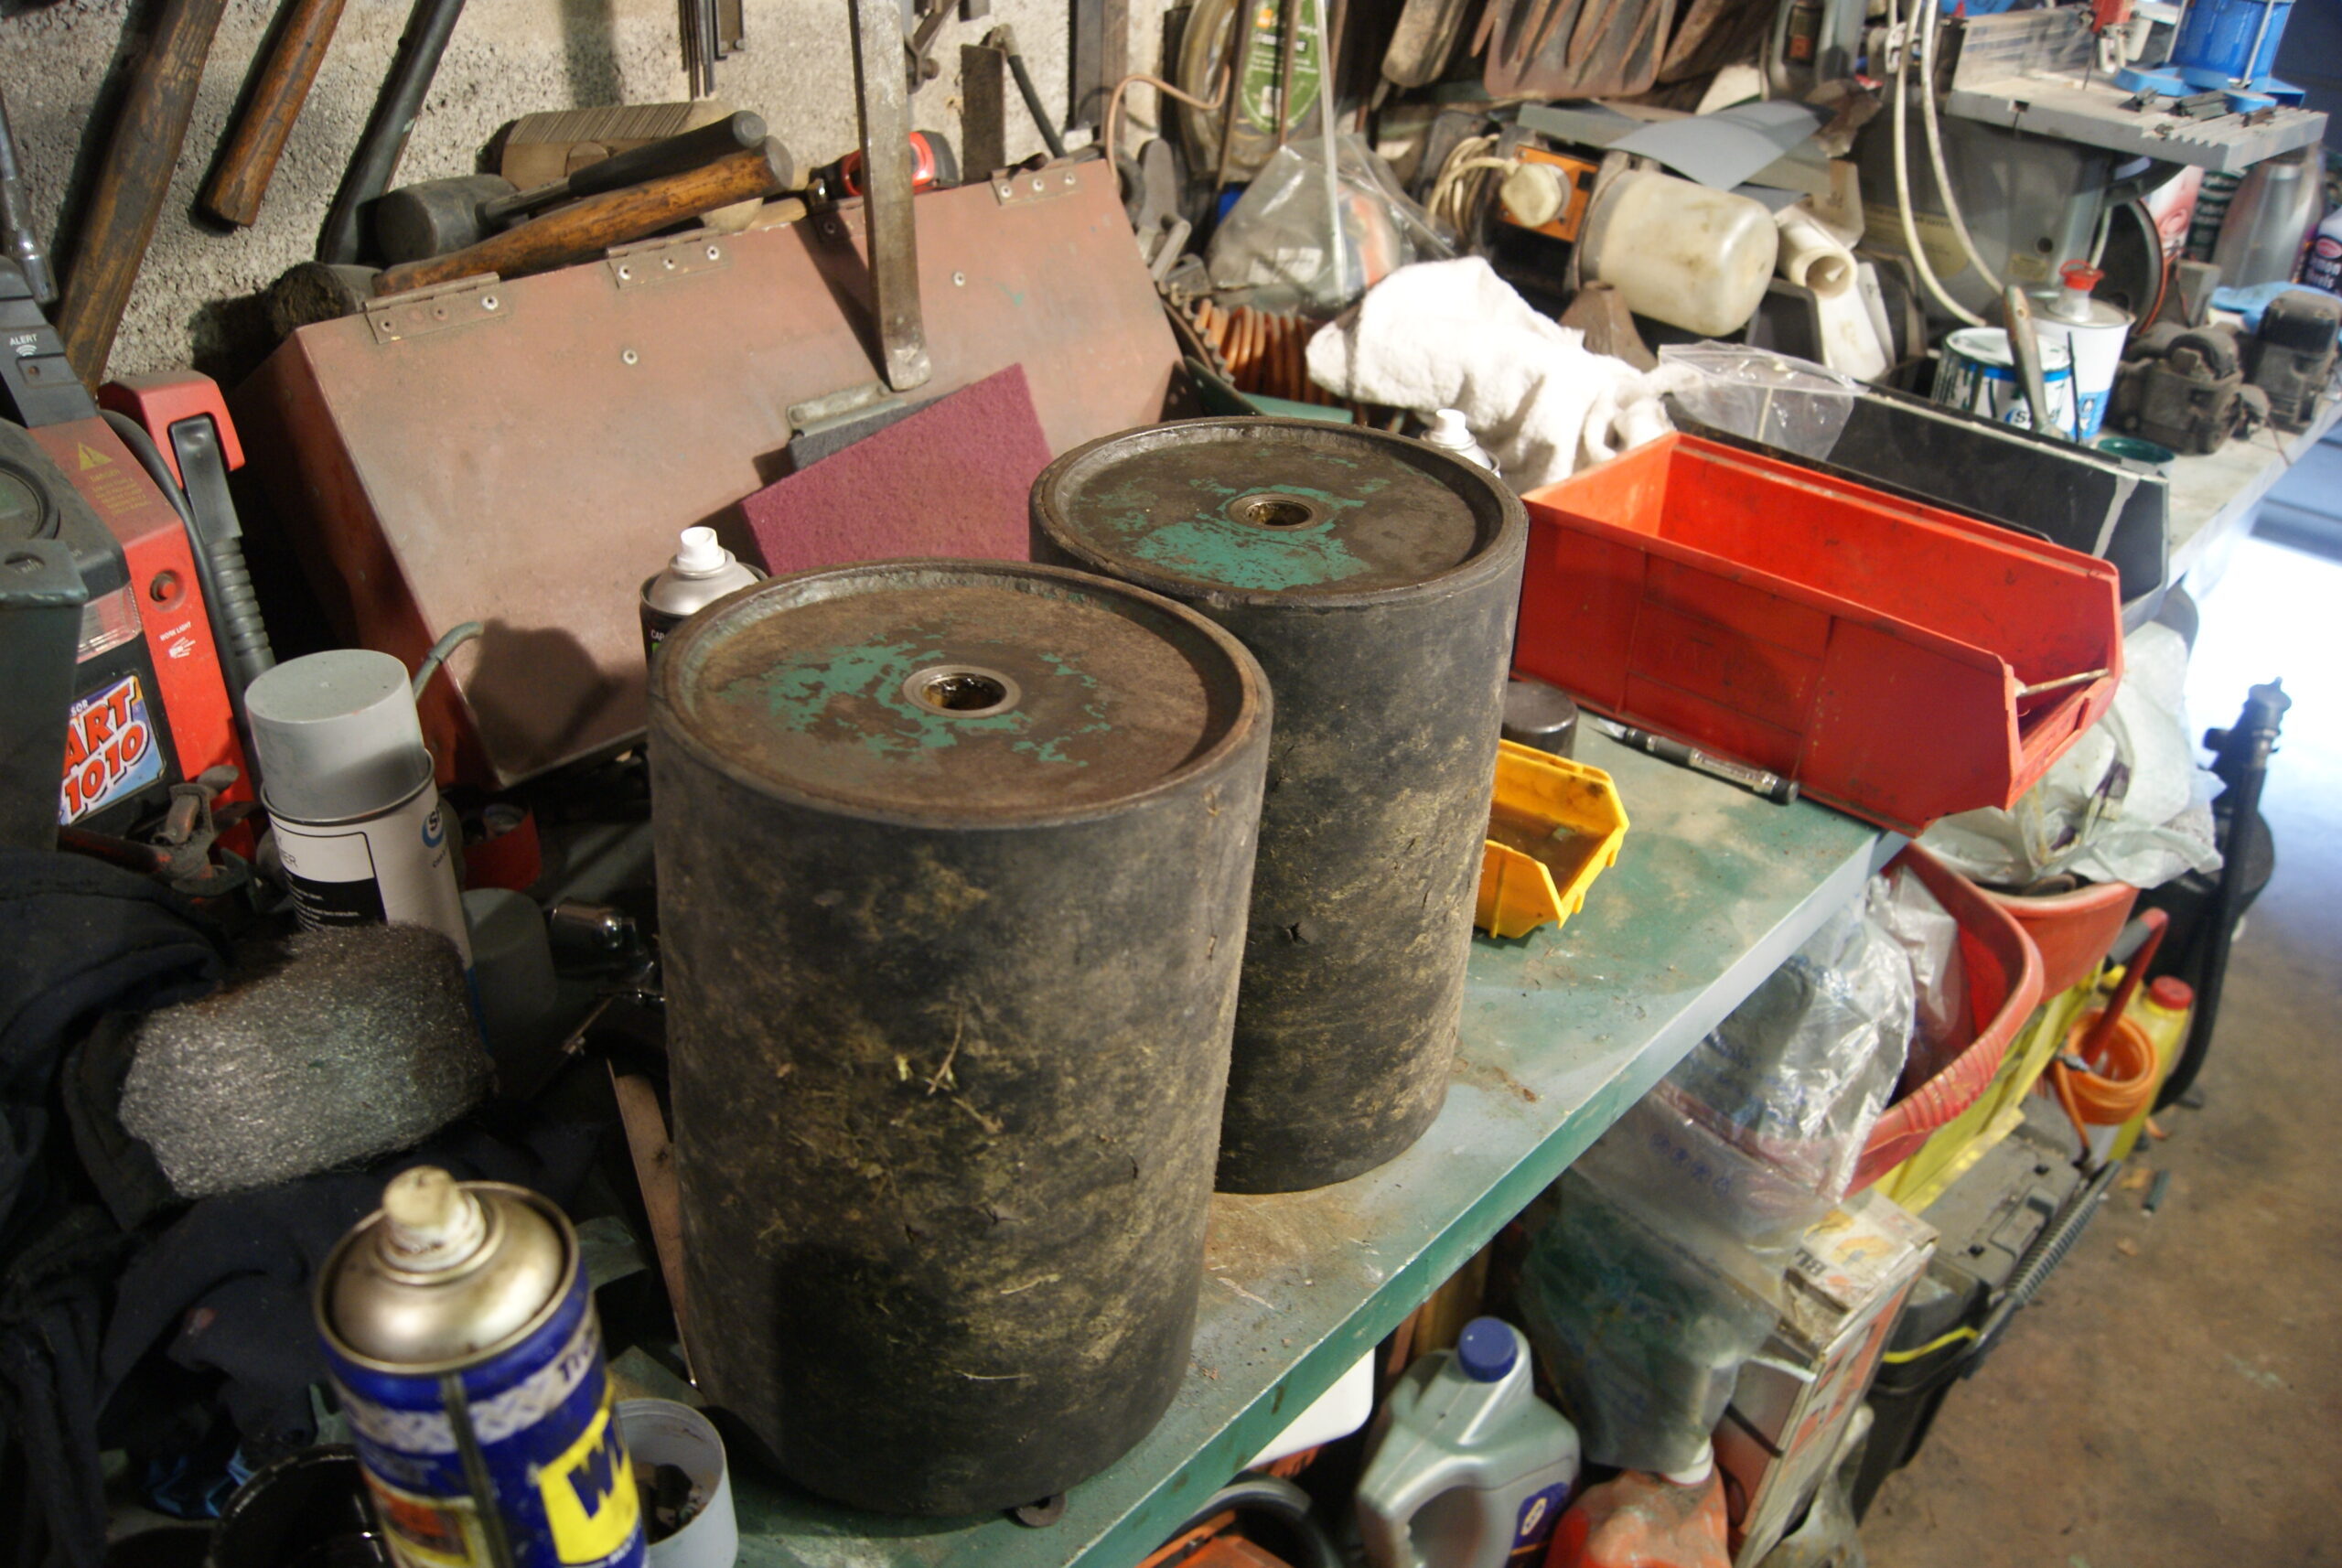
July 27, 2022 at 1:02 pm #39546trusty220KeymasterBefore getting stuck into the polishing and fettling I had one last dusty job to do, so I thought it best to get that out of the way first. I’m talking about dismantling the trailing seat and it fought me all the way.
The seat pan has already been cleaned and rubbed down; the cushions are away at the trimmers to get repaired, so the drawbar and rollers were next on the agenda. It really is a weighty piece of kit so to reduce the weight I decided to remove the rollers first. Somebody had really tightened up the securing screws at the ends of the axles and it didn’t help that they were dome-headed with a recessed hexagon for an Allen key- I was convinced that each one was going to round off just before they cracked and loosened. The drawbar is adjustable and is slotted into the front of the seat platform but the locking bolt had not been tightened for some time, being only two turns in. This meant that the drawbar was absolutely solid inside the outer tube and only plenty of oil and knocking it backwards and forwards got it loose enough to come apart.
It’s now all rubbed down with wire wool and WD40 then cleaned up with the Screwfix degreaser, although a lot of the grease build up I chiselled off with a paint scraper beforehand. All of the smaller parts are soaking so as soon as they are clean I’ll start on re-assembly. An interesting aspect of the clean-up was that the drawbar had been filled with nuts by some industrious little rodent; I do hope that he didn’t go short of food when the last owner got rid of the mower!
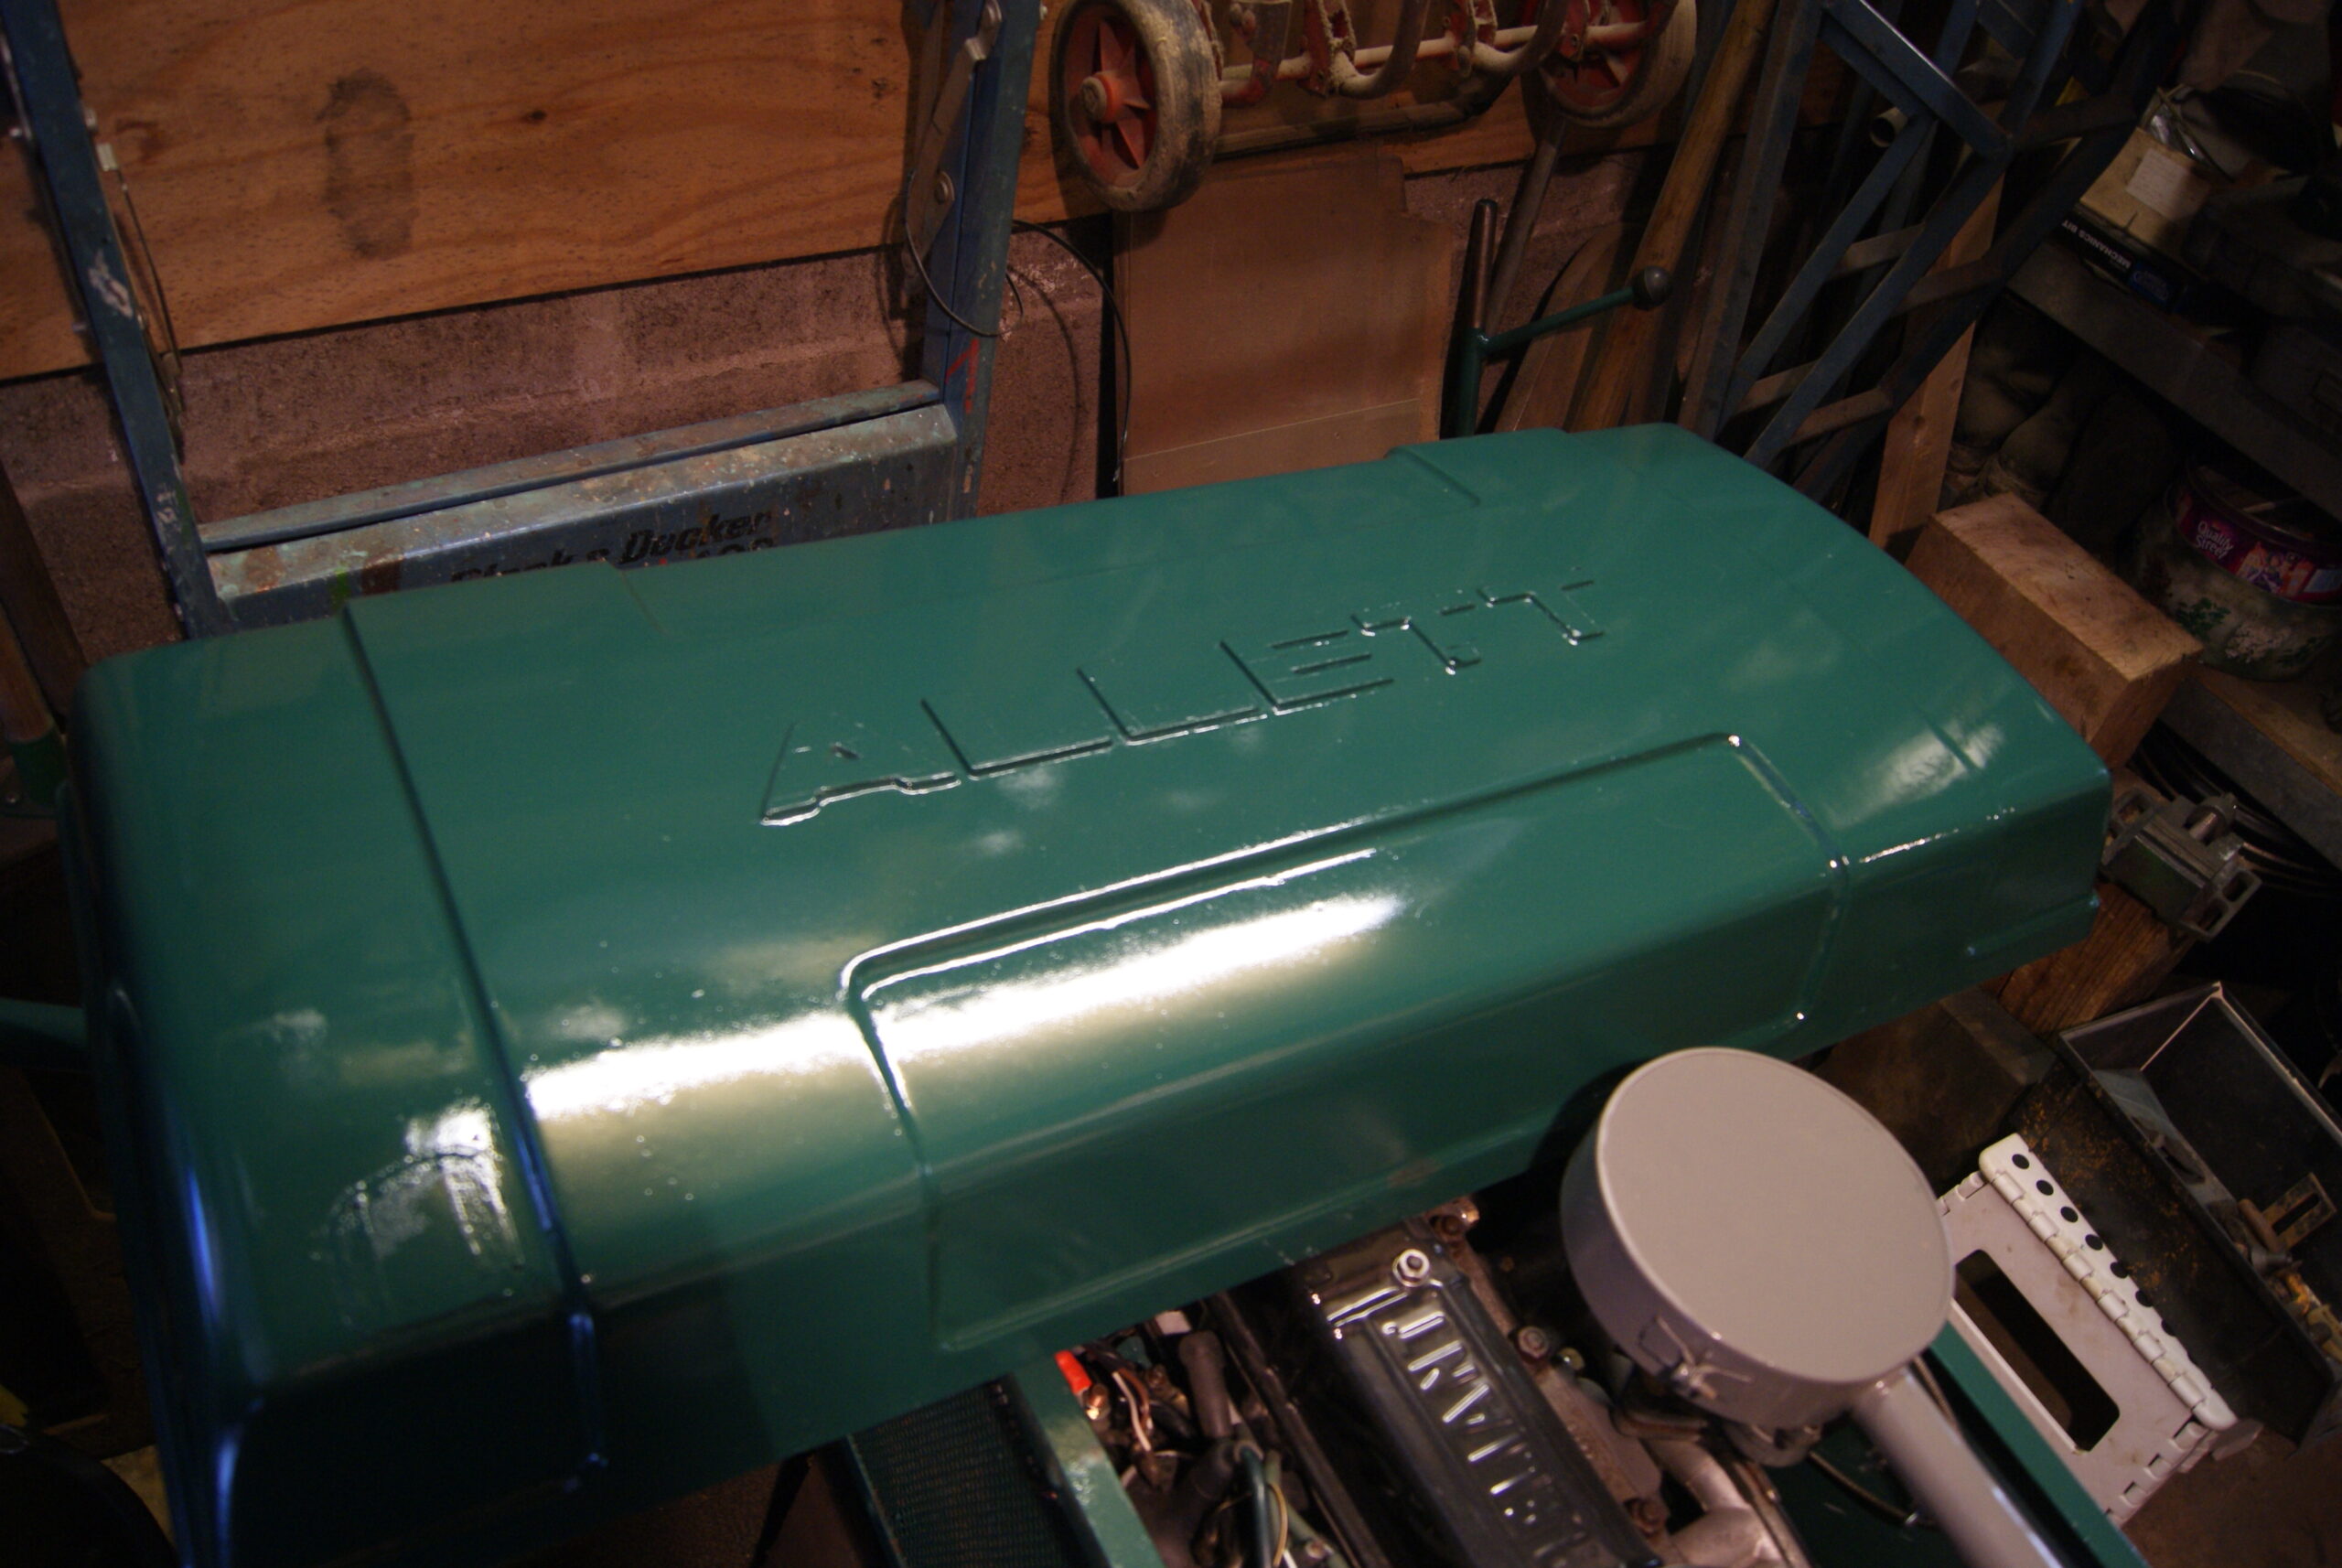
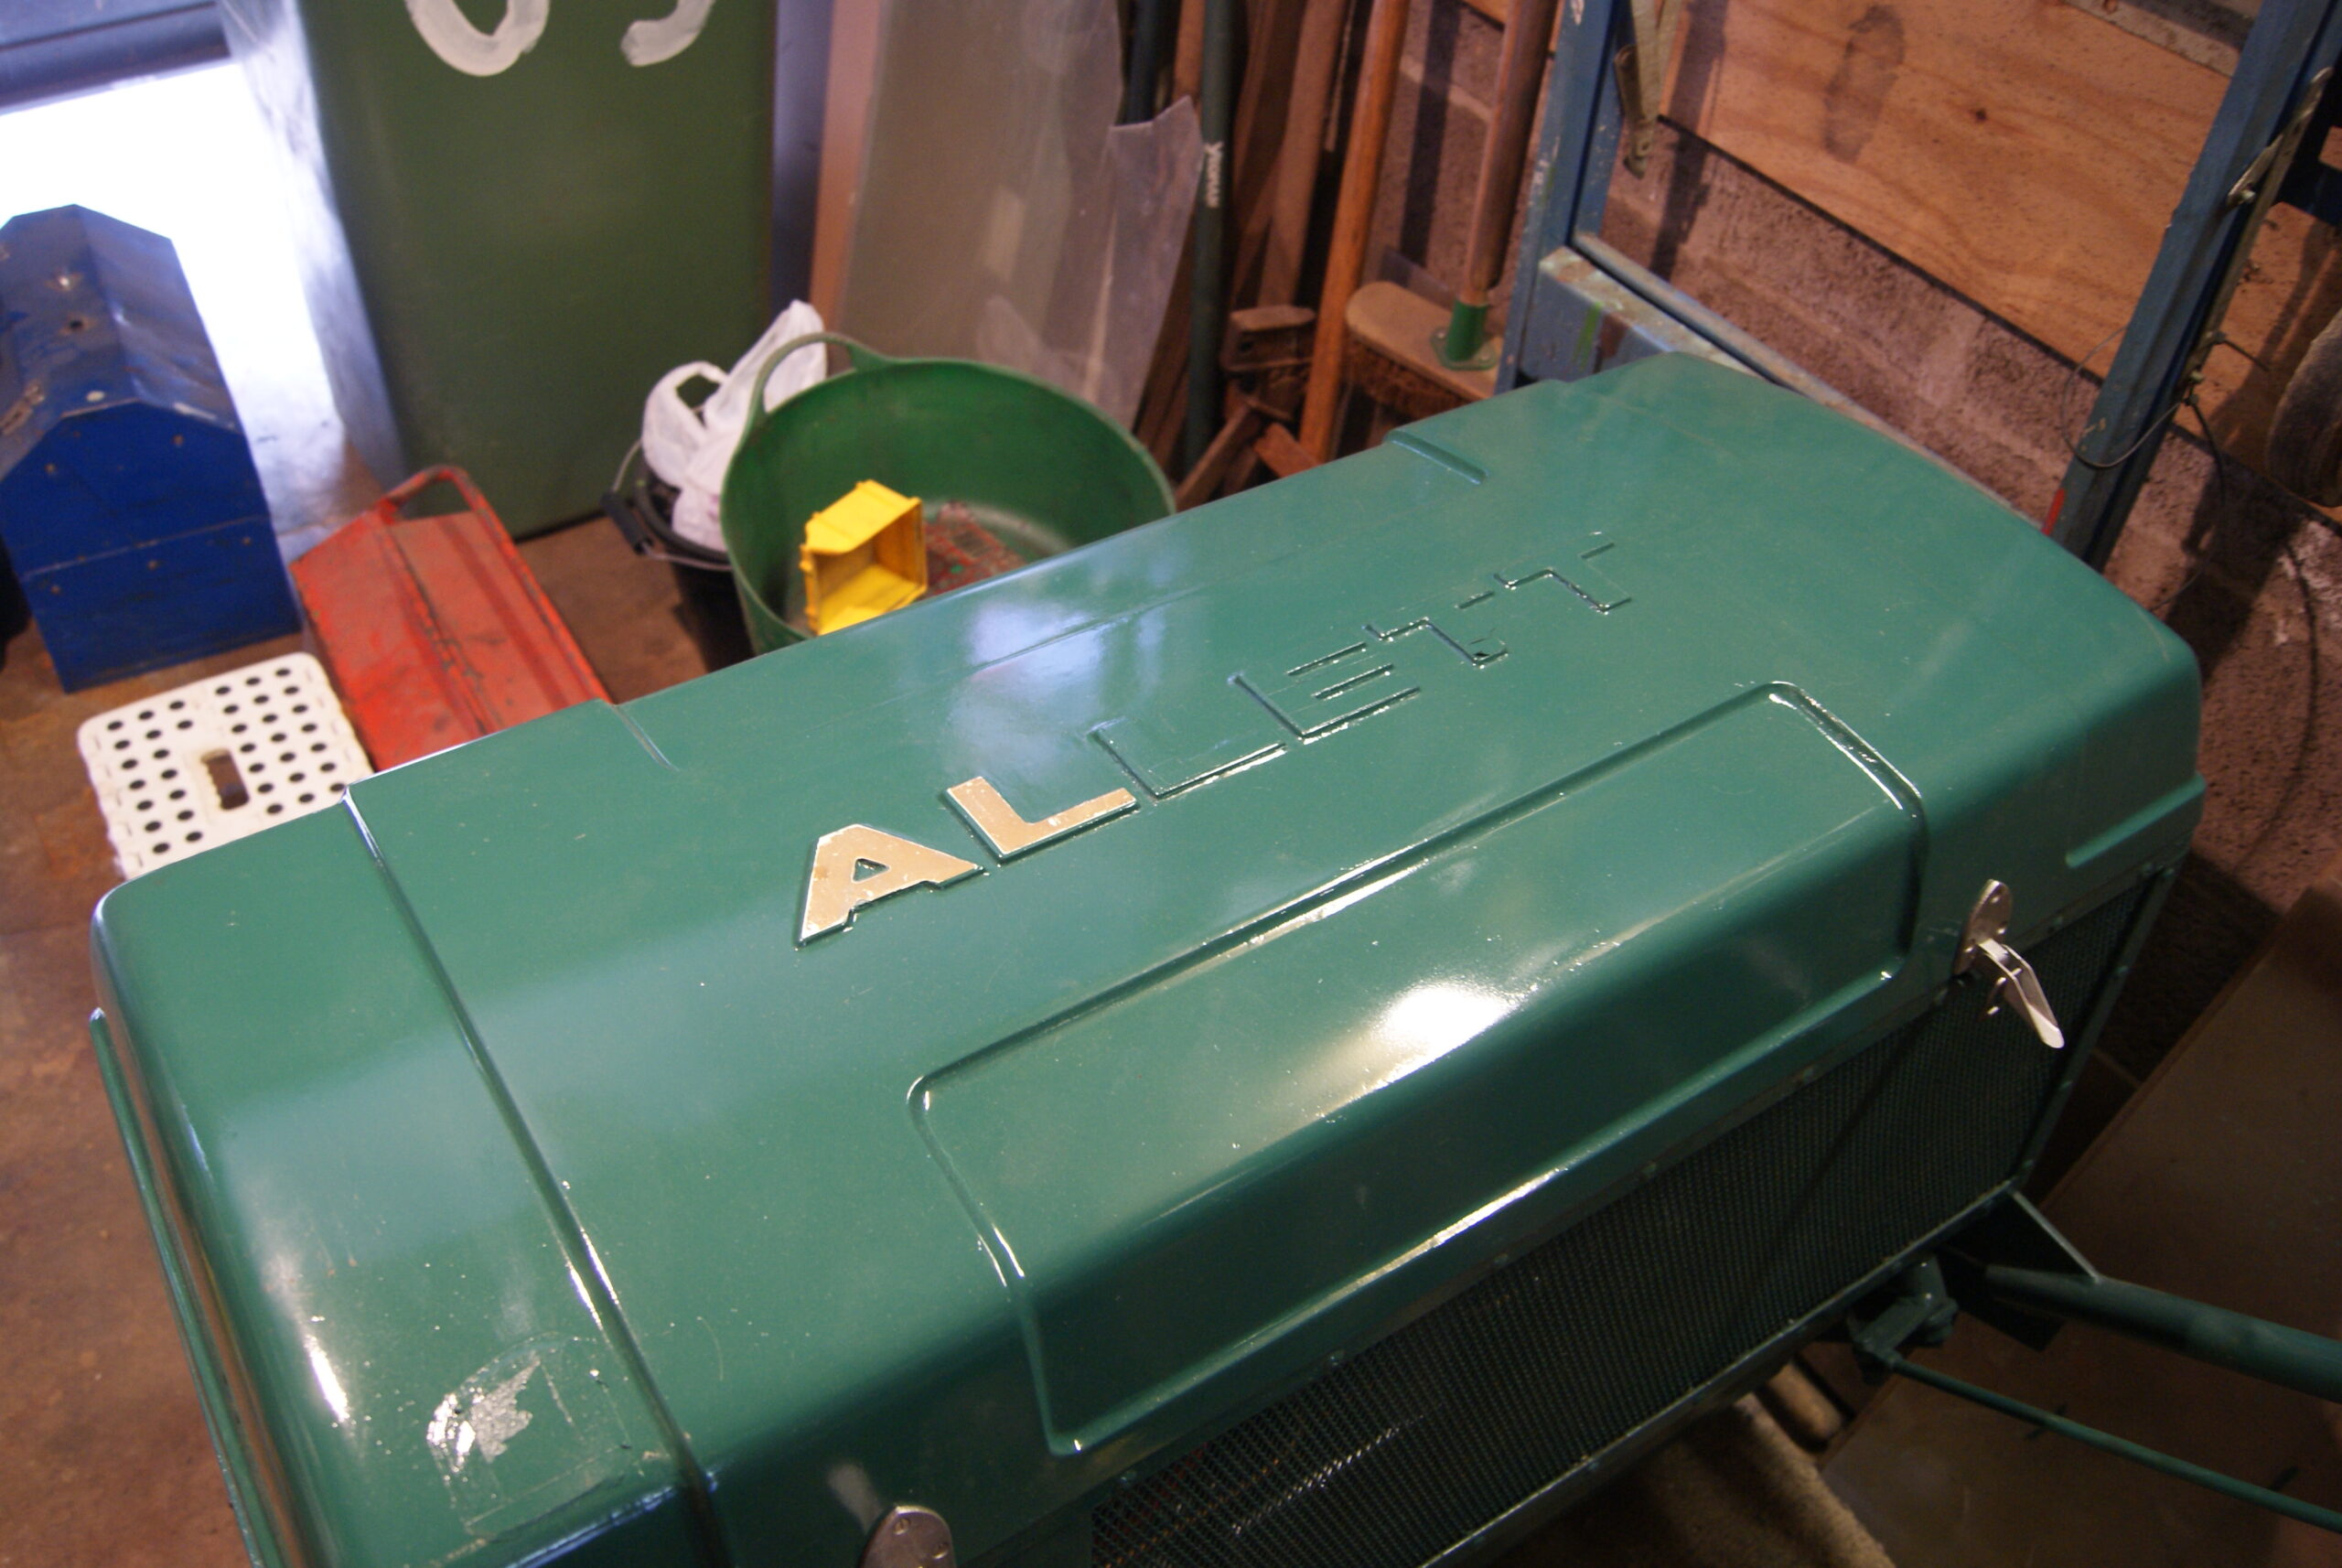
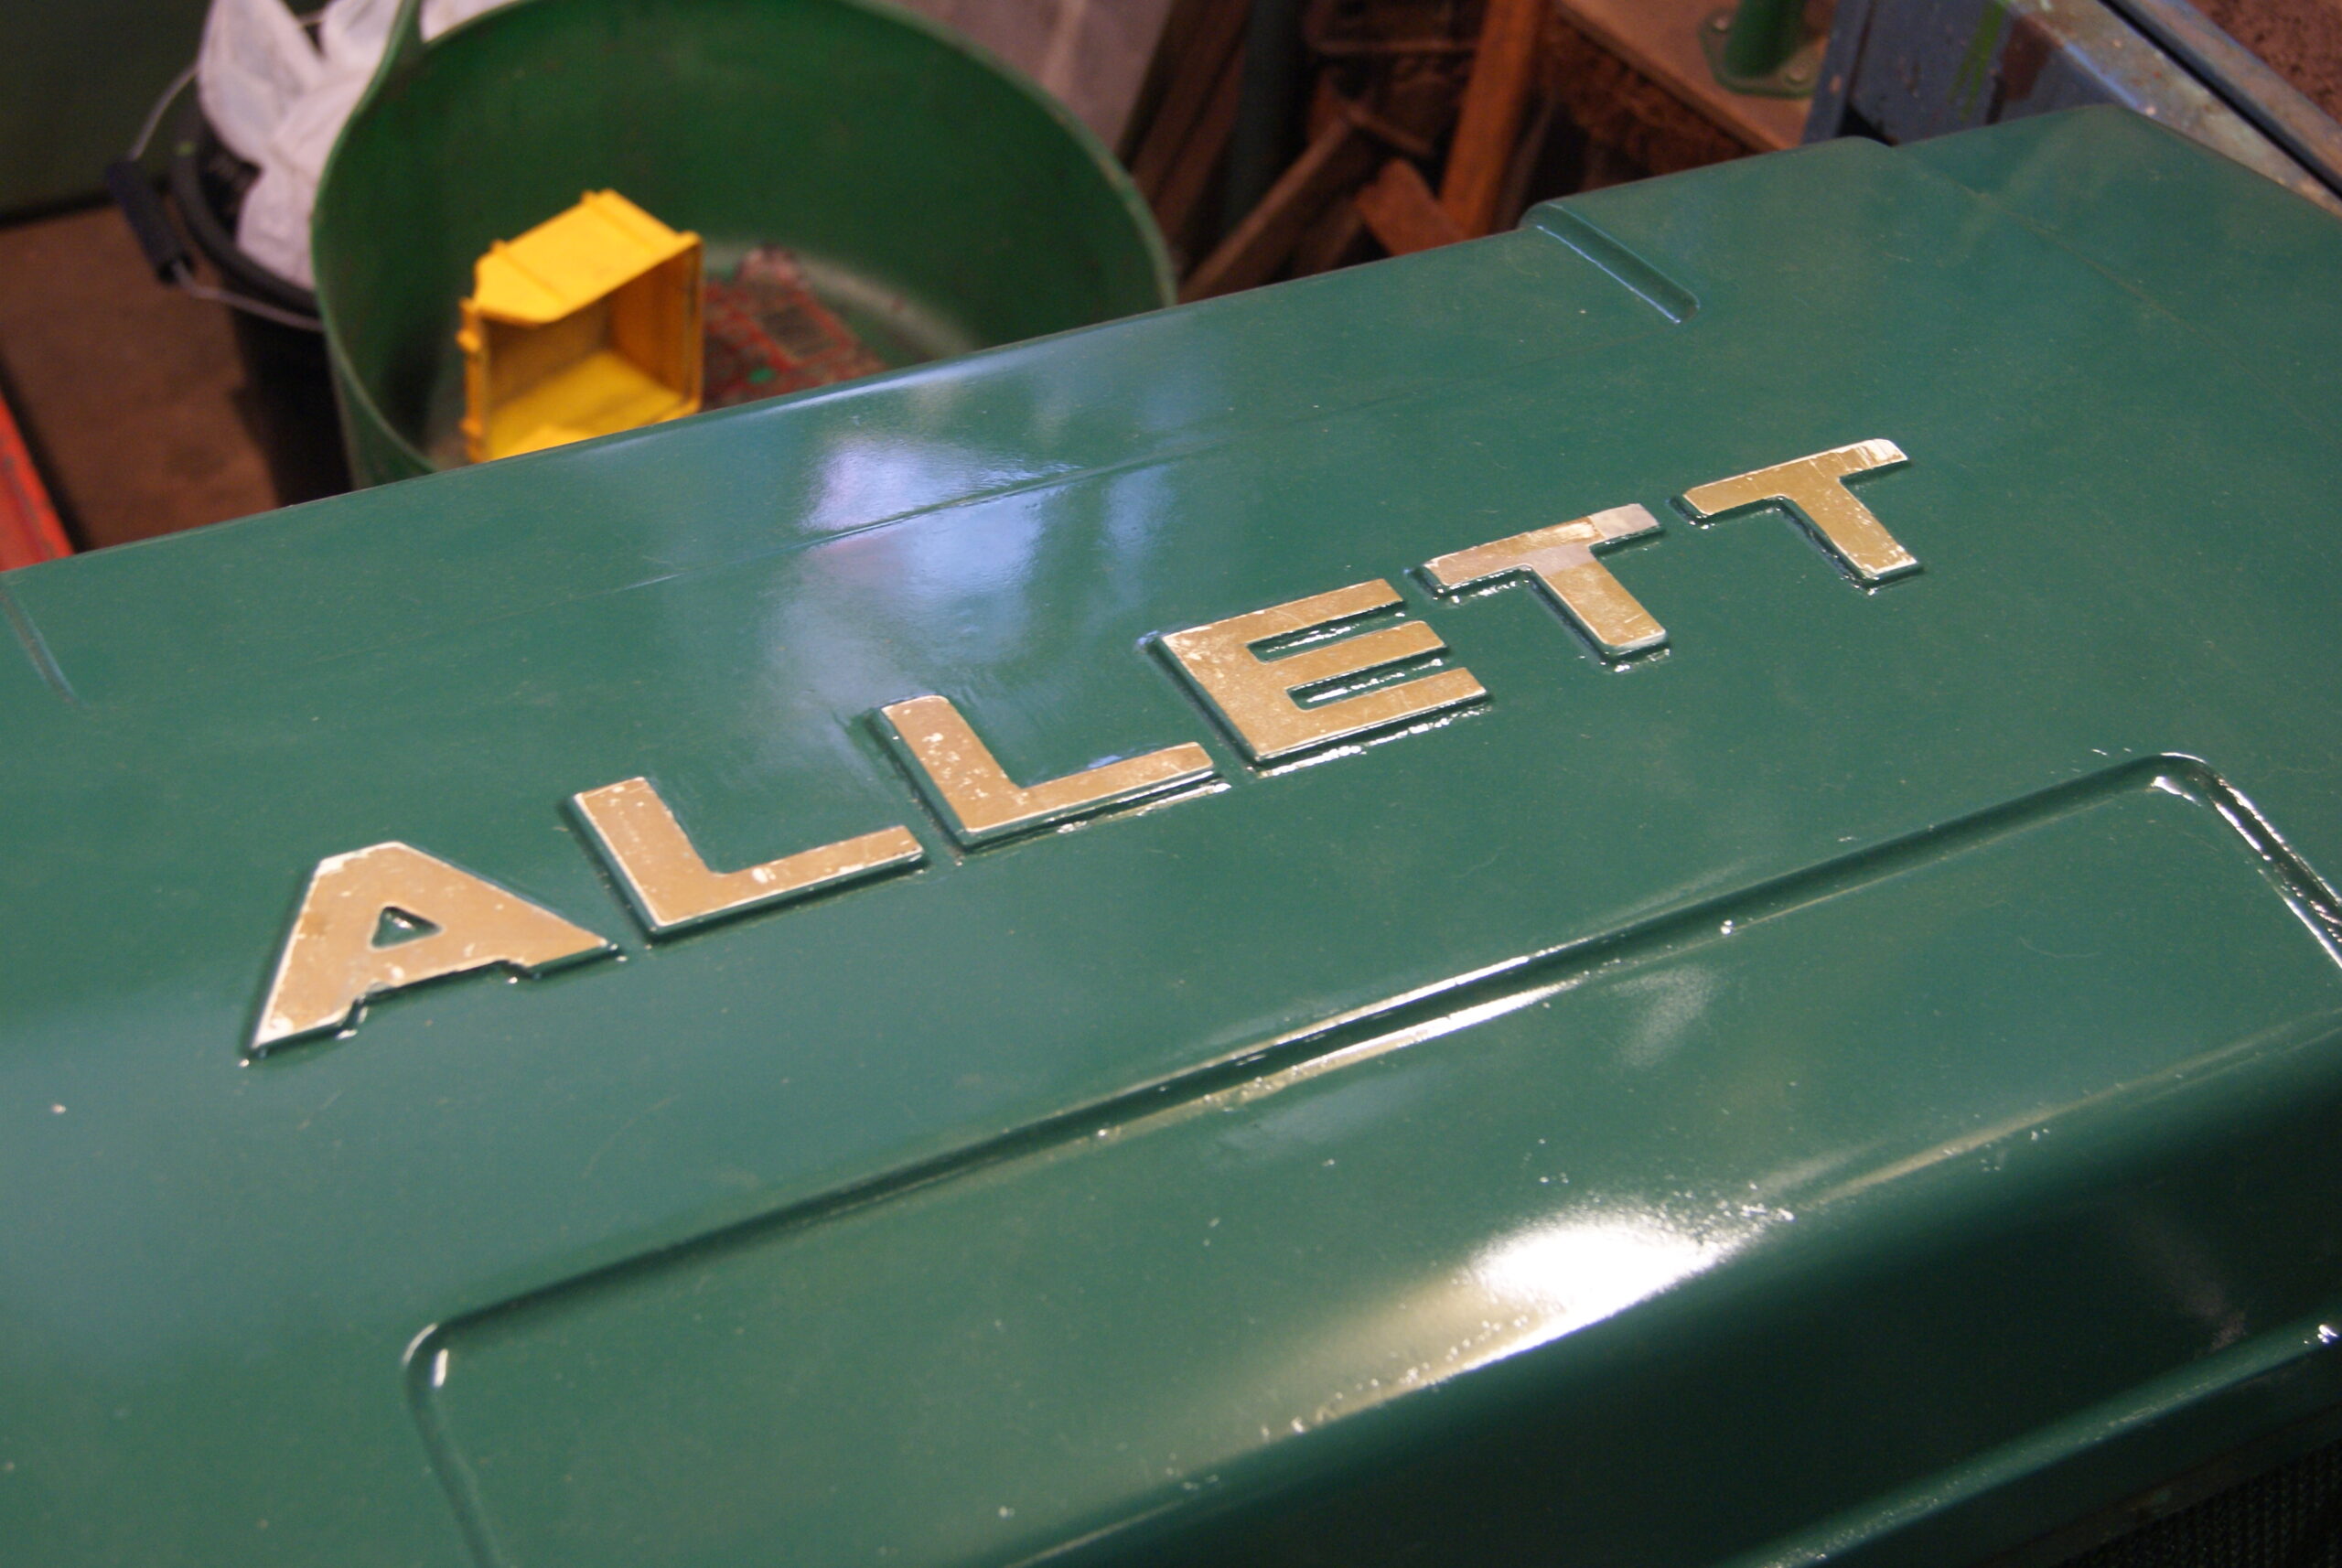
I’ve also included some pictures of the lid now that I’ve removed the masking tape from the lettering. Unfortunately I don’t have the correct shade of gold paint to touch up the letters, so that will have to wait until I’ve been to the shops again.
Attachments:
July 28, 2022 at 6:50 am #39556wristpinParticipantUnfortunately I don’t have the correct shade of gold paint to touch up the letters,
Not gold leaf then?
All looking good. I hope that when it goes to its resting place there will be some acknowledgement to all your hard work, as in “ restored by” and perhaps a photo montage of “as found and progress”.
July 28, 2022 at 5:49 pm #39557trusty220KeymasterBeing the modest person that I am, Angus, that is not for me to decide!
The gold paint ended up a mixture of gold leaf and brass colour- brass being quite a bit darker but not as dark as bronze; I used Humbrol enamel, mixing gold and brass in equal amounts to get the shade right.
I do intend to present the owners with a file of photographs of the rebuild together with some sort of background story. Let’s finish the hard work first, though, then I can get on with the fine details. And no, it wasn’t gold leaf!
July 30, 2022 at 2:33 pm #39559trusty220KeymasterI’m not having any of you accusing me of slacking so I’ve been in the garage again today. Not too much more to report apart from the fact that the axles on the trailing seat seem to be in remarkably good condition with original paint still showing through where it hadn’t been worn off by the rollers. All of the bolts have been cleaned up and re-entered into their respective holes so that they are now doing the job they were designed to do. All of the thrust washers and retaining screws for the rollers are still serviceable and so will be used again, but I’ve spent the morning wiping everything down with meths and spraying it with satin-finish varnish to preserve it. It’s all got to dry now before I do any more building up; now it’s Saturday afternoon, where did I put that beer….?
Attachments:
-
AuthorPosts


- You must be logged in to reply to this topic.