Home › Forums › Groundcare Machinery › Grass Cutting Machinery › Allett Regal No.1
Tagged: Allett Regal Mk1
- This topic has 96 replies, 10 voices, and was last updated 3 years, 8 months ago by
 trusty220.
-
AuthorPosts
-
May 9, 2022 at 12:11 pm #38995
 trusty220Keymaster
Thanks for the tip, Dave. I was using petrol because I had a jerry can full in the corner! I suppose you could say that I’ve actually found a use for E10 petrol- it cleans oil and dirt off chains and sprockets really well. I was working on the basis that it must be good for something because it’s awful to use as a fuel.
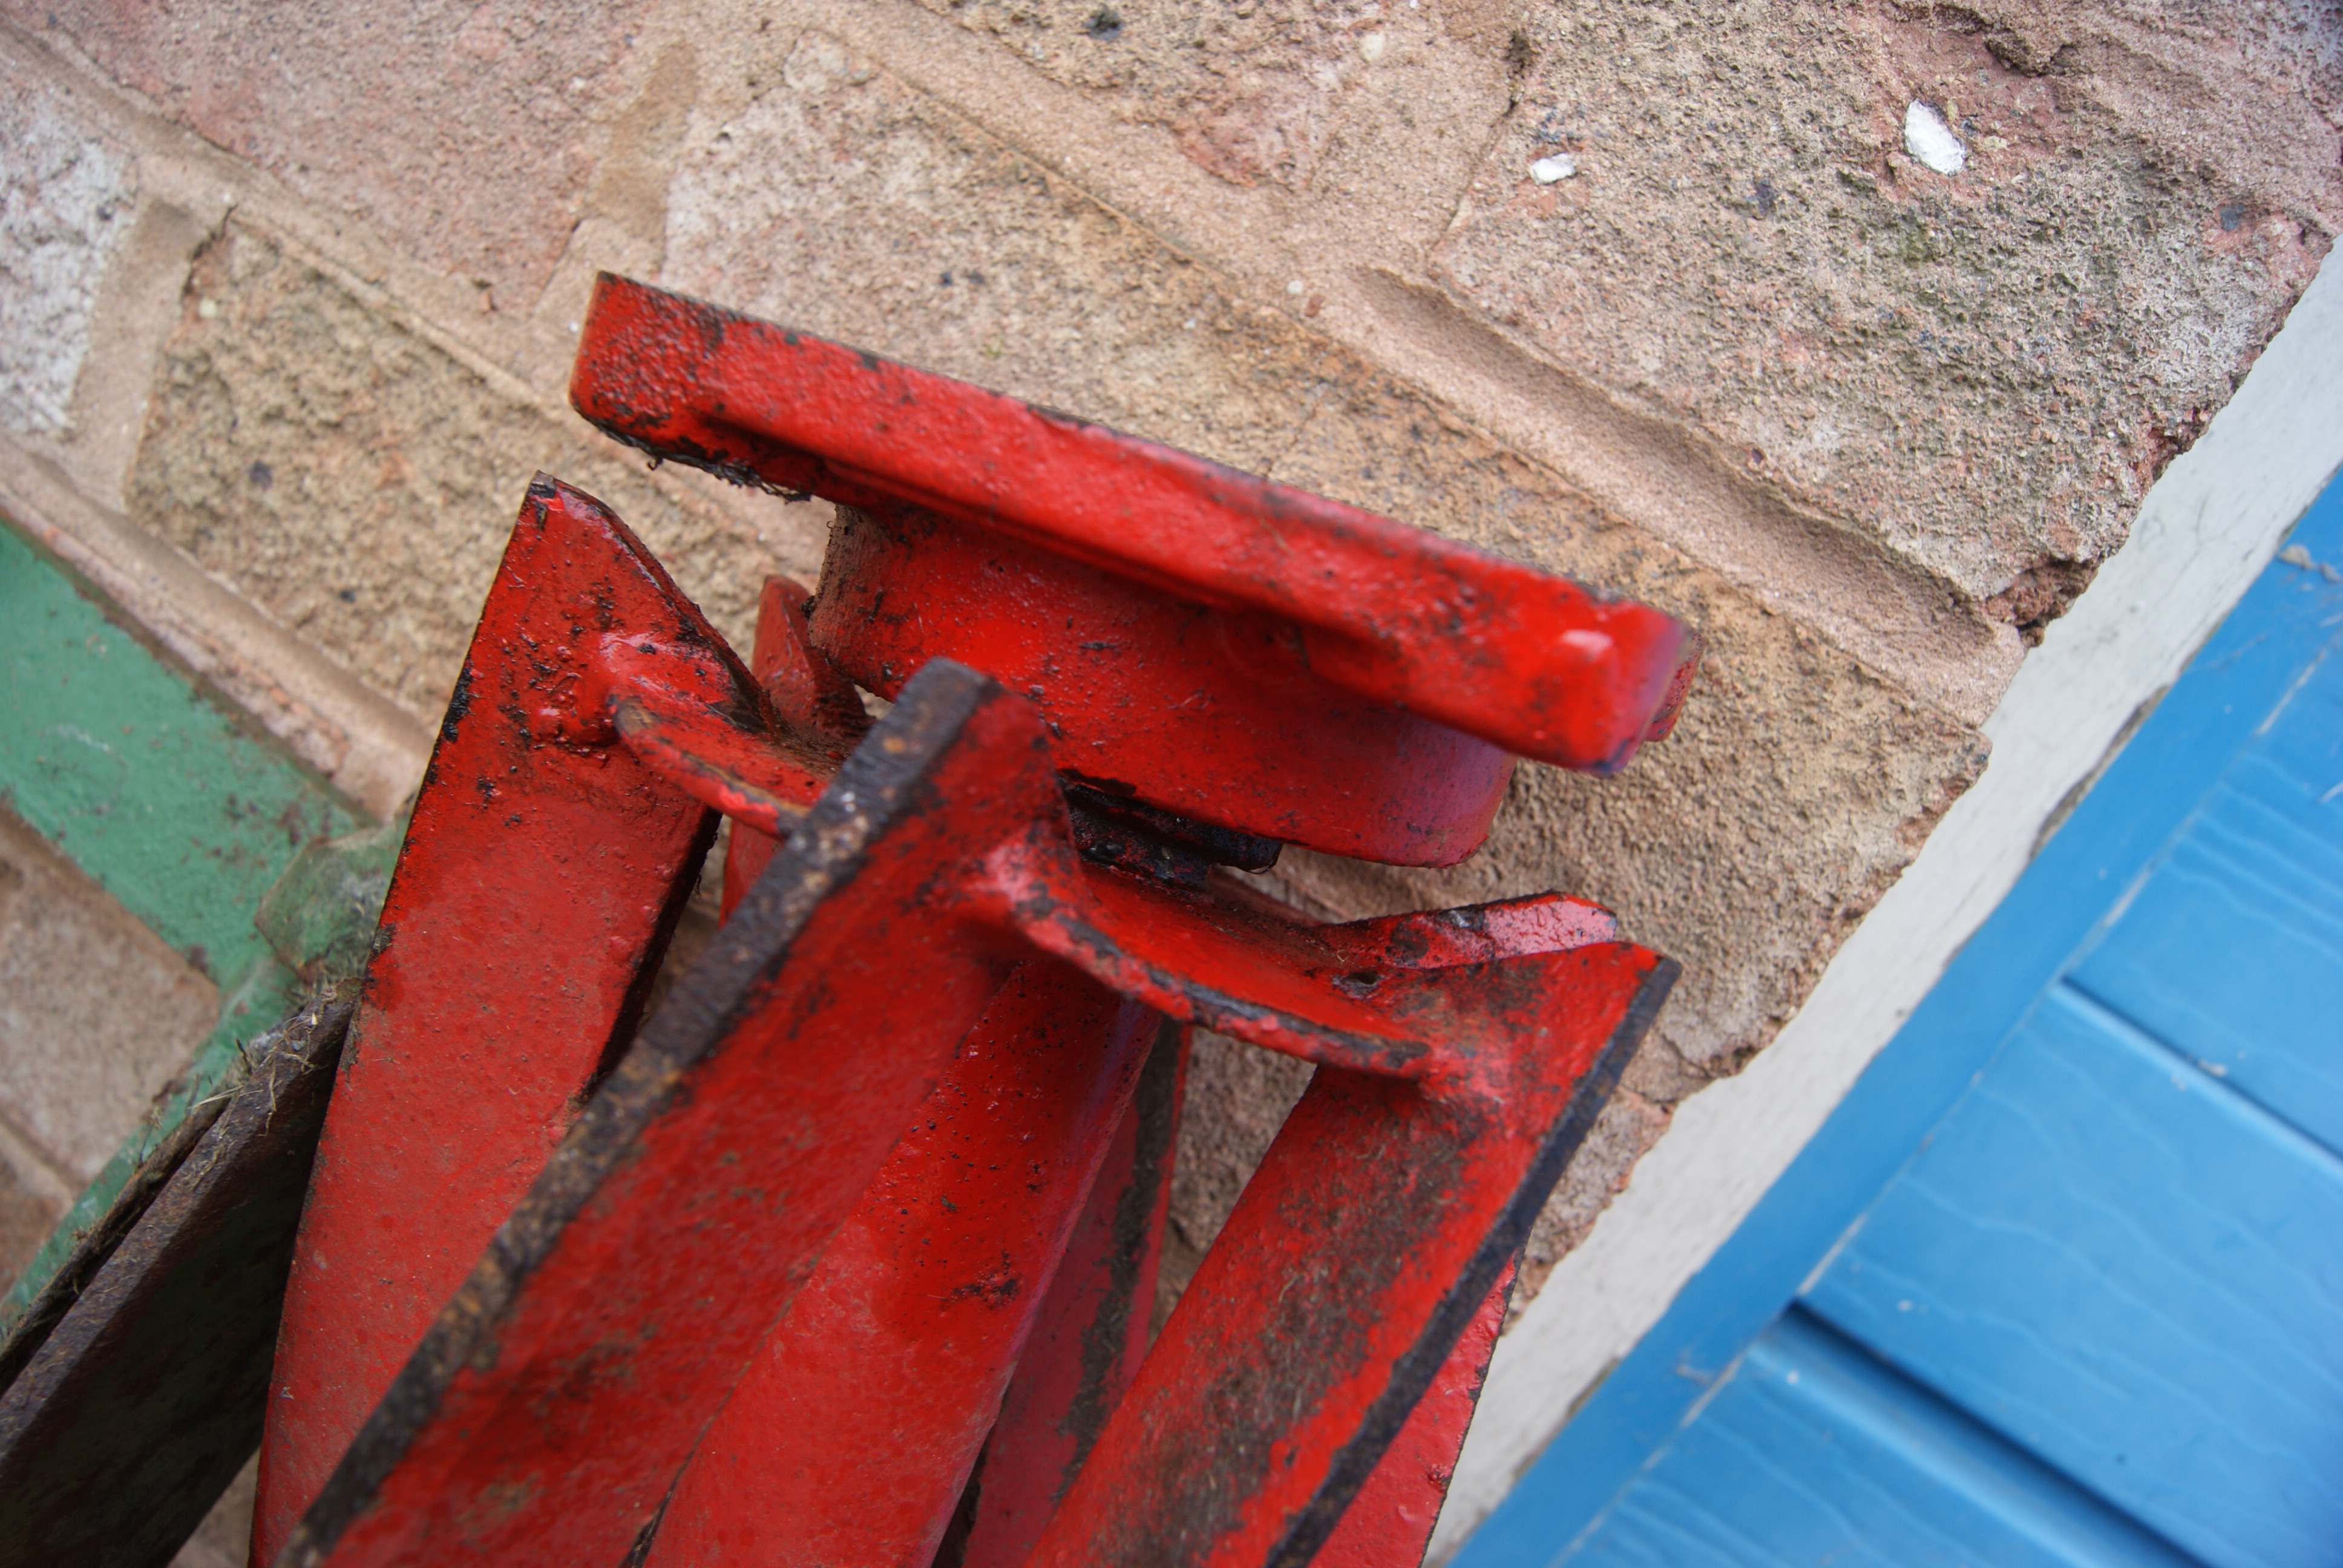
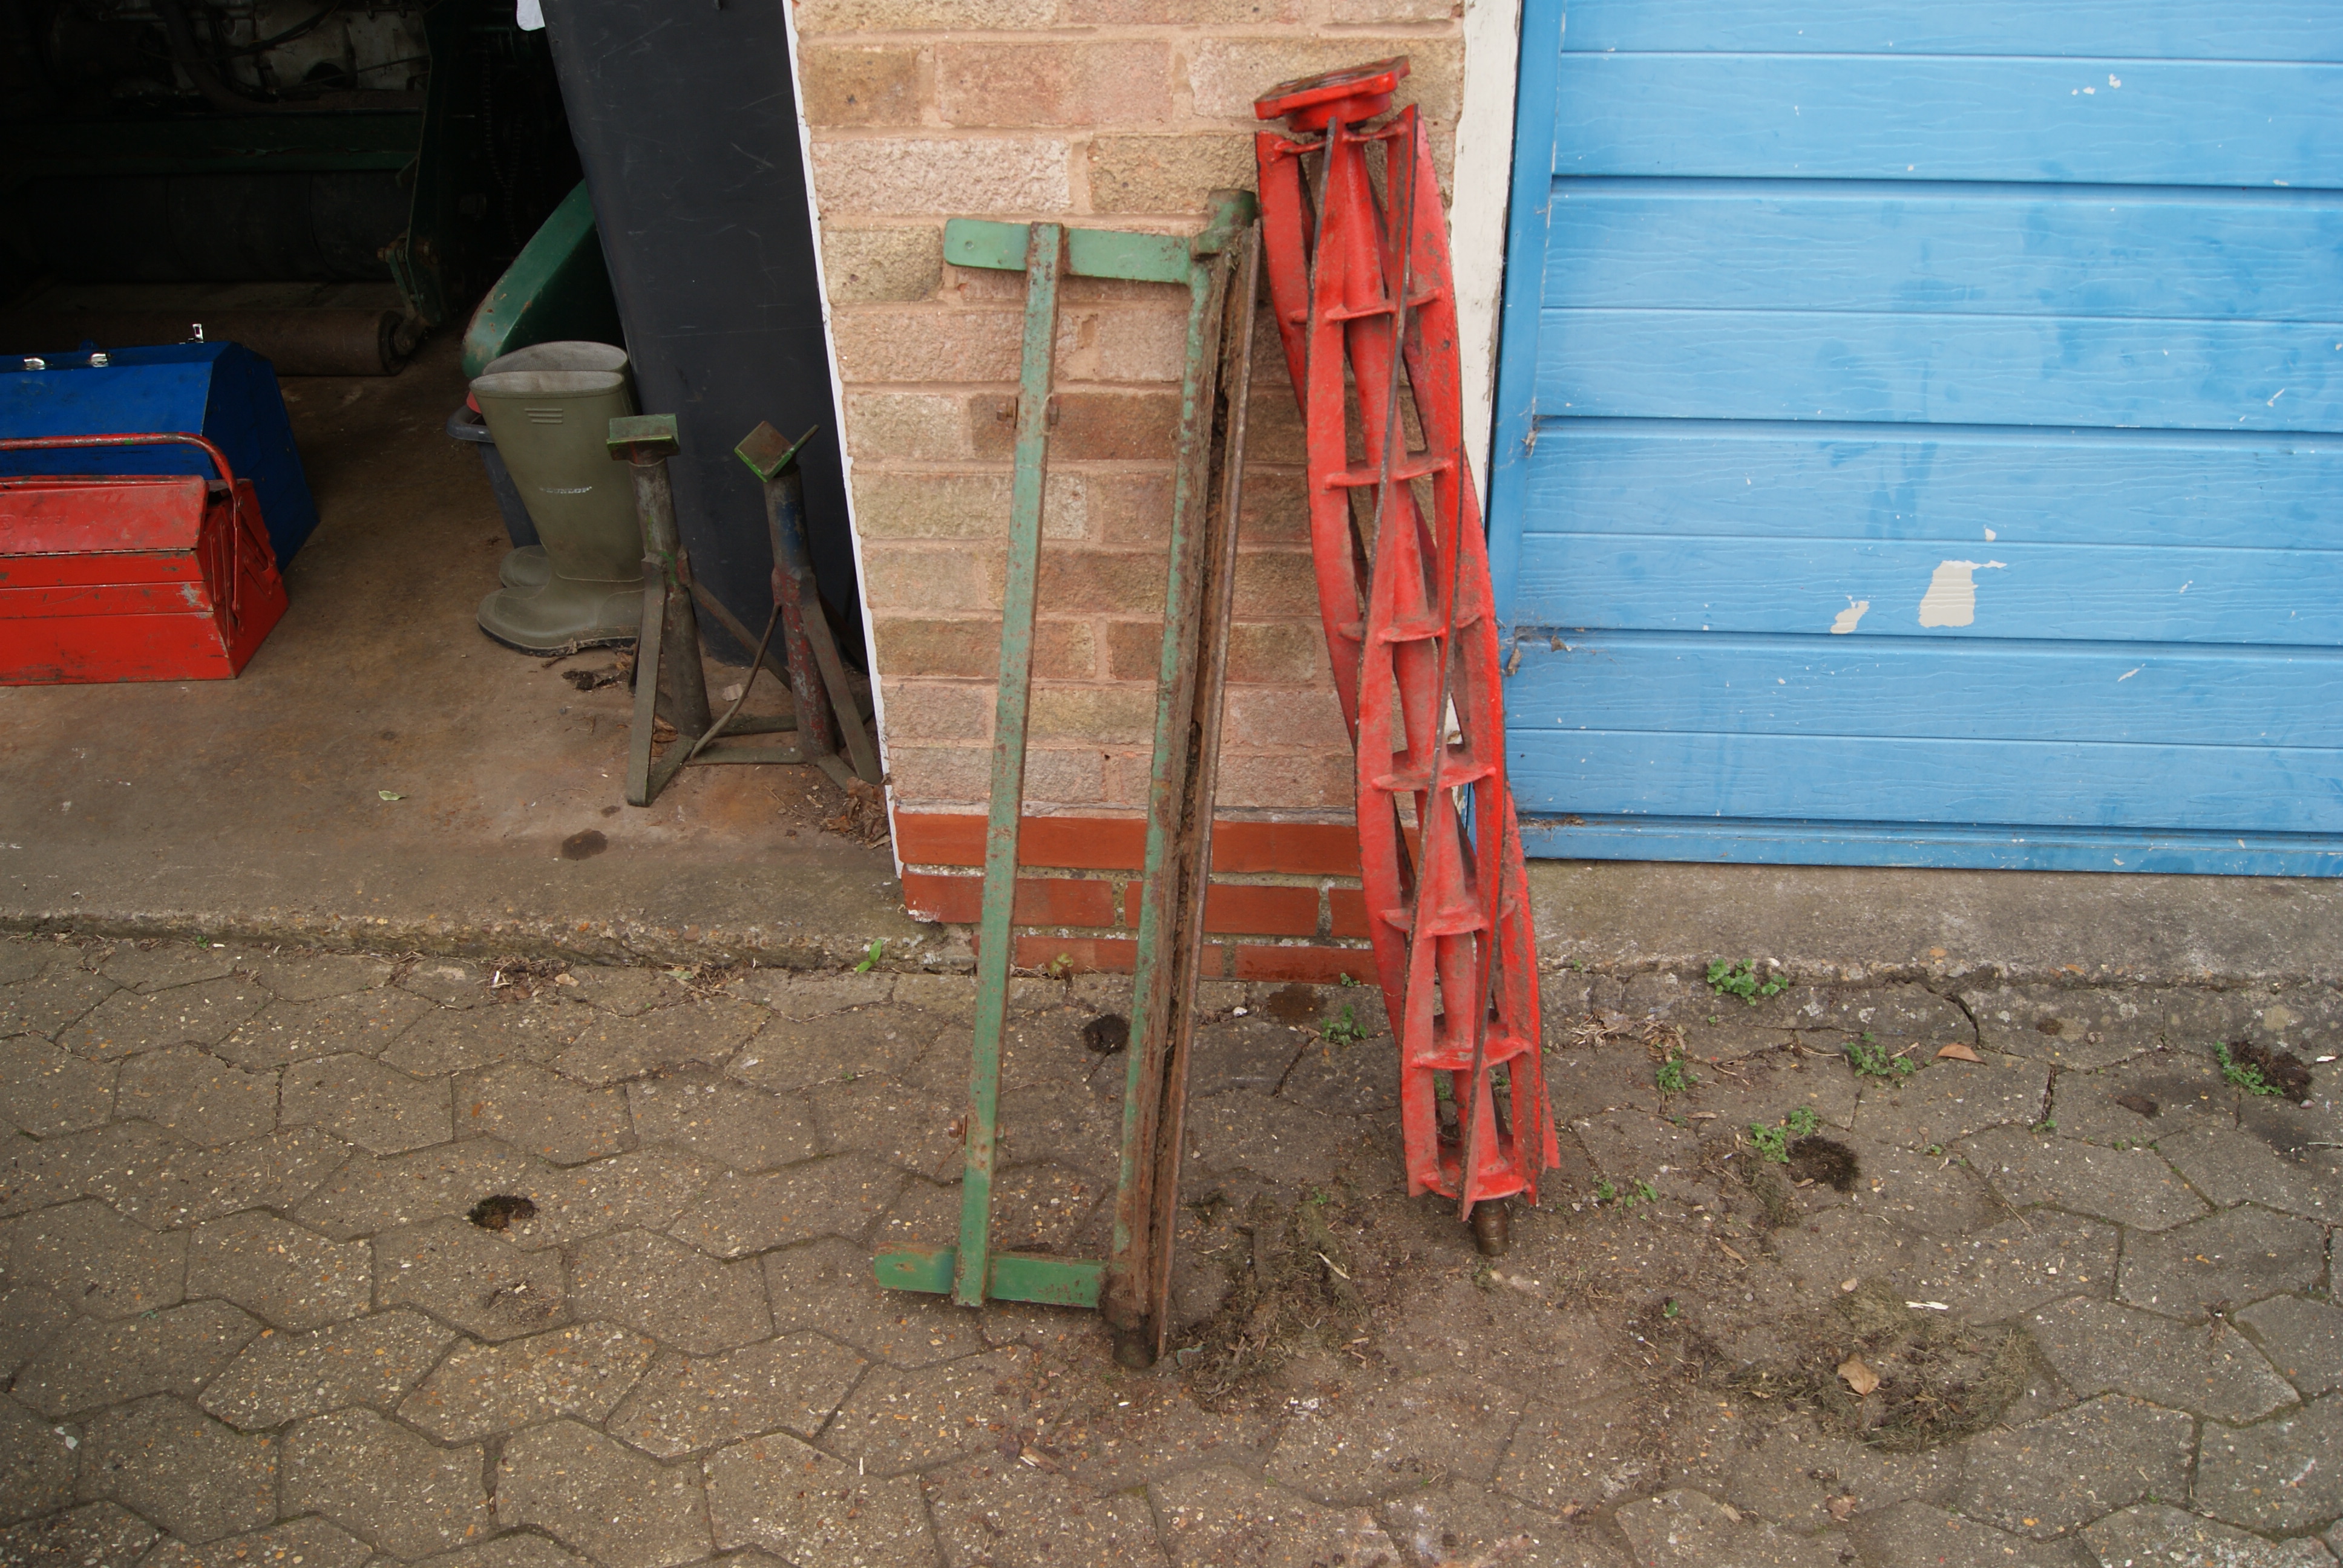
May 9, 2022 at 12:25 pm #38996trusty220KeymasterNext on the agenda was the removal of the cutting cylinder and bottom blade carrier. The cylinder looked simple enough with four countersunk screws at each end holding the cylinder bearings to the frame, so I parted the chain, unbolted the sprocket off the drive end and removed it then attacked the screws. Luckily they all came out without too much trouble but the assembly would not pass through the gap, so the bottom blade carrier had to come off as well as the front roller.
It was a struggle- and I’ve found the first UNF threads which were on the front roller shaft- but after a while all of the screws and bolts gave in and I had the two pieces on the floor. Now came the trouble; the bottom blade doesn’t look too bad and could probably be saved with a light grind but the fillet piece on the carrier is rotten as a pear. On Ransomes machines it is usually made of wood (normally oak) but on this one it is a mild steel strip welded to the inside of the angle iron carrier, presumably to make it more rigid. The water and grass have got under it and broken some of the welds, pushing it upwards into the cylinder. As it is going to be for display only I think I would be justified in cutting it off and discarding it; it can’t be saved as it is too far gone, so I’ll make the decision once I’ve cut it off.
Attachments:
May 16, 2022 at 8:22 am #39022trusty220KeymasterThe cylinder and bottom blade are now with Allett Mowers at Stafford for sharpening. I hope they can face up the bottom blade as the screws look as if they’ve been in for some time; from experience I’m guessing that the countersunk heads will shear off if I try to move them leaving me with no alternative but to drill and tap each hole, quite a daunting prospect but not outside the realms of what’s possible.
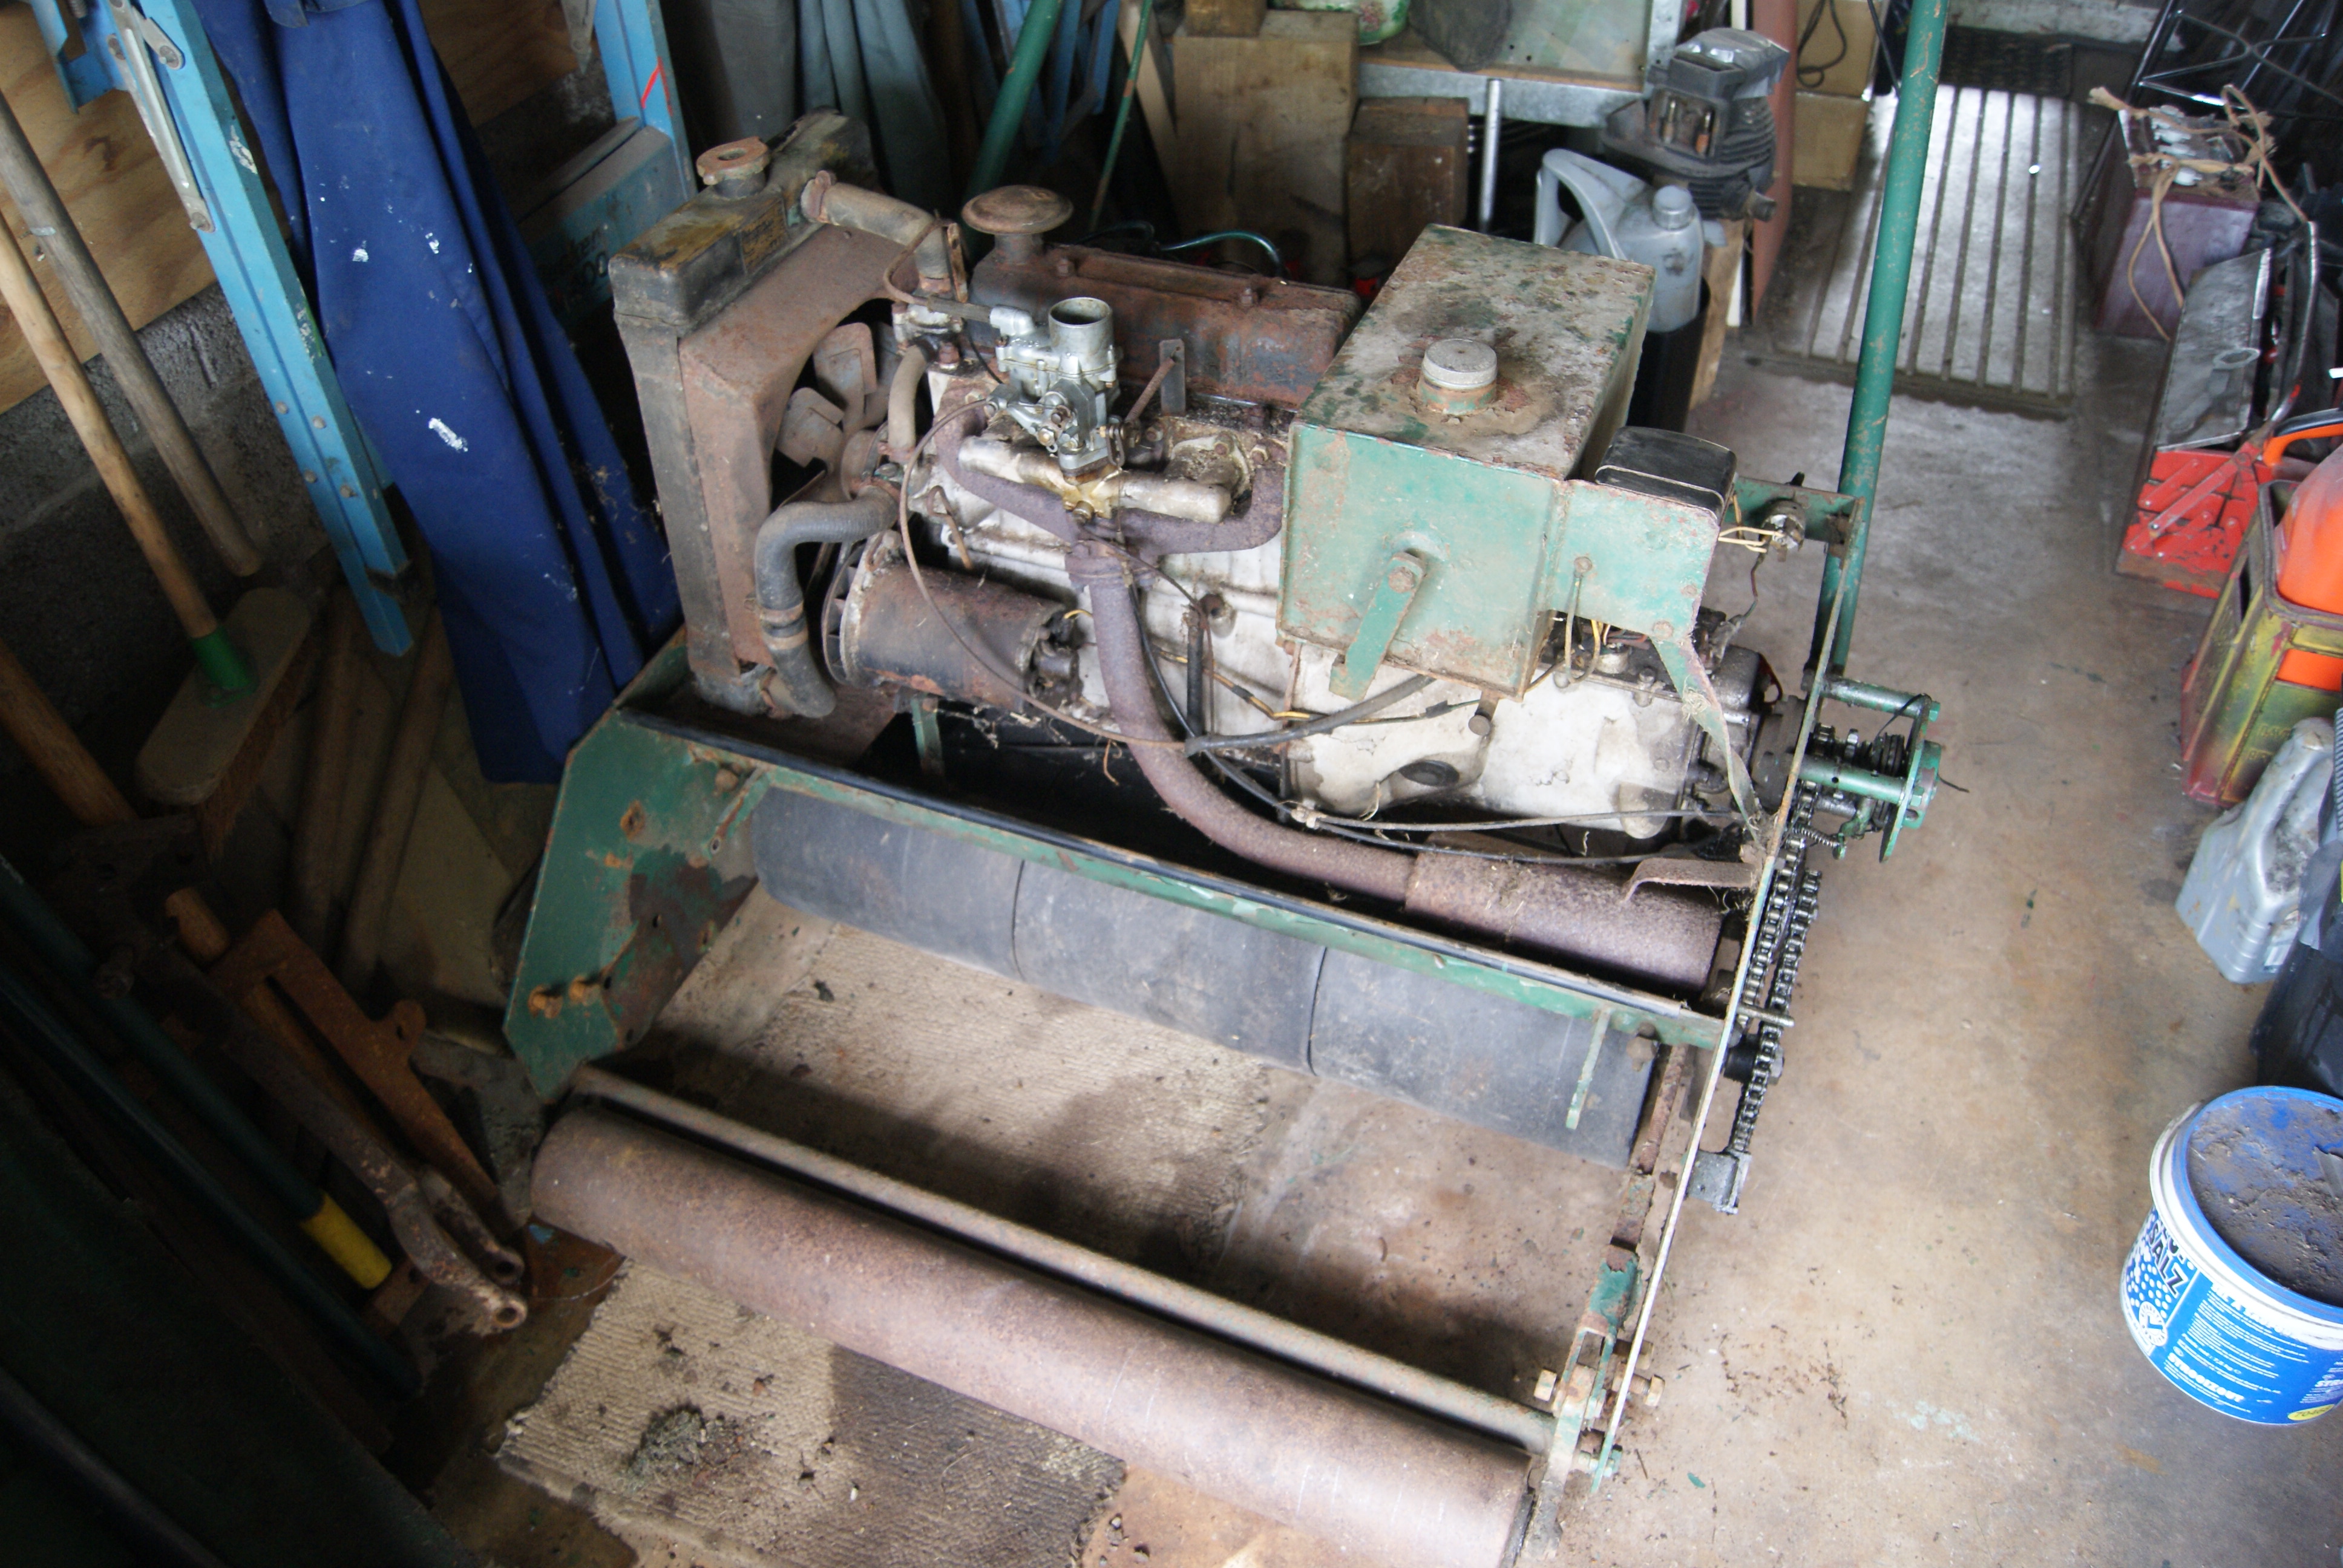
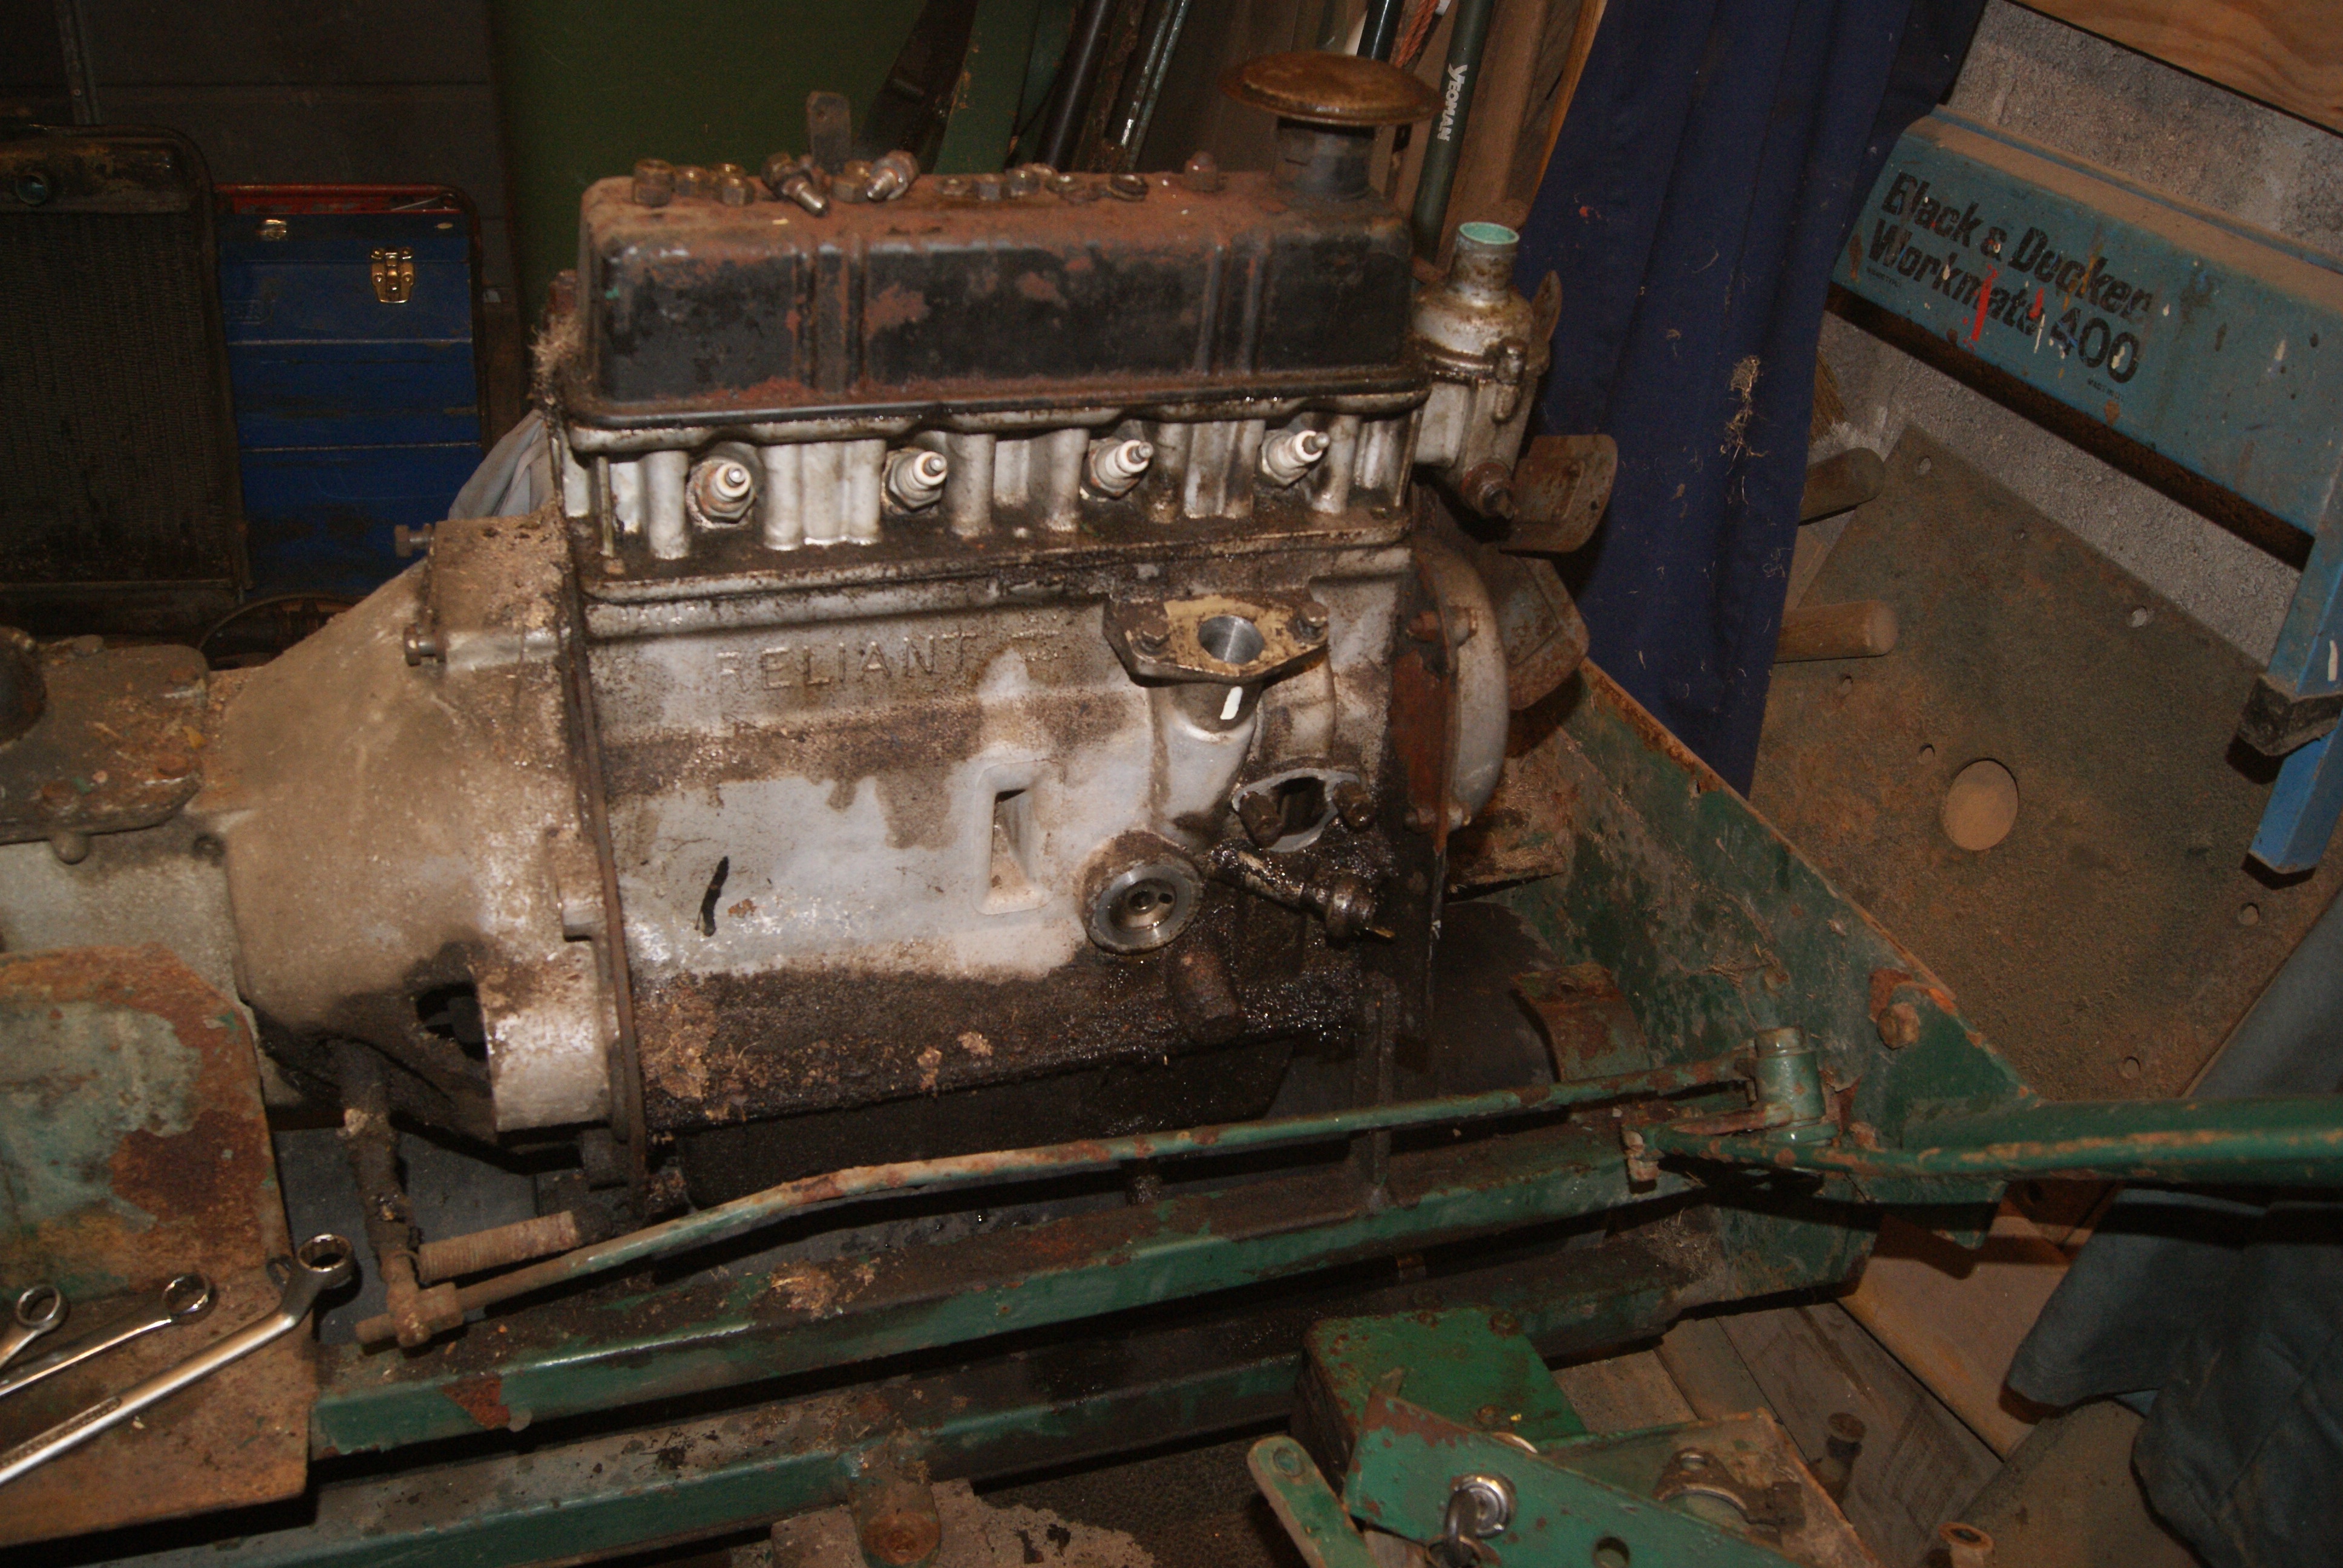
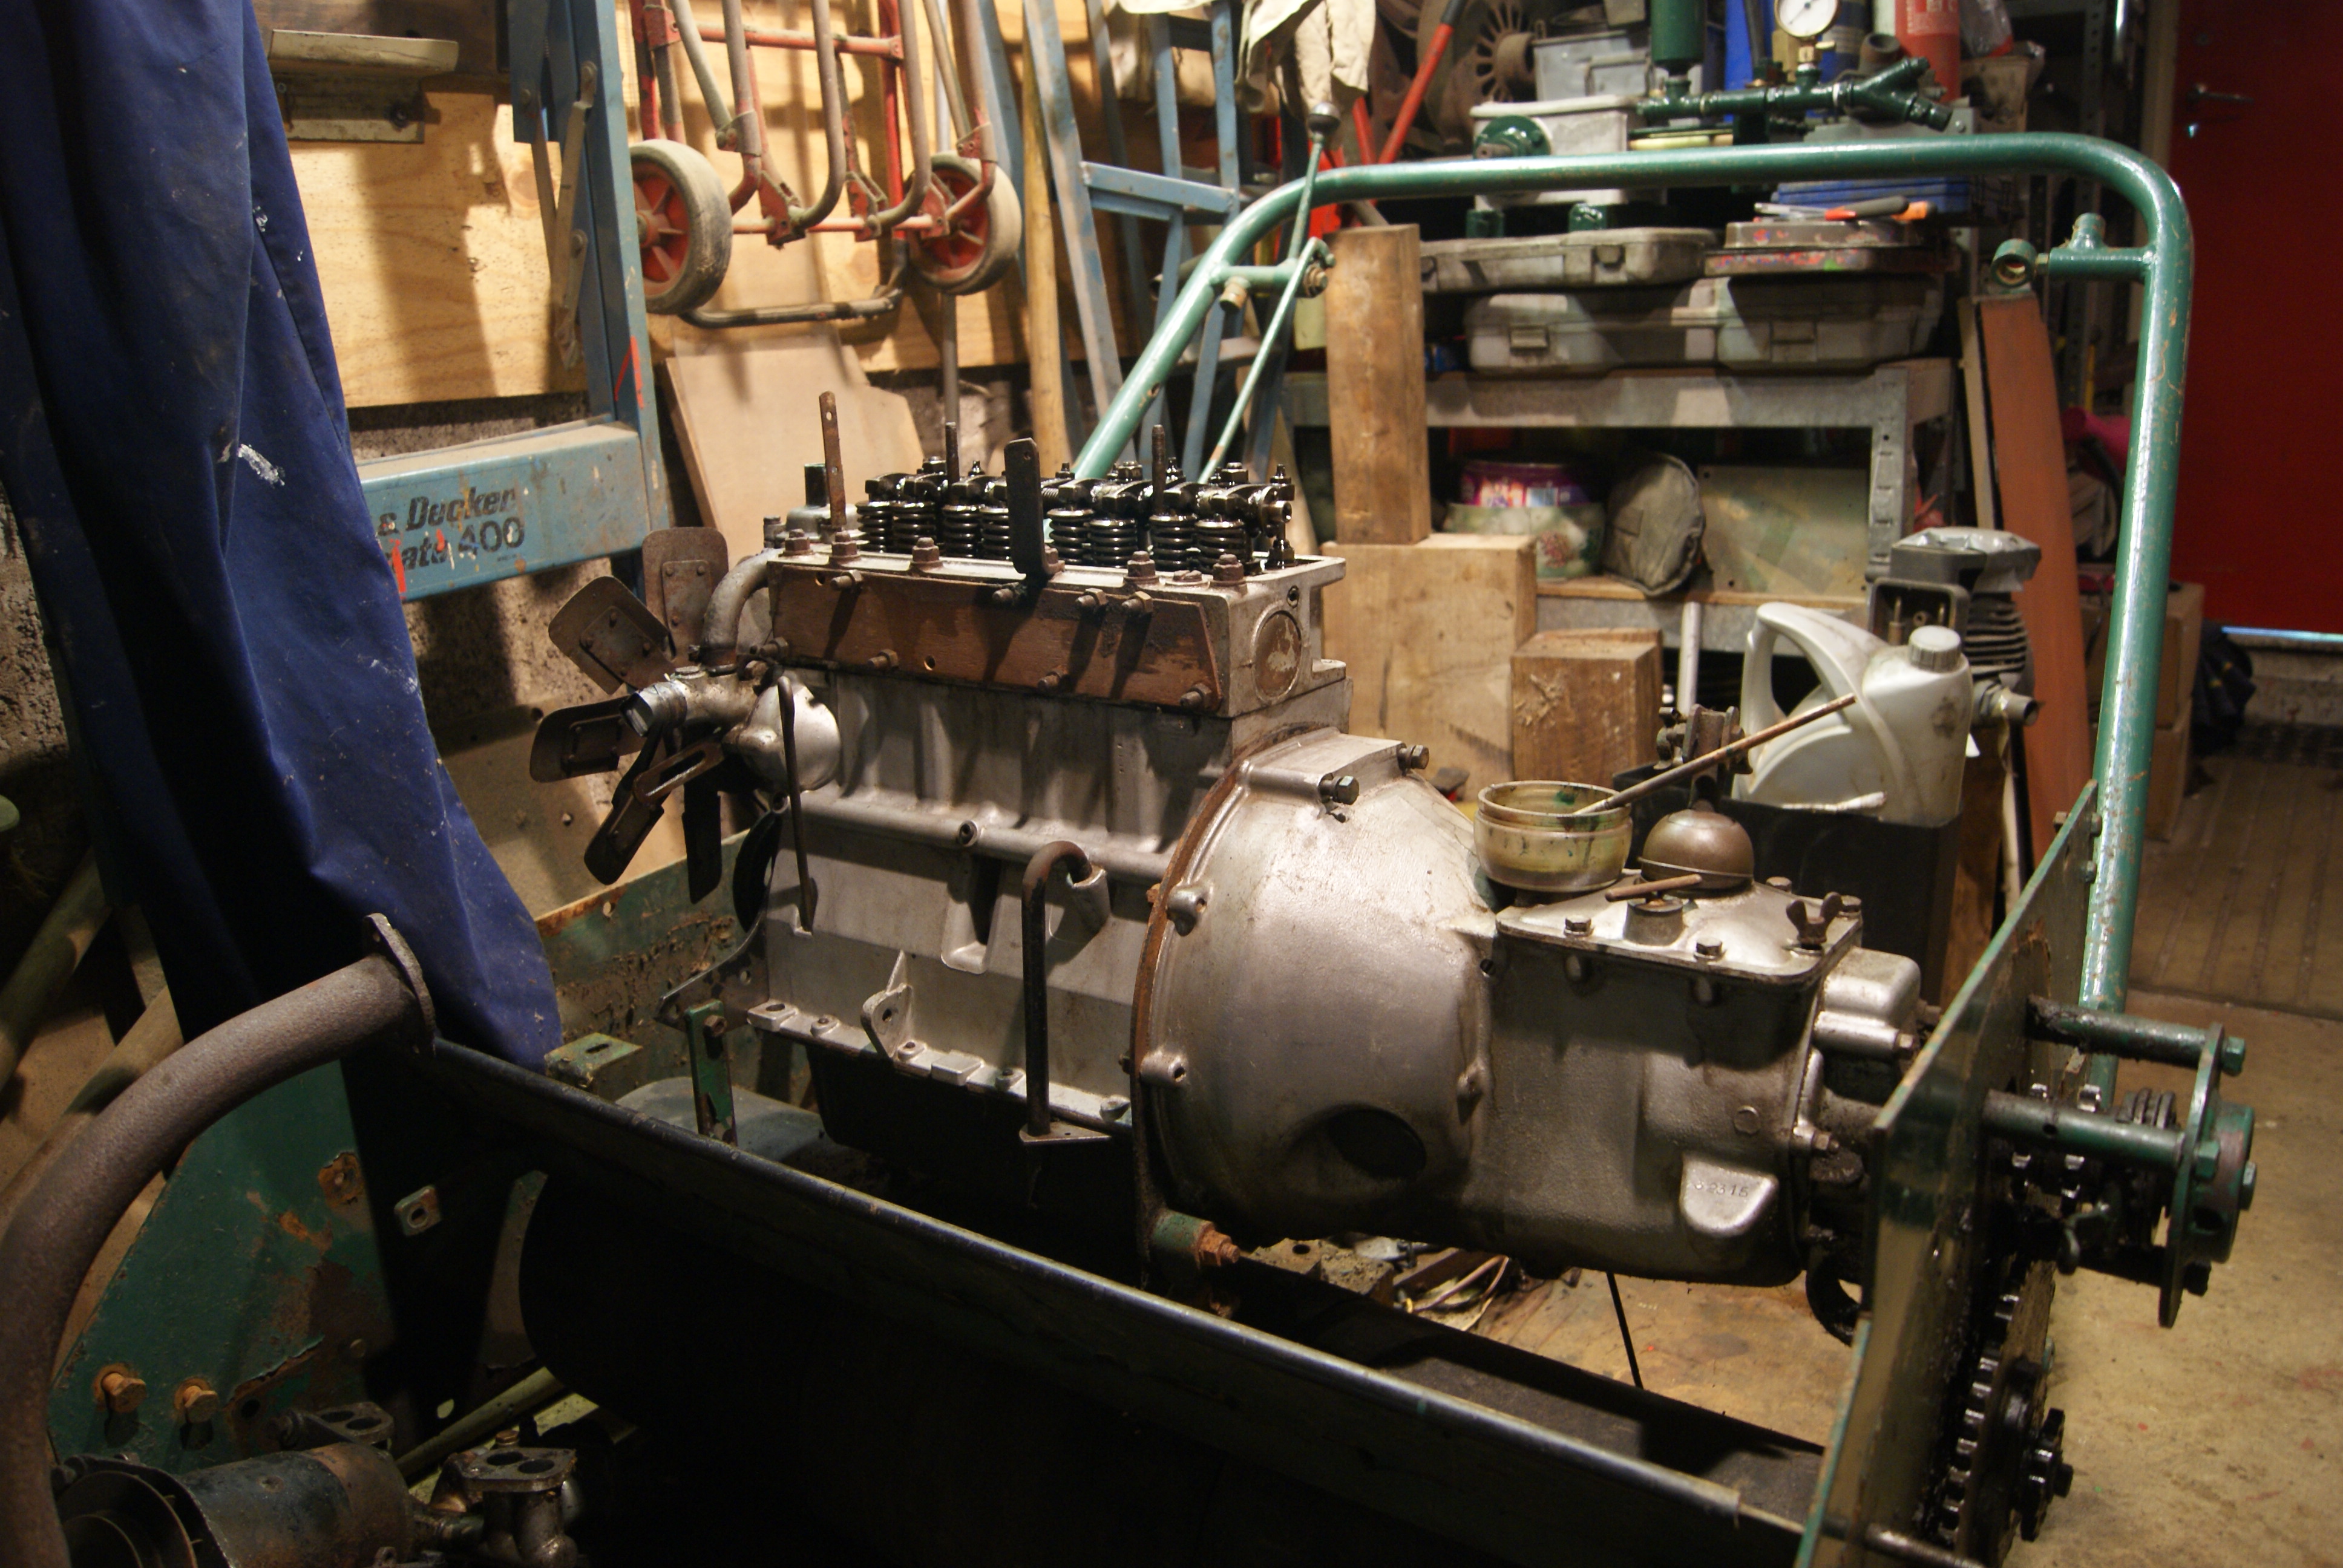
In the meantime I’ve been busy with the strip down. I simply could not put it off any longer now that I’ve got the engine running properly, so I took the whole weekend to carefully remove and catalogue with photographs all of the necessary details. One of the alarming finds was that the two wires coming from the dynamo to the regulator box passed behind the exhaust downpipe without any tie-downs and it was a miracle that the hot exhaust hadn’t melted the plastic and shorted out the battery. This will need to be addressed on build-up and the best way around it will be to pass the wires around the end of the block and along the side with the distributor and ignition coil. After all, it will keep the electrics all in one place and make it more practical.
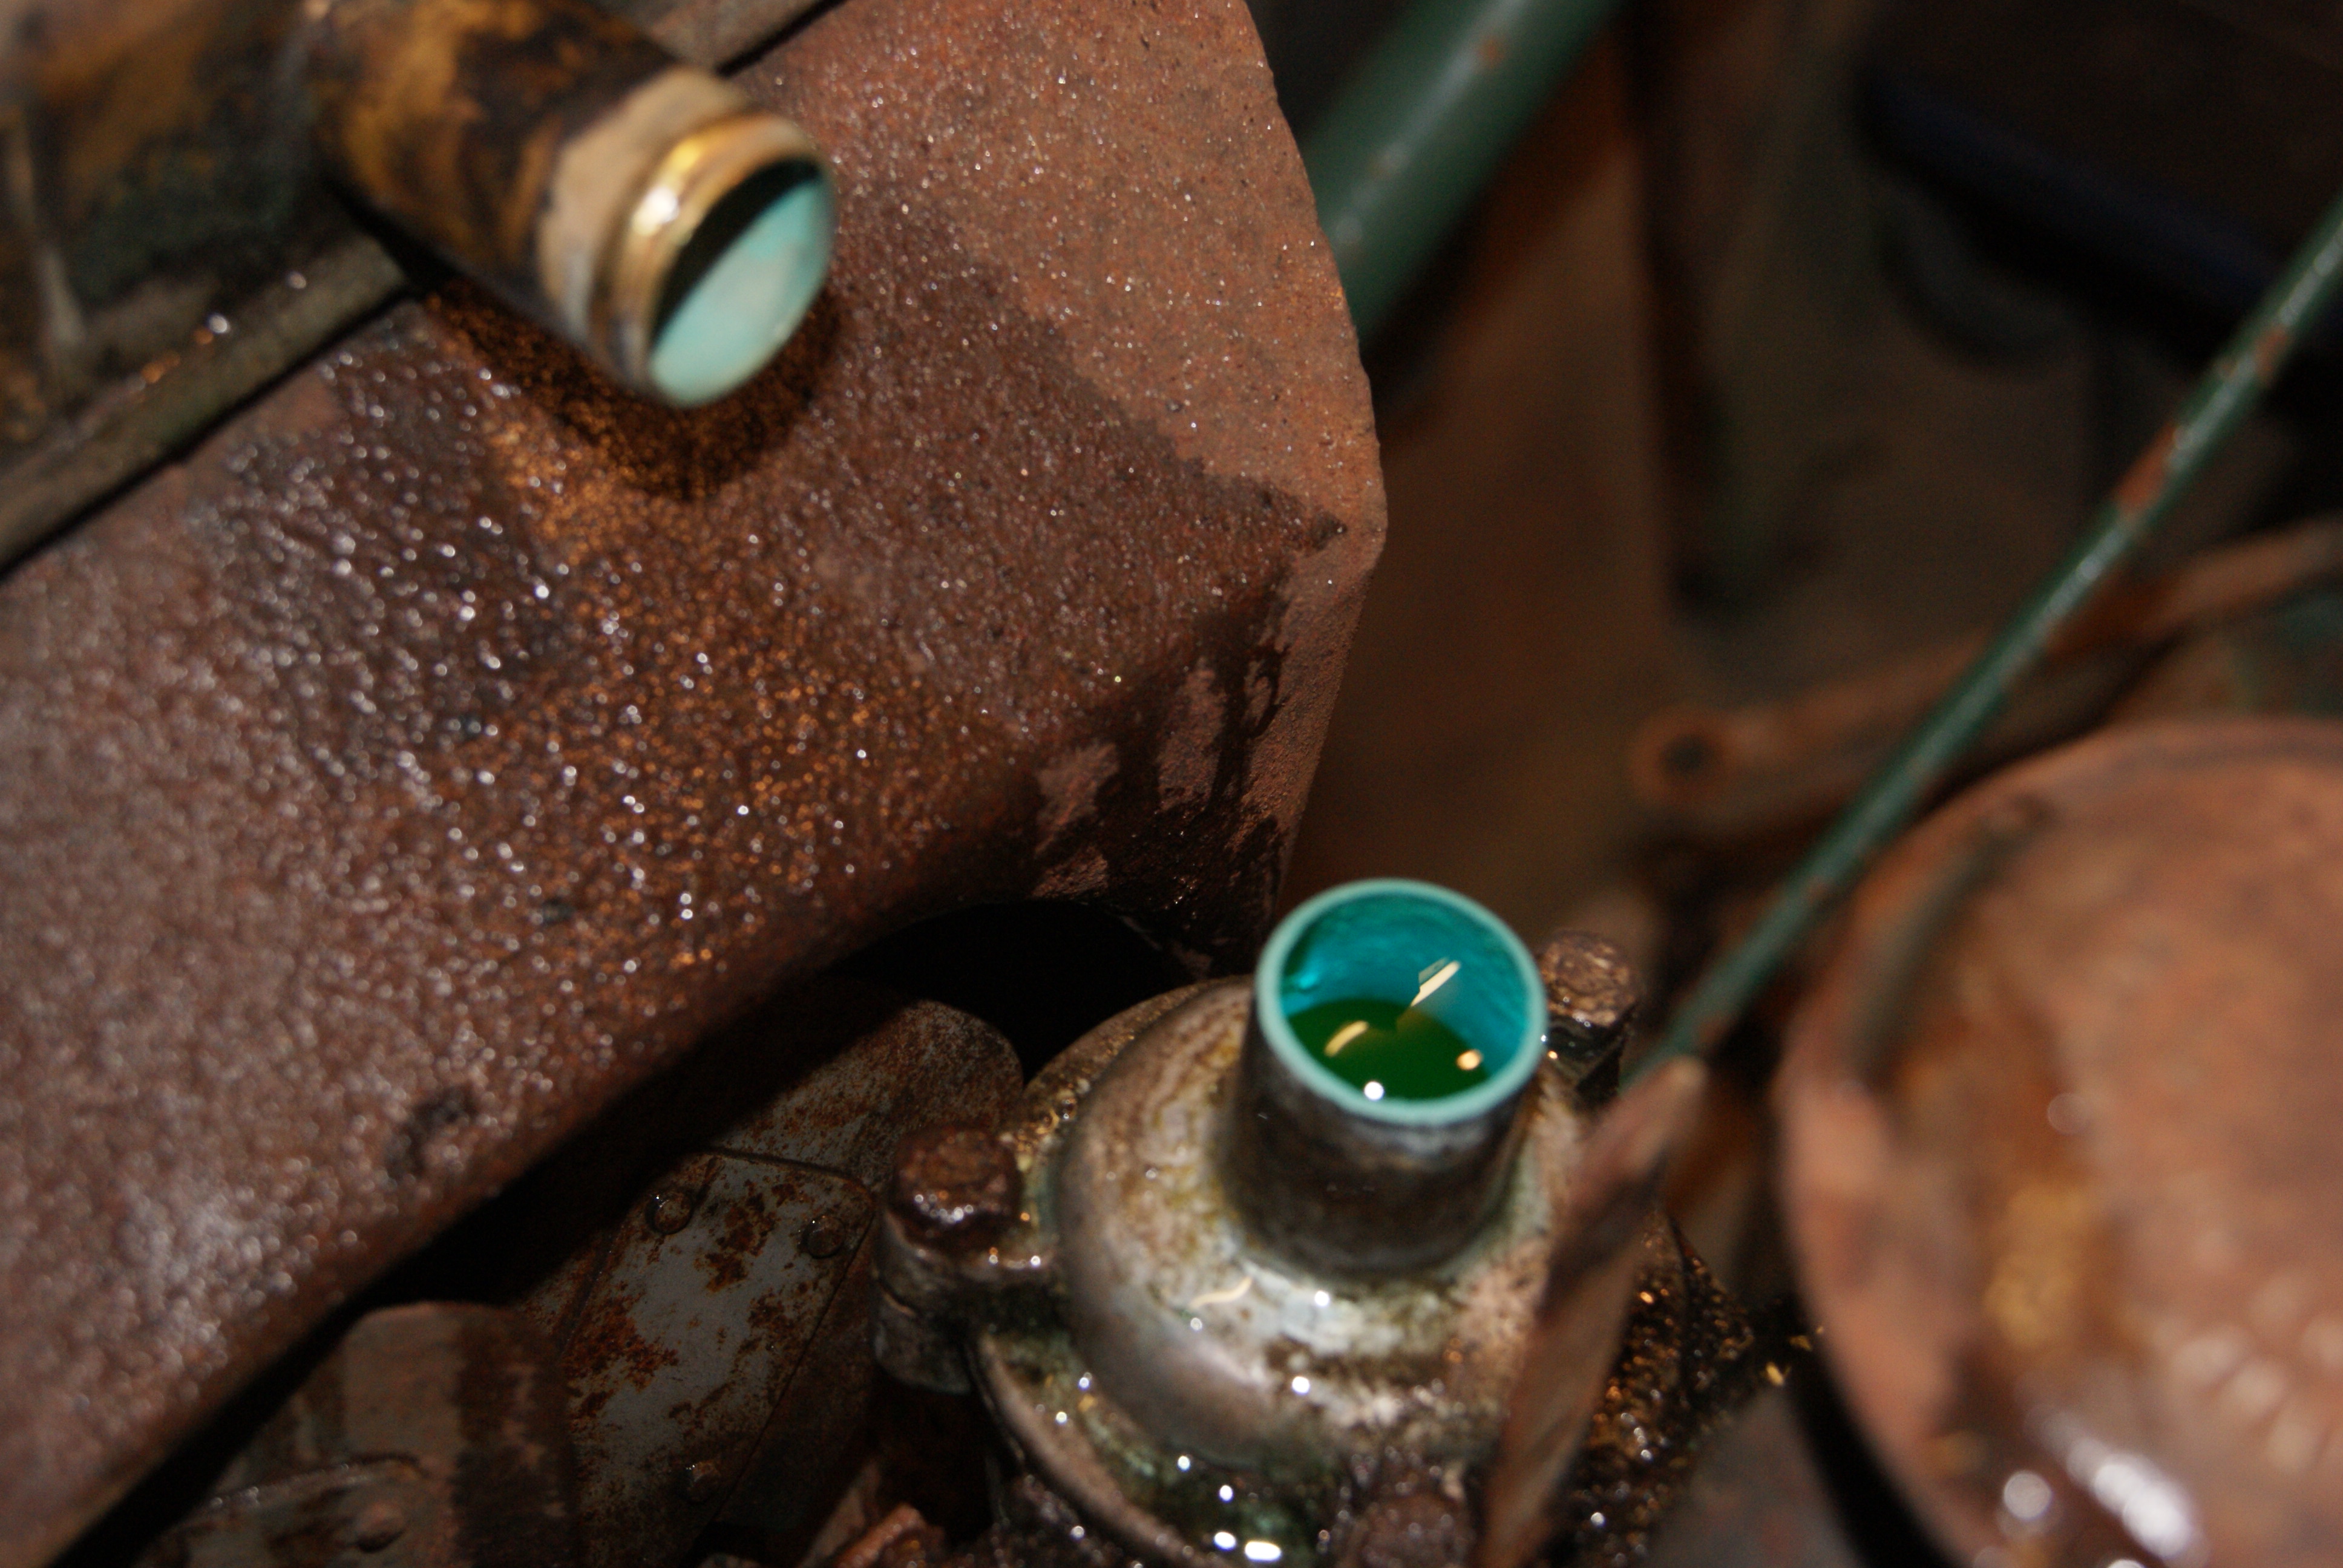
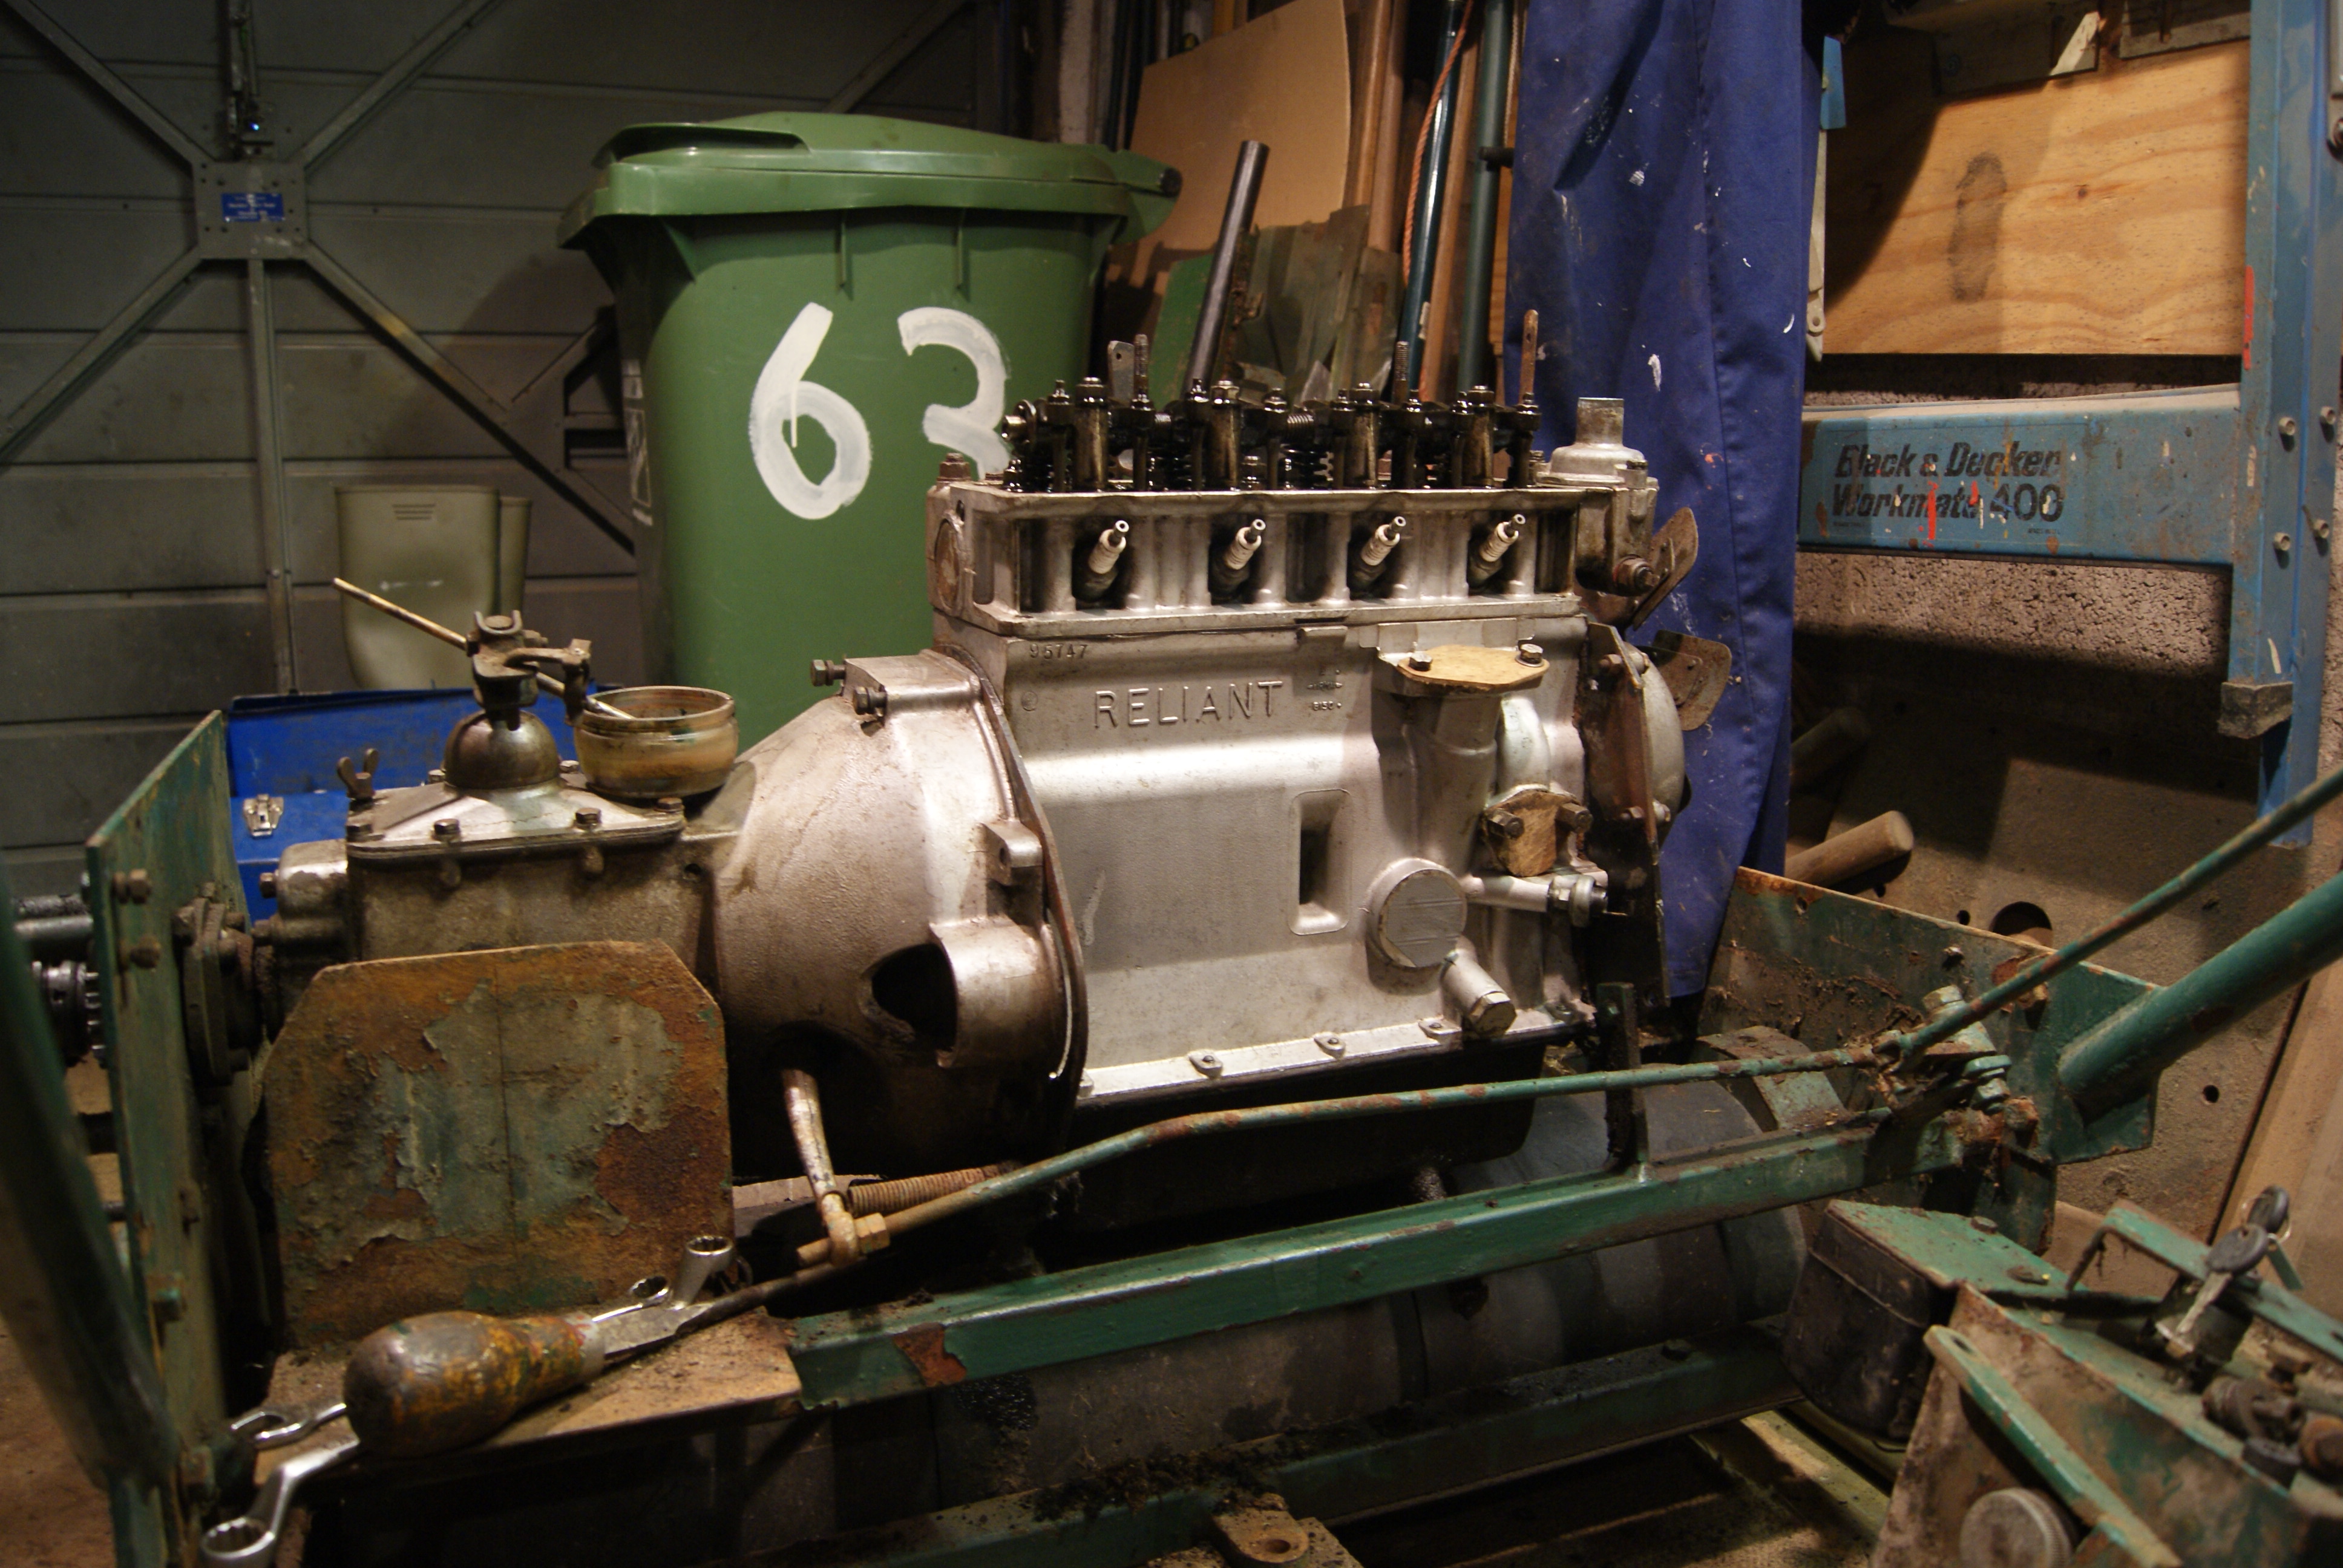
As we speak the mower is now completely bare of all of it’s ancillaries and the manifolds, exhaust, dynamo, starter motor, fuel pump, petrol tank, etc. are now lying in the corner waiting their turn on the bench. I took Roy Allett’s advice on the engine block and re-filled it with coolant once I’d removed the radiator. It was encouraging to see that the previous owner had kept up with the anti-freeze and there was no sign of furring or corrosion inside the waterways that are visible. I did have to make up a plug for the bottom hose so the block can sit there with coolant in whilst the hoses are off.
Tomorrow’s job will be to box up all of the hoses, gaskets and other consumables and set off to the Reliant specialist to see what parts he can sell me. It’s going to be a long struggle if he can’t help!
In the meantime I will be busy today making up blanking plates to cover the inlet and exhaust ports as well as the distributor drive and fuel pump access points. I do not want to get any dirt down inside the engine now that I know it runs so well. One of the dilemmas I had over the weekend was whether to have the radiator re-cored; the core is blocked with grass debris which I could blow out with the airline, but then what state are the solder joints in? At the moment they are watertight, but with a little vibration- who knows? For safety (and my reputation!) I think it wise to get it re-made and then the uncertainty is done away with.
If there is any more time in the day I’ll start on the clean down and then we can start on the build-up. I can’t wait!
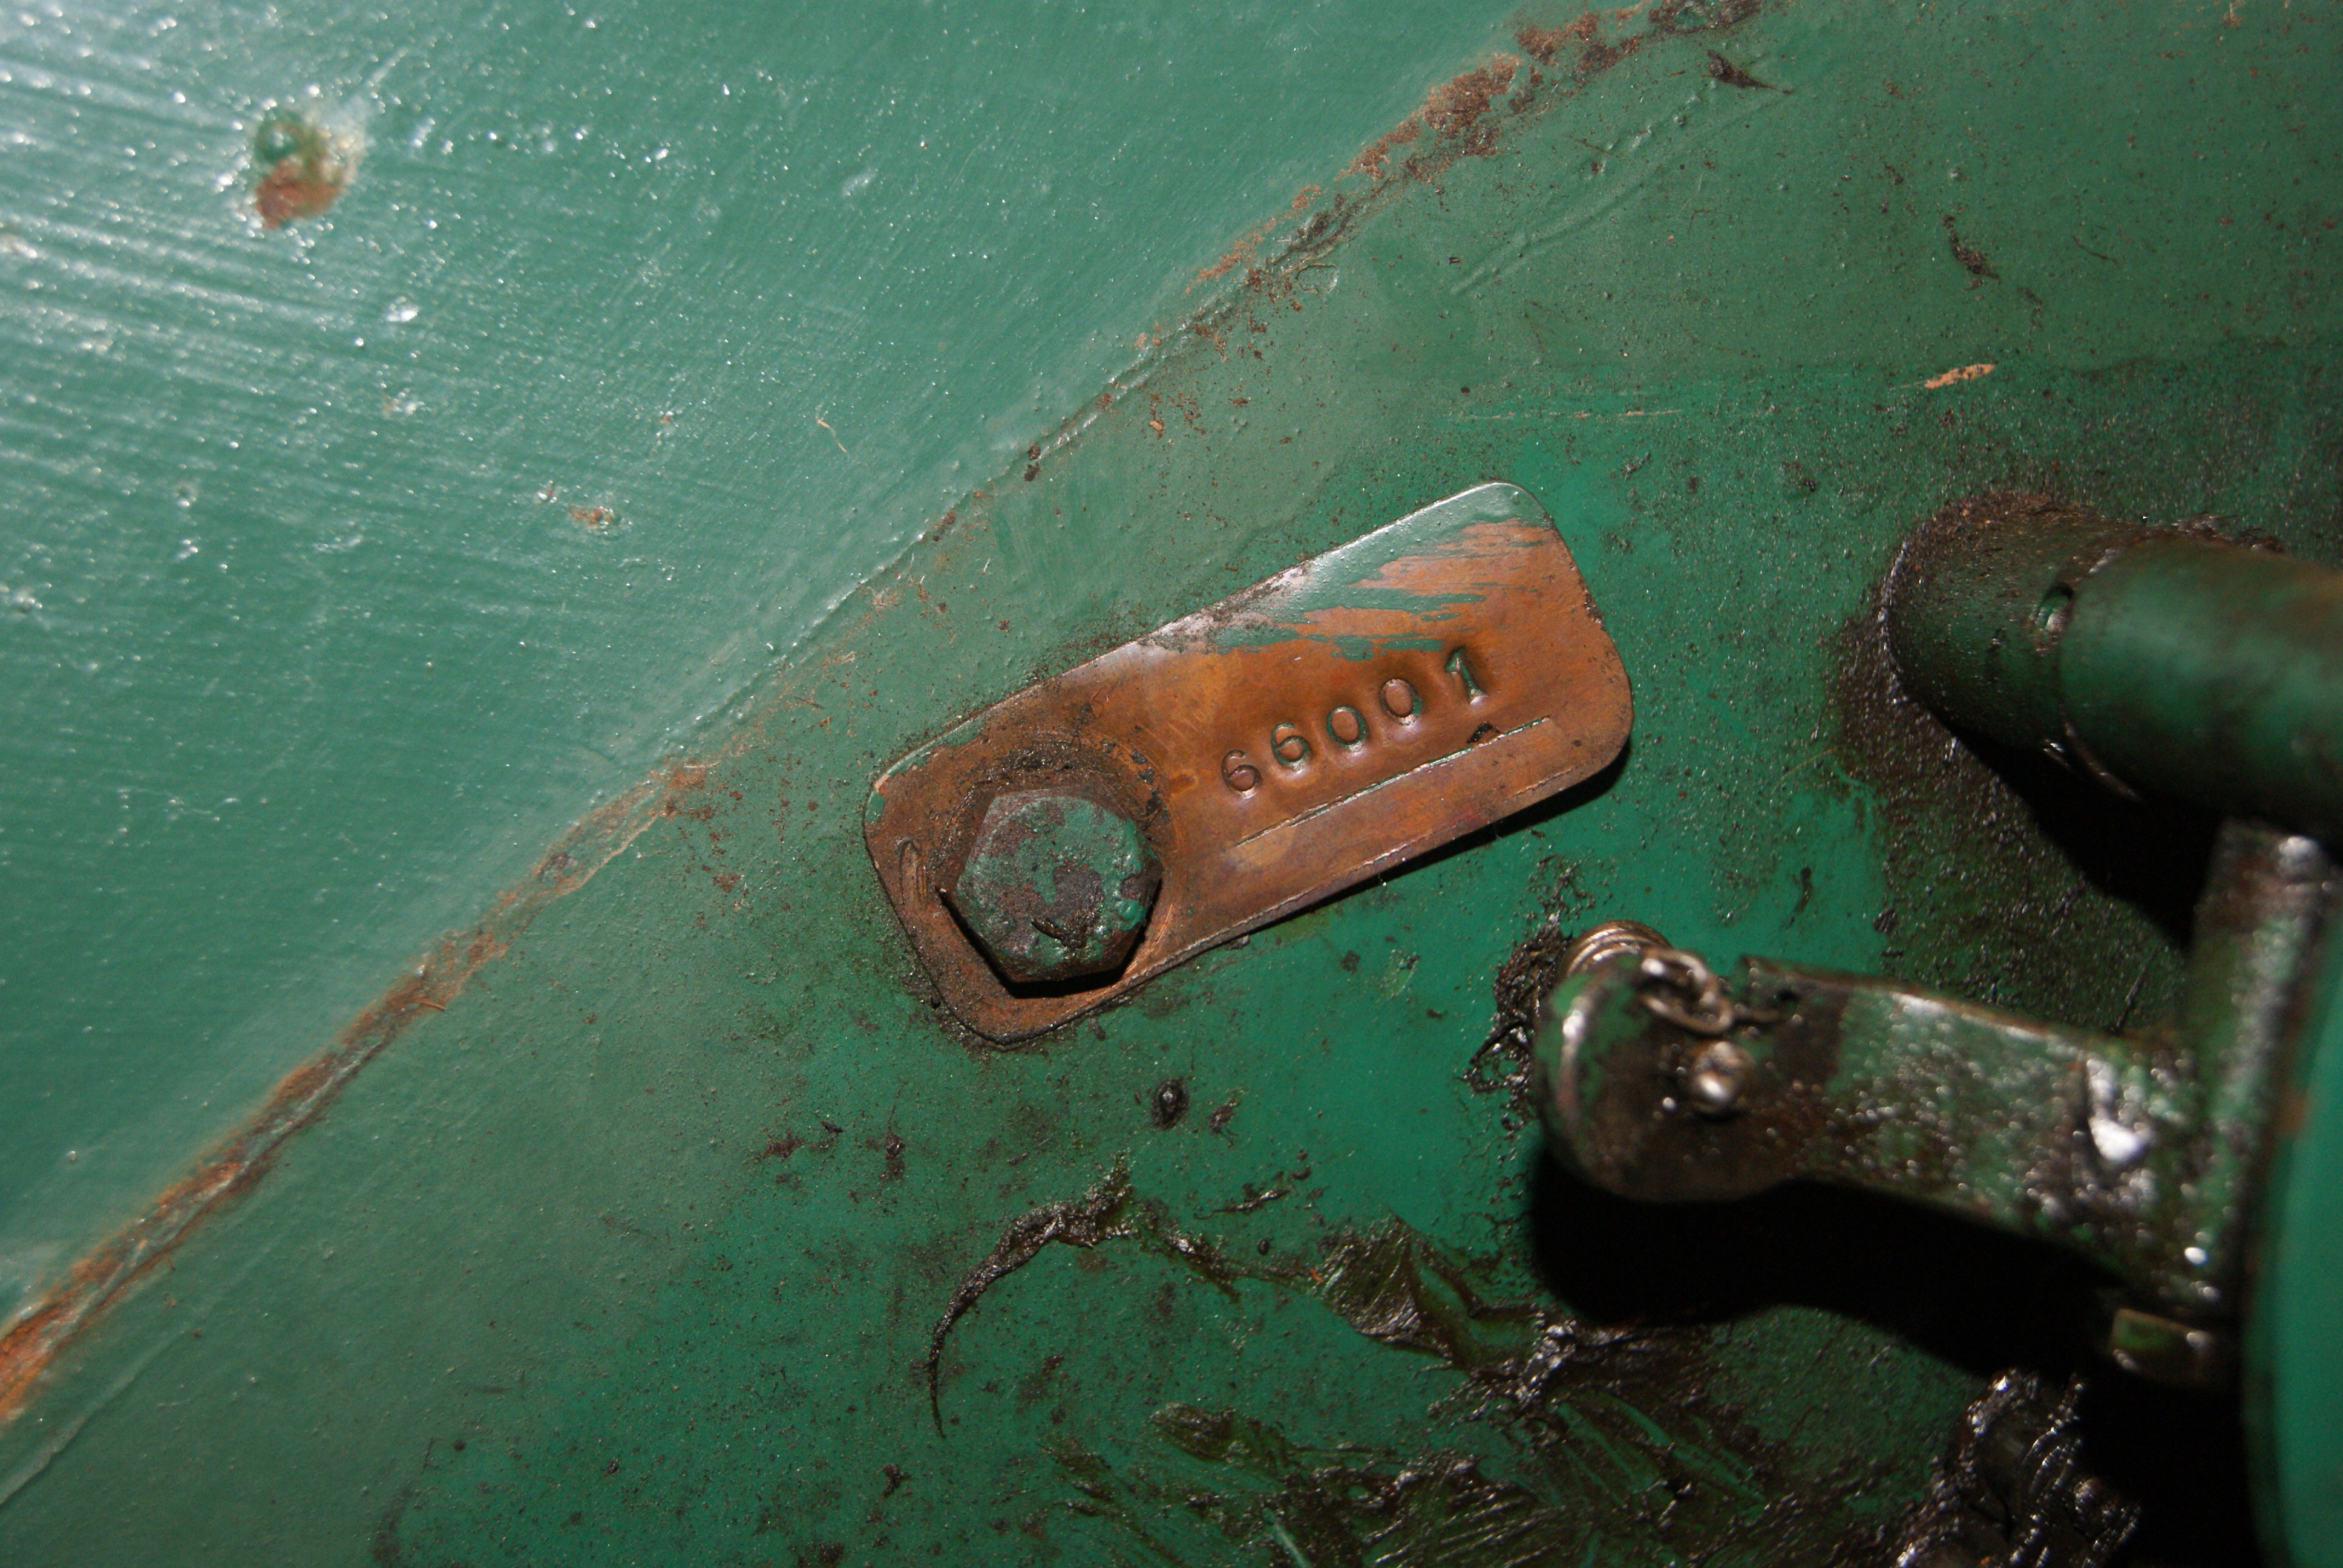
Before I forget, the one photo below shows the build number (or serial number) which confirms that this is the first production machine. The number is 66001 which points to it being made in 1966.
Attachments:
May 16, 2022 at 12:02 pm #39027trusty220KeymasterWhat do you do if you want to know something? You ask an expert, which is what I did with the radiator today. Not only was the core blocked between the fins with grass cuttings but the vertical tubes were also blocked internally making for a very poor flow rate. I’d noticed that the engine warmed up very quickly but assumed it was because somebody had removed the thermostat; partially correct, but no banana!
The radiator is now in the hands of the local expert who I have trusted with the GT6 radiator and many more from work as well, so I know his work is top notch.
All of the orifices are now blanked off with plywood plates bolted down tight so no muck can get in, so here we go with the first stage of the clean!
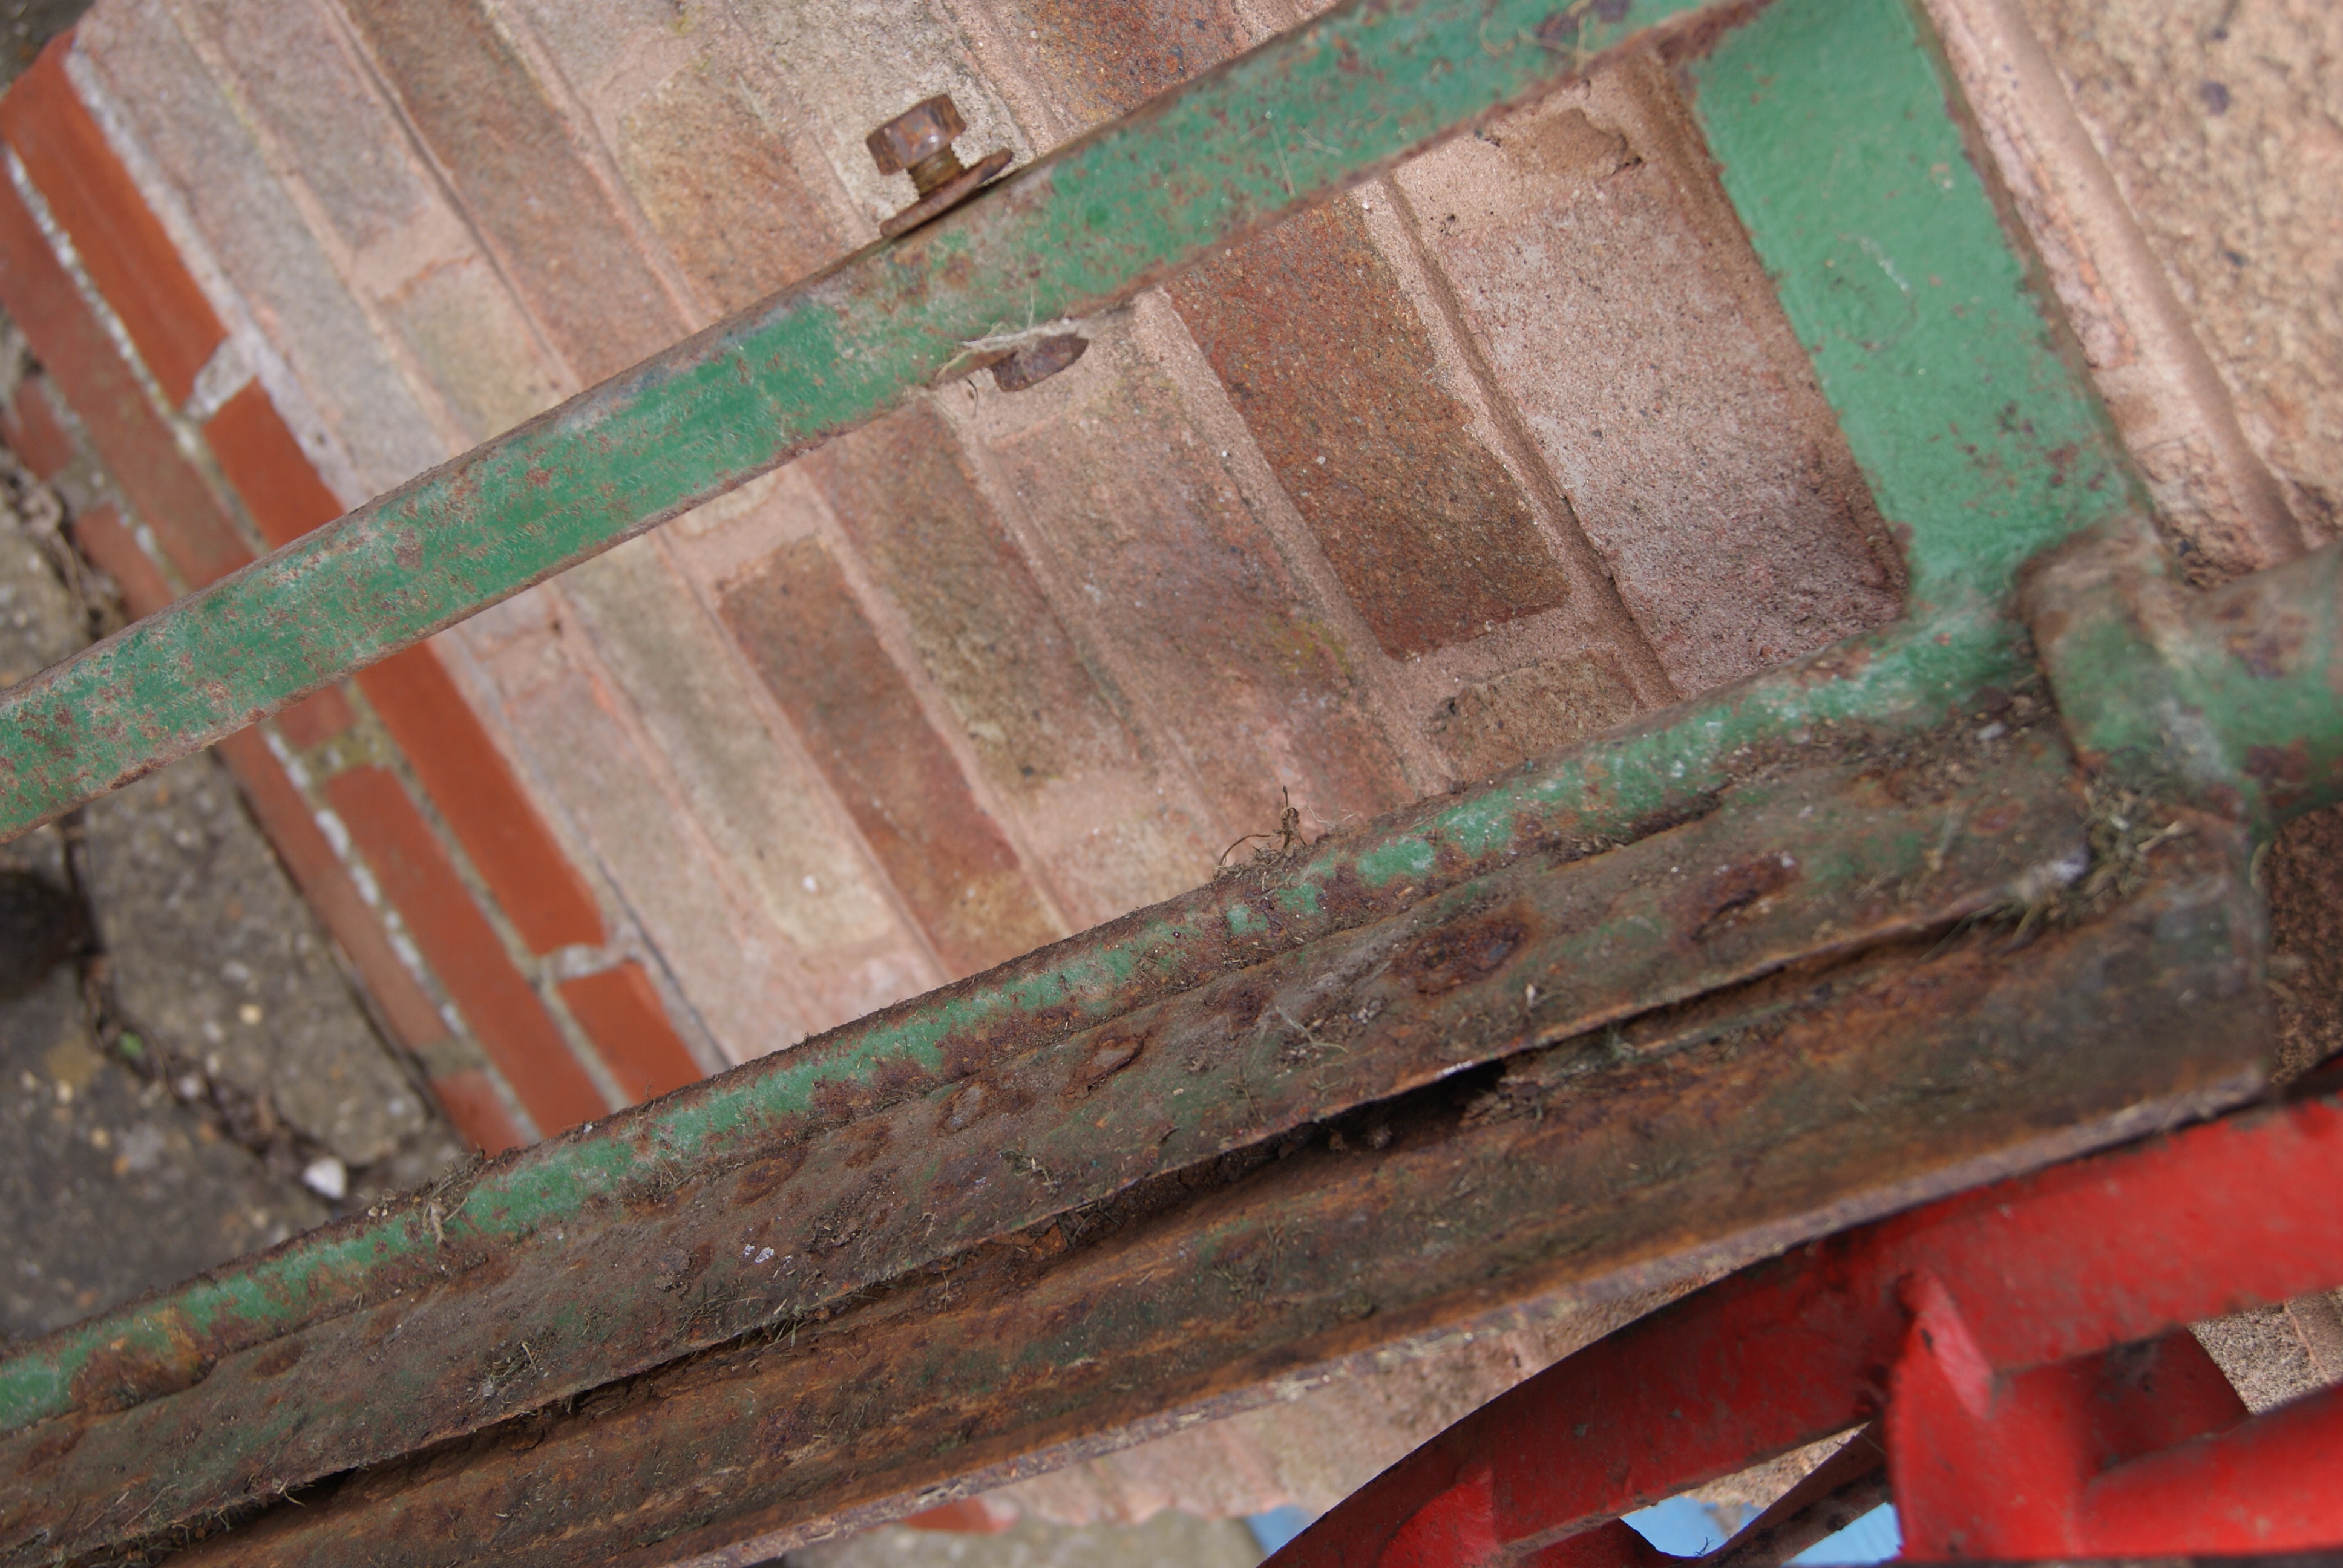
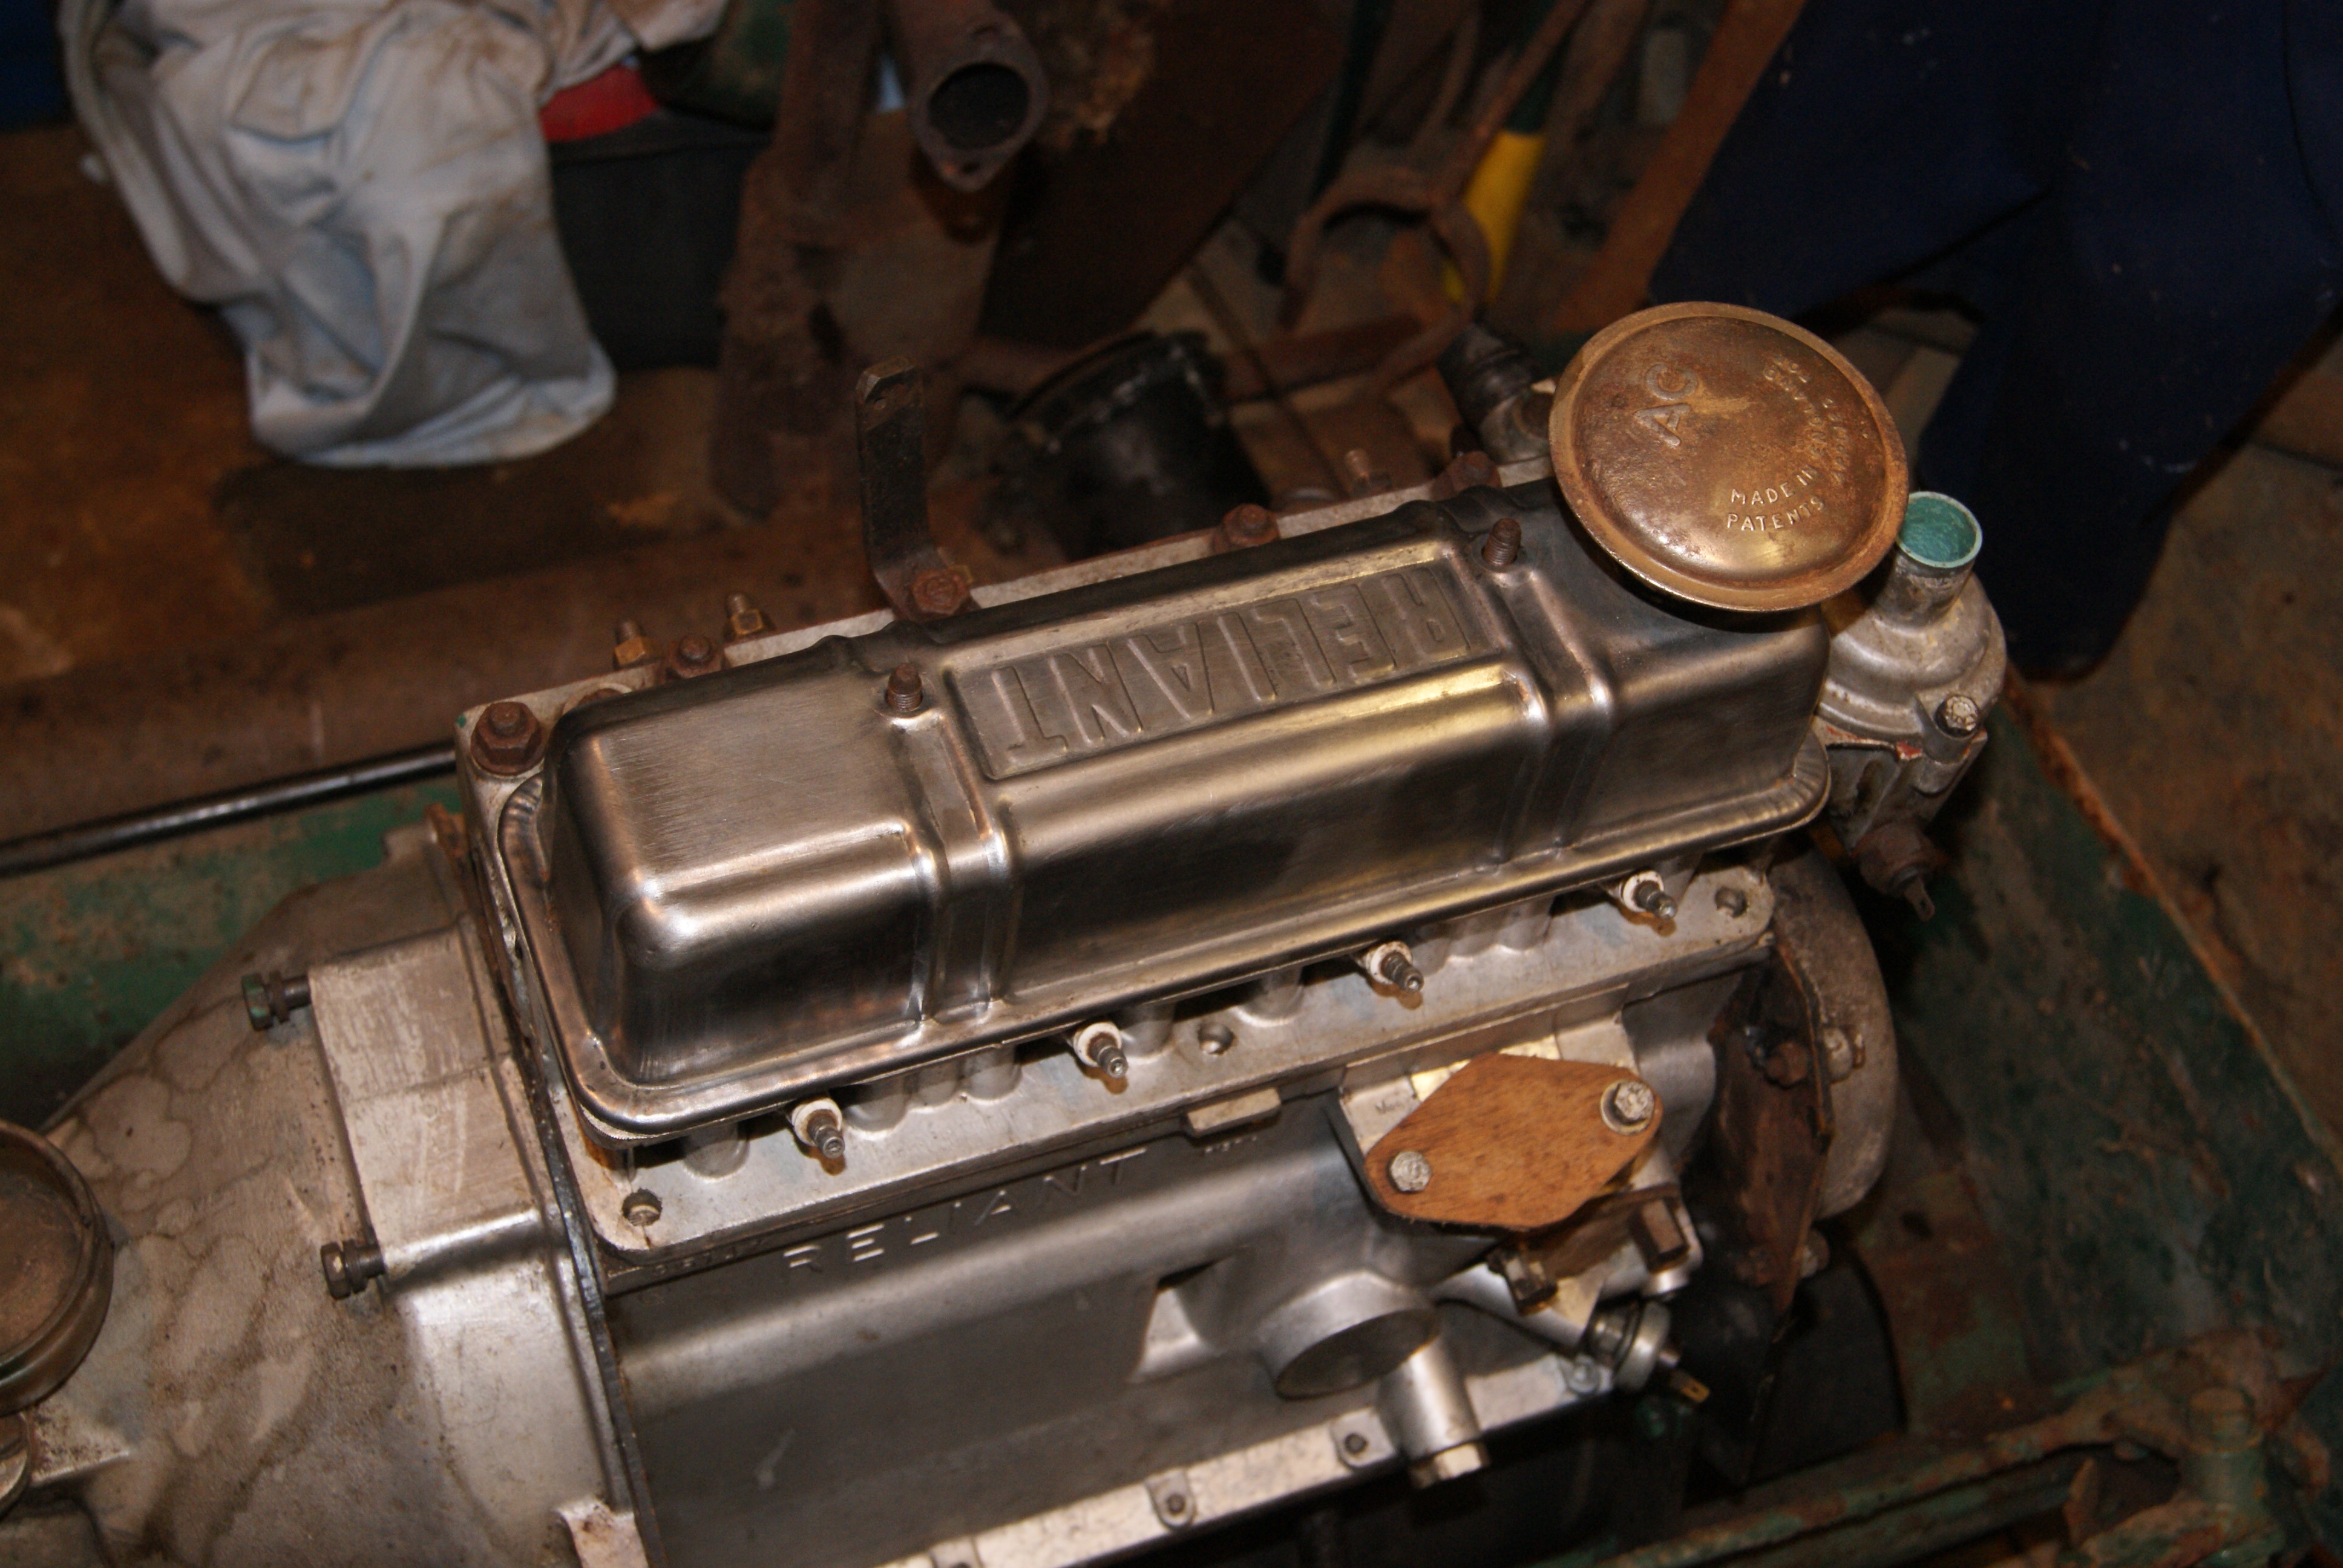
May 17, 2022 at 10:56 am #39032trusty220KeymasterThe engine and gearbox have now been thoroughly cleaned on the outside and what a difference it makes! Before everything just looked dull and worn out, but now the bright aluminium of the block and gearbox really do lift it. I would be lying if I said it was easy- I spent the whole day painting on brake cleaner then scrubbing it off, then repeating until all of the staining was removed. I could have achieved the same thing by blasting it with a steam cleaner but I didn’t want any water inside the workings and it would have taken some of the green paint off the chassis, something I want to avoid as it needs to be preserved rather than restored. The result speaks for itself and the brake cleaner was odourless, evaporating quickly after a quick wipe with a cloth; when I did the same with petrol to clean the carburettor I had to buy Mrs. Geoff a meal out to apologise for stinking the house out! Definitely brake cleaner from now on!
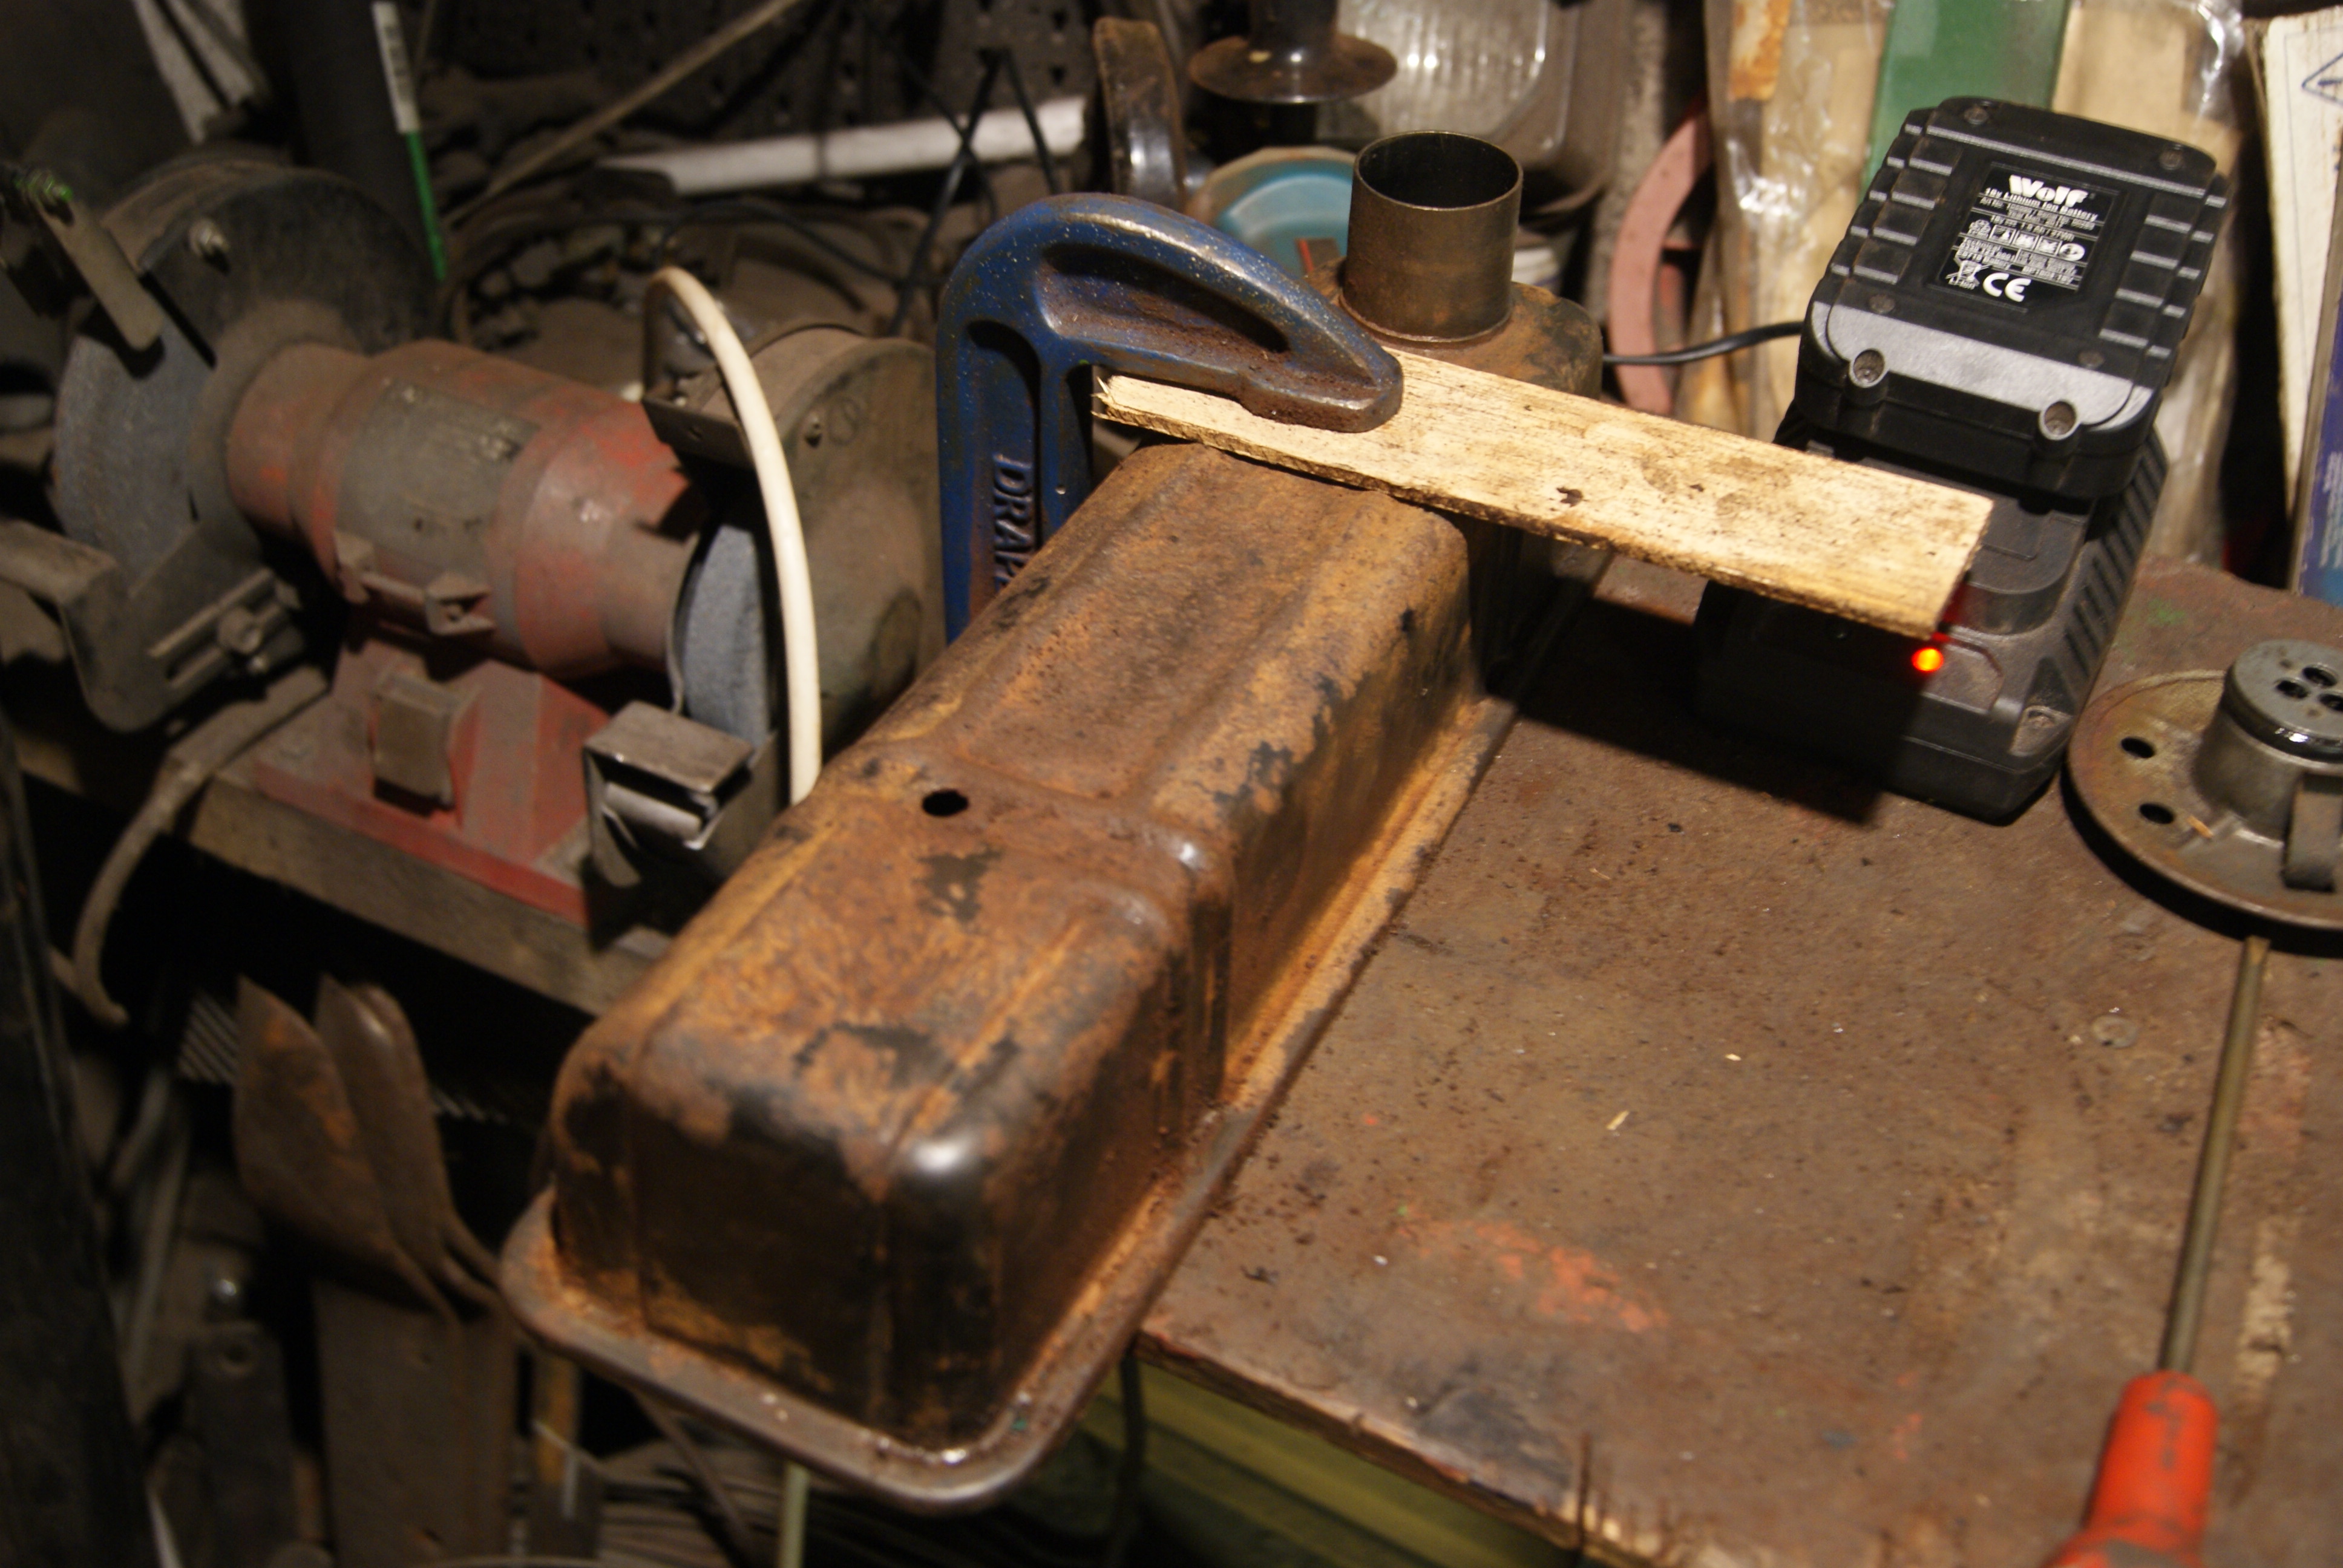
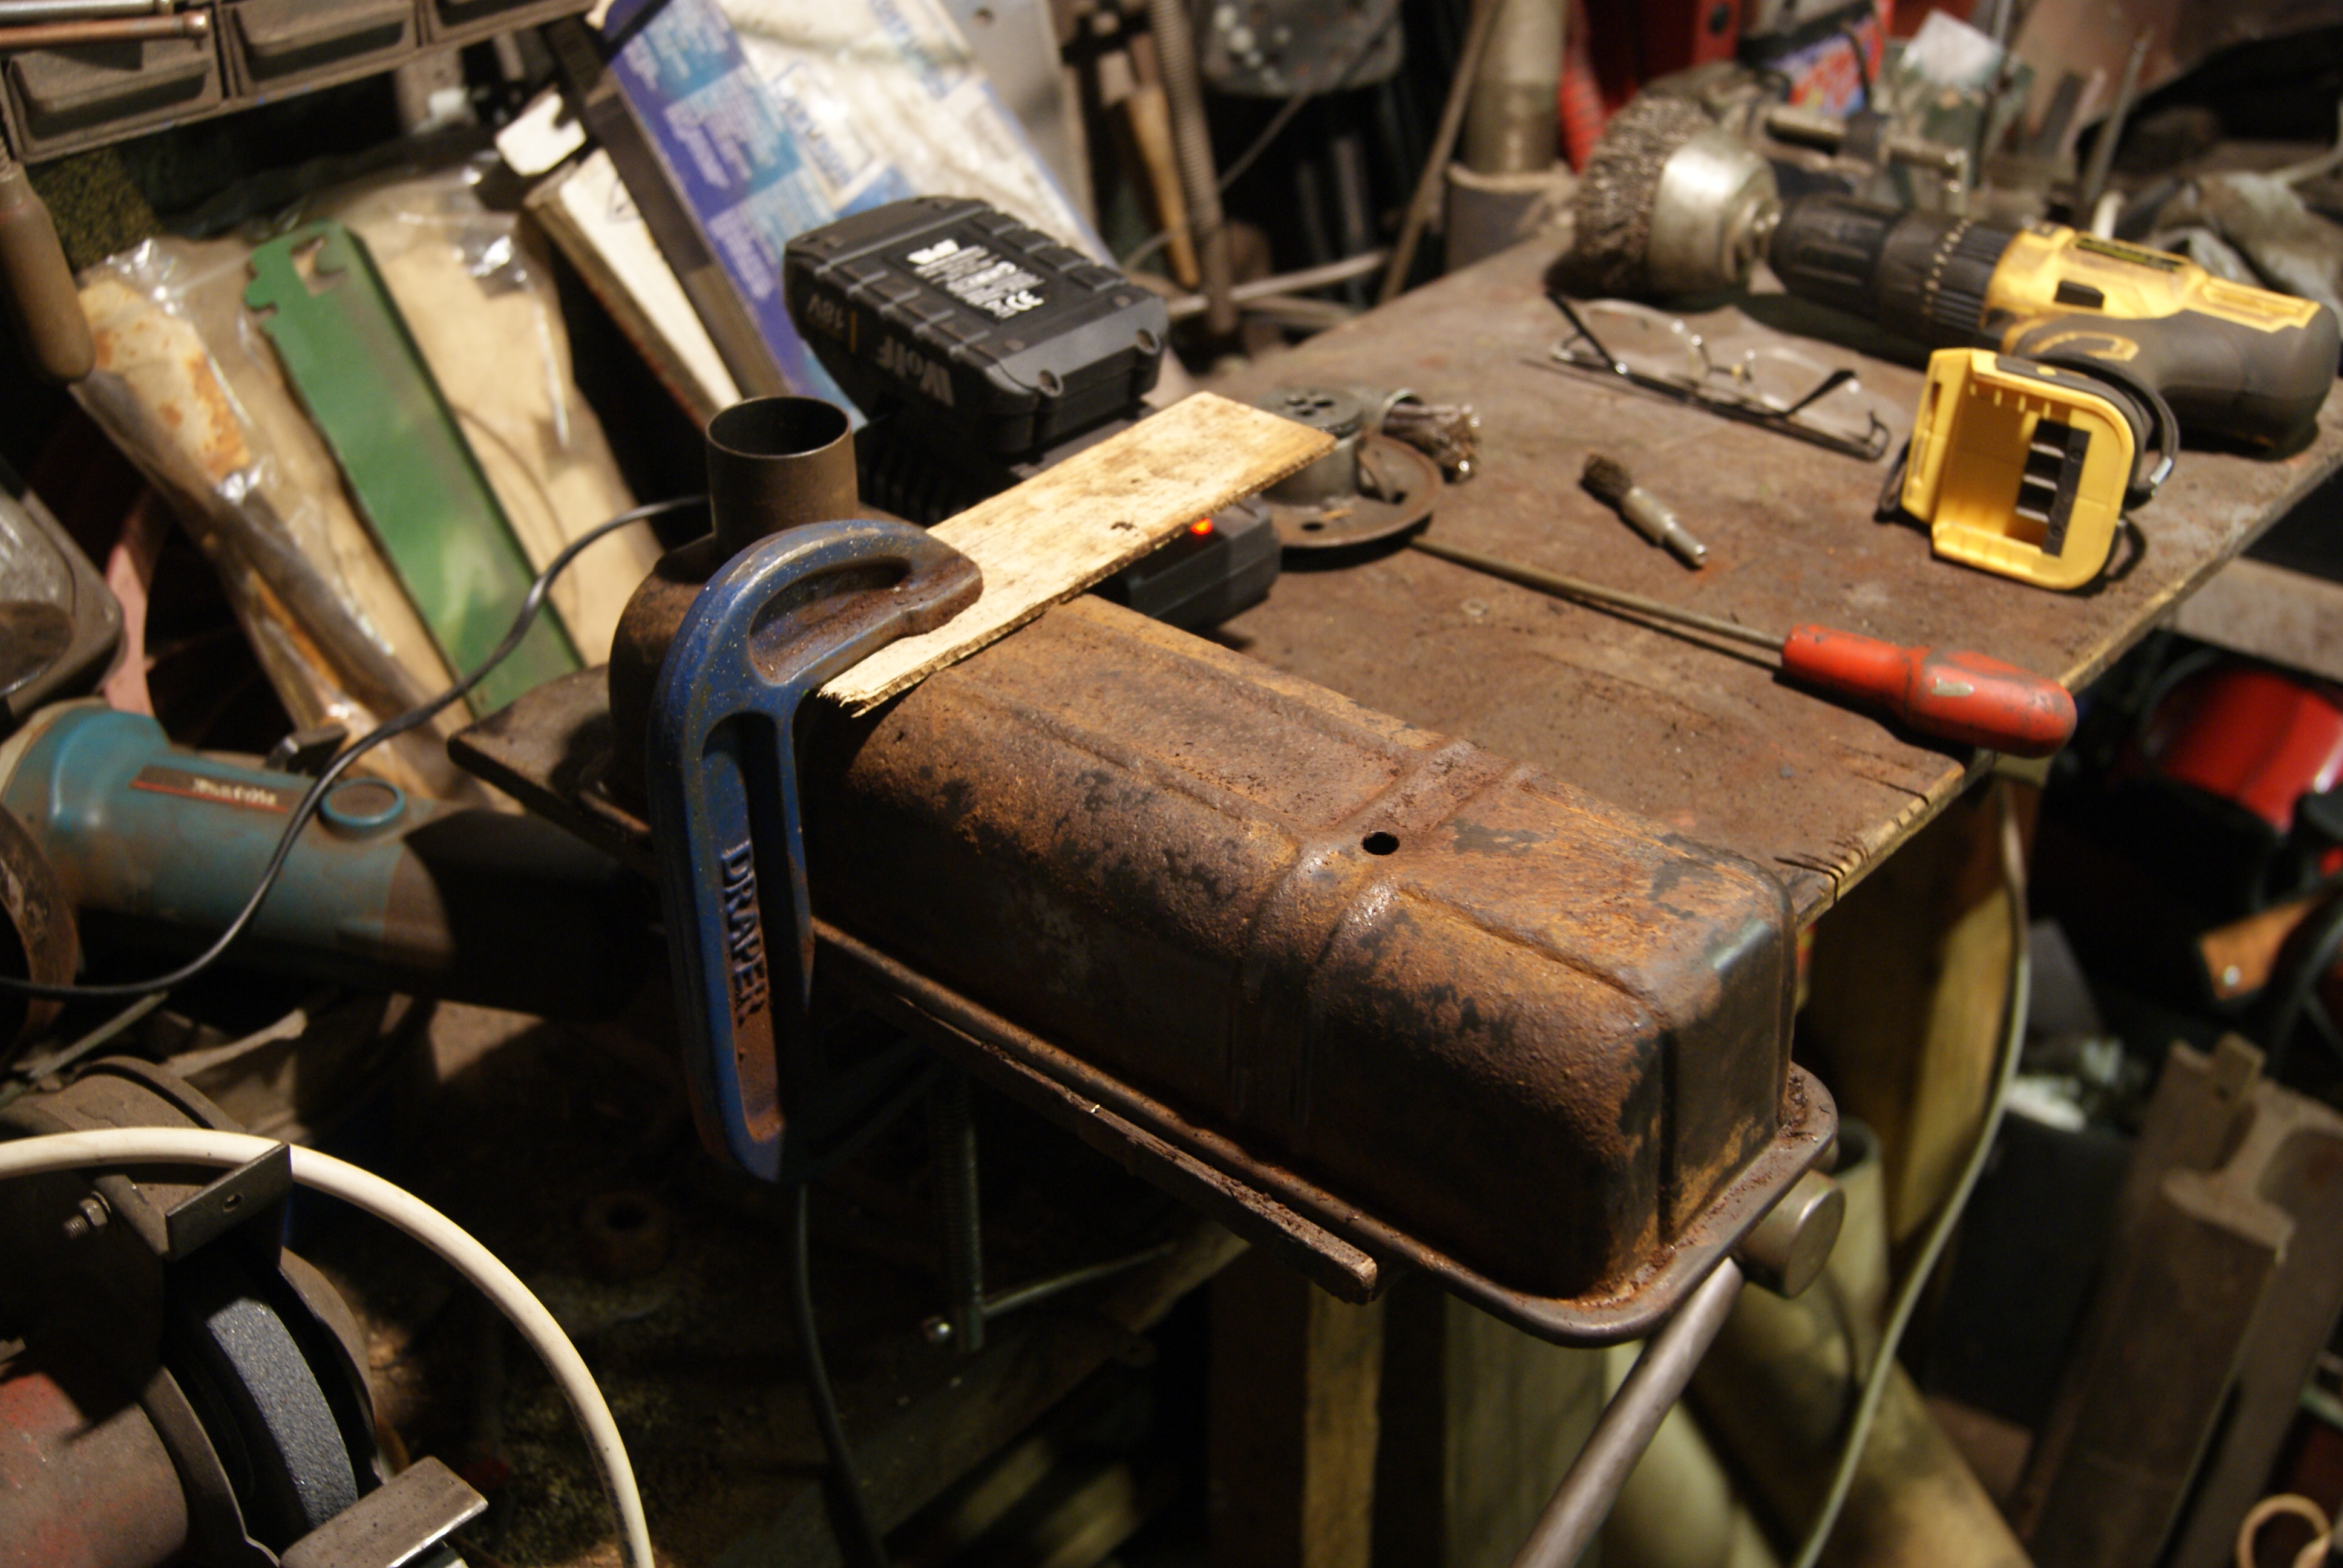
The next challenge will be to sort out the heavily pitted rocker cover. It needs to look good as it’s the first thing you see when you open up the covers, so a bit of panel beating to push it back out to the correct profile and lots and lots of wire brushing and sanding down to remove the years of rust.
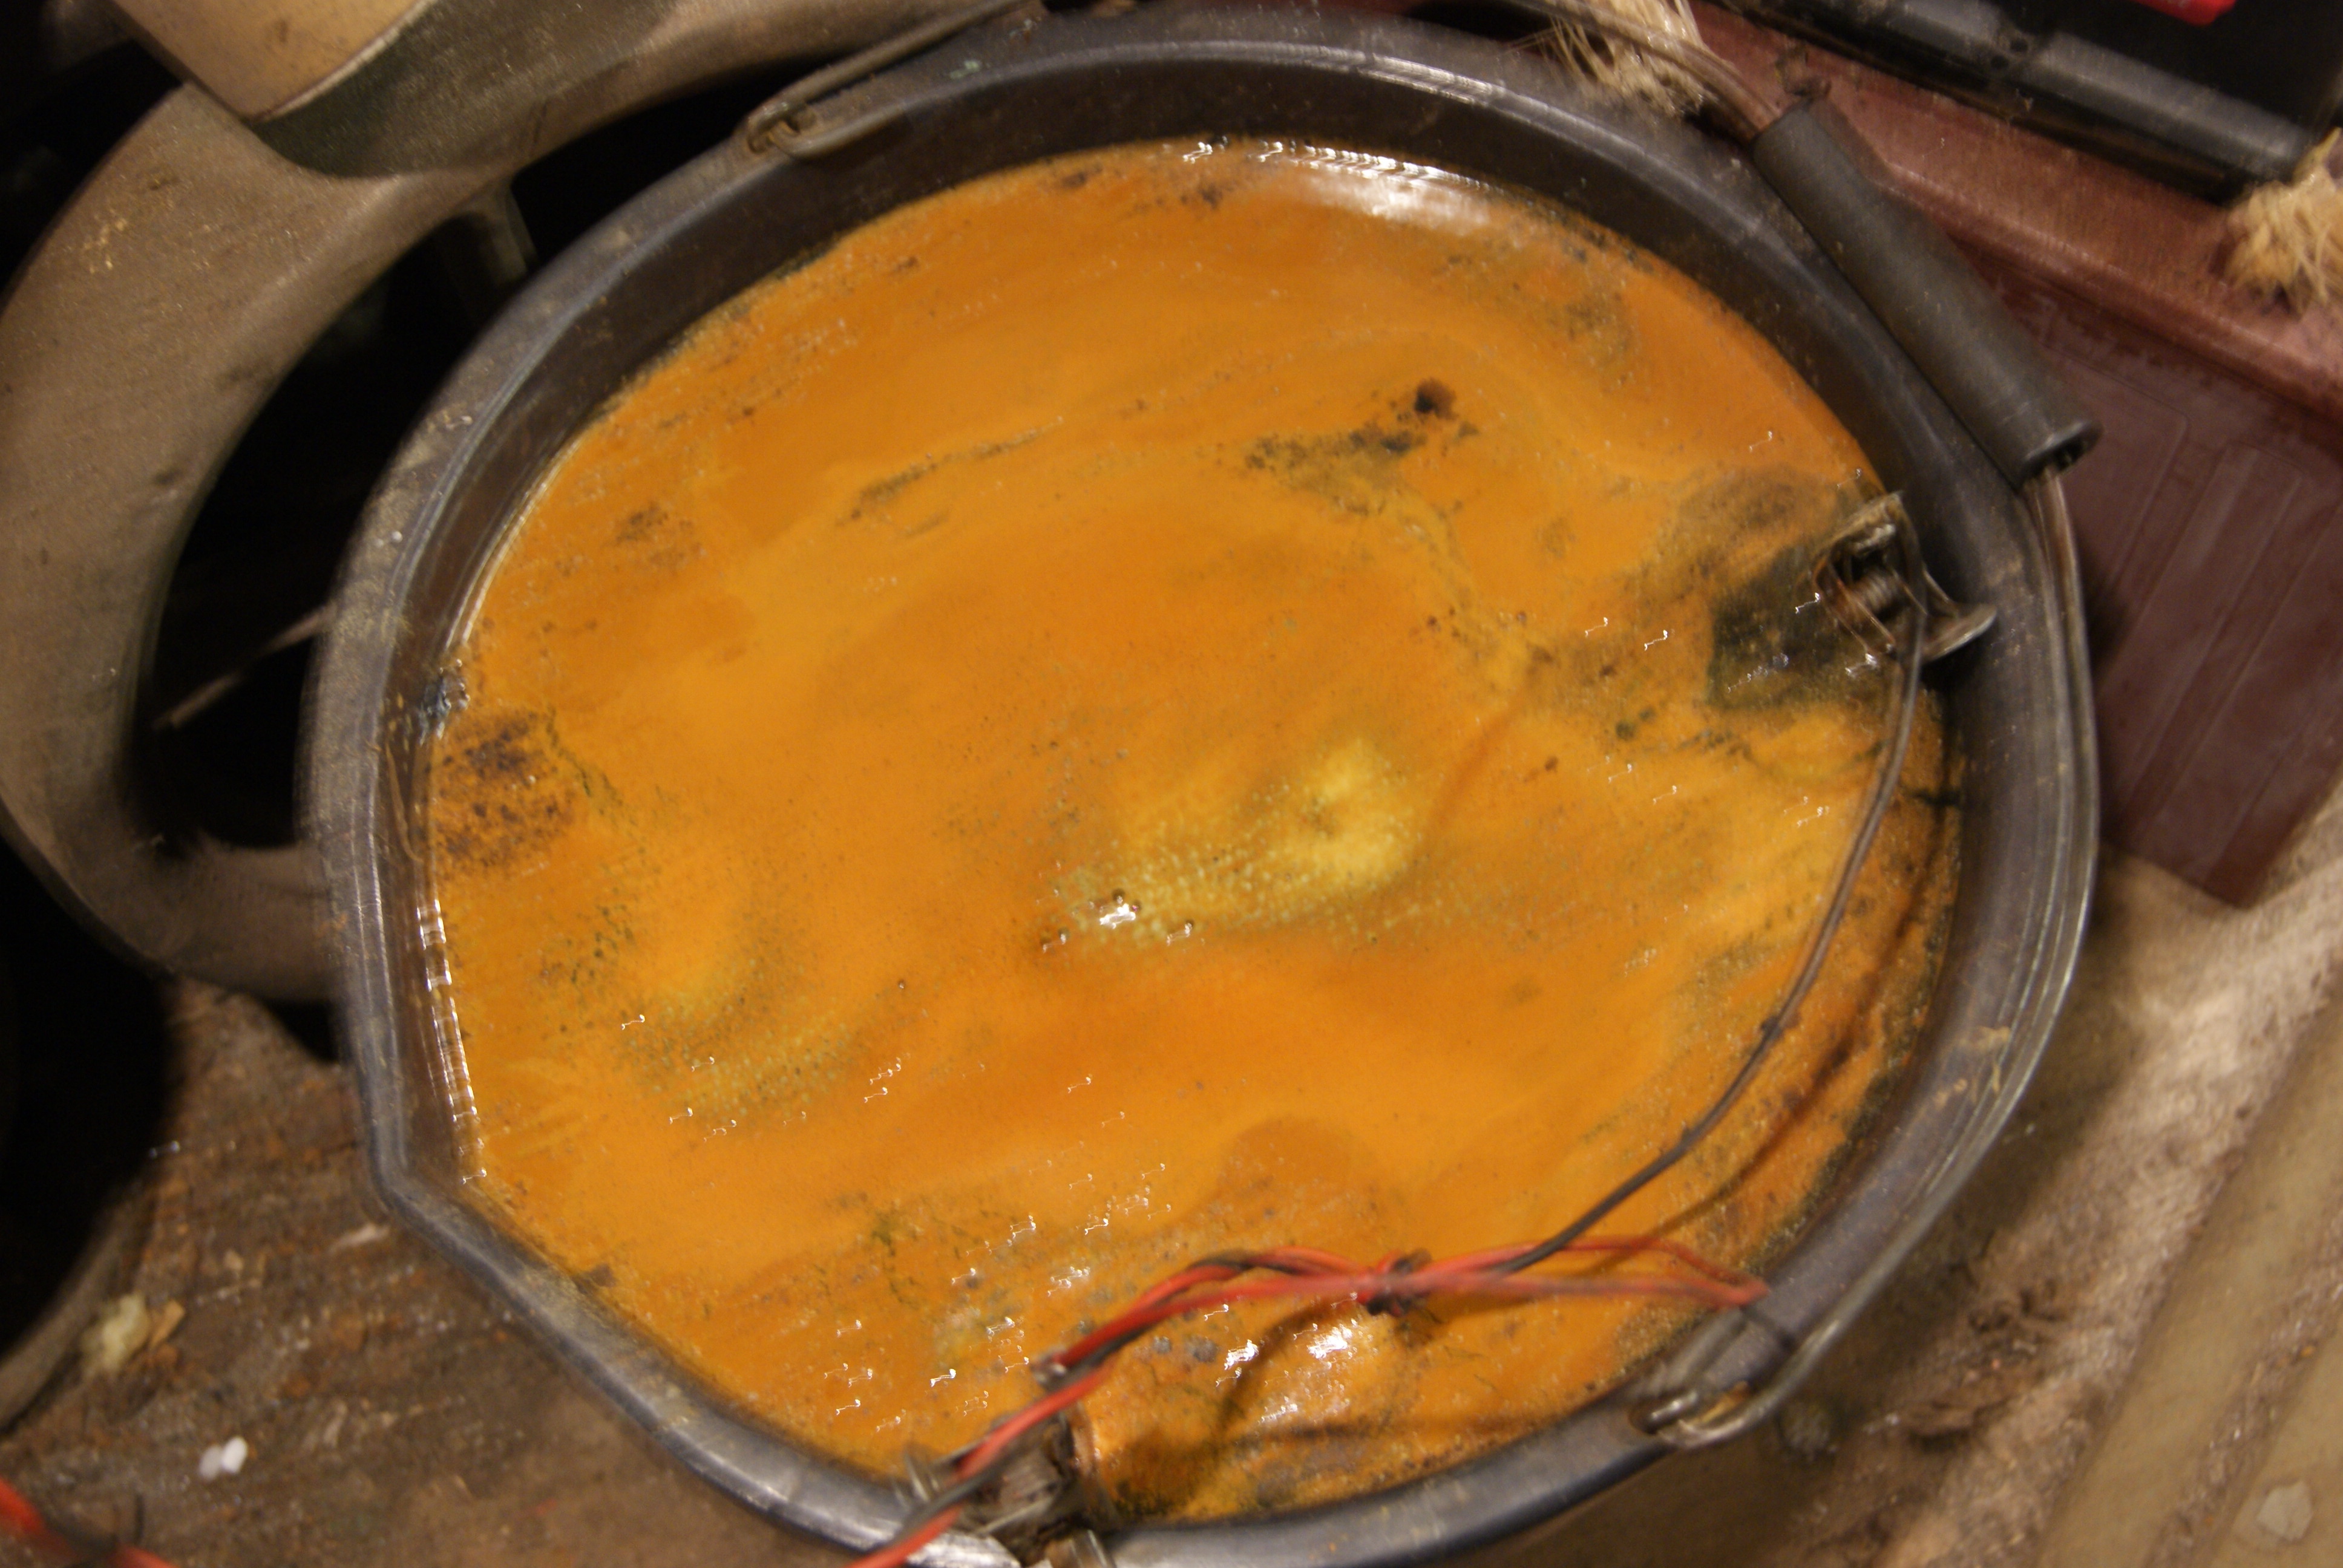
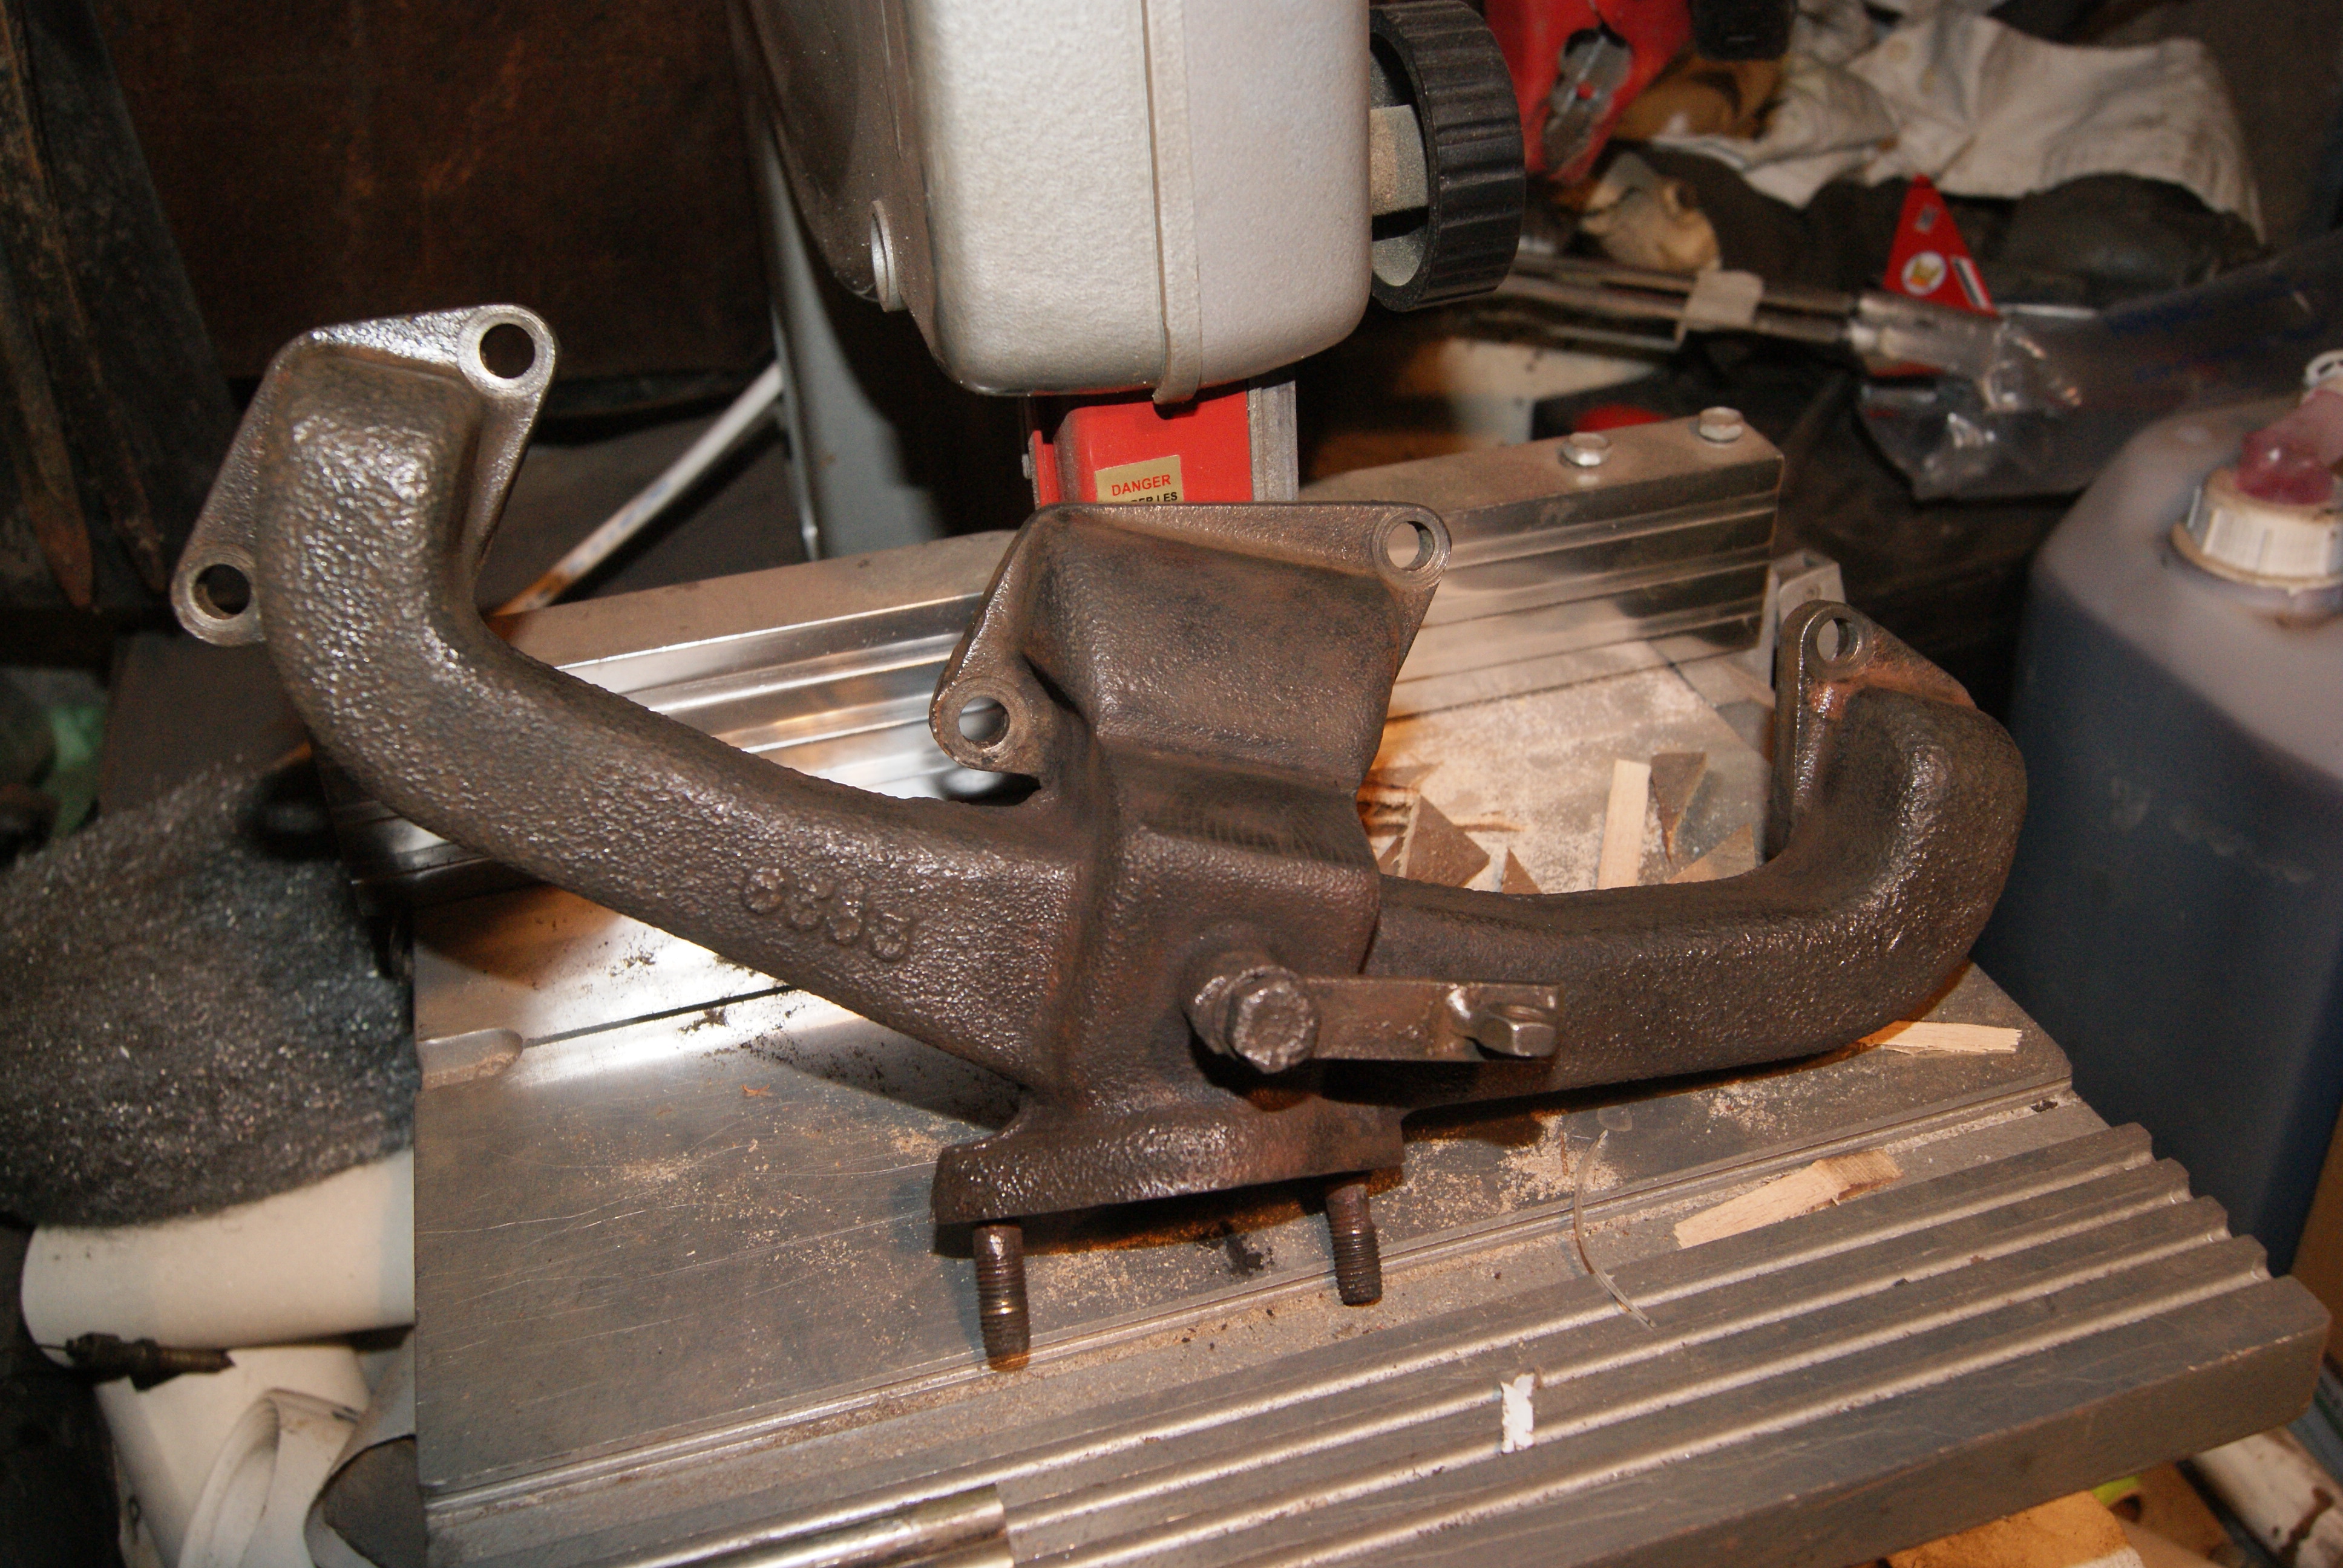
Whilst I’m doing this I’ve put the exhaust manifold into a bucket to de-rust it using electrolysis. Another odourless method but it takes a bit of time to do and must be done in a well ventilated space- my draughty garage is fine, but if you do it somewhere at home please be aware that the gas bubbles given off contain hydrogen, so if it builds up in a poorly ventilated room it can explode!
More results soon.
Attachments:
May 17, 2022 at 1:14 pm #39037 charlieKeymaster
Its amazing what a good degreasing does, as I have fund cleaning up Land Rover gearboxes. As well as brake cleaner I also use Screwfix own brand degreaser which can be washed off, I use a pump up garden sprayer for that.
May 17, 2022 at 4:36 pm #39042trusty220KeymasterThanks for that, Charlie, I’ll give it a go if it stops raining. It needs to be a gentle action so that the paint survives intact, so a garden hose will probably be the answer.
May 18, 2022 at 4:36 pm #39053trusty220KeymasterIf you had any doubts about the efficiency of electrolysis for de-rusting delicate items, here’s the proof. The photo below was taken this morning, barely sixteen hours since I started the process, and you can see a thick layer of rust on top of the liquid in the bucket. It has removed all of the rust and all that’s required now is a wire brush and a coat of heat resistant paint.
The rocker cover is another story, however, and it has taken me simply ages to get it to a reasonable standard. Not forgetting that it will be the first thing people see when they open up the cover it needs to be in good order, and so it has had a thorough clean inside and out to remove all traces of rust. Now it’s nice and shiny I don’t have the heart to paint it black, but painted it must be!
Other problems encountered today are the non-availability of engine oil filters and air filters; later versions of both are available, but the early type bypass oil filter with a male thread sticking out seems to have been superseded back in the sixties with a similar filter incorporating a female thread. Likewise, a similar tale concerning the air filter- later ones are three inches thick, earlier ones are one and a half inches thick- so the search goes on. Hopefully I’ll get there in the end, but then that’s what we all enjoy about the hobby, the tracking down of those elusive parts!
Attachments:
May 18, 2022 at 5:20 pm #39057andyfrost
ParticipantGeoff , there are some Reliant male threaded filters on the well know auction site , I take it you may have already looked to see if they’re the type you’re after.
Andy.
May 19, 2022 at 6:03 am #39058charlieKeymasterThat rocker cover looks like new. I don’t suppose Allett have any old spares lying around?
May 20, 2022 at 7:41 am #39061trusty220KeymasterHi, Andy, I’ve looked but can’t find them- if you’ve found some on there could you send me a PM with a link or some other way to find them? That would really get me out of a hole.
I think I’ve found an air filter but everyone I ask so far has told me to re-use the old engine oil filter as they are no longer available. Help!!
May 20, 2022 at 9:43 am #39062ParticipantGeoff , I’ve sent you a message , bear in mind I’m a PC dunce , they may not be the ones , but are deffo male thread.
If all else fails Trotters may have some left over.
Andy.
May 20, 2022 at 2:43 pm #39063 wristpinParticipant
I think I’ve found an air filter but everyone I ask so far has told me to re-use the old engine oil filter as they are no longer available. Help!!
Chances are that BSP threads are used on both. Would it be feasible for a man with an ology – and a lathe- to make an adaptor to fit the available filter ?
May 20, 2022 at 6:01 pm #39064trusty220KeymasterThanks for the tip, Andy. The fitting does look the same and the description fits the build year as well- they are for a Reliant 600cc built between 1964-68. The only trouble is that it looks too long on the photo so I’ll have to send them an email to ask for dimensions. It seems a little pedantic but the cover fits very close to the end of the filter so that if it’s too long the cover won’t fit. And no, I don’t want to cut a hole in the cover, I think Allett Mowers may get a bit annoyed!
I had thought of making a male/male adapter Angus; I could possibly use a Kubota oil filter on it to get the short length. I may still have to do that but my lathes and miller are still packed away in the mother-in-law’s garage, so I may have to borrow a mate’s workshop to do it.
As I say, nothing is impossible, it just takes a little longer! Thanks for your help both of you, I now have a definite course to steer.
-
This reply was modified 4 years, 2 months ago by trusty220.
May 20, 2022 at 6:28 pm #39065wristpinParticipantI’m not familiar with the dimensions of the Kubota filter that you mention but Briggs use (used to use?) a very short one for certain applications of the Vanguard twin. Might not have the throughput capacity though.
-
AuthorPosts

- You must be logged in to reply to this topic.