Forum Replies Created

Viewing 15 posts - 106 through 120 (of 301 total)
  • Author
    Posts
  • #19575
    darmic1
    Participant

    Rear chain drive case had some attention next….

    Attachments:
    #19572
    darmic1
    Participant

    The wheels are a split rim type with solid rubber tyres fitted.
    These were separated, blasted, etch primed and then painted.

    Attachments:
    #19566
    darmic1
    Participant

    Then began the rest of the re-assembly….

    Attachments:
    #19563
    darmic1
    Participant

    The fuel tank and engine in the correct colour now…..

    Attachments:
    #19560
    darmic1
    Participant

    Got the rest of the machine blasted, etch primed and painted…..

    Attachments:
    #19559
    darmic1
    Participant

    Sorry everyone, I have no idea why these pictures wont sit in the right order, short of uploading each photo individually…….. Are there any ideas out there????

    #19556
    darmic1
    Participant

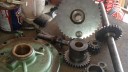
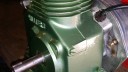
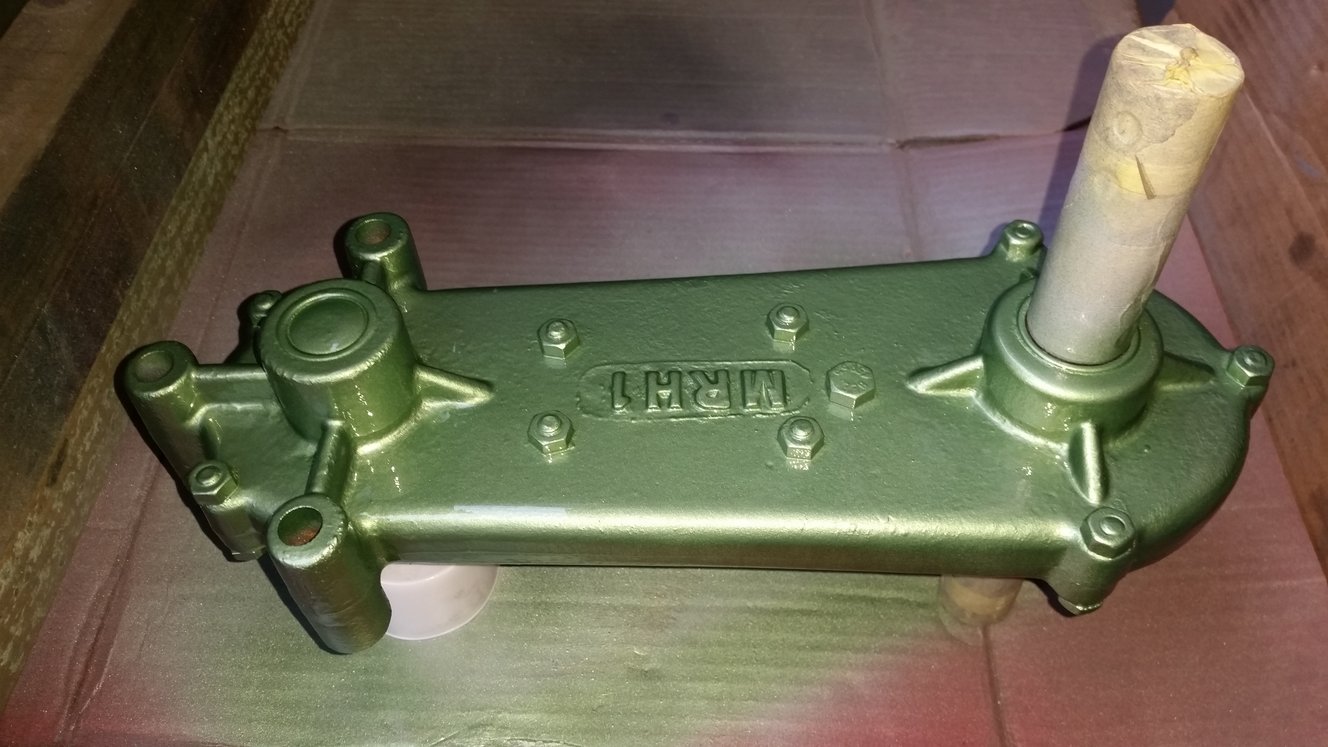
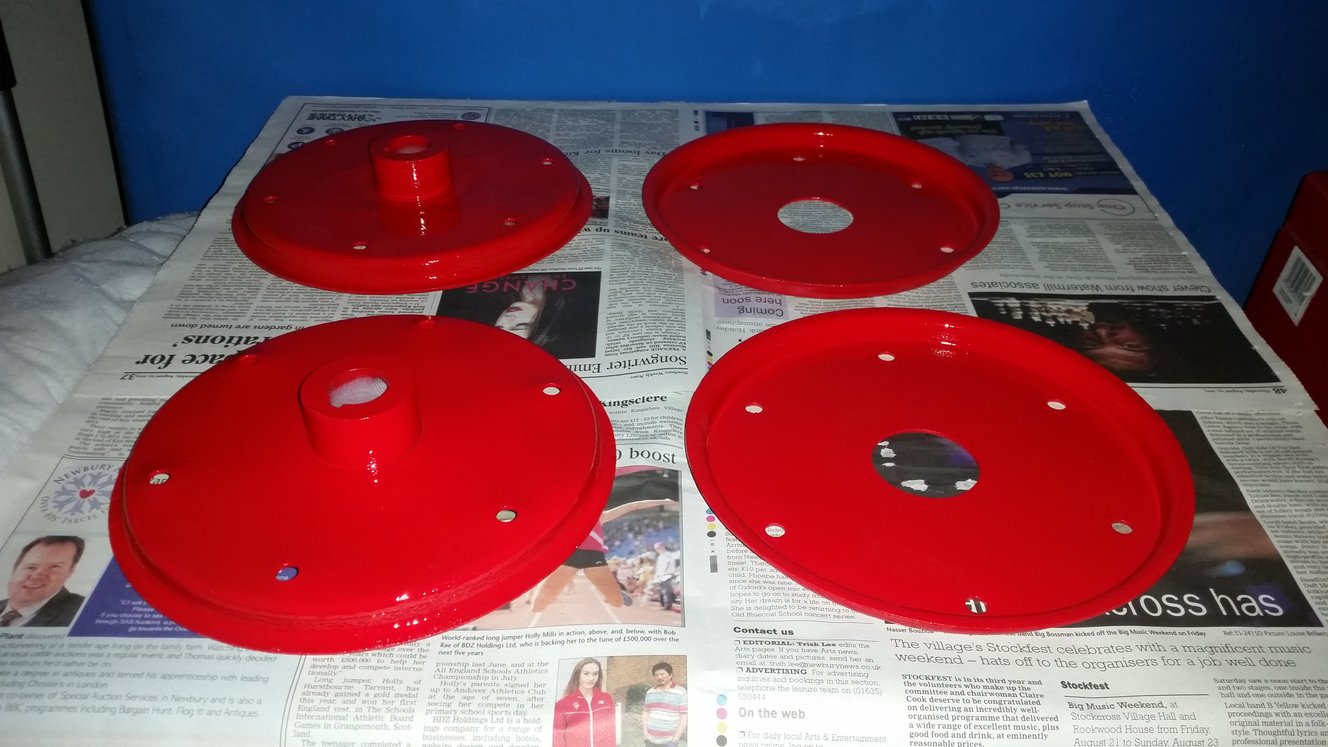
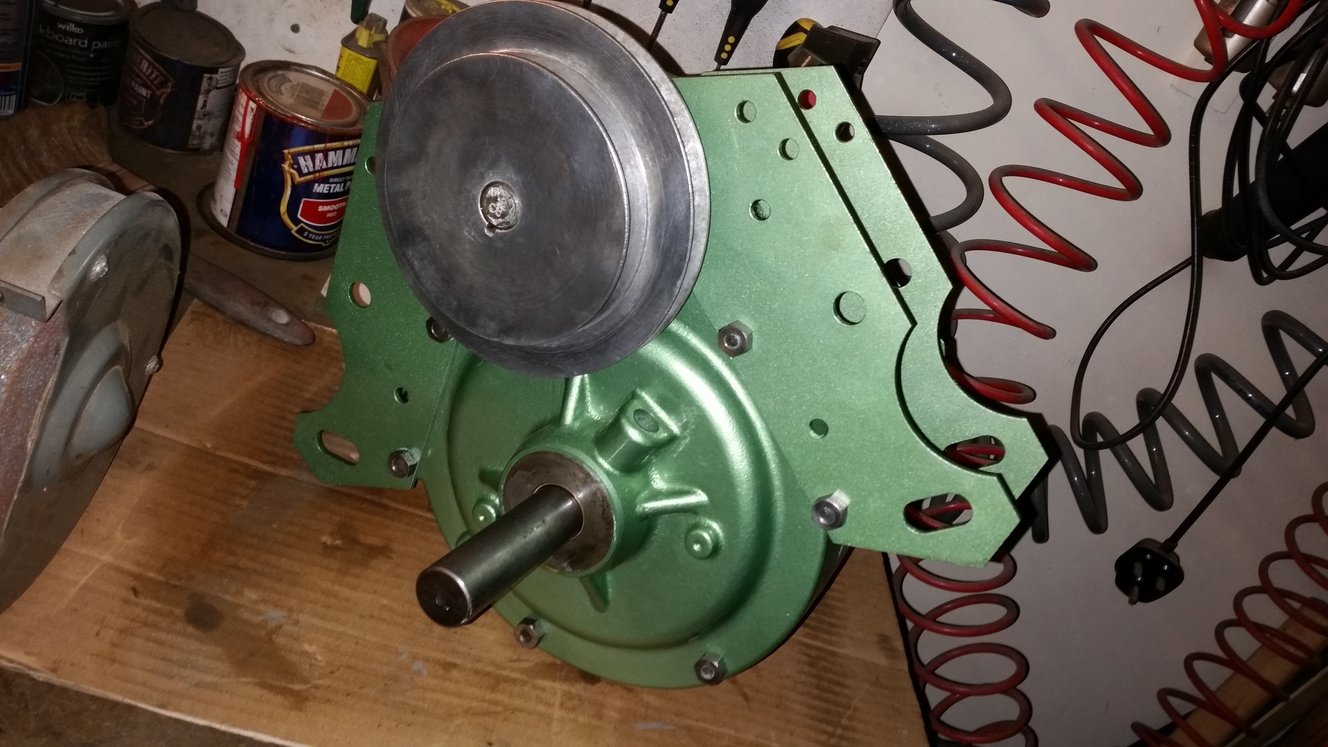
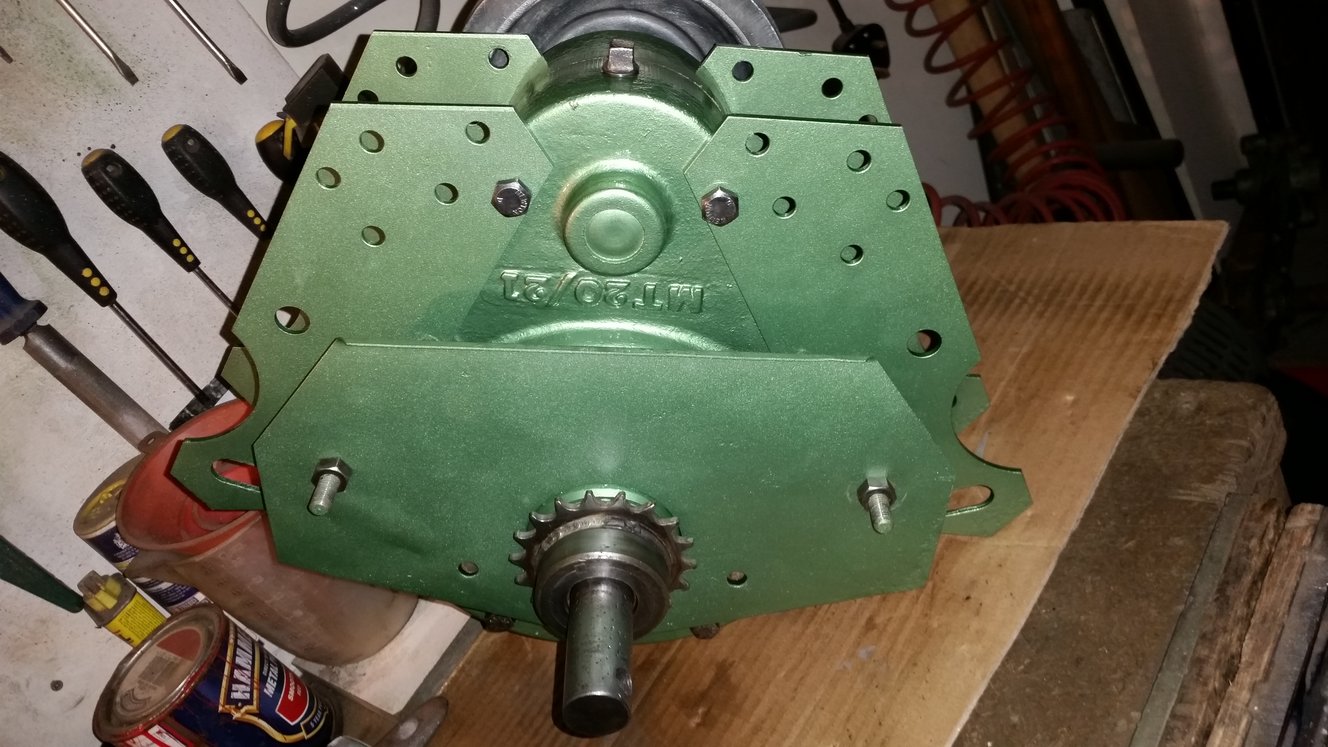
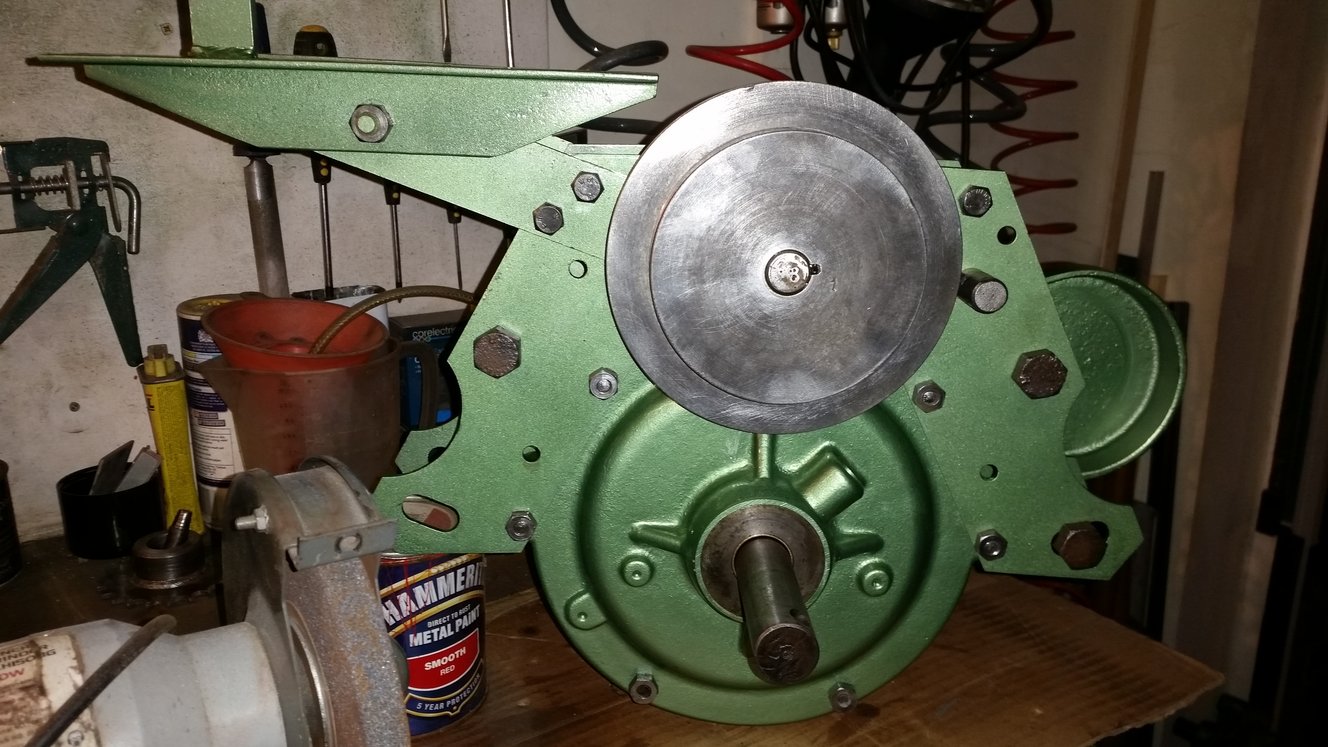
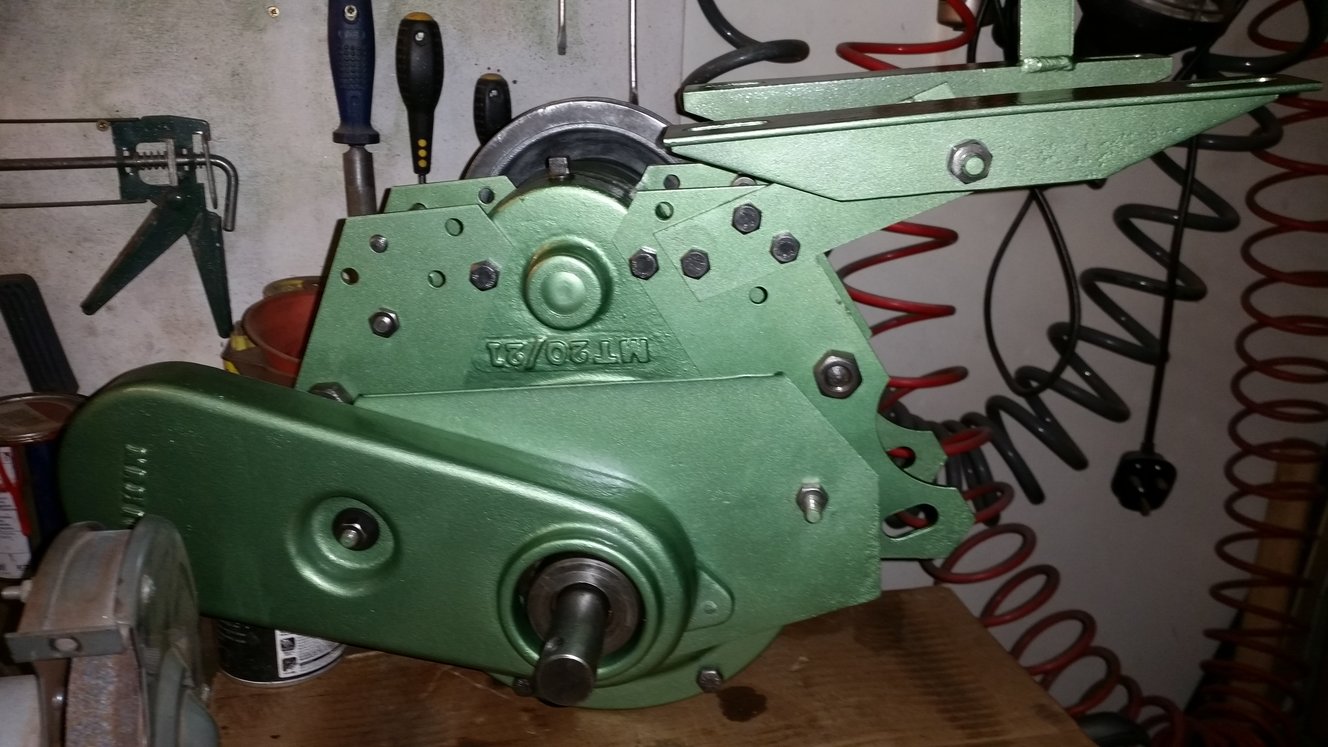
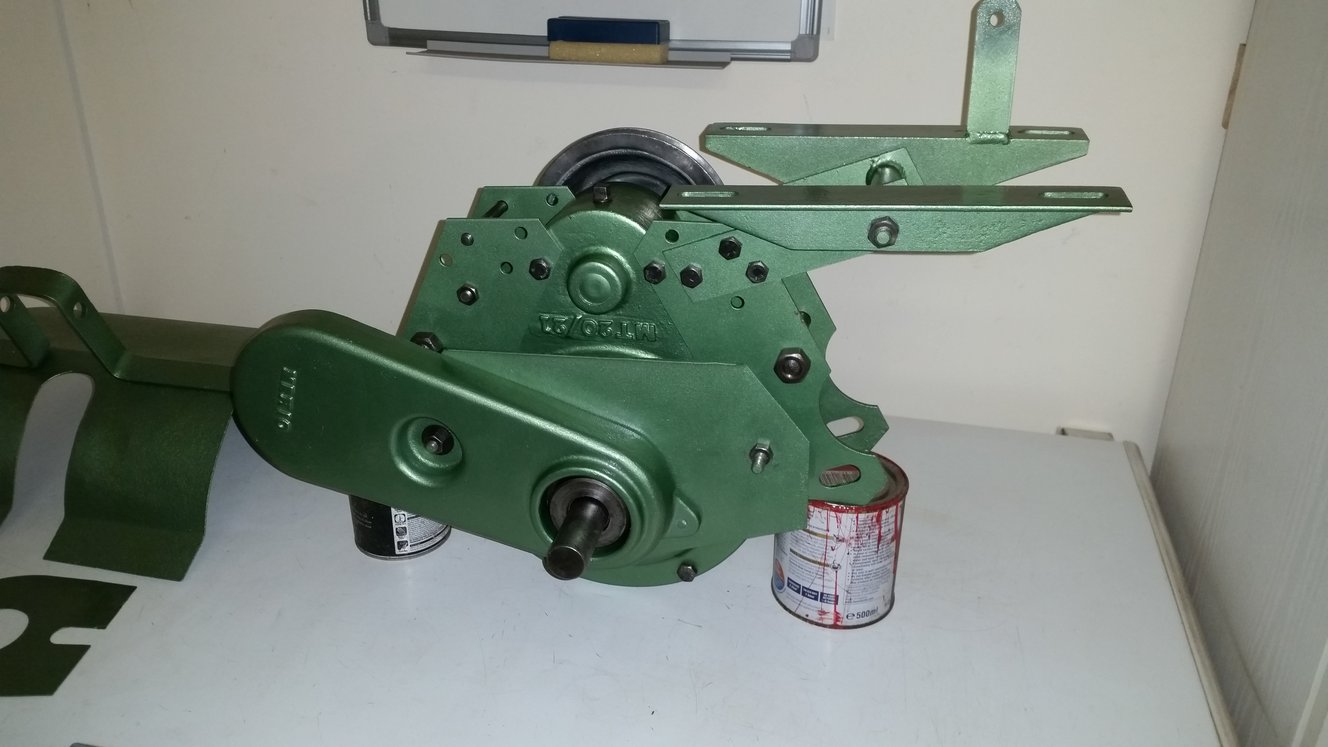
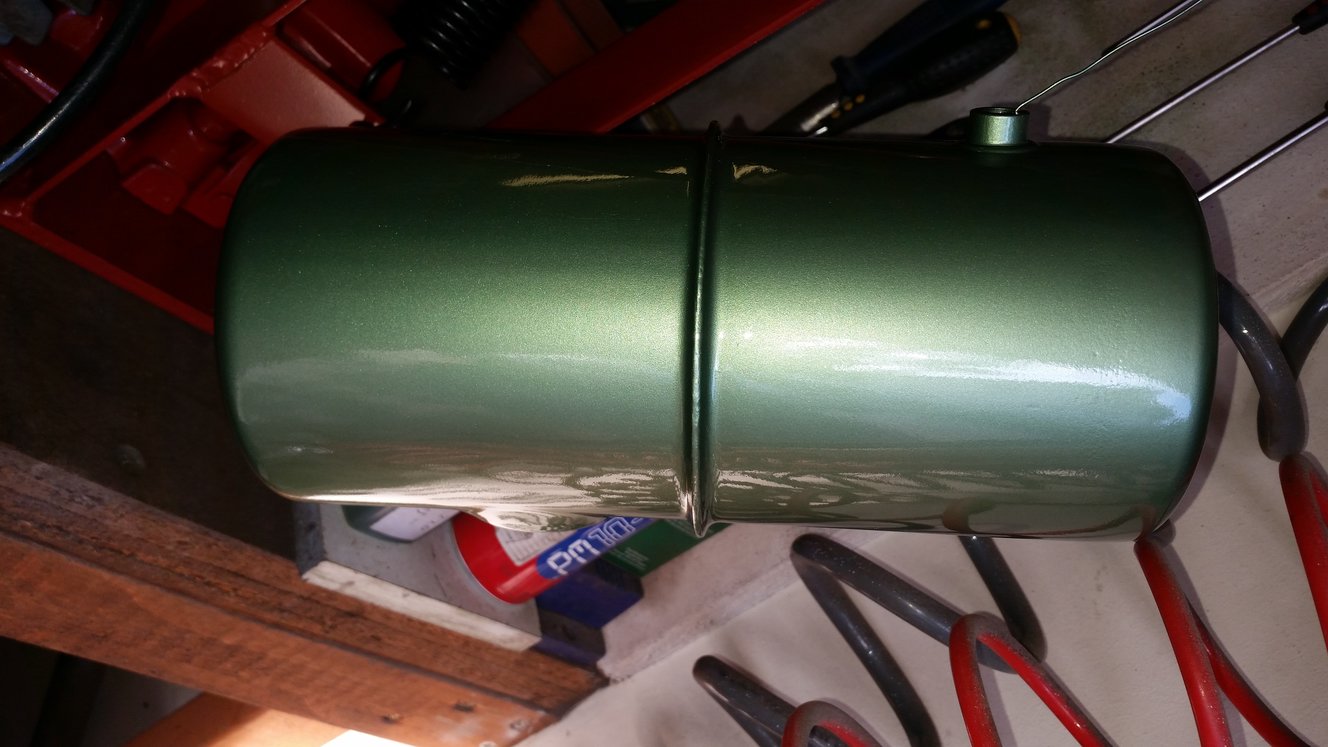
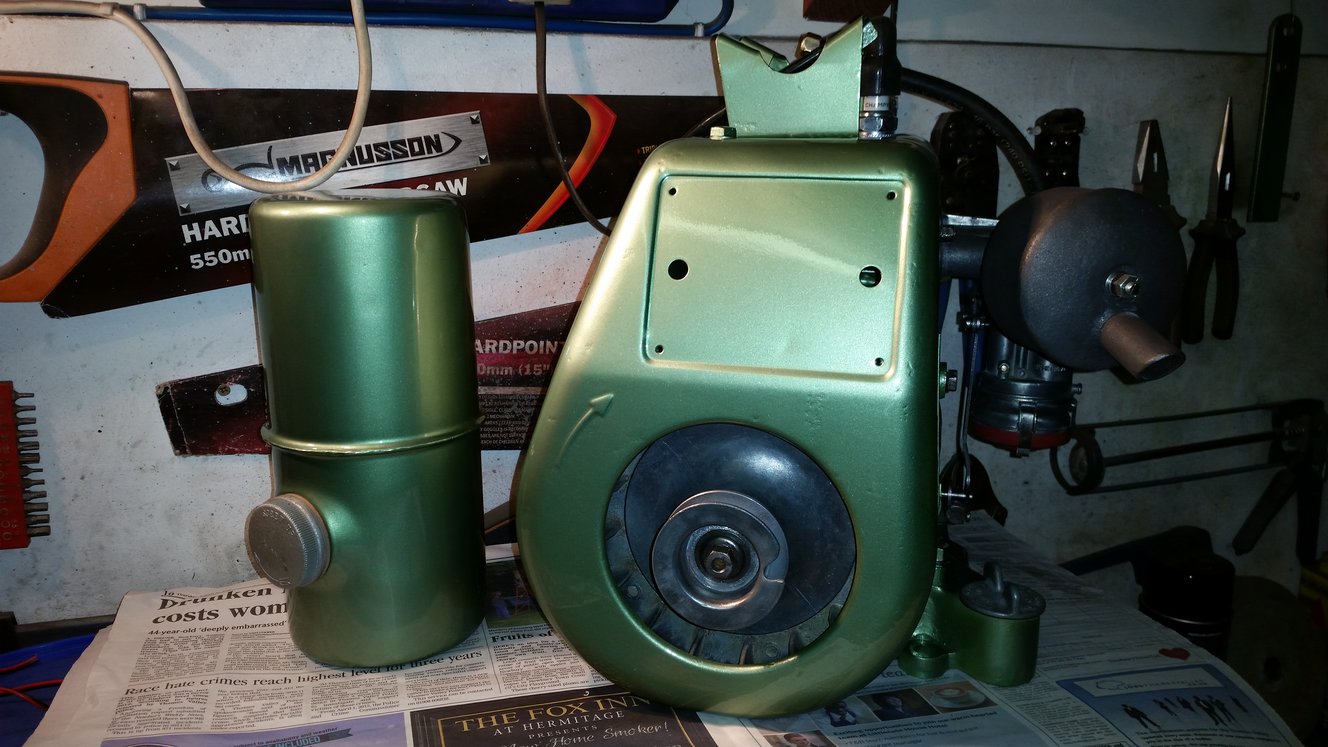
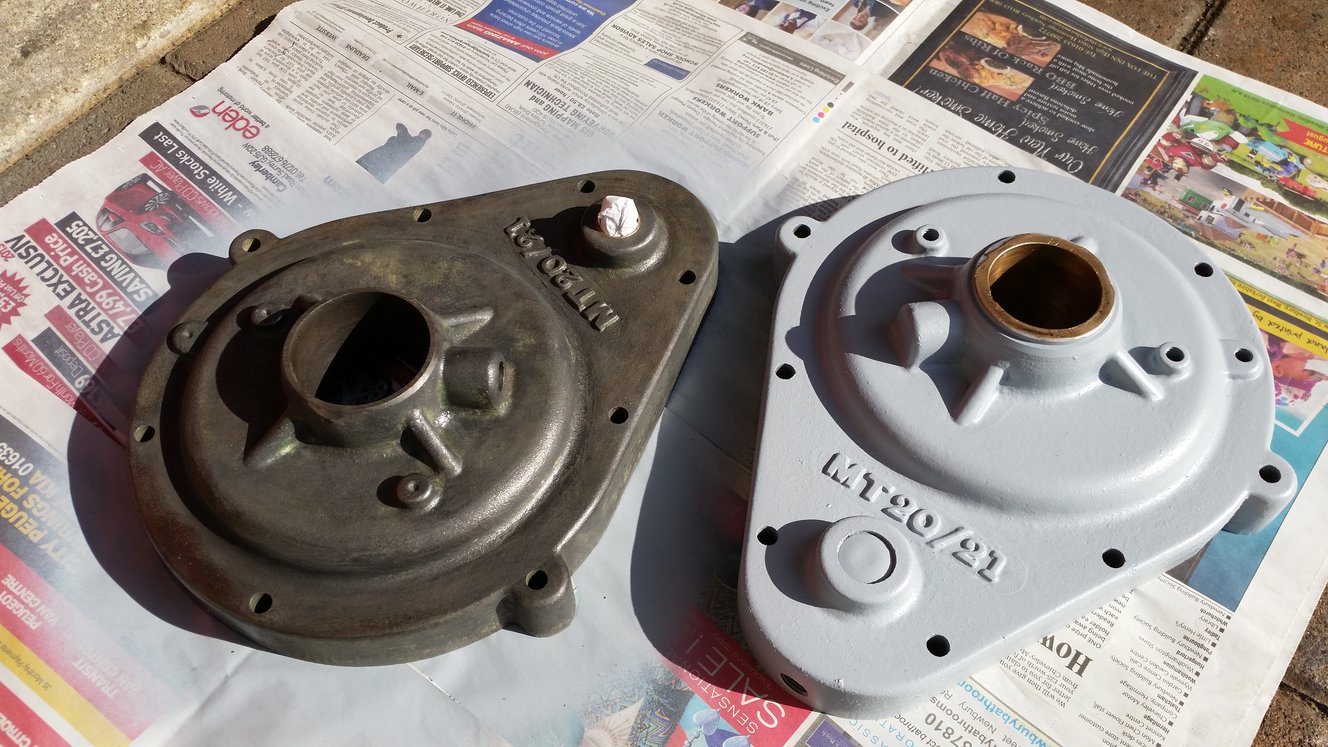
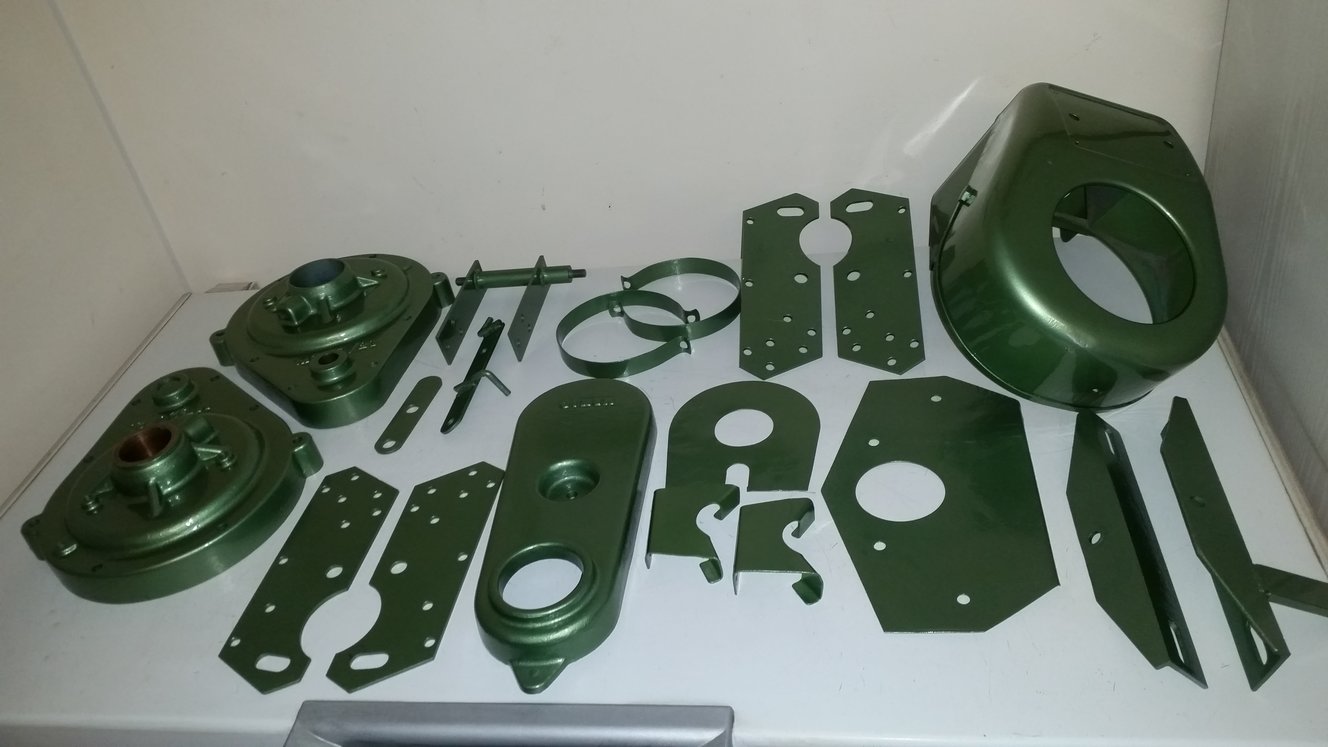
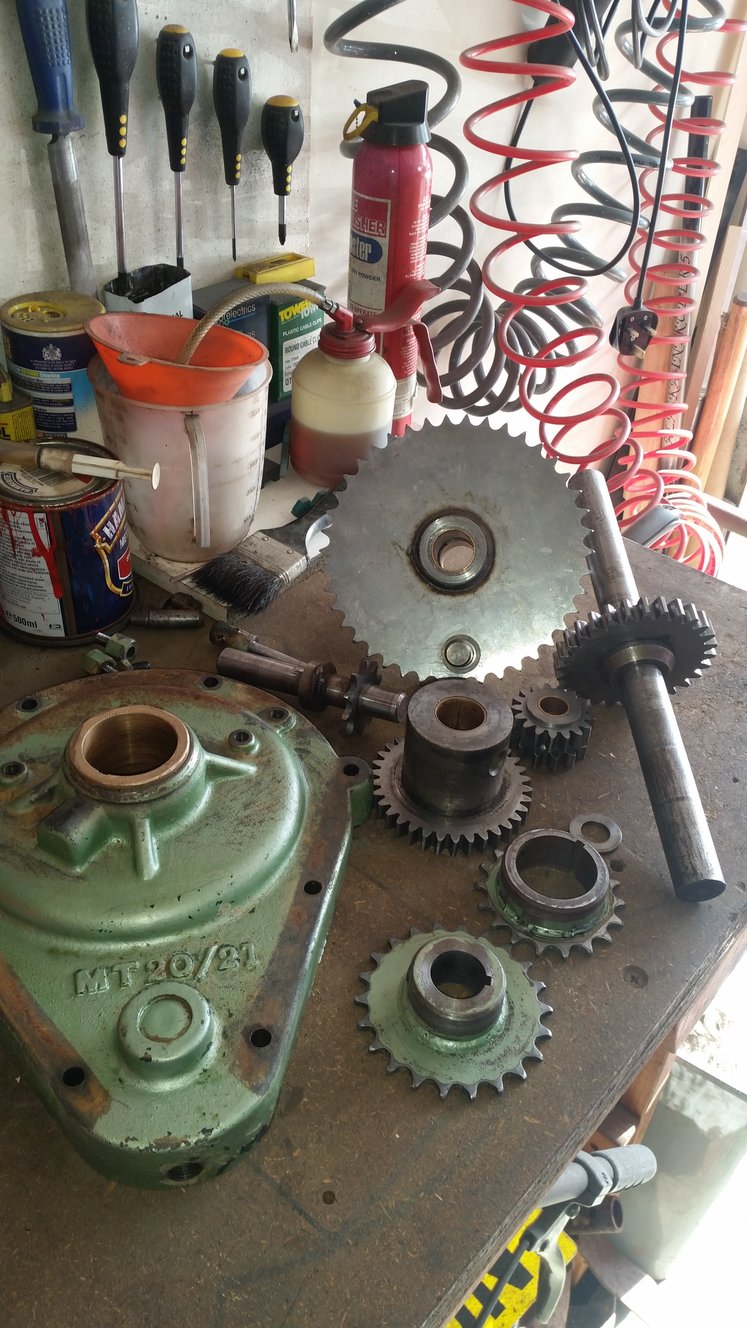
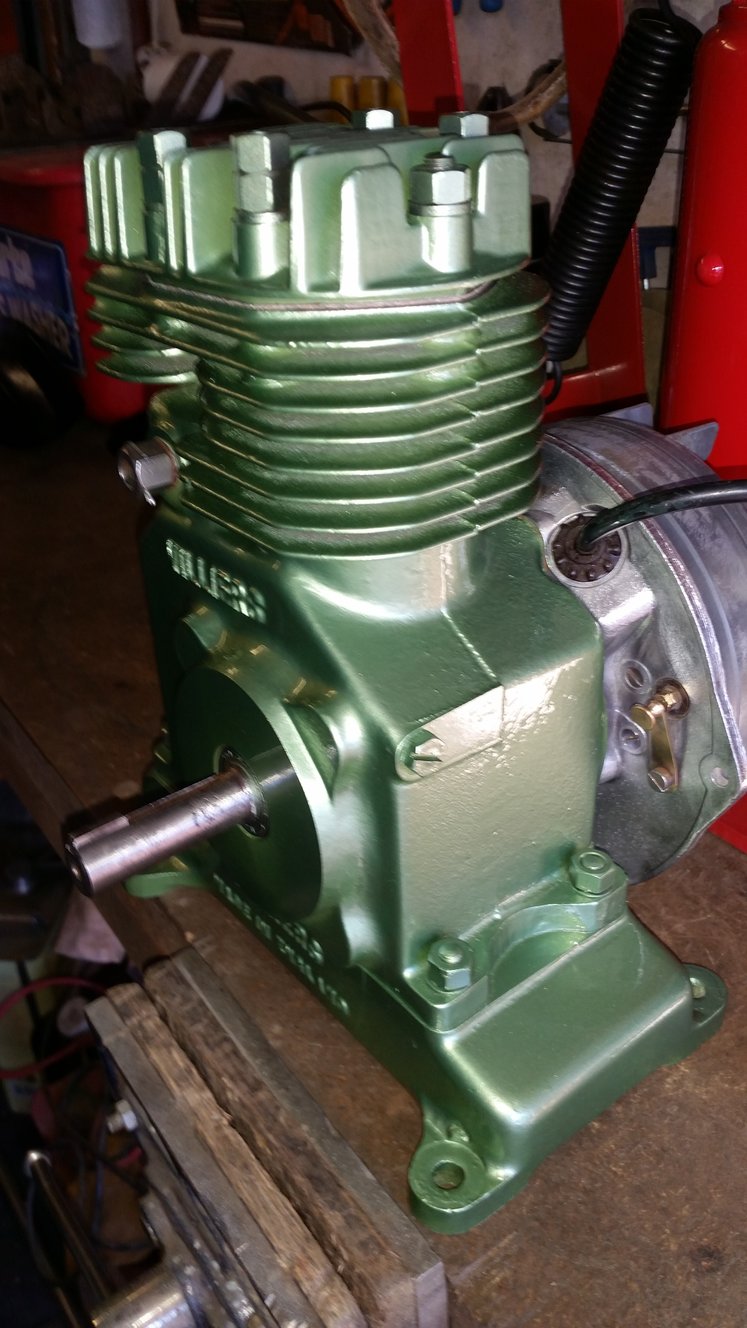
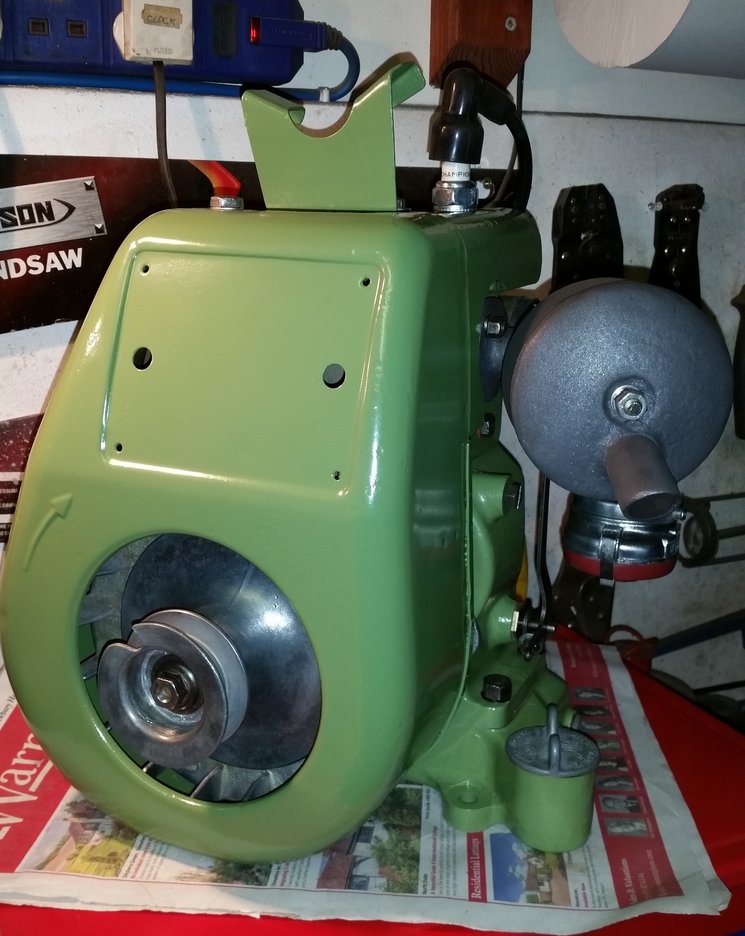
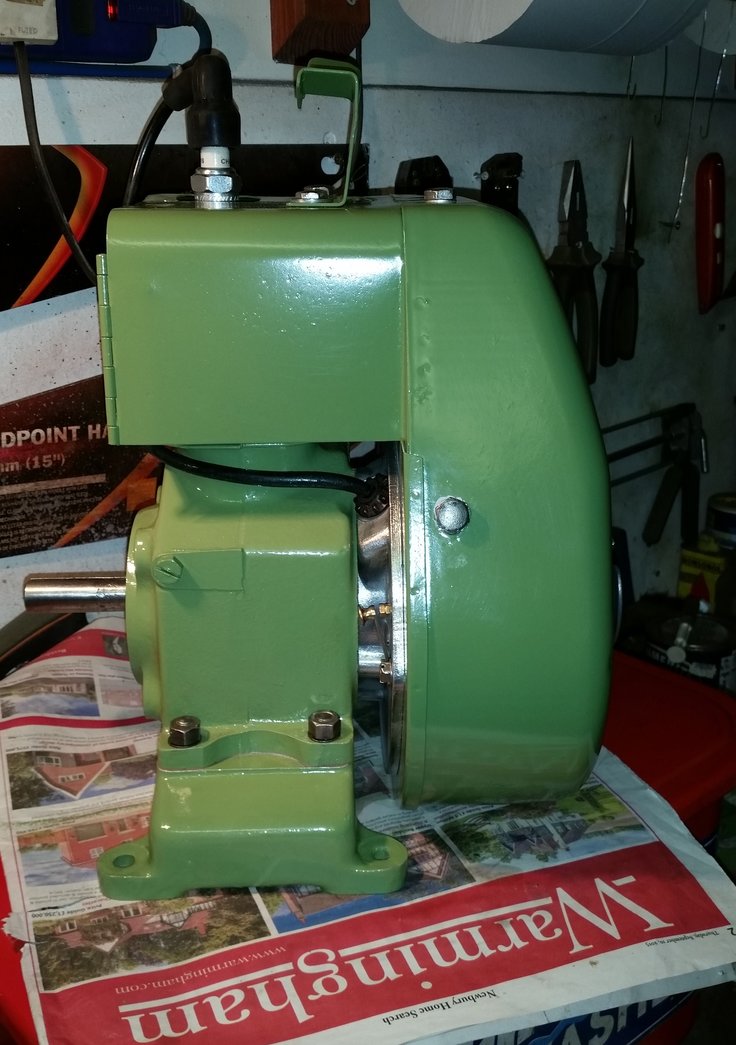
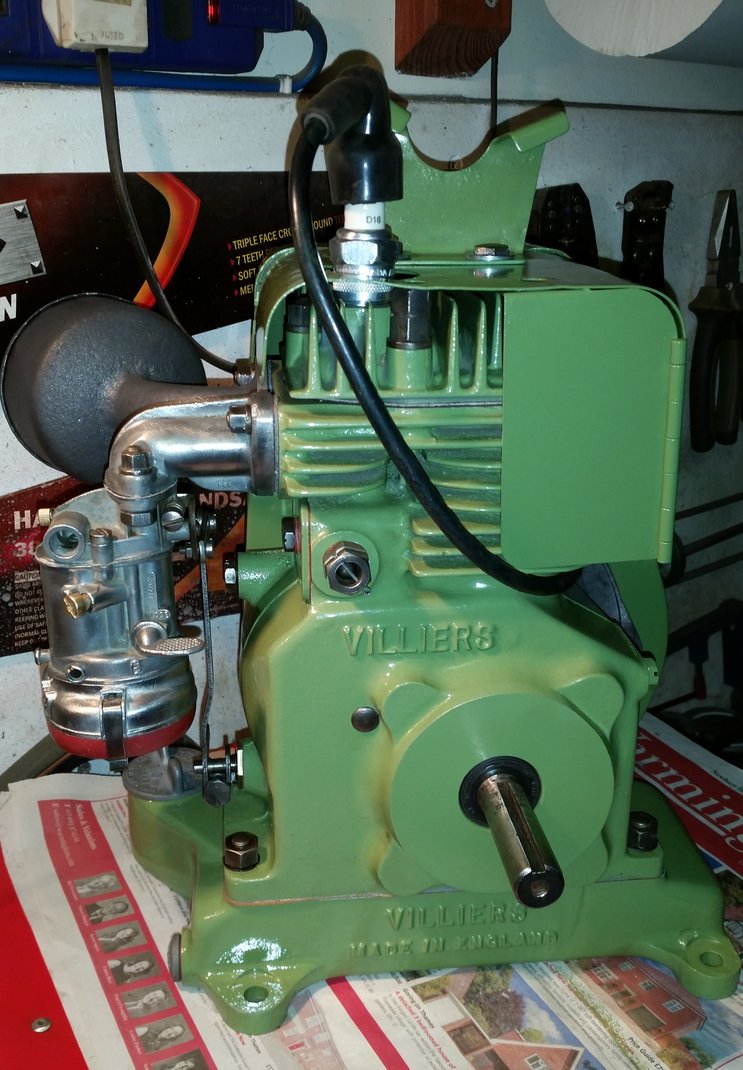
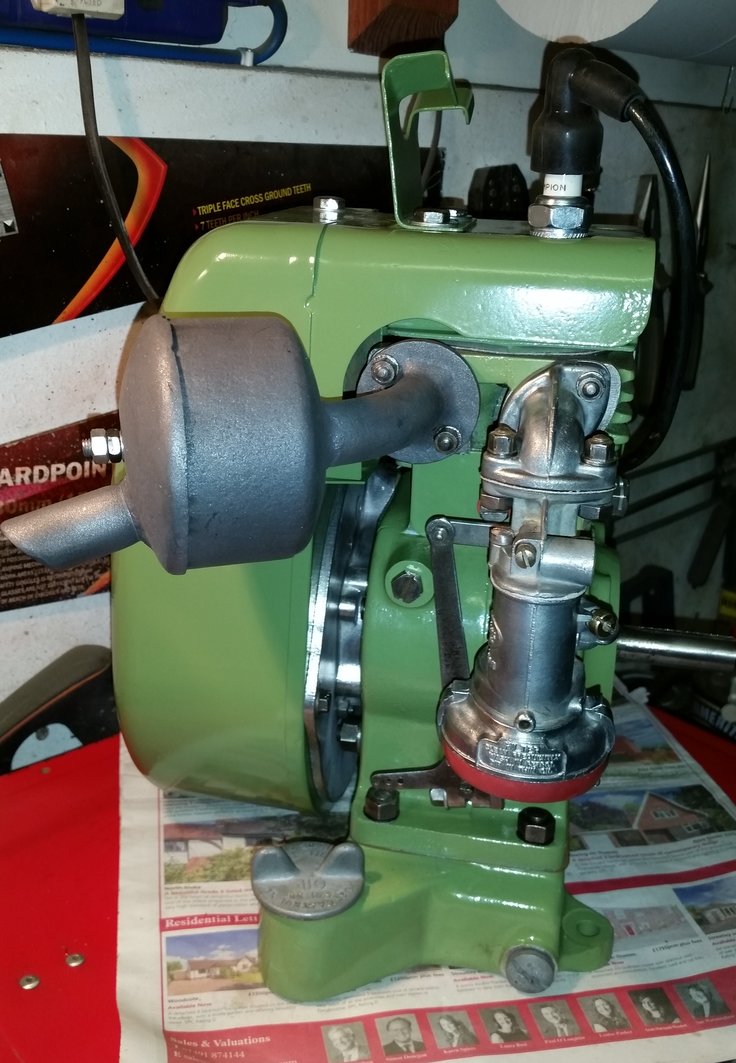
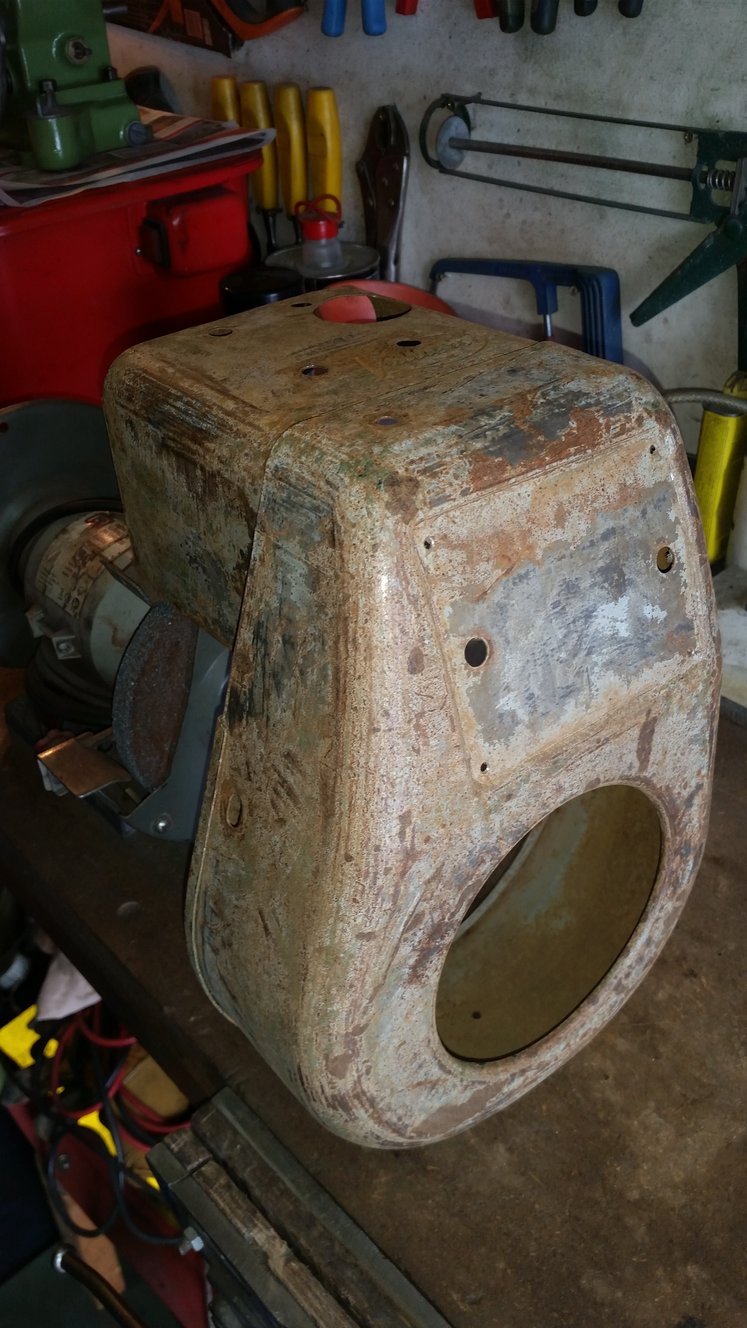
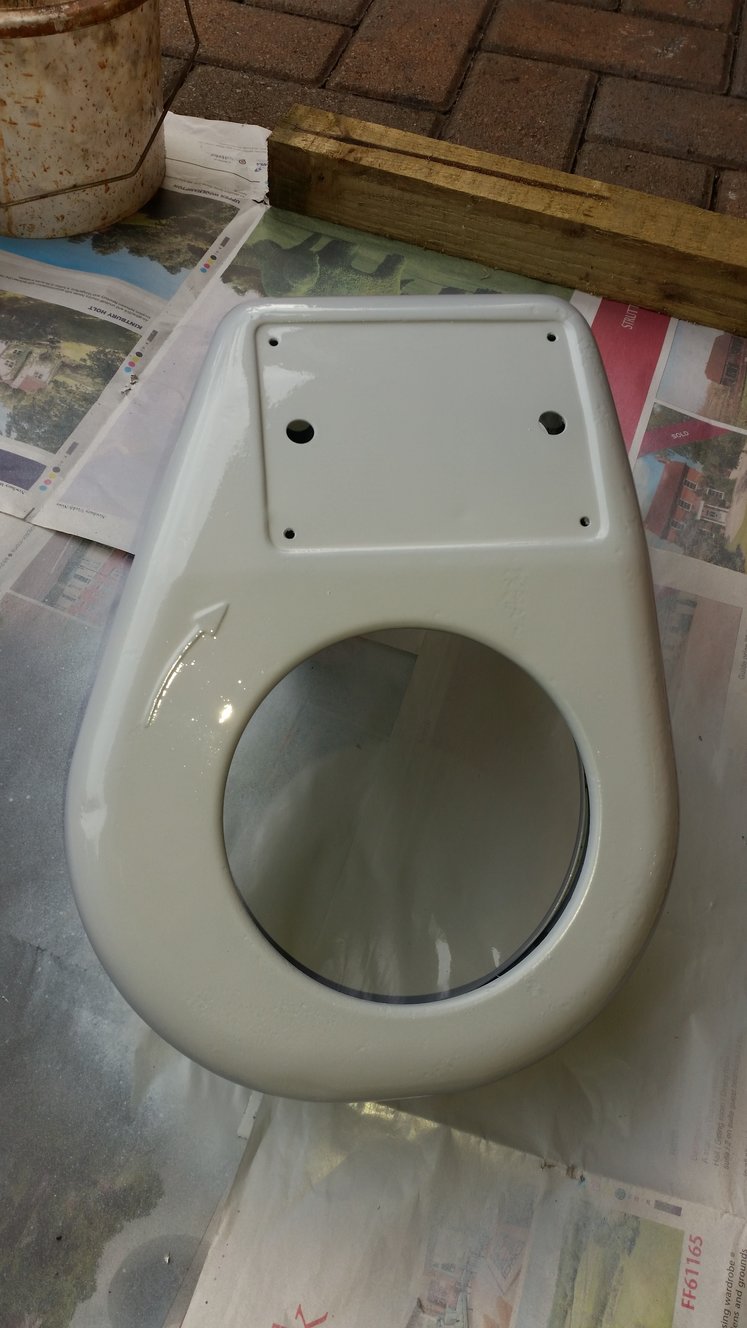
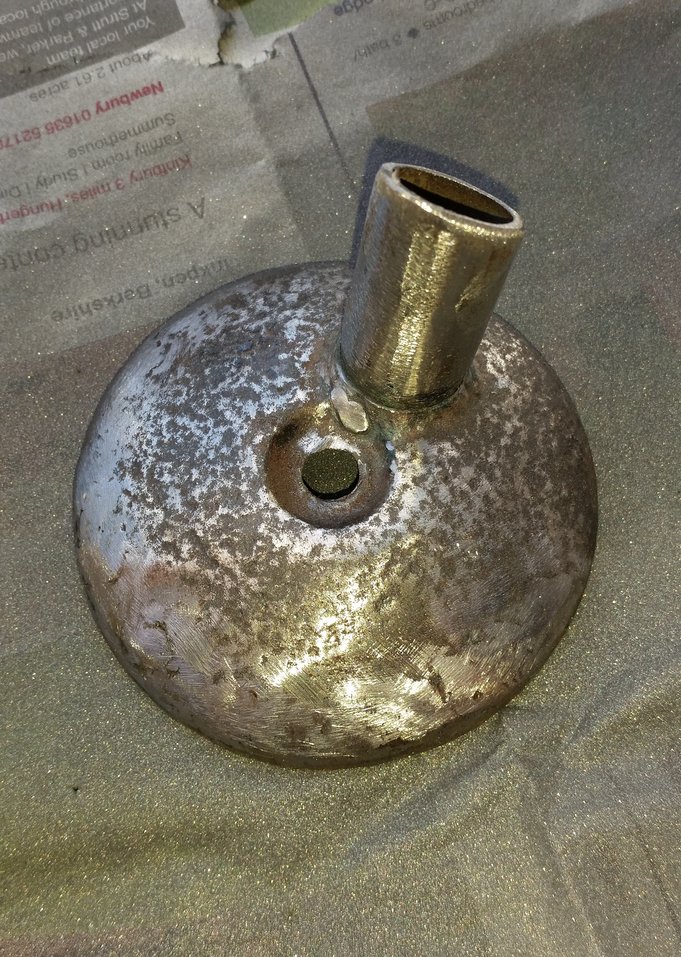
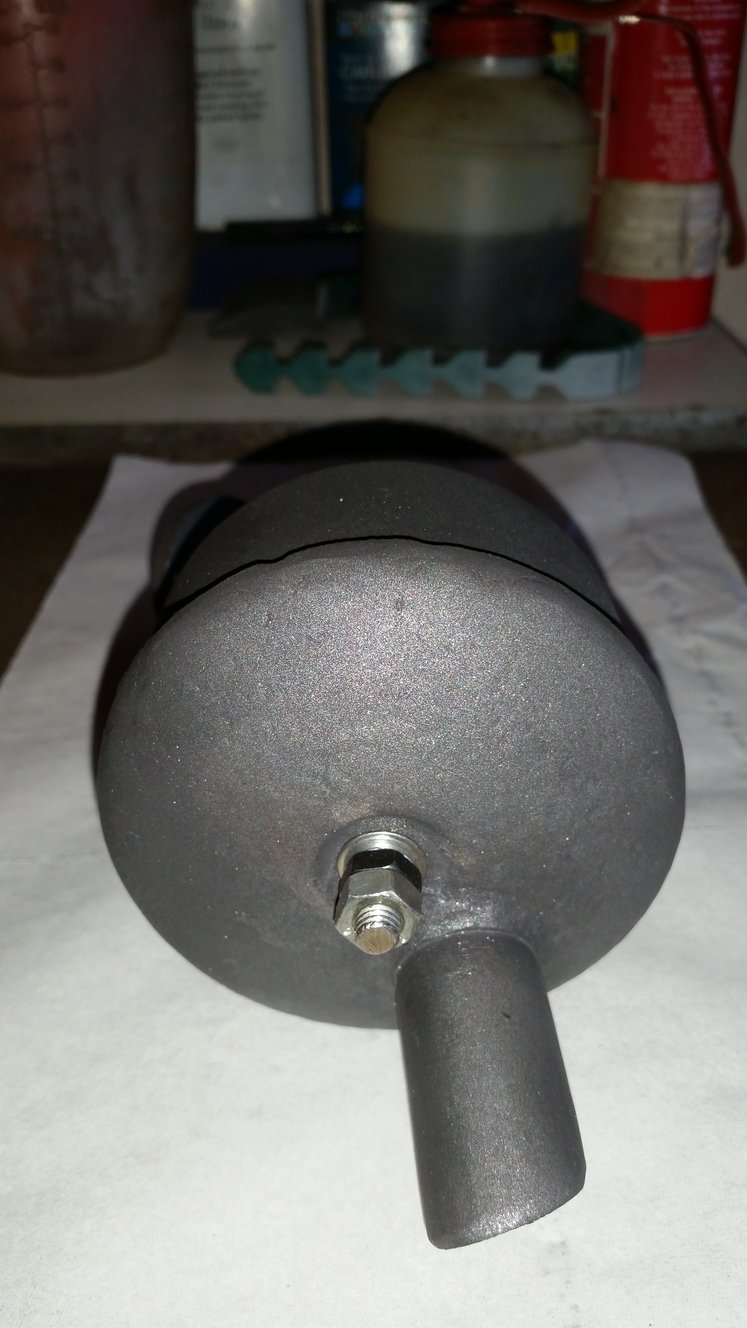
    Once the gearbox was cleaned of all the dried mud and oil, I discovered the actual flat colour I was using was wrong. So a trip to my paint suppliers with a sample to obtain the right metallic colour. Of course this meant taking the engine back to where it could be ‘scotch clothed’ back to key the surface for a re-spray. Here is the gearbox case with the original metallic green found, and the engine following the re-spray.

    Attachments:
    #19543
    darmic1
    Participant

    These pictures are really annoying me now!!!
    Fuel tank was next……

    Attachments:
    #19538
    darmic1
    Participant

    Refitted the flywheel and then the cowling. Engine now complete!

    Attachments:
    #19533
    darmic1
    Participant

    I then moved on to prepping the cowling, stripped, etch primed and then painted…..

    Attachments:
    #19532
    darmic1
    Participant

    Hmmmm! I see the photo’s still do not run in sequence, despite being chronologically correct.

    #19526
    darmic1
    Participant

    I forgot to put the rest of this restoration project on here!
    So, here goes…….
    I got the engine back together, to a point where the points could be set ready for the flywheel to be timed and tightened. I then made a start on welding the holes in the rusted exhaust. I ended up chasing a few of the holes around until I was able to plug them totally. Here it is once welded and then again when painted with heat resistant exhaust paint.

    Attachments:
    #19524
    darmic1
    Participant

    Sorry to hear that Gareth! I cant make Malvern either, will be in France……

    #19501
    darmic1
    Participant

    Have spoken with the organisers this morning. Has been confirmed there will be both indoor and outdoor exhibits. As long as we request ‘indoor’ on the application form, then we should be in the desired location………Look forward to seeing some of you there!

    #19232
    darmic1
    Participant

    I will ask on Monday when I call

Viewing 15 posts - 106 through 120 (of 301 total)