Forum Replies Created
-
AuthorPosts
-
September 24, 2015 at 9:16 am #14575
 darmic1Participant
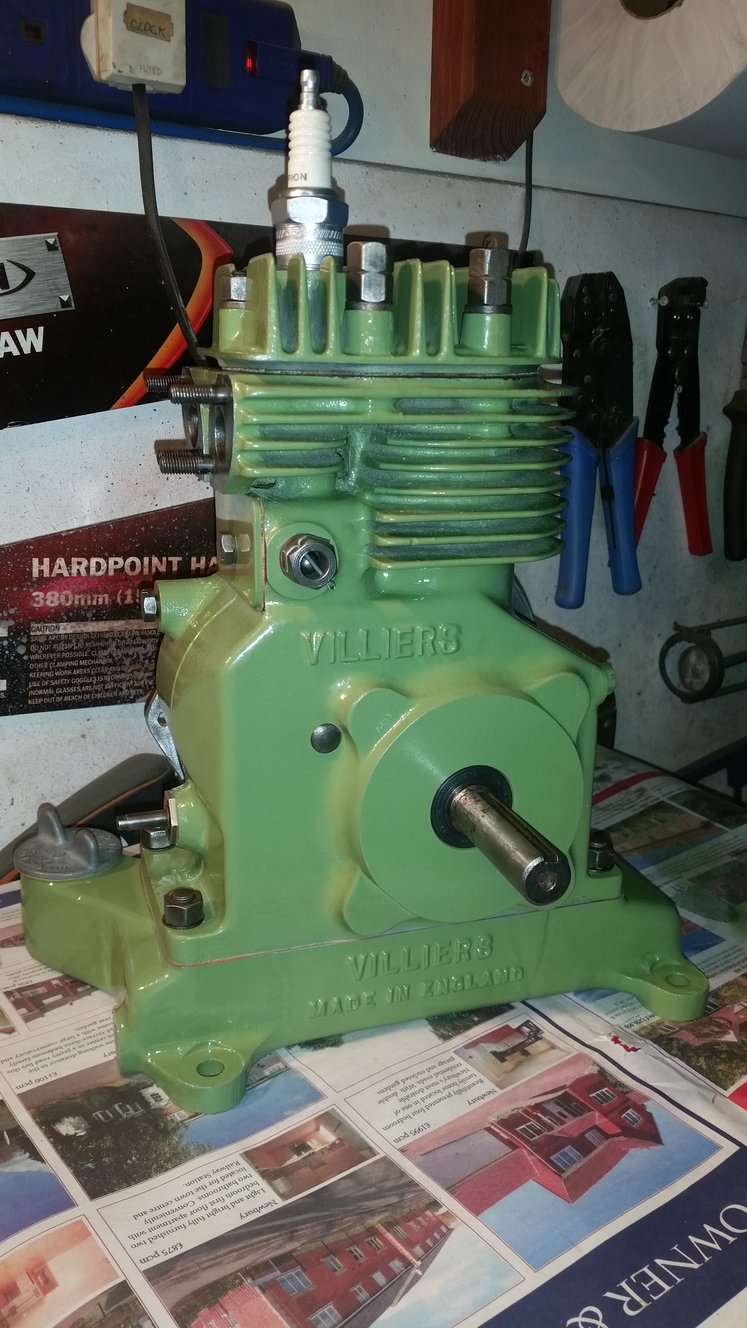
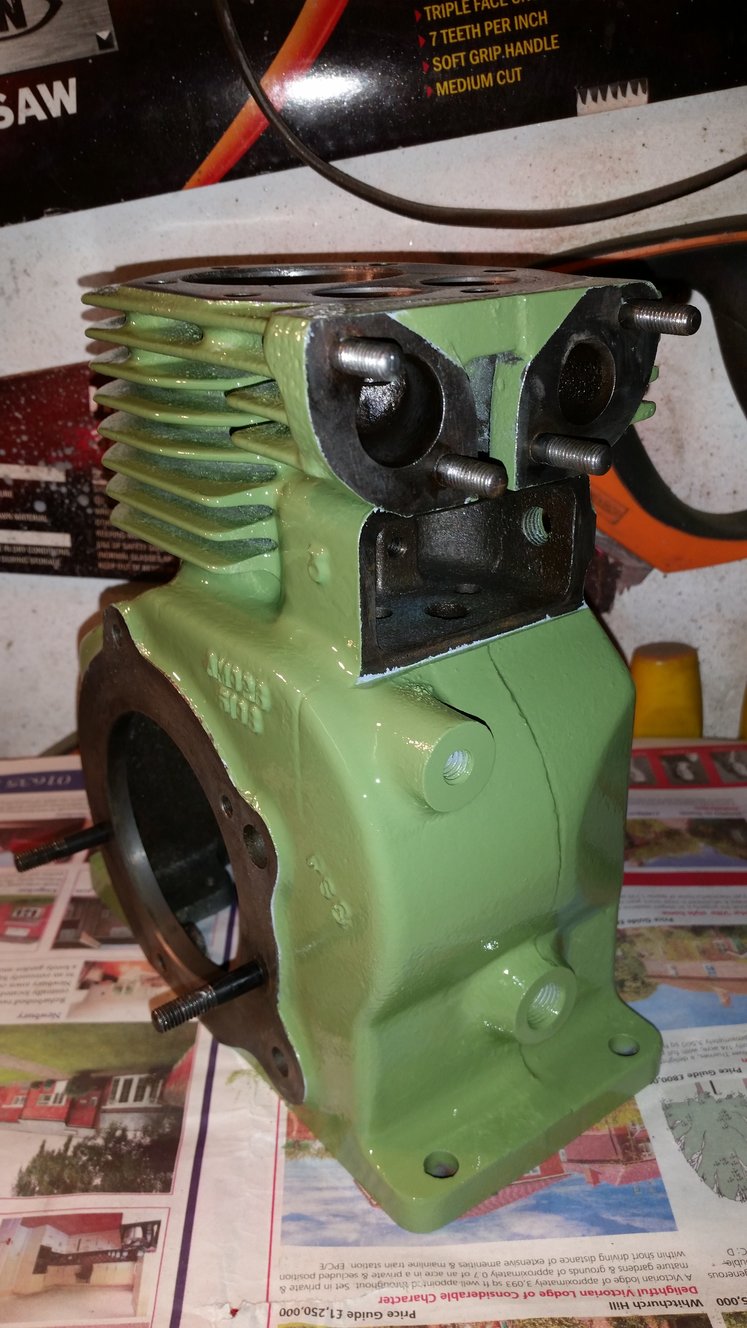
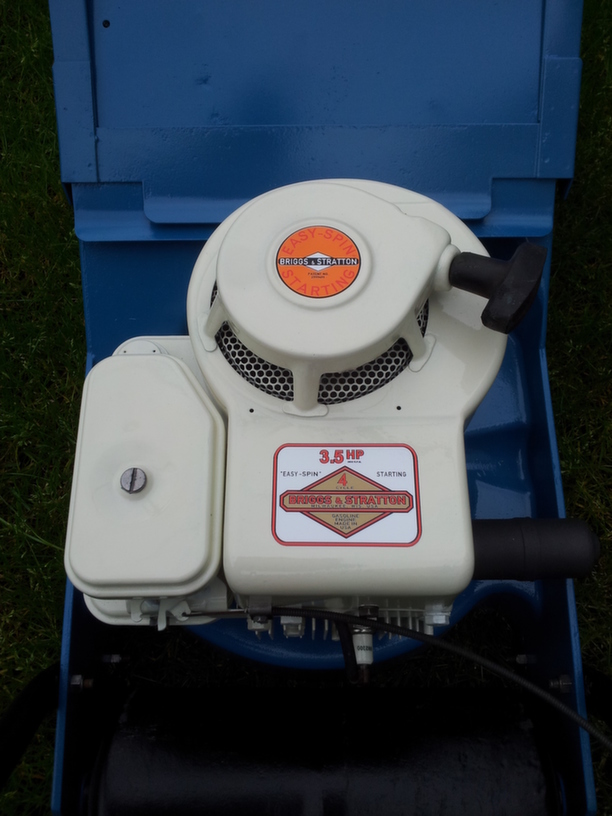
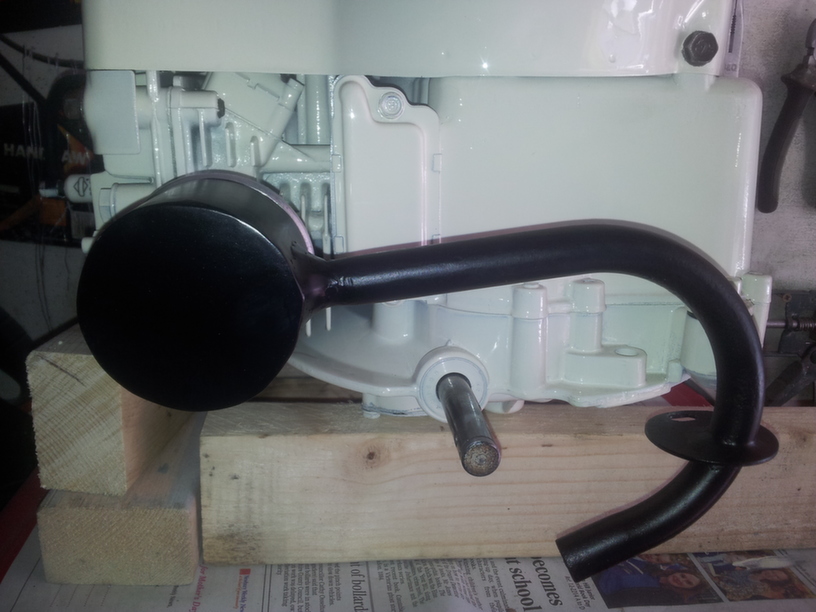
New parts arrived from Meetens, and engine re-assembled. Just the timing, carb and exhaust left and I should be able to test fire this one……
Attachments:
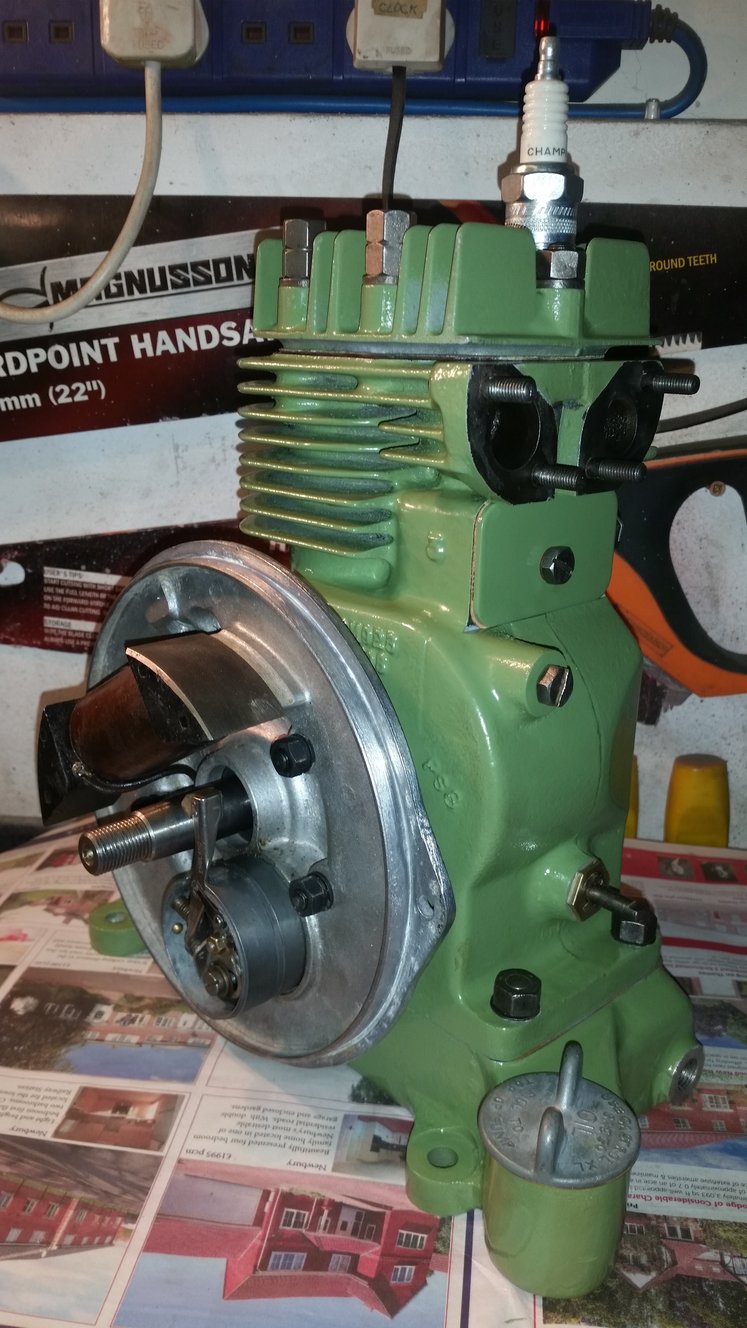
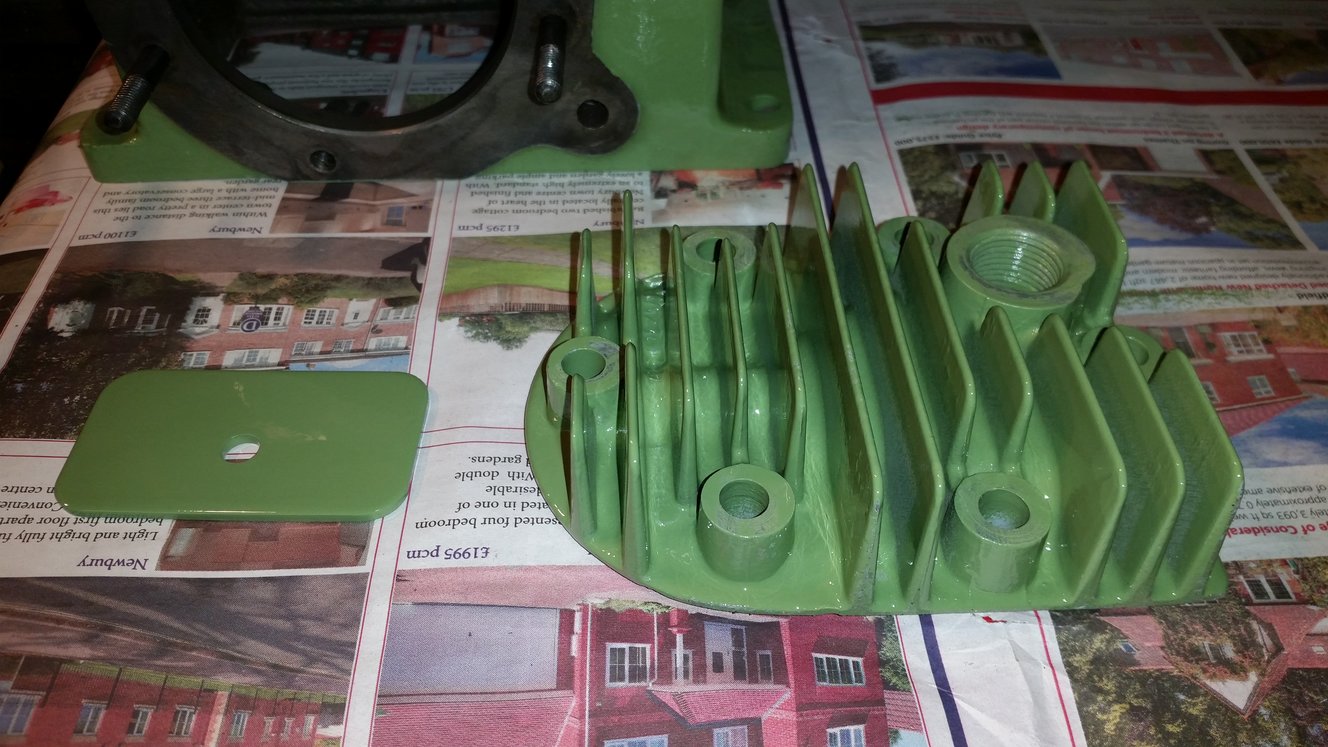
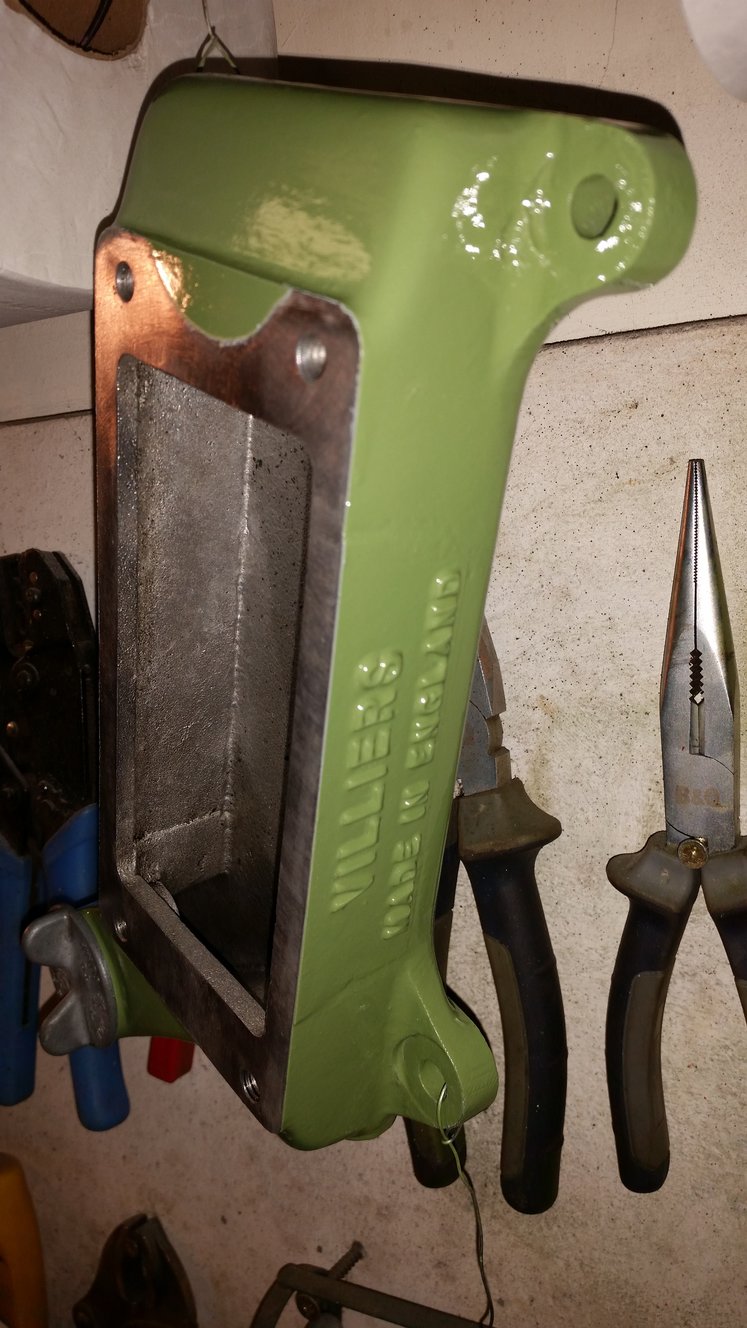
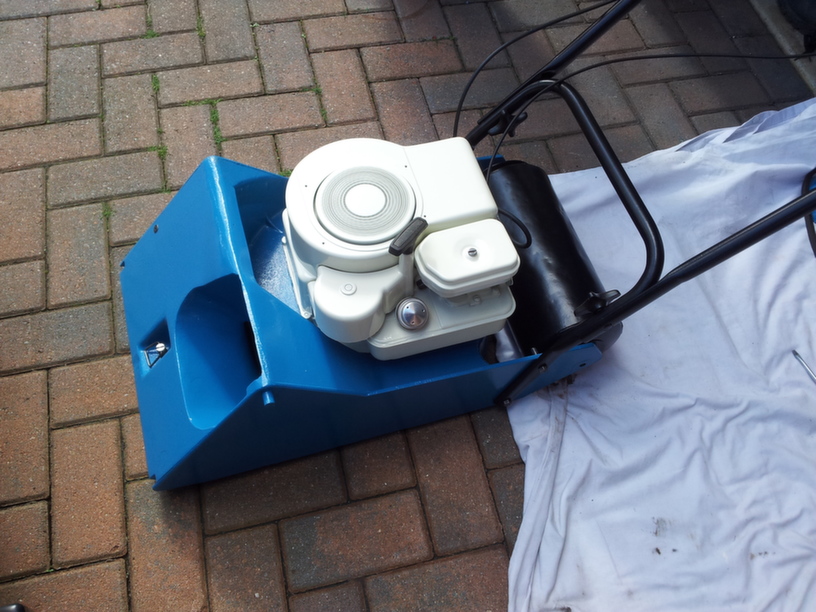
September 24, 2015 at 9:13 am #14567darmic1ParticipantHave removed all the old paint and degreased the bare engine, treated it to 2 coats of etch primer and a coat or 3 of ‘Linden Green’ matched to what was found on the underside of the sump.
Attachments:
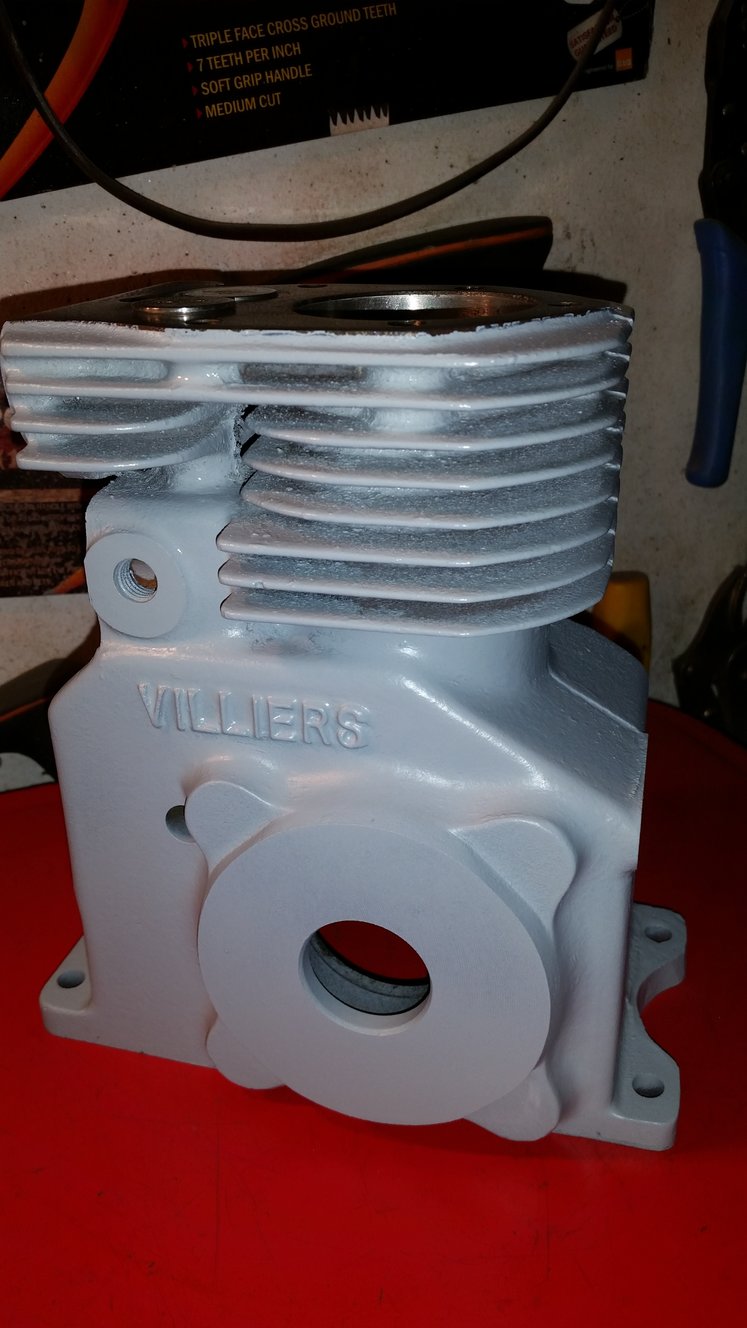
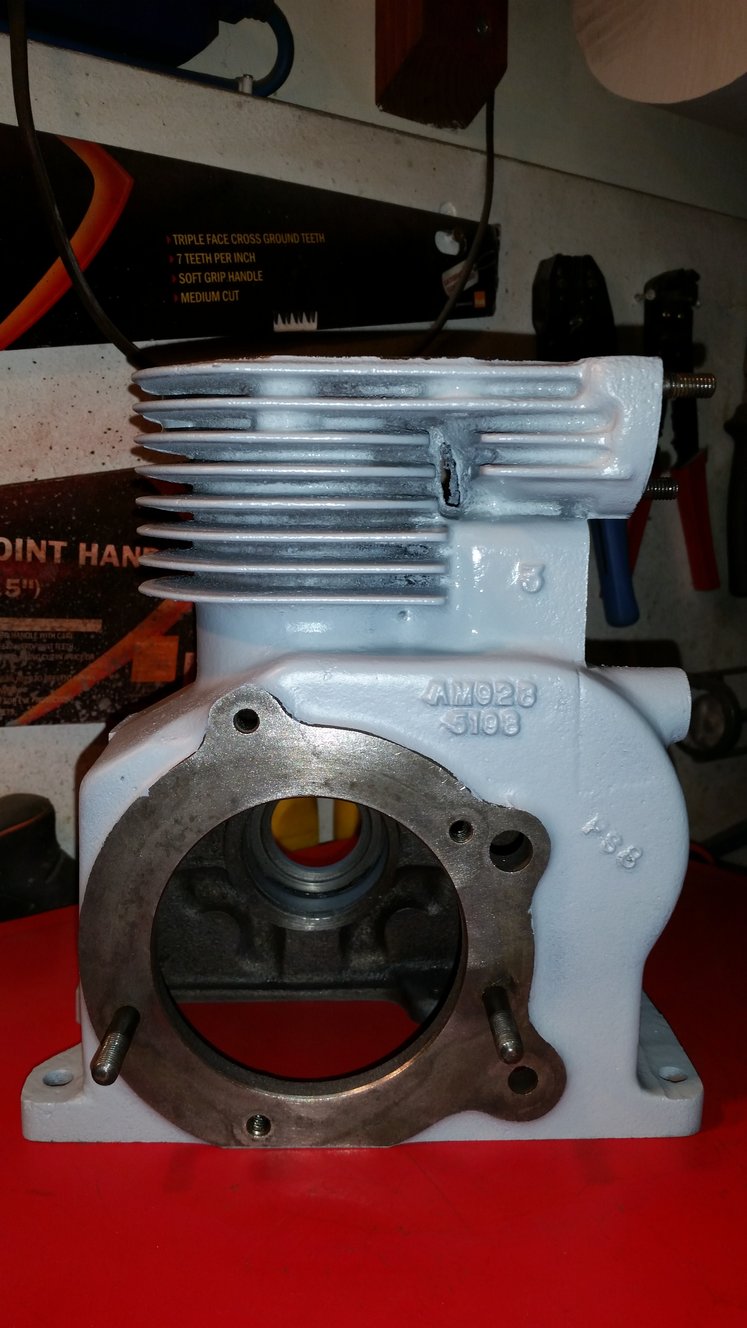
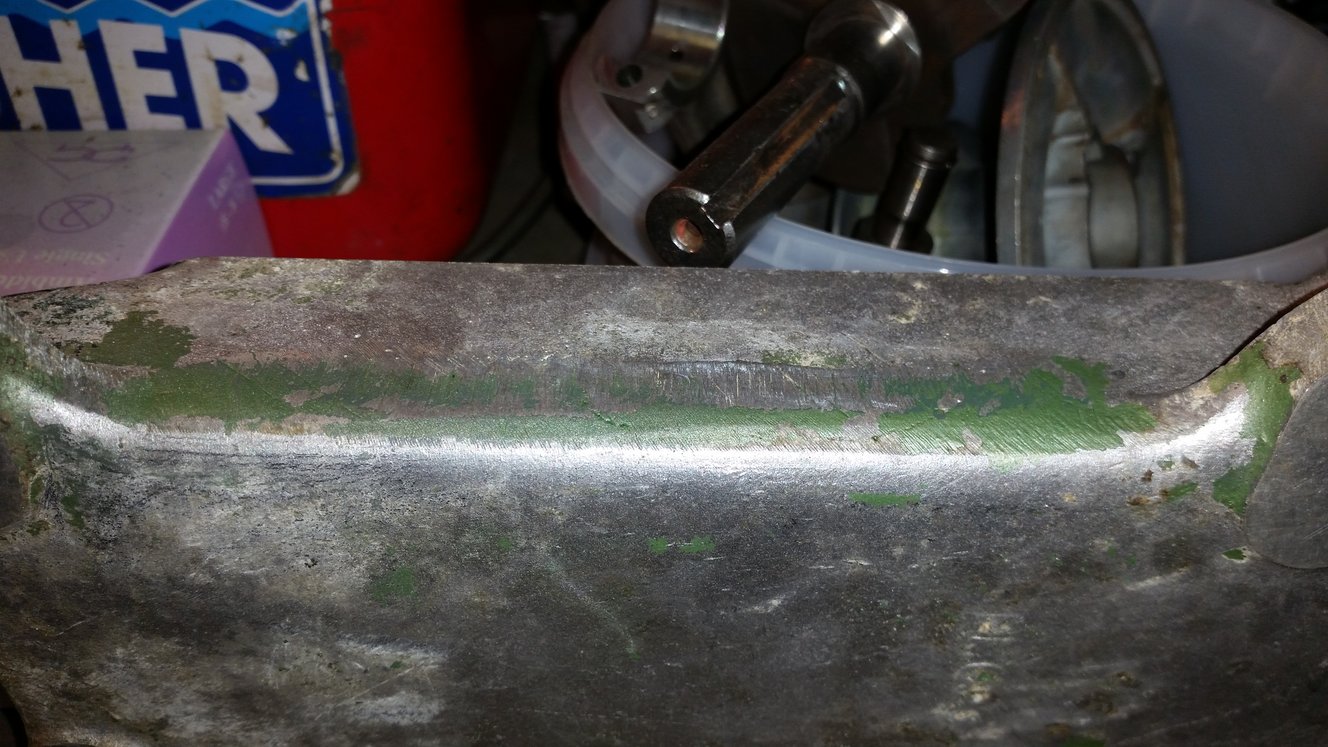
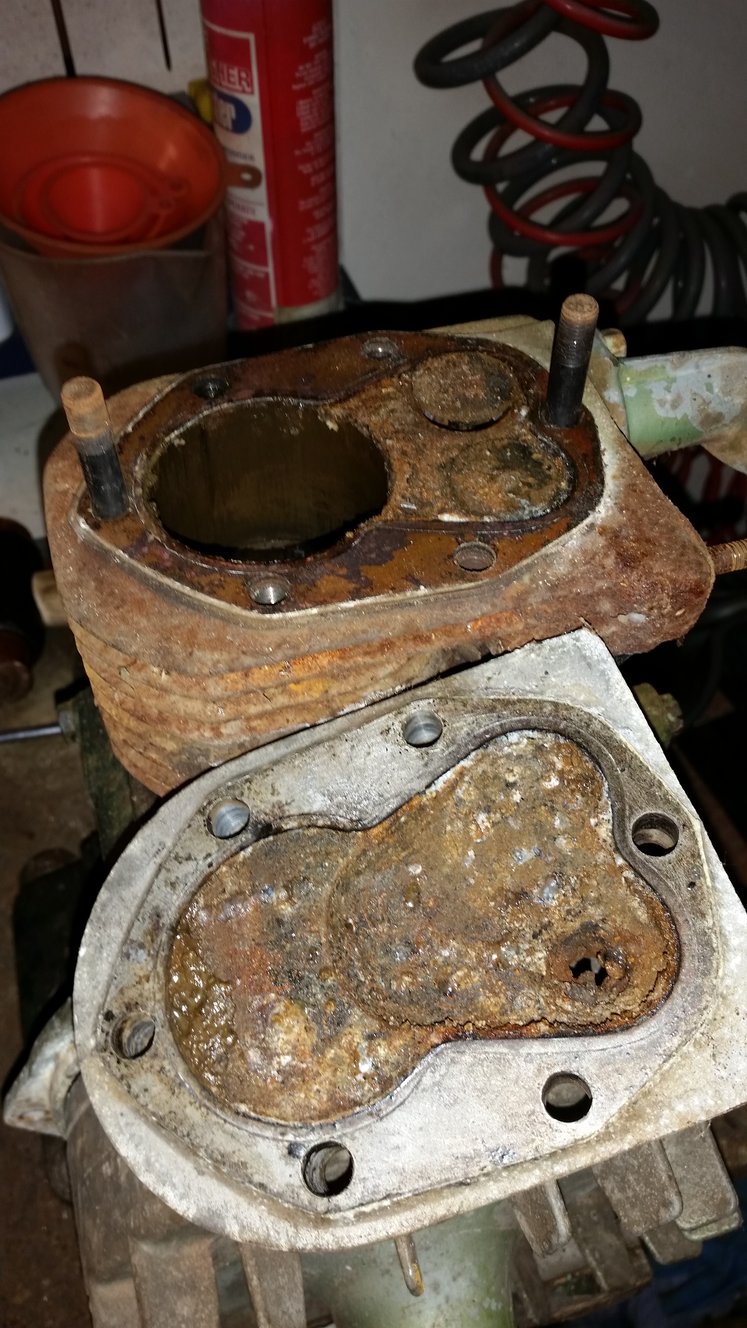
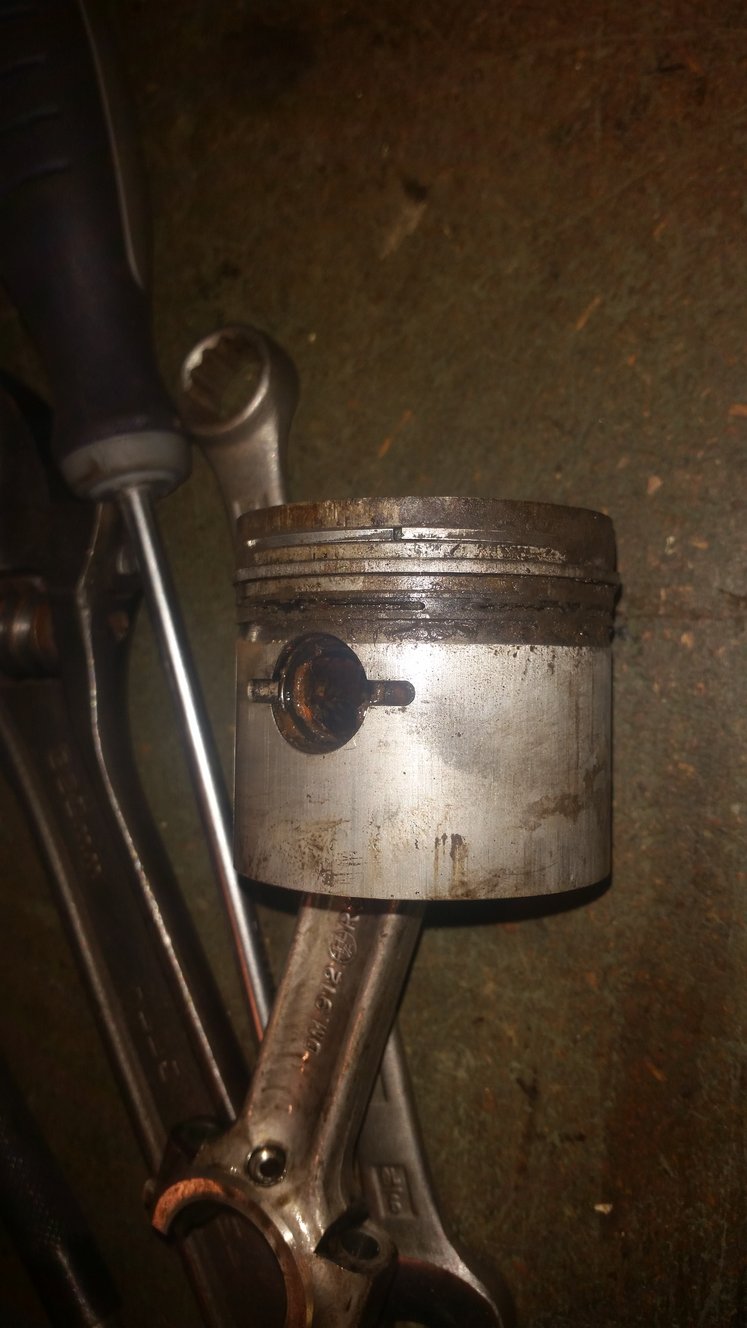
September 24, 2015 at 9:07 am #14562darmic1ParticipantMade a start stripping down the Mk12 Villiers on this machine. I was a little surprised to find the internals of the engine in this condition, given that the machine was supposed to be running 1-2 years ago. It almost made me wonder if it was beyond repair? There was some serious jellified rusty goo in the cylinder and head. the piston rings were corroded in the piston, the exhaust valve seat had some of the worst pitting I have ever seen and the re-buildable ‘Lodge’ plug base was corroded into the head.
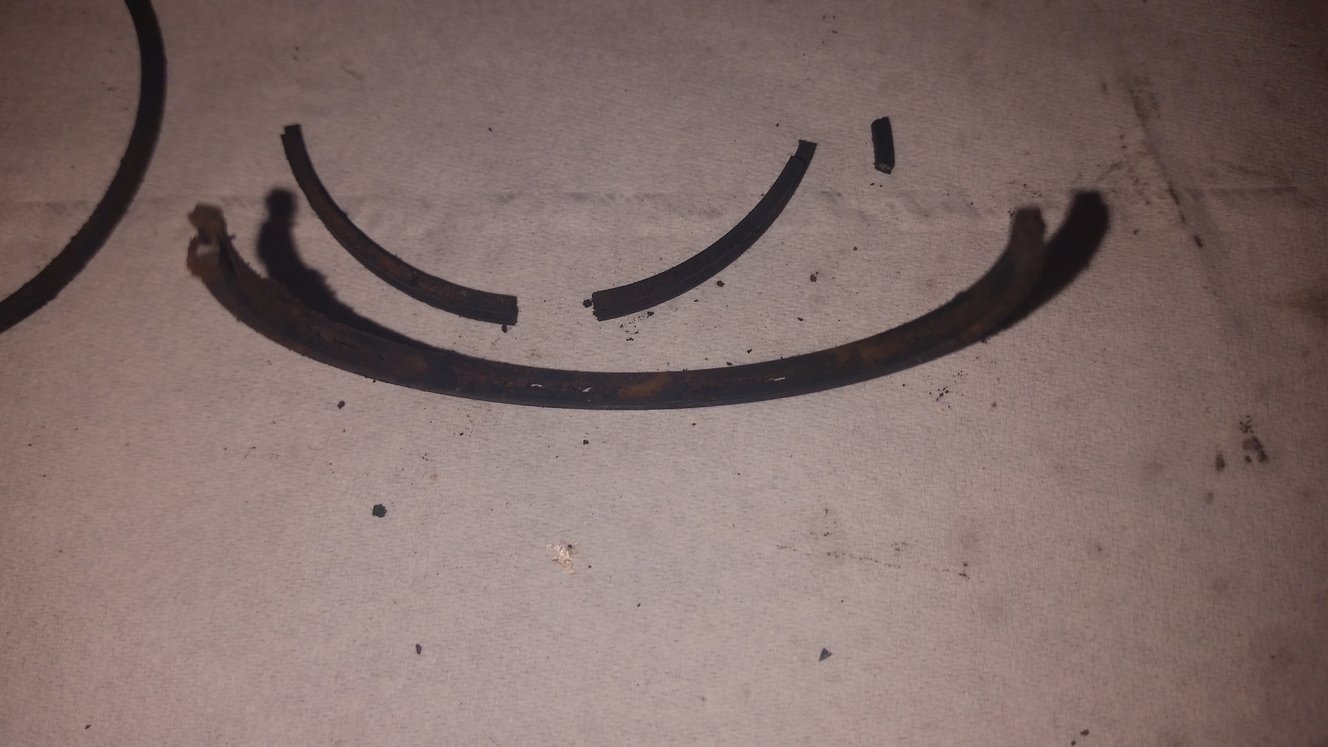
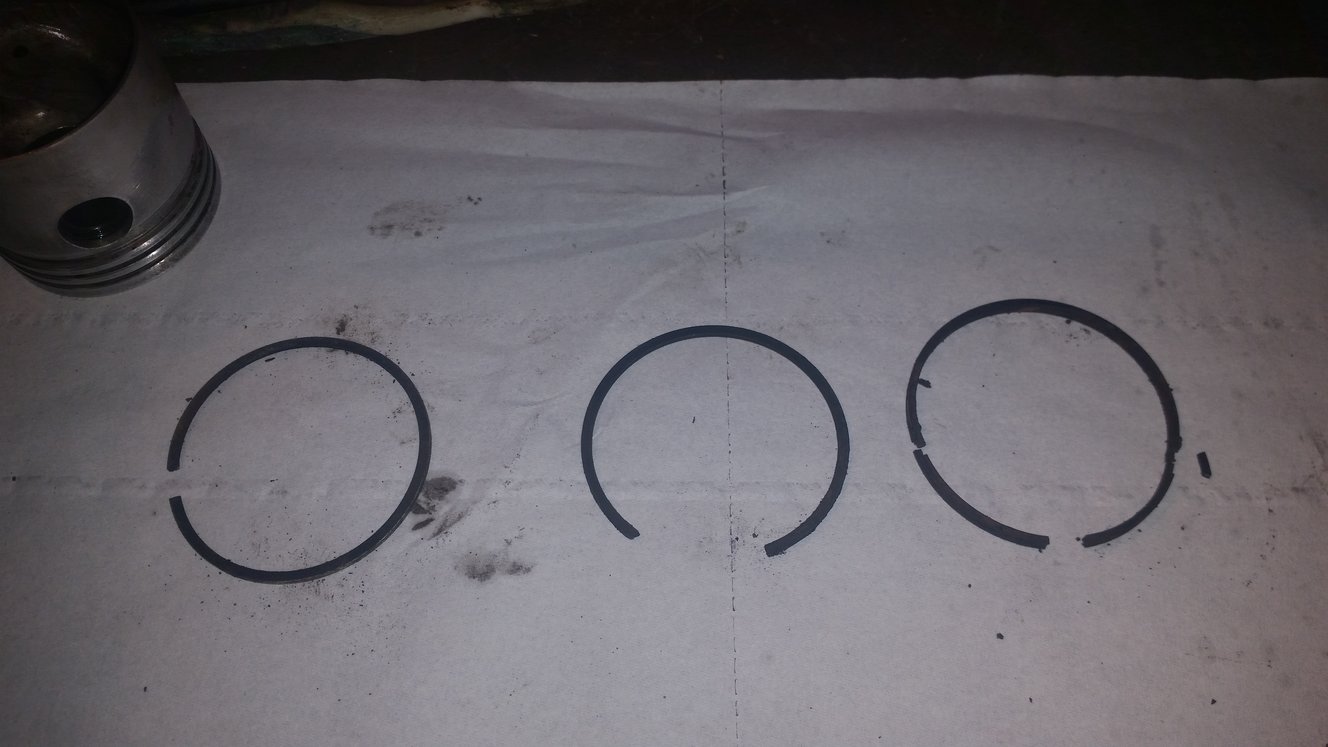
I eventually teased the rings from the piston, unfortunately in pieces……. Had the valve seat re-cut and cleaned the detritus from the remaining parts. Am pleased to report that the rest of the internals are reusable.Attachments:
September 11, 2015 at 12:28 pm #14422darmic1ParticipantHi Richard
As promised the codes for the paint used on the Landmasters…… Unfortunately the colour name is not on the invoice, just the paint type and codes. The Blue is 19-0590, and the white is 02-0240. Most car paint suppliers using maxmeyer selemix should be able to sort the correct stuff.
Regards
DarrenSeptember 10, 2015 at 9:57 pm #14417darmic1ParticipantOh and just around the corner, not quite……. Im in Newbury, Berkshire……..
September 10, 2015 at 9:56 pm #14416darmic1ParticipantHi Richard
Sorry, but not been on here for a while and just seen your request for paint help. I will find the paperwork for the colours and post it here tomorrow. I believe Titch is still a club member? If not google ‘Machinery Decals’ you will find him there. Sorry I cant help now, am currently at work…..
Regards
DarrenAugust 28, 2014 at 9:40 pm #9849darmic1ParticipantReally? Whats happened?
June 24, 2014 at 9:44 pm #8774darmic1ParticipantIm all loaded and virtually ready. Hoping the weather will hold for us, gonna be under canvas so everything is crossed it remains dry!
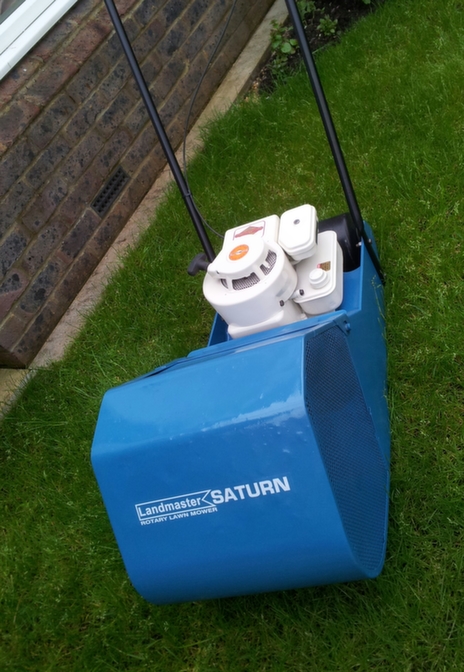
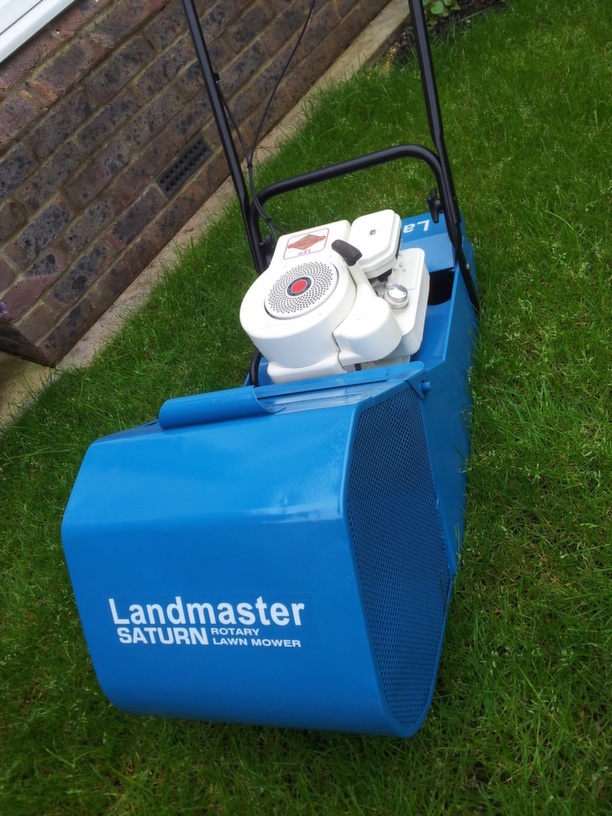
May 30, 2014 at 8:32 pm #8453darmic1ParticipantHere we are with Decals on…..
Attachments:
May 25, 2014 at 7:22 pm #8300darmic1ParticipantAnd a short video of this one running for the 1st time.
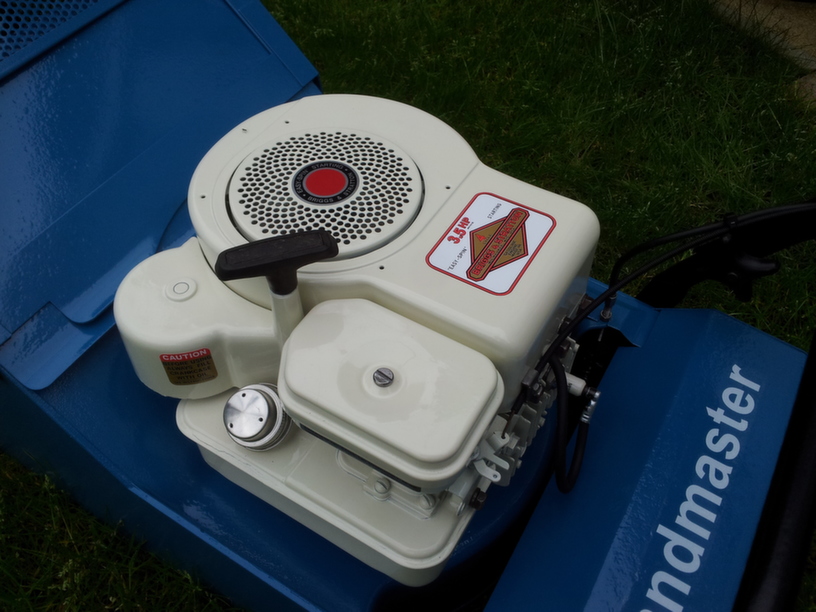
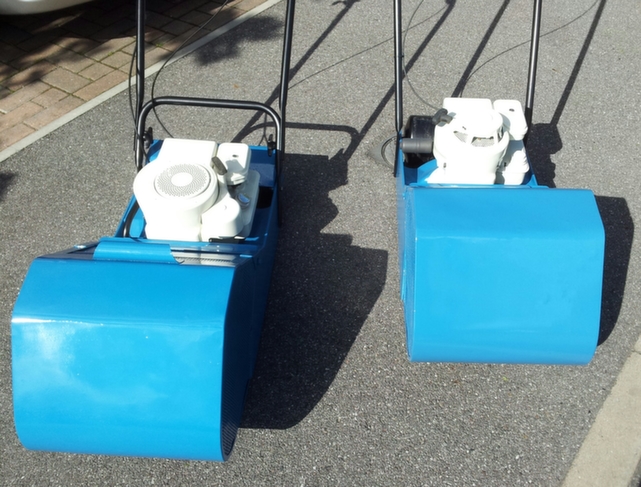
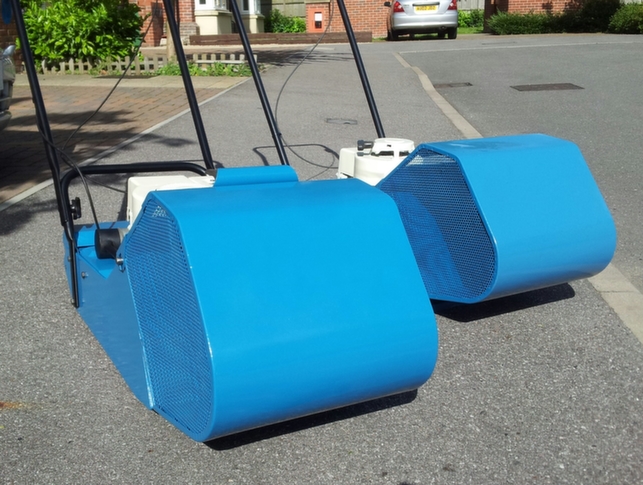
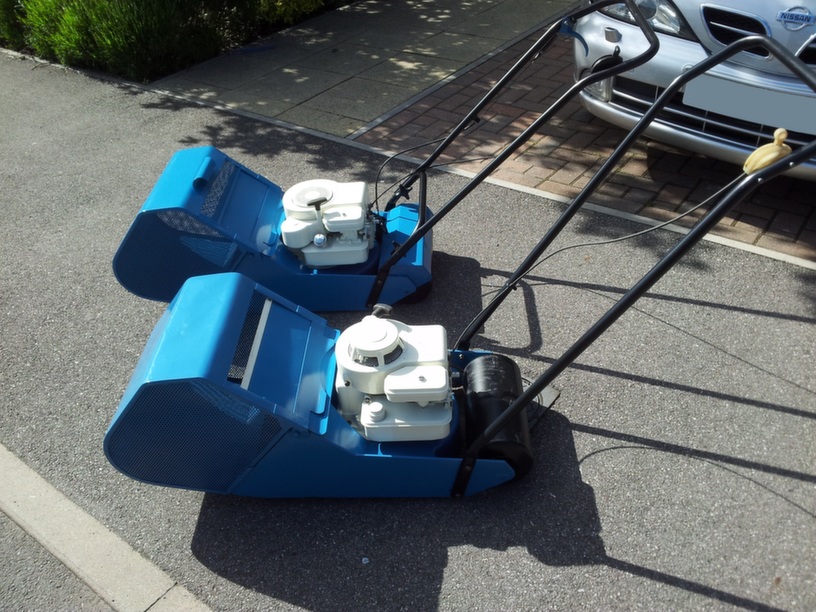
May 25, 2014 at 7:21 pm #8295darmic1ParticipantAfter 2 1/2 hours it was all done and running sweetly. Here are the 2 Saturn’s together, just waiting for some of Titch’s fine decals to finish them off…….
Attachments:
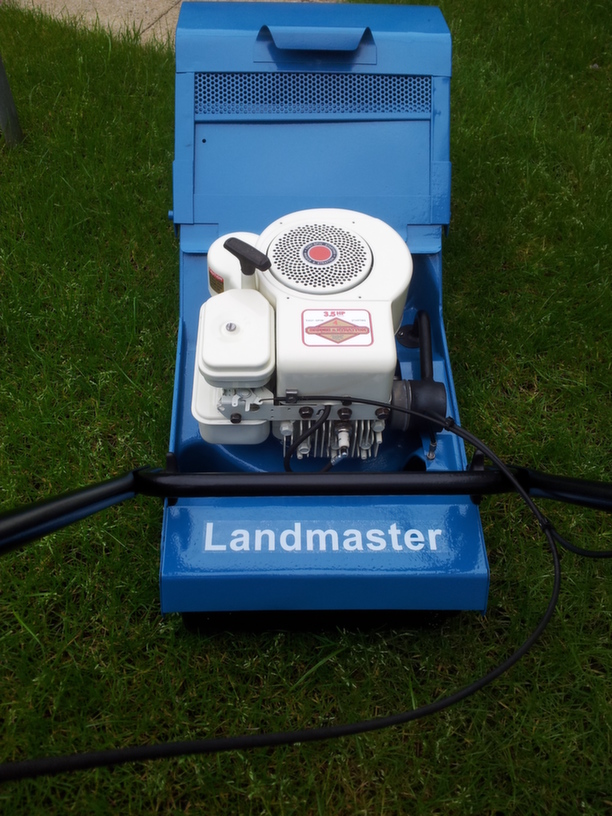
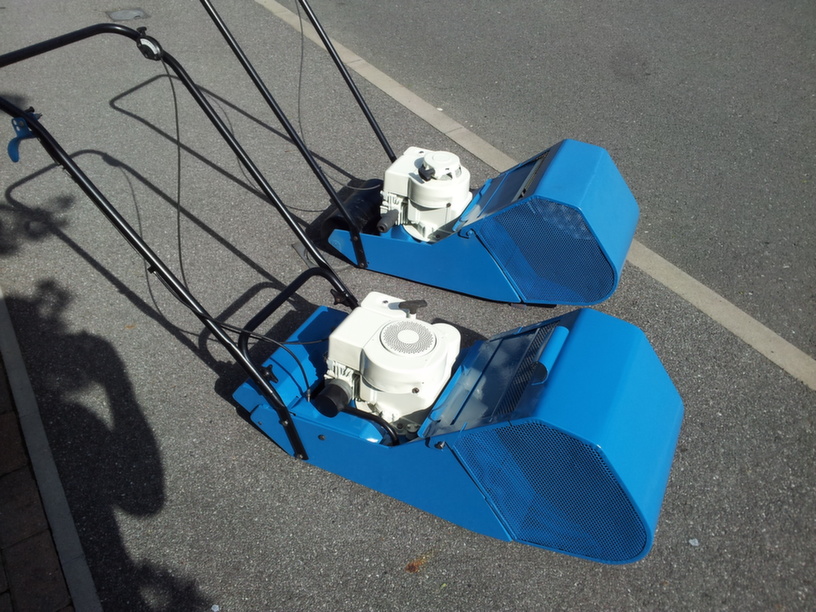
May 25, 2014 at 7:18 pm #8291darmic1ParticipantHad a busy day today. Visited a local event, The Berkshire Country Fayre, it advertised vintage agricultural and horticultural amongst others, but unfortunately the horticultural was AWOL, so no photo’s I’m afraid. However, I made good use of my afternoon and put the 2nd Saturn back together and got it running for the 1st time. Here are a few pictures….
Attachments:
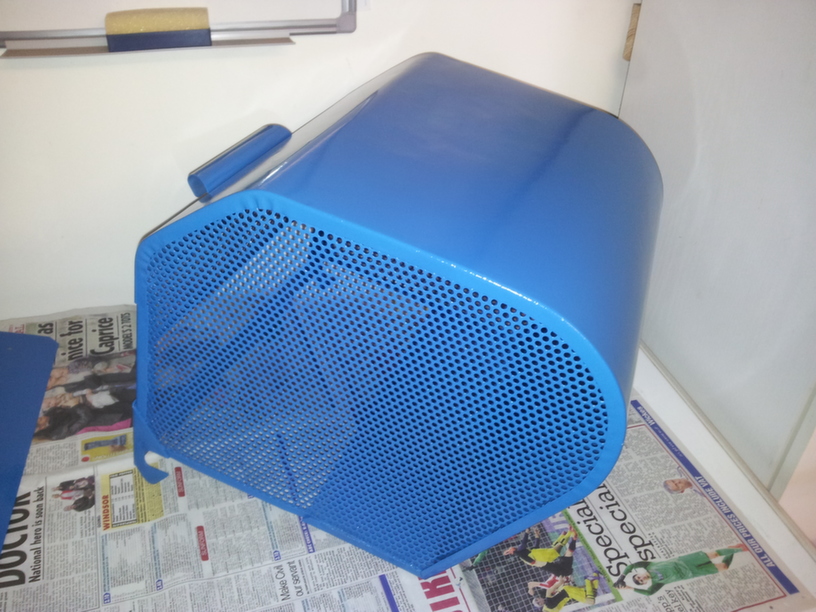
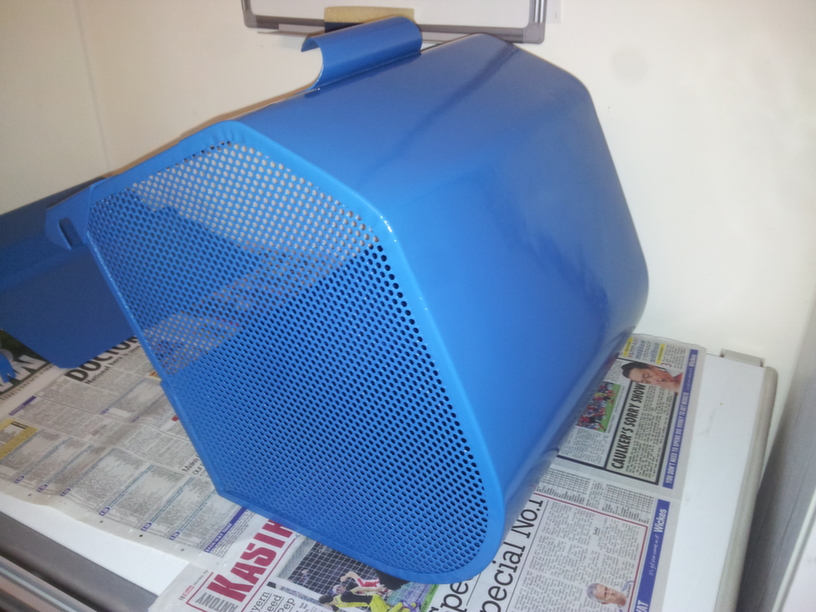
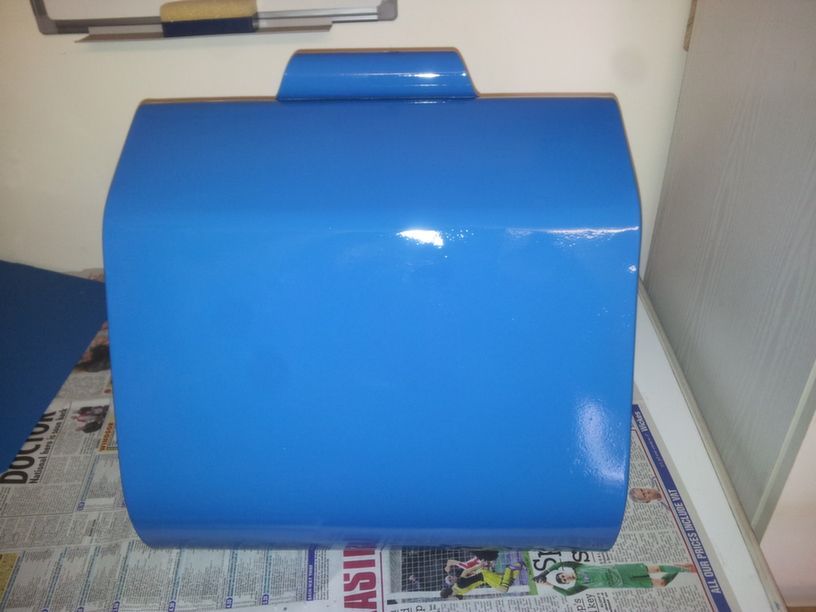
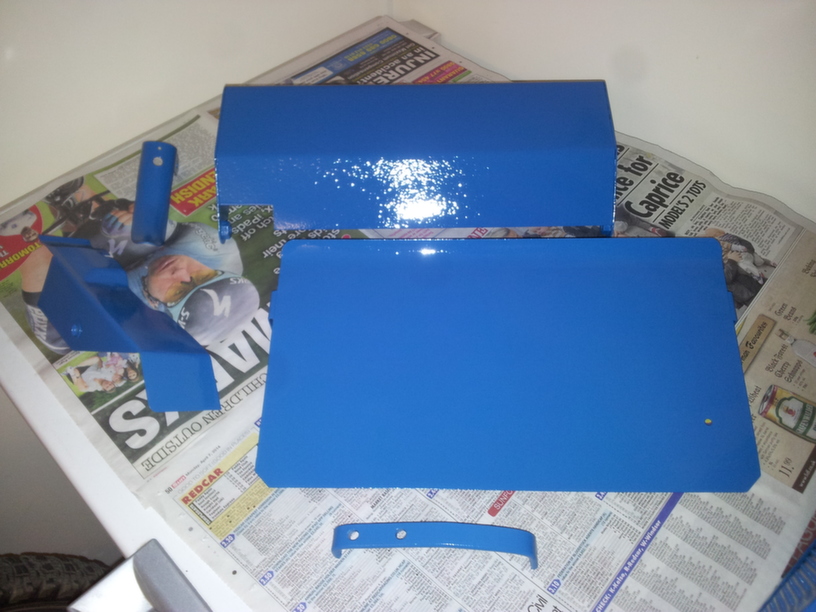
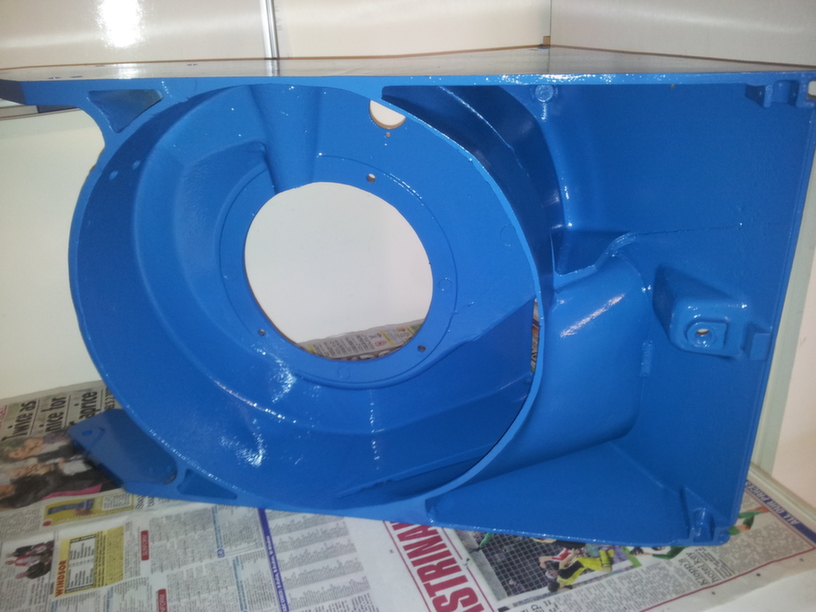
May 24, 2014 at 4:44 pm #8260darmic1ParticipantGot the grass box for Saturn 2 back from the welder at last. Then set to and painted all the metal work for this the power driven model.
Attachments:
April 29, 2014 at 9:50 pm #7745darmic1ParticipantAm hoping mine turns up tomorrow!
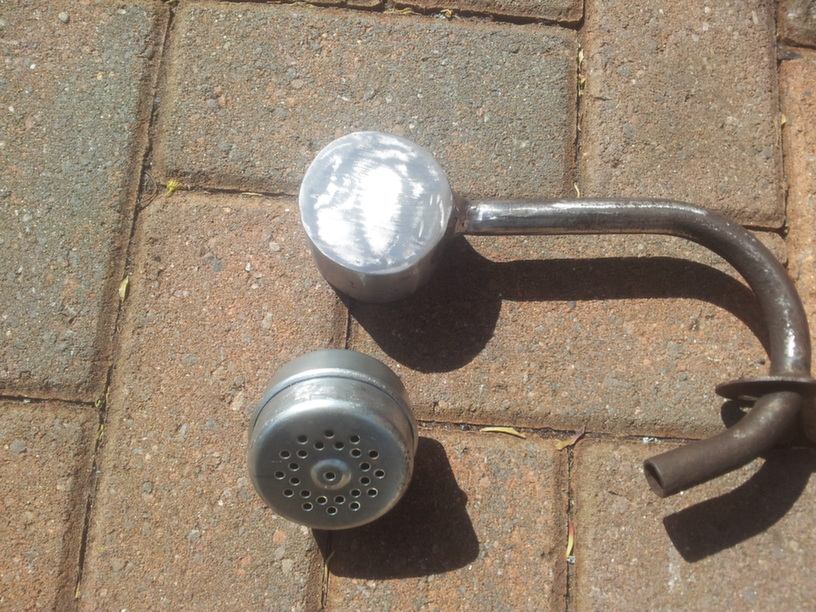
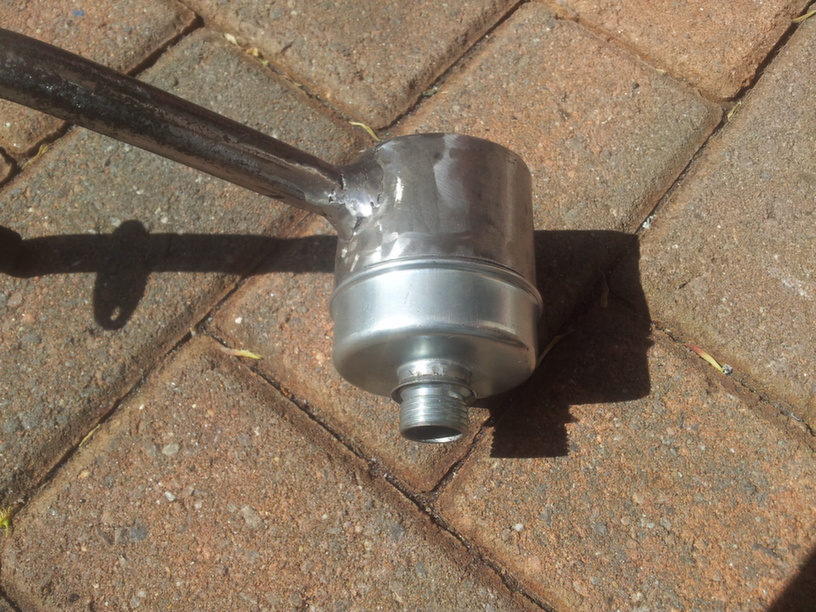
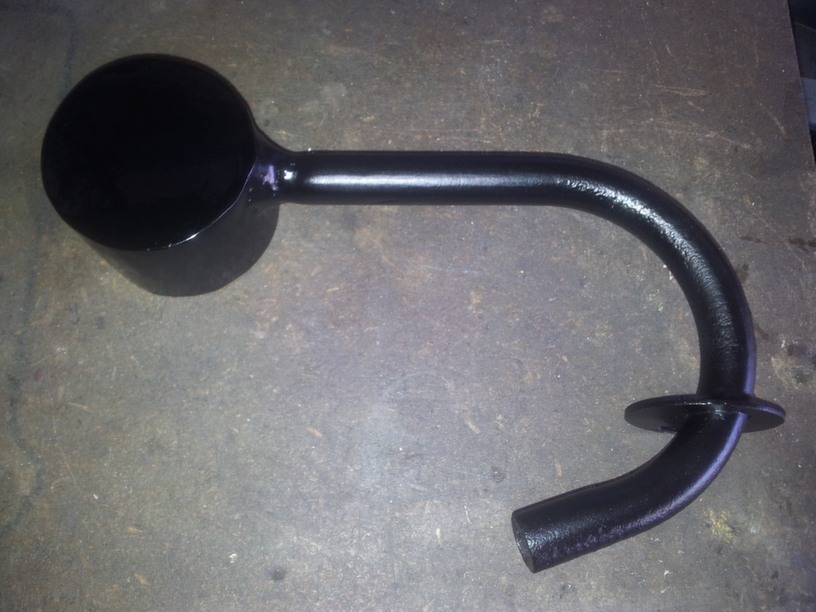
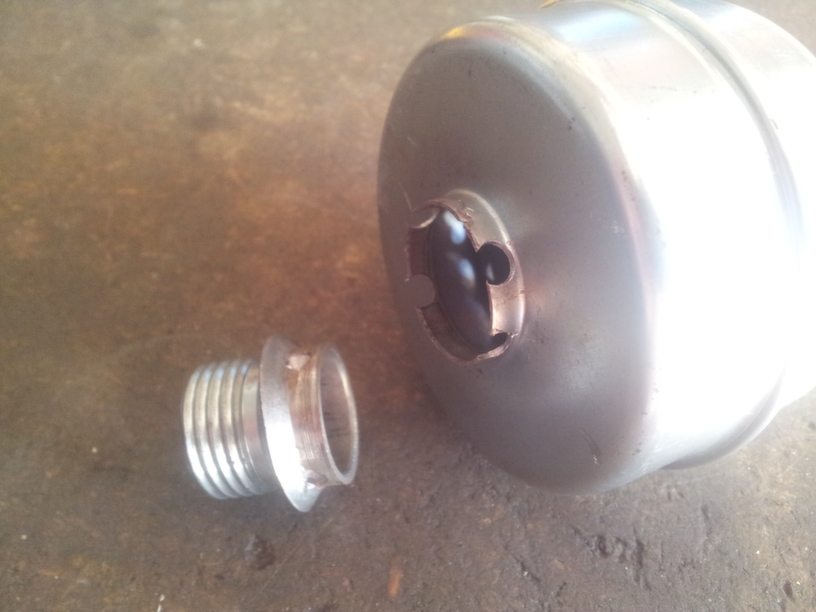
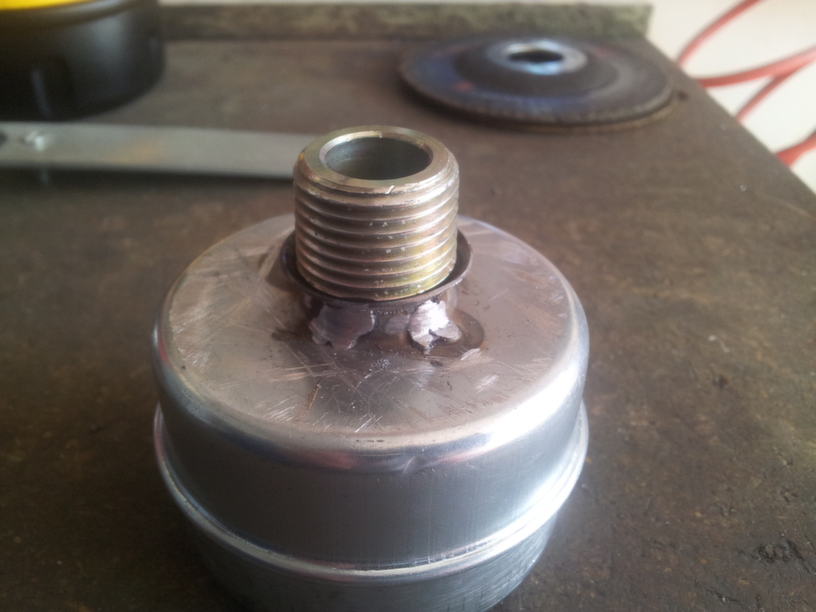
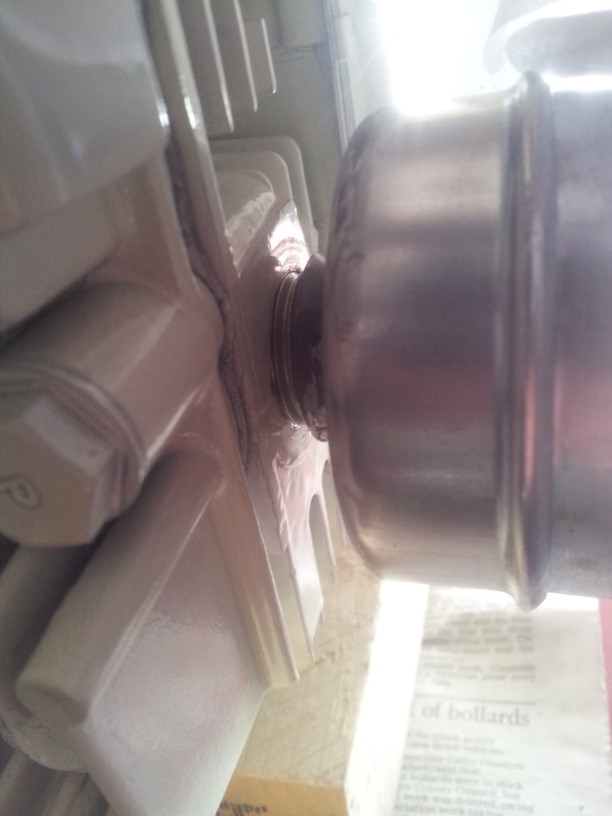
April 16, 2014 at 11:21 am #7532darmic1ParticipantI had one problem with the power driven Landmaster, Its exhaust system! The Muffler is quite a small diameter. Unfortunately the replacement ordered was too big. After a lot of searching I managed to find the correct size Muffler, but it had a different screw thread on it. After consulting with my local Unimaster, a solution was found. It was to drill out the 4 spot welds and remove the incorrect threaded collar. Take a 1/2″ pipe fitting and cut to length, machine the end to fit the muffler and puddle weld the correct threaded collar to the muffler. Also had to remake the “Can” which enables the exhaust to vent beneath the deck.
Attachments:
-
AuthorPosts