Home › Forums › The Main Forum Area › Projects › Farmer Boy Minor
- This topic has 30 replies, 2 voices, and was last updated 10 years, 4 months ago by
 charlie.
-
AuthorPosts
-
September 20, 2015 at 10:36 am #14460
 darmic1Participant
Hi All,
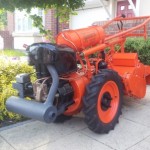
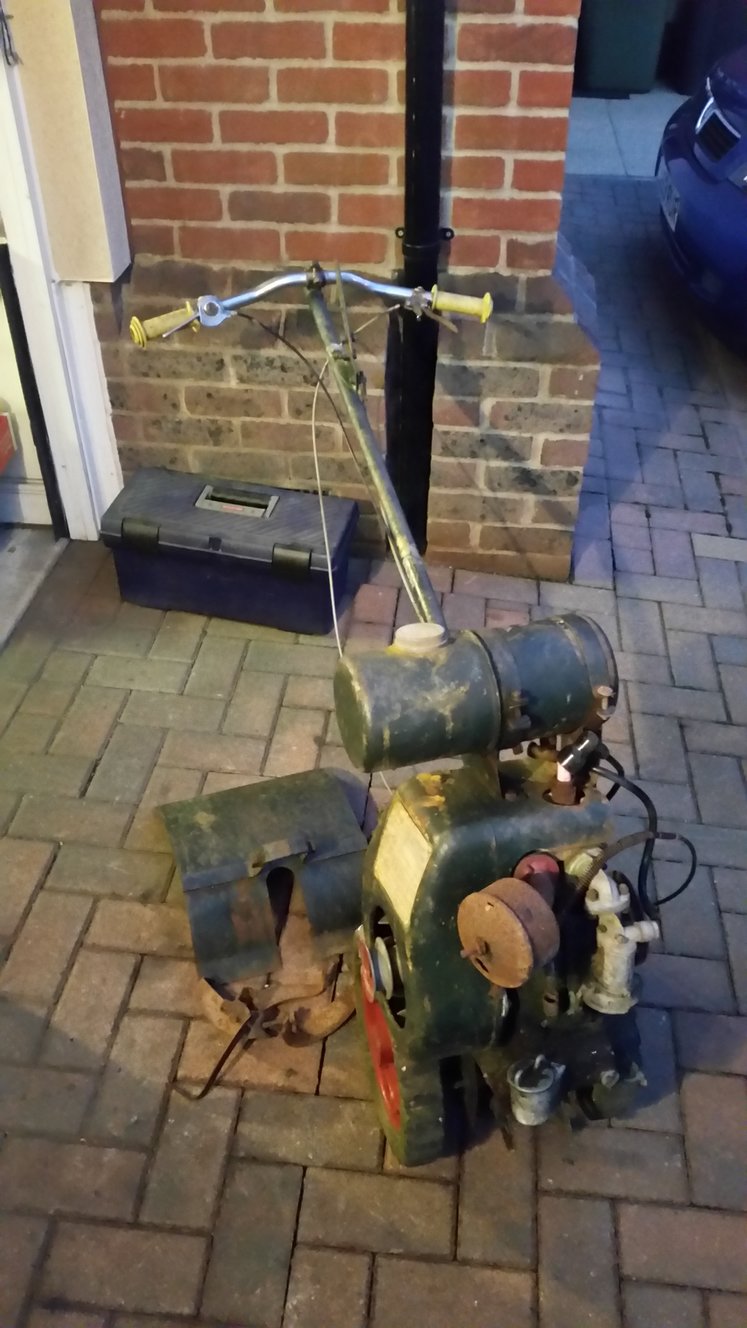
Have just acquired this machine. It will require some work to get it back to, A original, and B working! I was informed that it last ran about a year, 2 years ago? A previous owner had replaced the either missing or broken handlebars with something borrowed from a child’s bike??? The engine turns but has low compression. The B10/1 carb is broken where the air filter clips on. S1G, Gareth has already offered a replacement for that. All the cables are seized or broken. Belts are missing, as is a complete set of blades from one side. The good news is the tin work is solid, rotor cover is only surface rust, the gearbox turns freely as do the rotor shafts.
I do want to save this one, get it running and then restore it. So if anyone has any spares going for one of these I would be extremely grateful.
In the meantime does anyone have an owners/instruction manual they could perhaps scan/copy and send to me, even better an exploded diagram showing how the gearbox etc is assembled???
Many thanksAttachments:
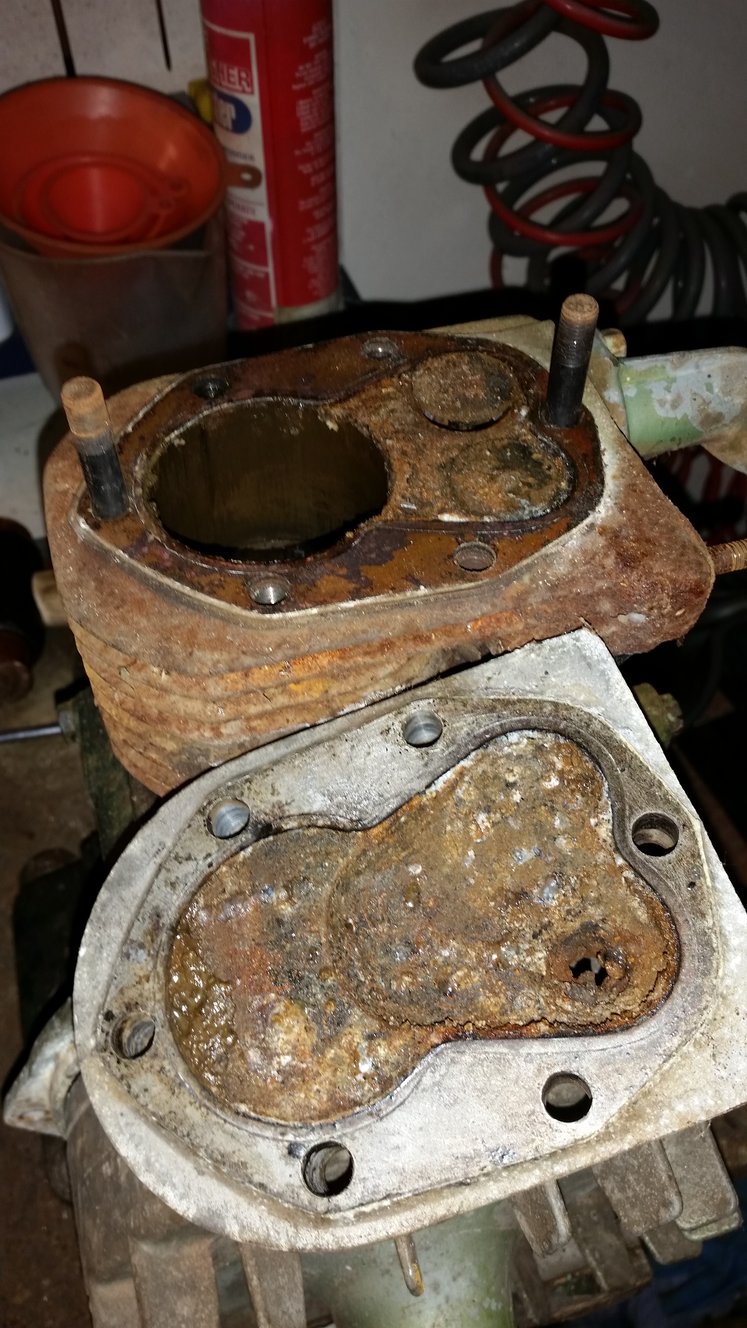
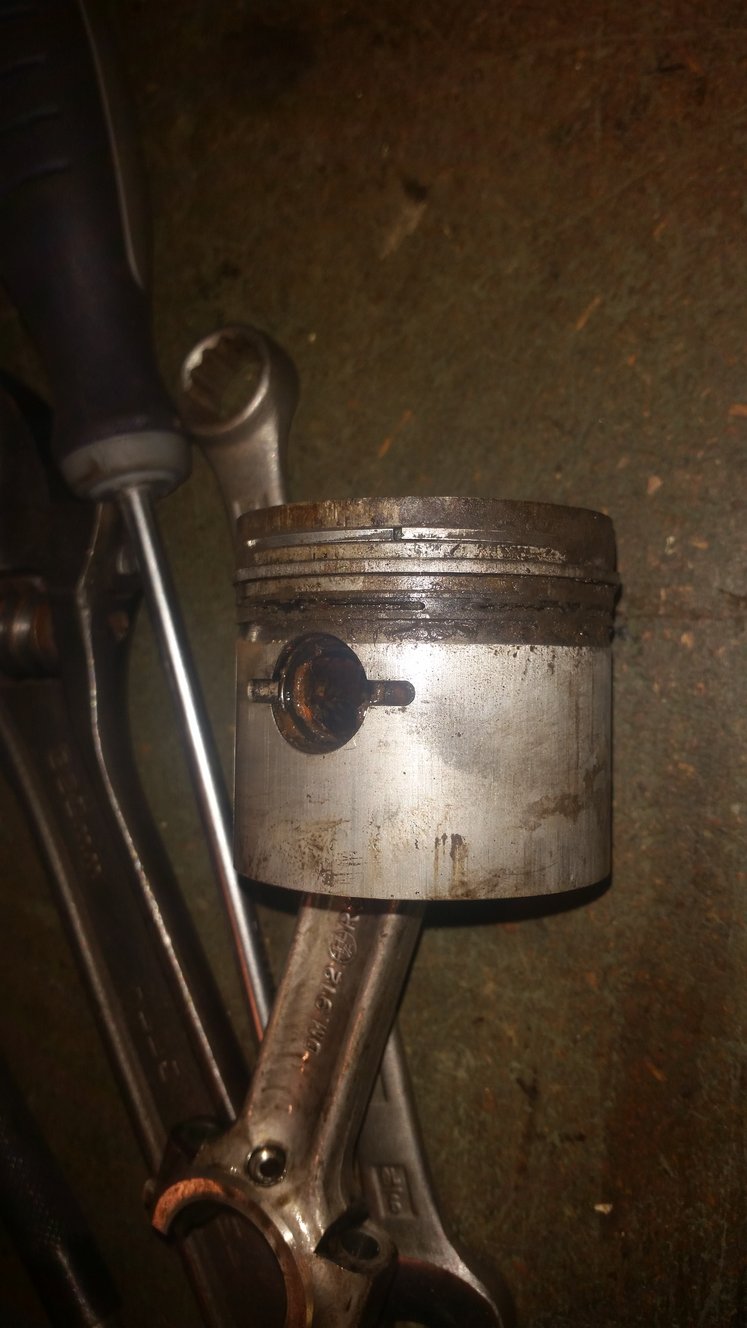
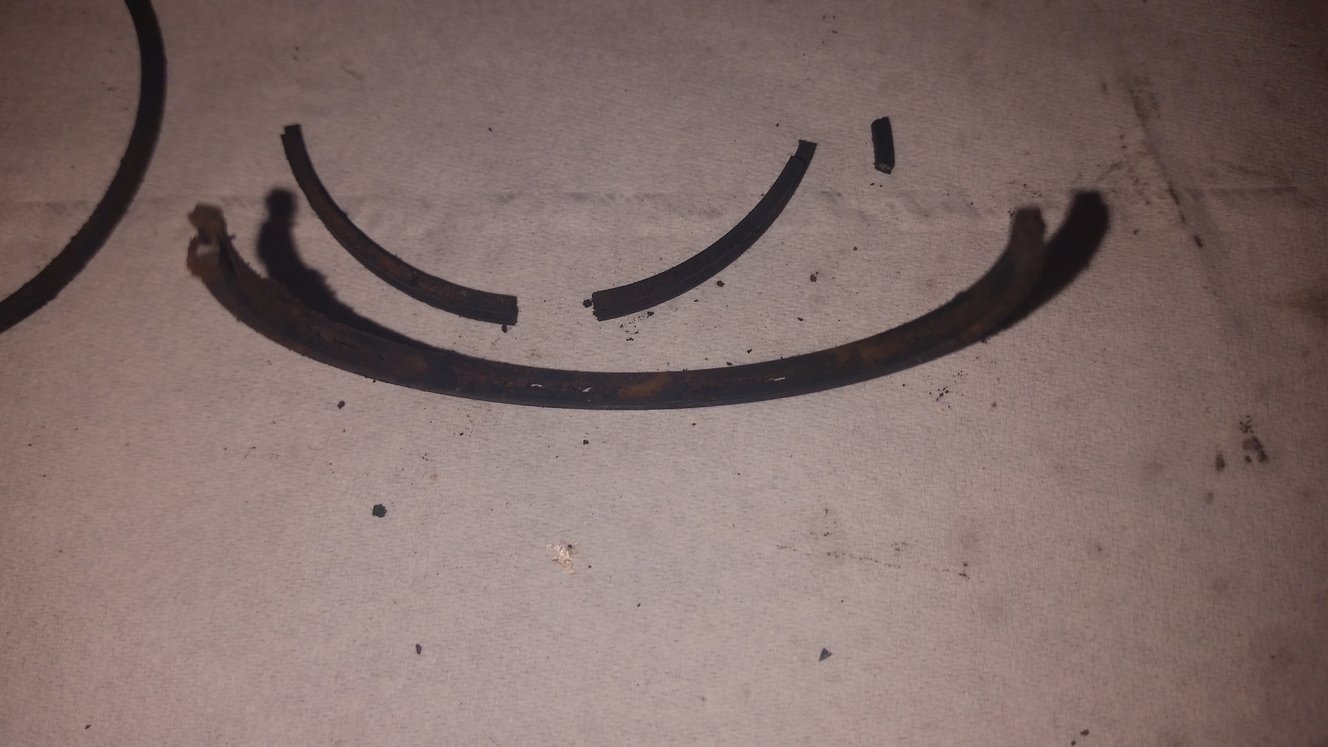
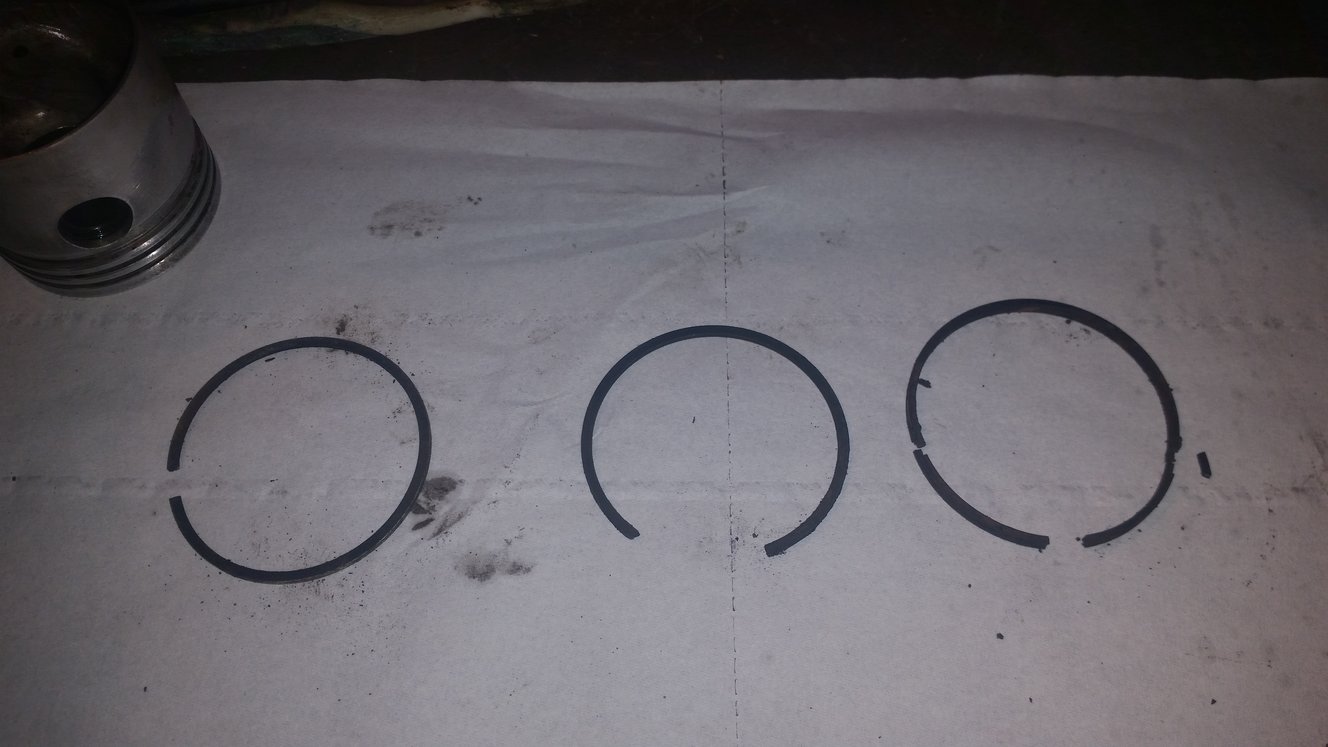
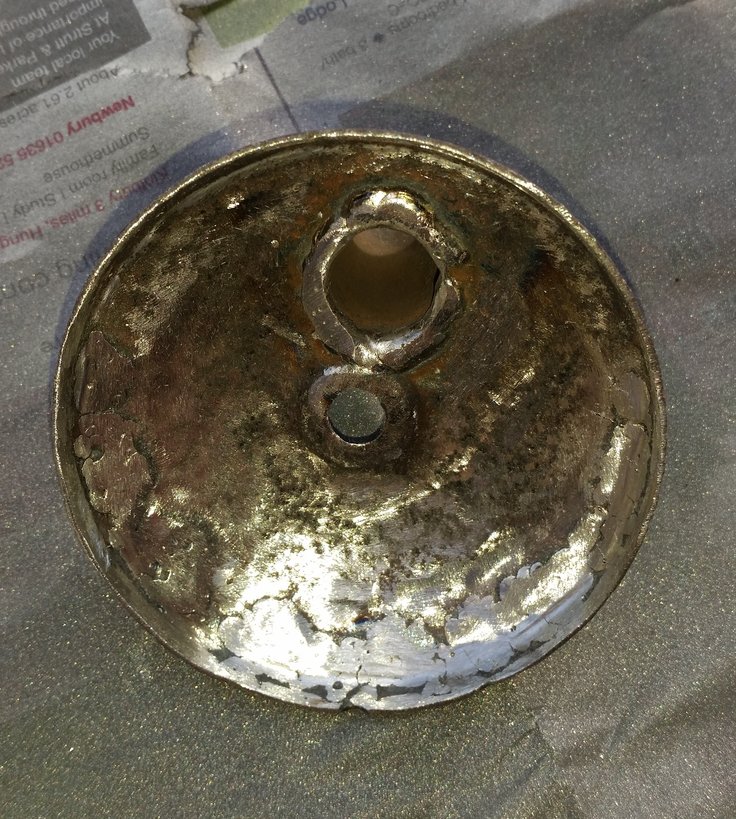
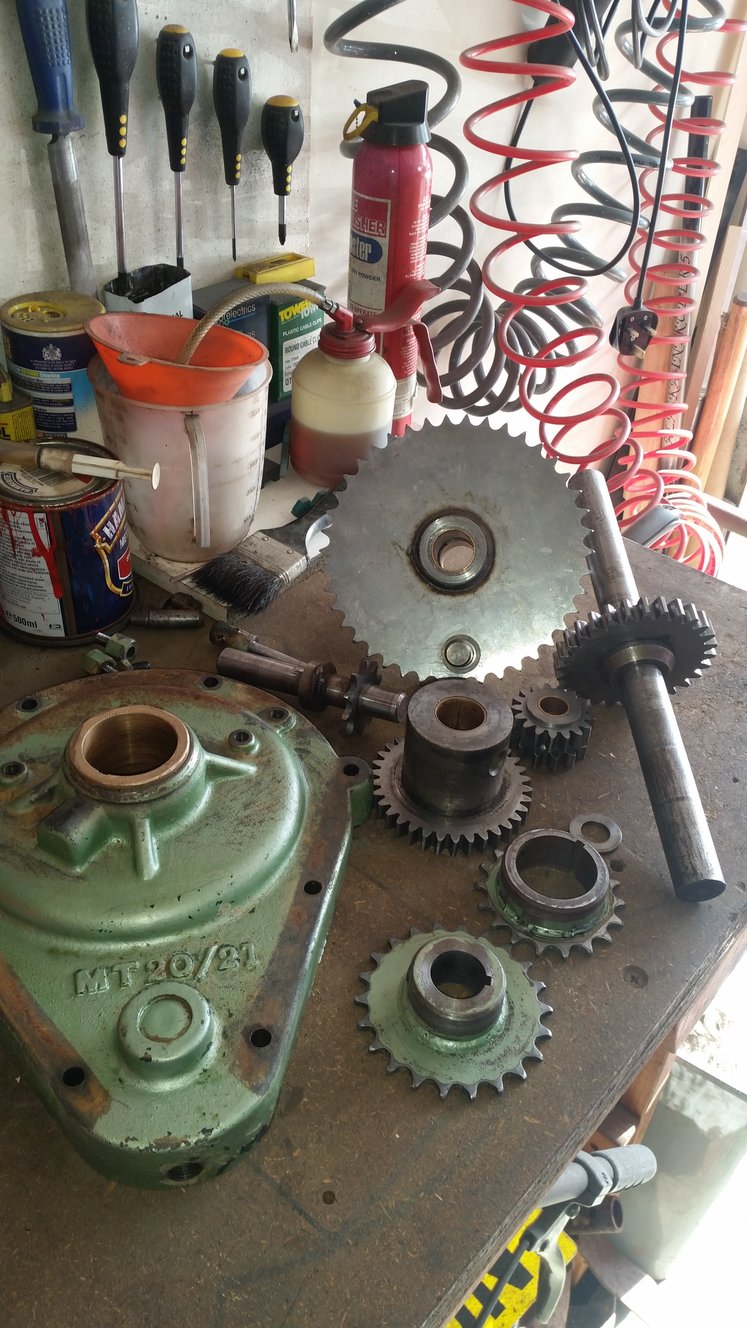
September 24, 2015 at 9:07 am #14562darmic1ParticipantMade a start stripping down the Mk12 Villiers on this machine. I was a little surprised to find the internals of the engine in this condition, given that the machine was supposed to be running 1-2 years ago. It almost made me wonder if it was beyond repair? There was some serious jellified rusty goo in the cylinder and head. the piston rings were corroded in the piston, the exhaust valve seat had some of the worst pitting I have ever seen and the re-buildable ‘Lodge’ plug base was corroded into the head.
I eventually teased the rings from the piston, unfortunately in pieces……. Had the valve seat re-cut and cleaned the detritus from the remaining parts. Am pleased to report that the rest of the internals are reusable.Attachments:
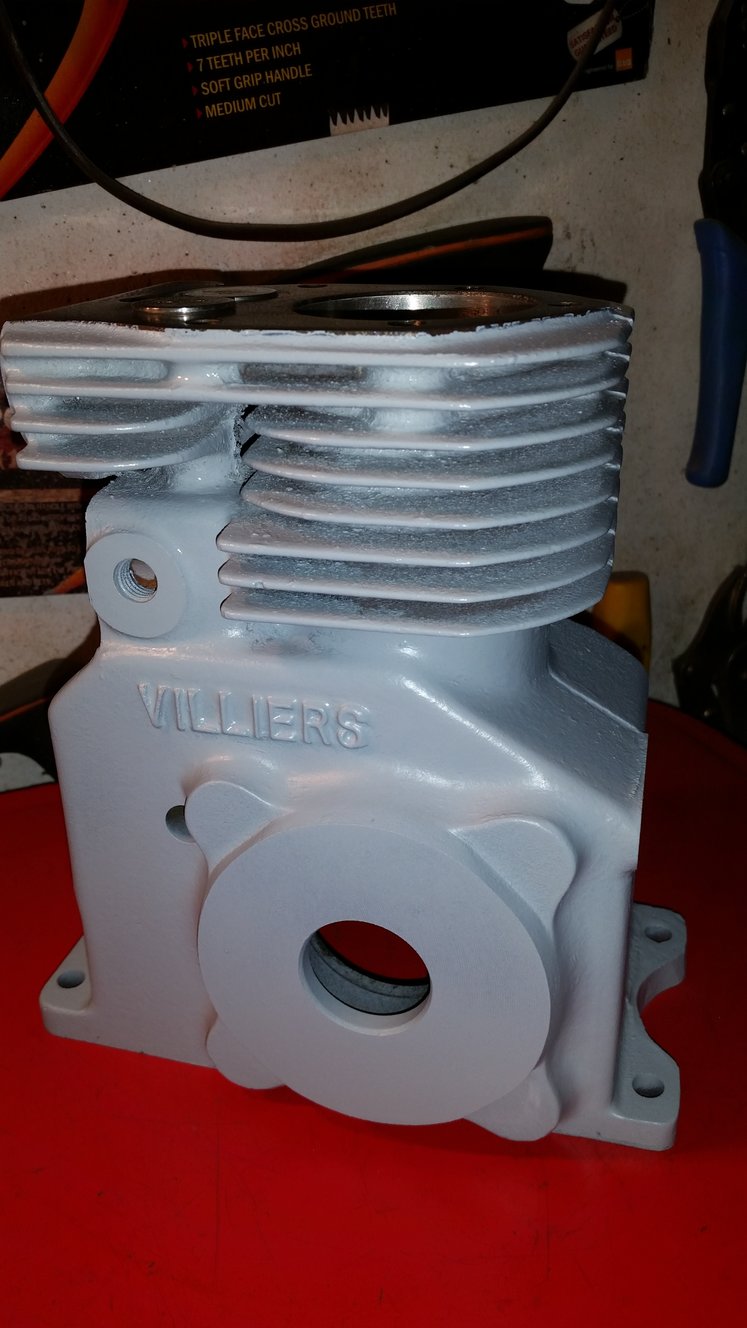
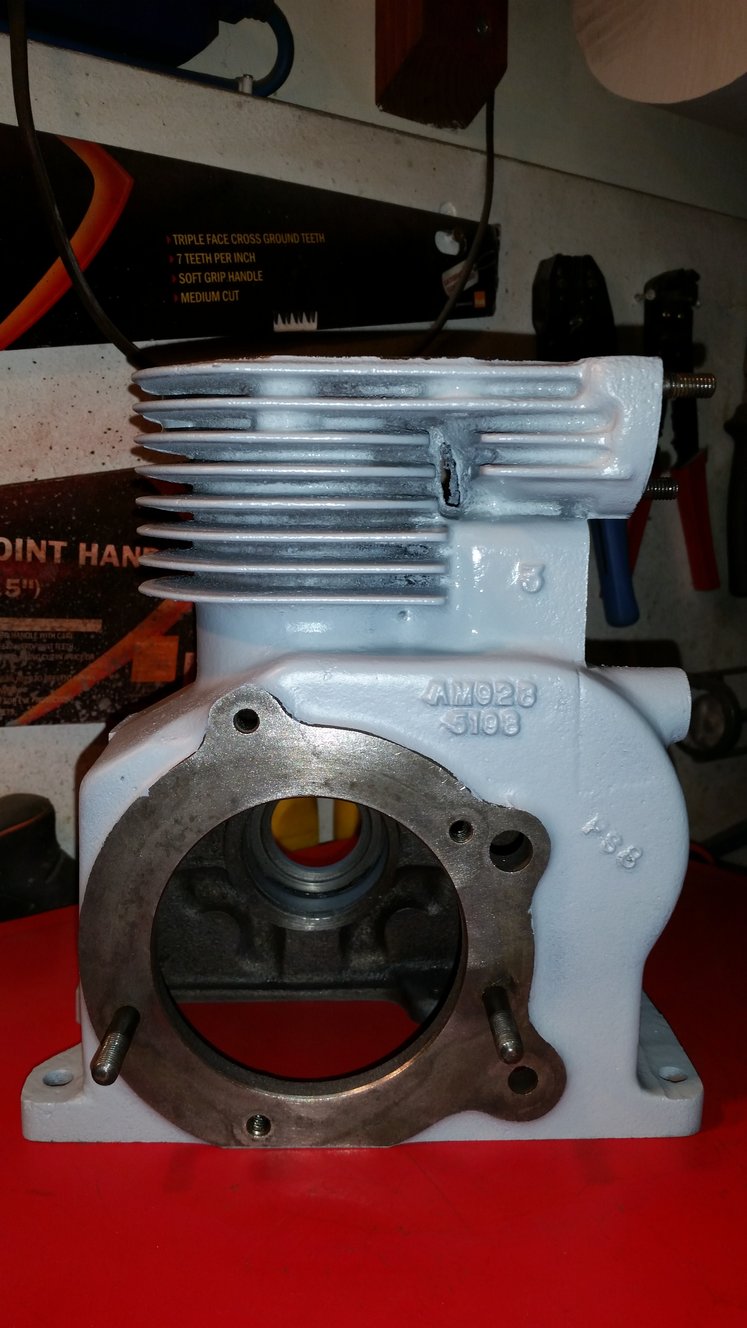
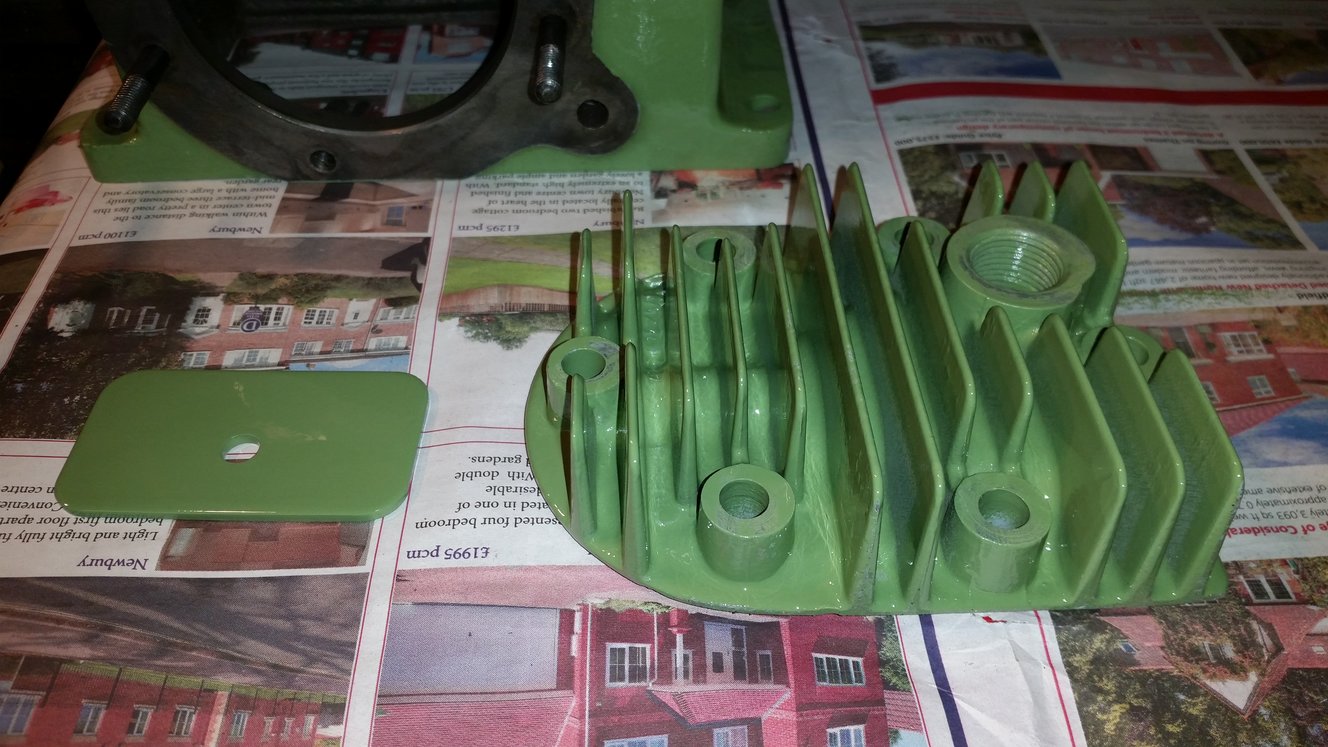
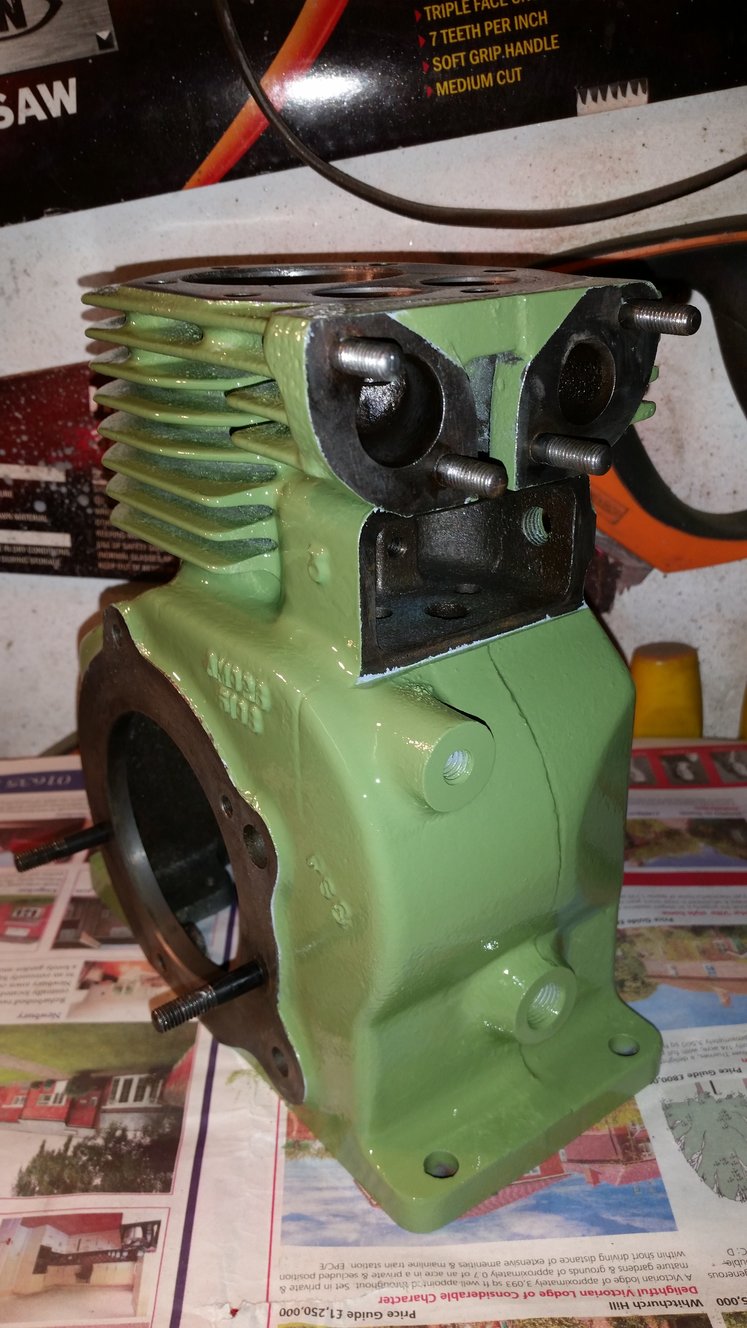
September 24, 2015 at 9:13 am #14567darmic1ParticipantHave removed all the old paint and degreased the bare engine, treated it to 2 coats of etch primer and a coat or 3 of ‘Linden Green’ matched to what was found on the underside of the sump.
Attachments:
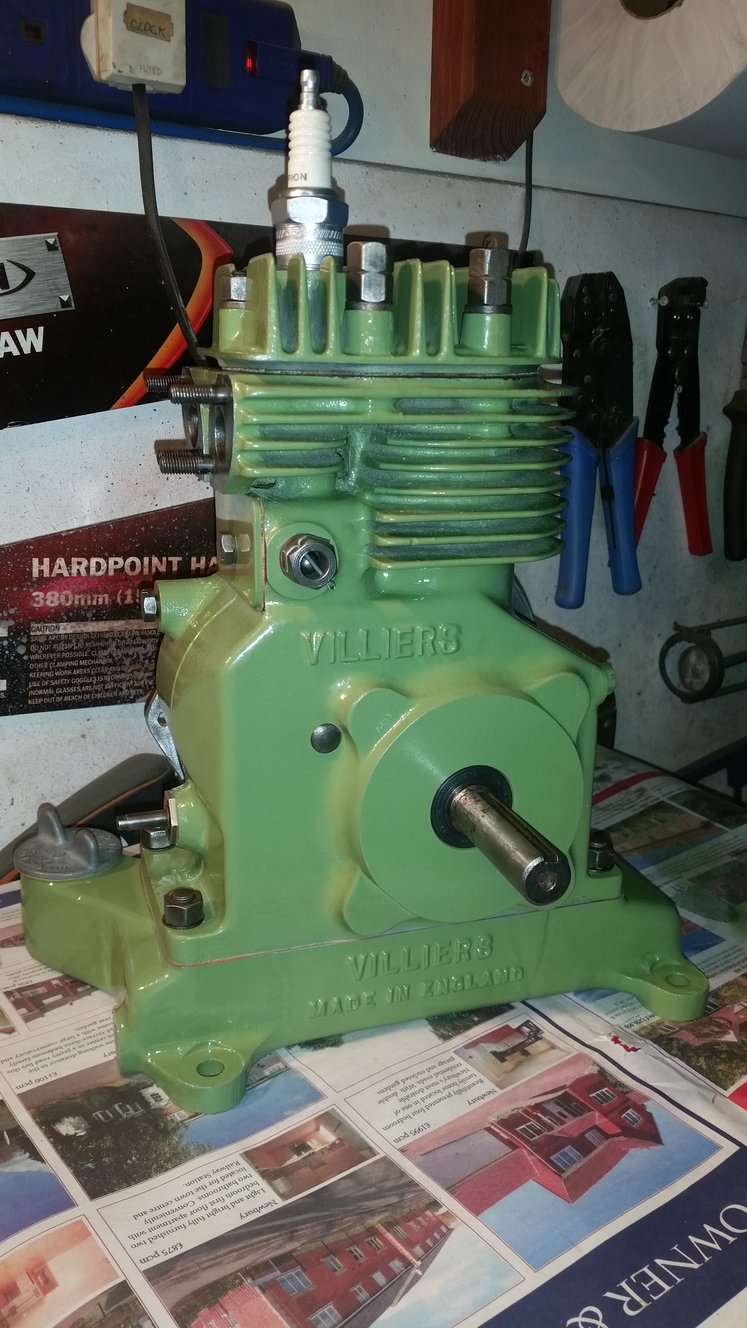
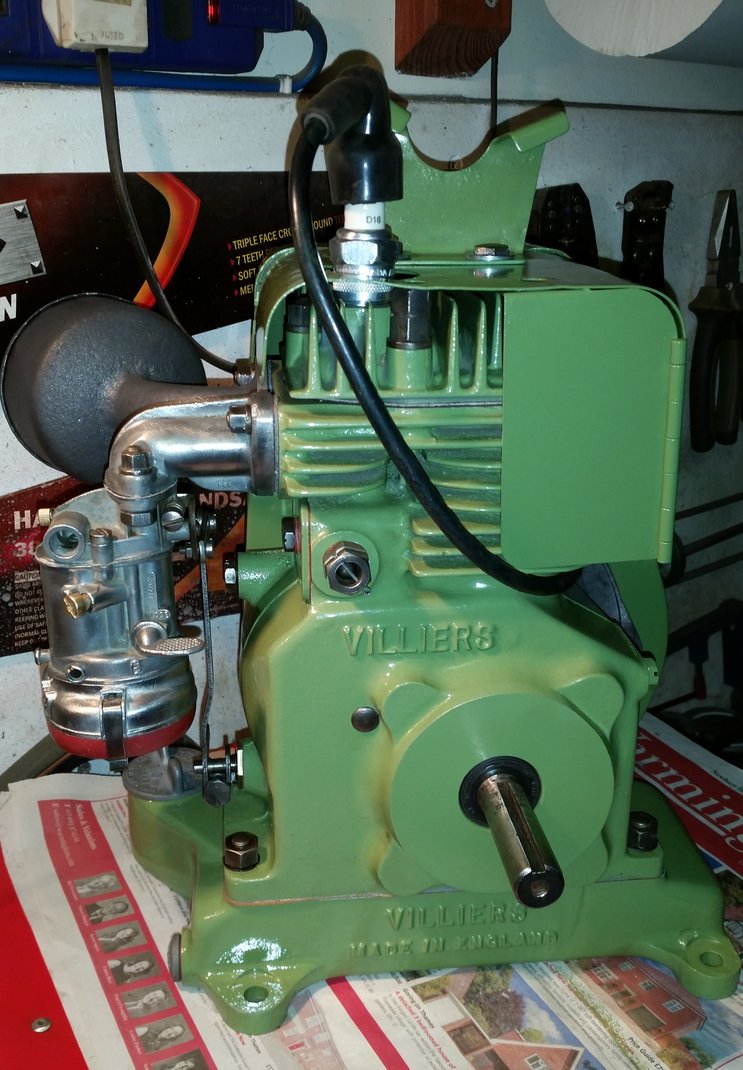
September 24, 2015 at 9:16 am #14575darmic1ParticipantNew parts arrived from Meetens, and engine re-assembled. Just the timing, carb and exhaust left and I should be able to test fire this one……
Attachments:
February 16, 2016 at 12:44 am #19526darmic1ParticipantI forgot to put the rest of this restoration project on here!
So, here goes…….
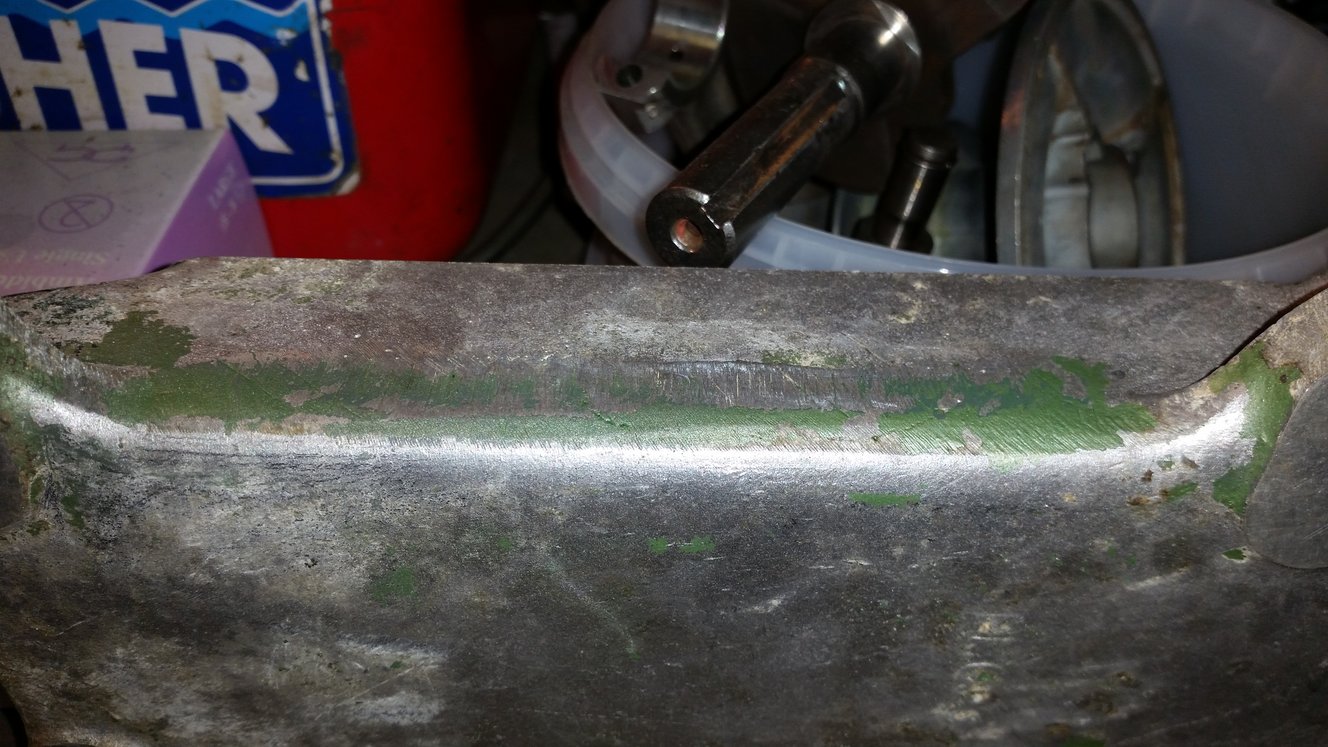
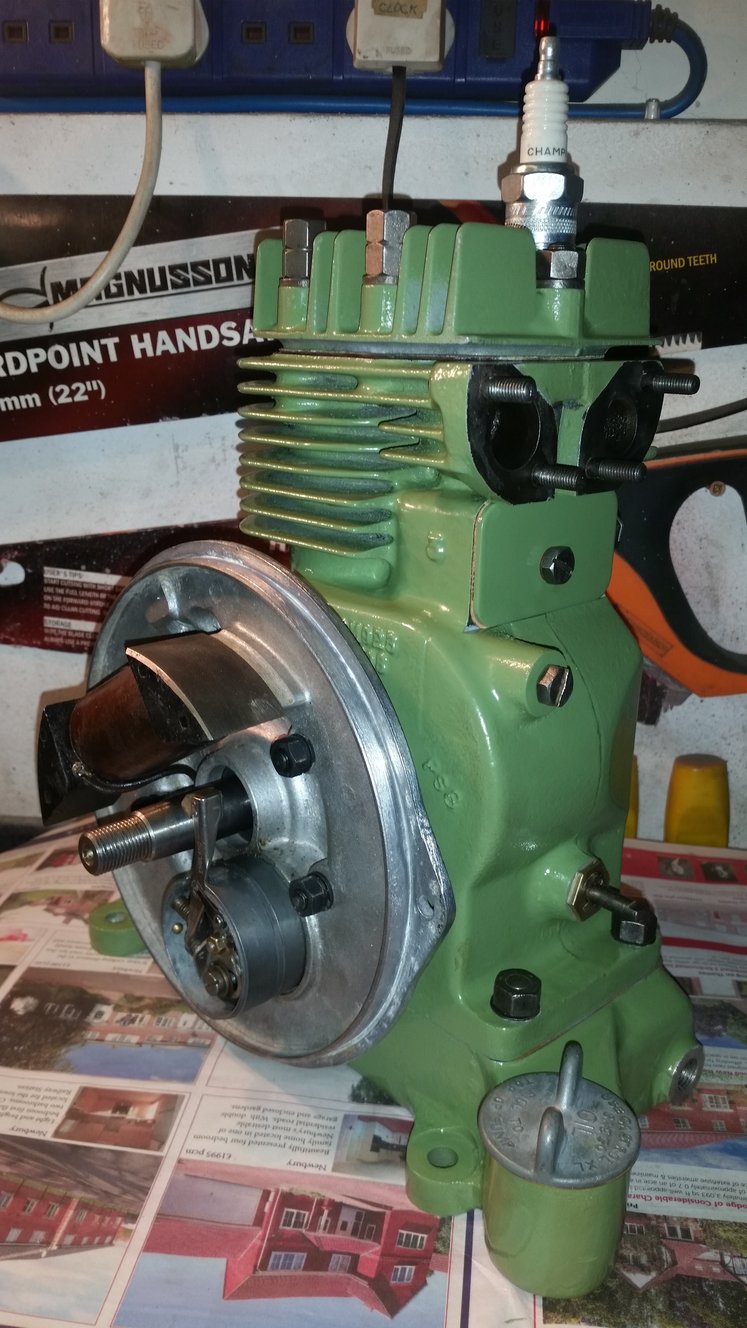
I got the engine back together, to a point where the points could be set ready for the flywheel to be timed and tightened. I then made a start on welding the holes in the rusted exhaust. I ended up chasing a few of the holes around until I was able to plug them totally. Here it is once welded and then again when painted with heat resistant exhaust paint.Attachments:
February 16, 2016 at 12:51 am #19532darmic1ParticipantHmmmm! I see the photo’s still do not run in sequence, despite being chronologically correct.
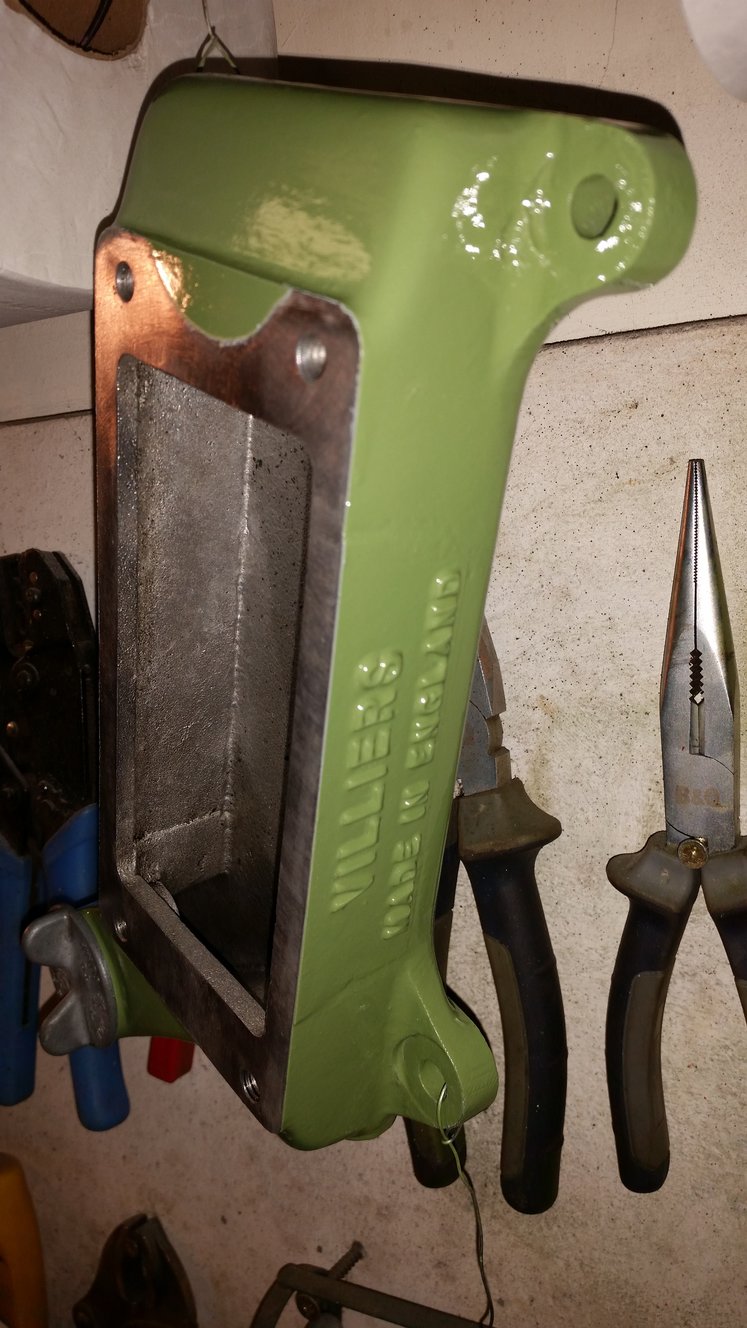
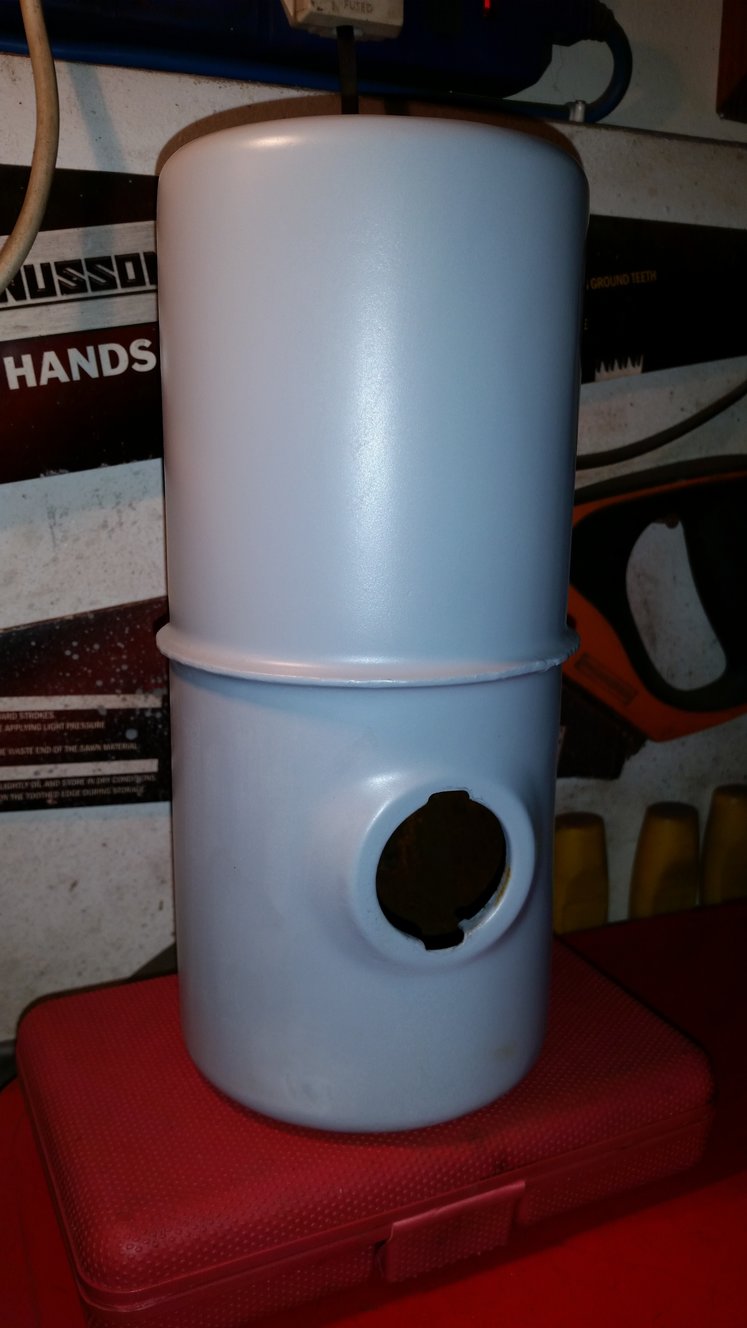
February 16, 2016 at 12:53 am #19533darmic1ParticipantI then moved on to prepping the cowling, stripped, etch primed and then painted…..
Attachments:
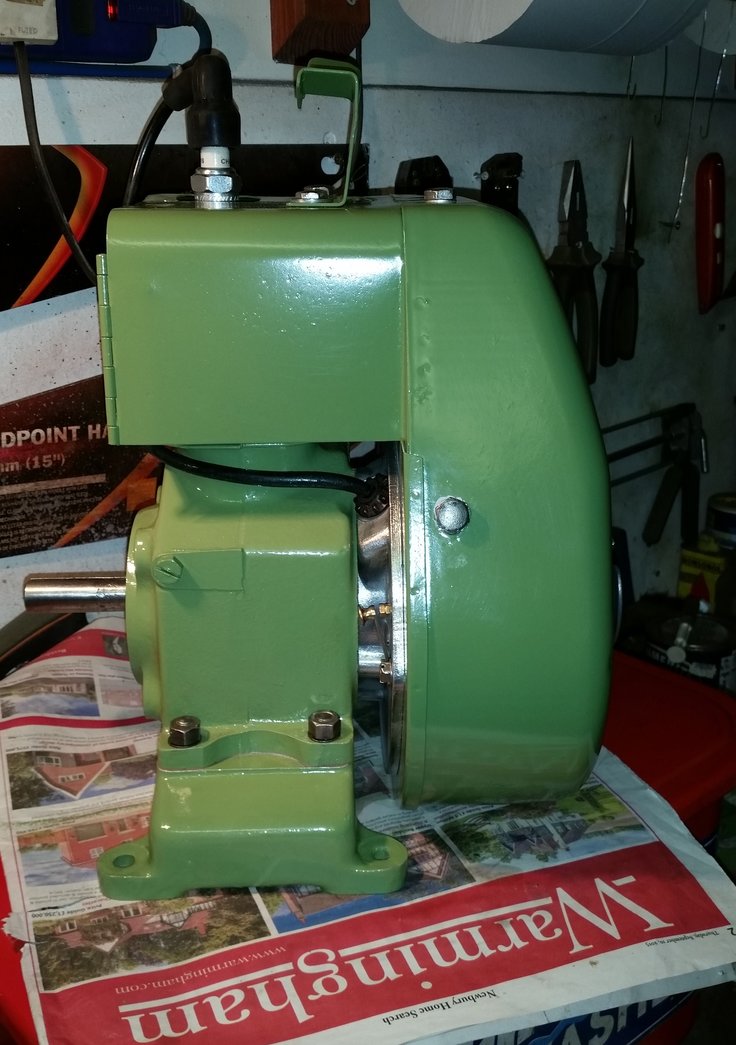
February 16, 2016 at 12:56 am #19538darmic1ParticipantRefitted the flywheel and then the cowling. Engine now complete!
Attachments:
February 16, 2016 at 12:58 am #19543darmic1ParticipantThese pictures are really annoying me now!!!
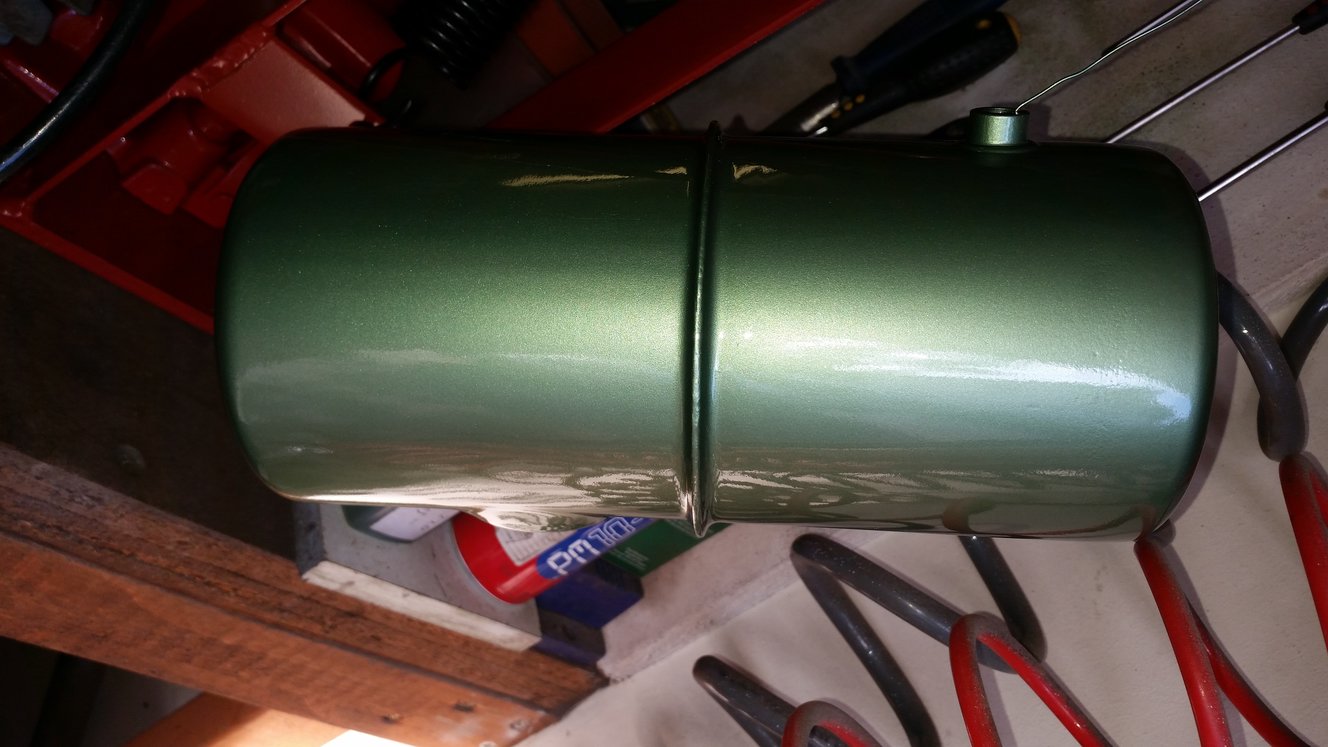
Fuel tank was next……Attachments:
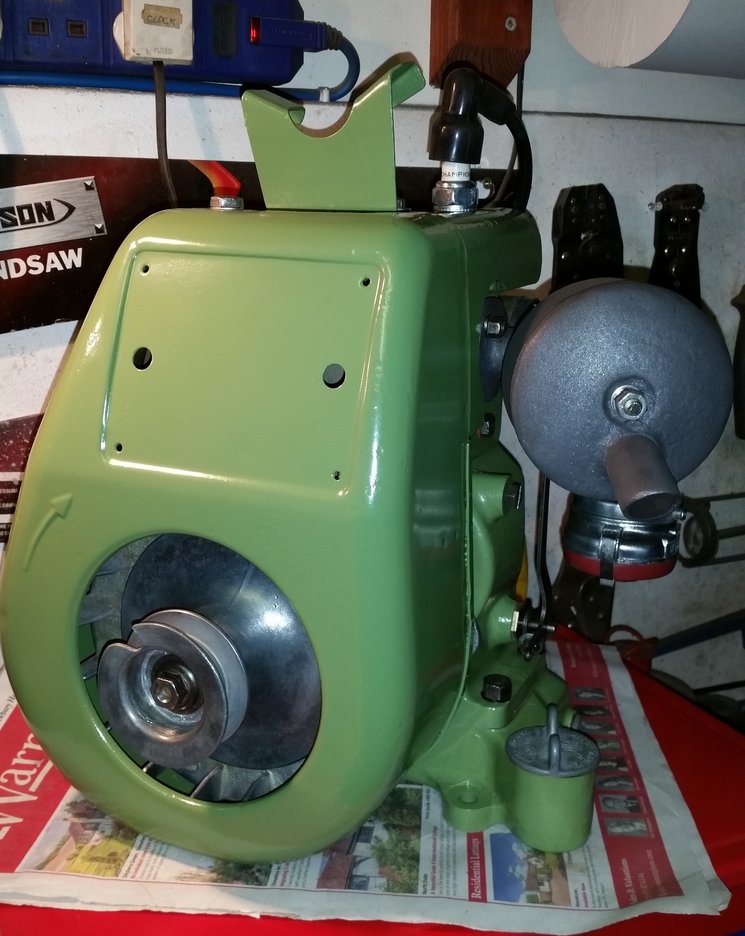
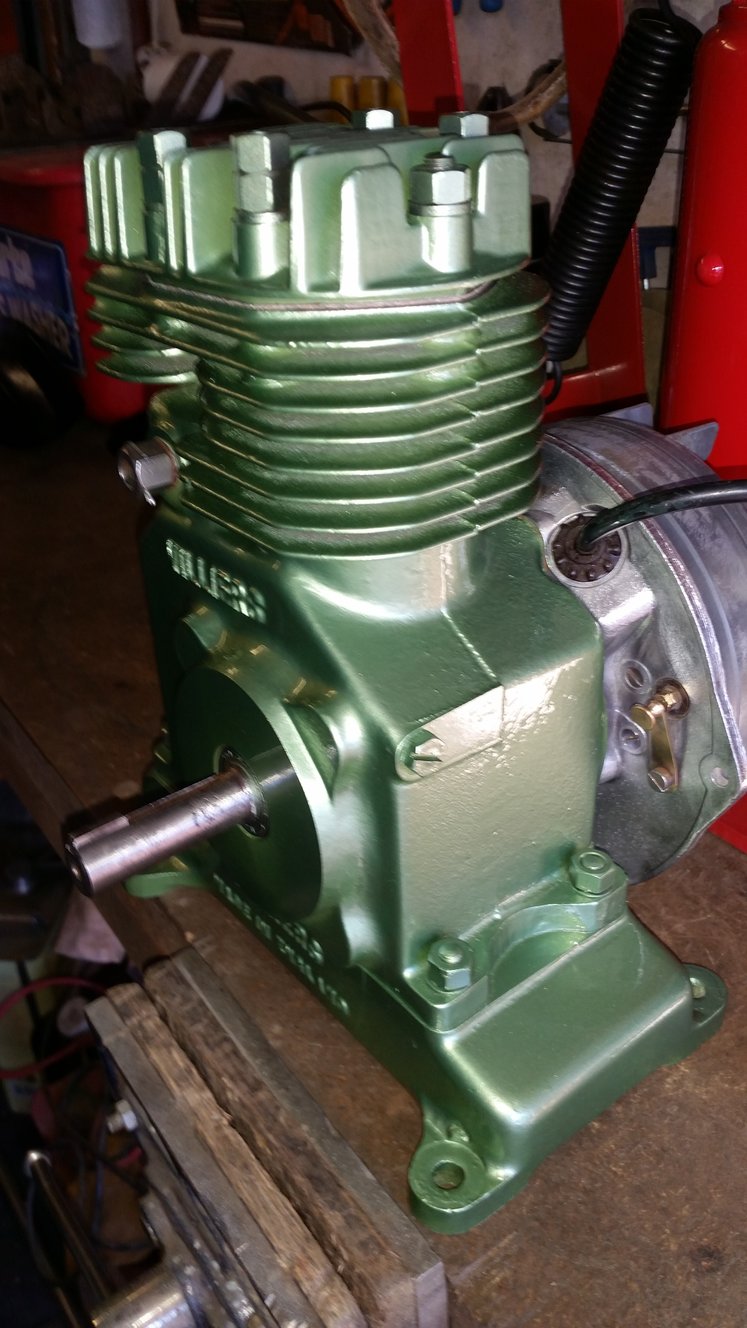
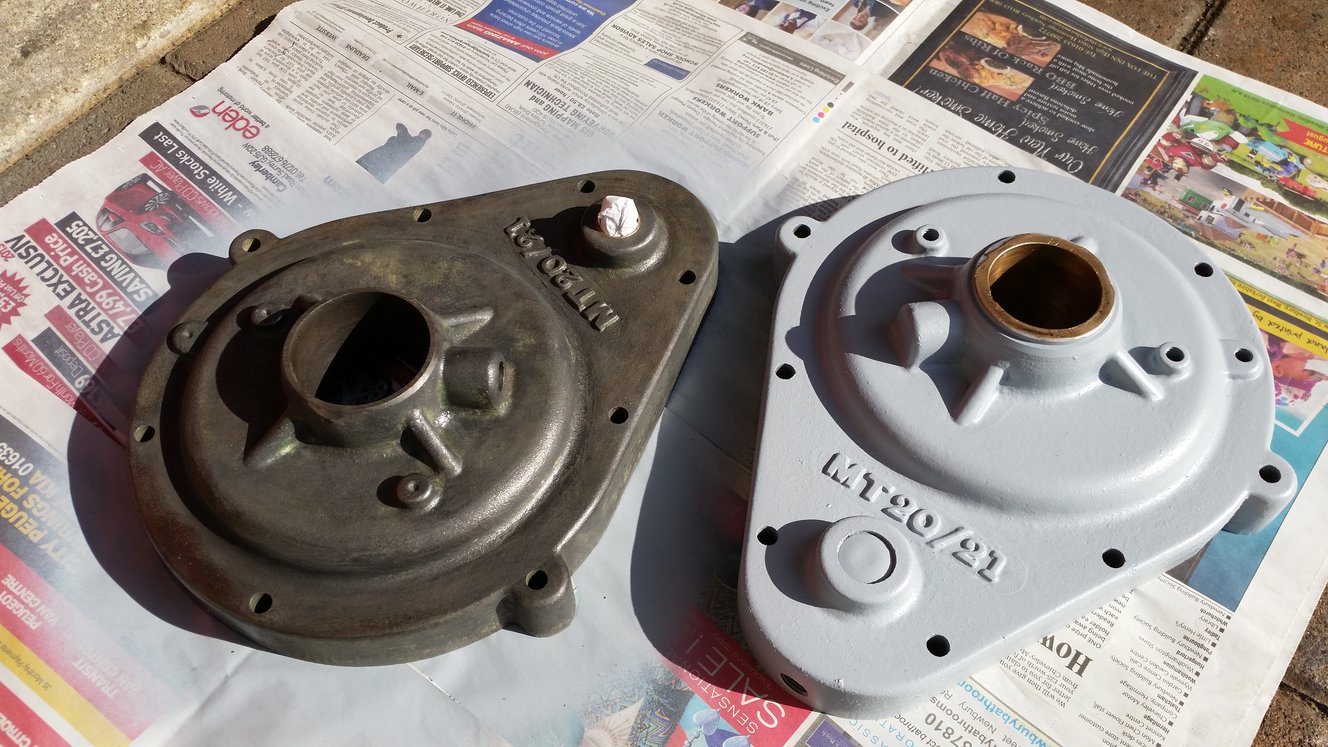
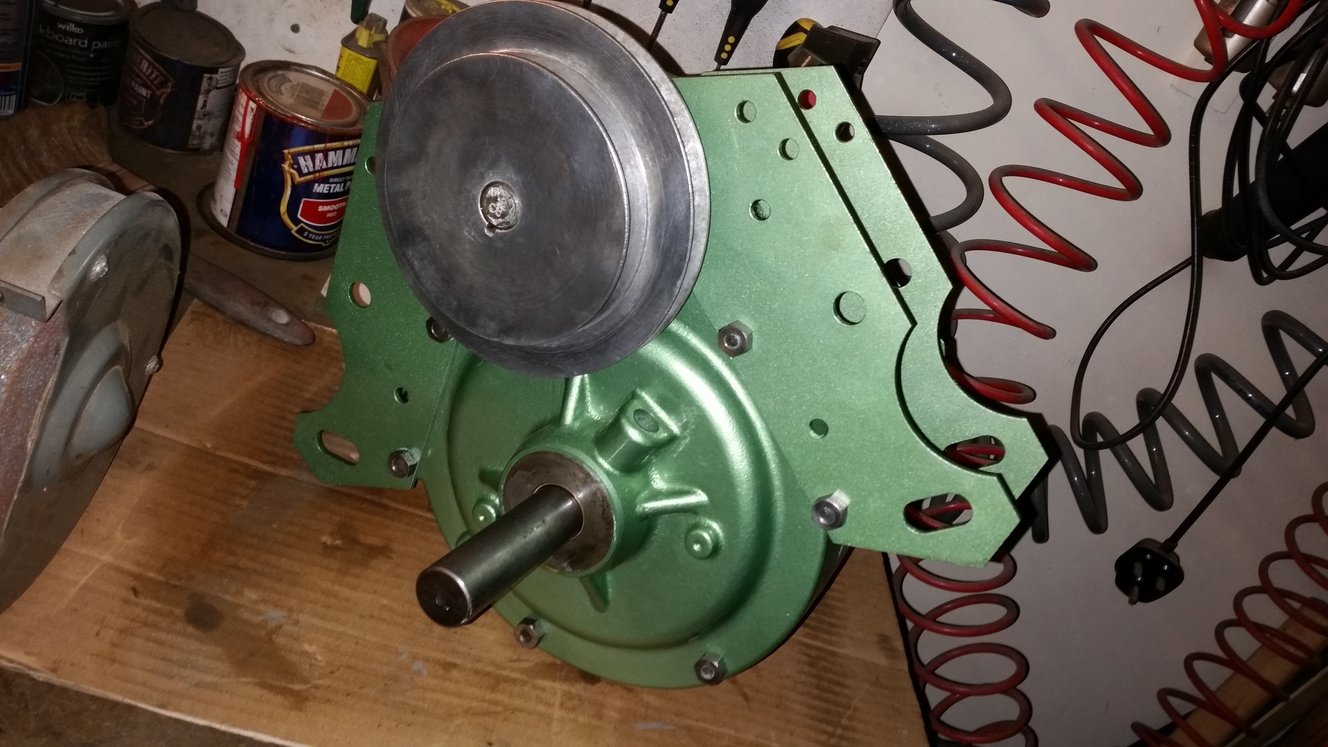
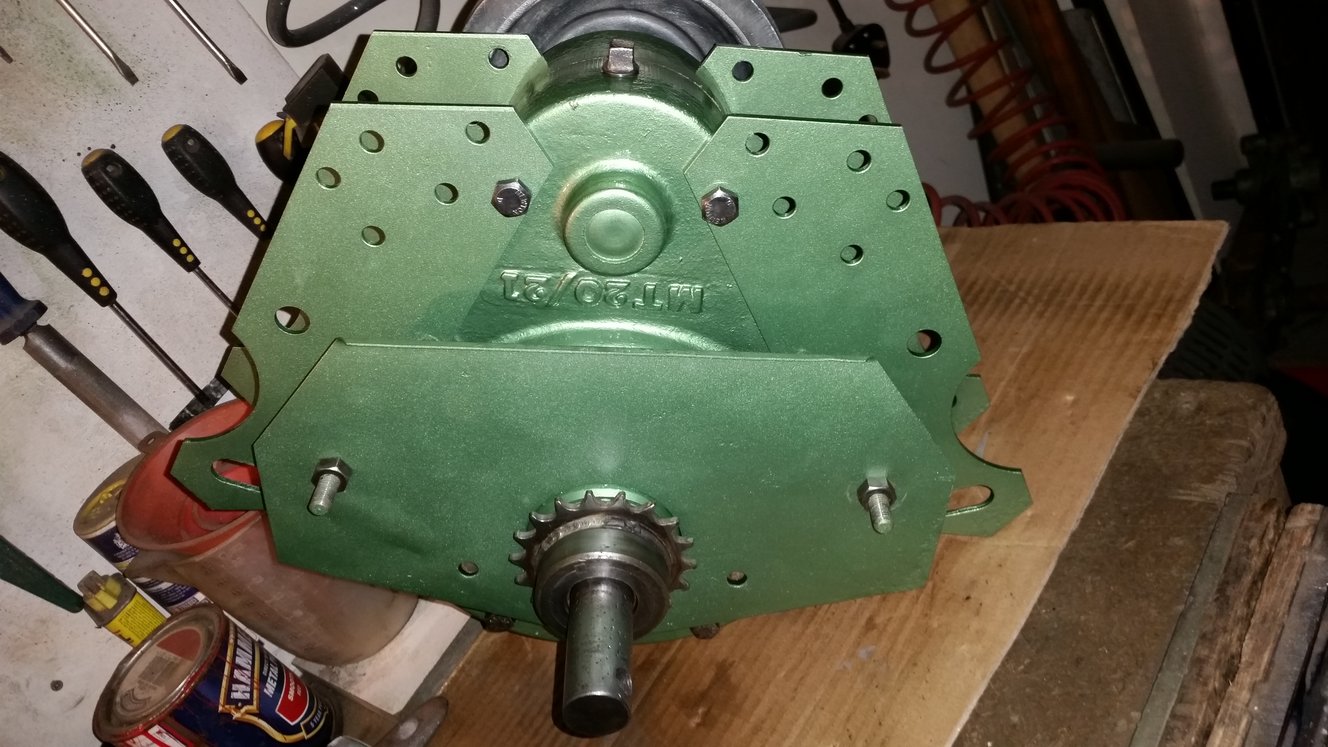
February 16, 2016 at 6:06 am #19556darmic1ParticipantOnce the gearbox was cleaned of all the dried mud and oil, I discovered the actual flat colour I was using was wrong. So a trip to my paint suppliers with a sample to obtain the right metallic colour. Of course this meant taking the engine back to where it could be ‘scotch clothed’ back to key the surface for a re-spray. Here is the gearbox case with the original metallic green found, and the engine following the re-spray.
Attachments:
February 16, 2016 at 6:11 am #19559darmic1ParticipantSorry everyone, I have no idea why these pictures wont sit in the right order, short of uploading each photo individually…….. Are there any ideas out there????
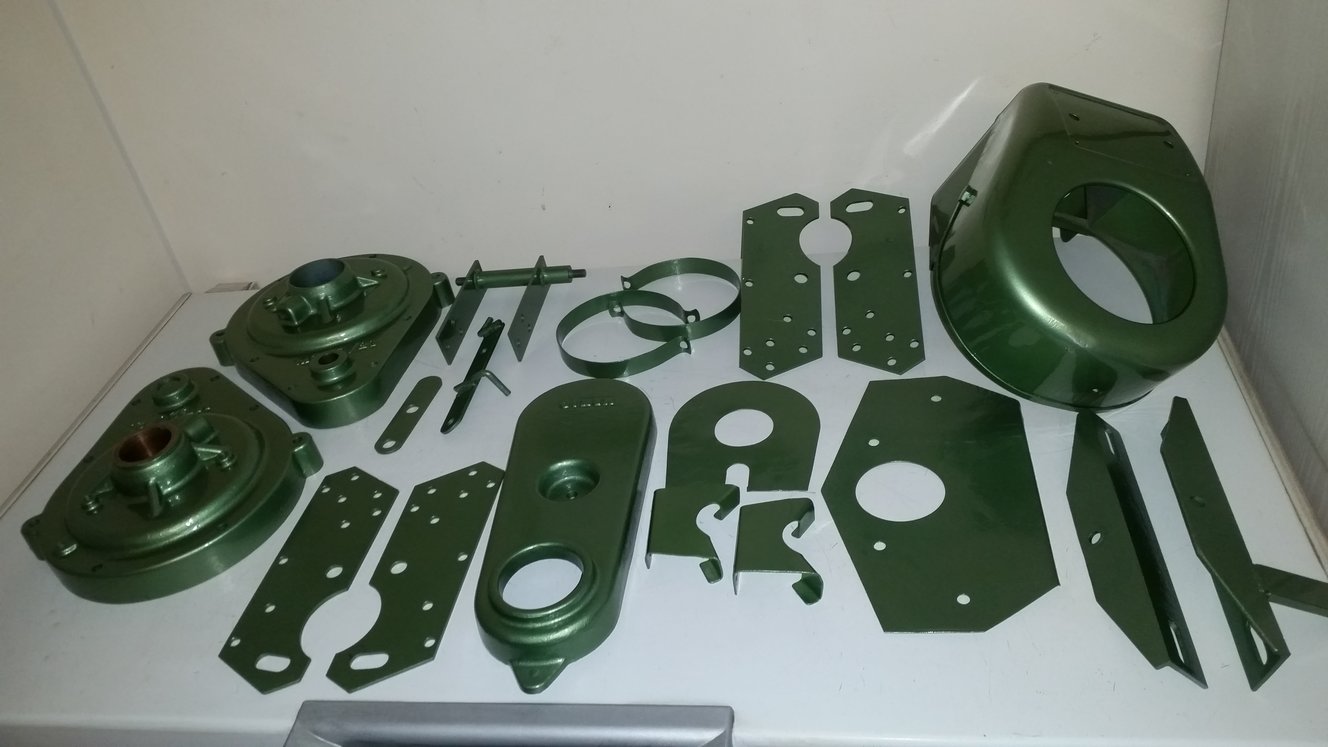
February 16, 2016 at 6:12 am #19560darmic1ParticipantGot the rest of the machine blasted, etch primed and painted…..
Attachments:
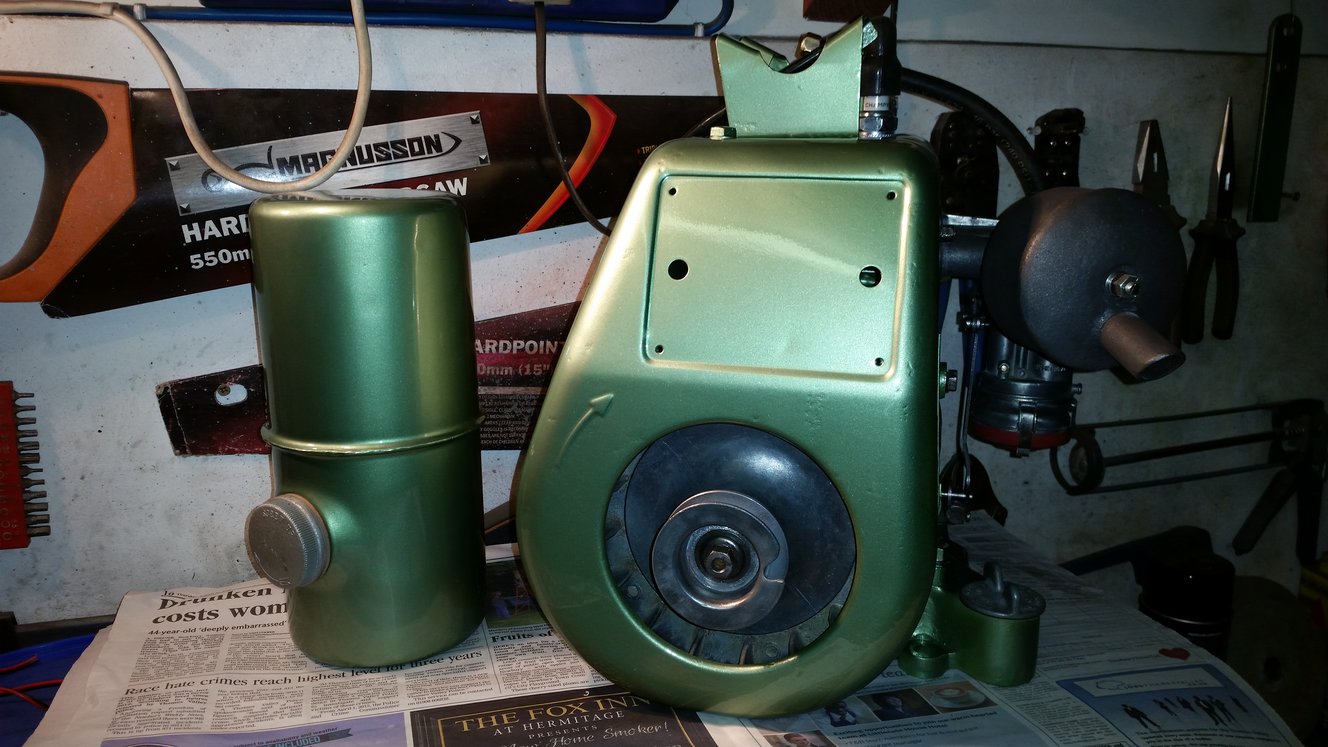
February 16, 2016 at 6:15 am #19563darmic1ParticipantThe fuel tank and engine in the correct colour now…..
Attachments:
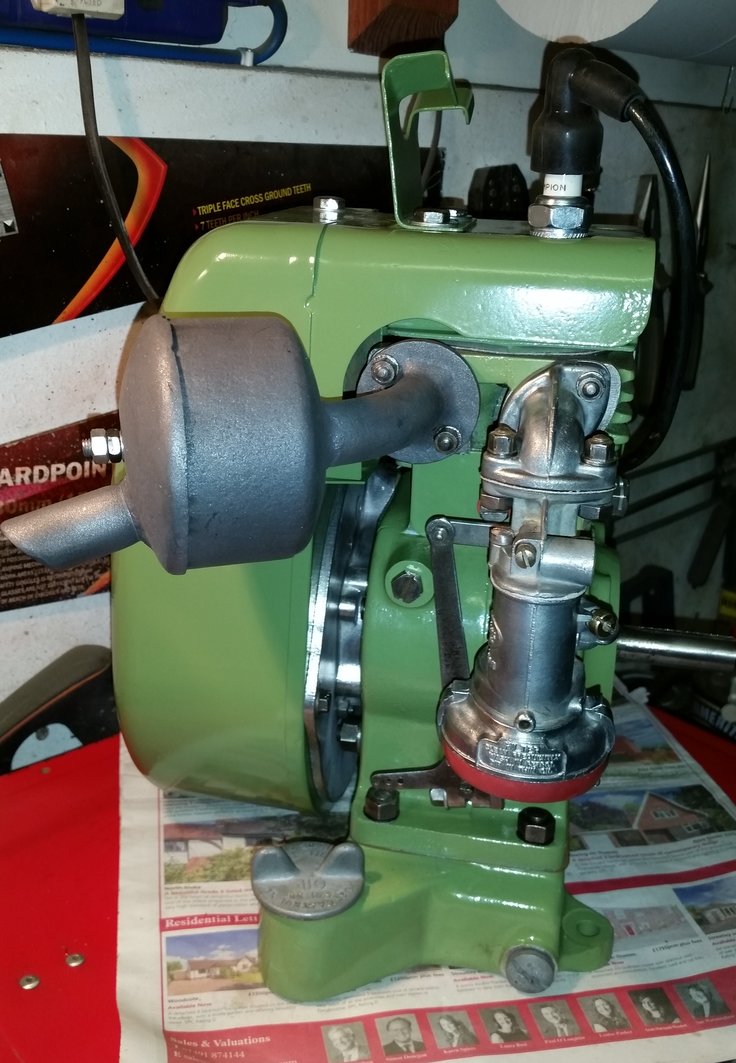
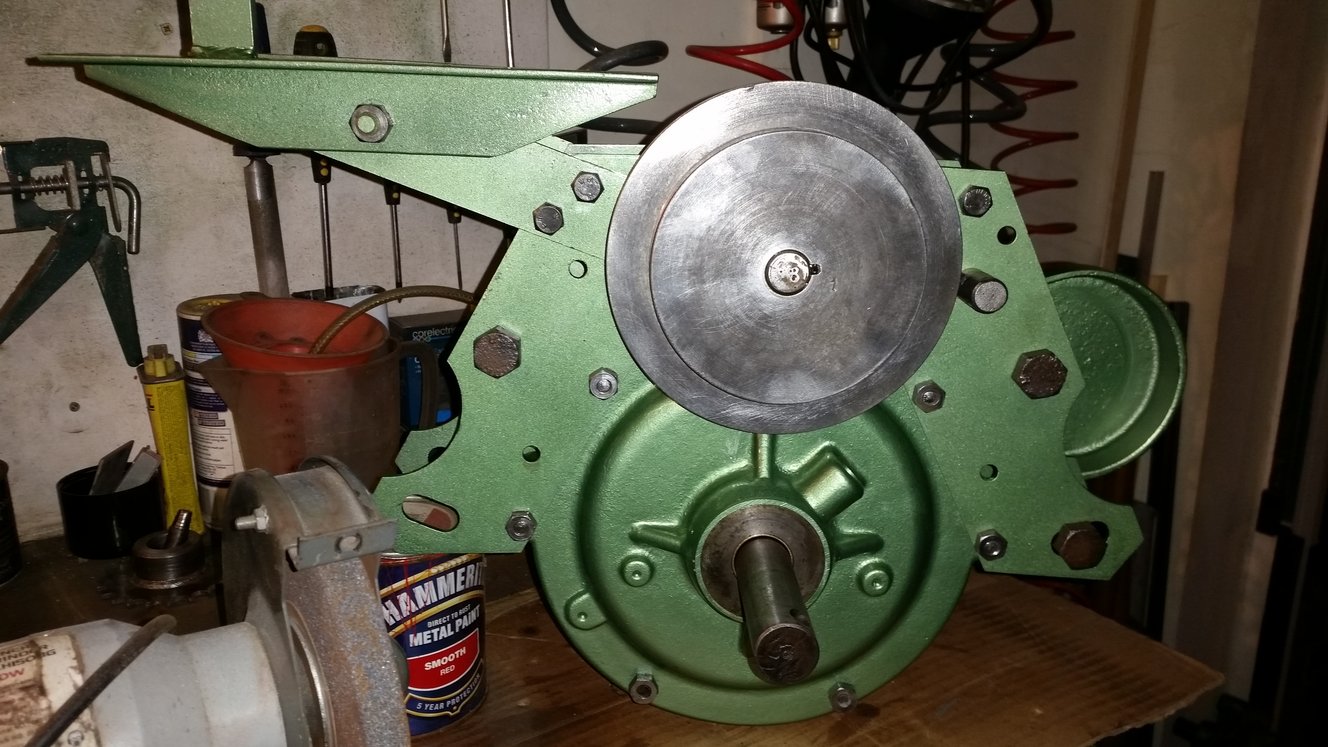
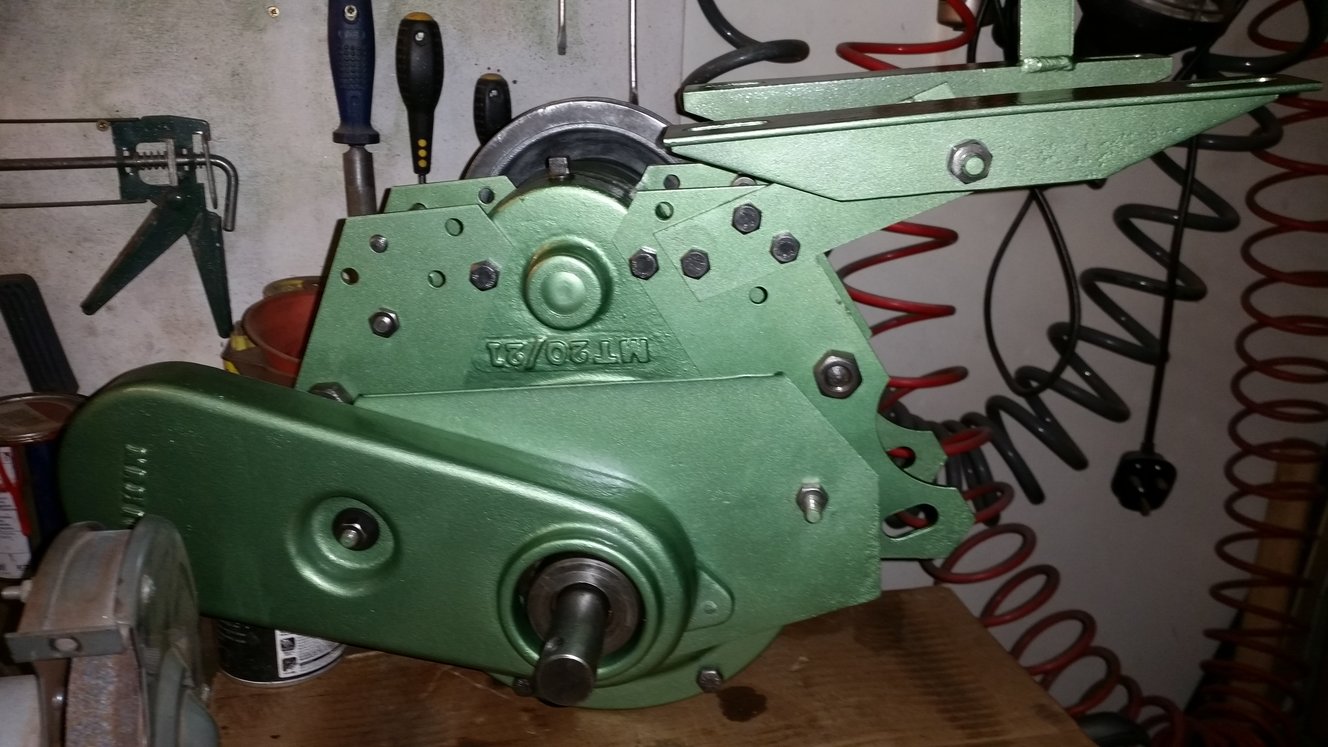
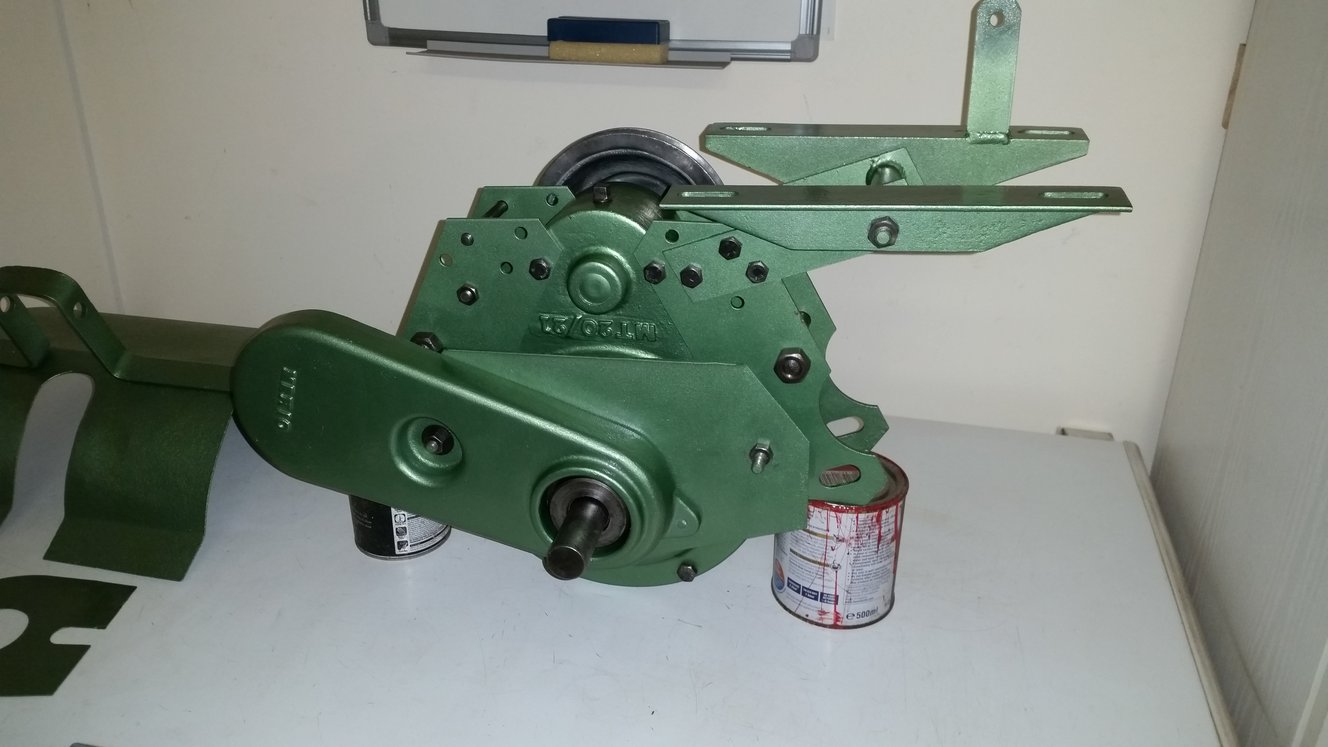
February 16, 2016 at 6:17 am #19566darmic1ParticipantThen began the rest of the re-assembly….
Attachments:
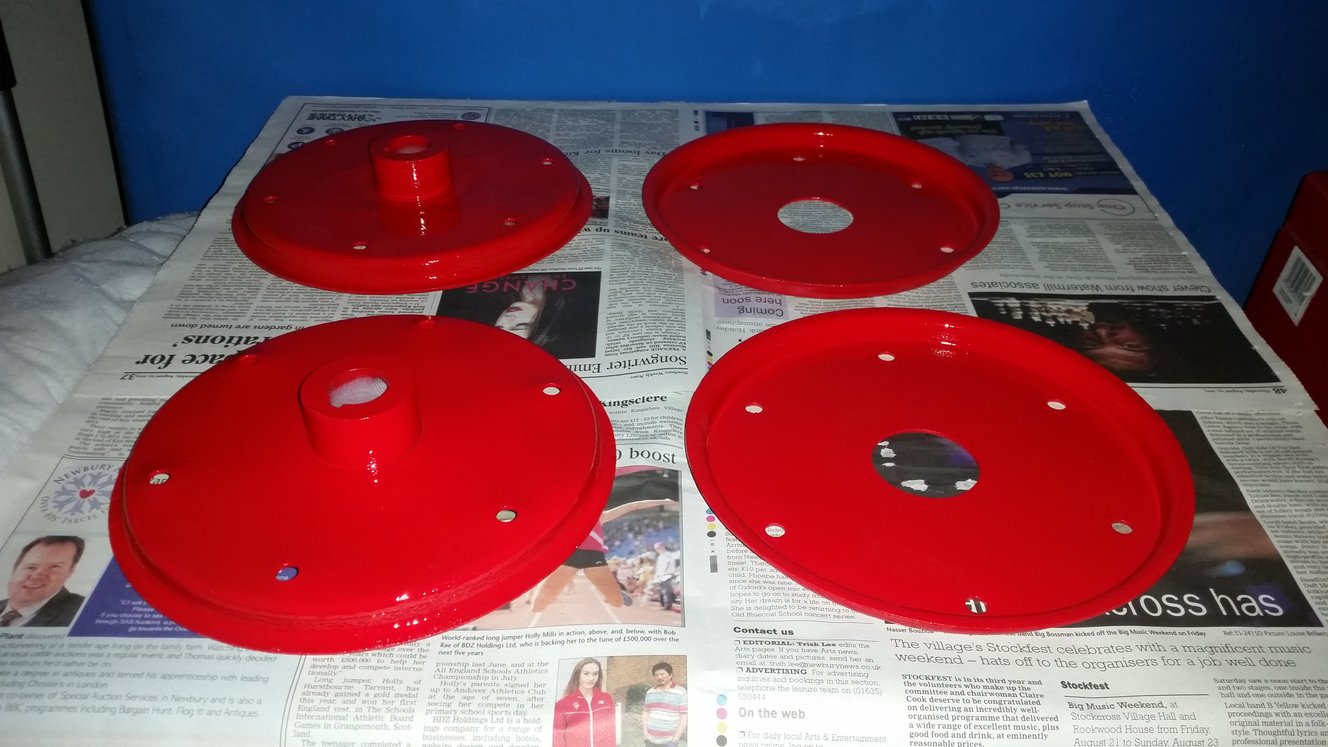
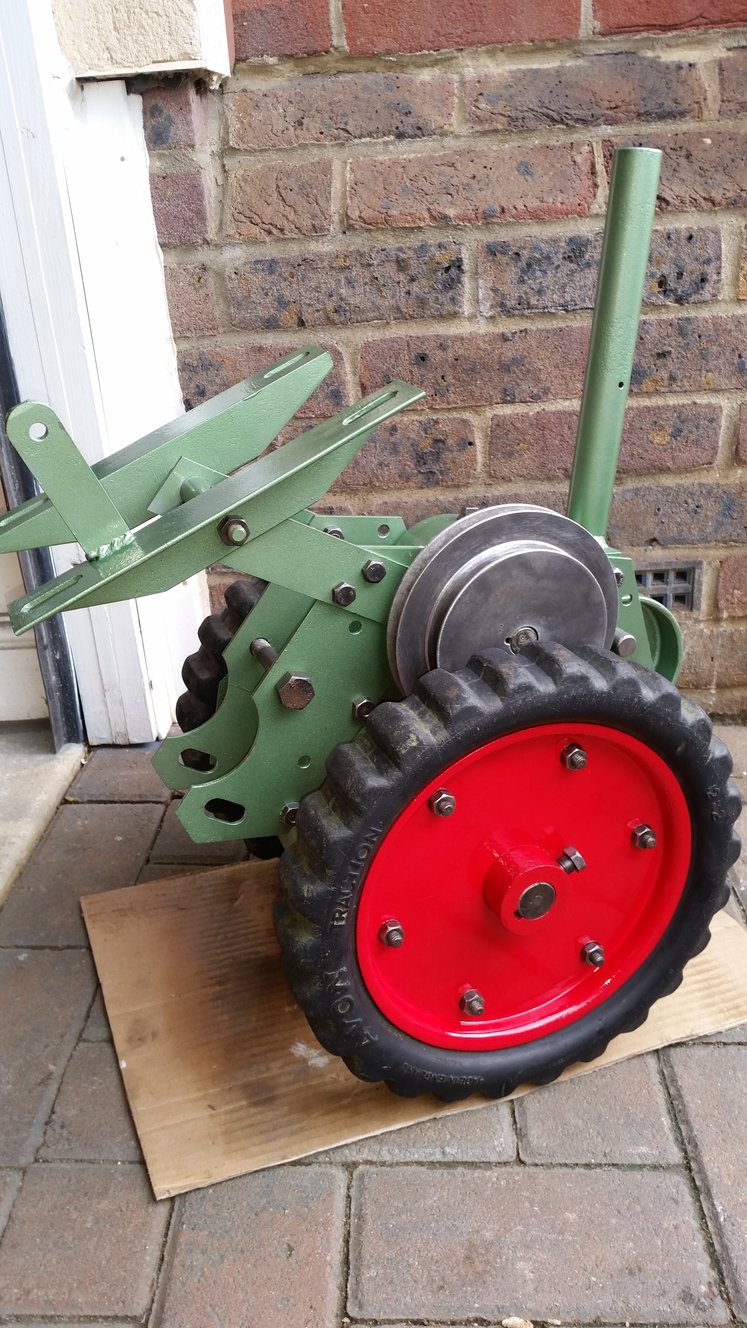
February 16, 2016 at 6:21 am #19572darmic1ParticipantThe wheels are a split rim type with solid rubber tyres fitted.
These were separated, blasted, etch primed and then painted.Attachments:
-
AuthorPosts


- You must be logged in to reply to this topic.