
Forum Replies Created
-
AuthorPosts
-
September 5, 2015 at 5:55 pm #14329vhgmcbuddyKeymaster
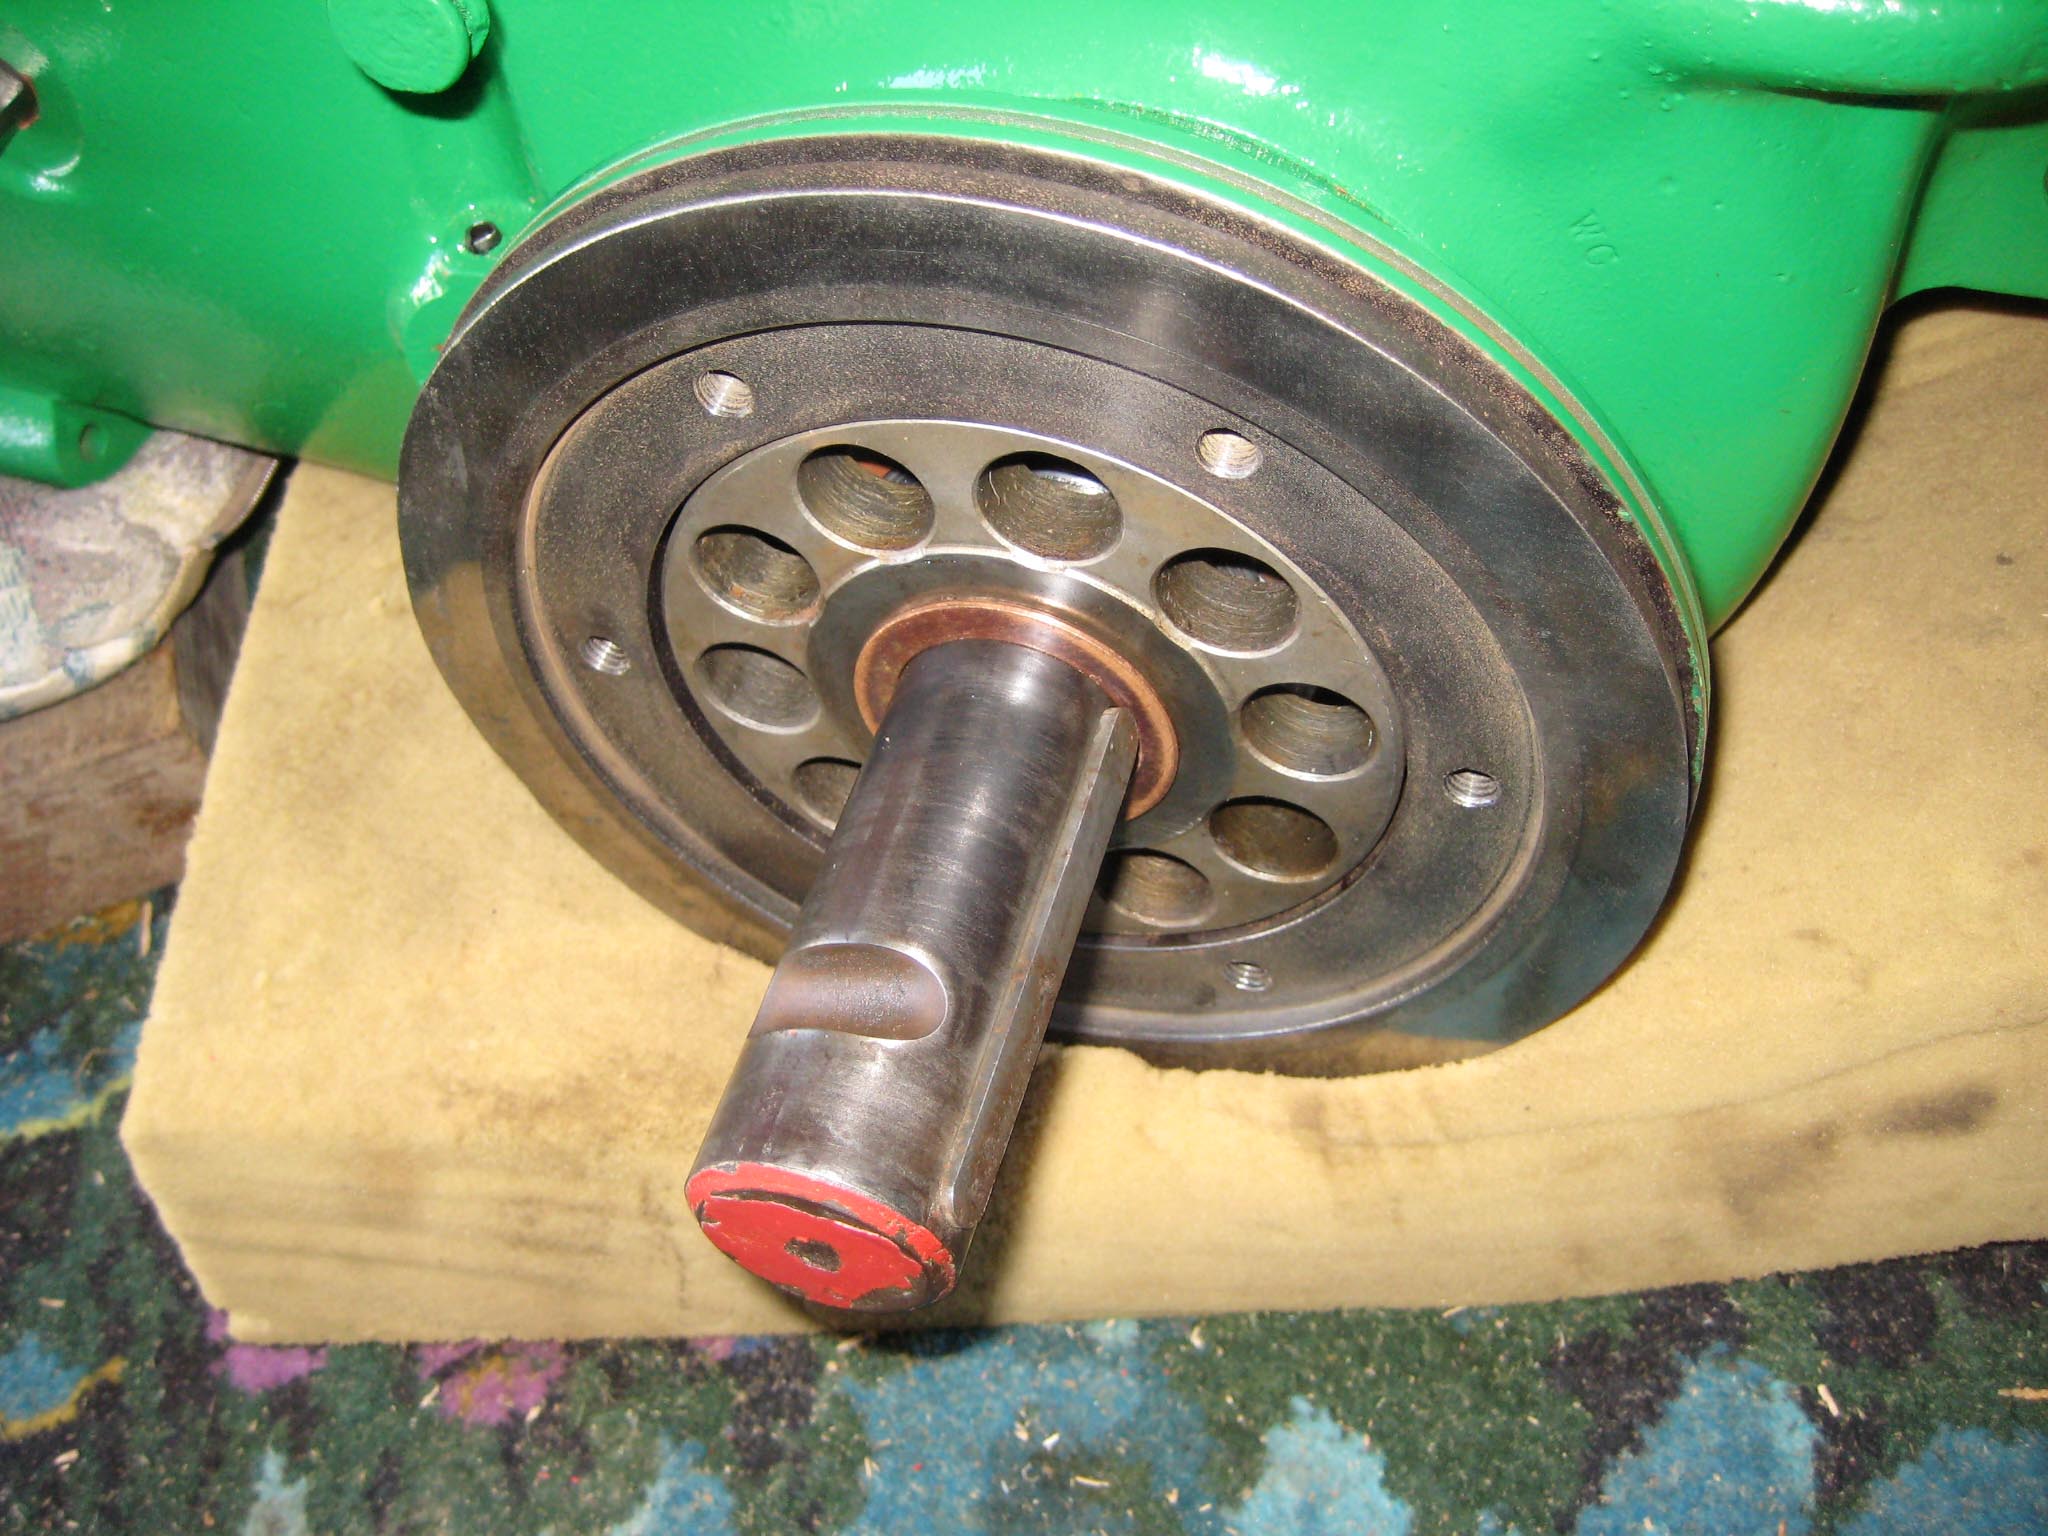
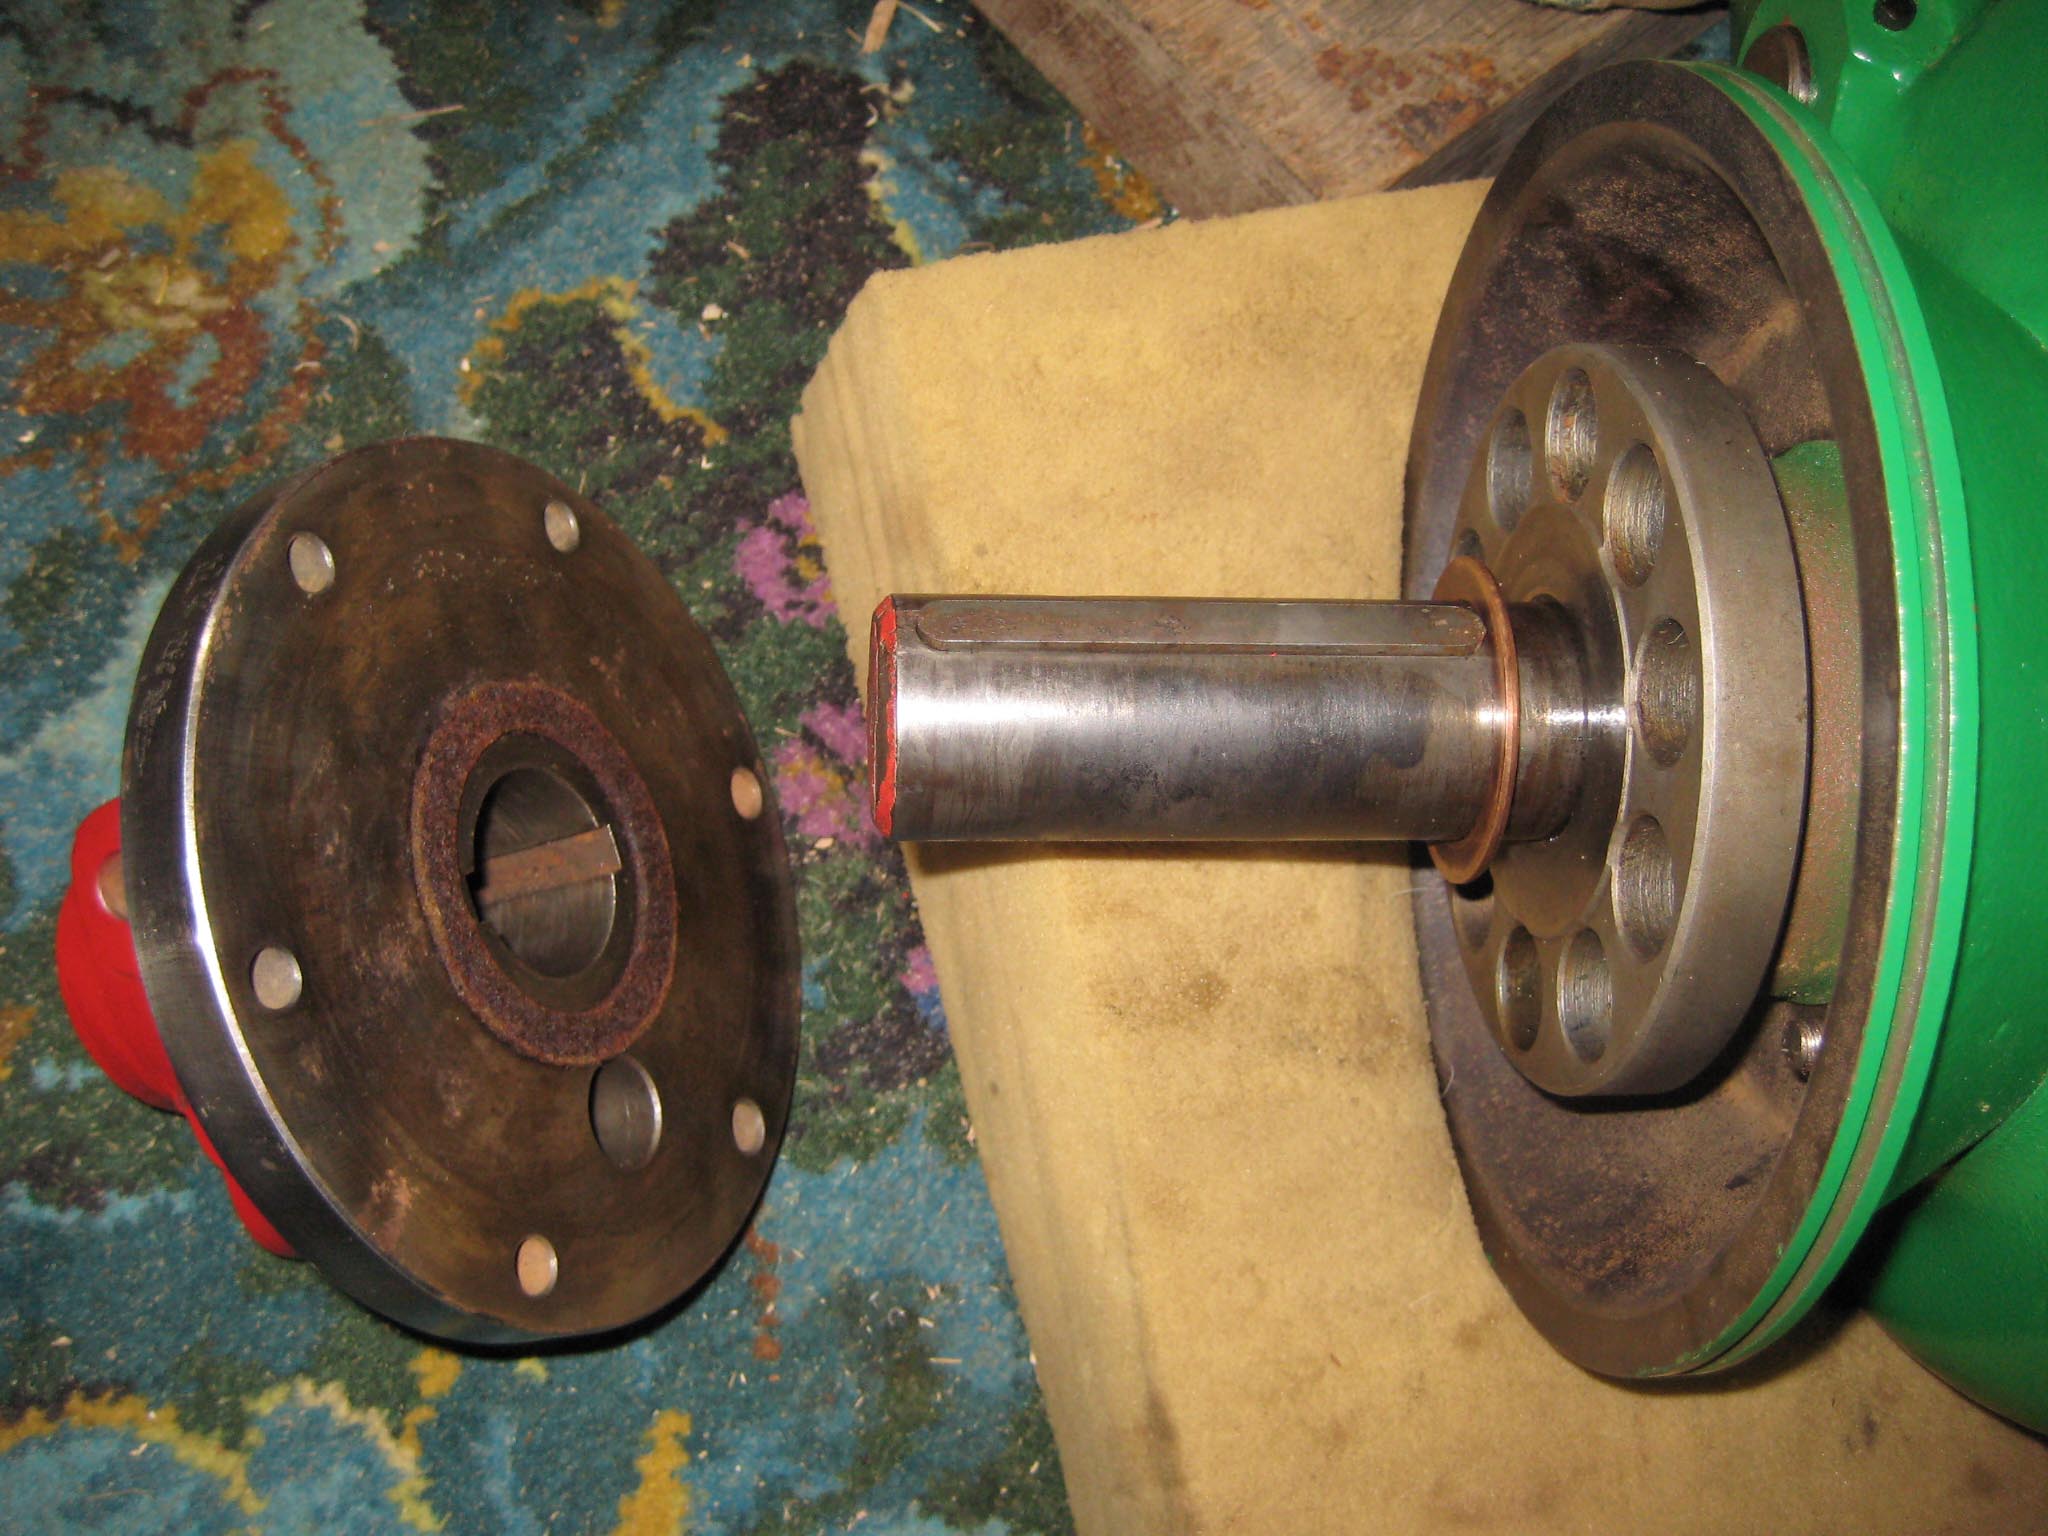
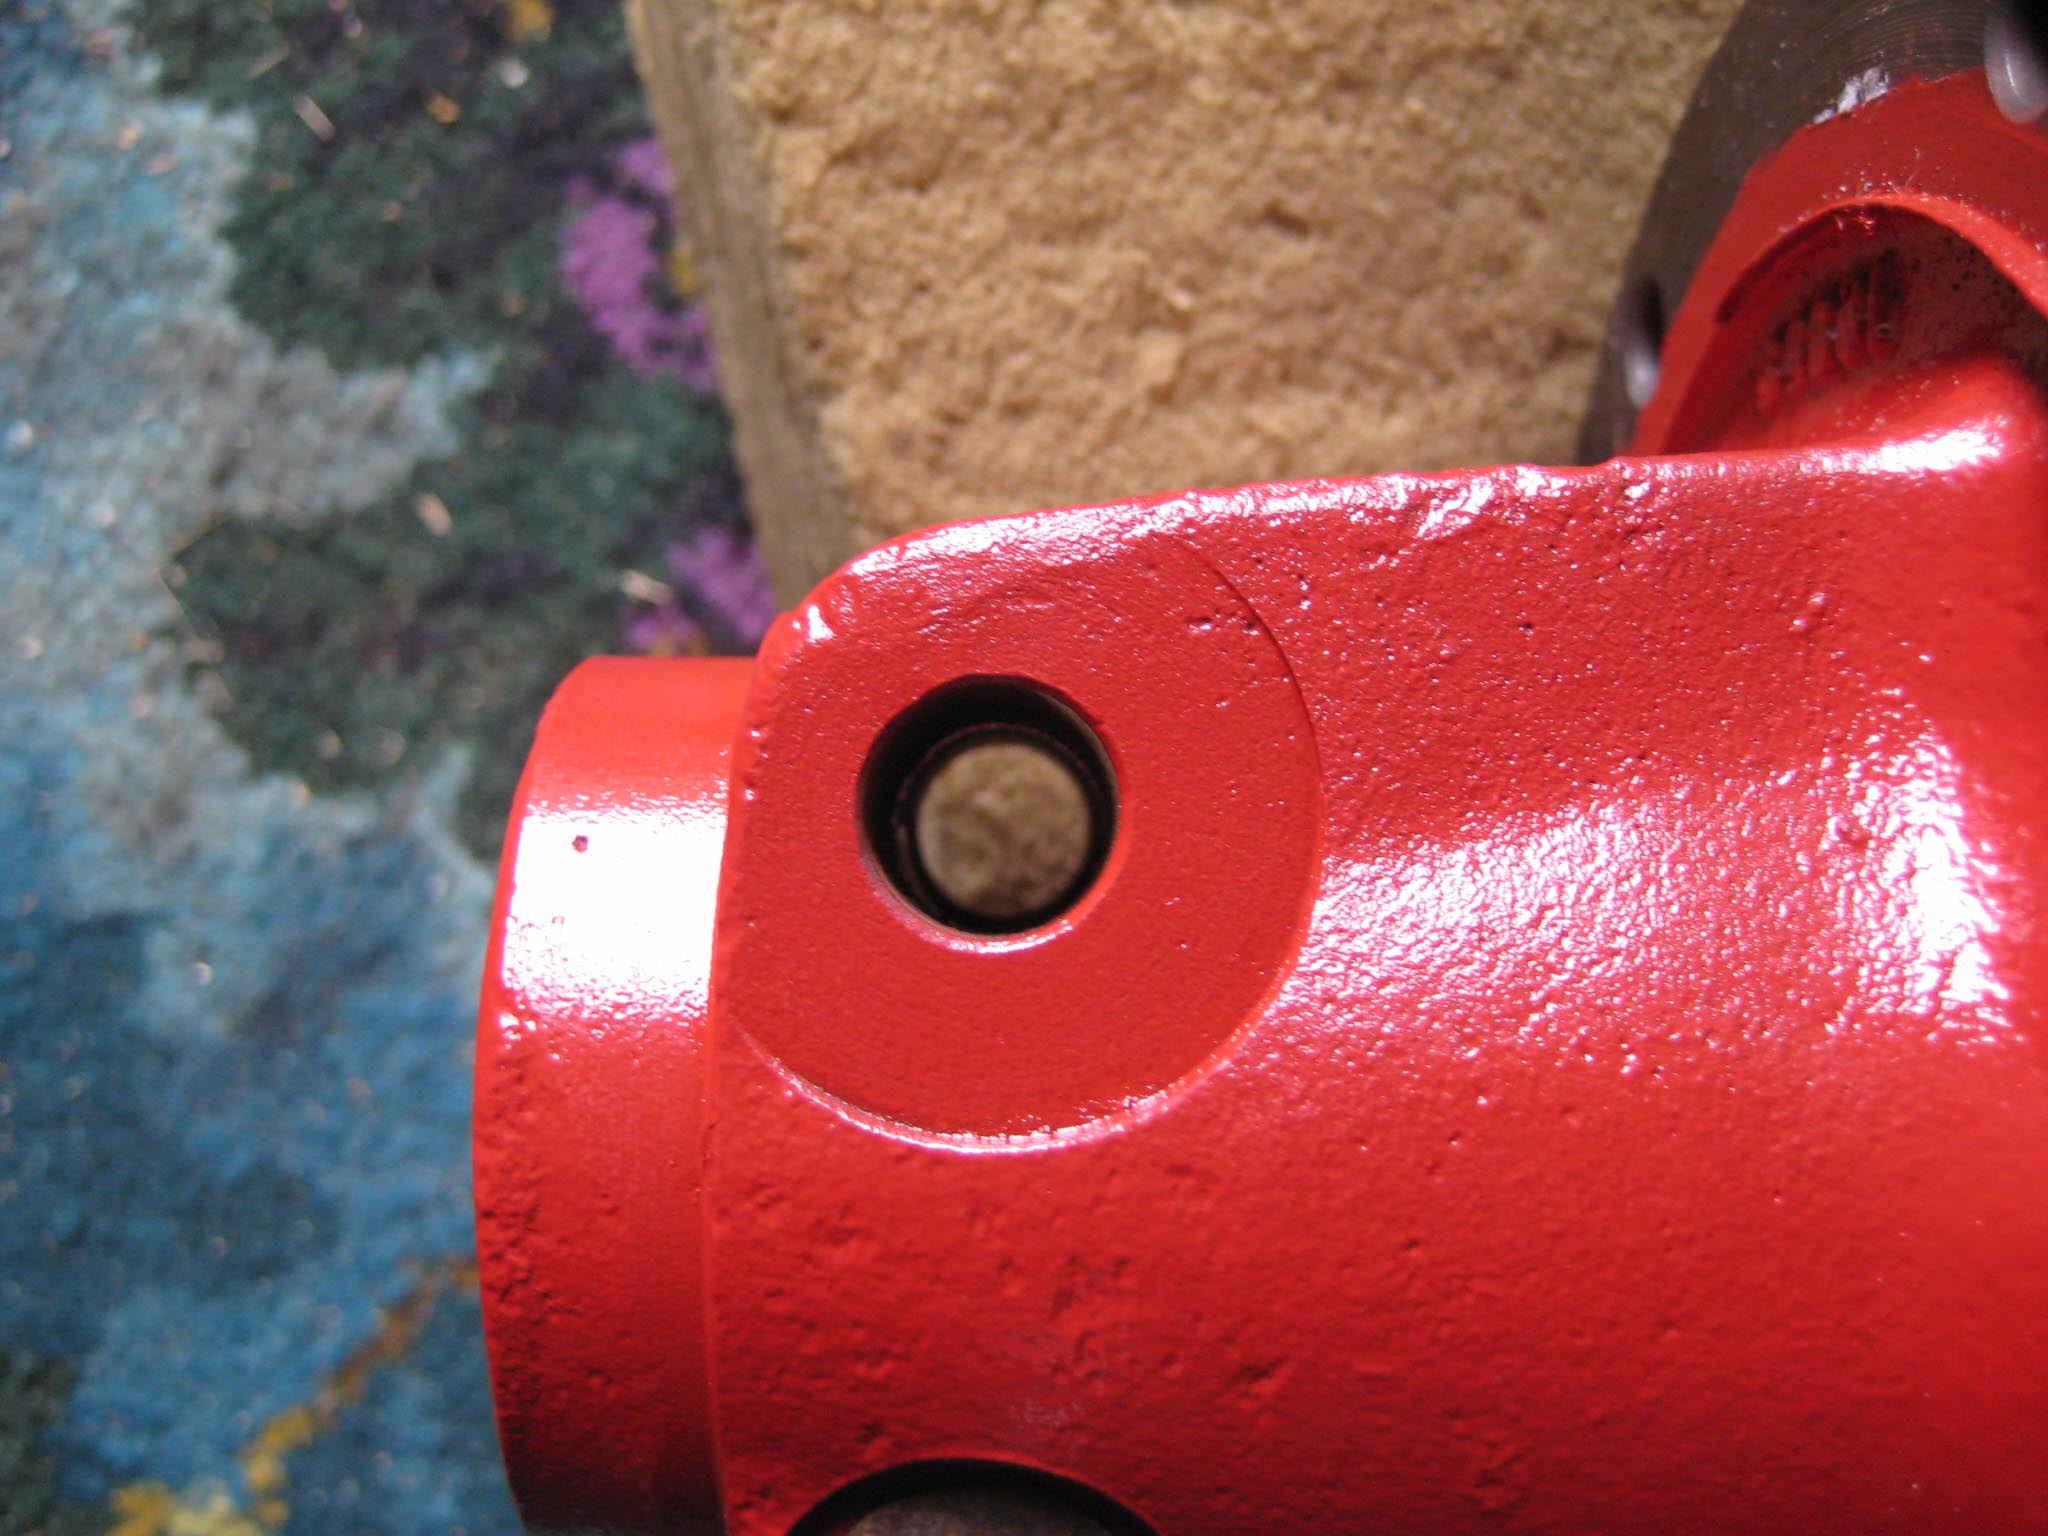
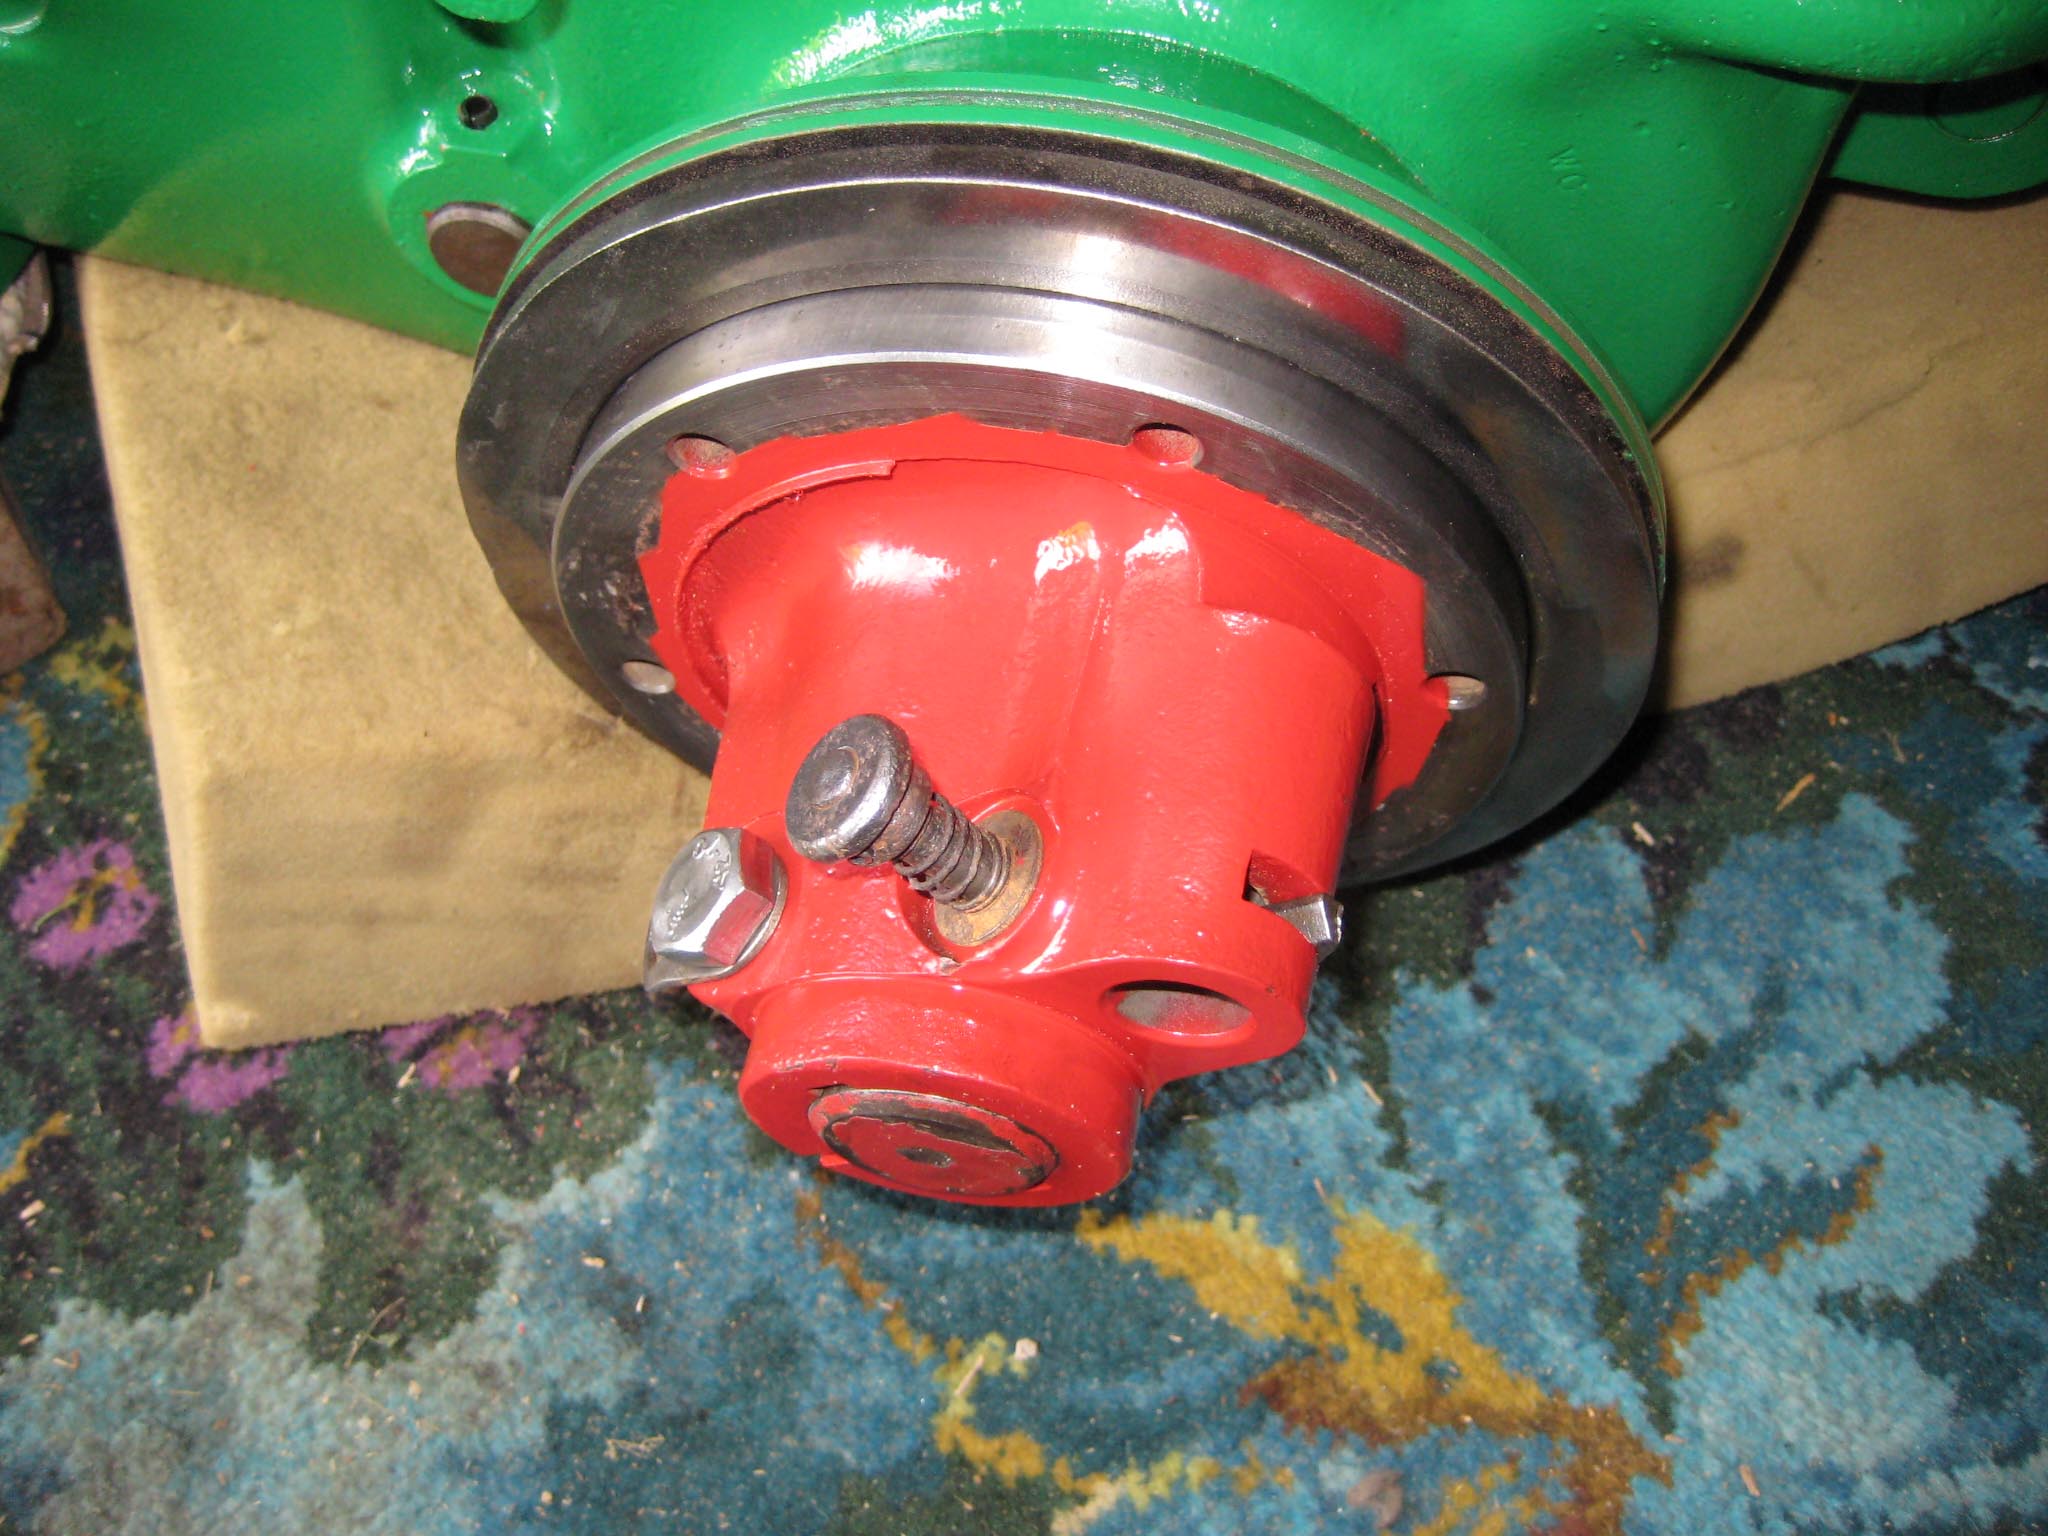
I next prepared the hubs for fitting onto the axle by installing the locking mechanism for the large pins which slot through the hubs into the driven gear sleeves (Simar 0038 & 39). Before the hubs can be fitted to the axle, the wheel flanges need to be installed (Simar 0040). Slide the Bronze washer onto the axle and then fit the two long keys into their keyways. Before sliding the hub onto the axle, make sure the felt washer is fitted into the machined groove on the back face of the hub (Simar 0041). At both ends of the axle shaft is a half moon shaped groove. This lines up with a hole in the hub (Simar 0042). An M12 x 75 bolt fits through this hole, making sure that the securing tab for the hub plug chain is fitted under the bolt head (Simar 0043).
Attachments:
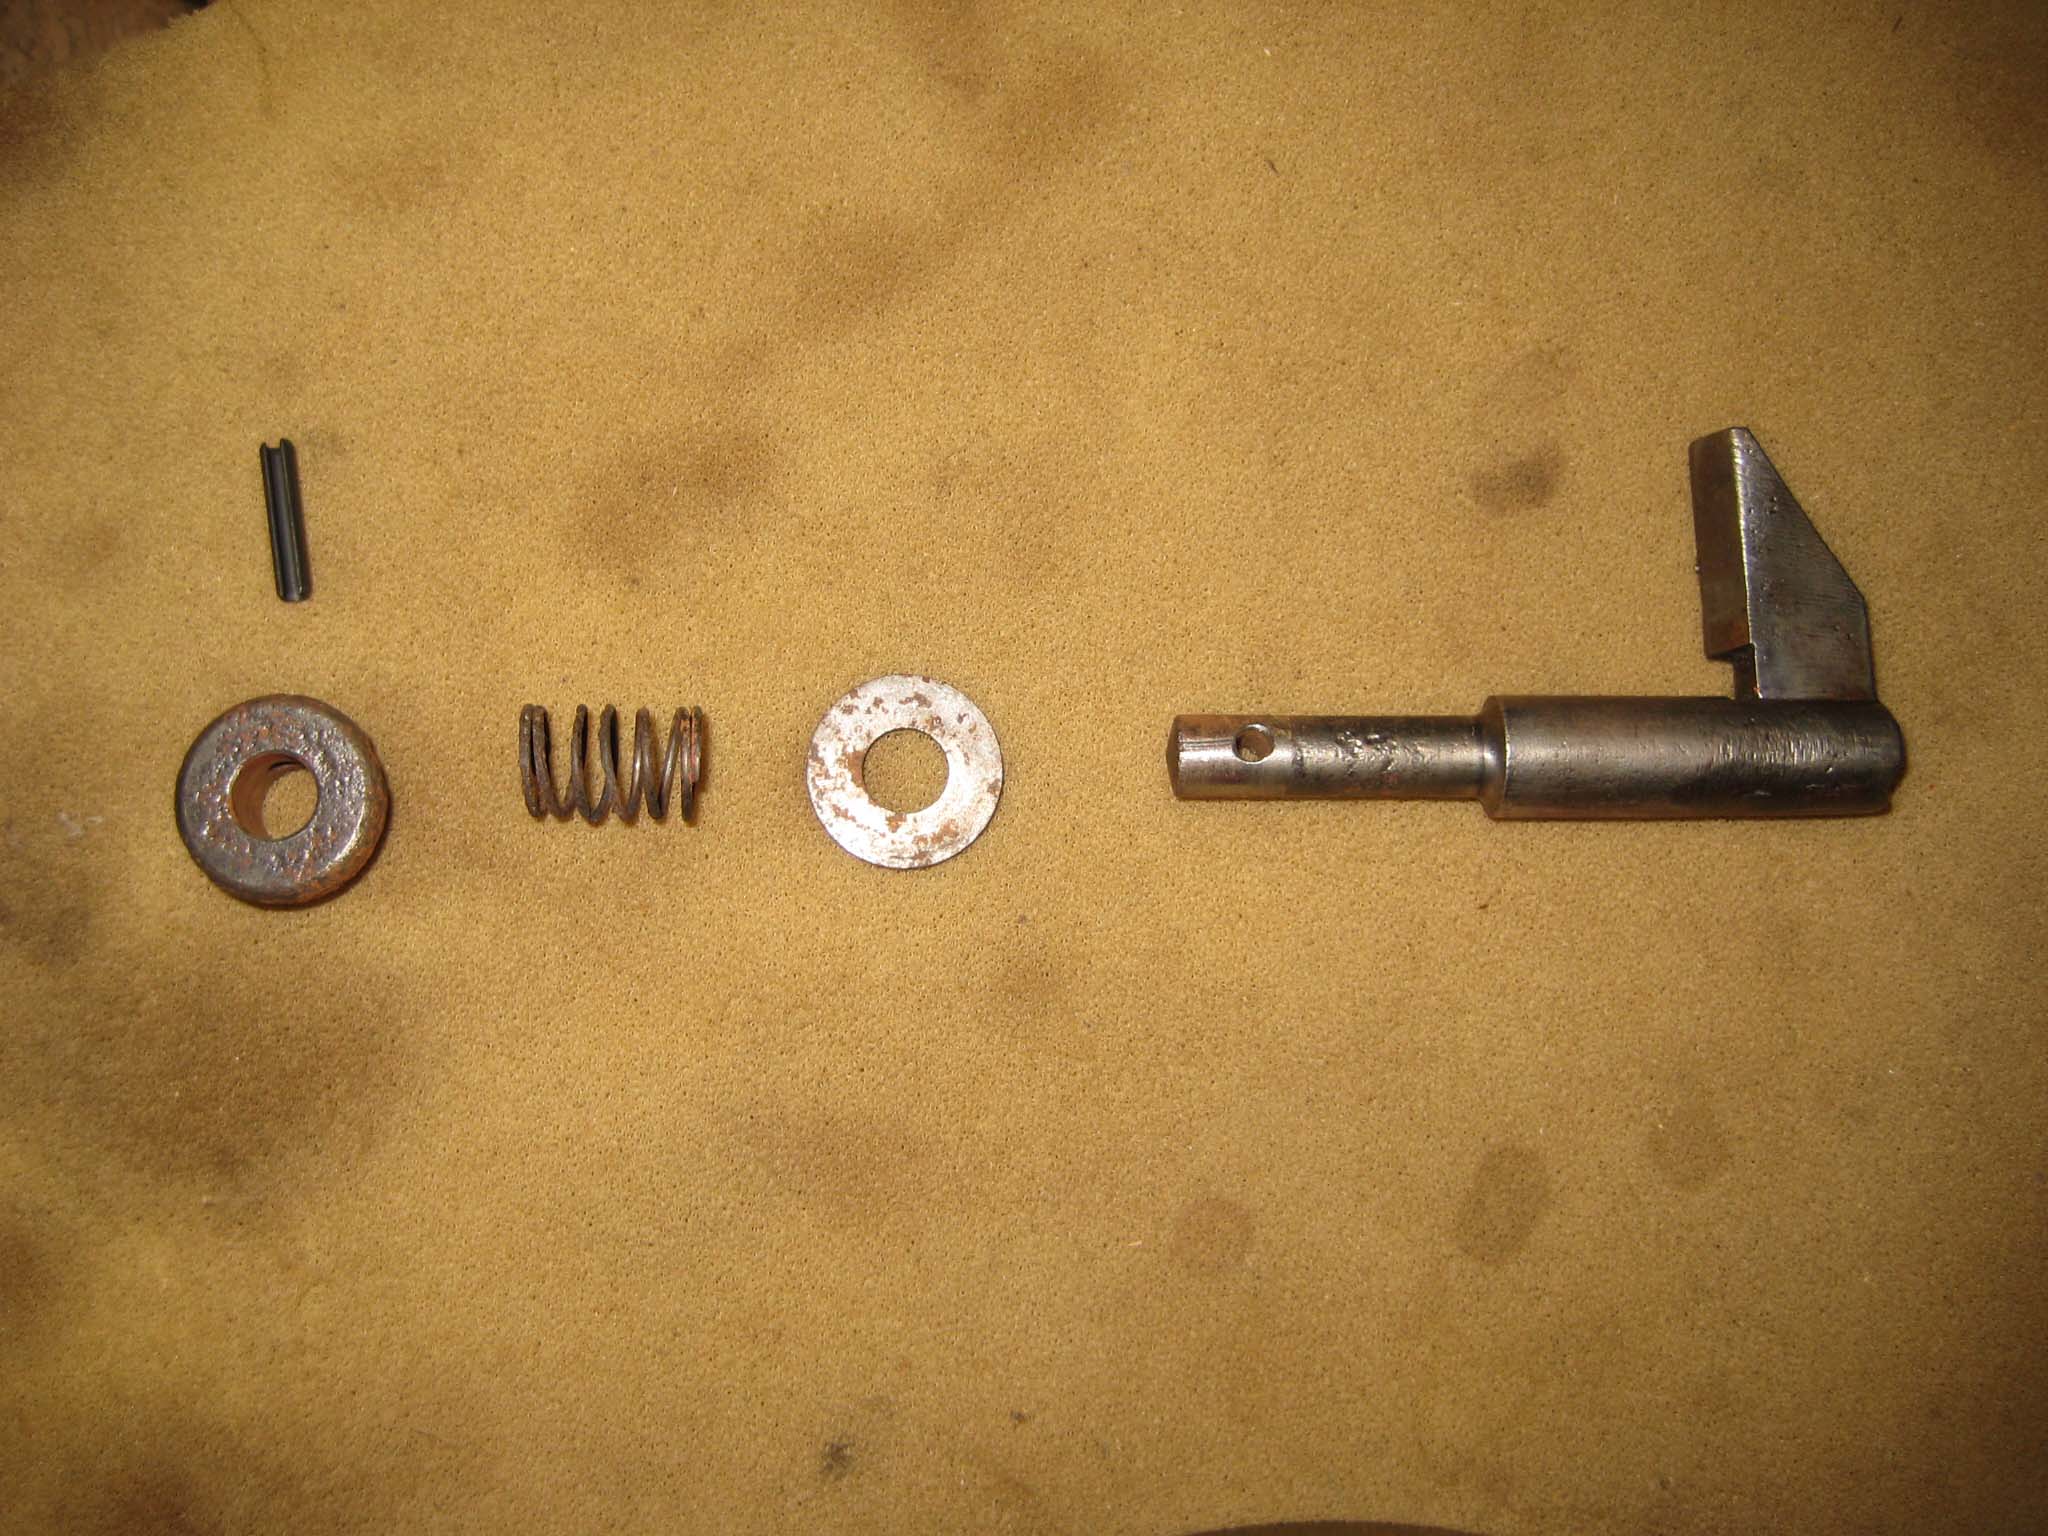
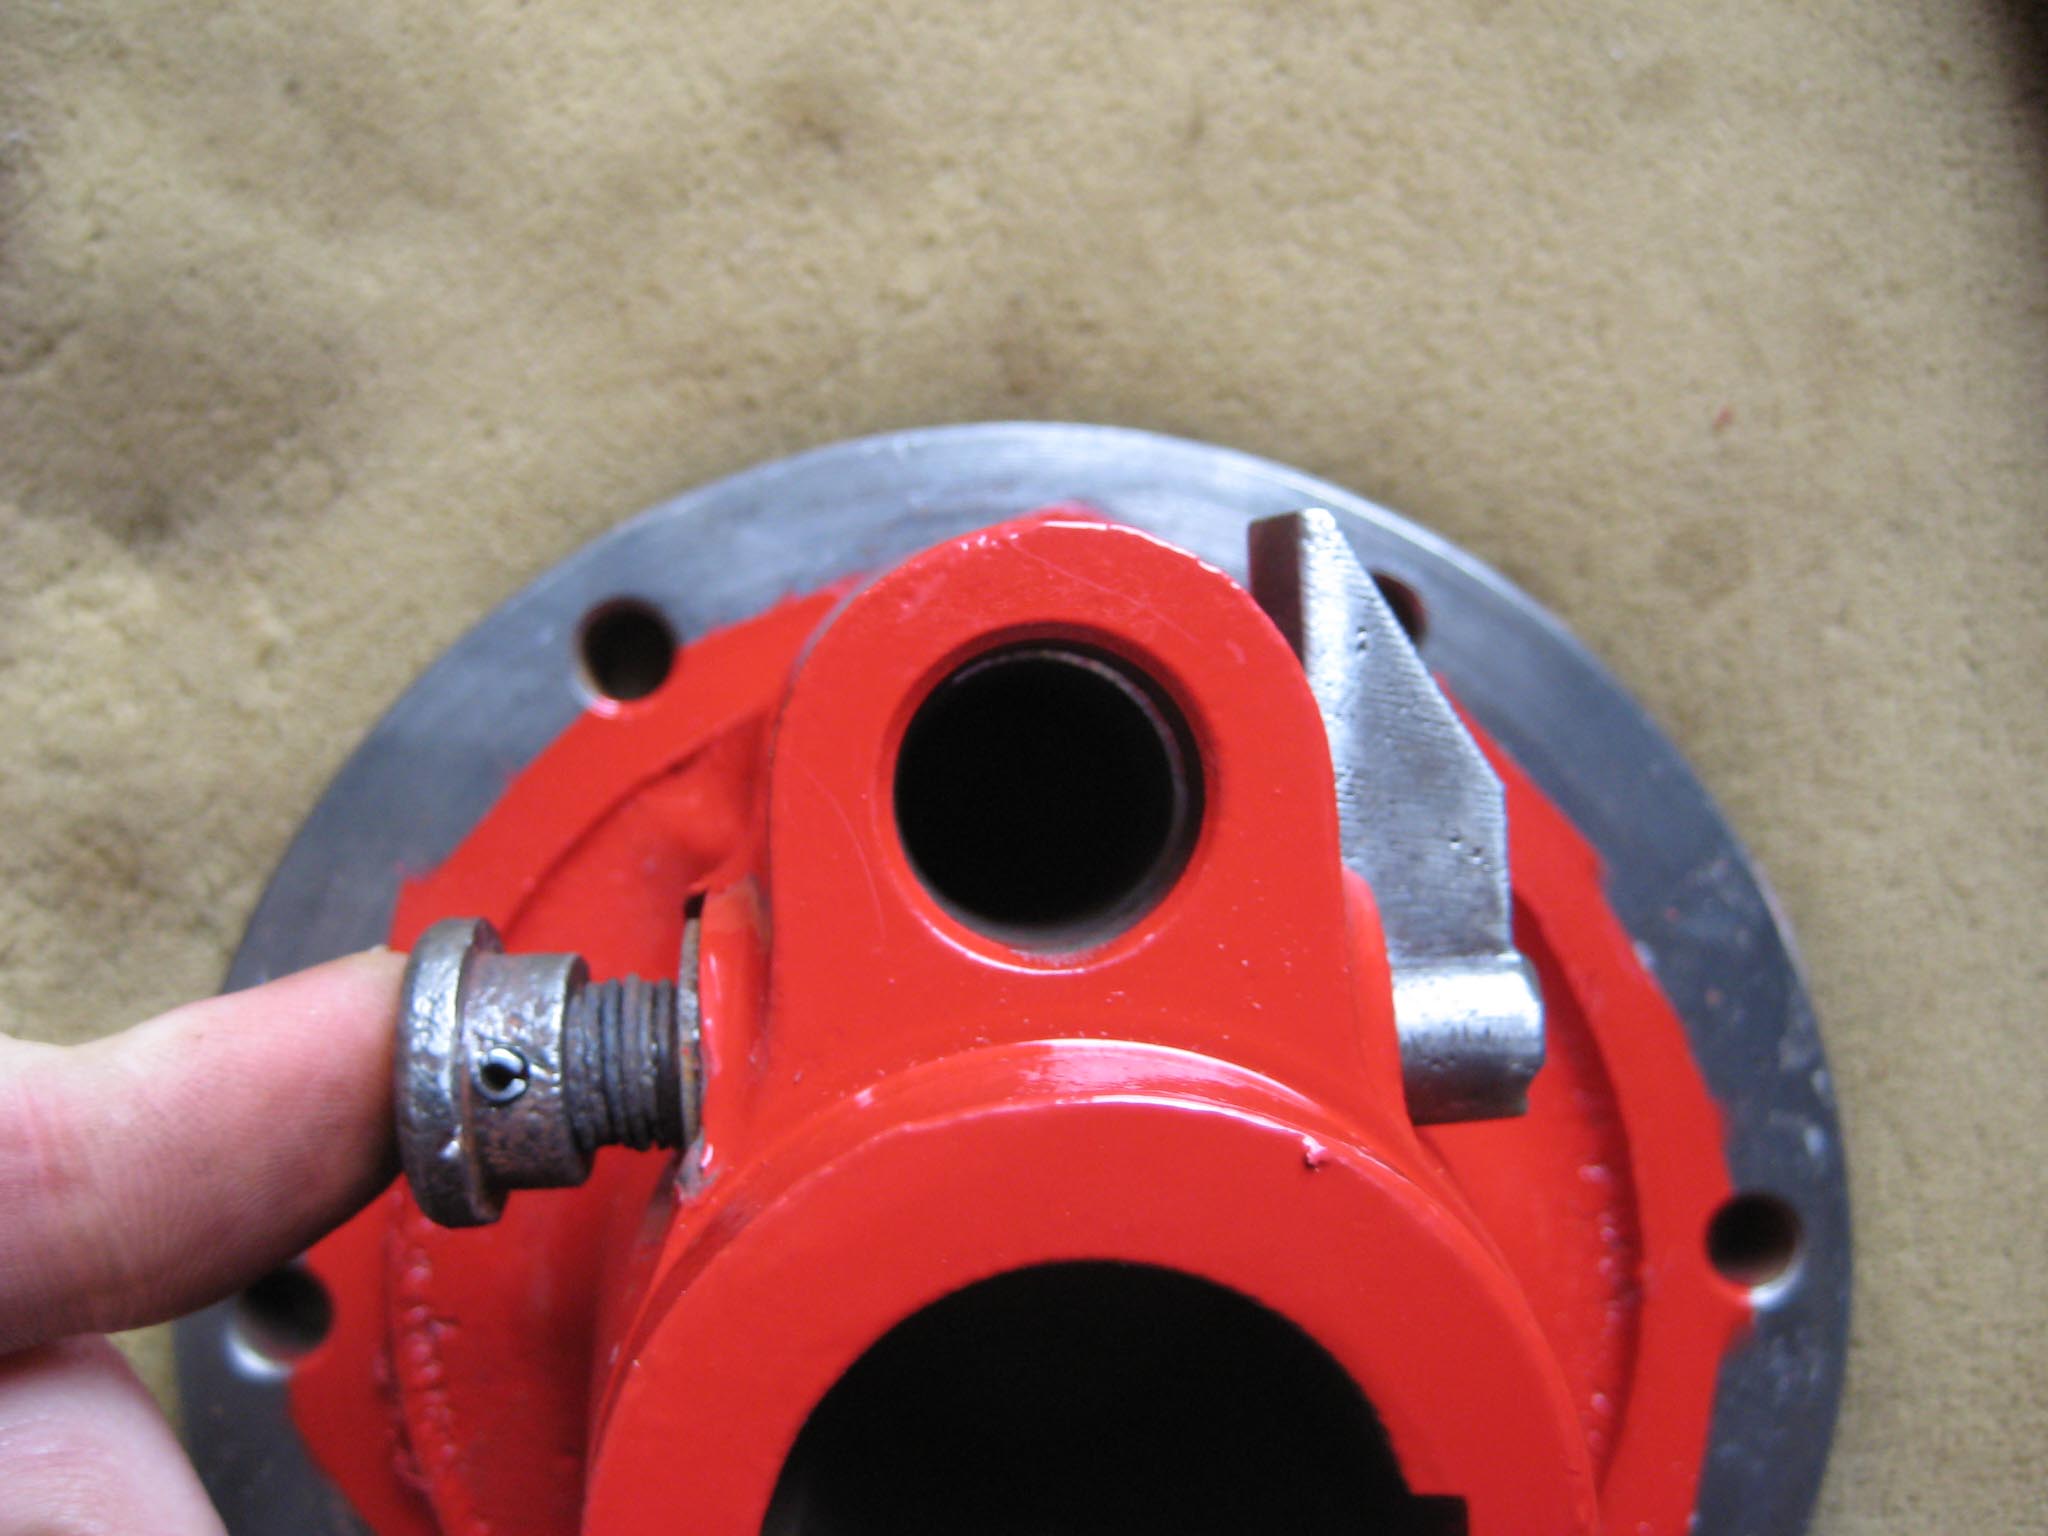
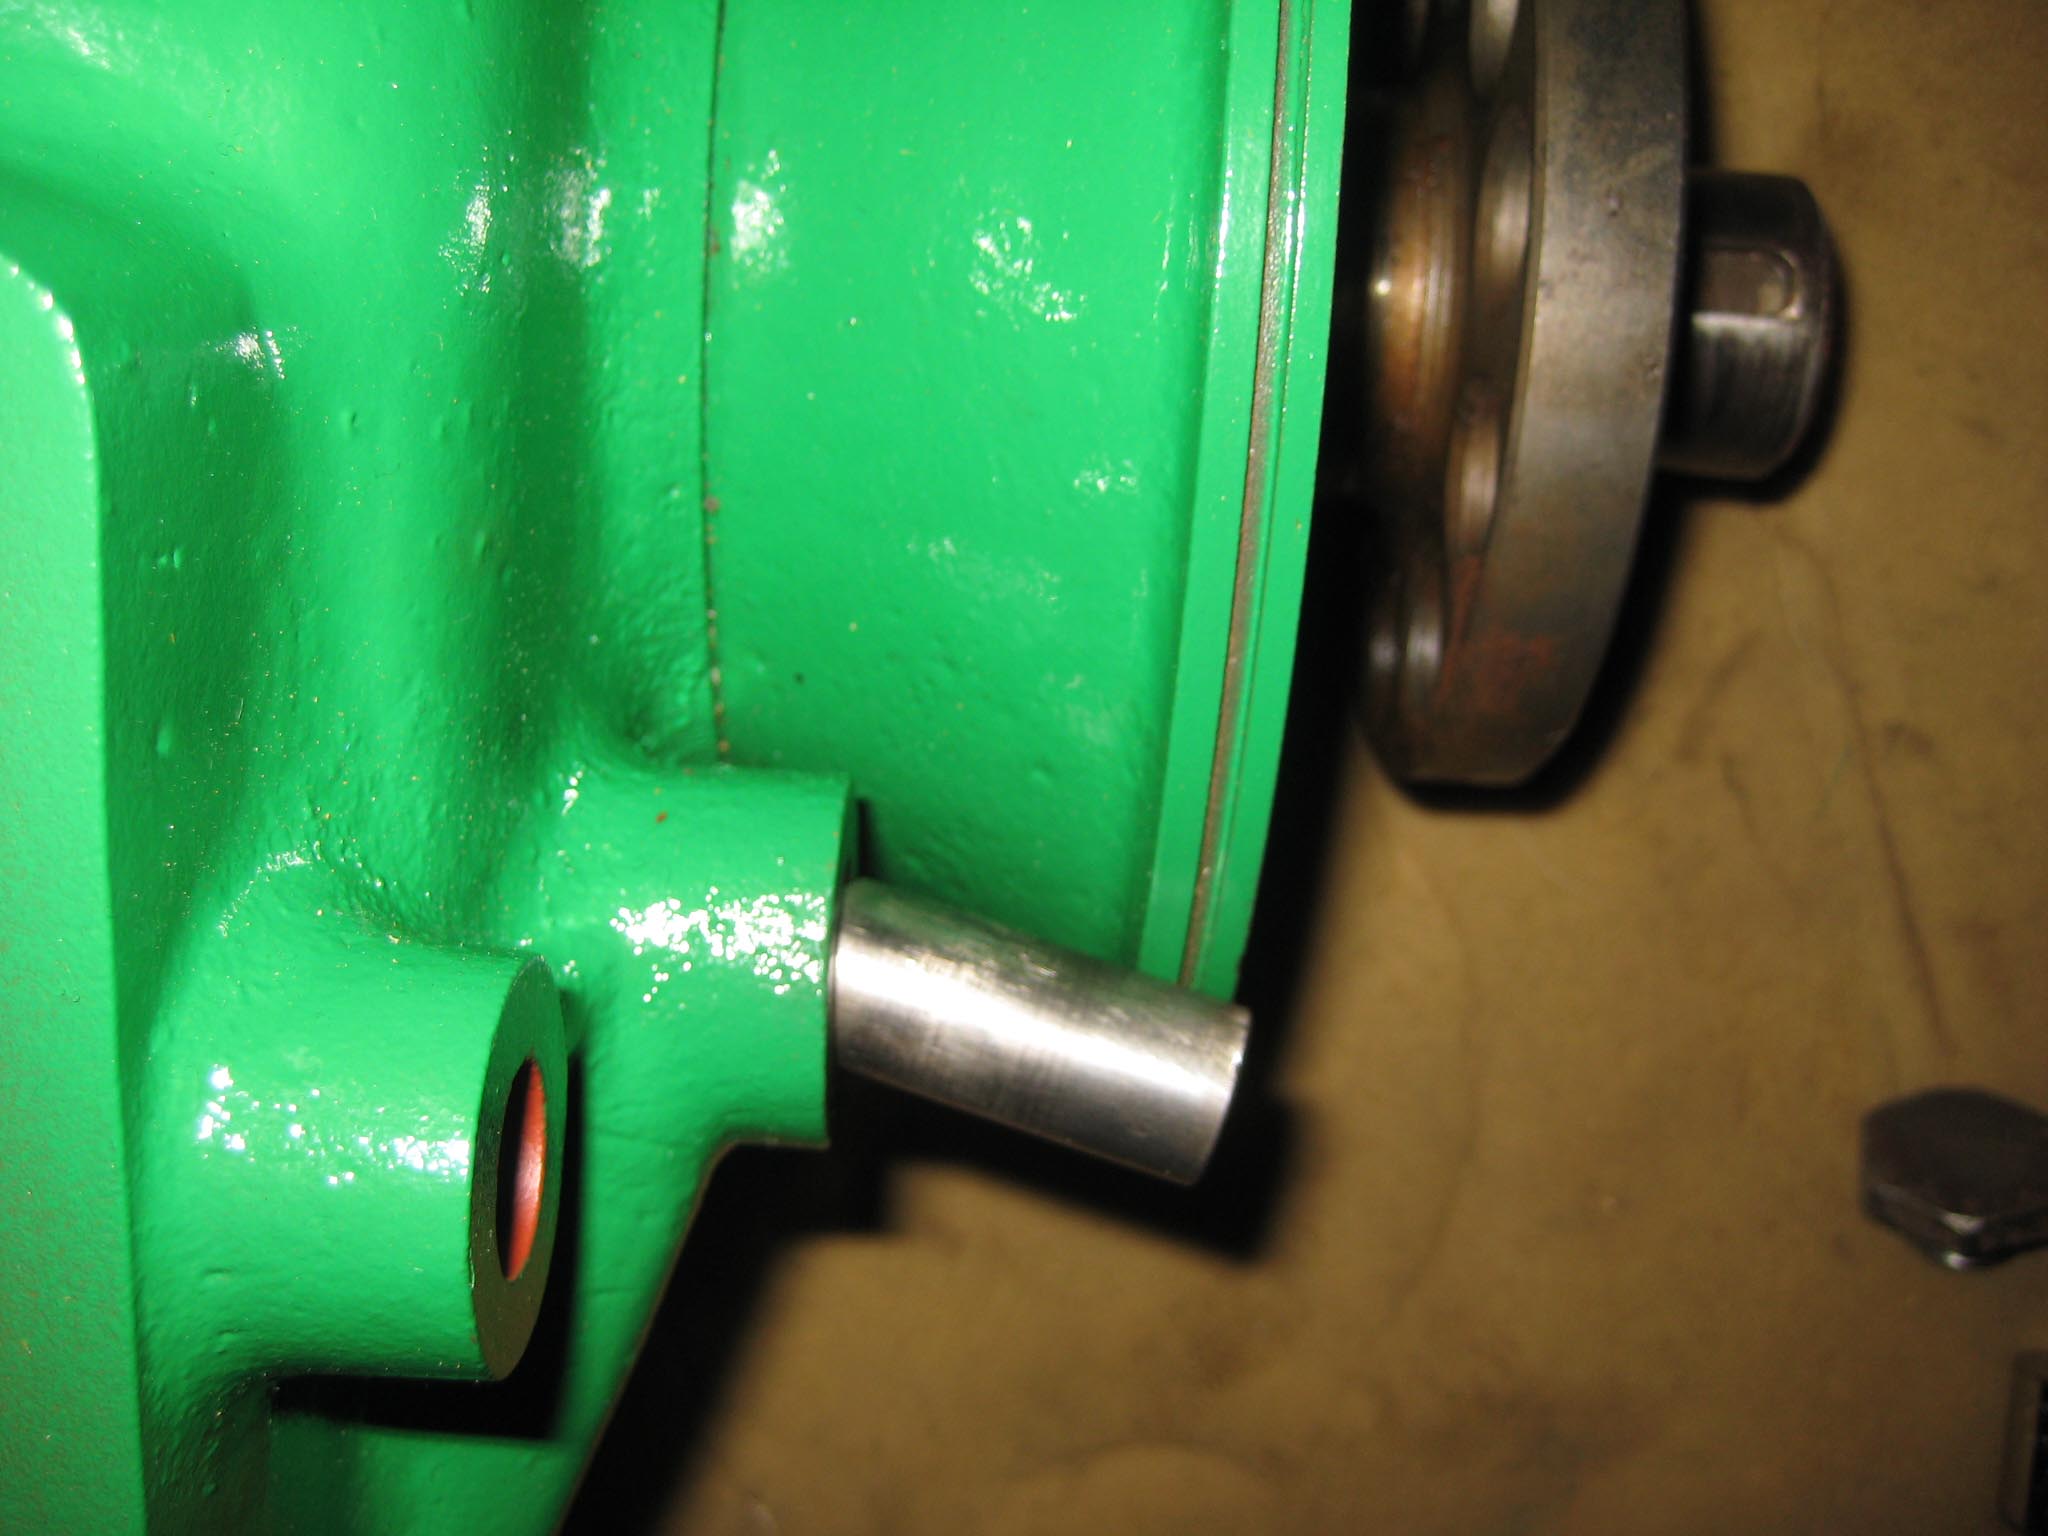
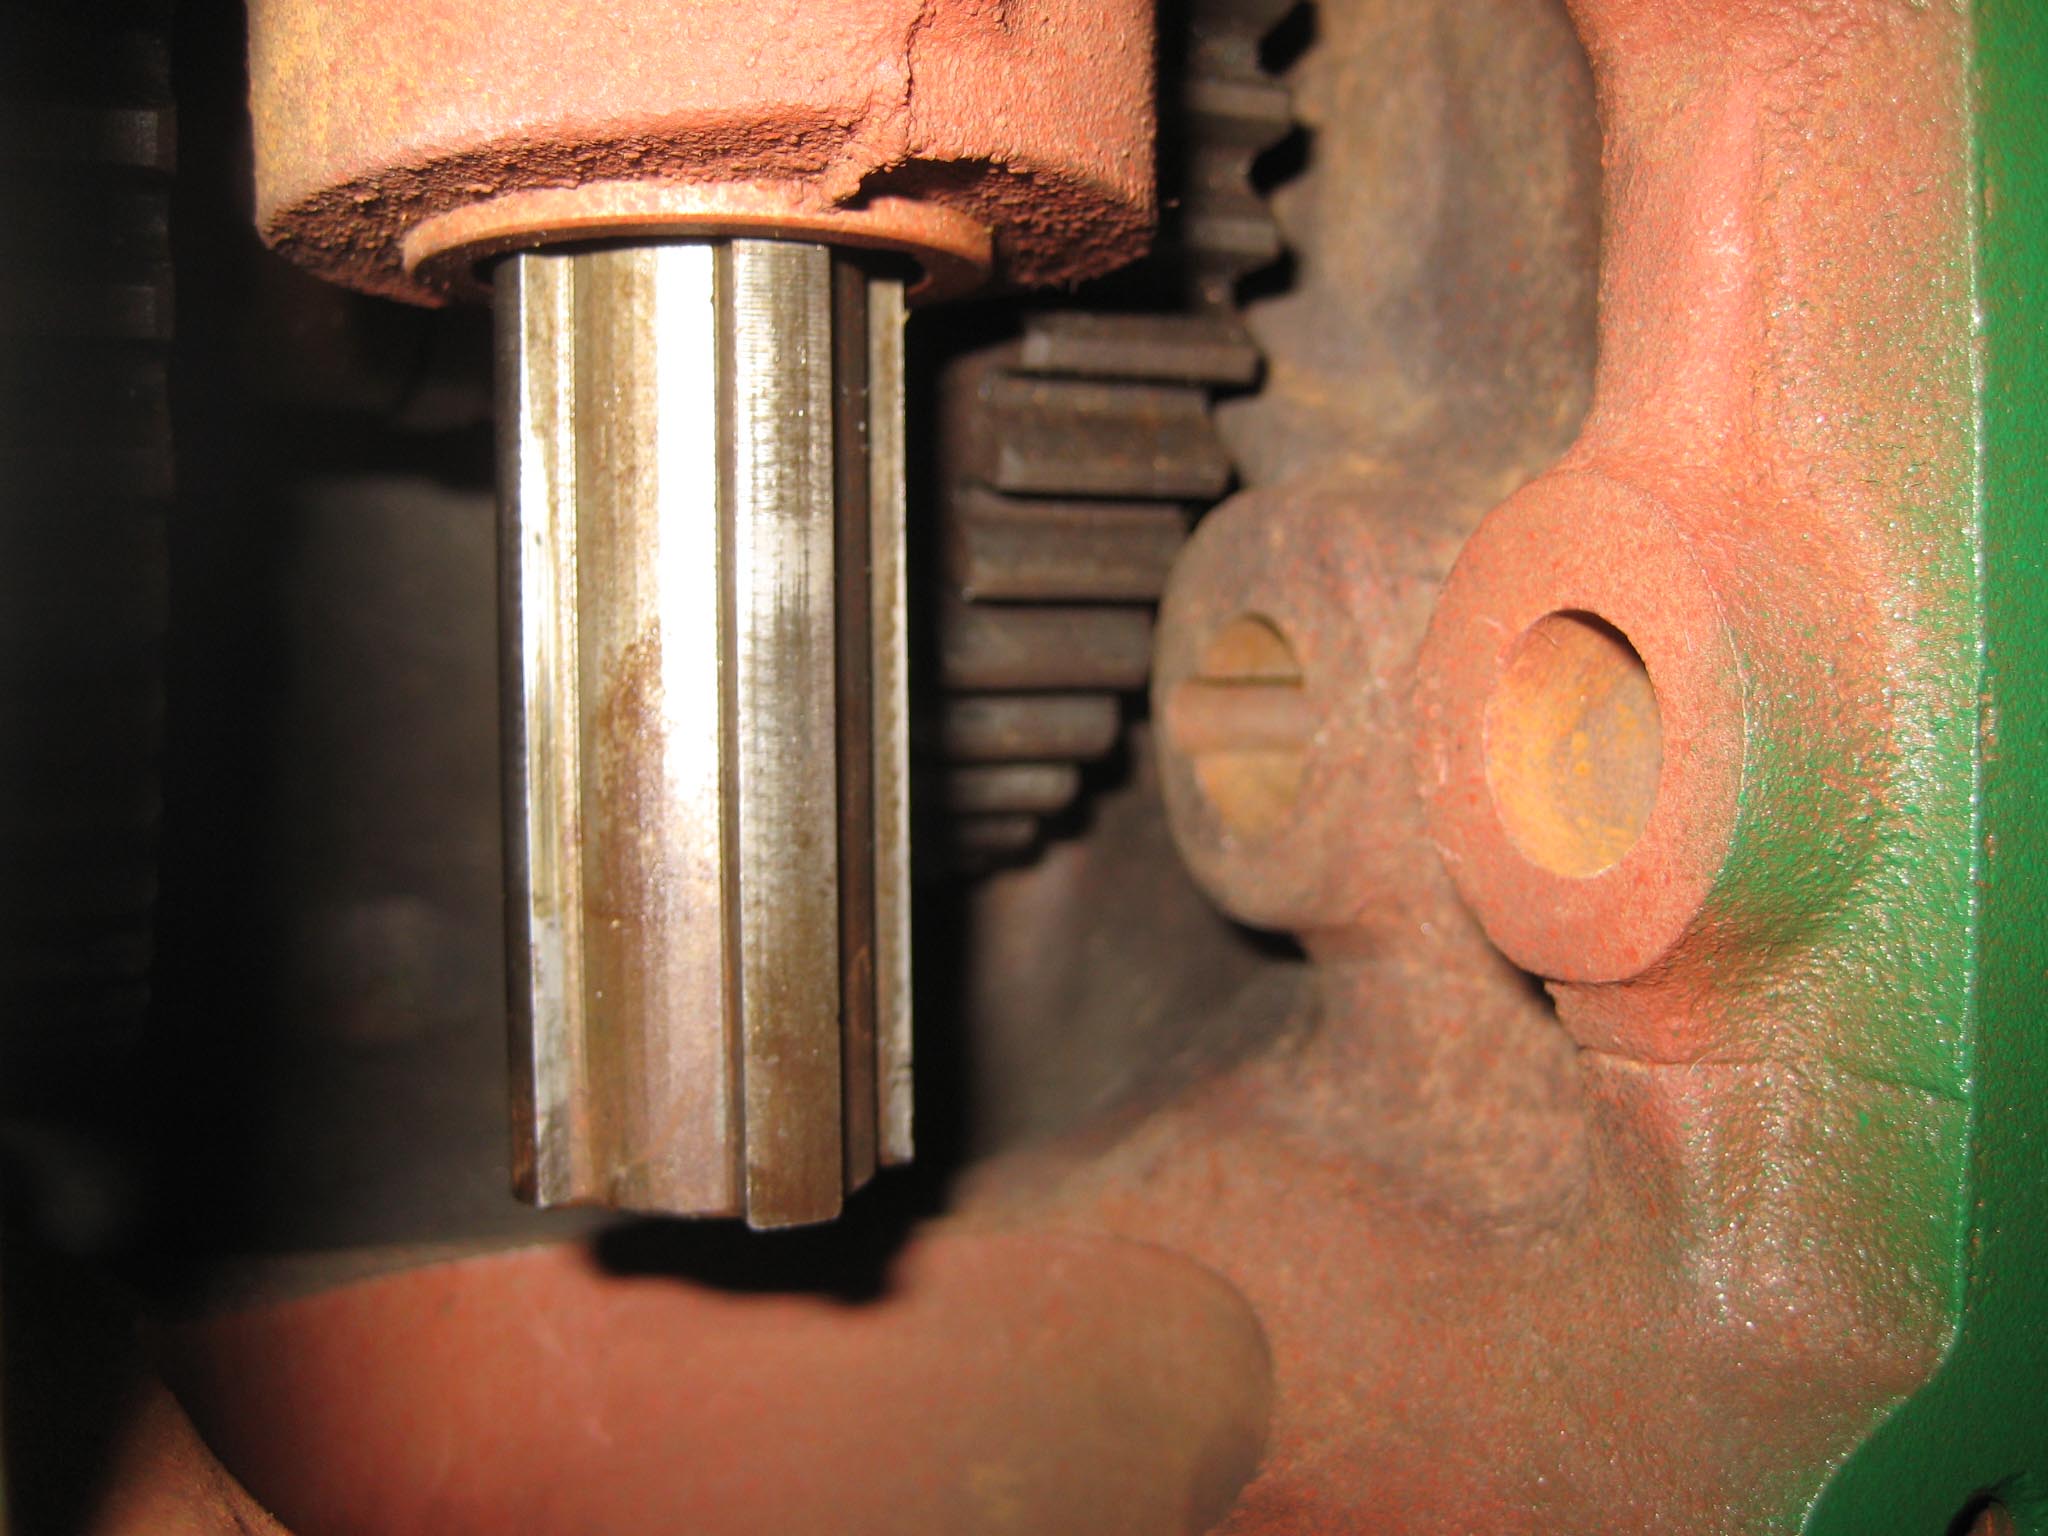
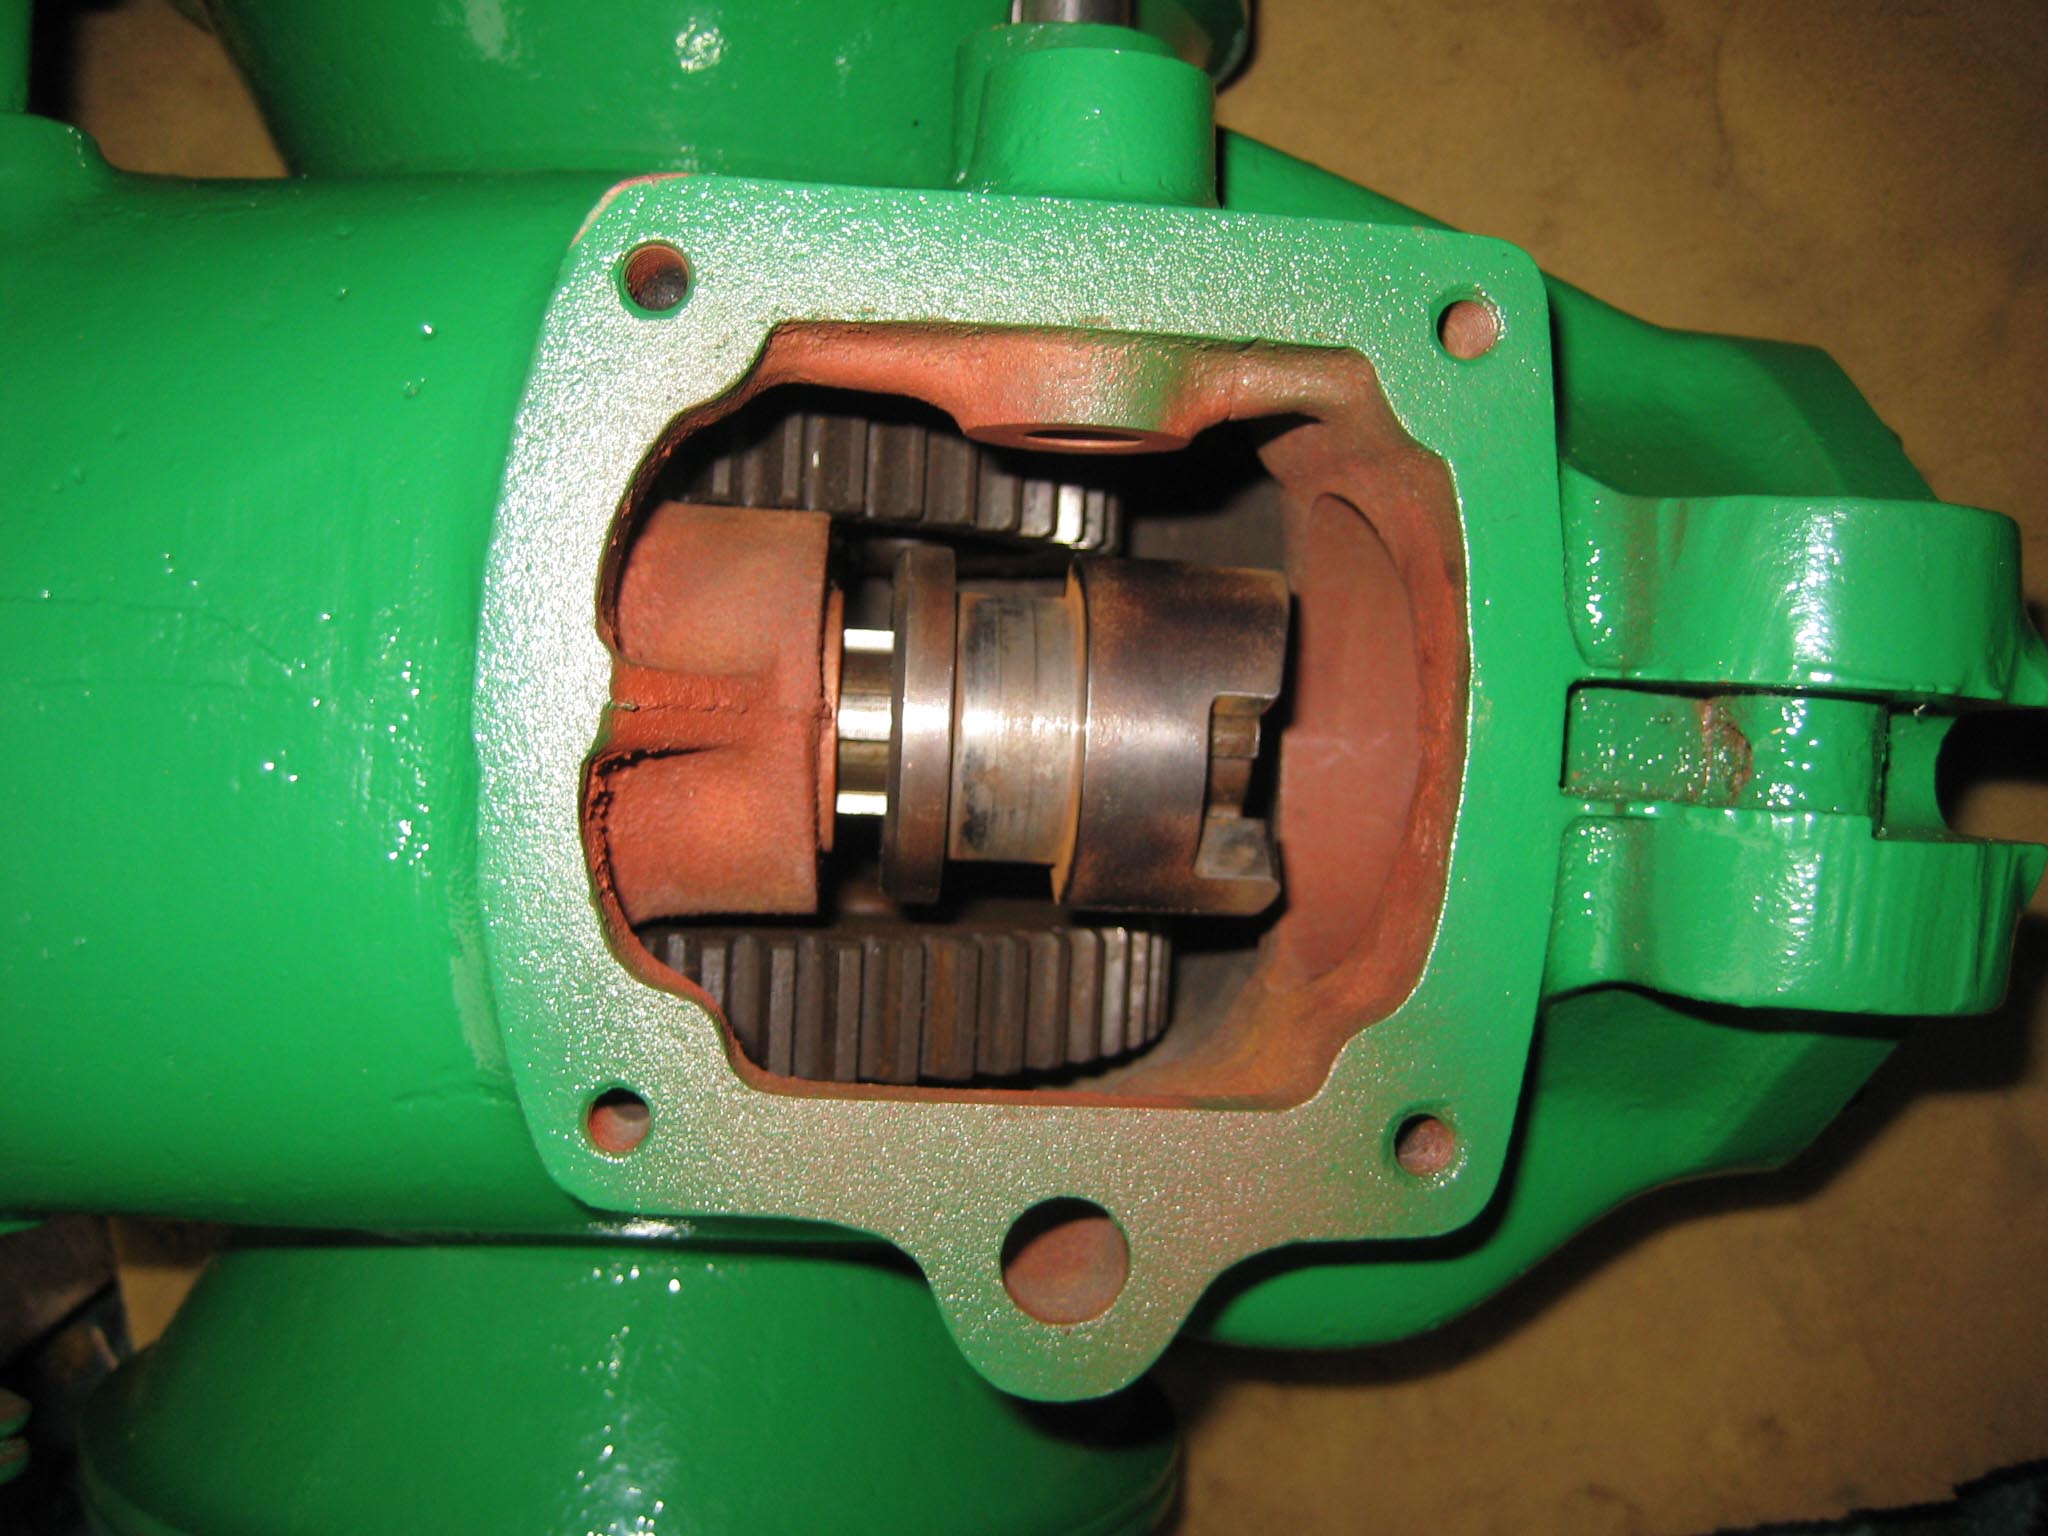
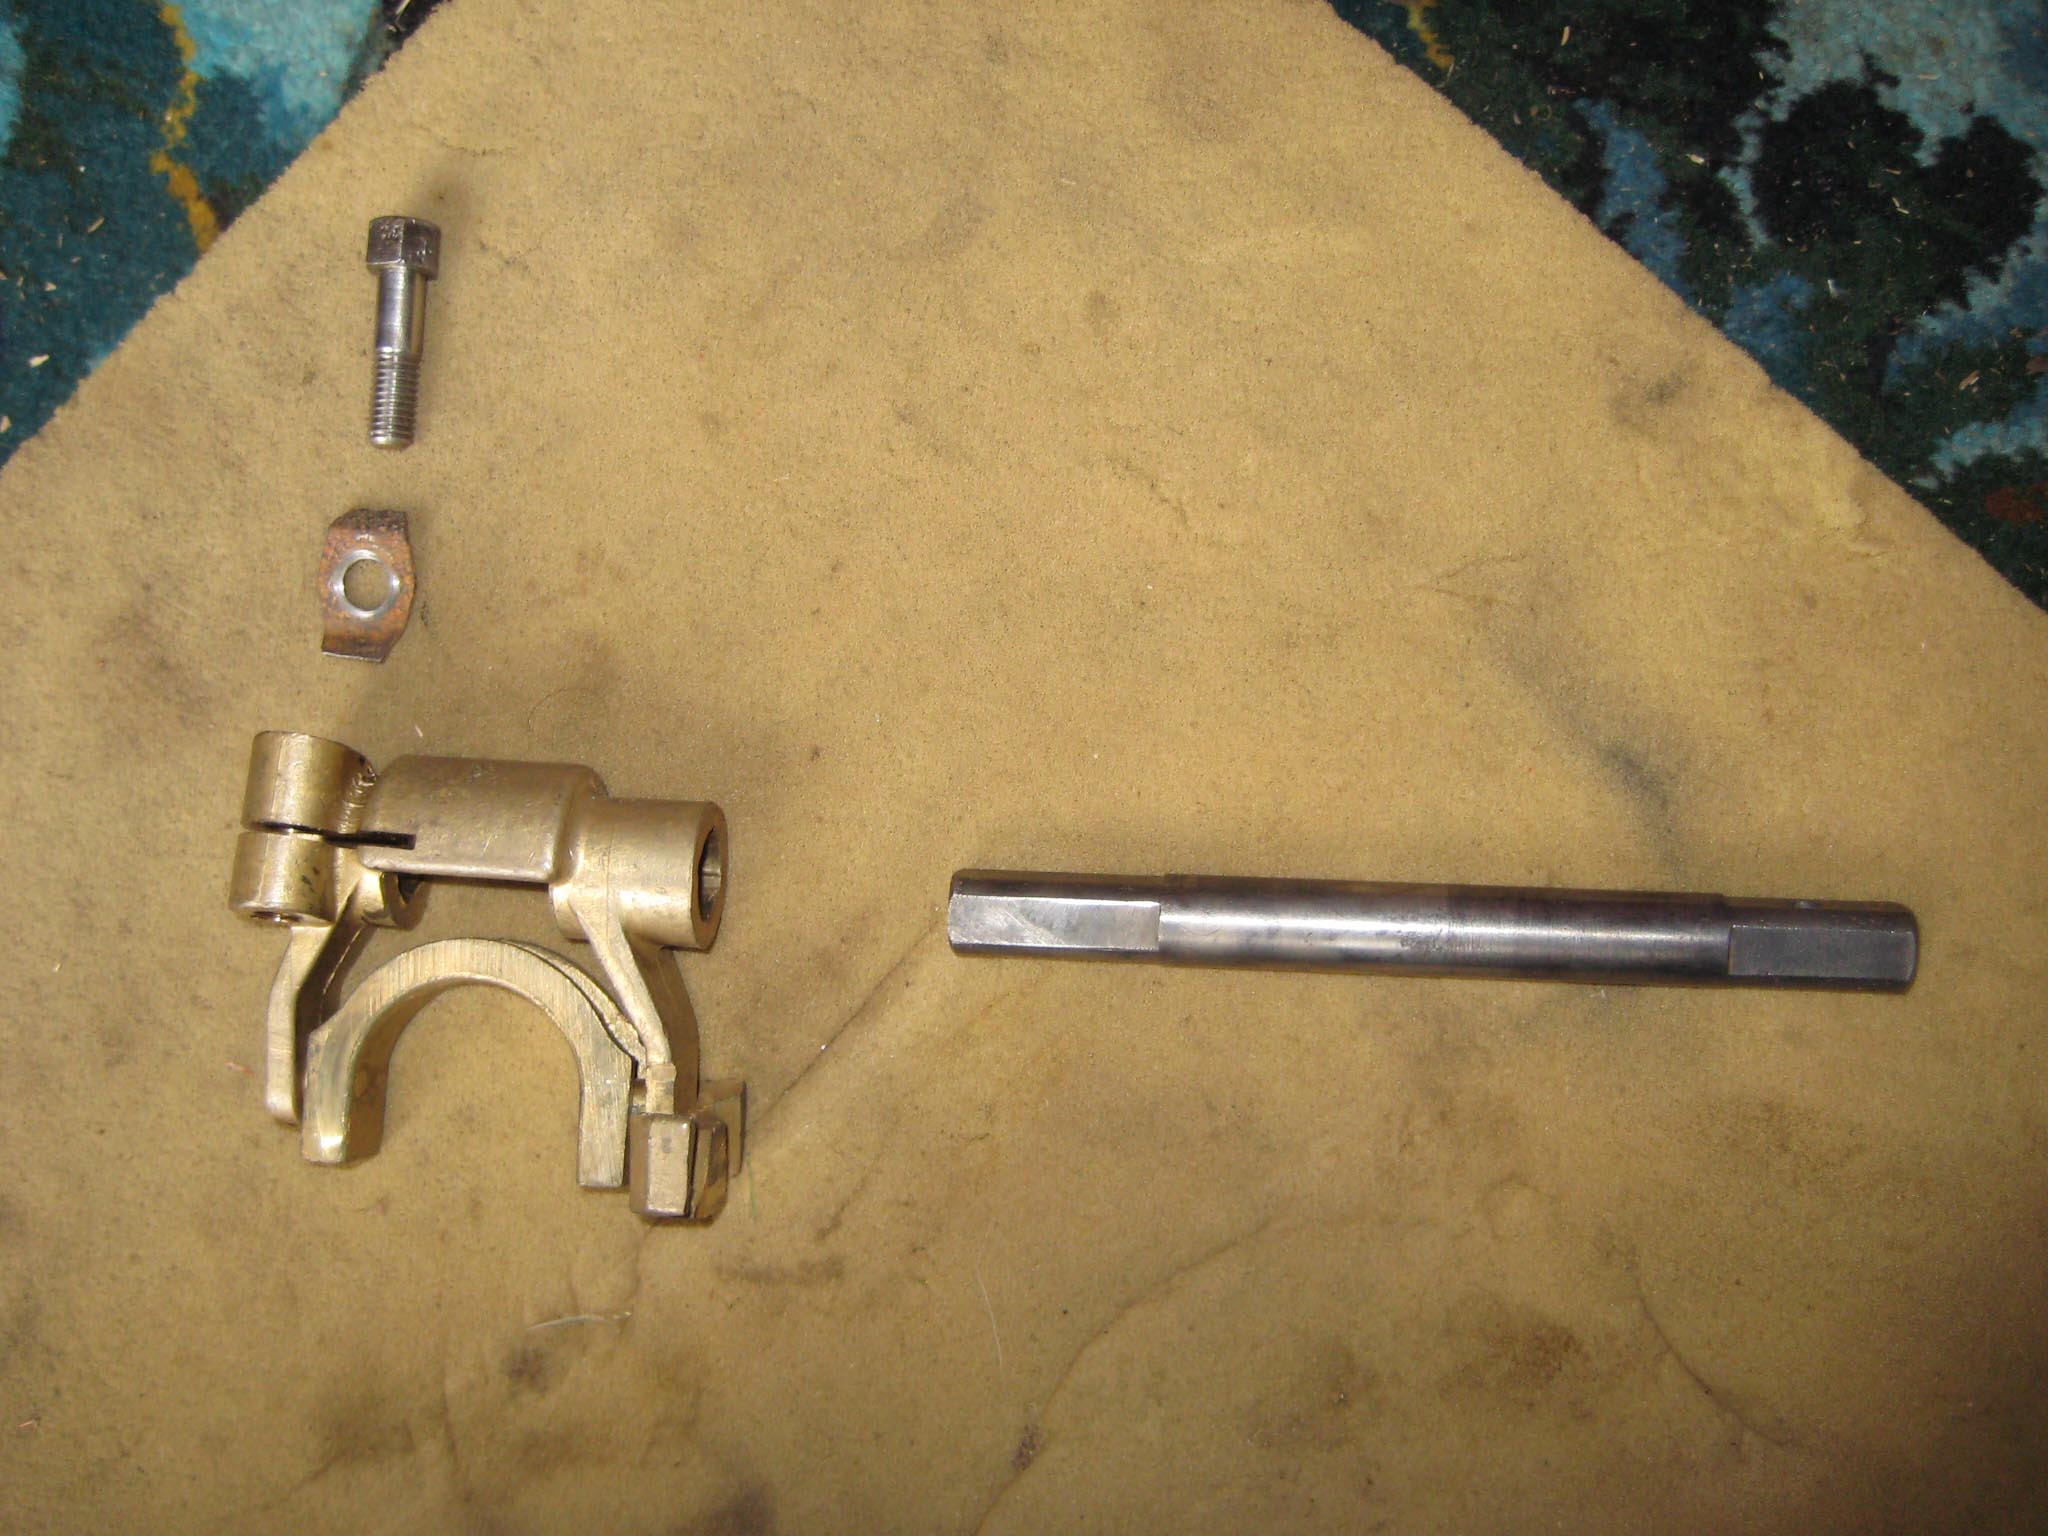
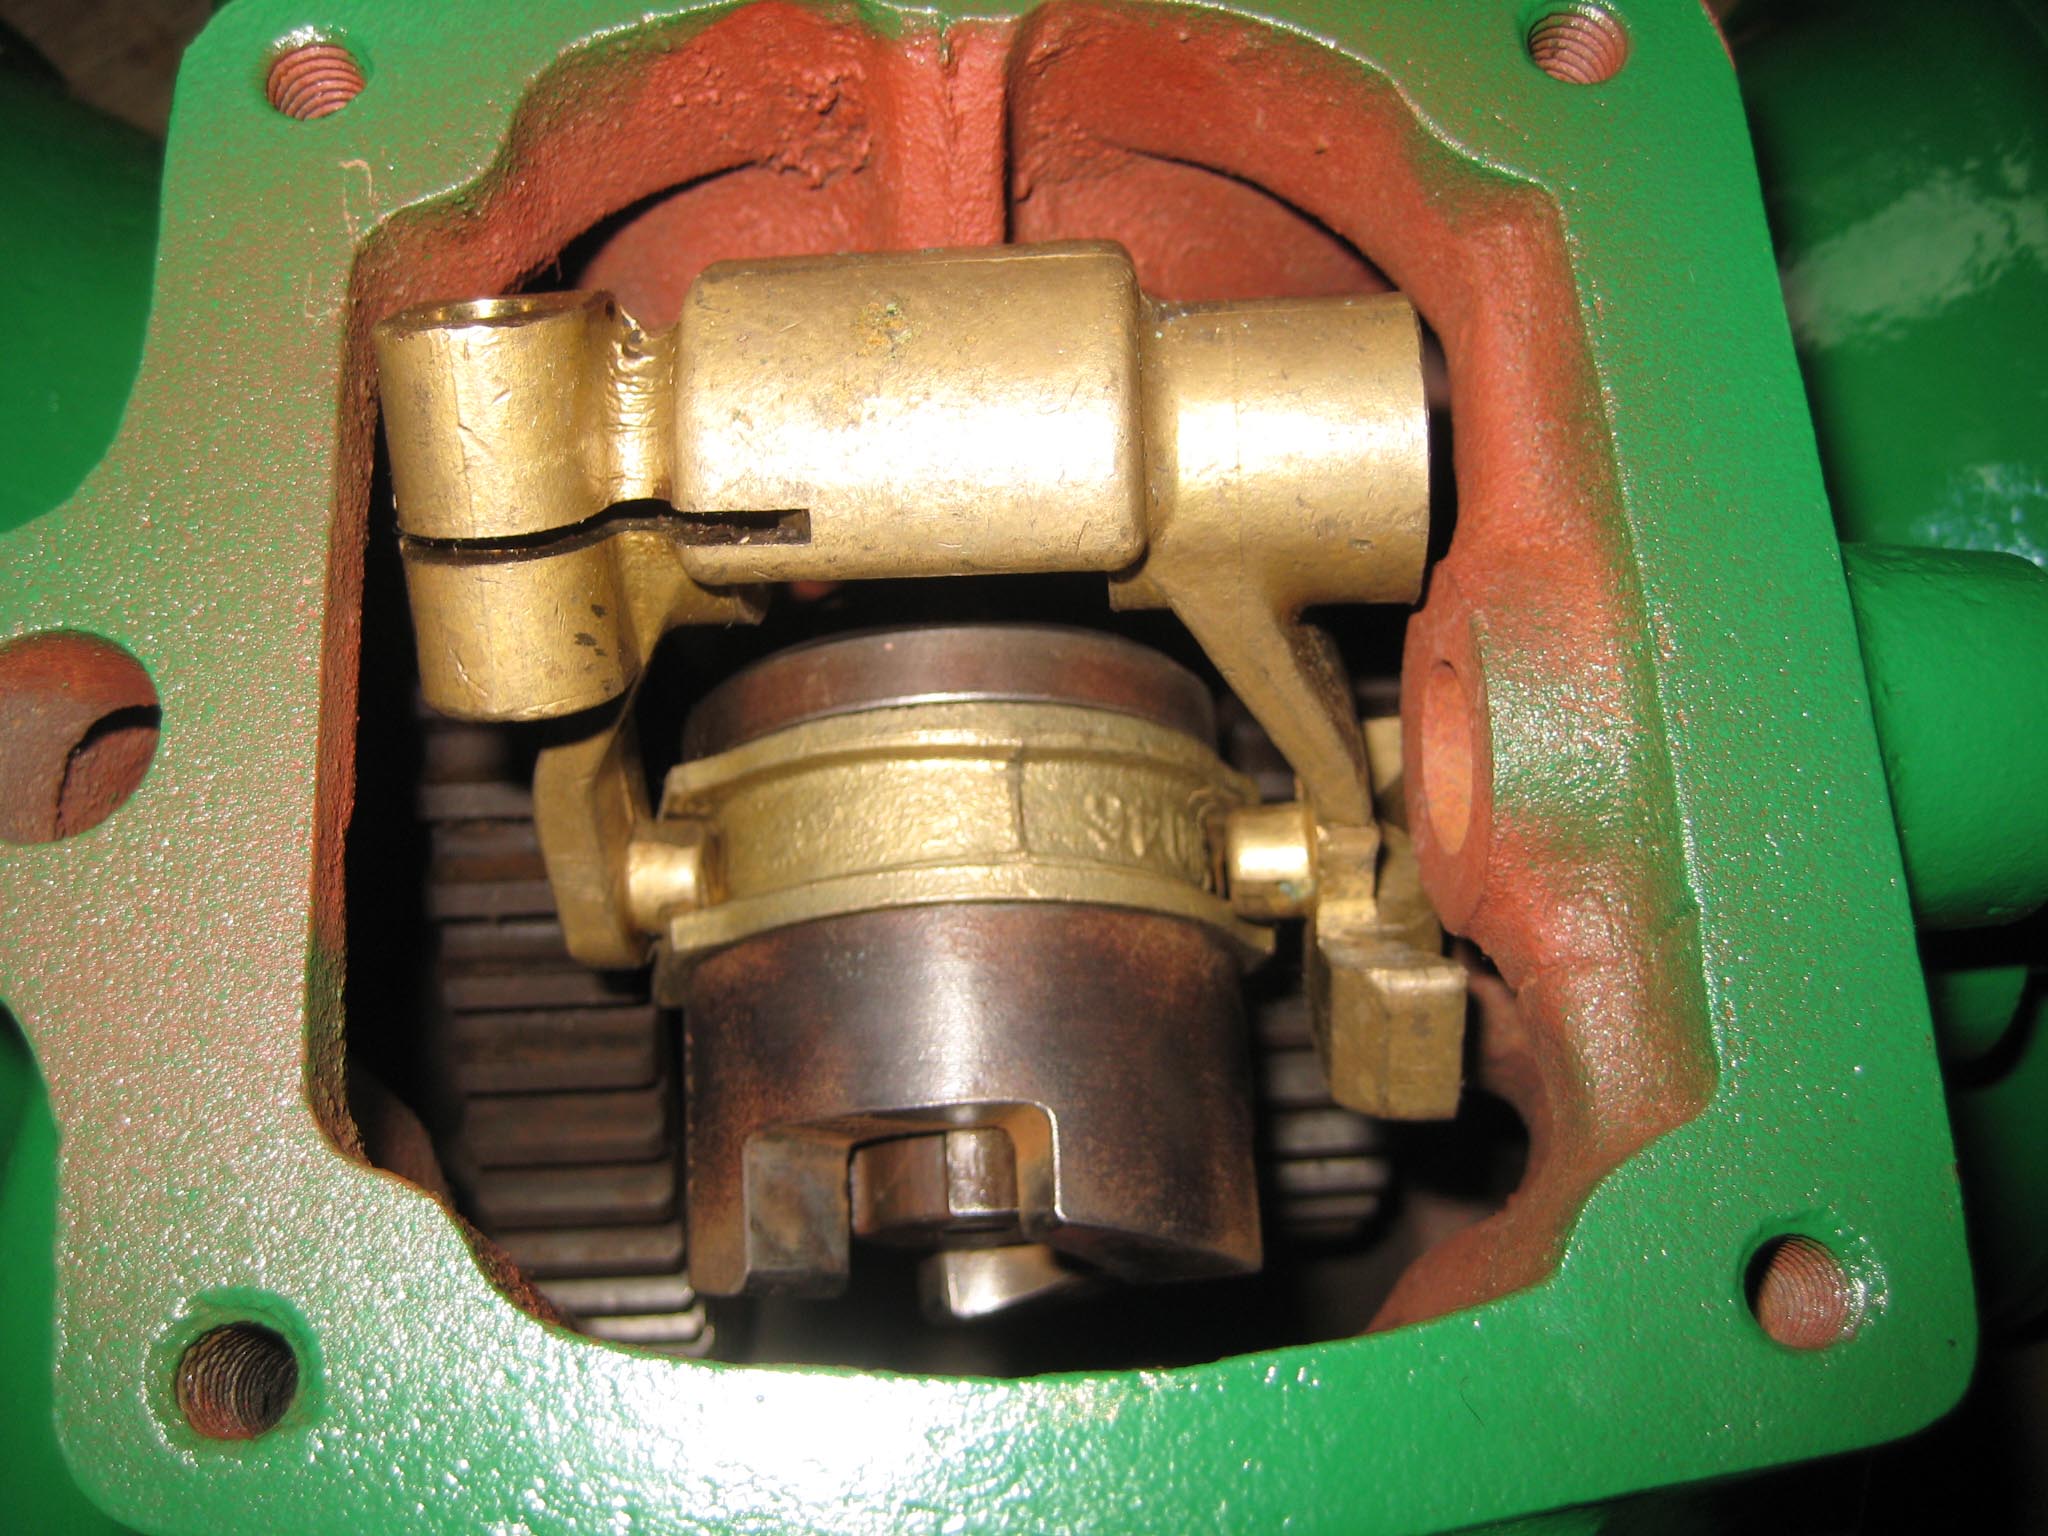
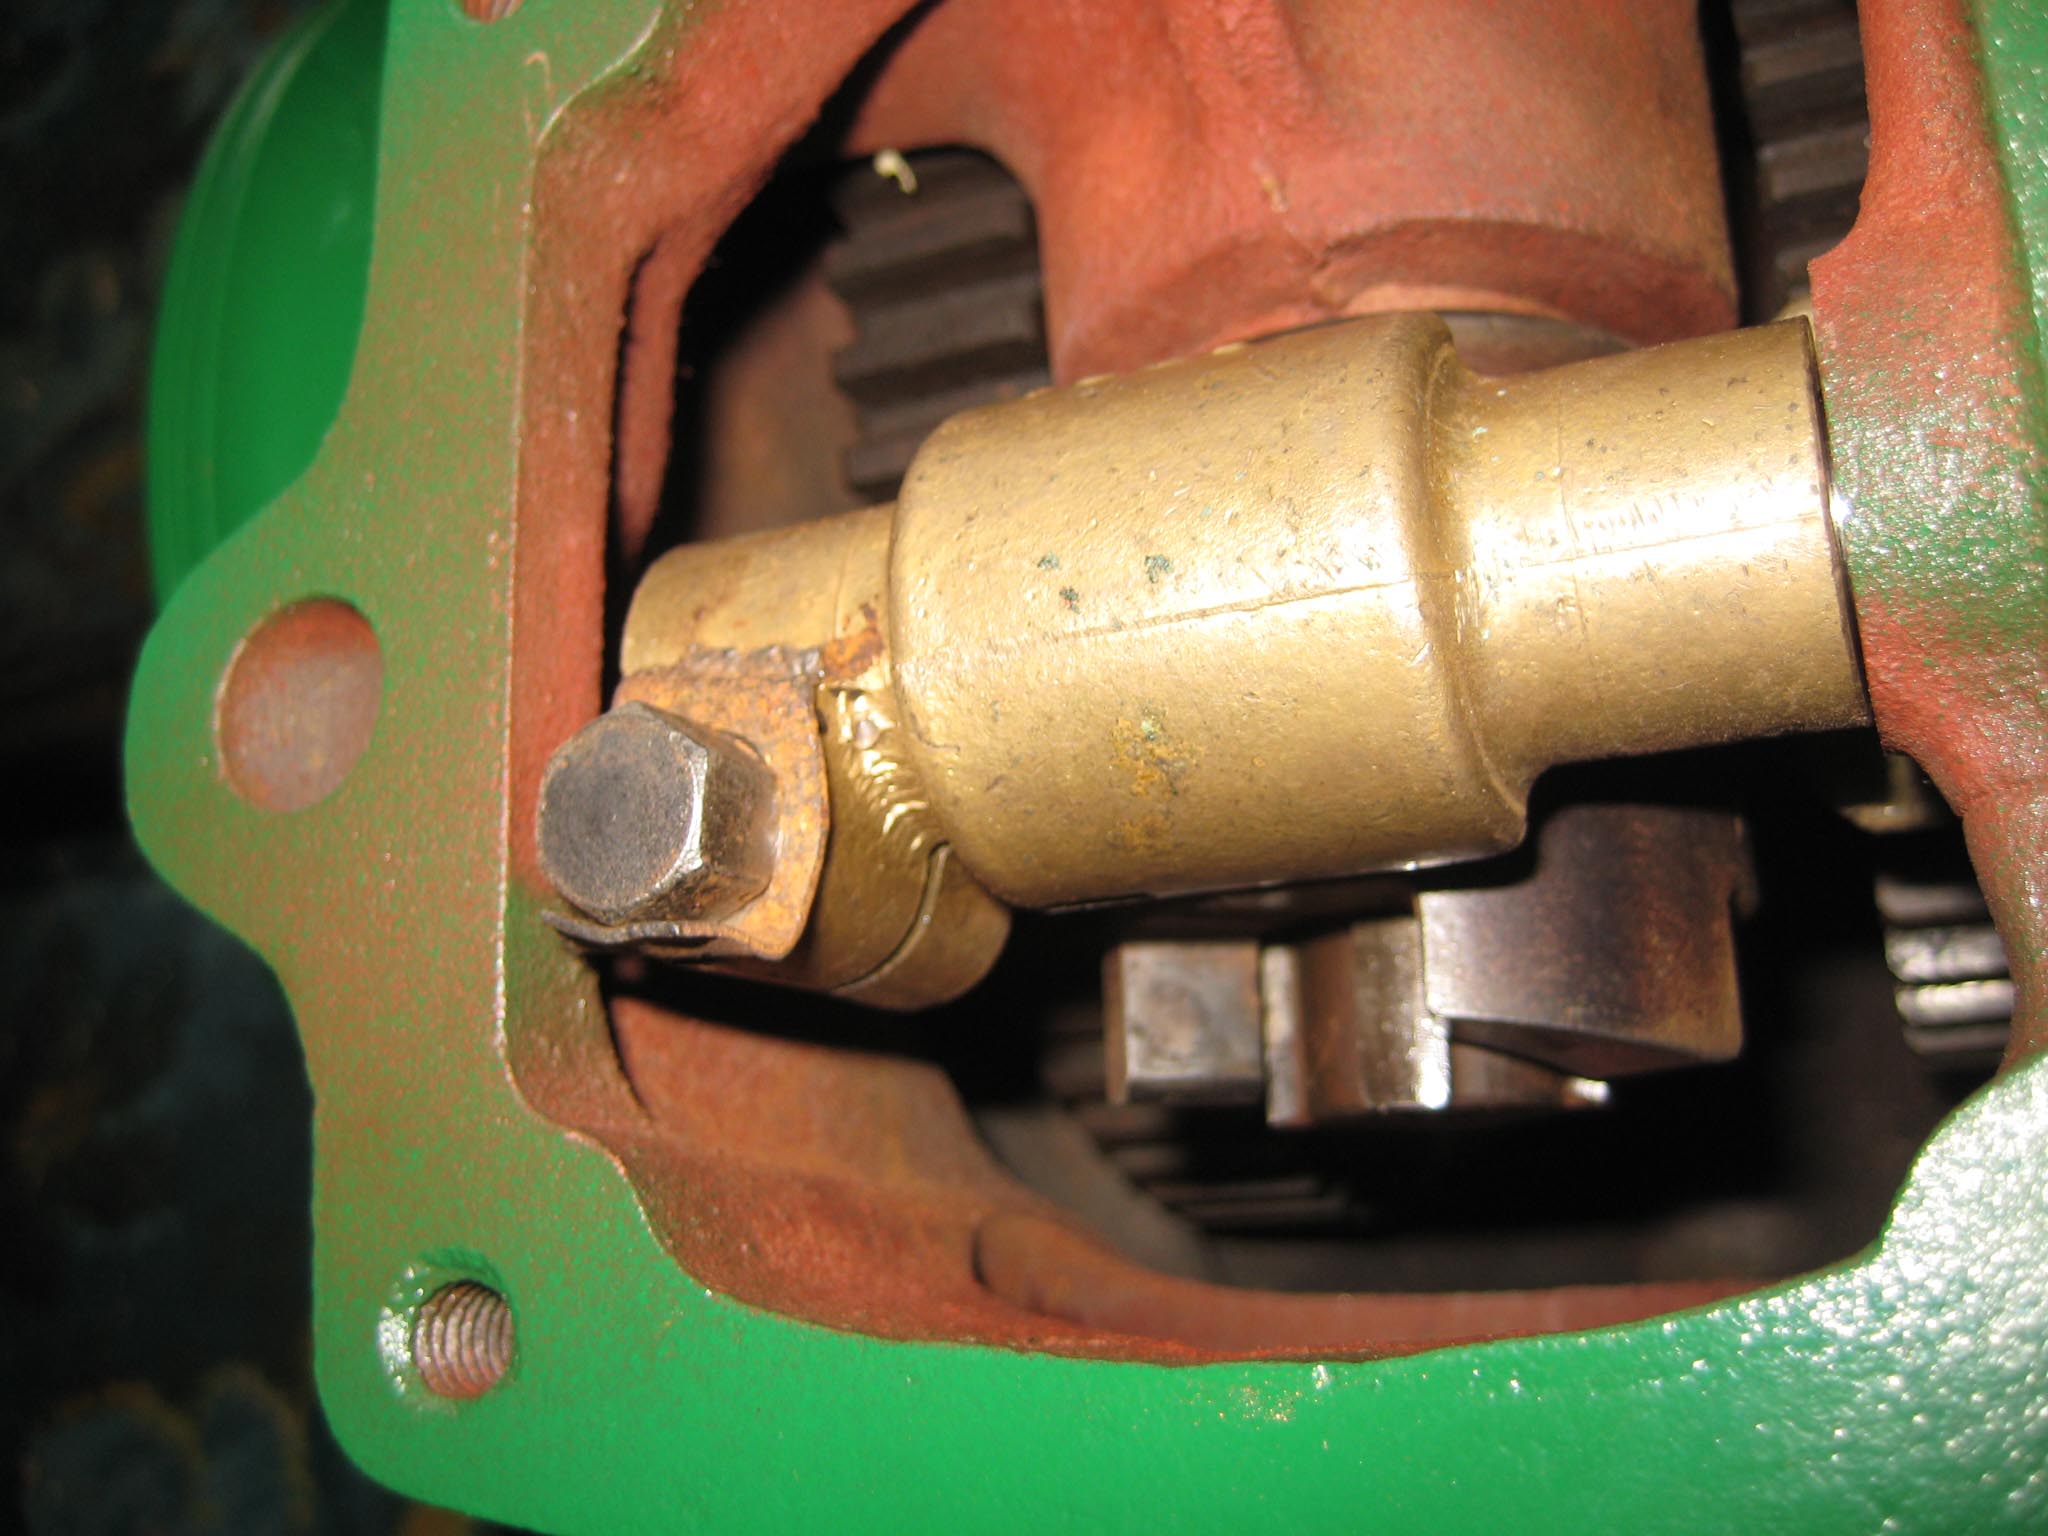
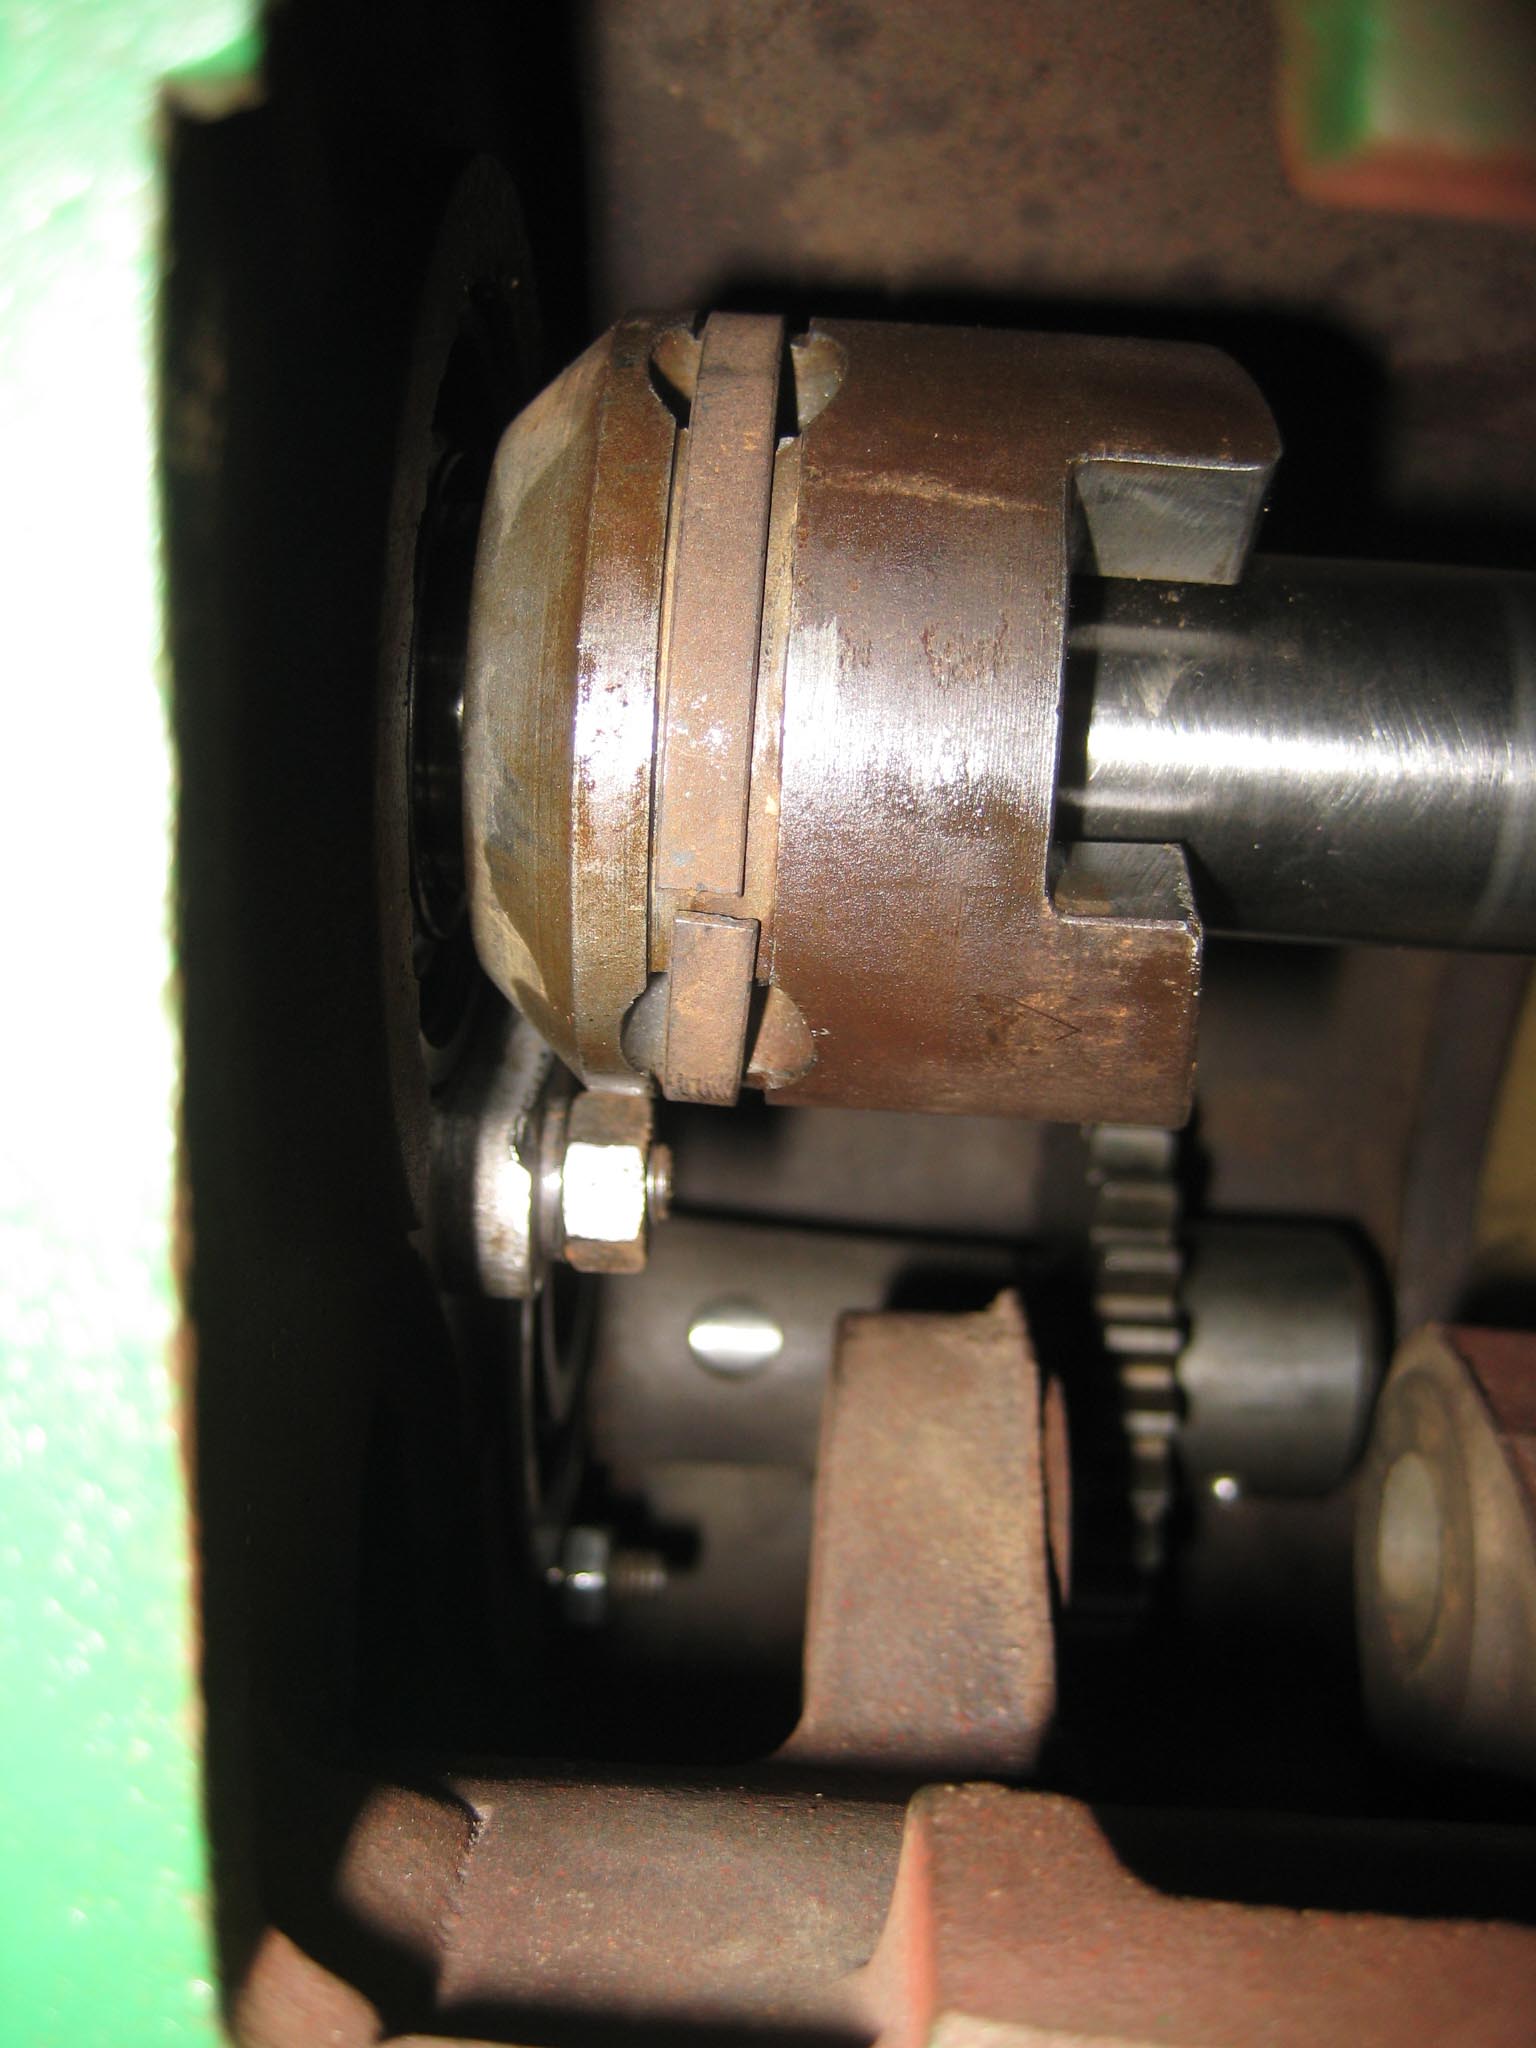
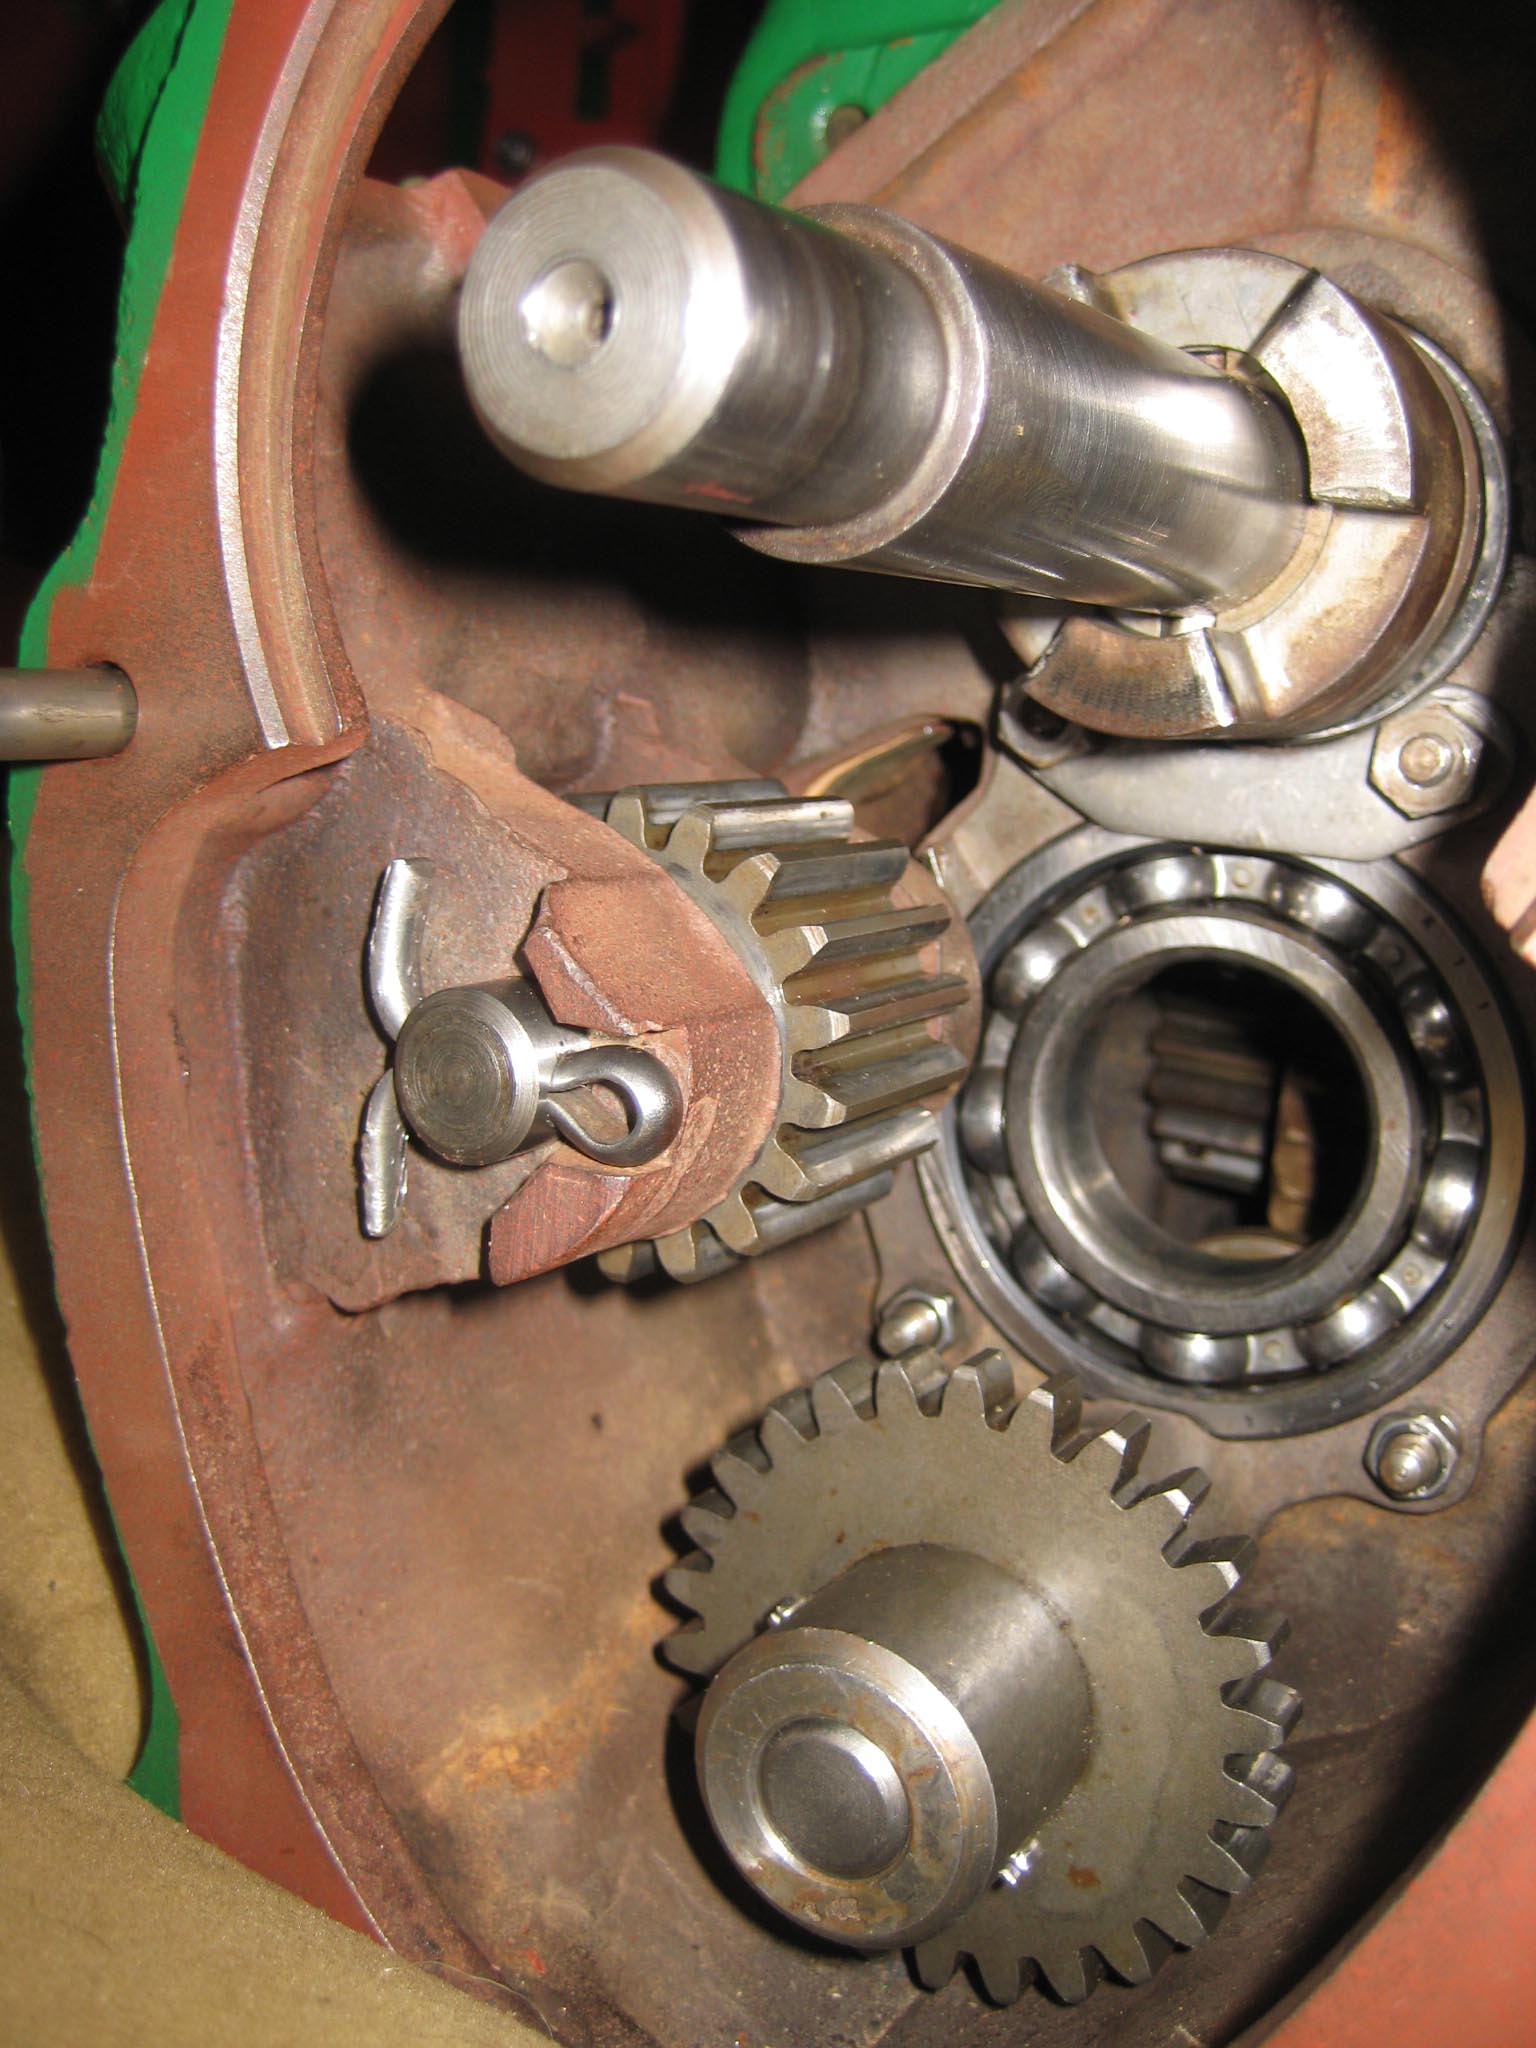
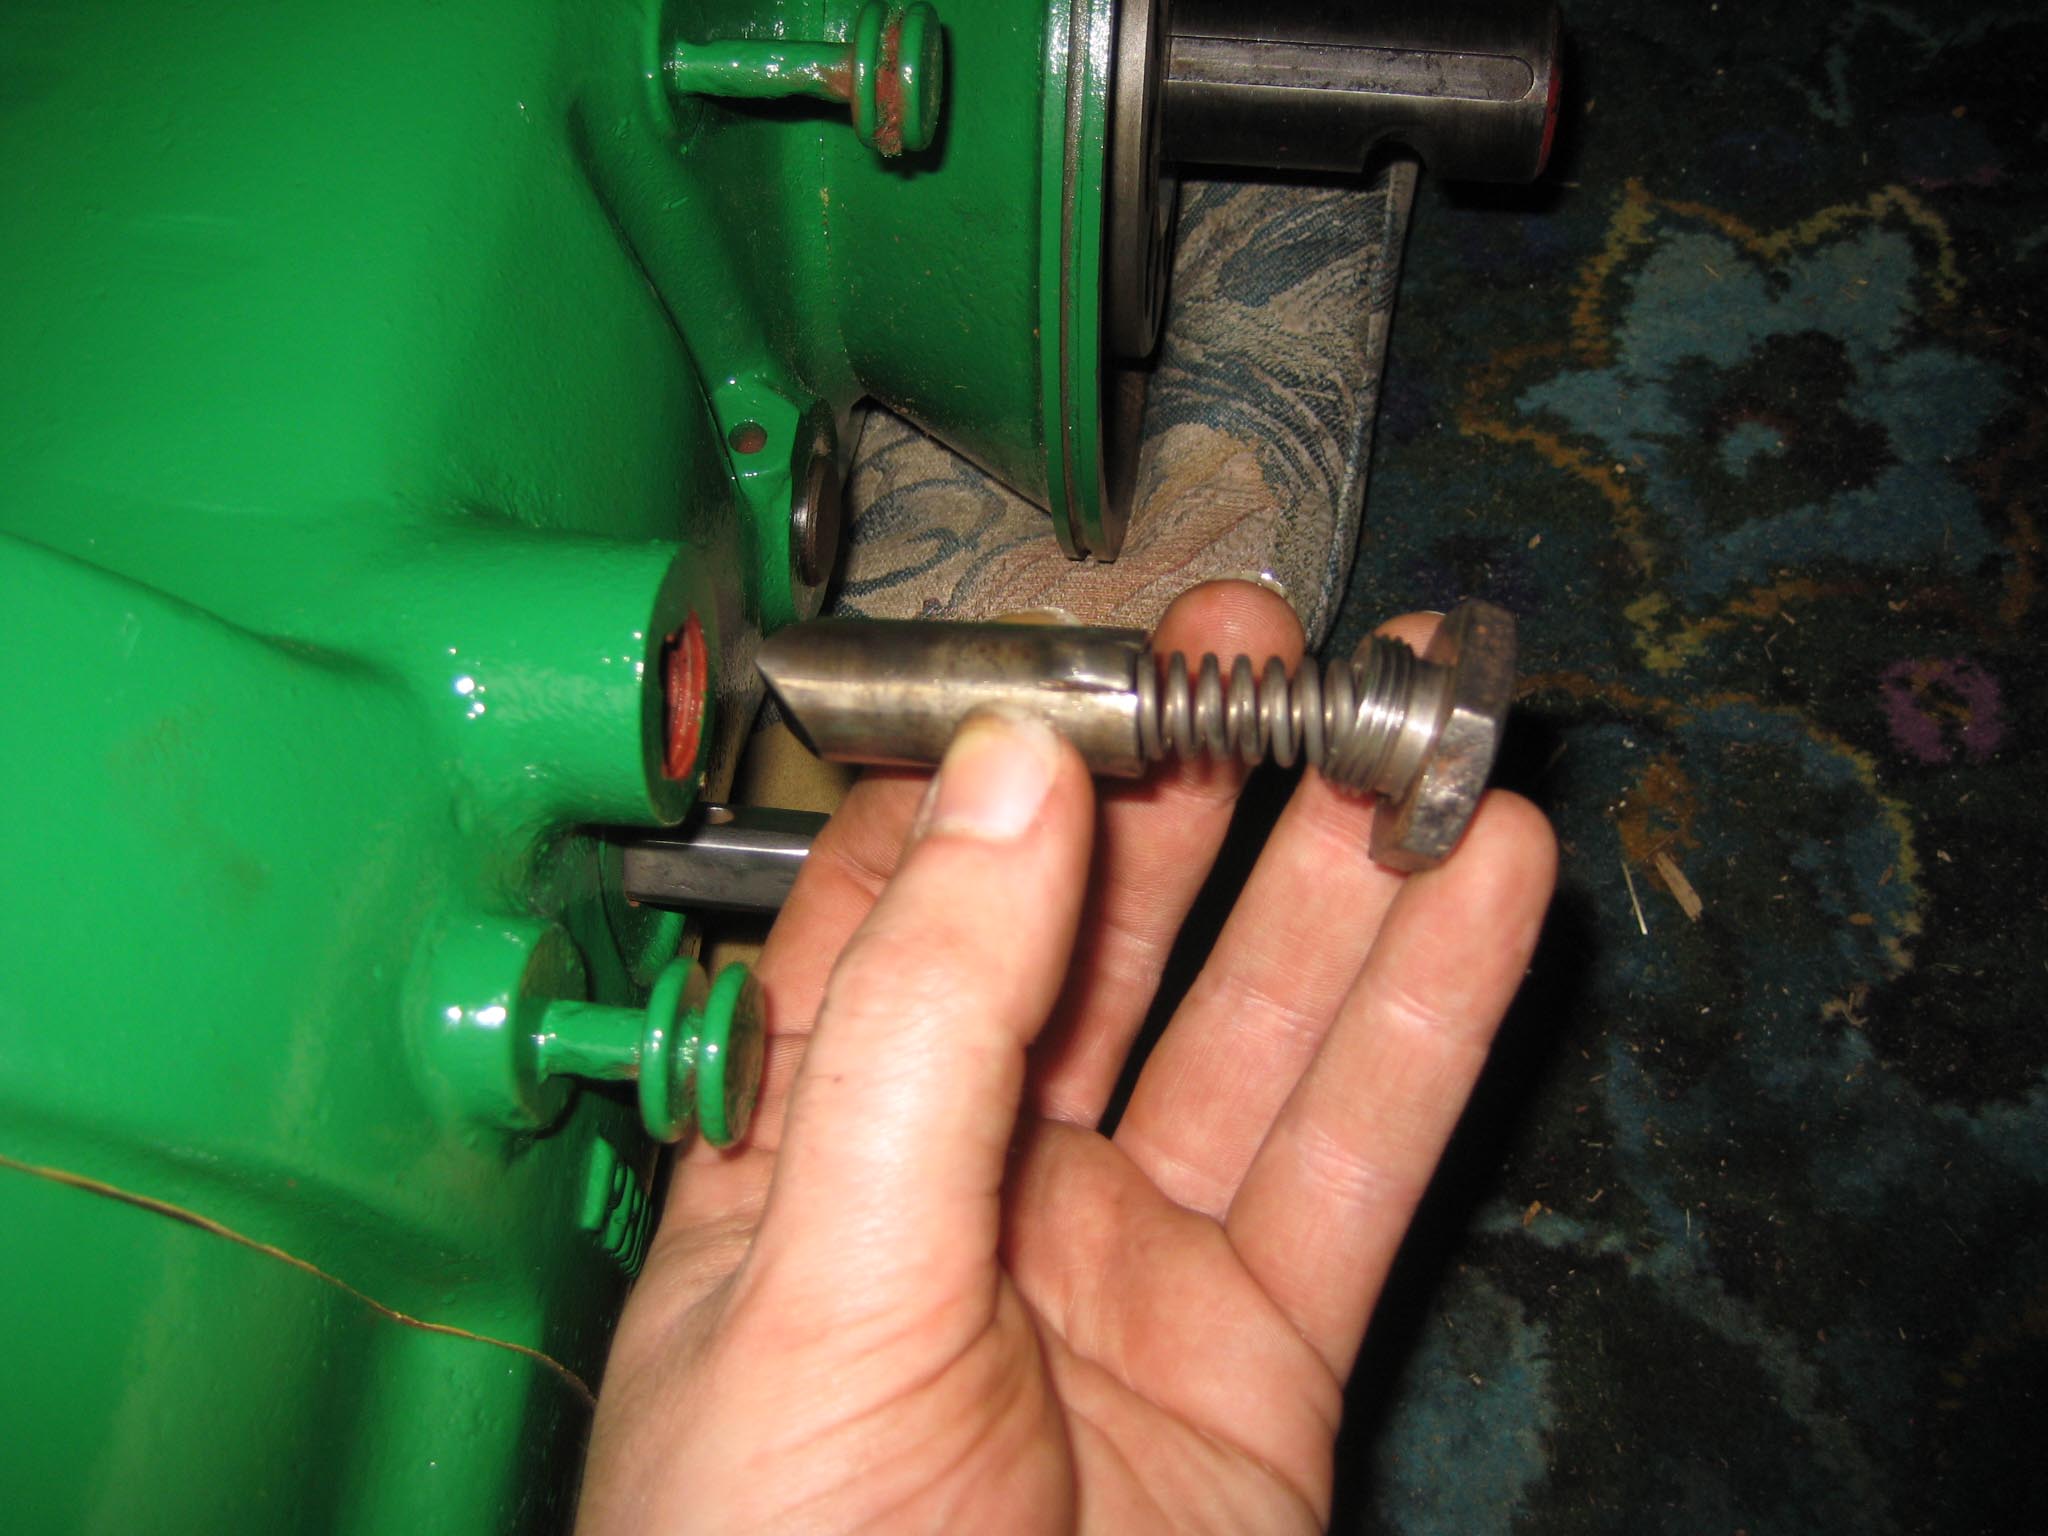
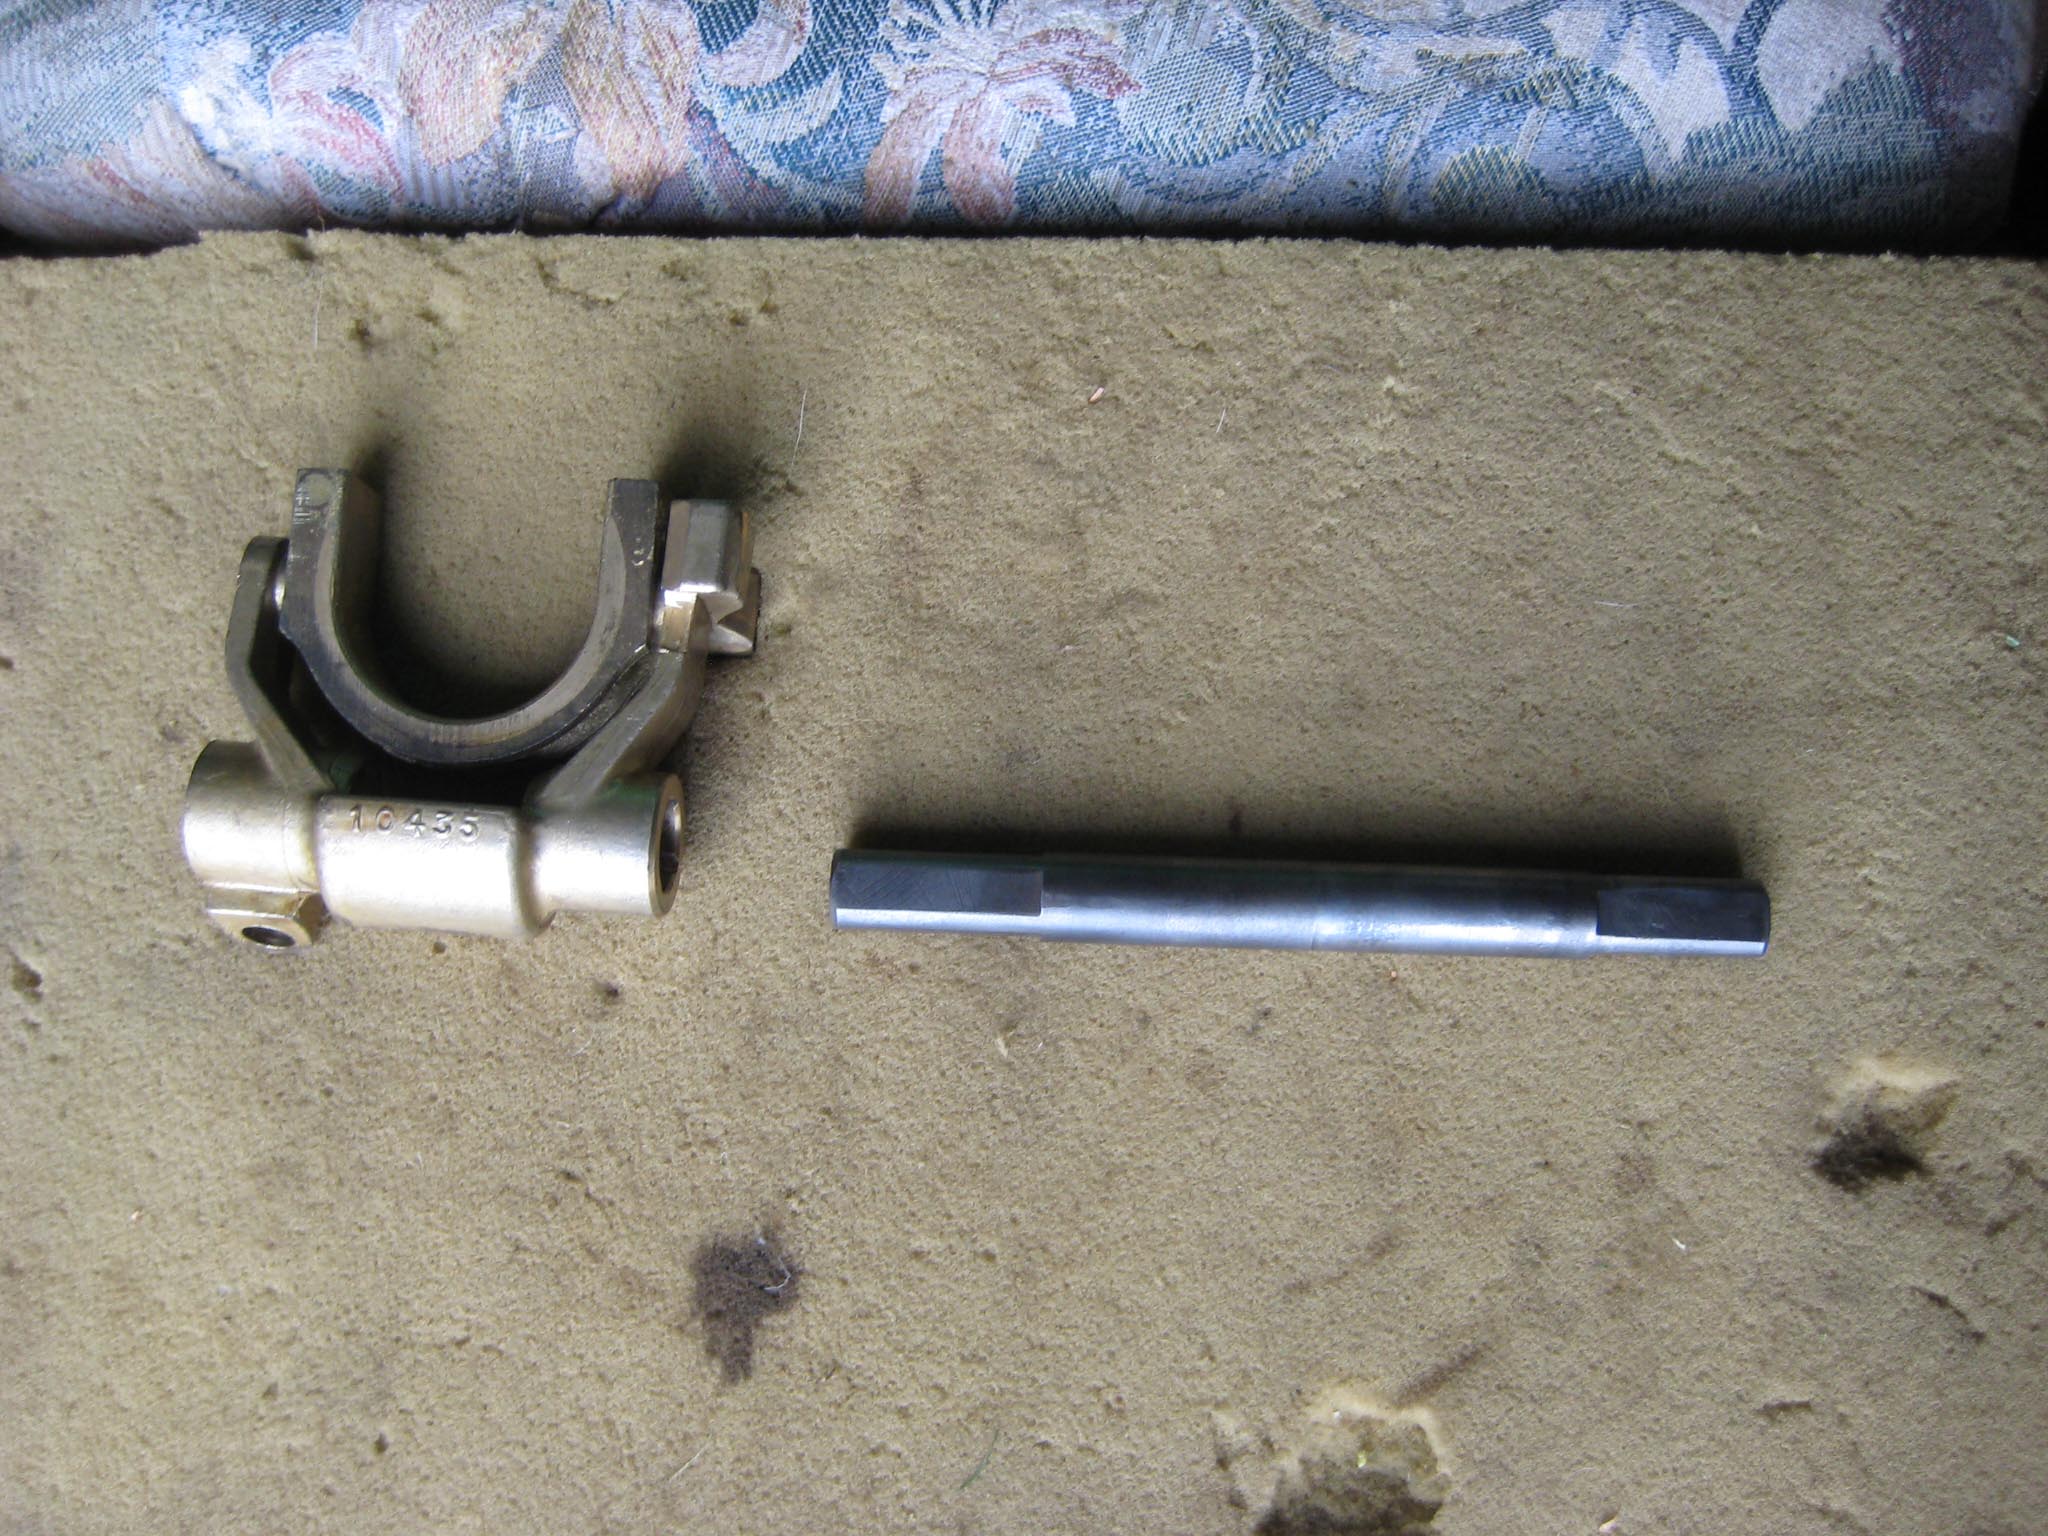
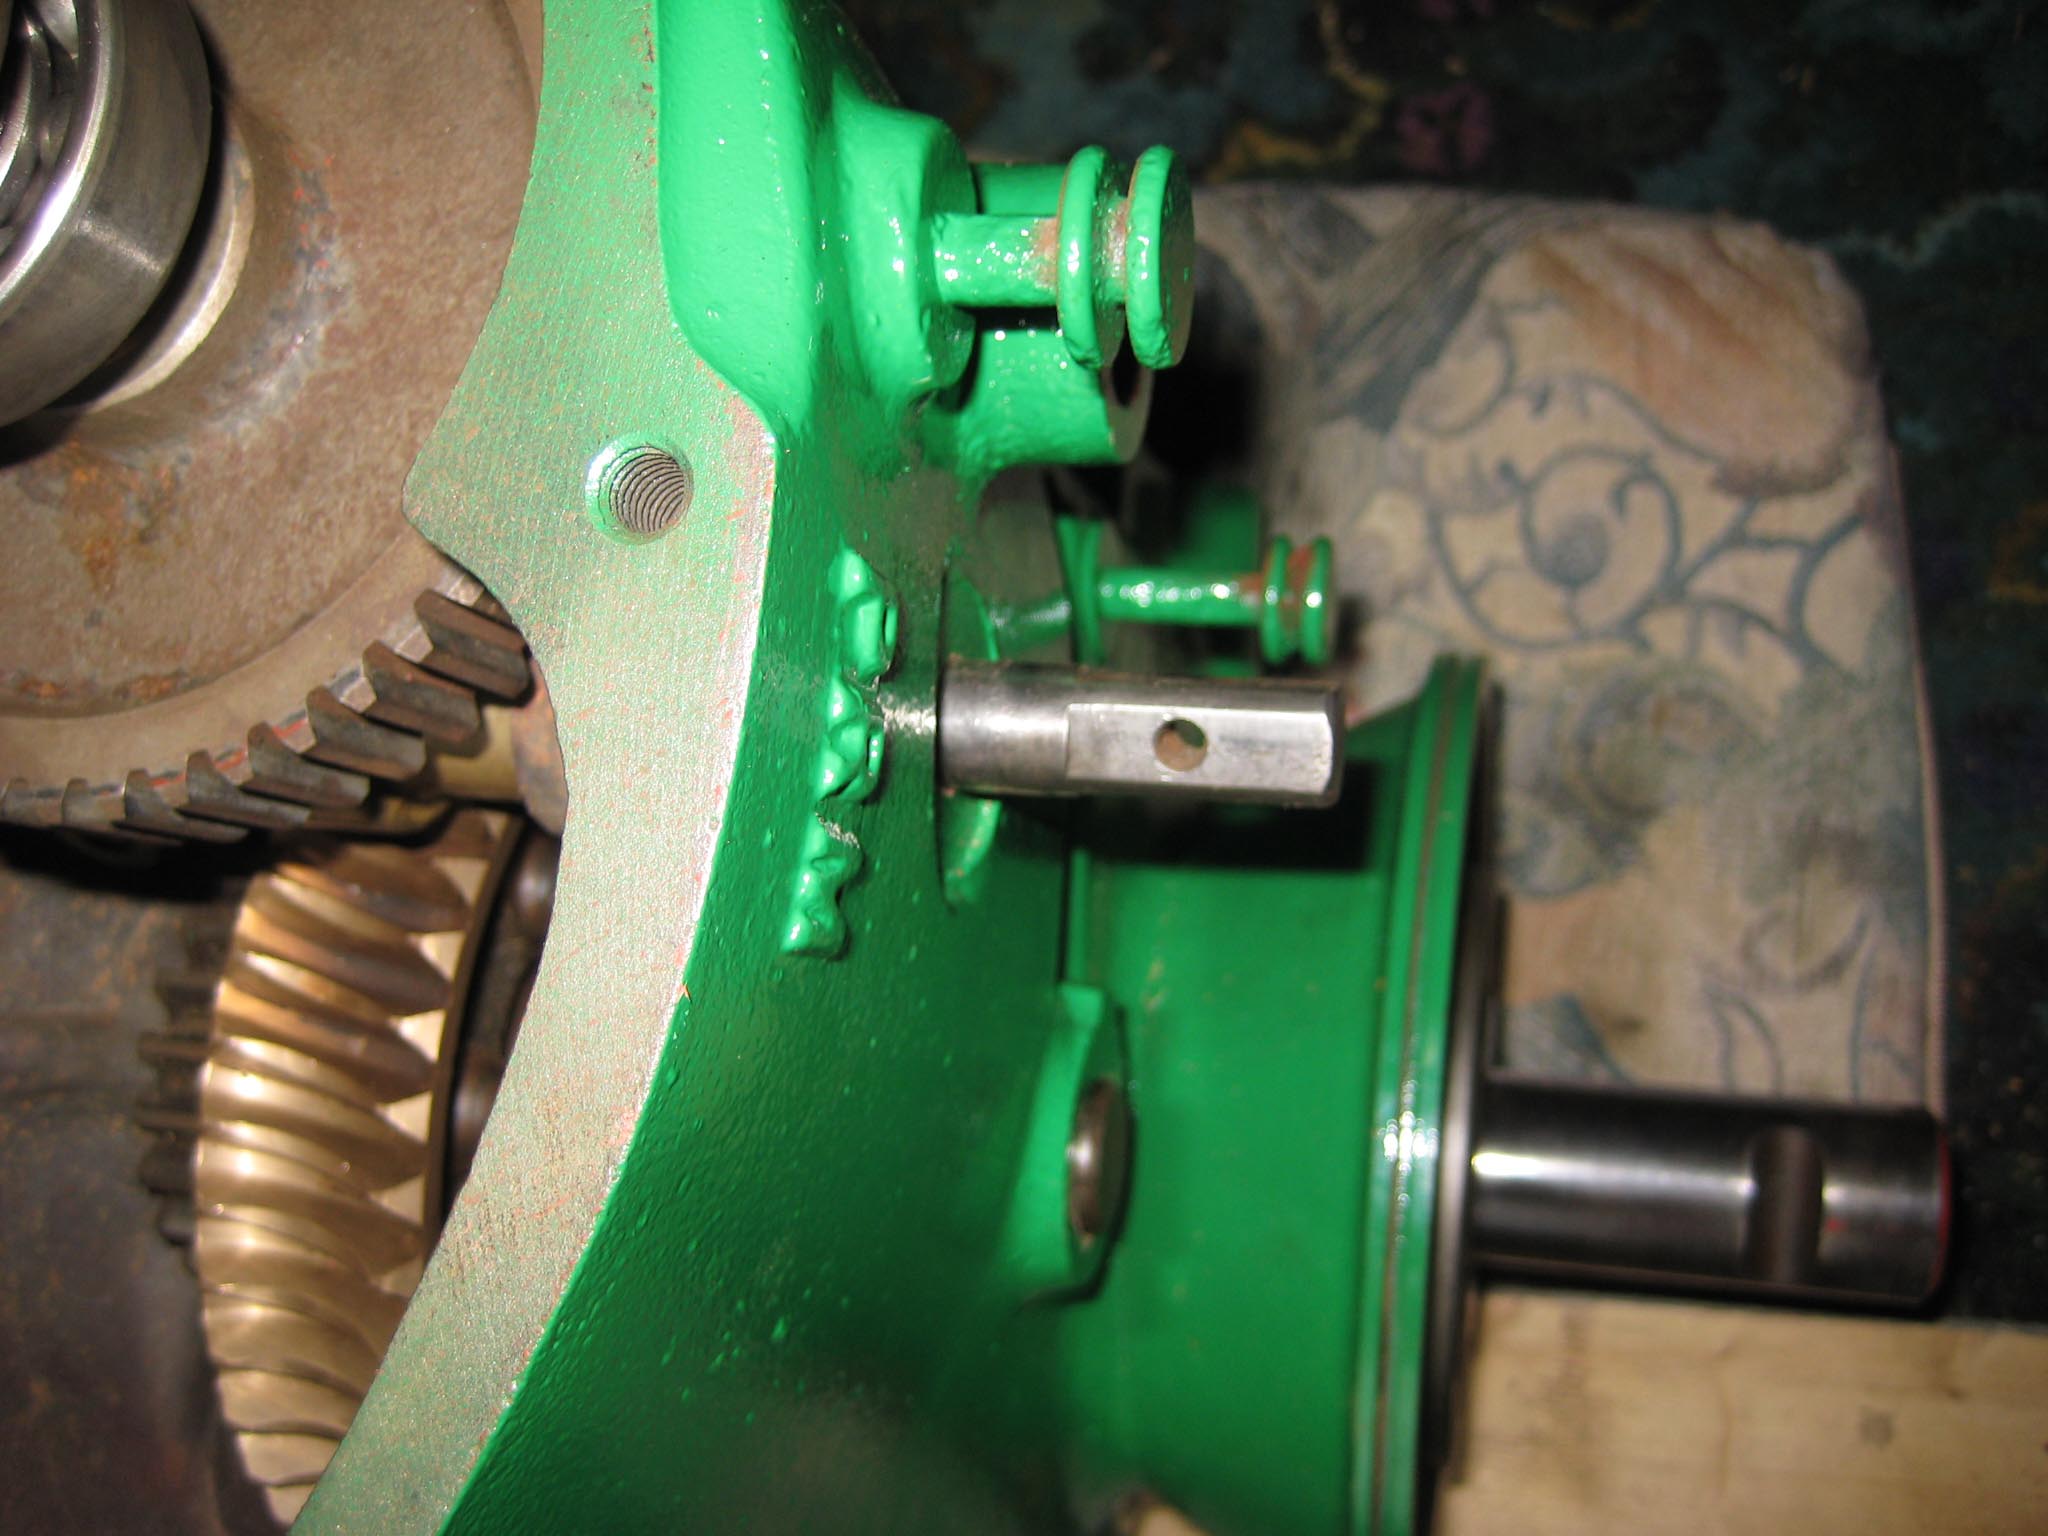
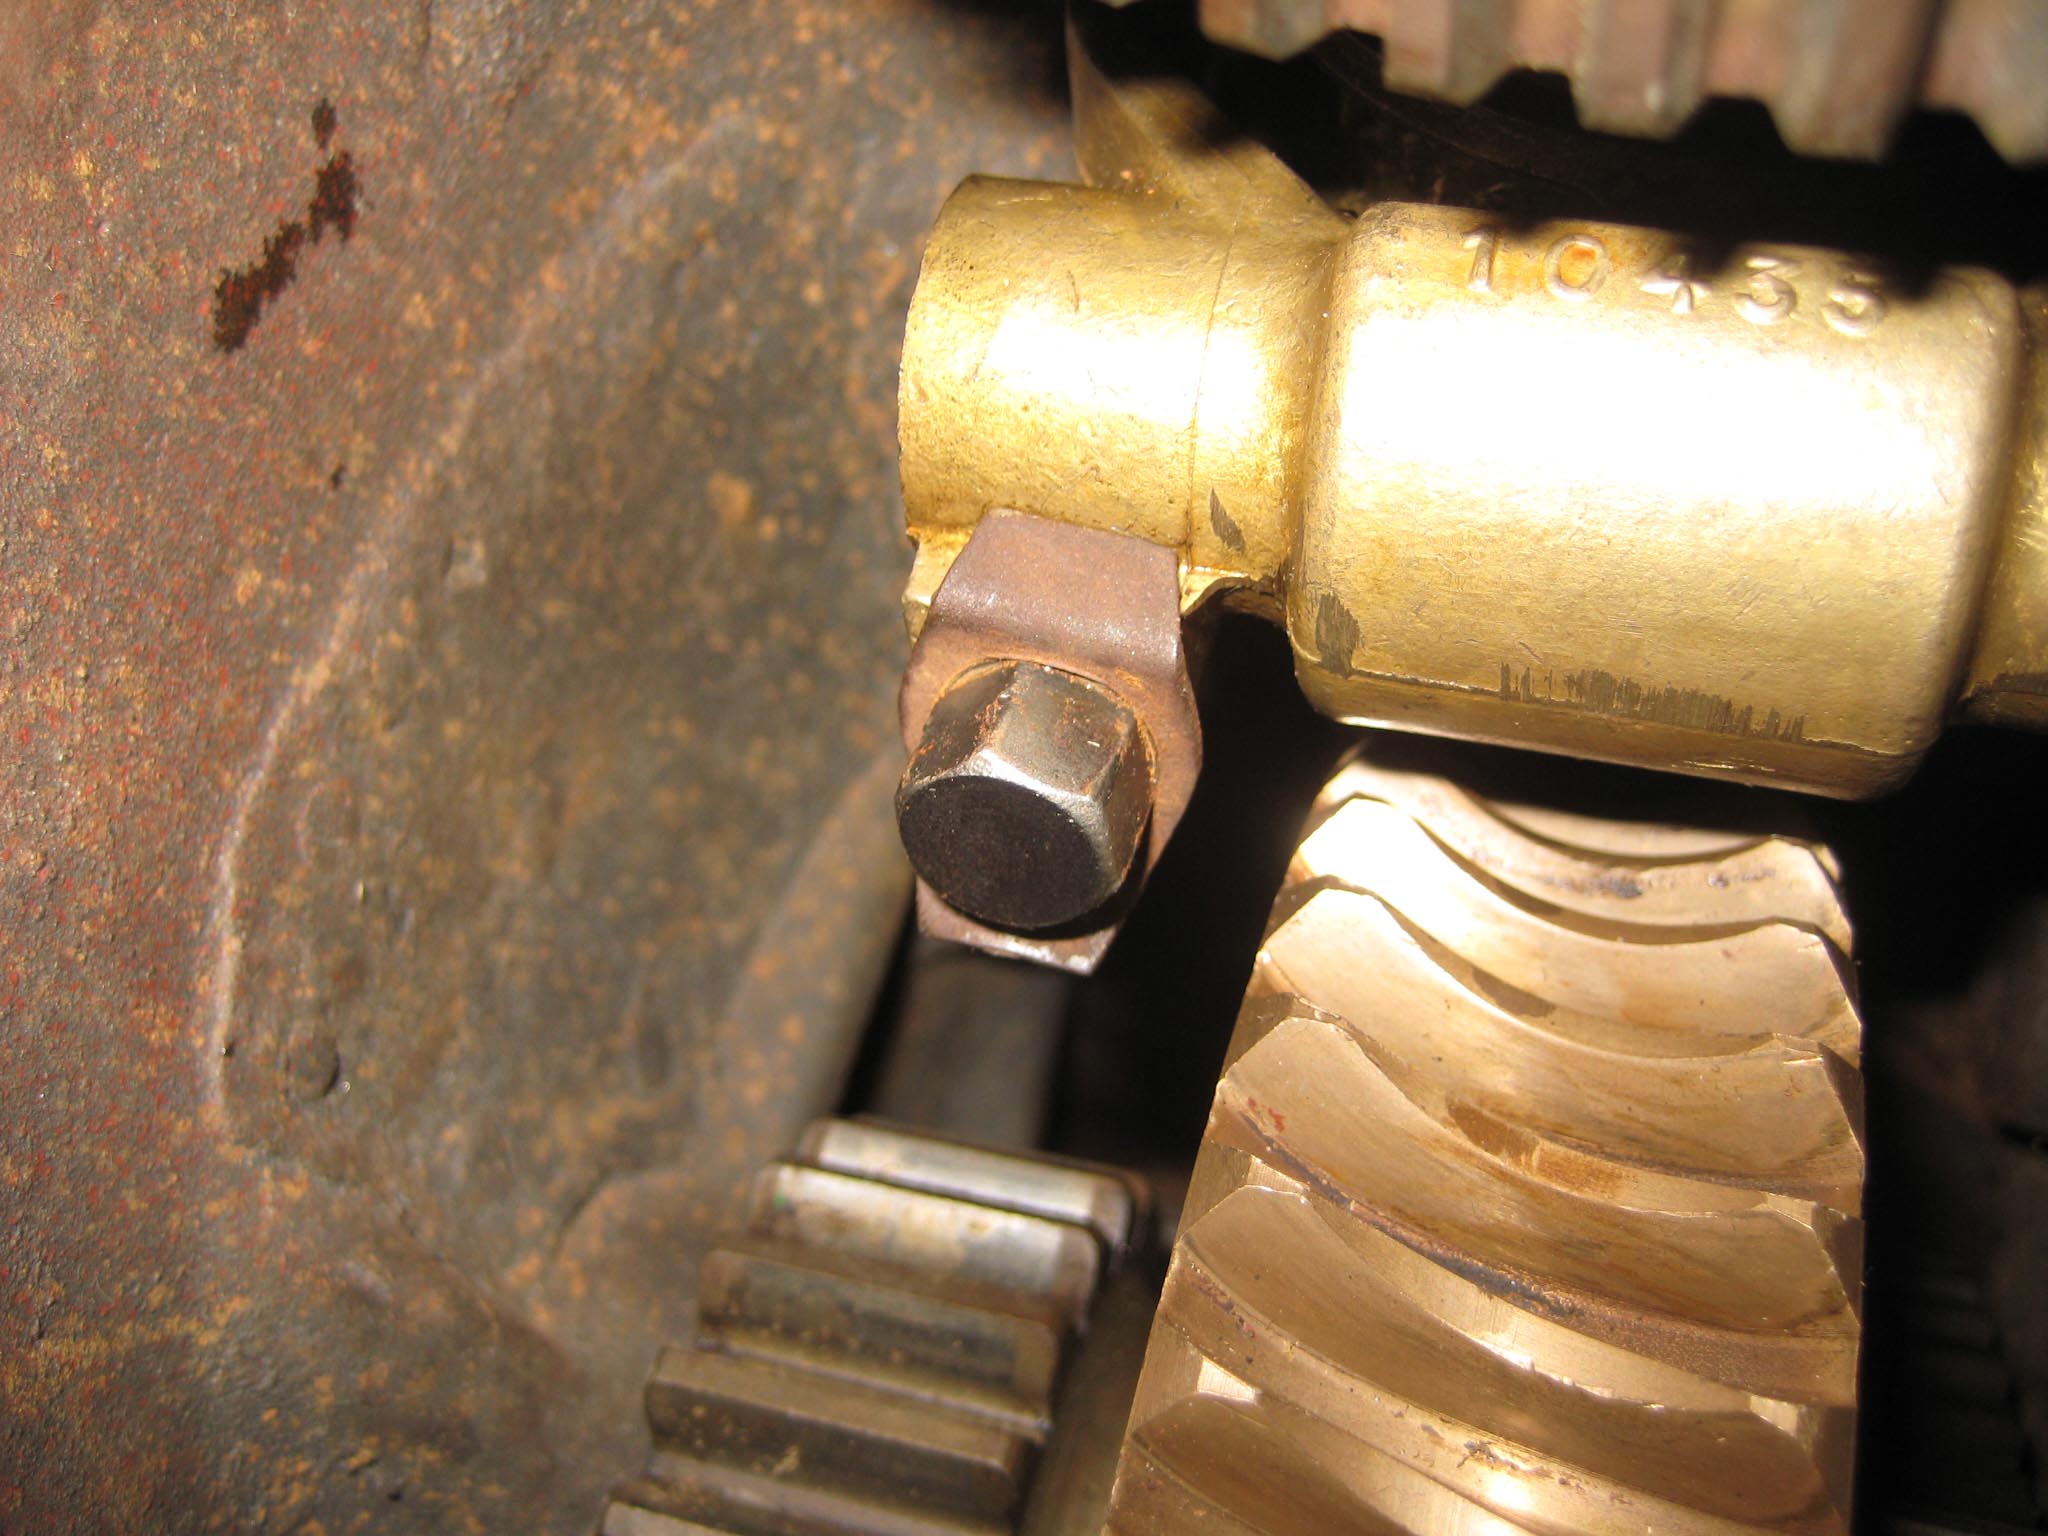
September 5, 2015 at 5:40 pm #14321vhgmcbuddyKeymasterToday got off to a bad start as I realised the locking plunger for the miller clutch couldn’t be fitted from the outside of the main gearbox, as the hole is blocked by the axle bowl extensions (Simar 0031). To make matters worse, the rear end of the worm drive shaft blocks access from inside the gearbox (Simar 0032). So, the axle bowl extensions had to be removed. I am glad I hadn’t also fitted the wheel hubs!! With the locking plunger fitted, the sliding dog for the miller drive was slid onto the end of the worm drive shaft (Simar 0033). The miller clutch parts (Simar 0034) could now be installed, starting with the clutch fork collar and clutch fork (Simar 0035). The clutch fork shaft was slid into position, making sure that outer end with the hole in for a roll pin was correctly orientated (Simar 0036), shown at the very top of this picture. The clutch fork is clamped onto the shaft using a bolt and locking tab (Simar 0037).
Attachments:
September 1, 2015 at 8:58 pm #14283vhgmcbuddyKeymasterhere’s a pic
Attachments:
August 31, 2015 at 5:21 pm #14278vhgmcbuddyKeymasterThanks Charlie. Was wondering who’s foundry mark PRM was. The reverse gearbox casing is also marked PRM. I always wonder how many other companies were involved in supplying parts to the various machinery manufacturers, particularly if any of them still exist. All adds detail to a machines history.
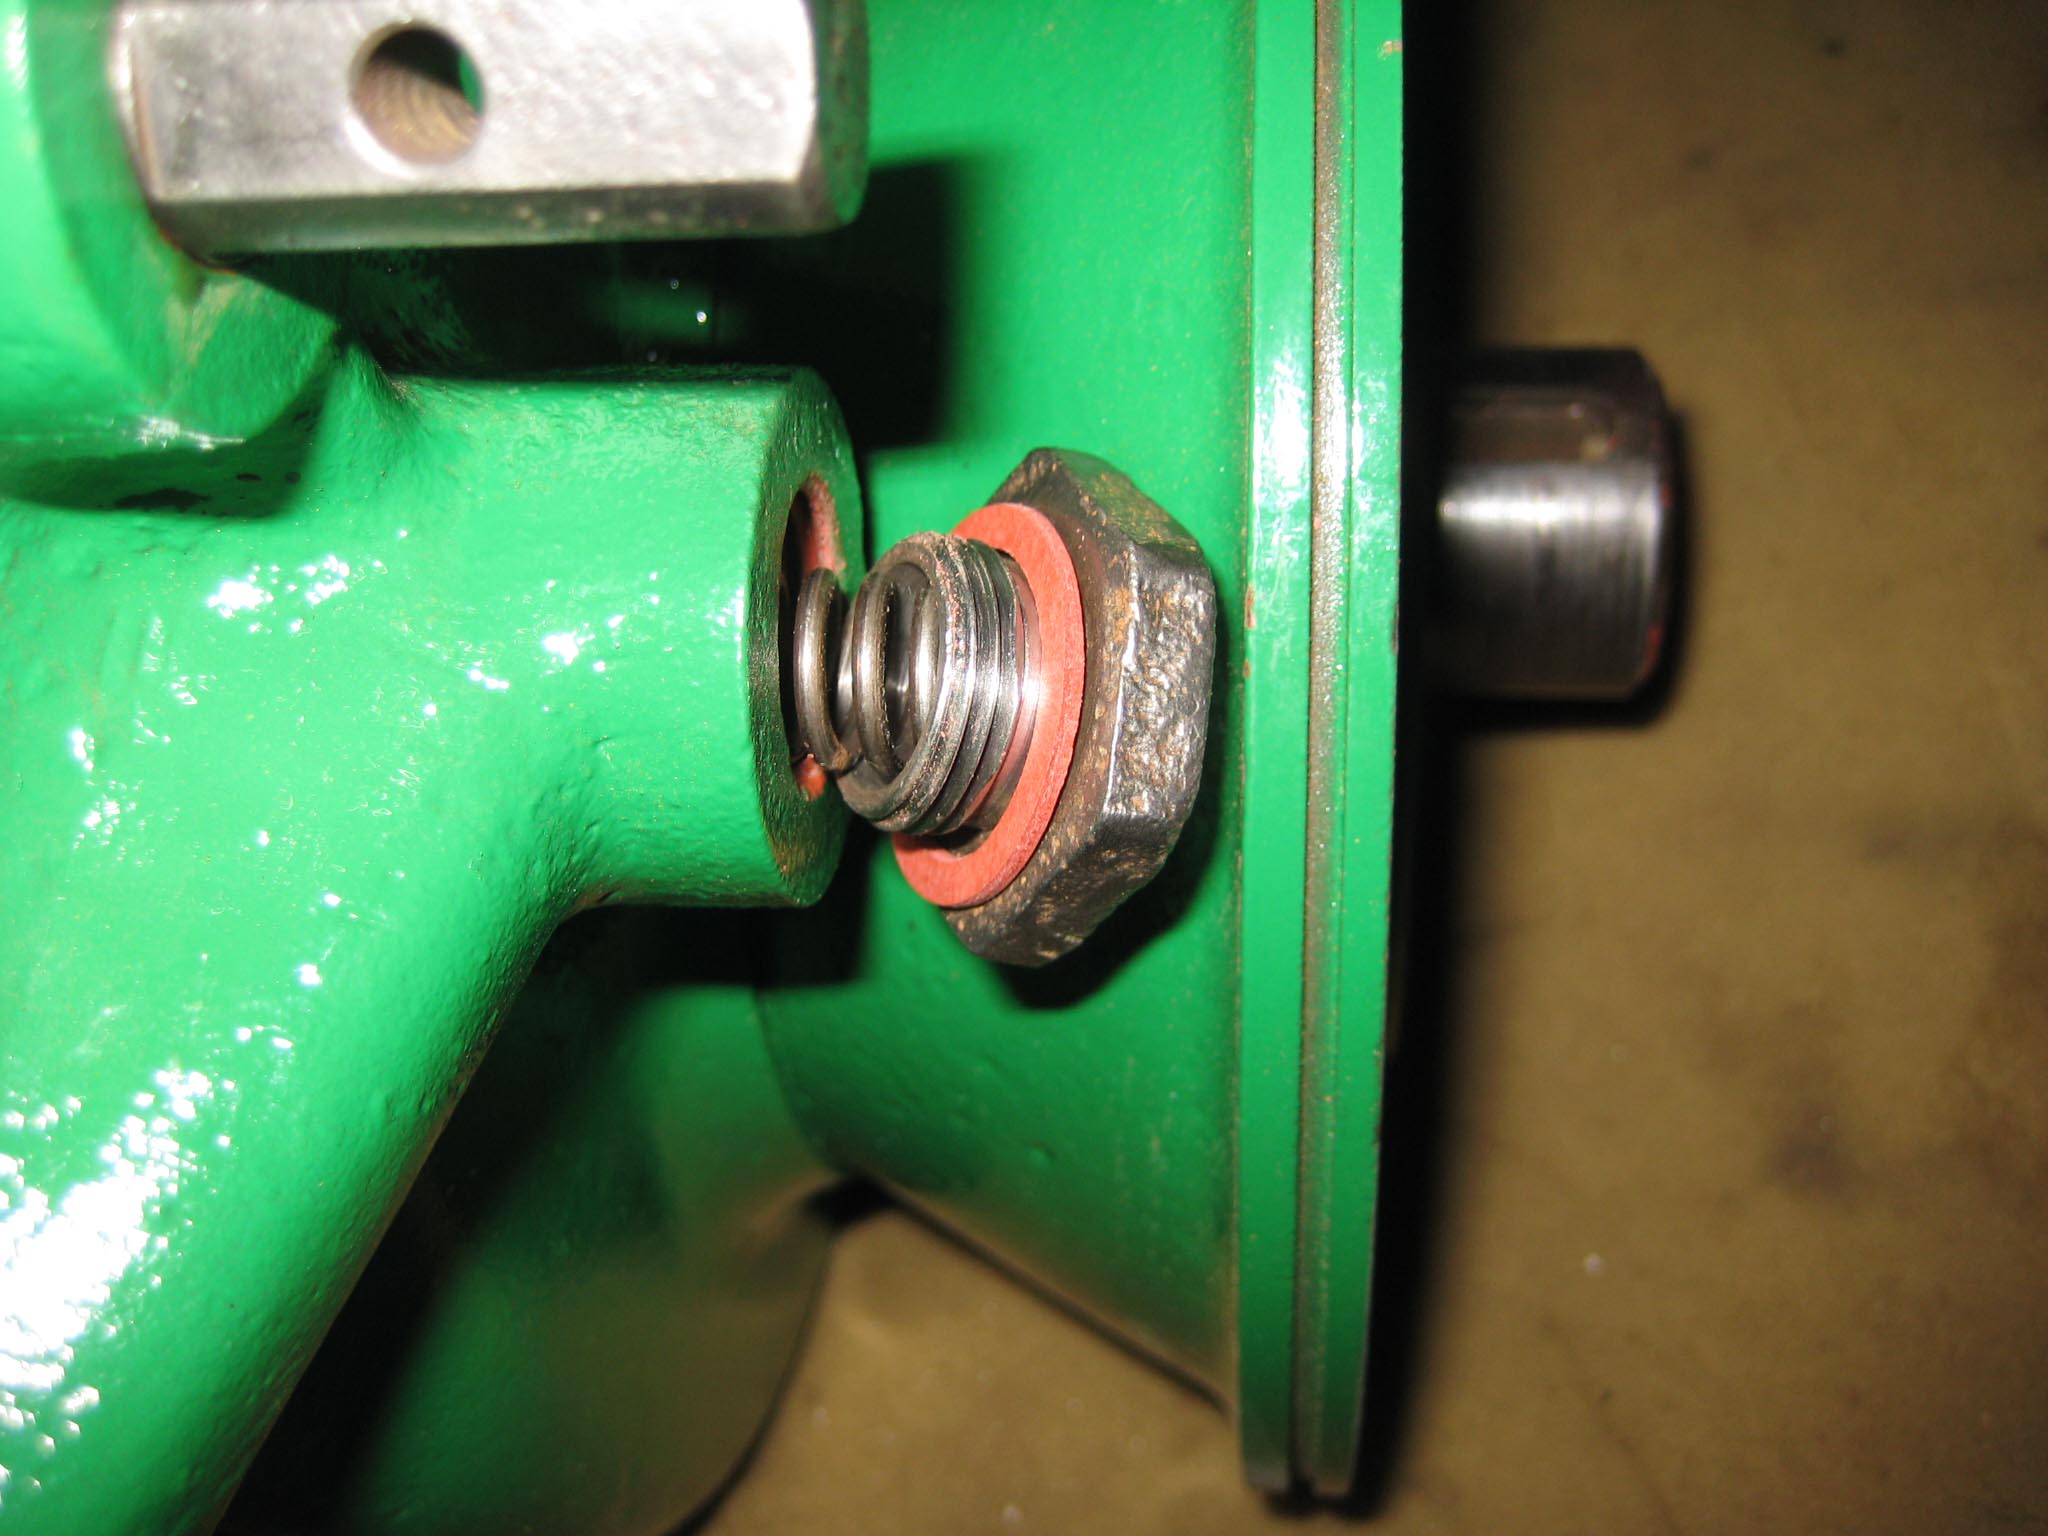
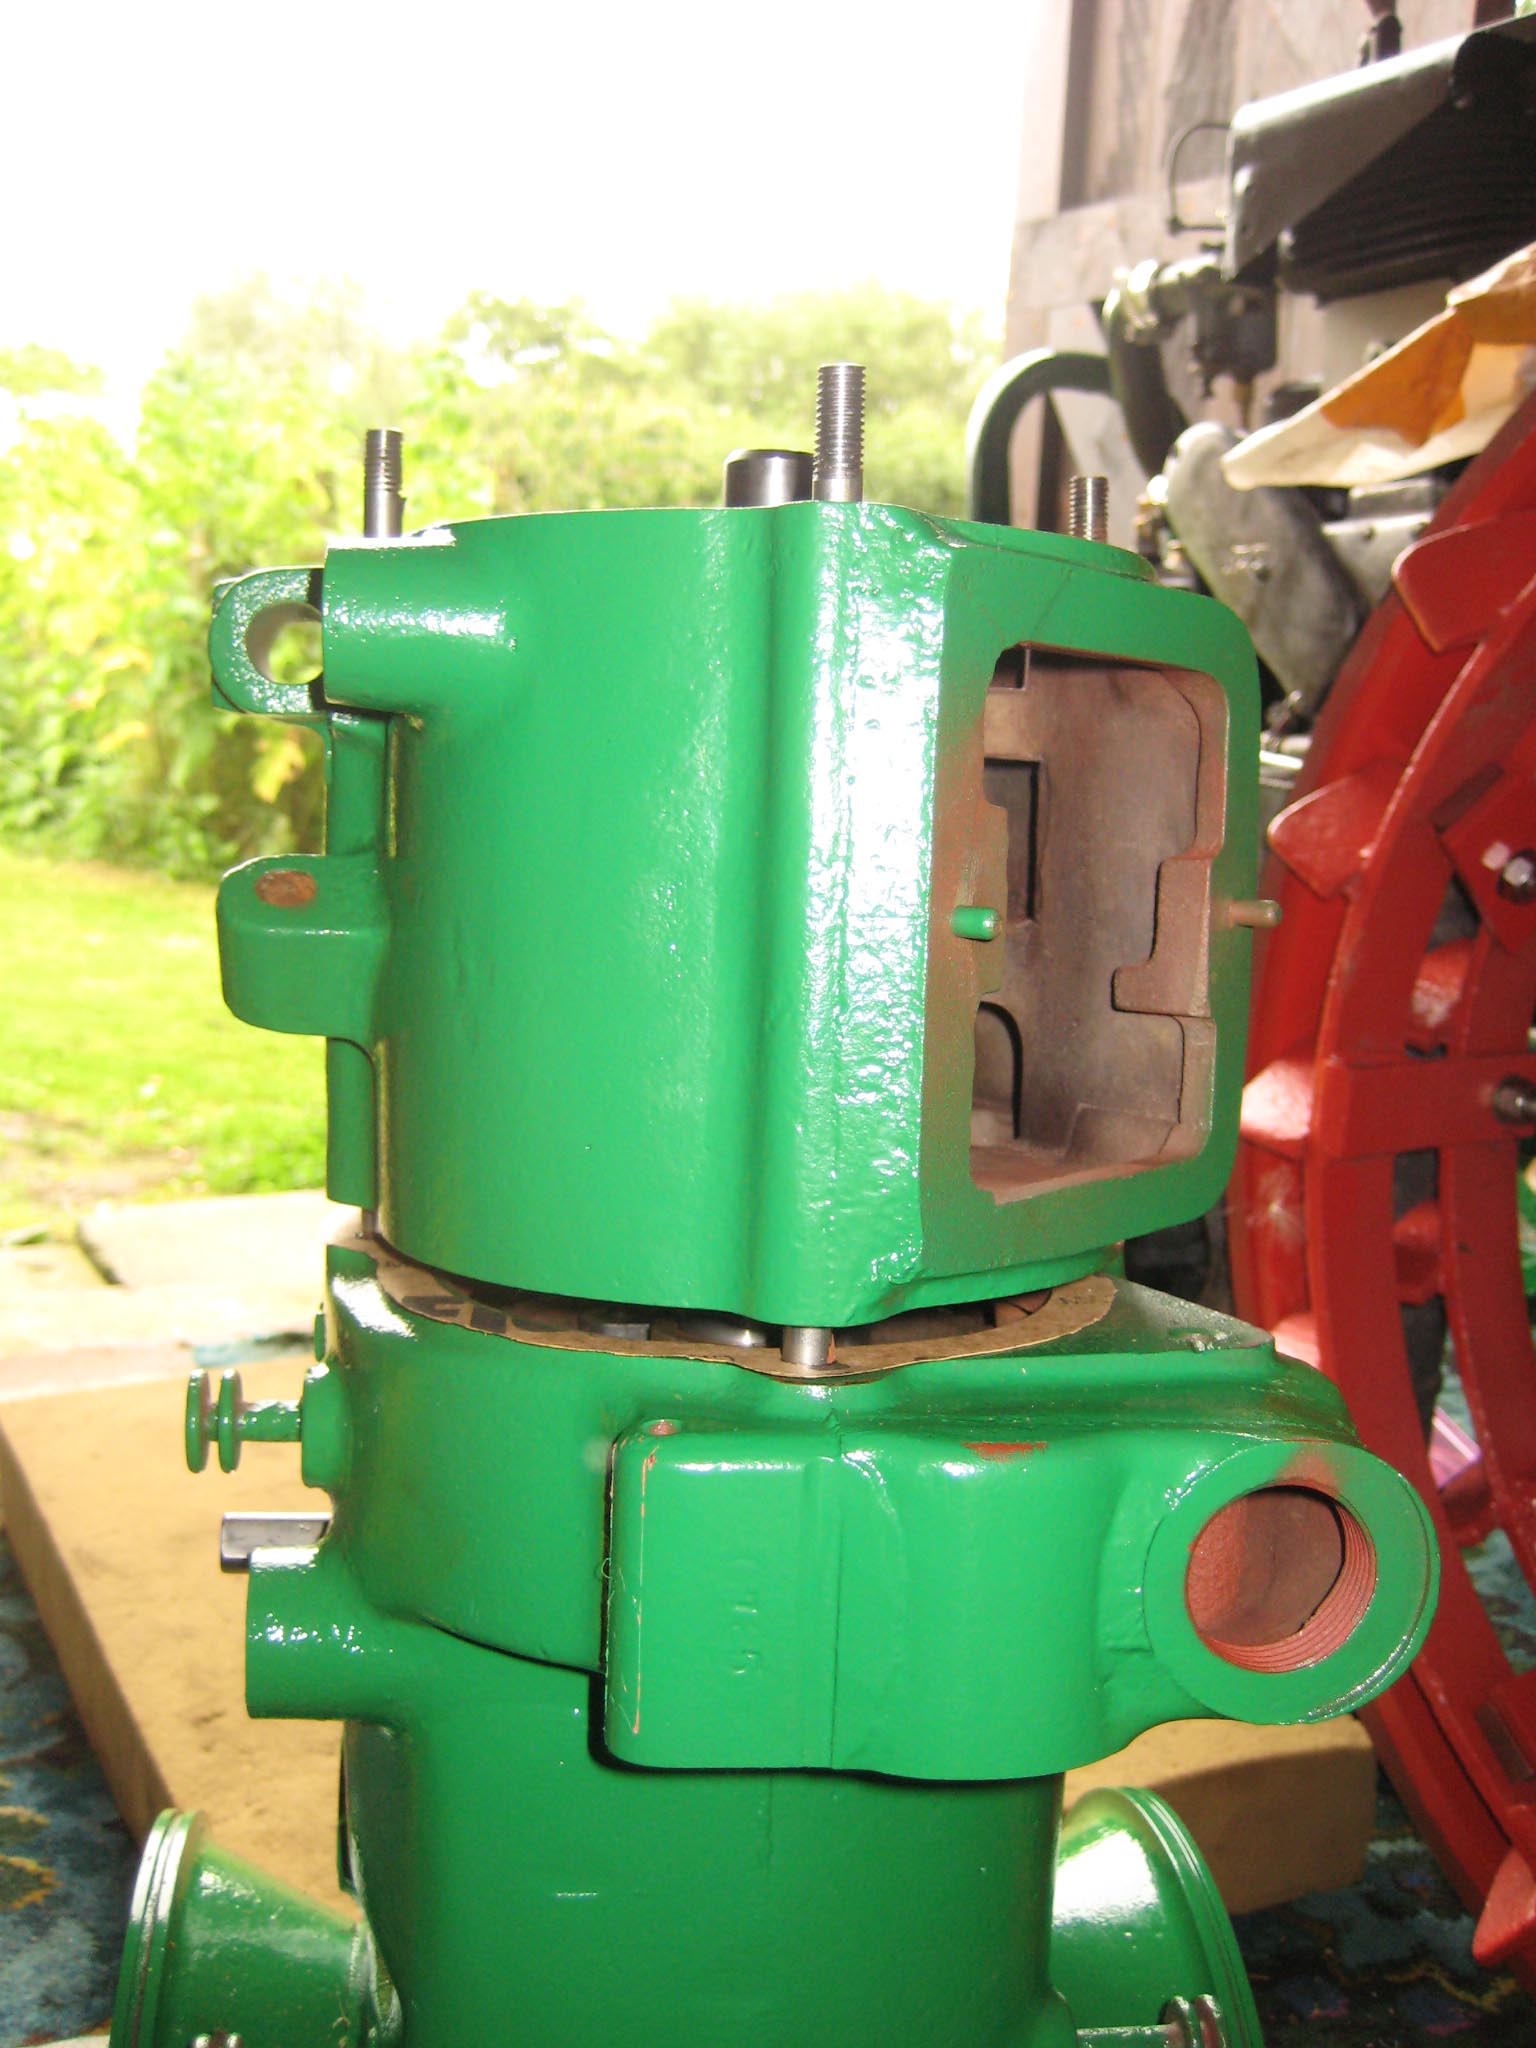
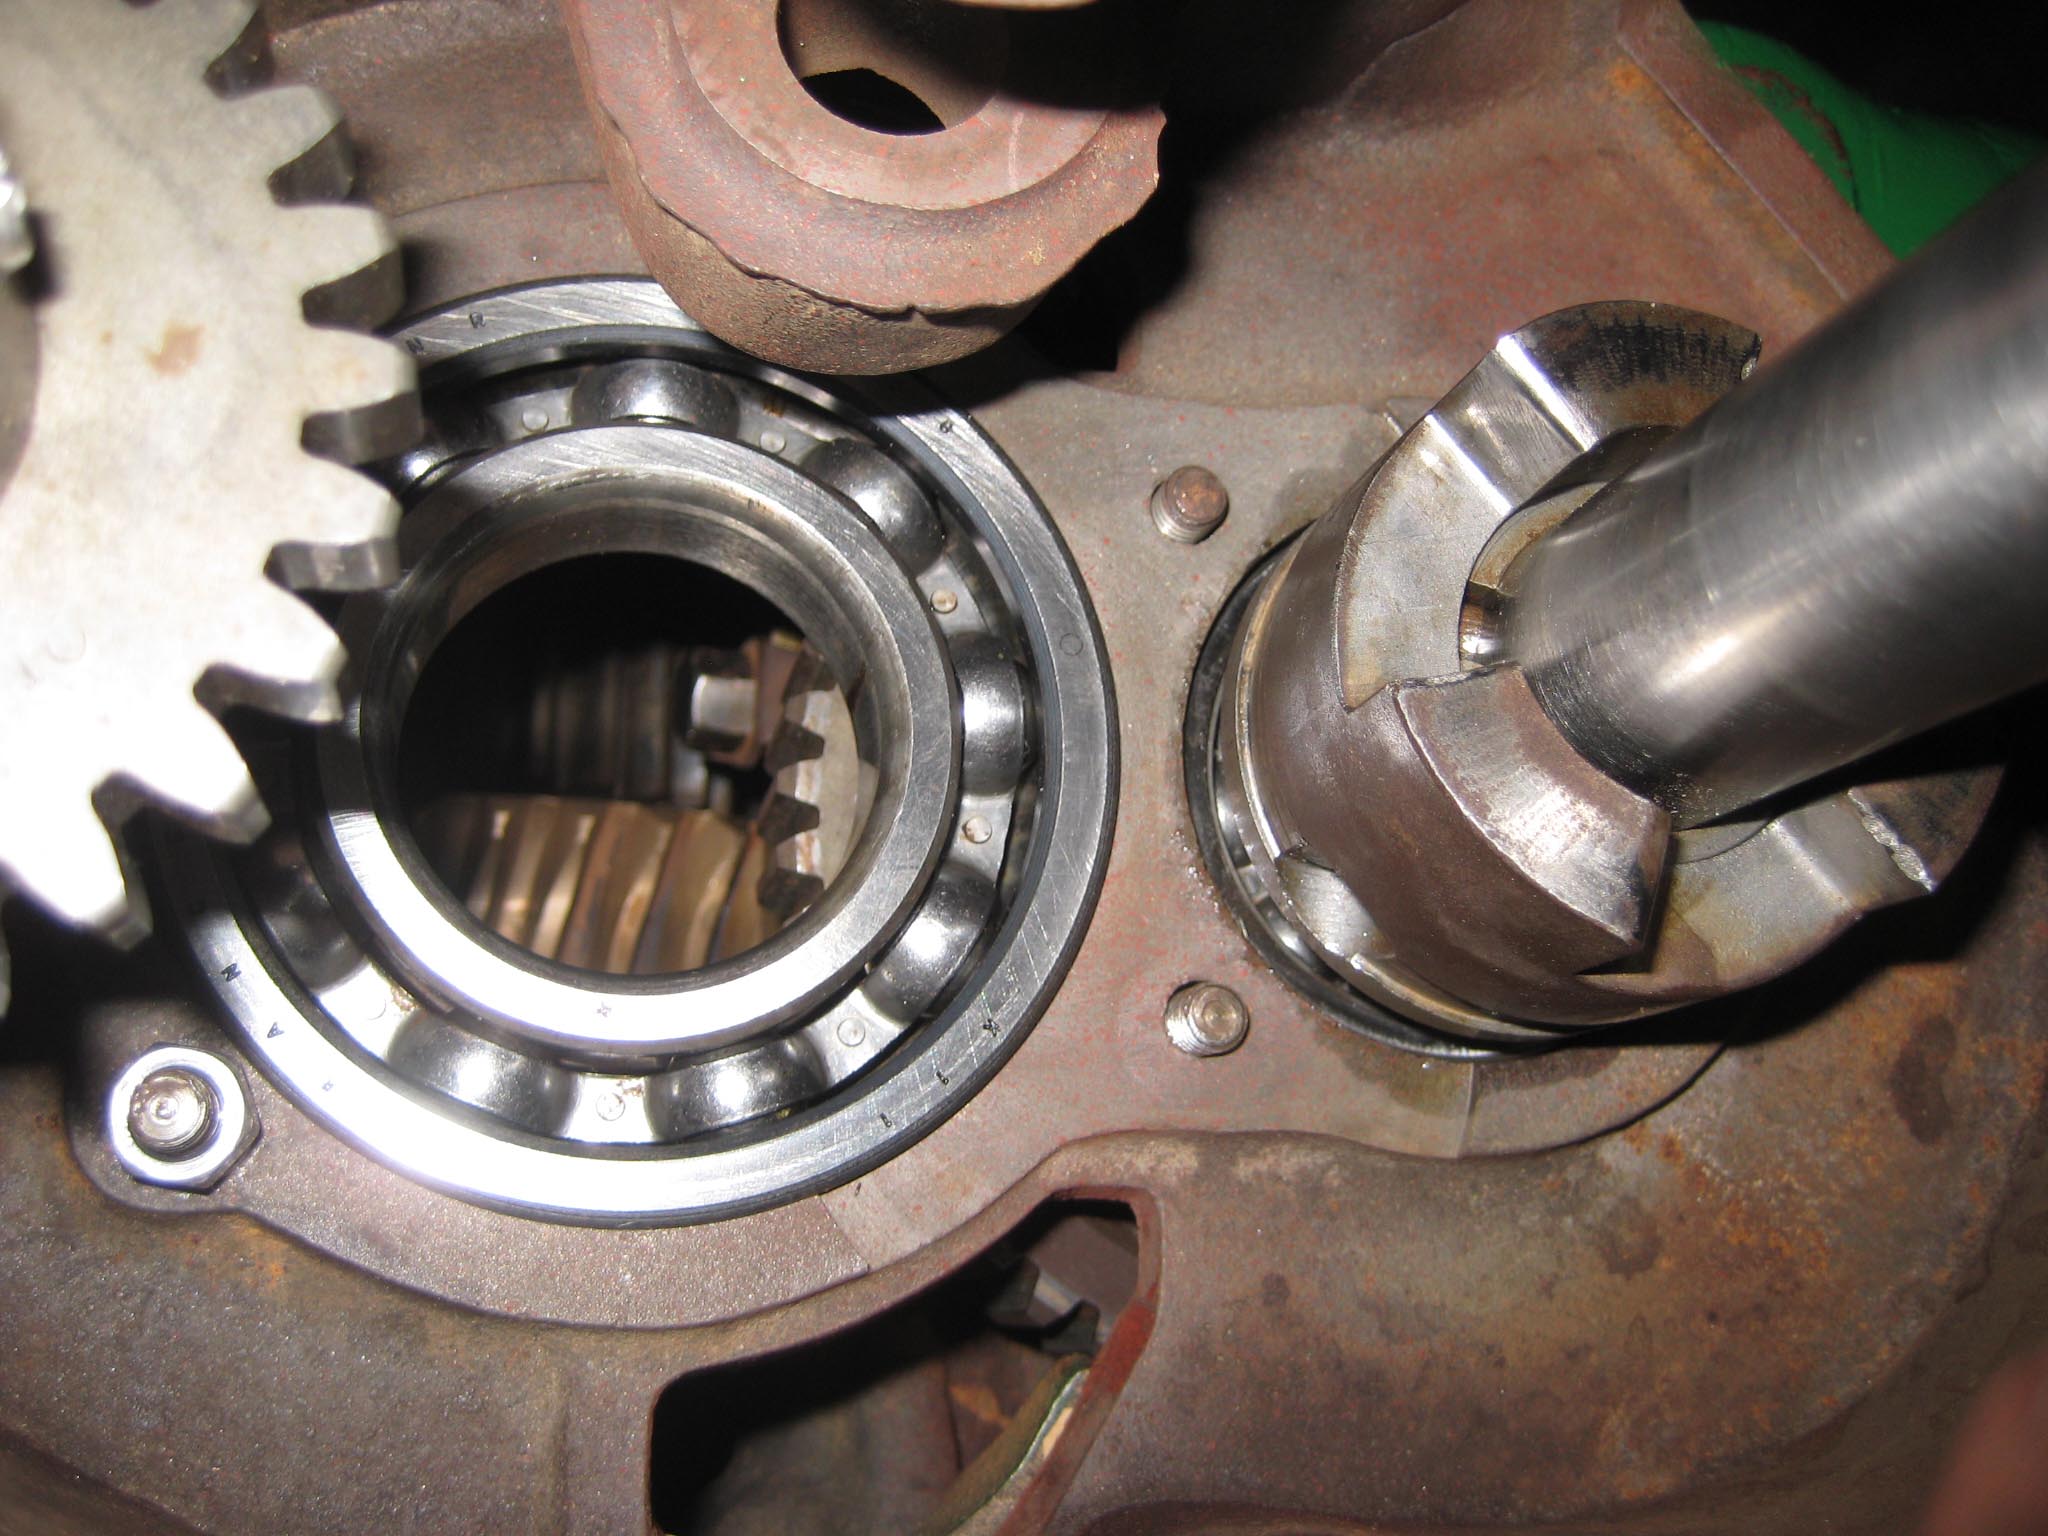
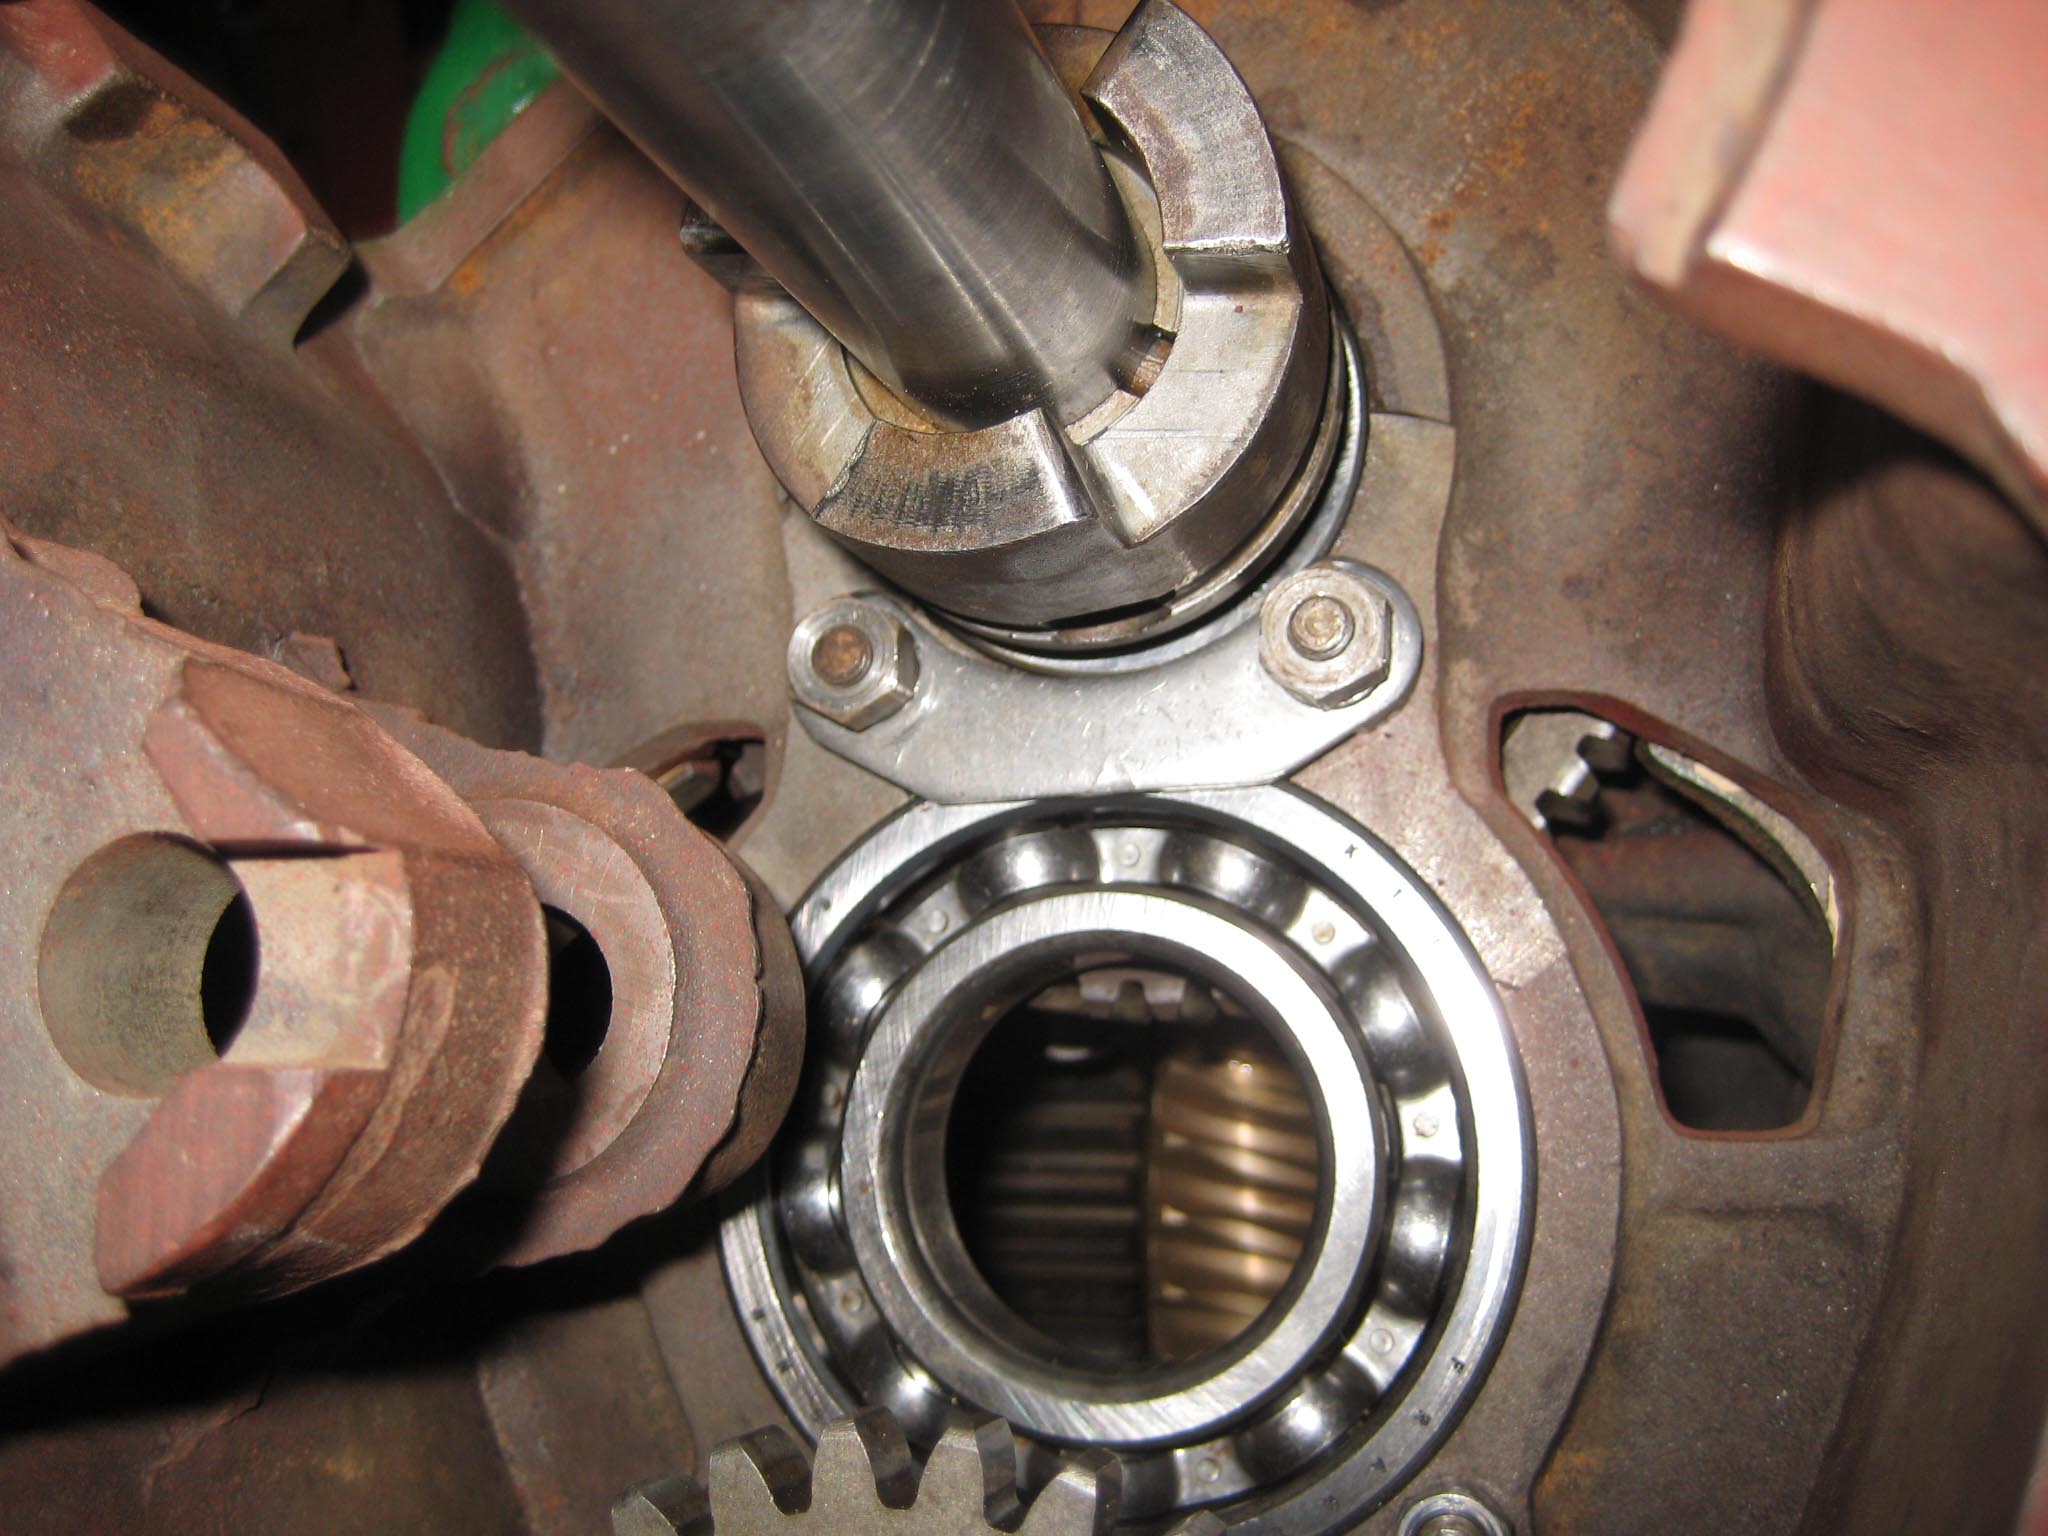
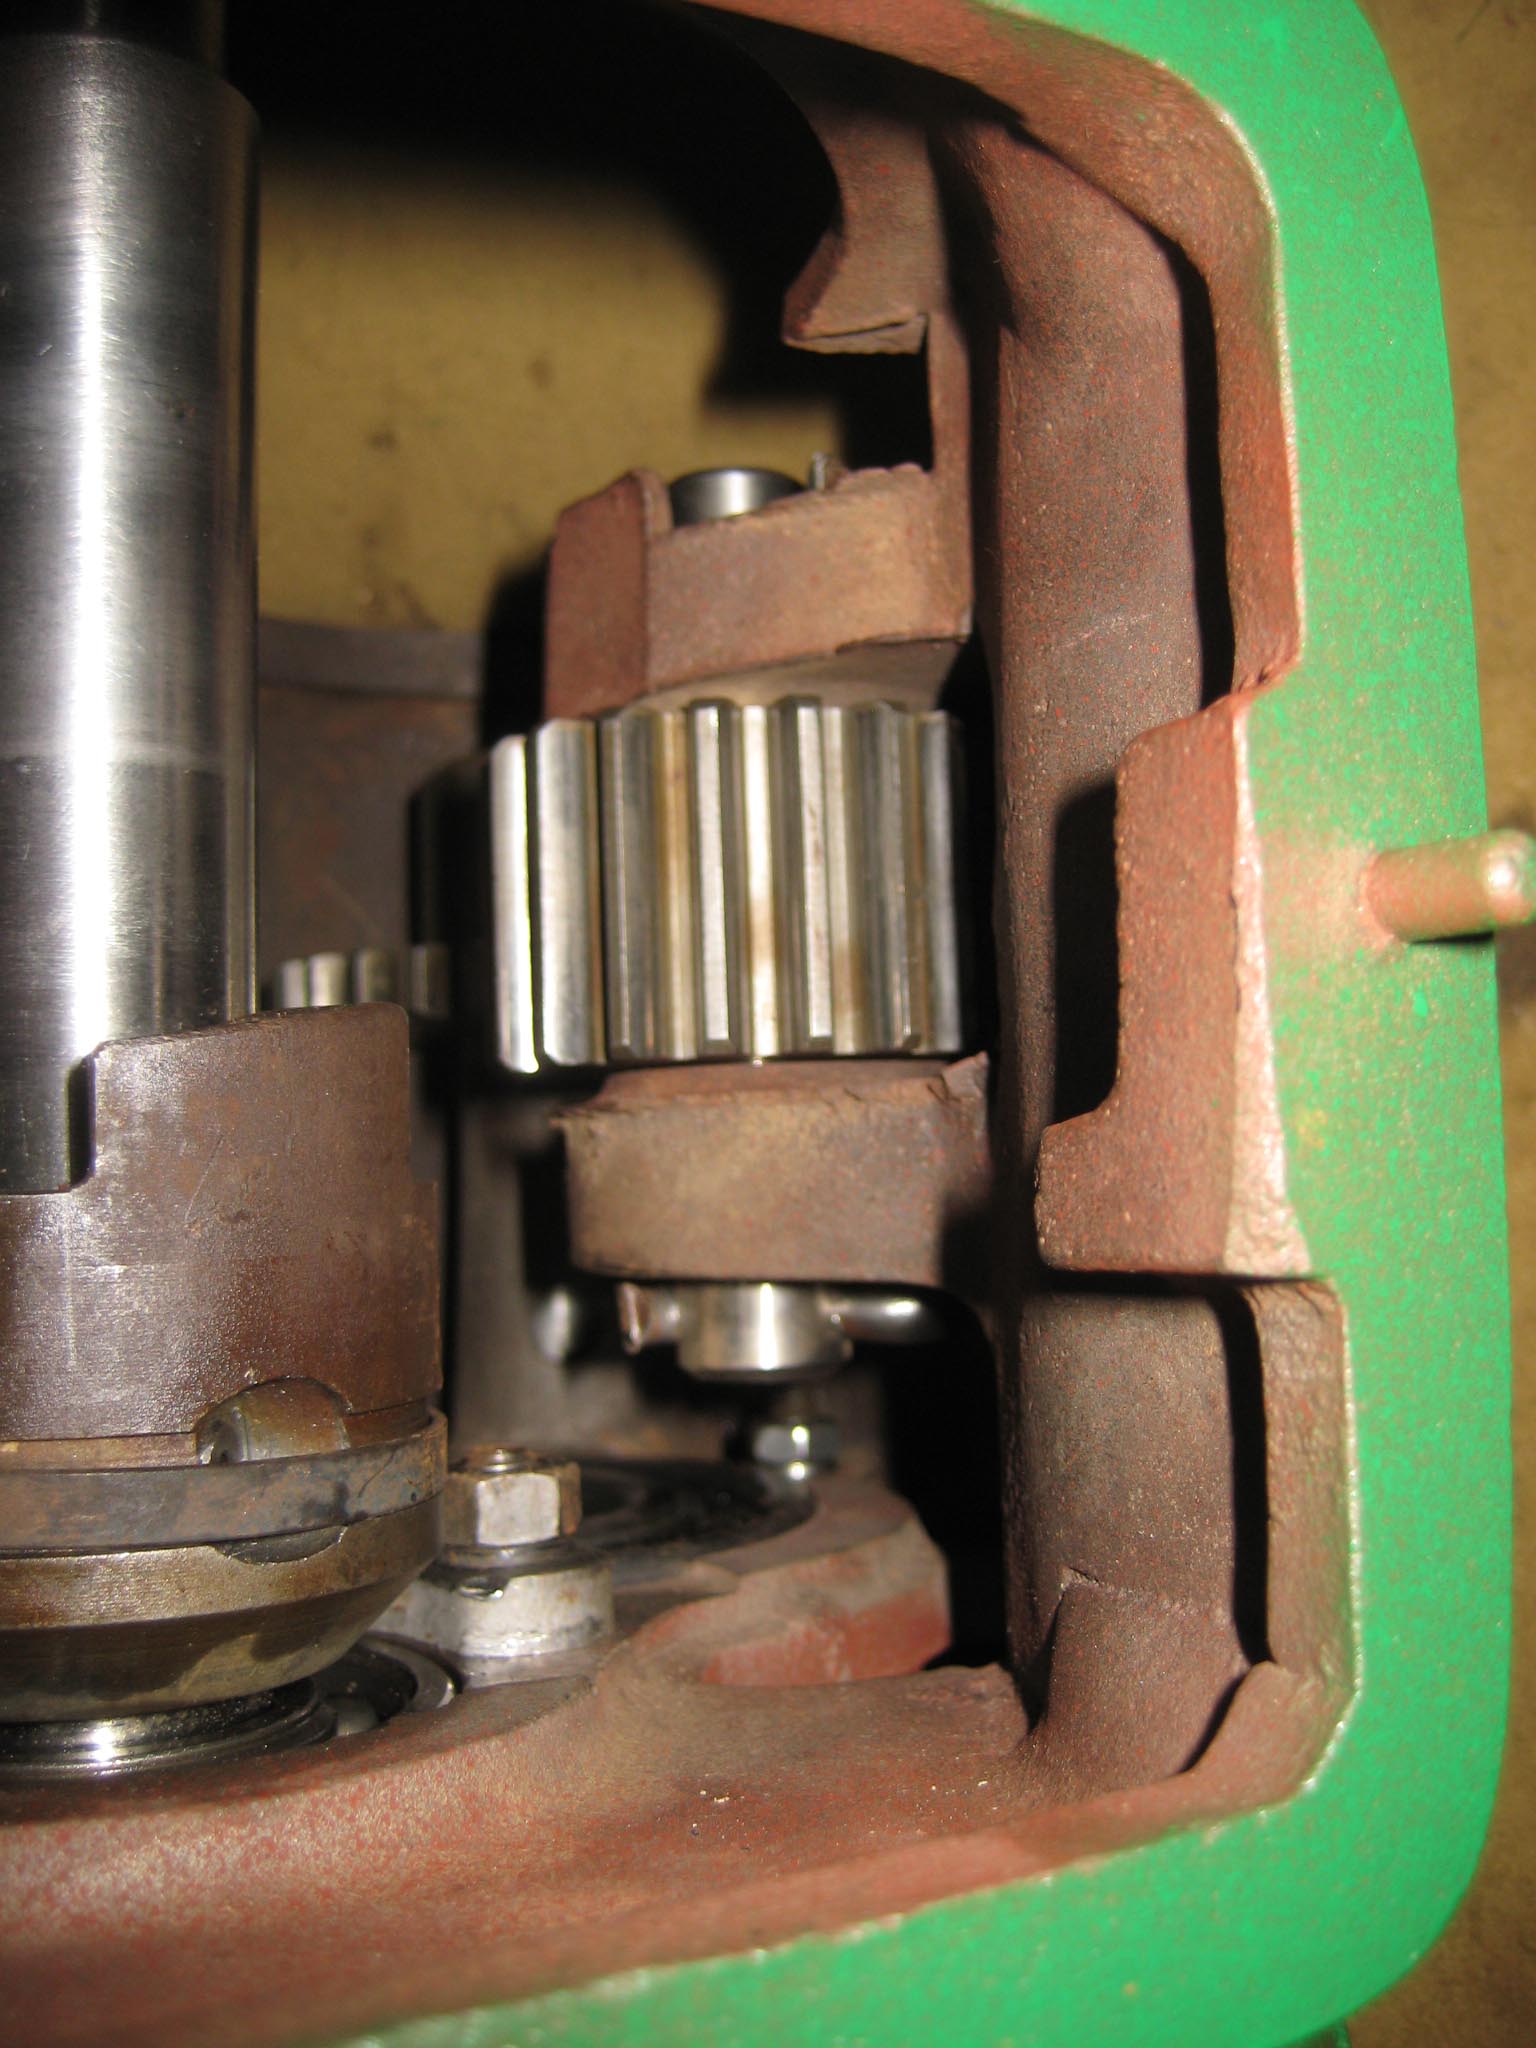
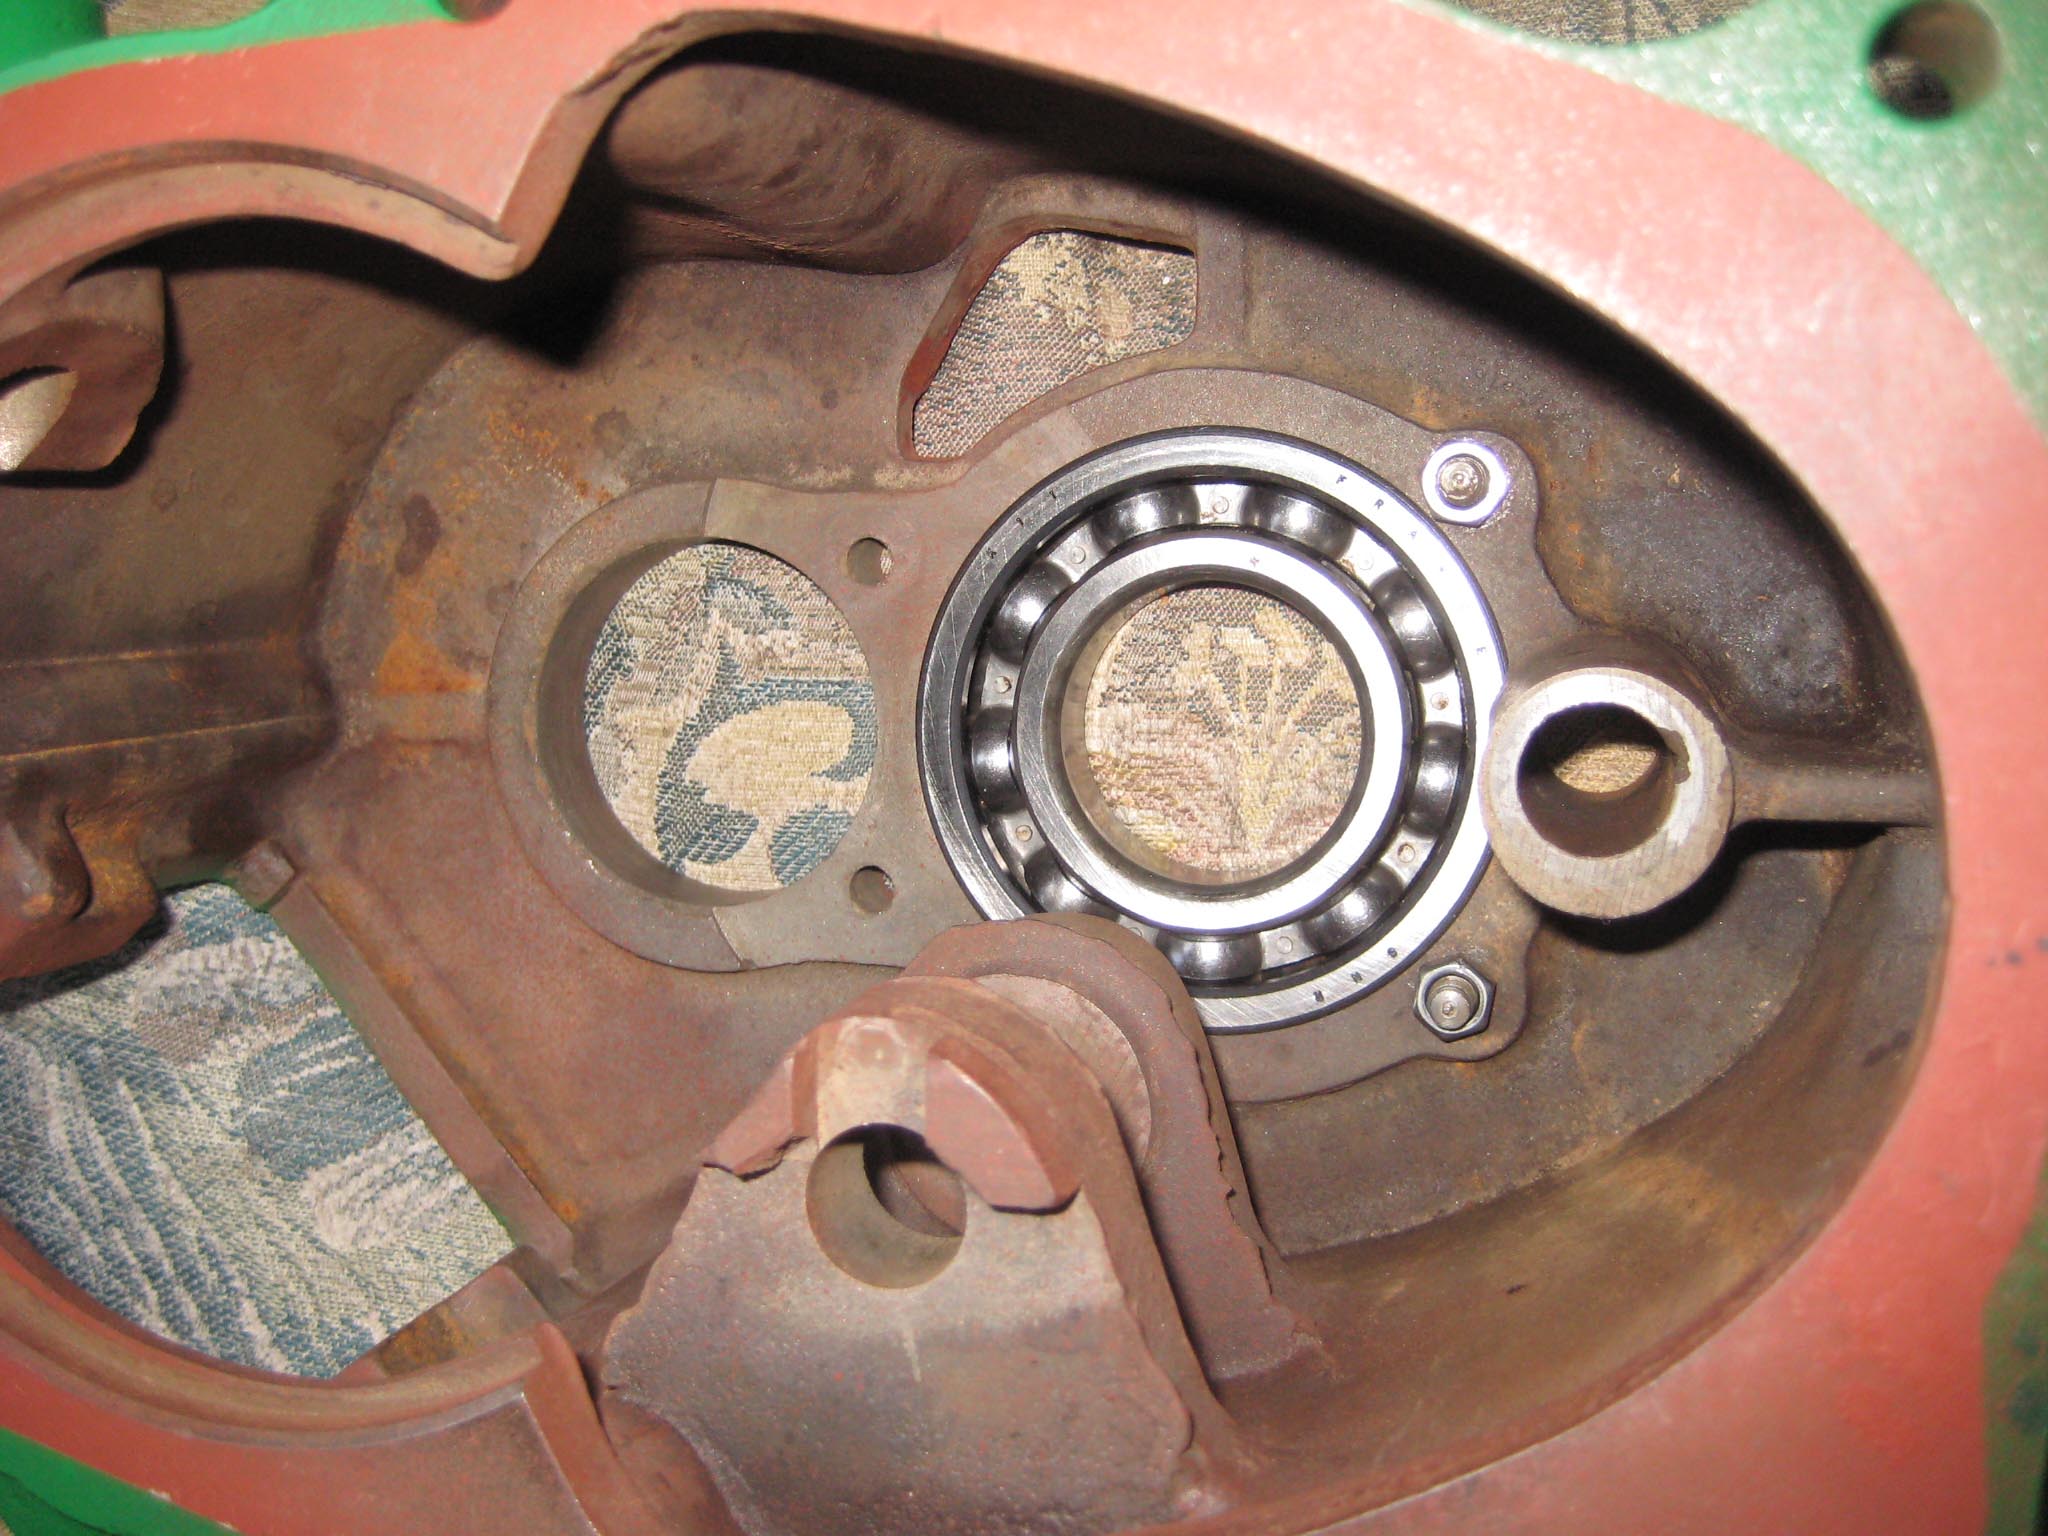
August 31, 2015 at 12:17 pm #14268vhgmcbuddyKeymasterBefore the reverse motion gearbox can be attached to the main gearbox, fit the three long M8 studs into the main gearbox and then the paper gasket (Simar 0023). Place the roller bearing securing bracket loosely onto the forward motion reduction gear, making sure that the gear is out of mesh with the worm, i.e. is at it’s furthest forward position (Simar 0024). Now for the tricky bit!! Lower the reverse motion gearbox, so that the two studs on the roller bearing securing bracket begin to protrude through the two holes in the casing (Simar 0025). As the securing bracket isn’t attached to anything, a degree of patience is required to joggle it into location. Fortunately, the rear crankshaft roller bearing has a sufficiently large enough inner diameter to allow access for a couple of fingers!! A further complication is that the casing has to fit onto the bearing on the worm drive shaft which is a press fit. Mine went on with a few well placed blows with a rubber mallet. Once the reverse motion gearbox casing is in position, place the gearbox so that it is sat just past horizontal, with the front lower than the rear. Gravity will then keep the roller bearing securing bracket in position while the inner securing plate and nuts are fitted (Simar 0026). Final bits to go in are the safety spring for the reverse motion dog (Simar 0027) and reverse motion pinion gear (Simar 0028 & 29) which is simply held in place with a couple of 6 x 30mm split pins. There are a few more items which need to be fitted onto to the worm drive shaft, but I decided to leave those off until the engine is ready to be fitted. Final job for the day was to fit the forward motion clutch locking plunger, which simply pushes into a hole in the main gearbox casing (Simar 0030). Note that the photo does not show the fibre washer which fits to the threaded plug.
Attachments:
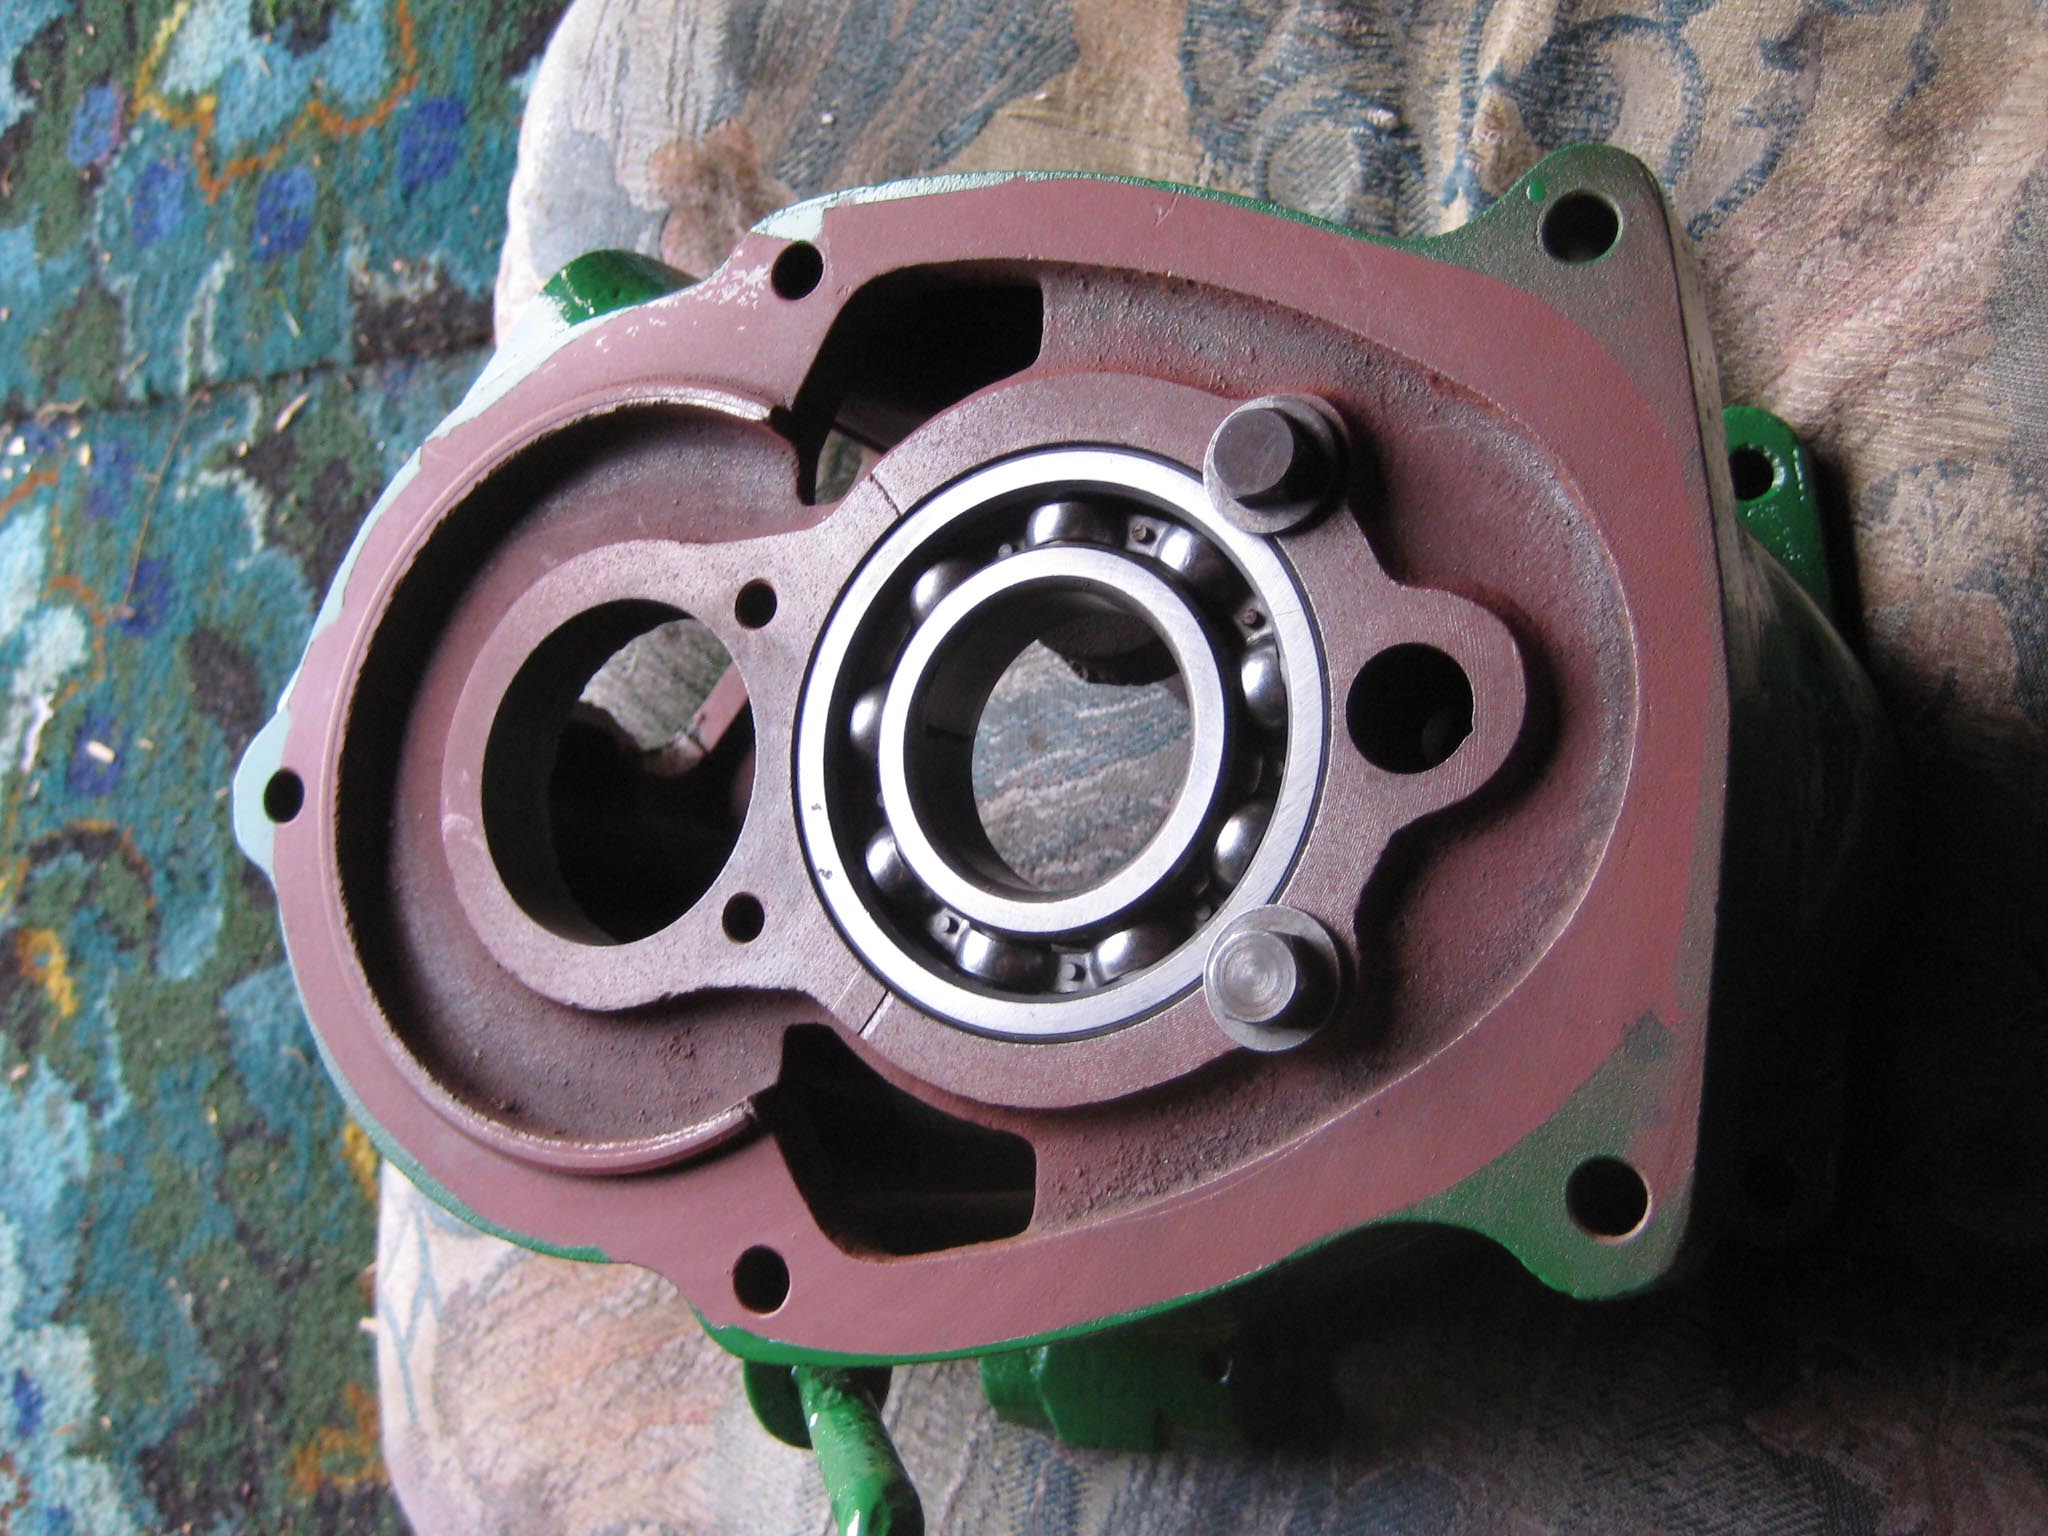
August 31, 2015 at 12:11 pm #14260vhgmcbuddyKeymasterNext items to be fitted were the forward motion clutch fork, collar and shaft (Simar 0016). The clutch collar fits into a machined groove on the forward motion reduction gear (Simar 0017). This is easier with the gearbox stood on it’s rear end, pointing vertically upwards, otherwise gravity makes the collar drop out!! The hole for the clutch shaft can be seen just to the right of the collar. Slide the clutch fork into the collar and then insert the shaft through the gearbox casing into the clutch fork. The shaft is square at both ends, with the outside end being the one which has a hole drilled through it (Simar 0018). It is very important that the shaft is aligned as shown in the photo, otherwise the lever which fits onto the outer end of the shaft will be in the wrong orientation and won’t connect up with the control rods on the handlebars. The clutch fork clamps to the inner end of the shaft using a bolt complete with locking tab (Simar 0019).
The reverse motion gearbox can now be prepared for fitting. Fit the rear crankshaft roller bearing into the casing. This is held in place by thick washers and bolts (Simar 0020 & 21). The oil flinger assembly is fitted next (Simar 0022), the drive gear and flinger disc being held to the shaft by 5 x 34mm roll pins.Attachments:
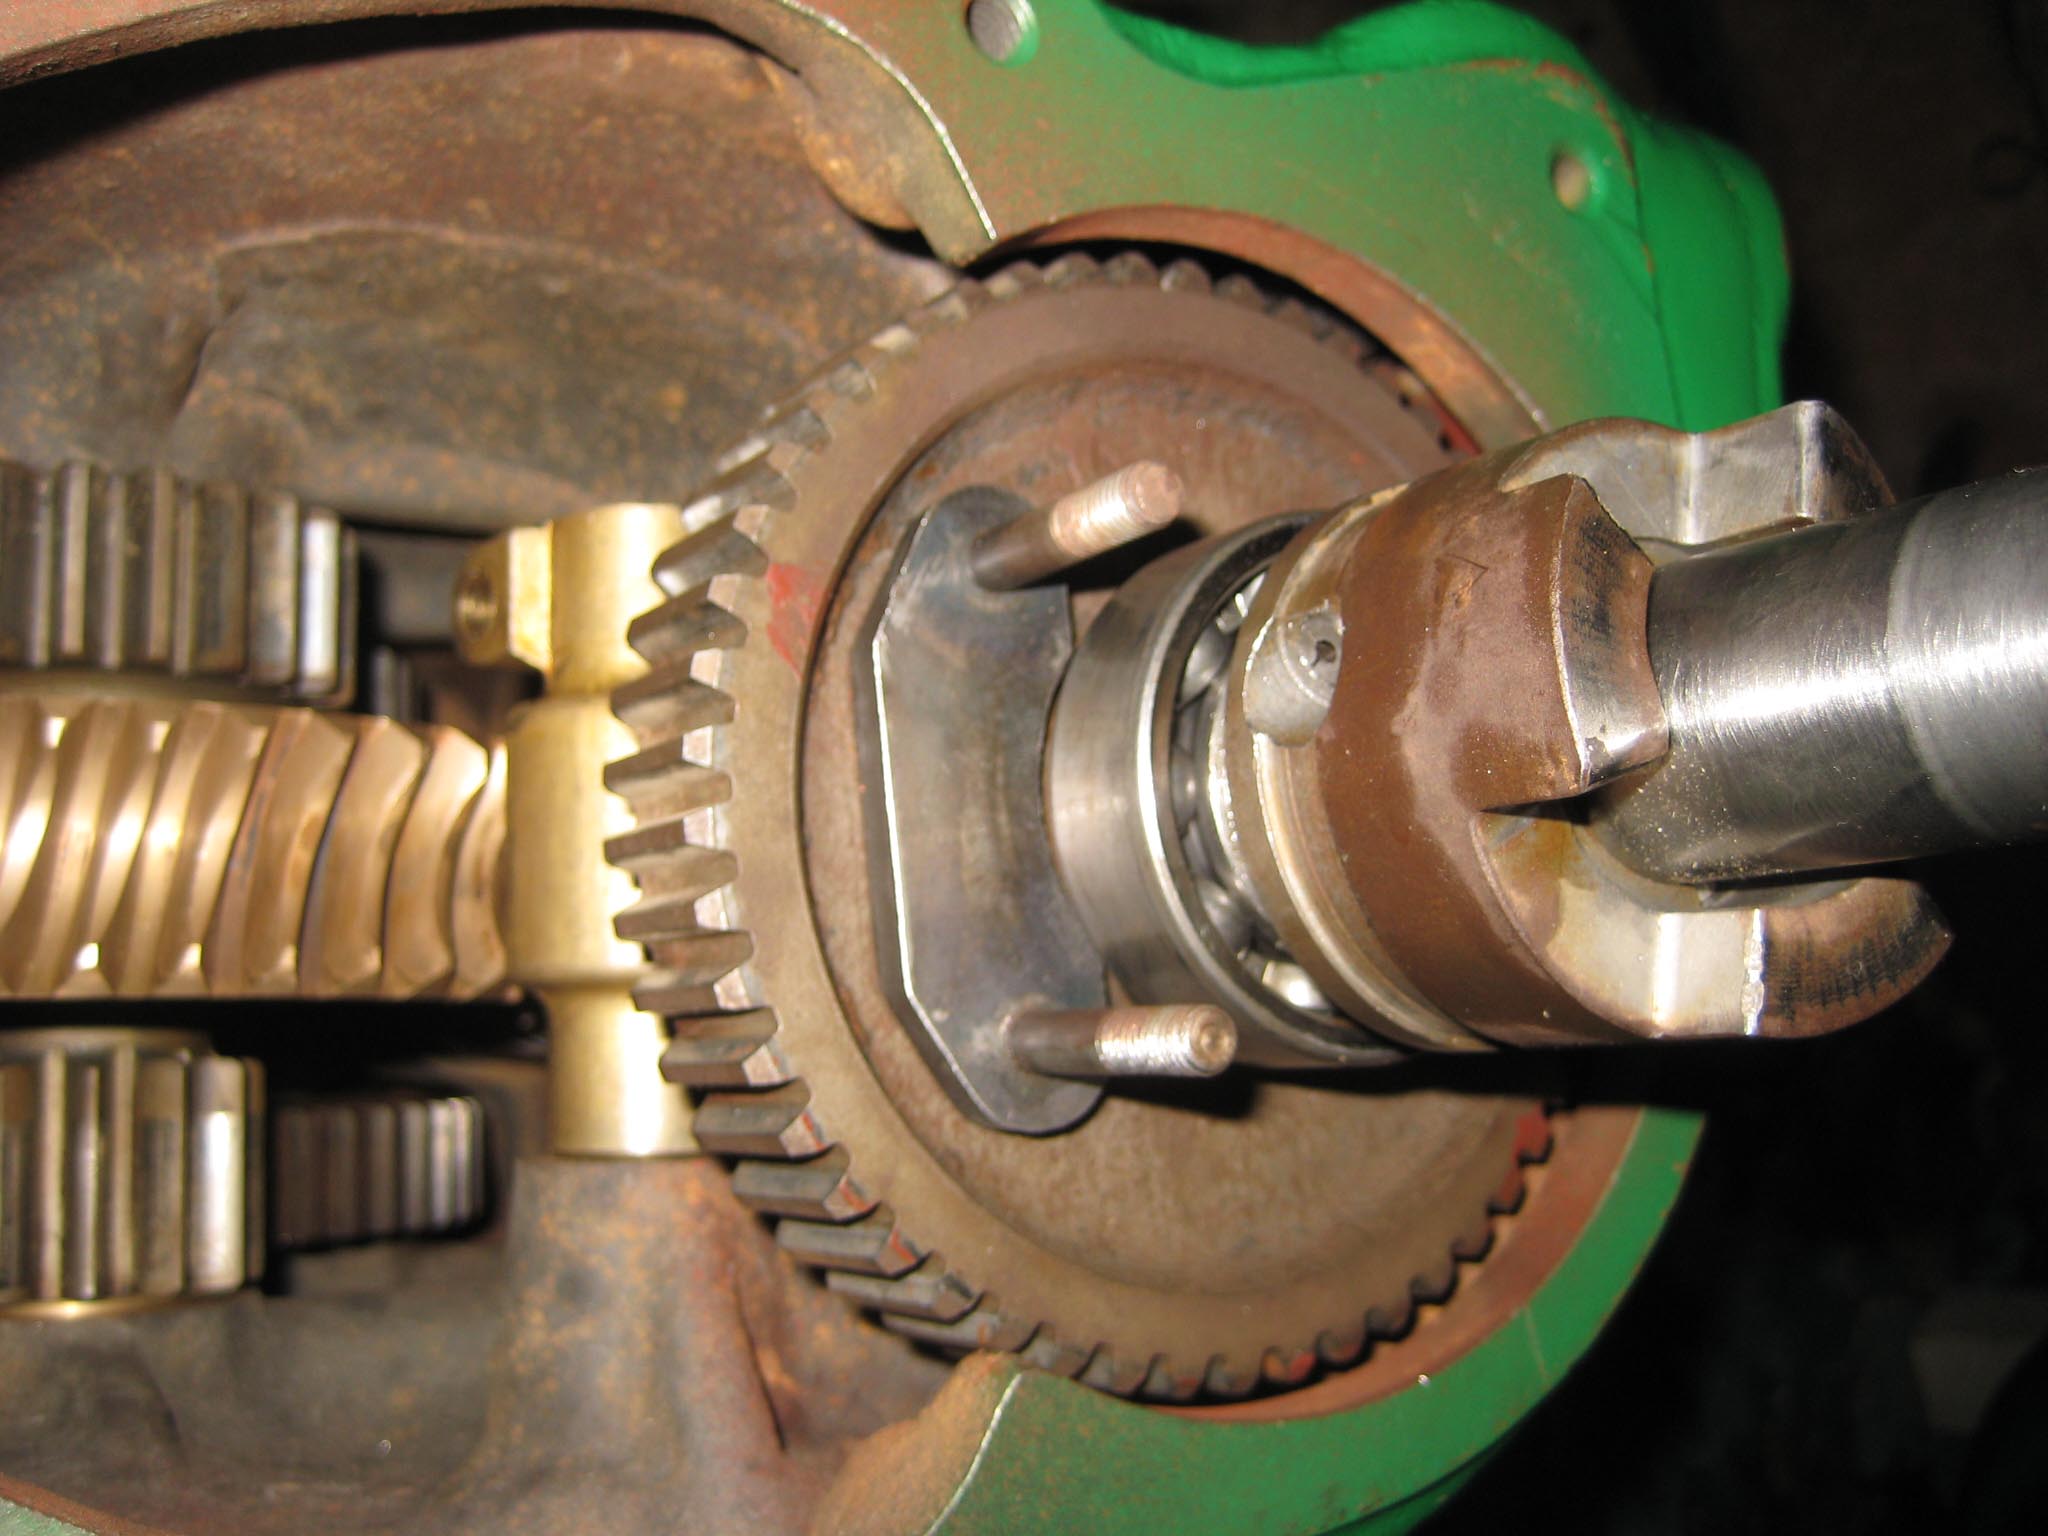
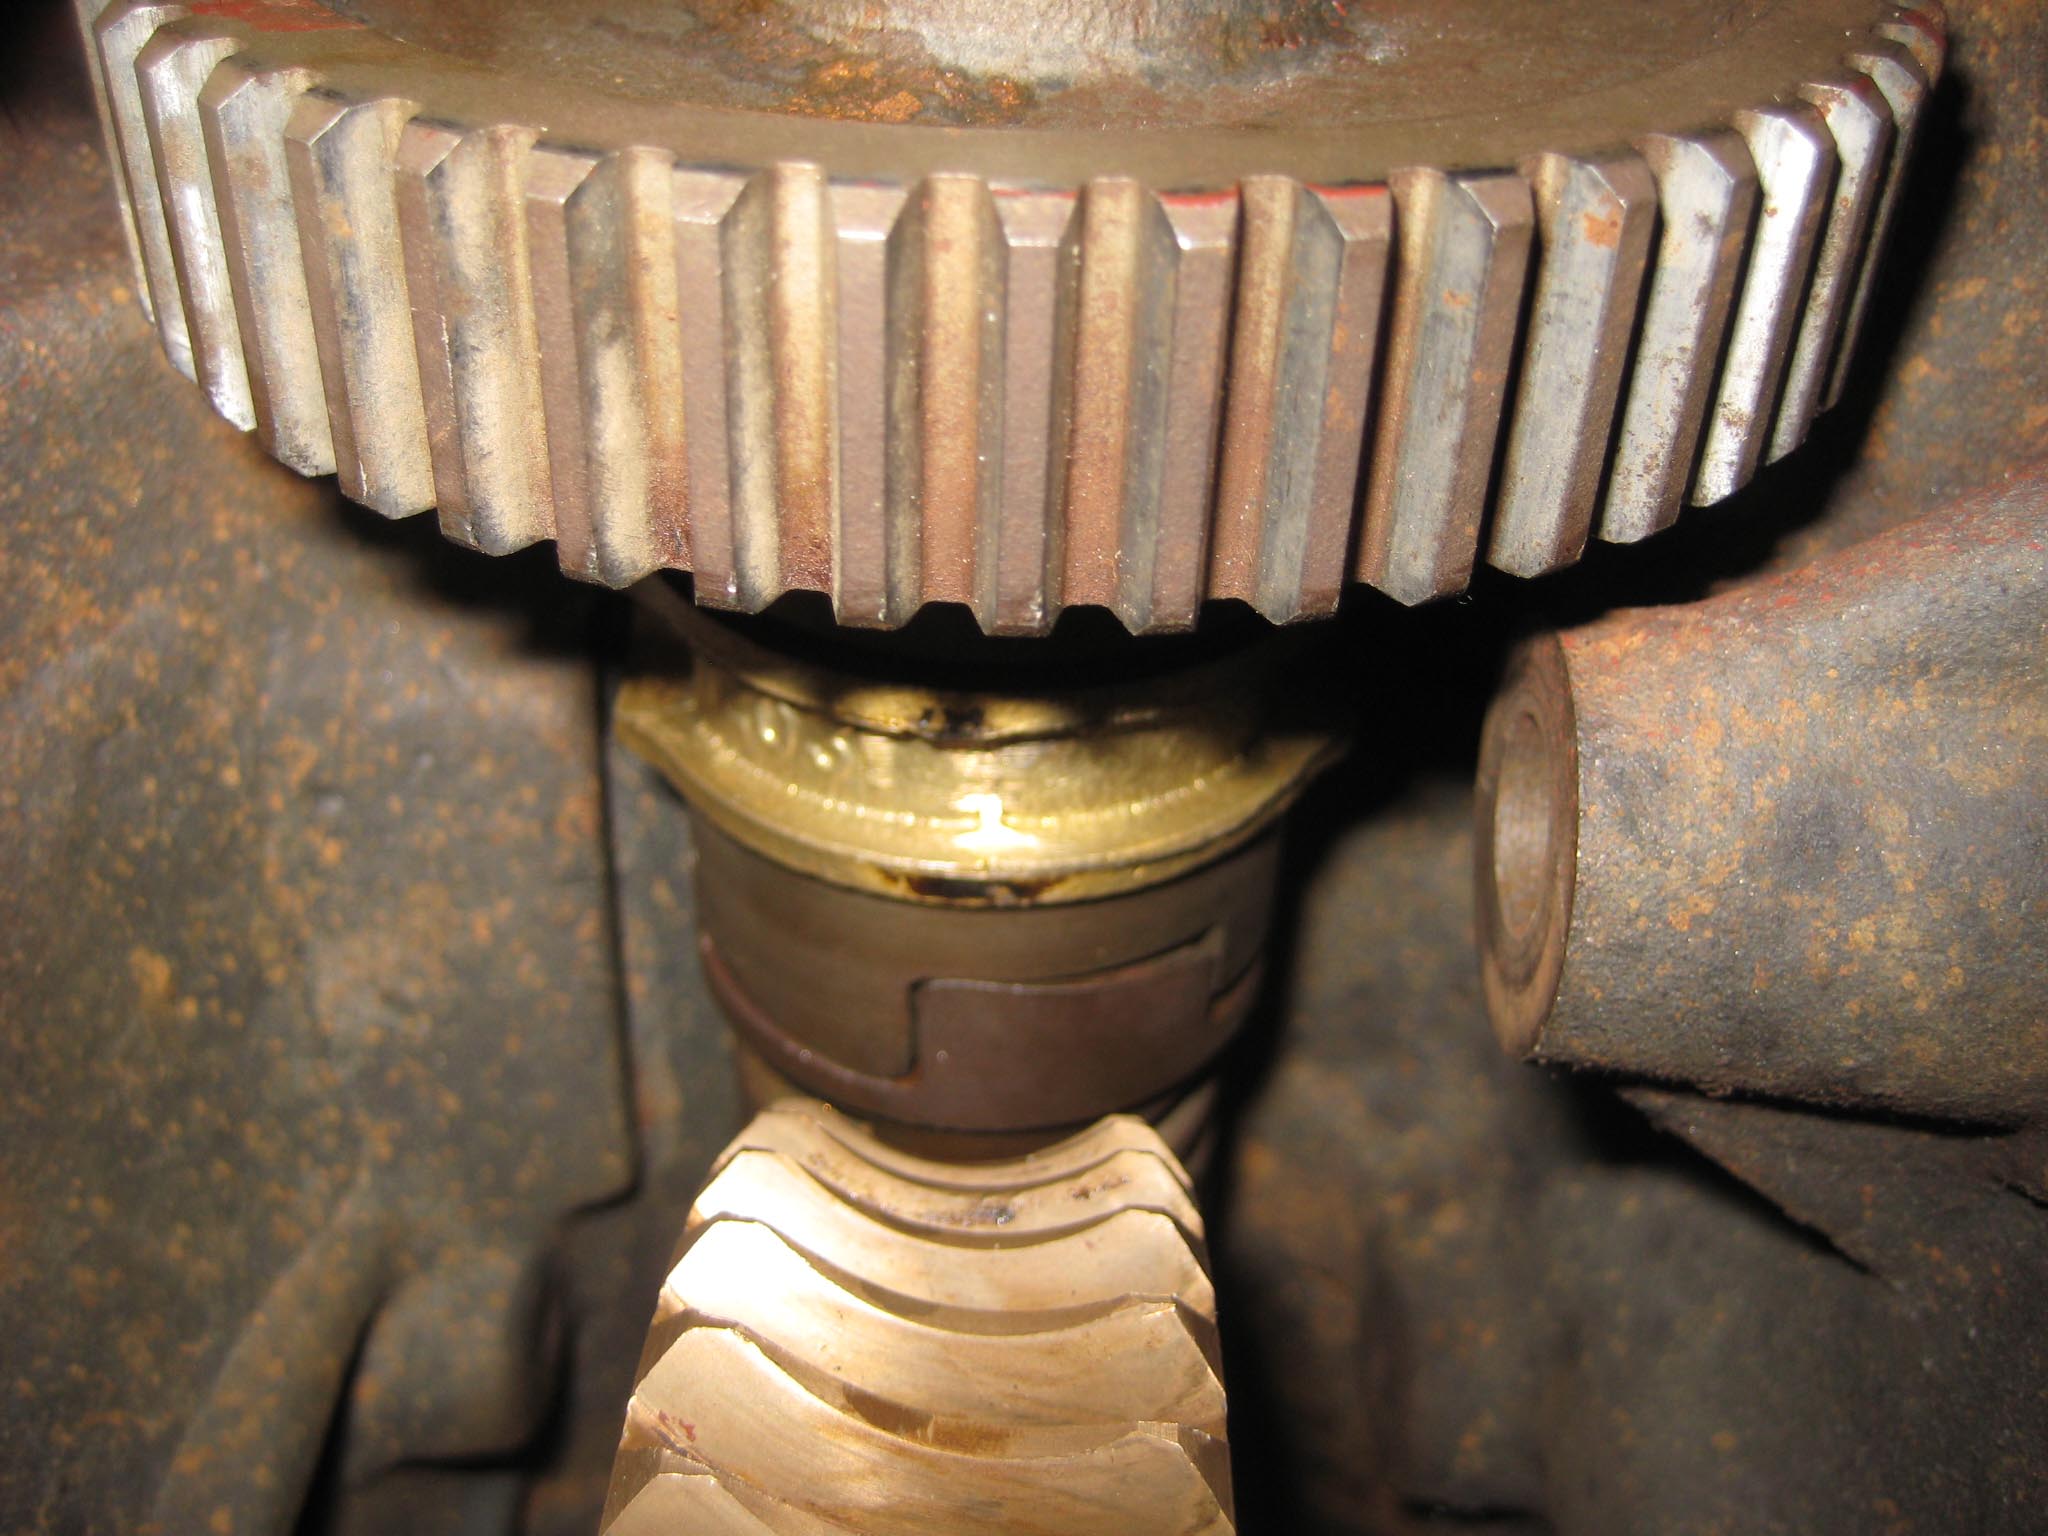
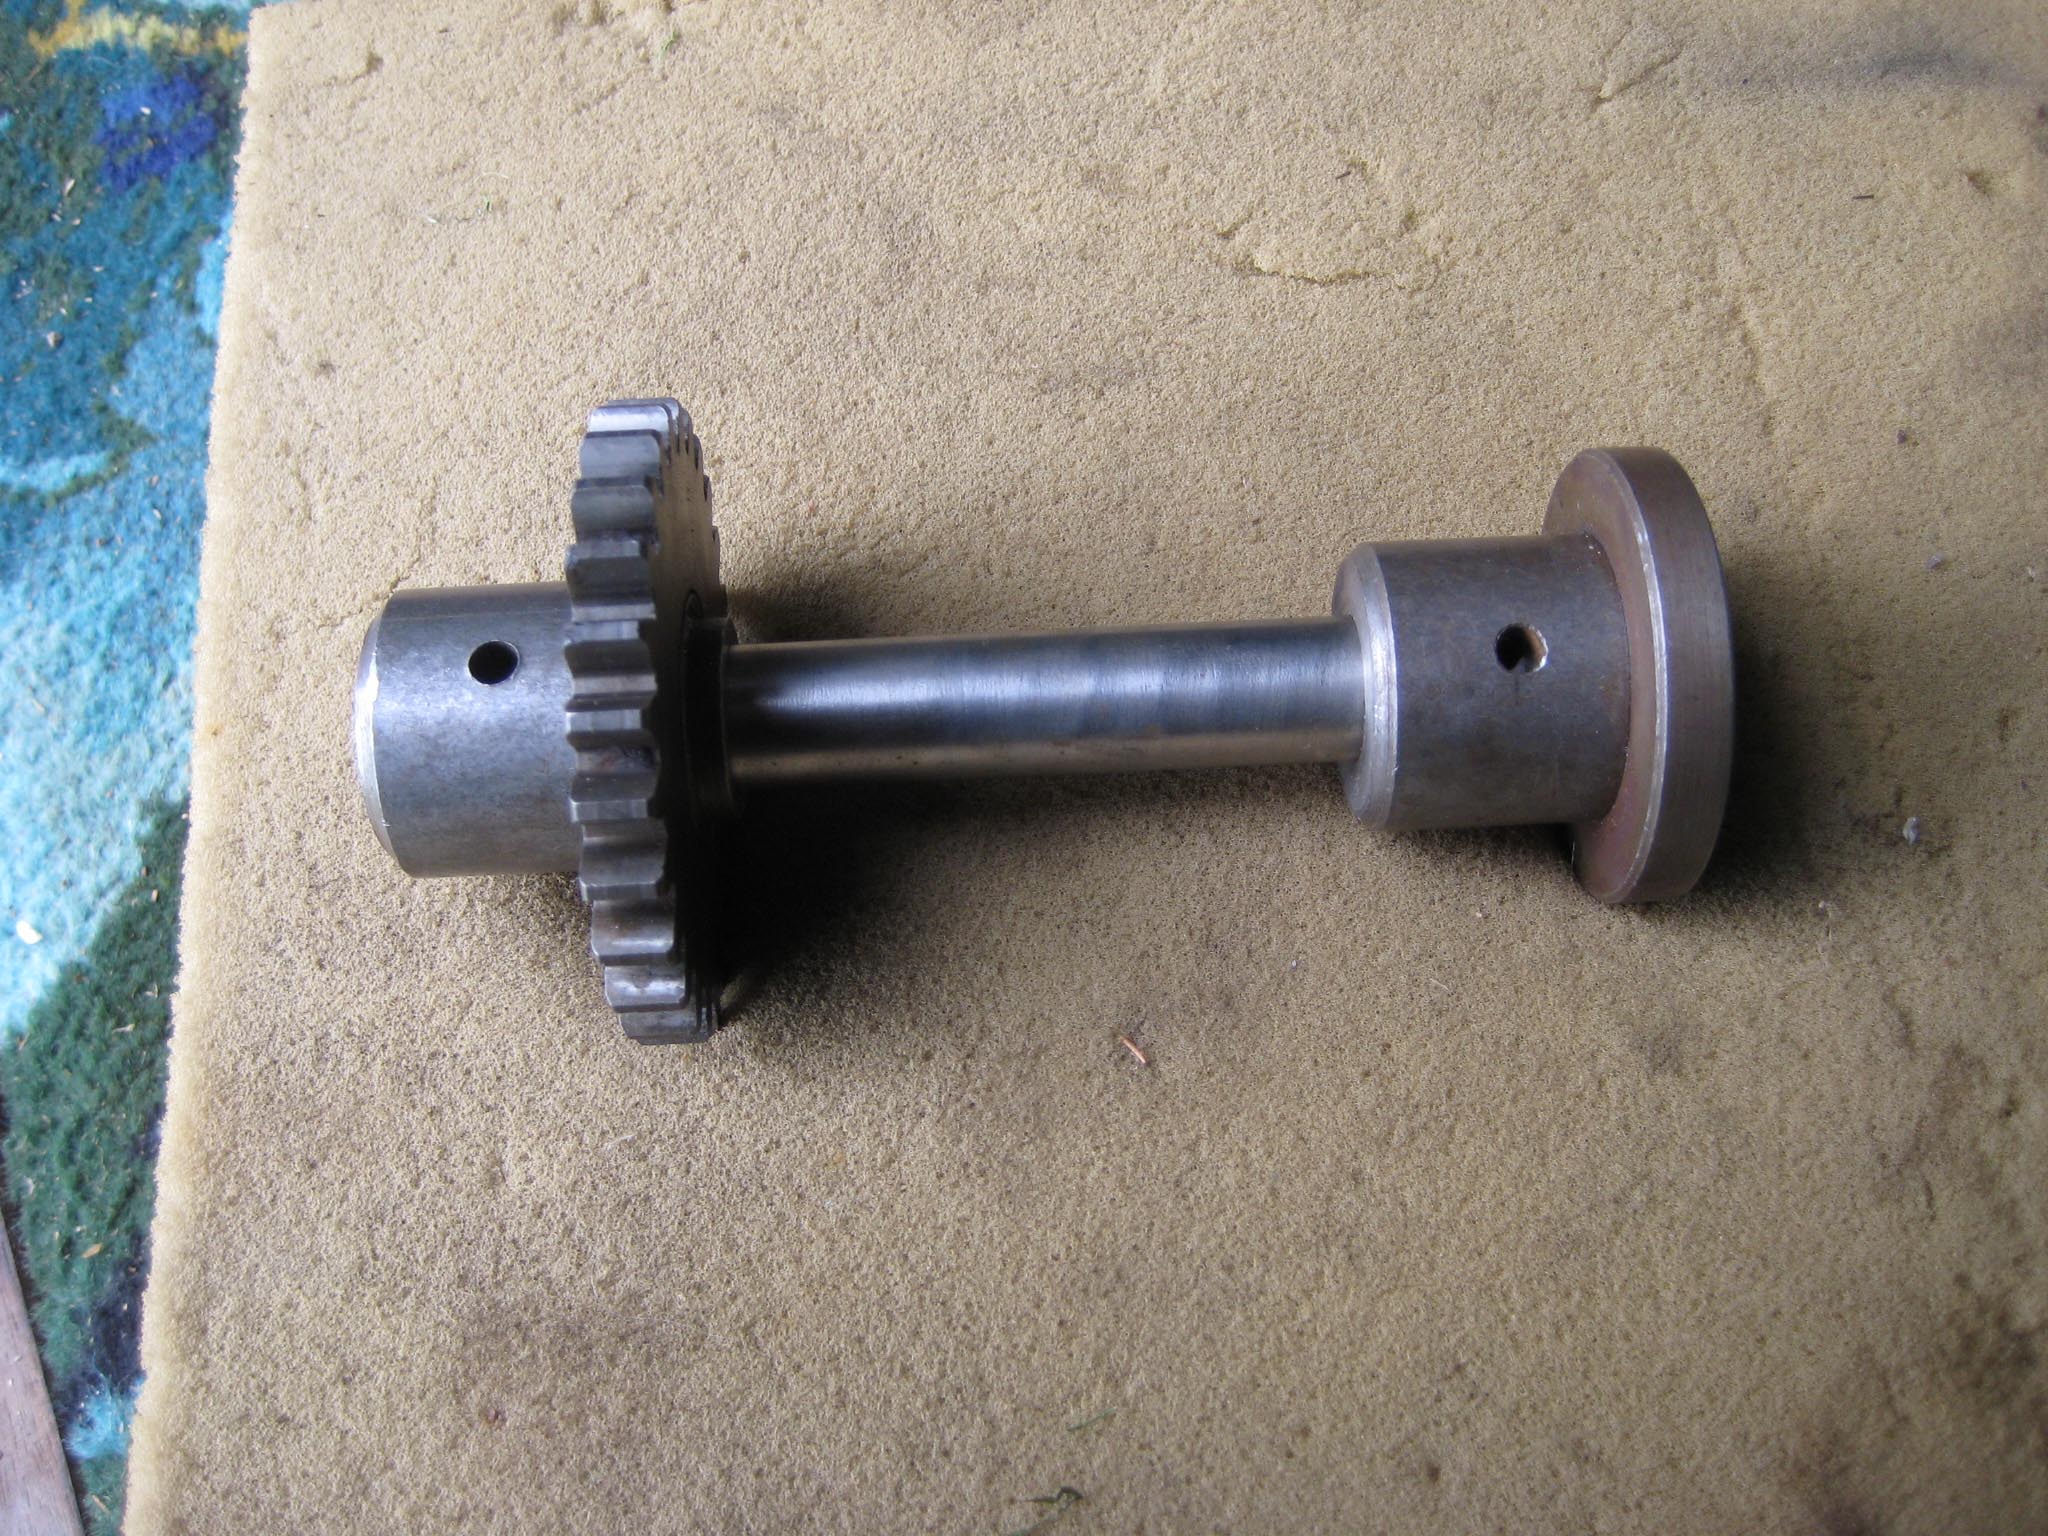
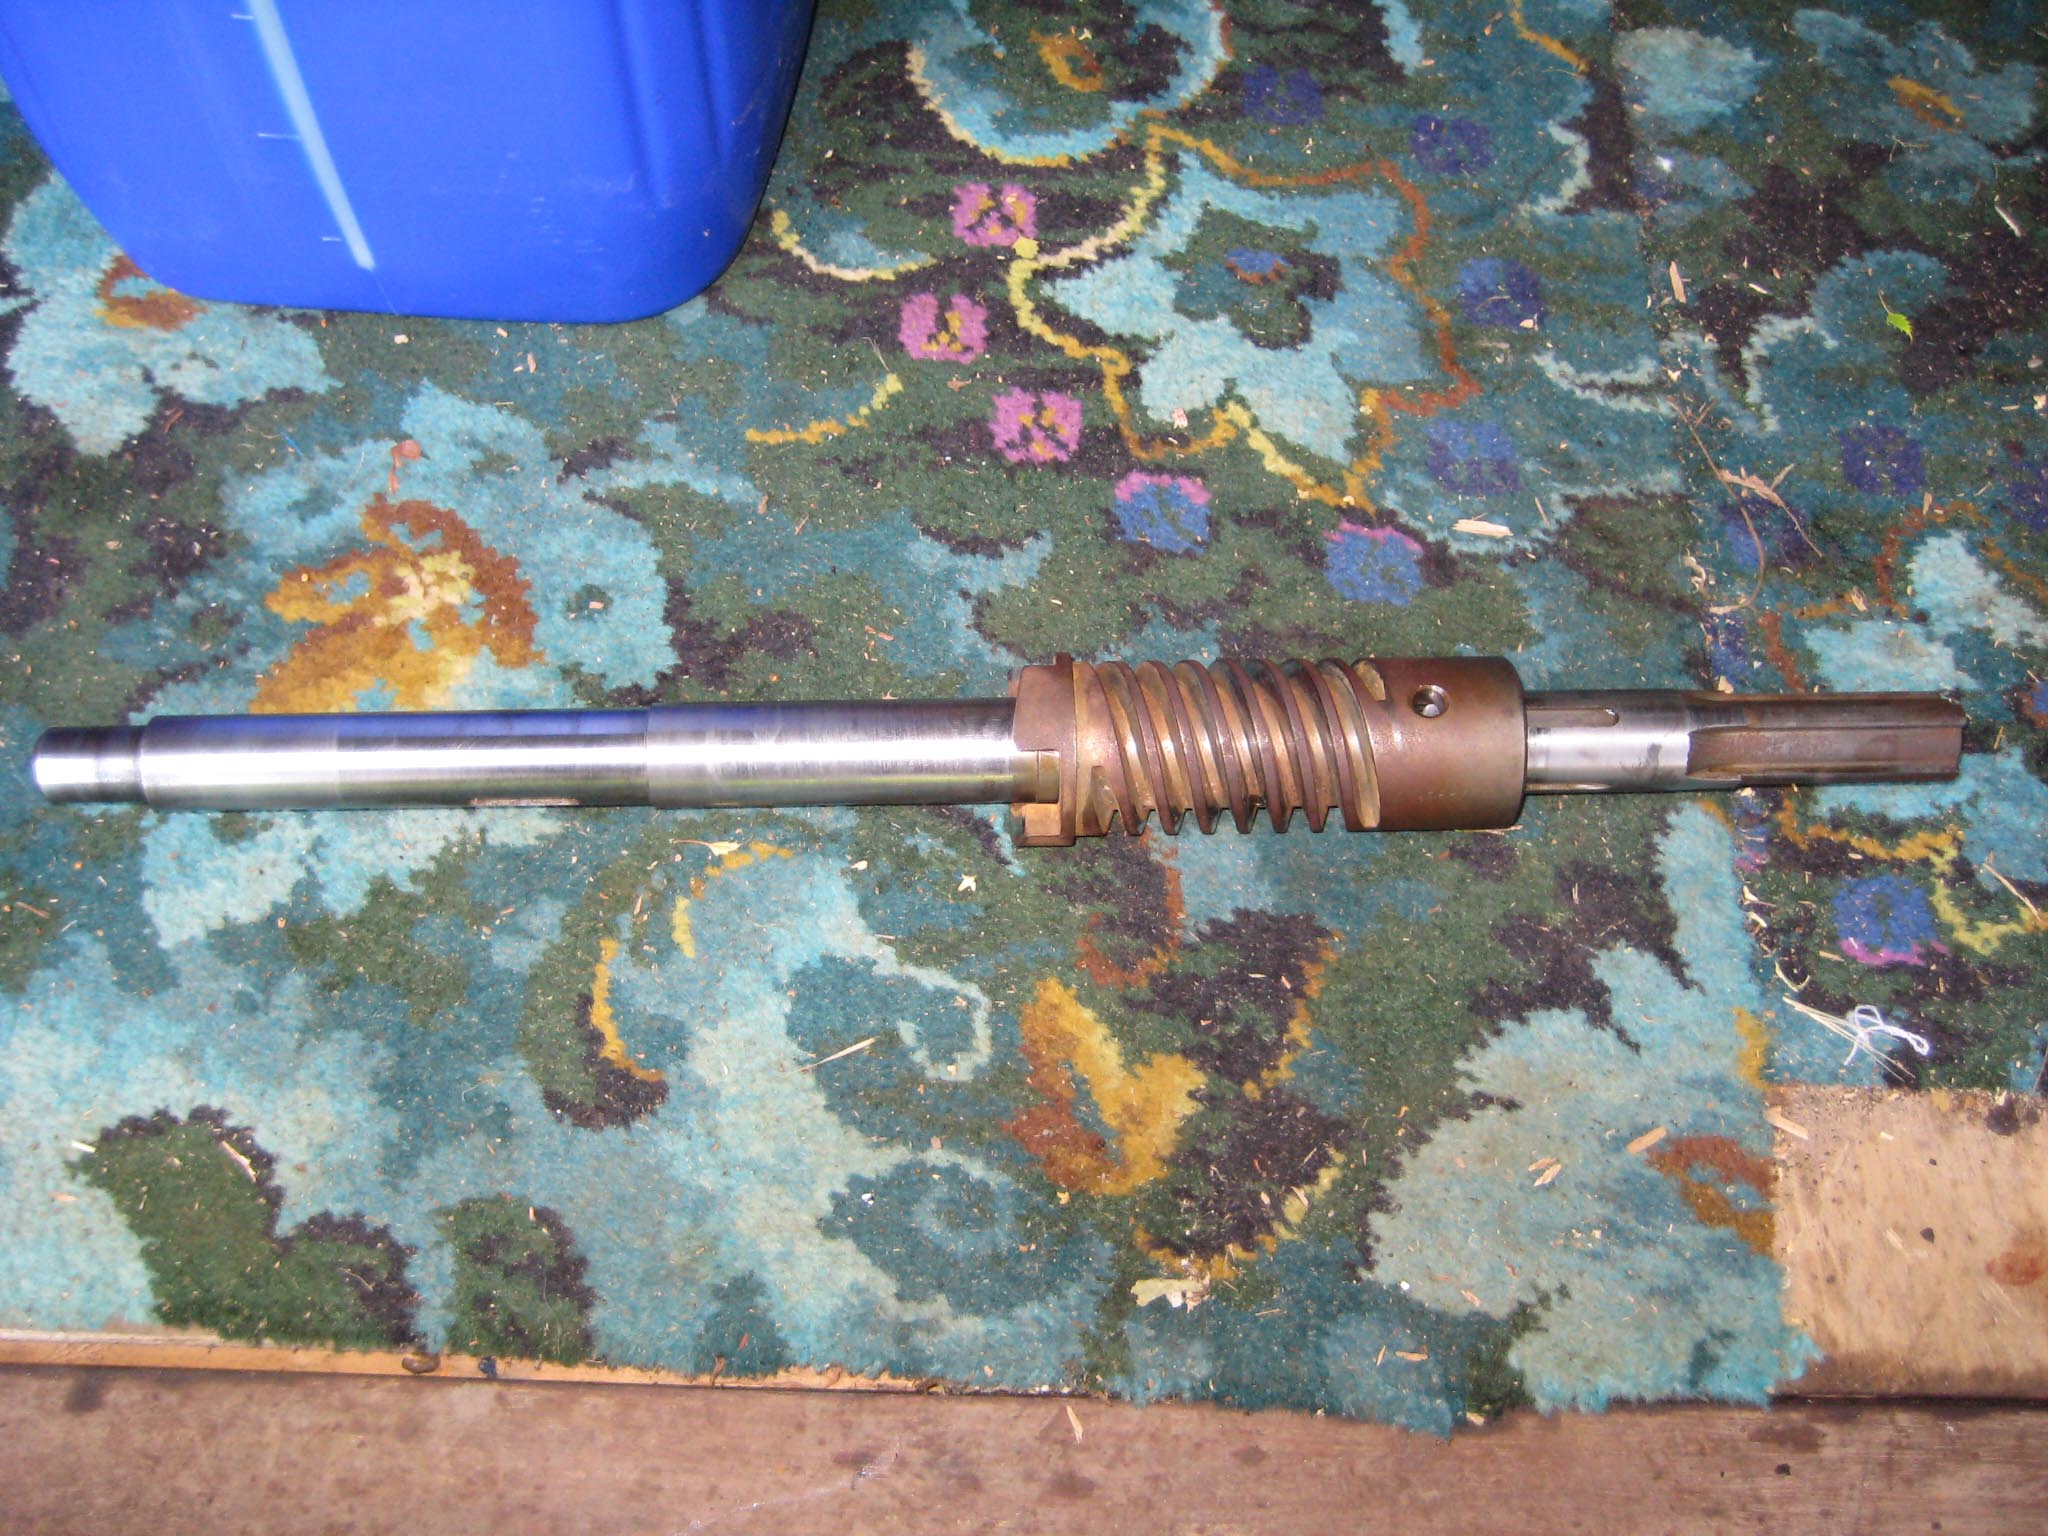
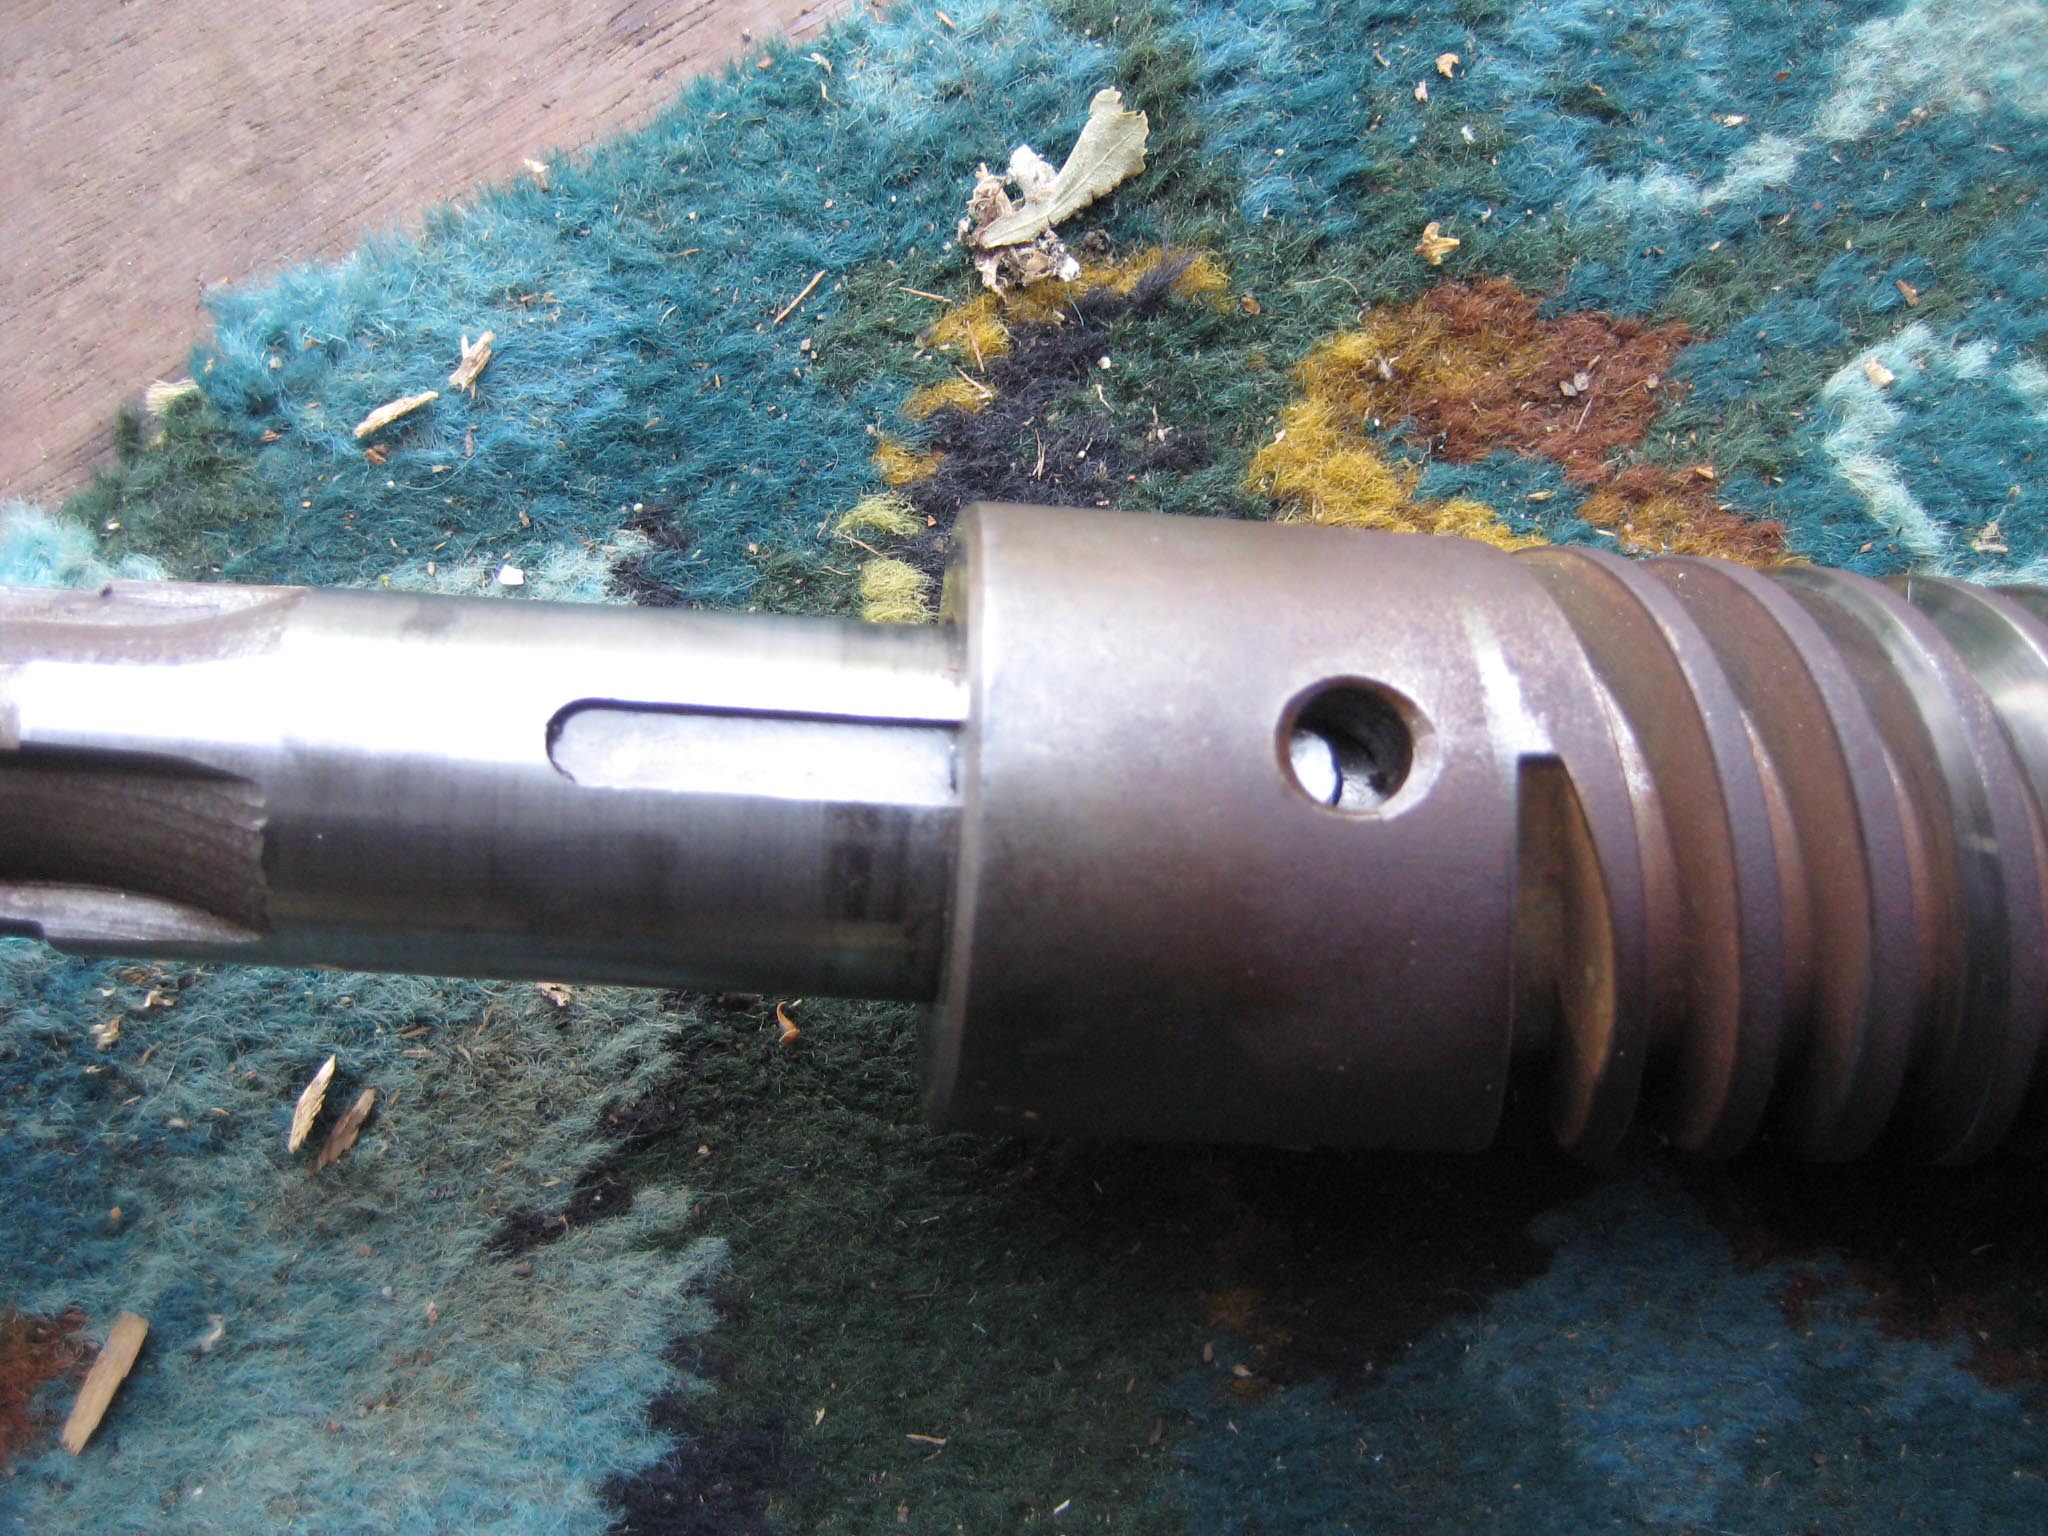
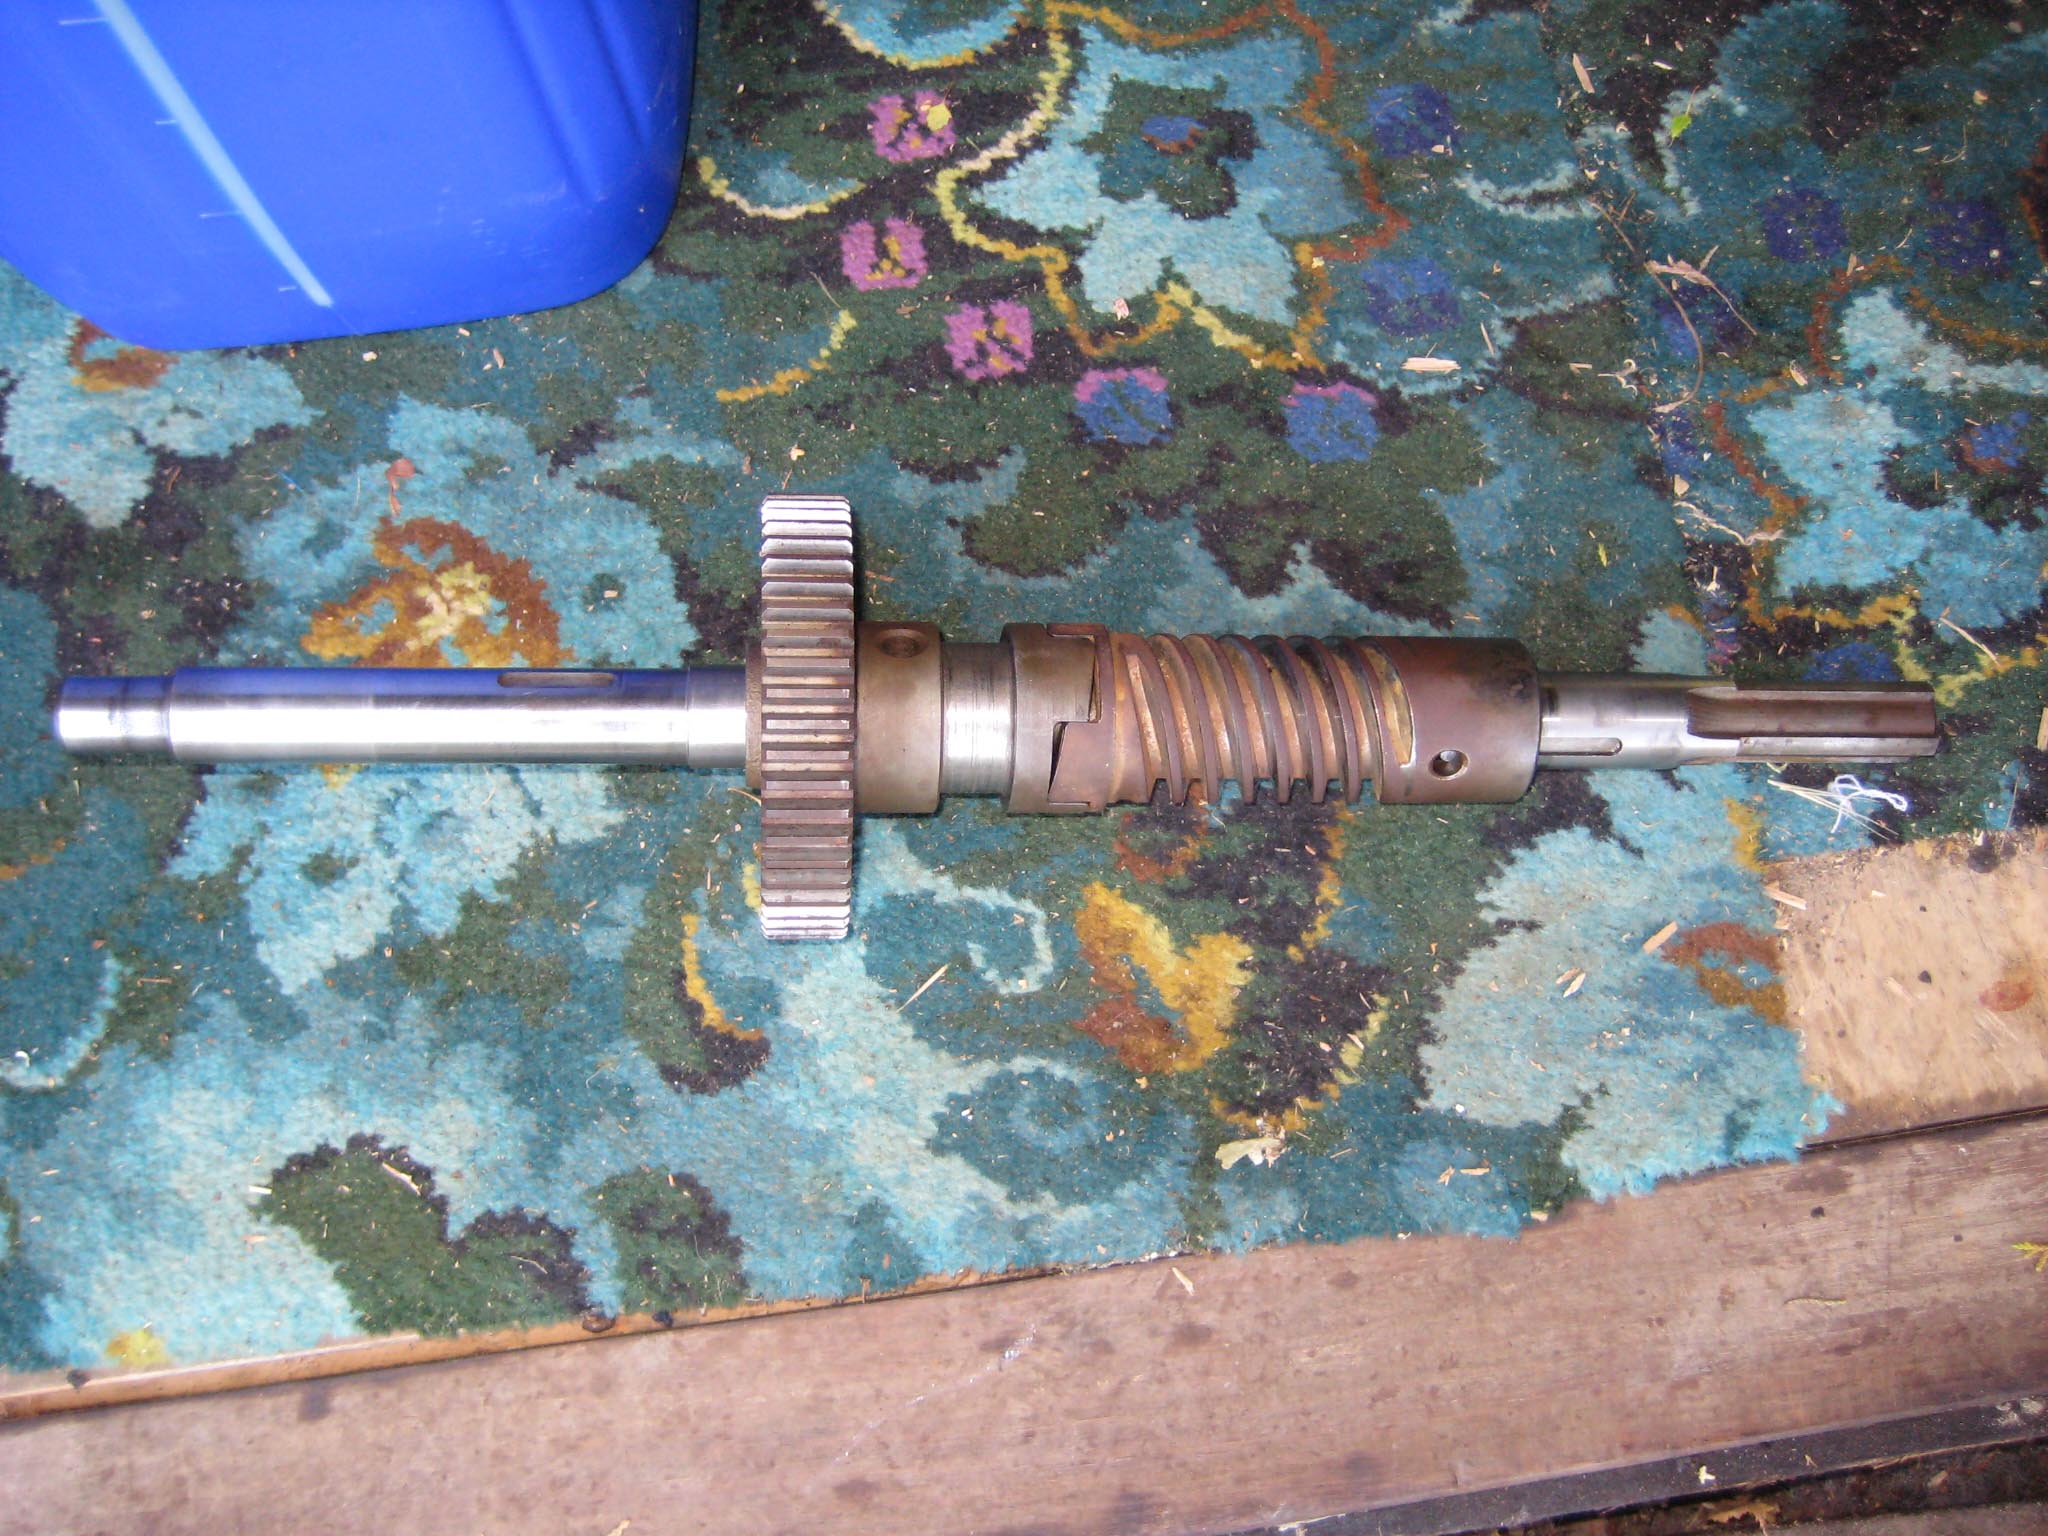
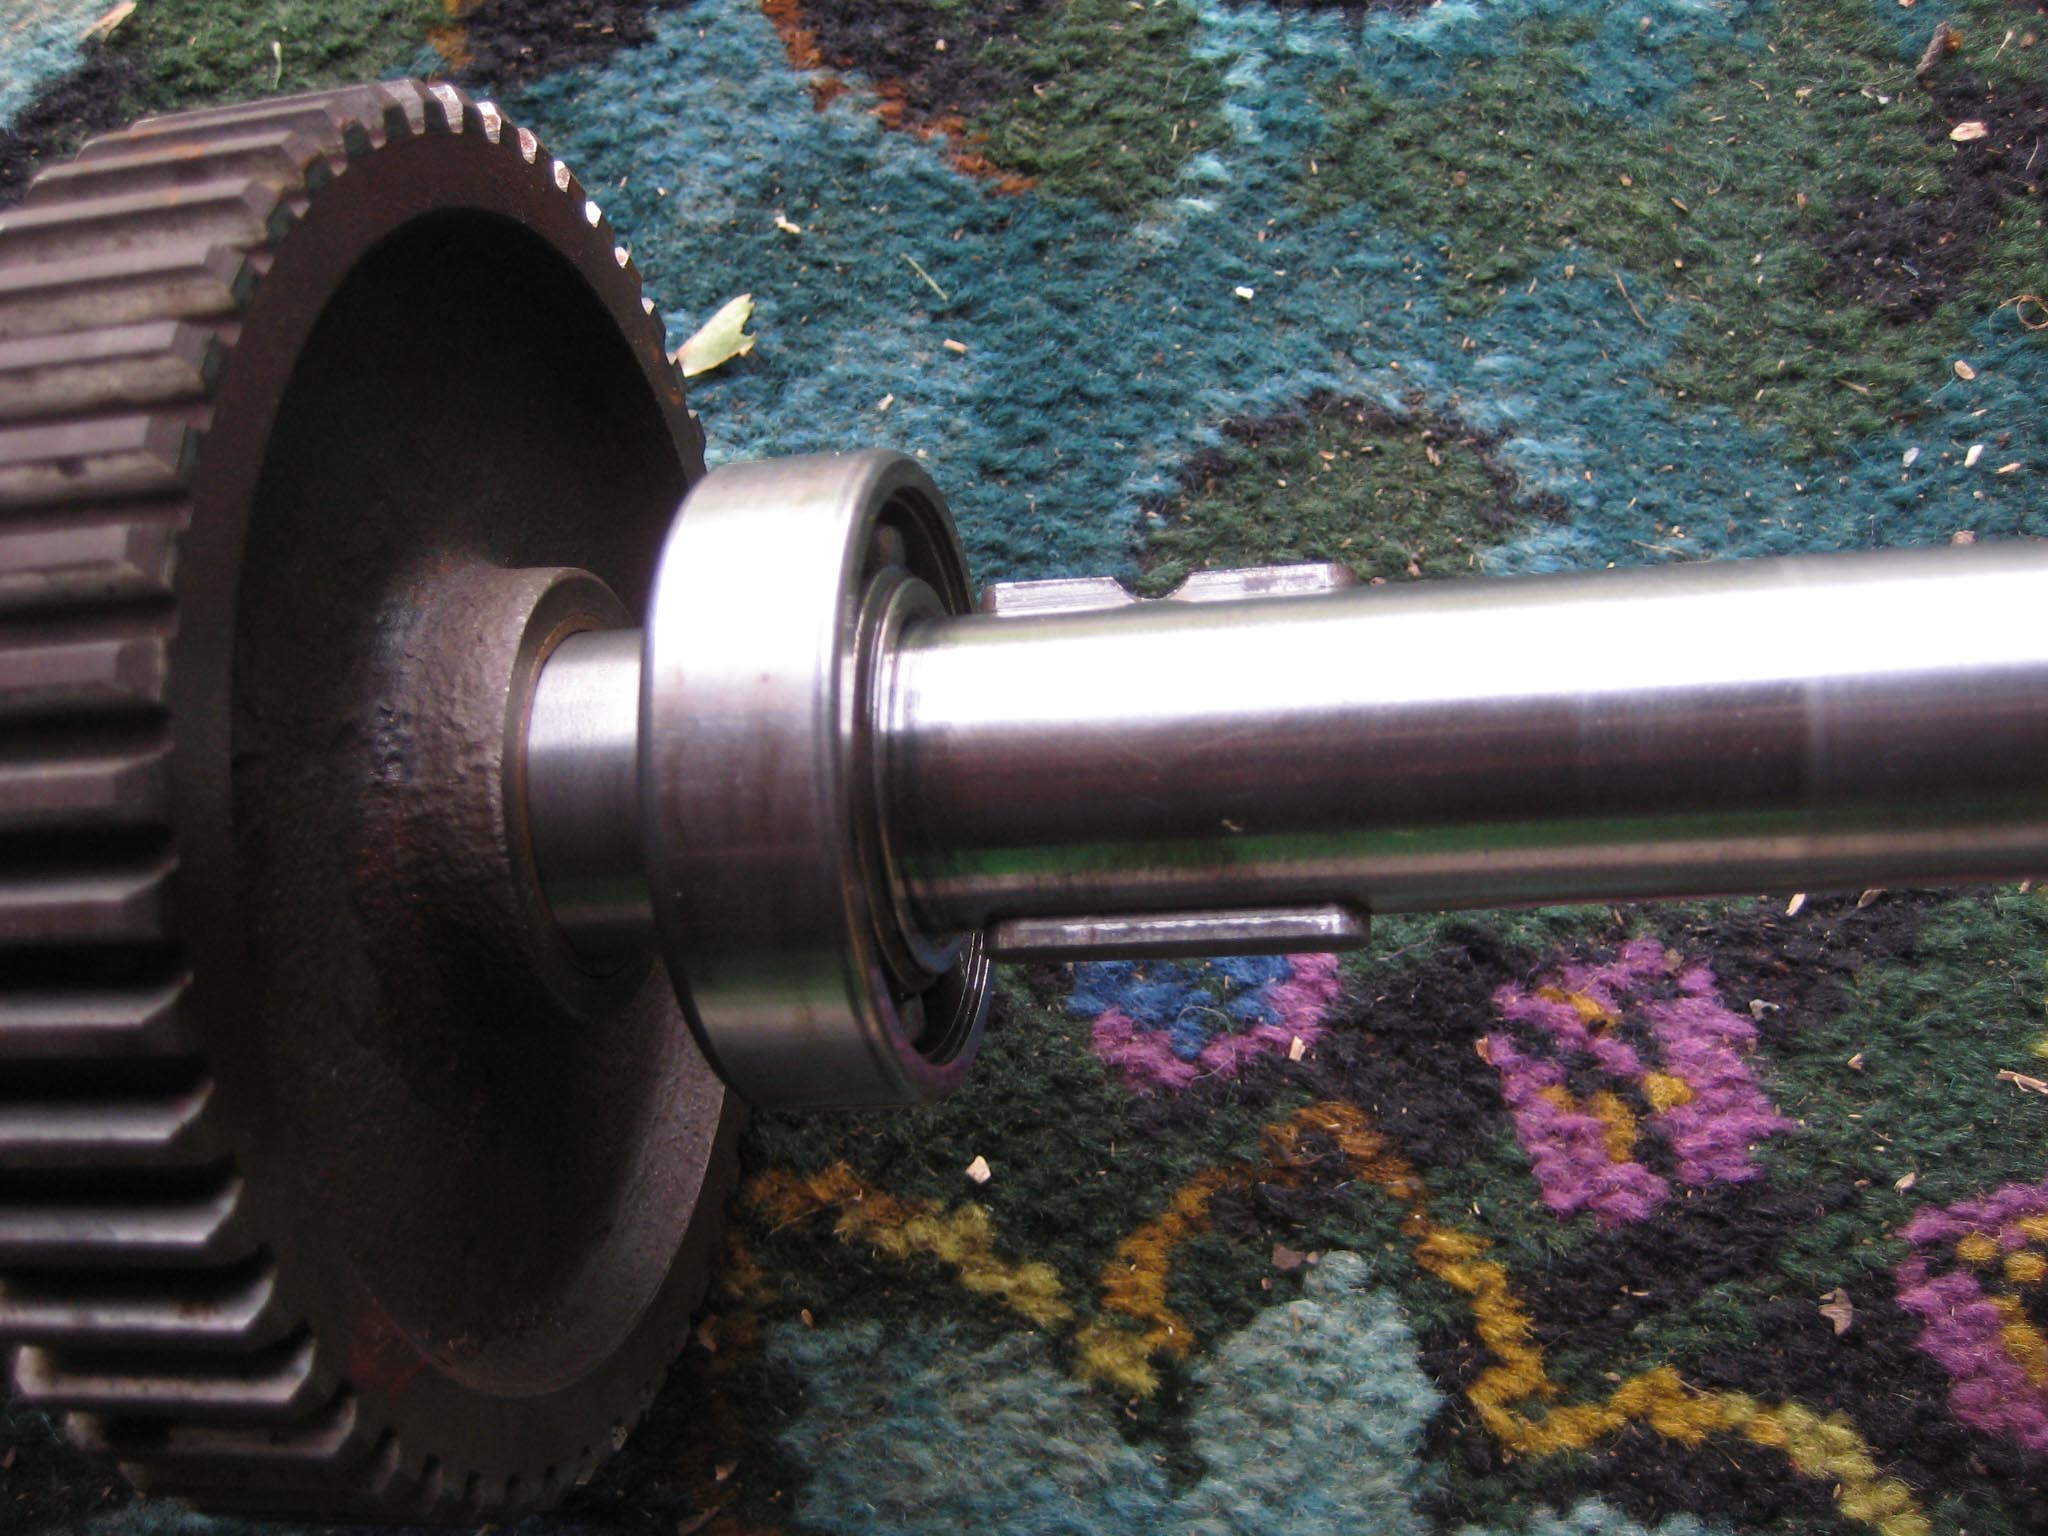
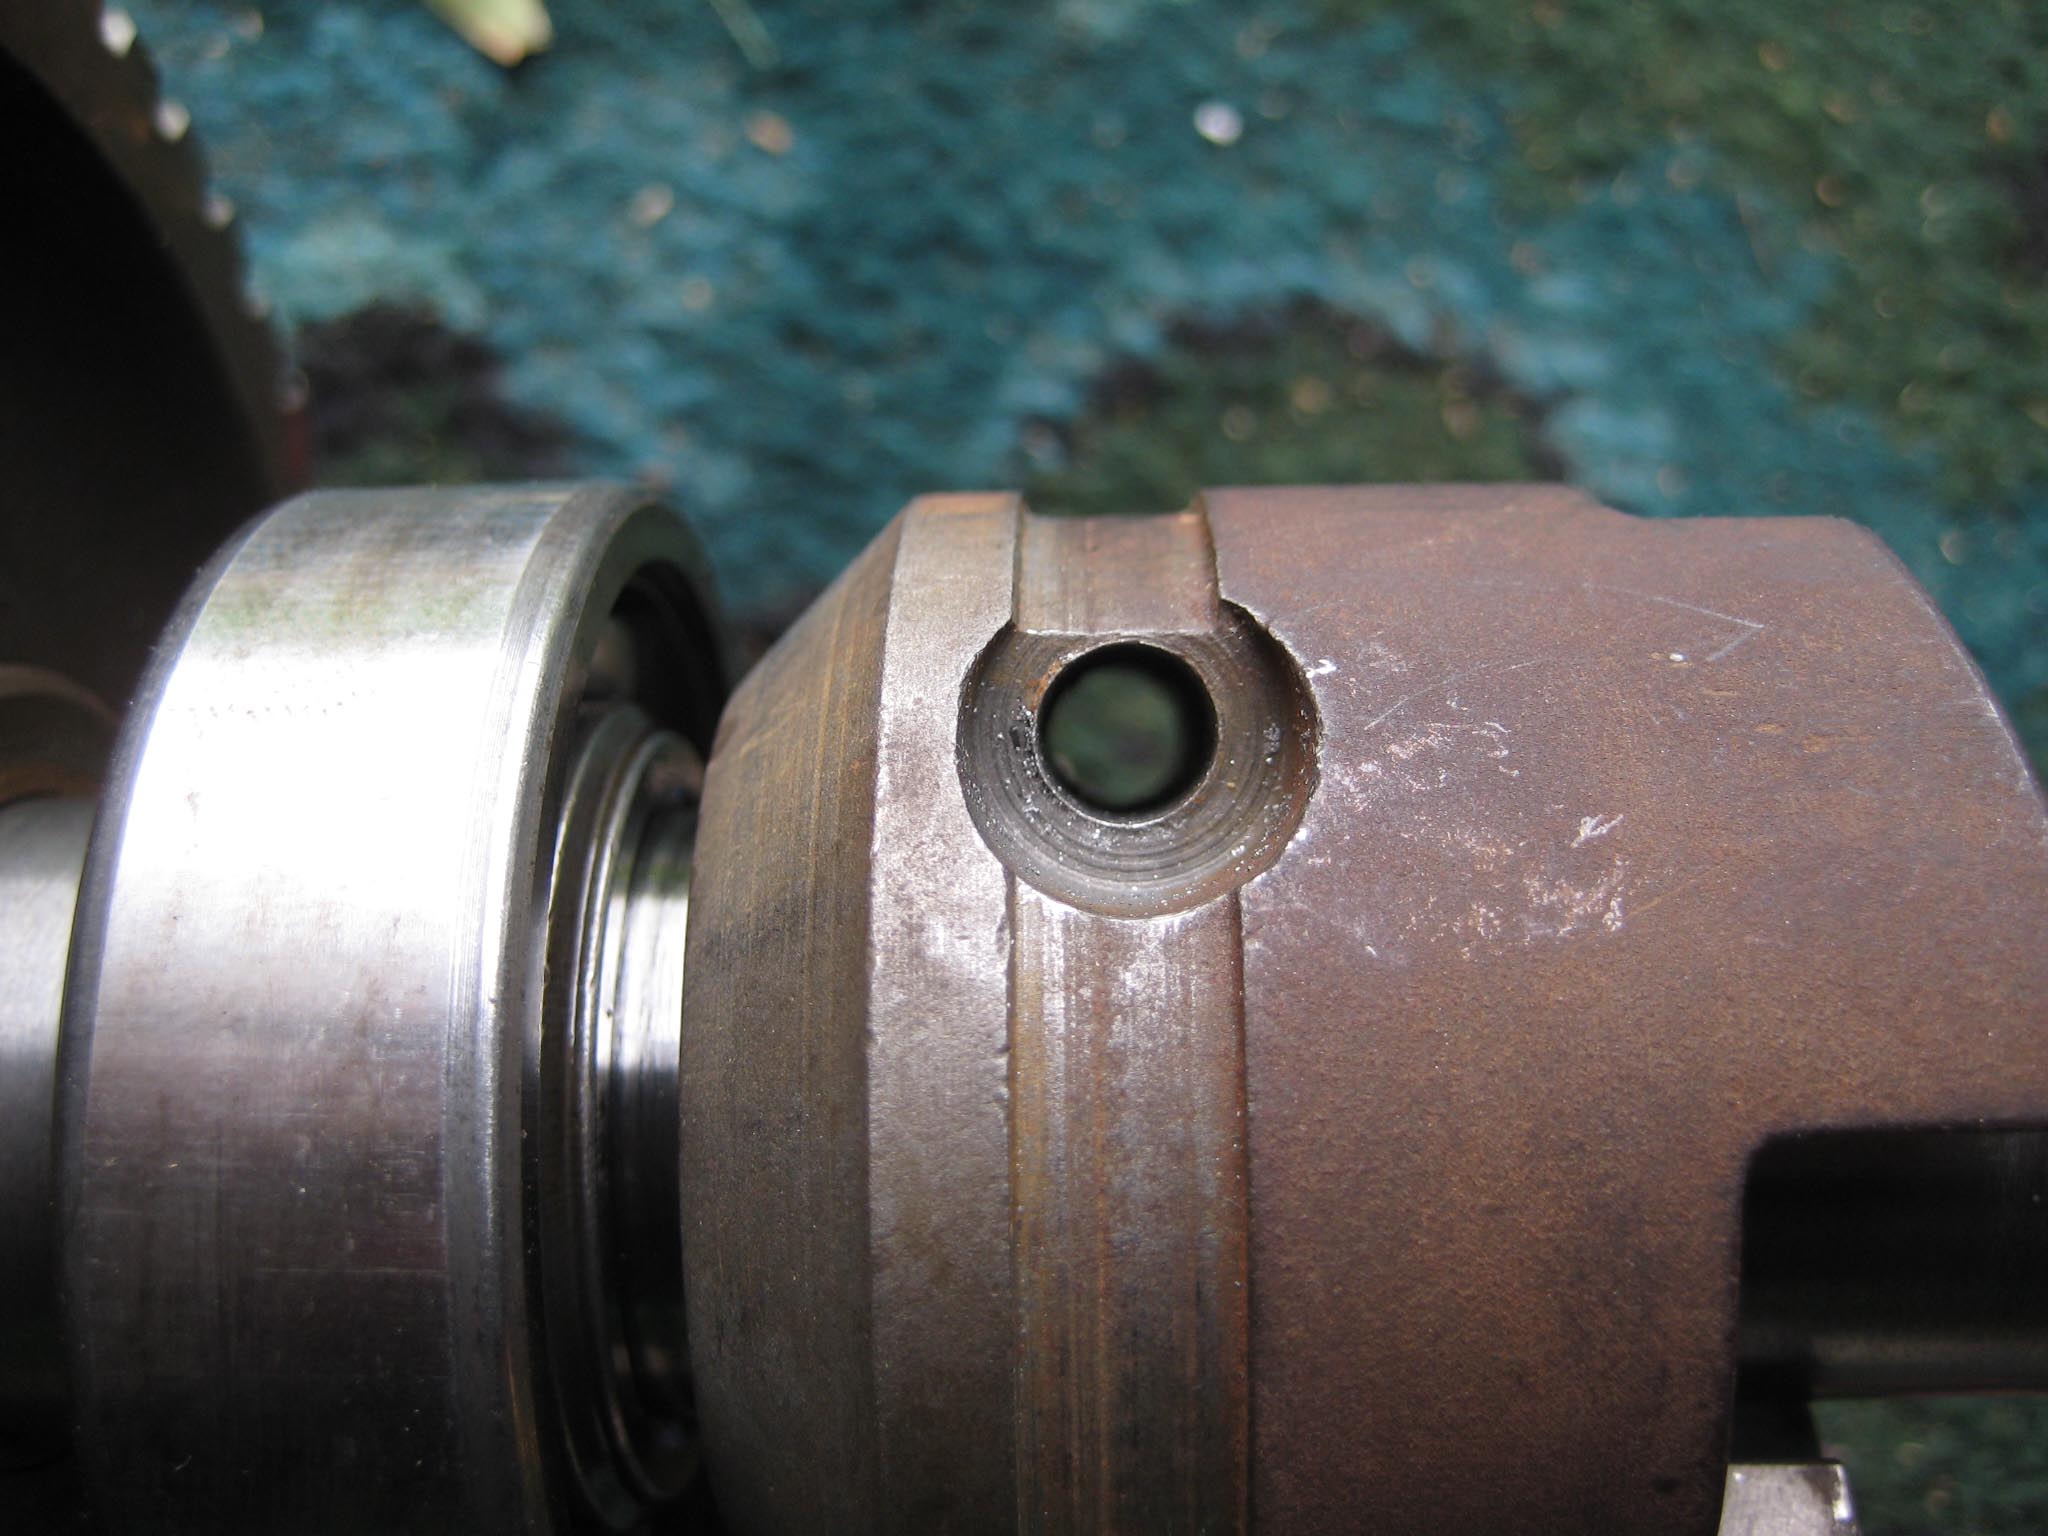
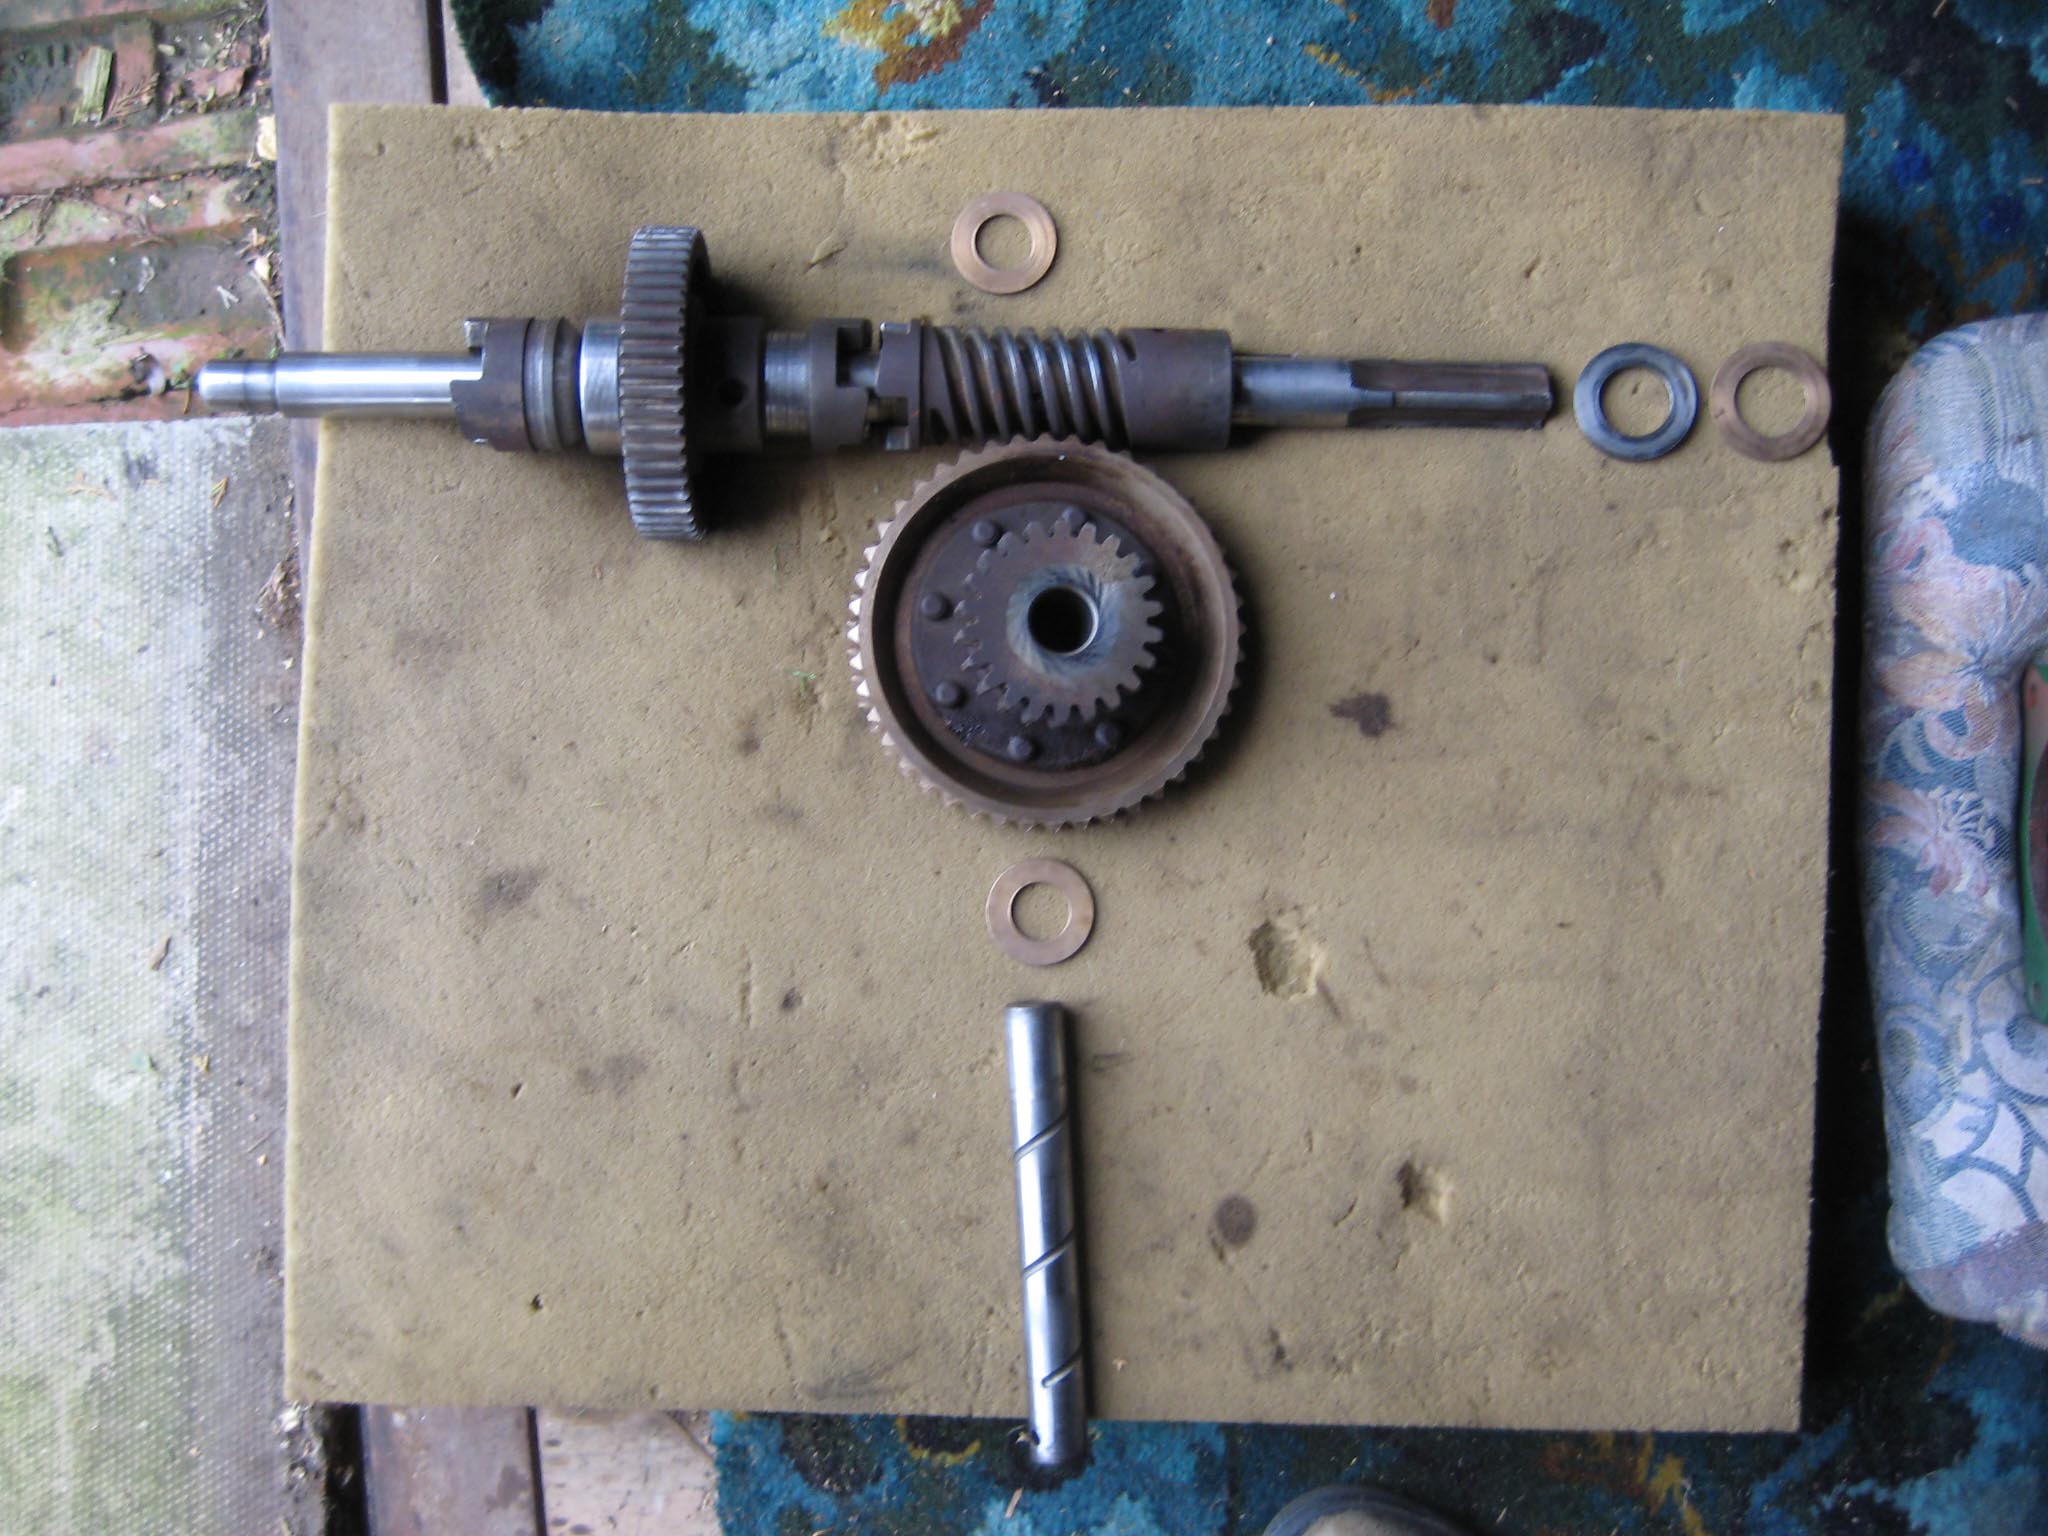
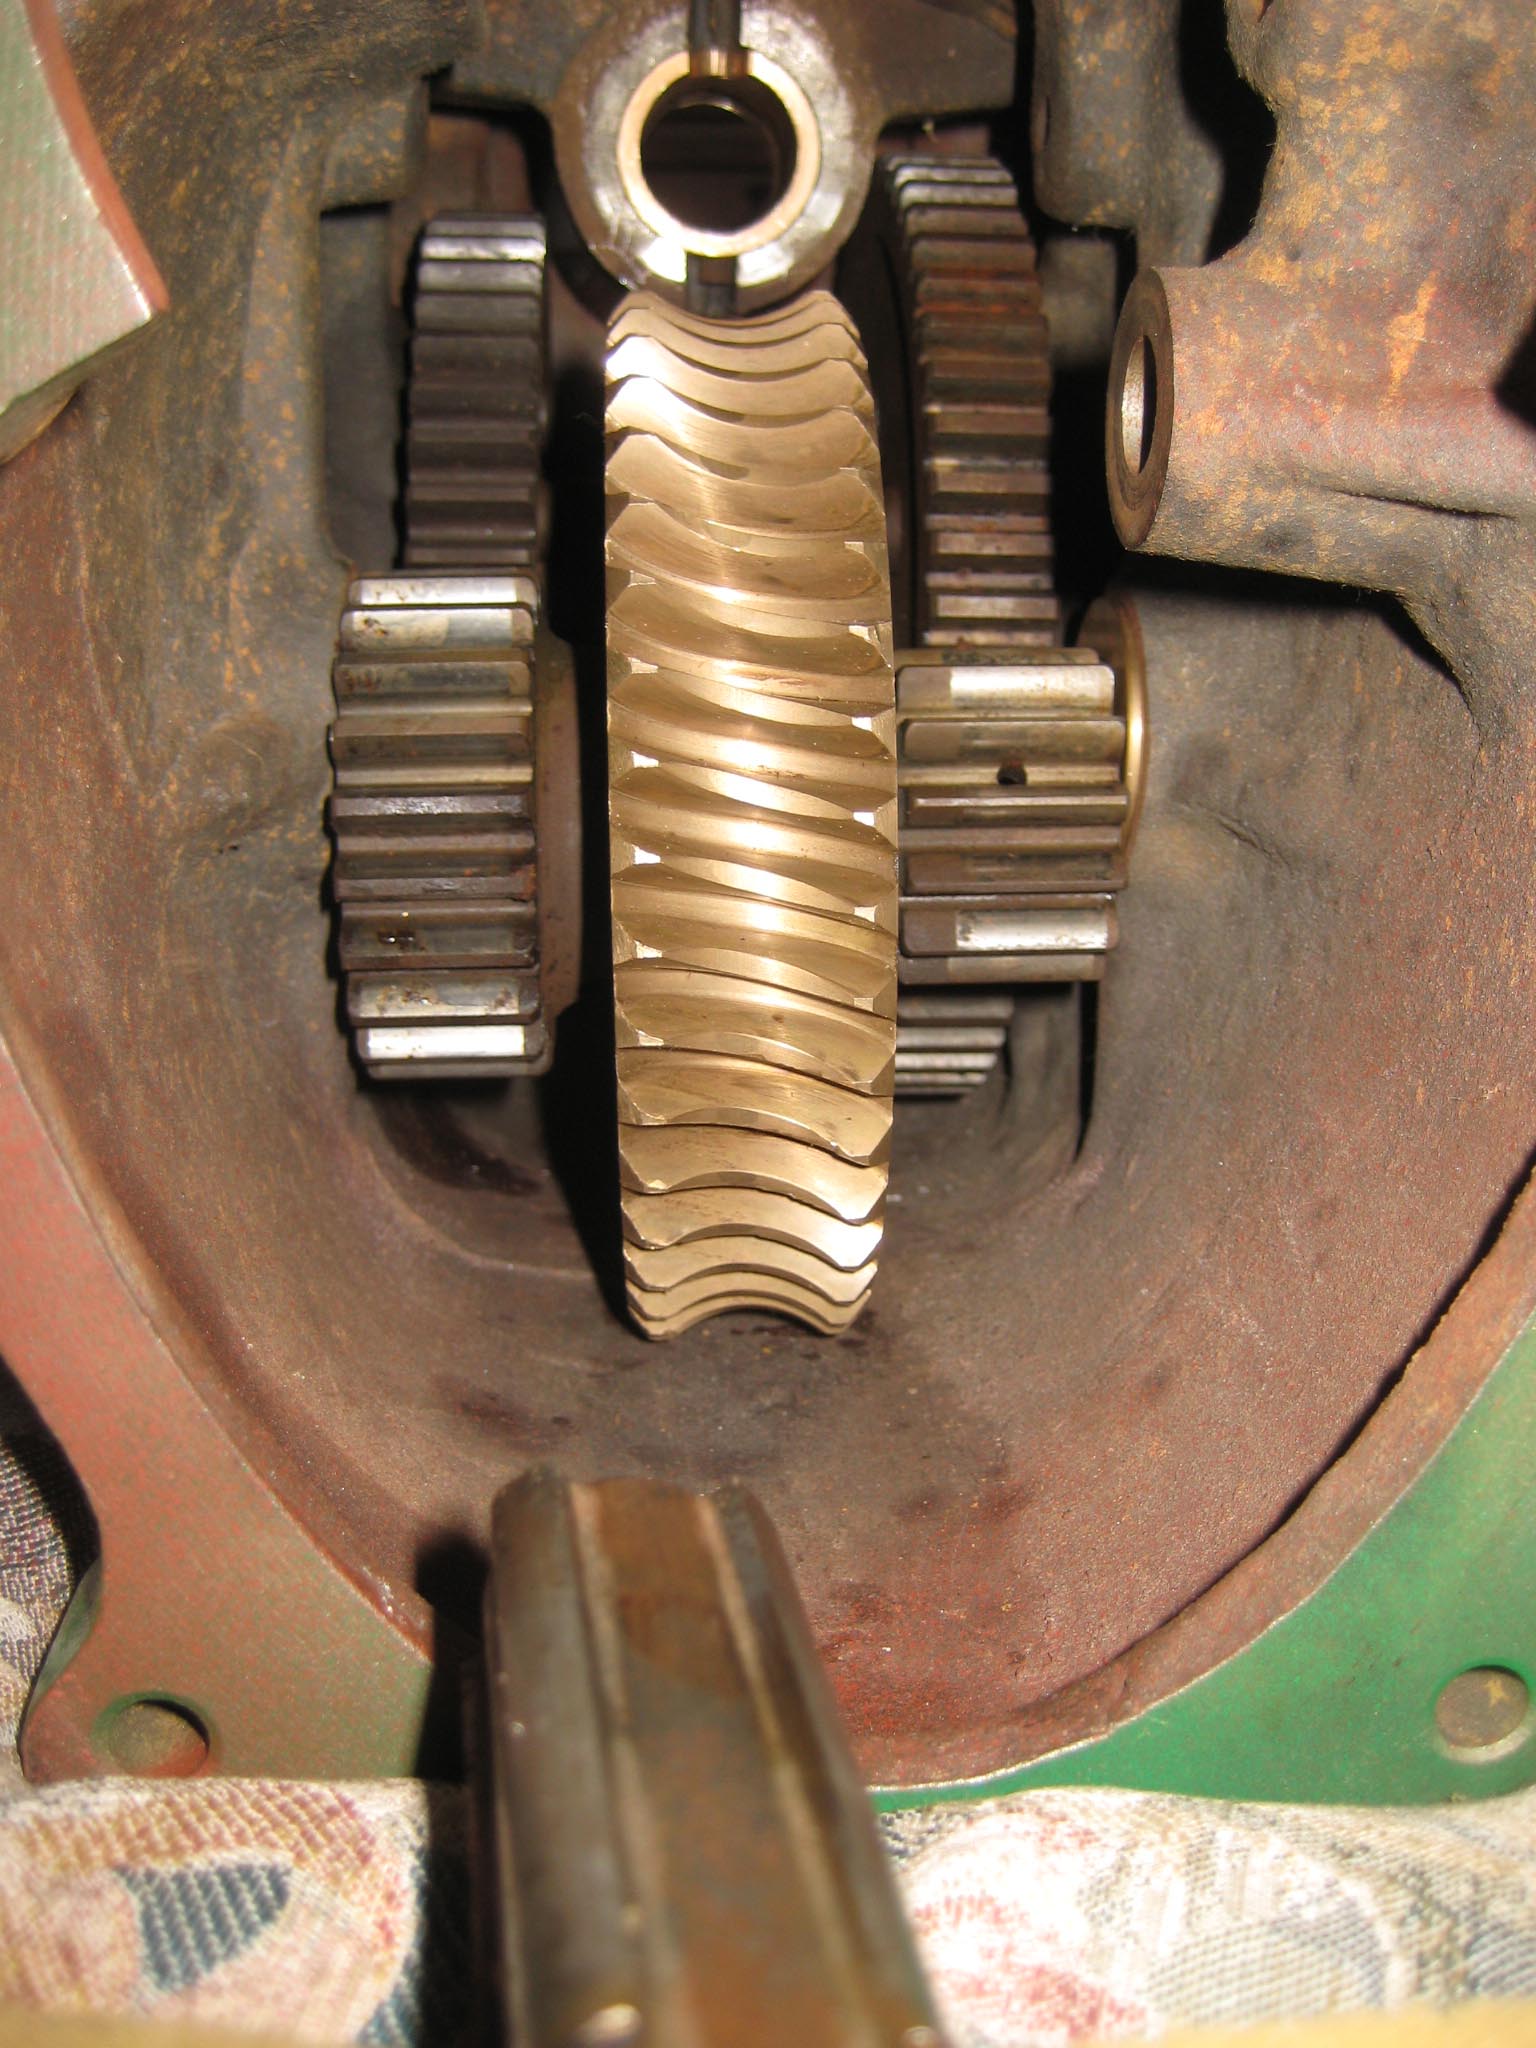
August 31, 2015 at 12:06 pm #14252vhgmcbuddyKeymasterTo complete the gearbox, the worm wheel assembly and worm drive shaft would need fitting next. Due to the worm drive shaft running all the way through the main gearbox and reverse motion gearbox, re-assembly is a little tricky. It took me a few dry runs to come up with a sequence which would work. I started by assembling the worm drive shaft. Slide the worm along the shaft until it is seated against the collar (Simar 0009). Fit the keys into the keyways on the shaft and then drive them towards and into the worm. There are holes in the worm so you can see when the key is fully home (Simar 0010). Slide the forward motion reduction gear onto the shaft, so that the clutch dogs can mesh together (Simar 0011). Fit the roller bearing so that it is tight against the stepped part of the shaft. I heated the bearing up using an old deep fat fryer which expanded the bearing just enough so that it just slid straight onto the shaft. I find this much easier than trying to drive the bearing into position. The keys for the reverse motion dog go on next. Note that one of the keys has a half moon shape machined into it (Simar 0012). This accomodates the 6 x 30mm roll pin that holds the reverse motion dog in place (Simar 0013). The worm drive shaft is now ready for fitting into the gearbox, but before this can take place, the worm drive gear needs to be inserted into the main gearbox casing first. The parts necessary where laid out to make sure I didn’t forget anything (Simar 0014). The worm drive gear was rolled into the main gearbox casing, making sure that the small gear wheel was on the same side as the low speed driven gear on the axle. One of the distance washers was then inserted between the inside face of the gearbox casing and the worm gear. I partially inserted the worm gear shaft into the gearbox so that it held the distance washer in place (Simar 0015). Fit the distance washer and thrust washer to the worm drive shaft and insert through the bronze bush at the rear of the gearbox. Now lift the worm gear up so that it is meshed with the worm. The shaft holding the distance washer in place can be pushed all the way through the worm gear. Fit the distance washer to the opposite side of the worm gear and continue pushing the worm gear shaft all the way through until it emerges from the casing. Note that this shaft has a hole through one end which must align with a corresponding hole in the gearbox casing. The shaft is then held in place by a 6 x 50mm roll pin.
Attachments:
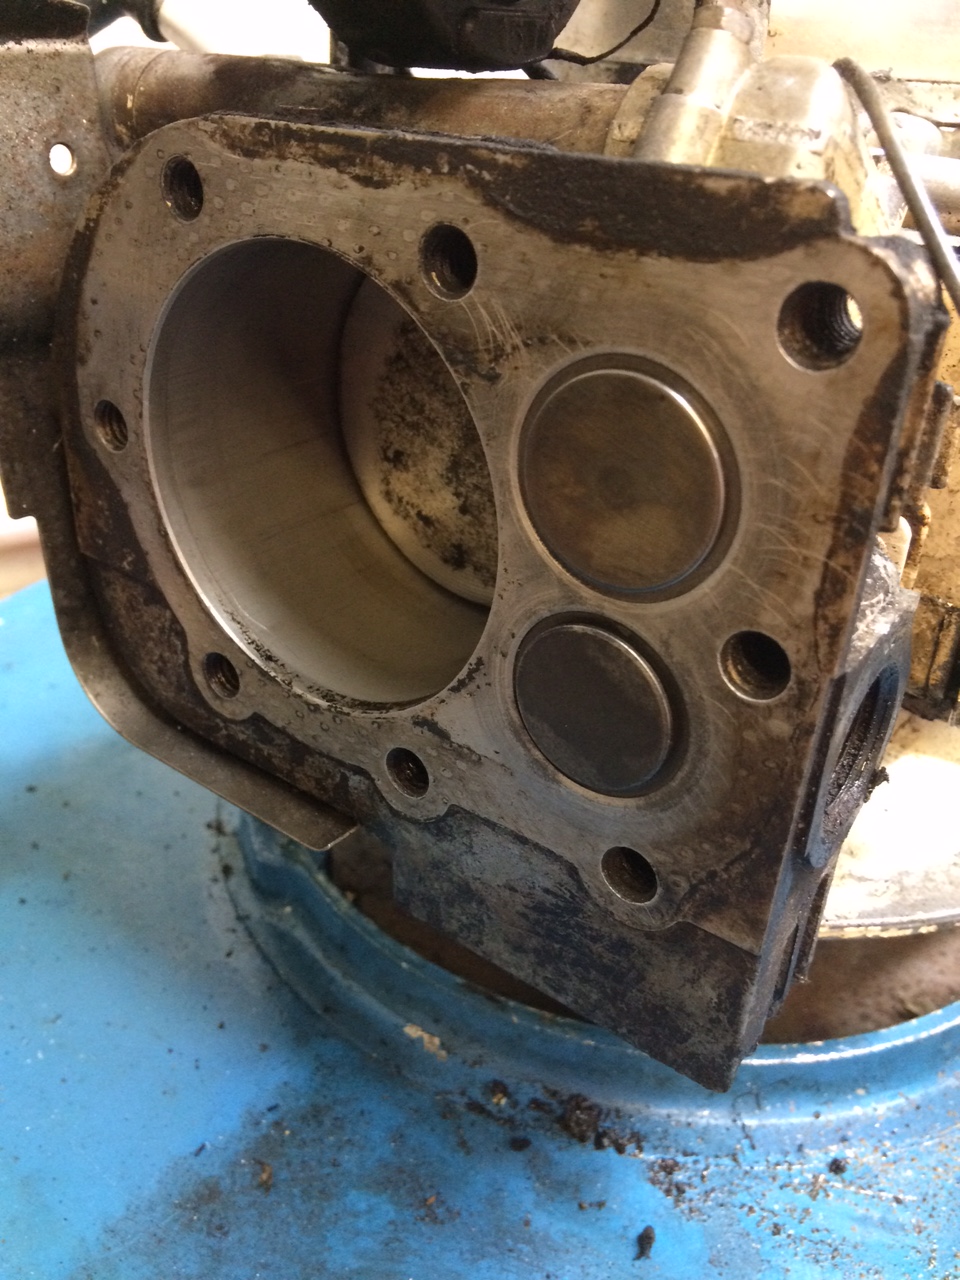
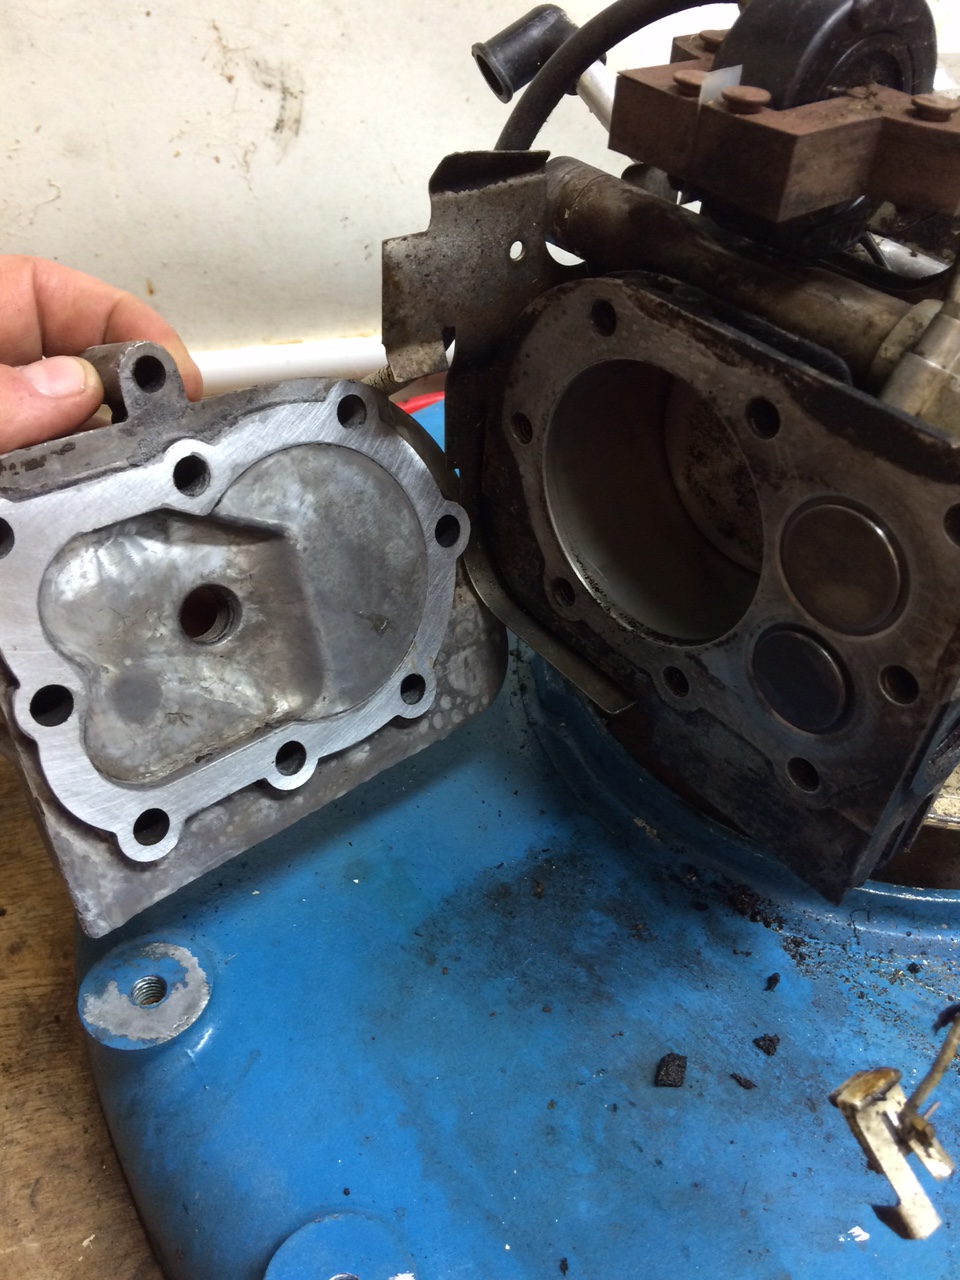
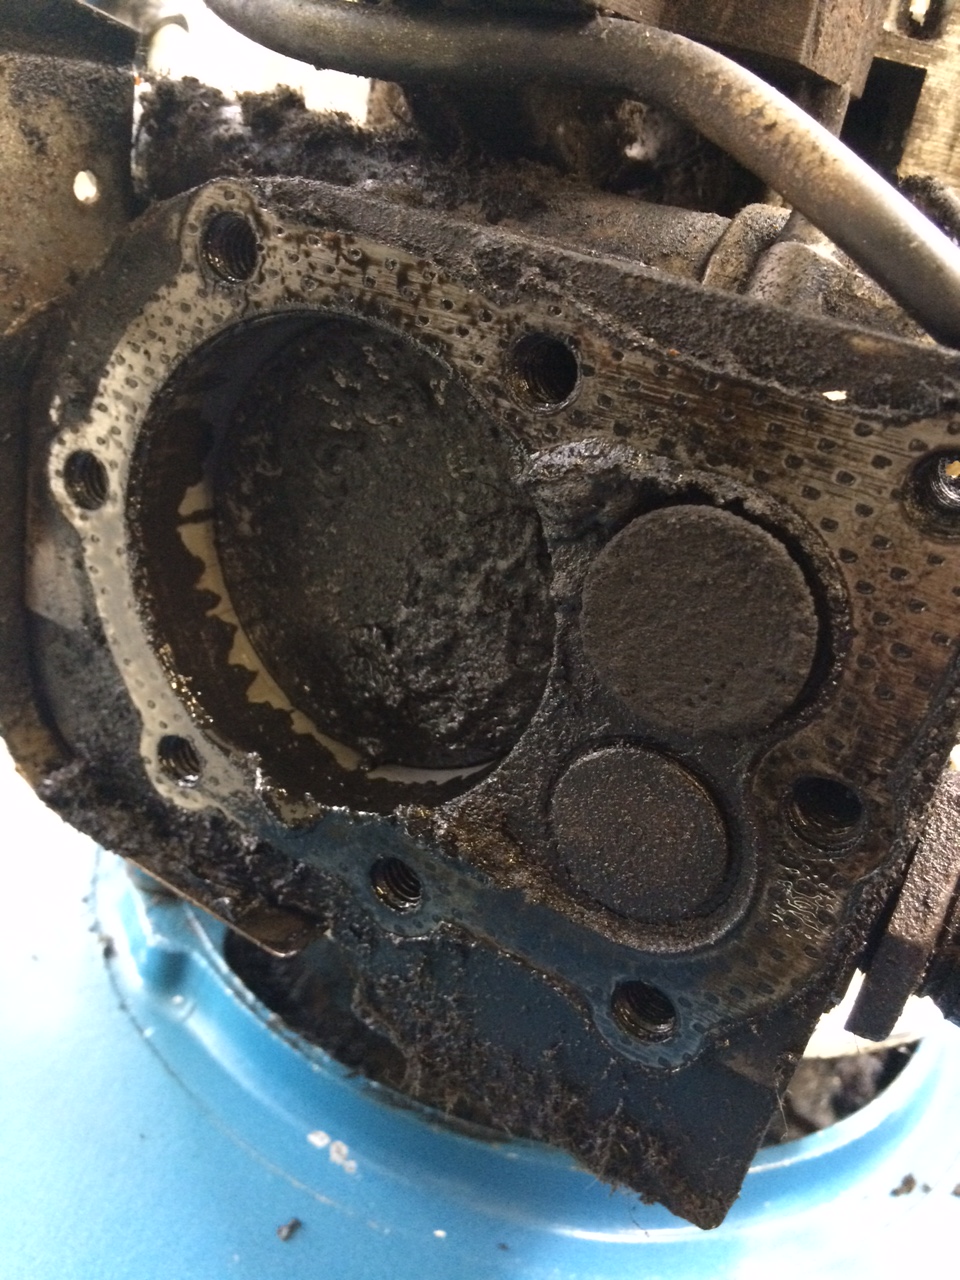
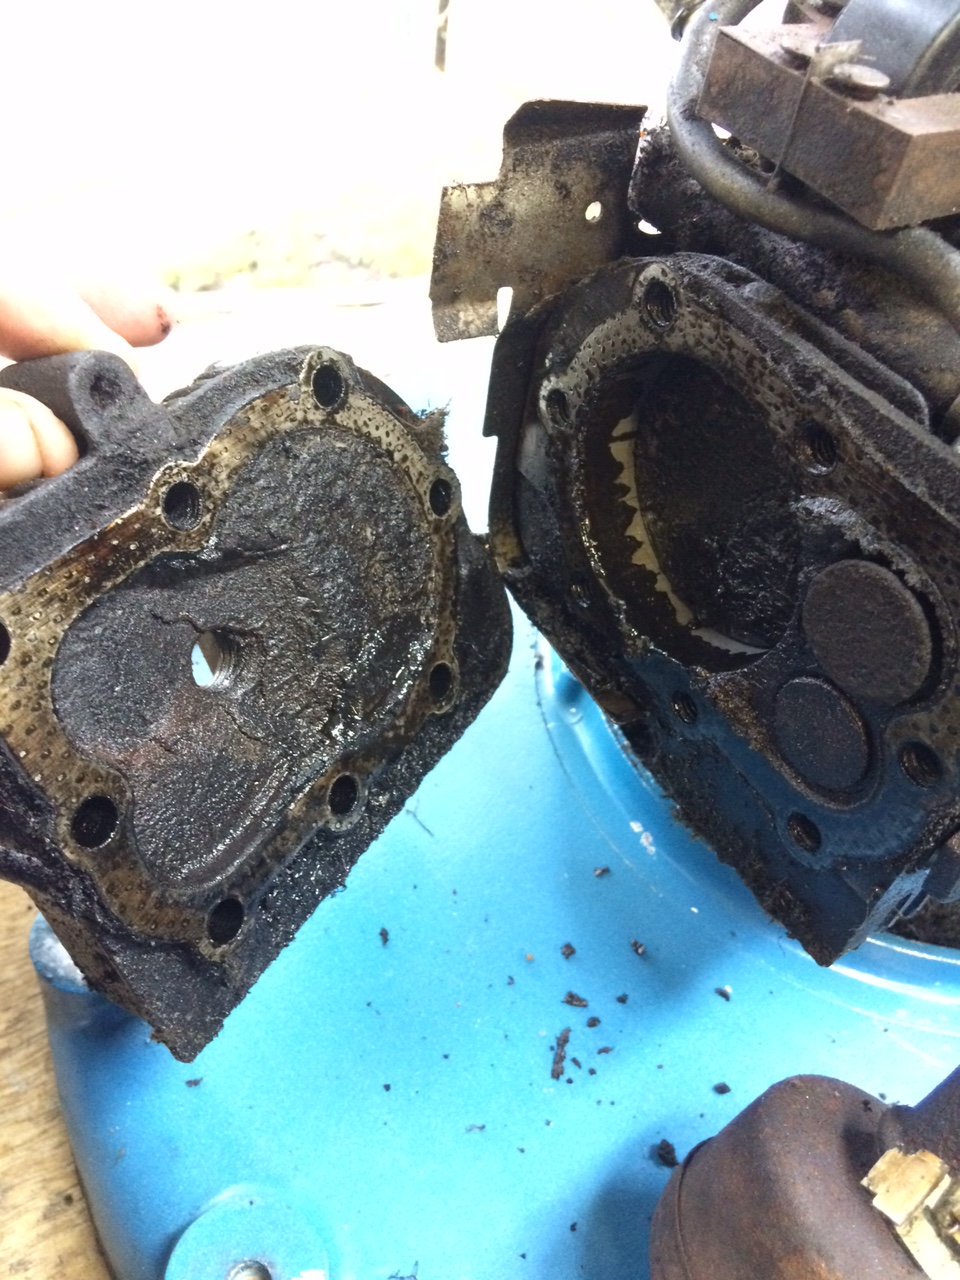
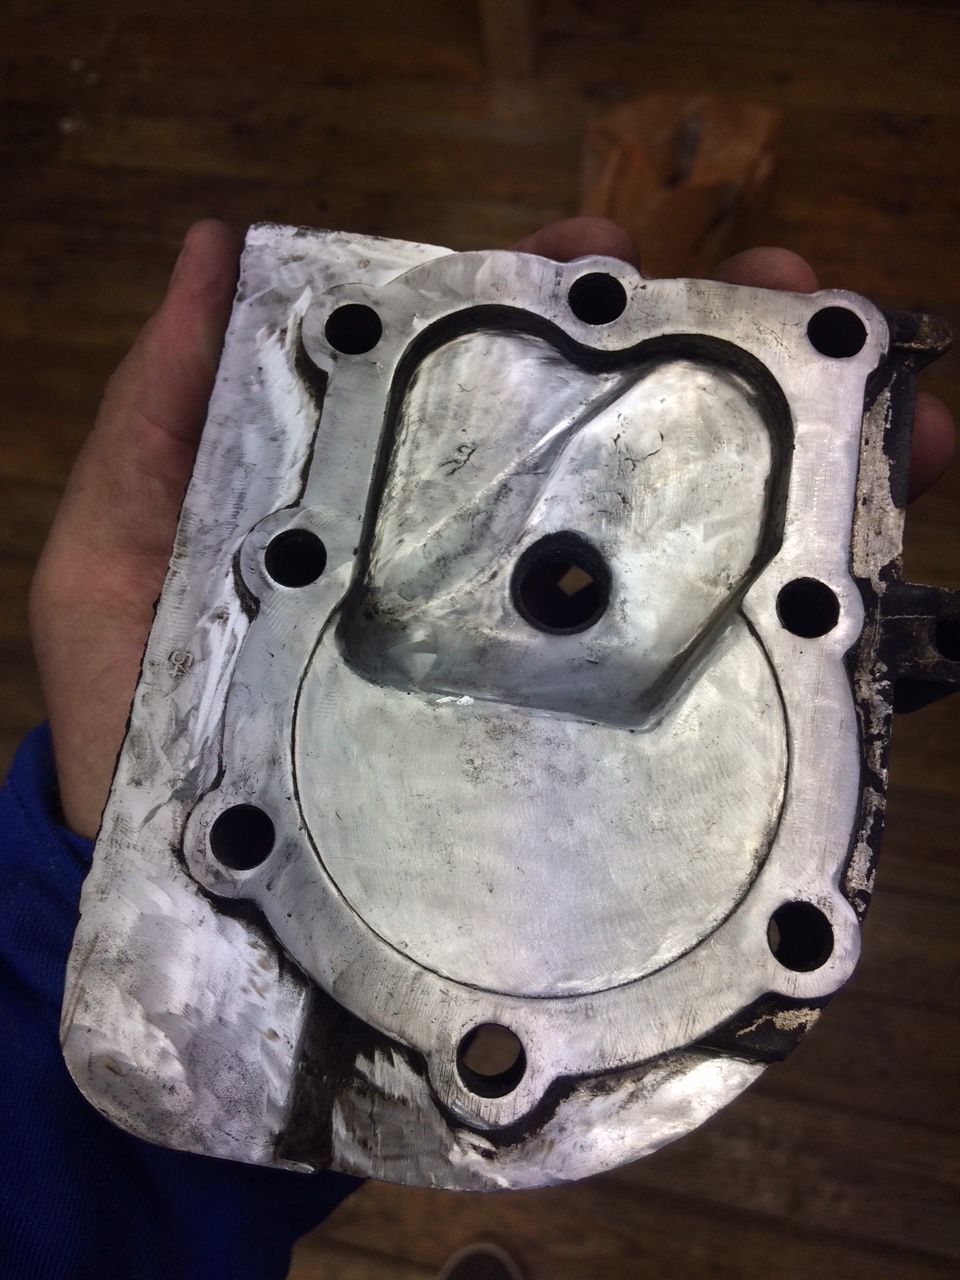
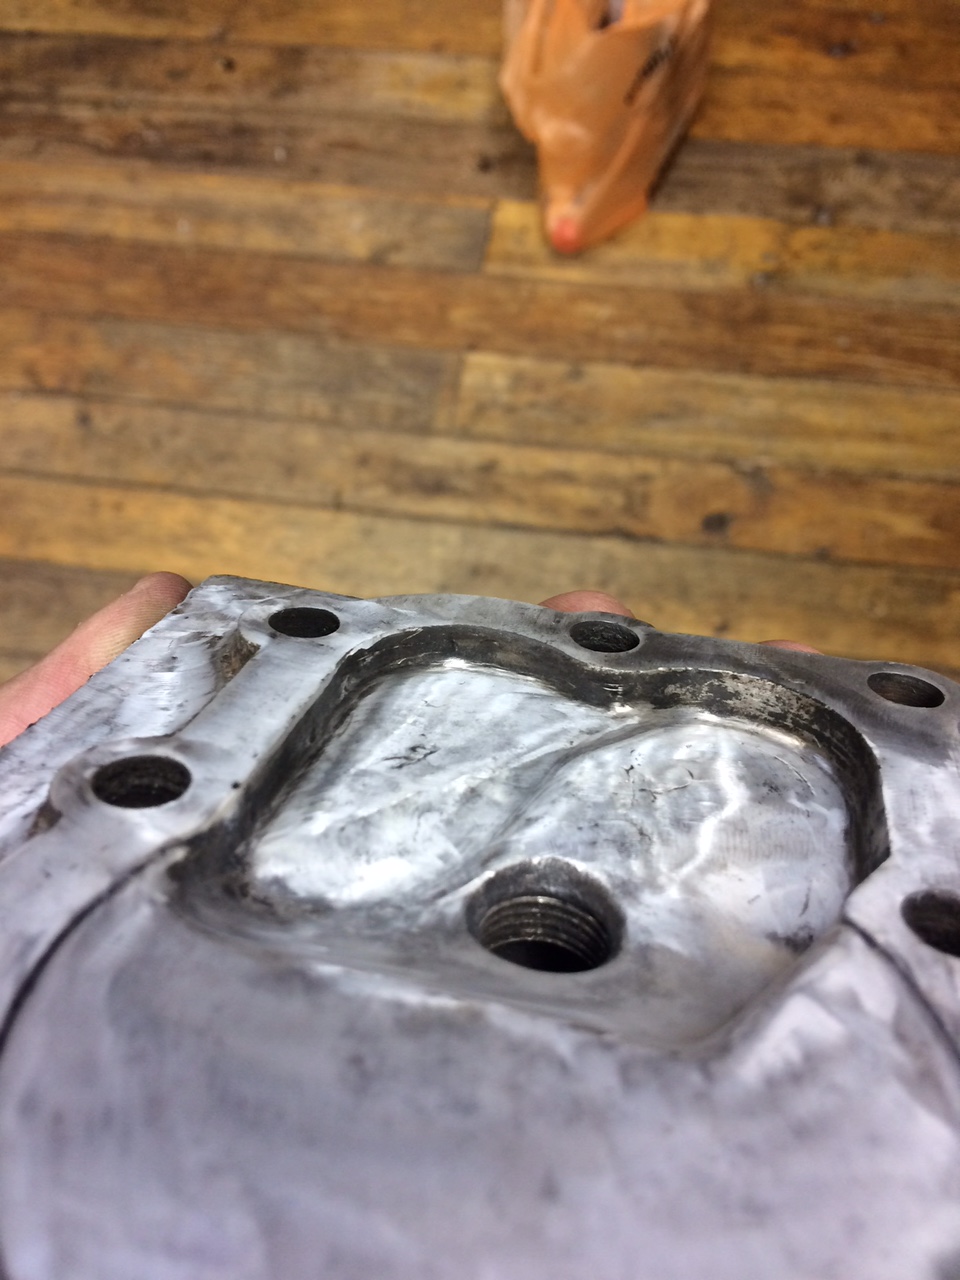
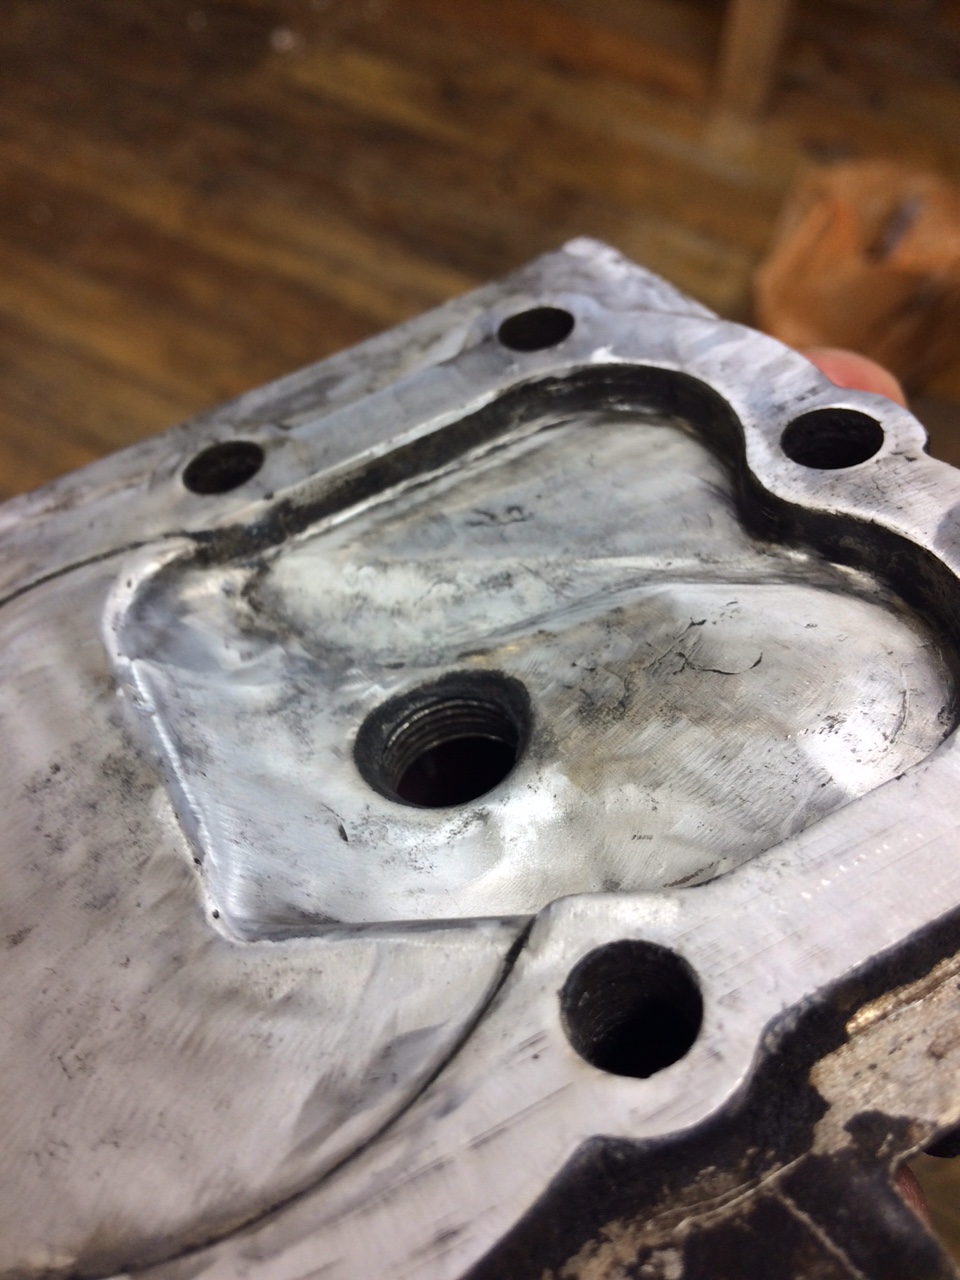
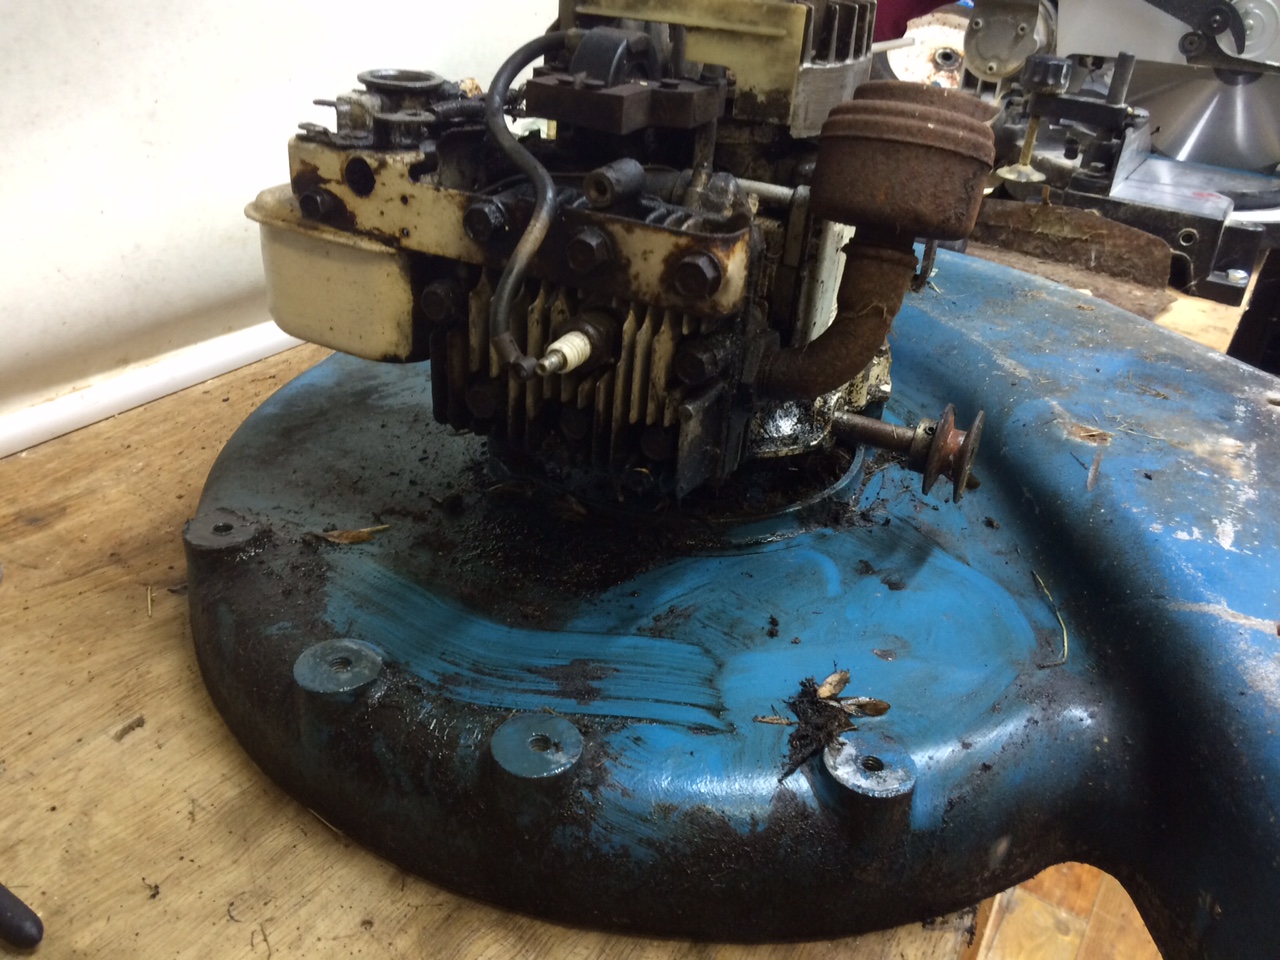
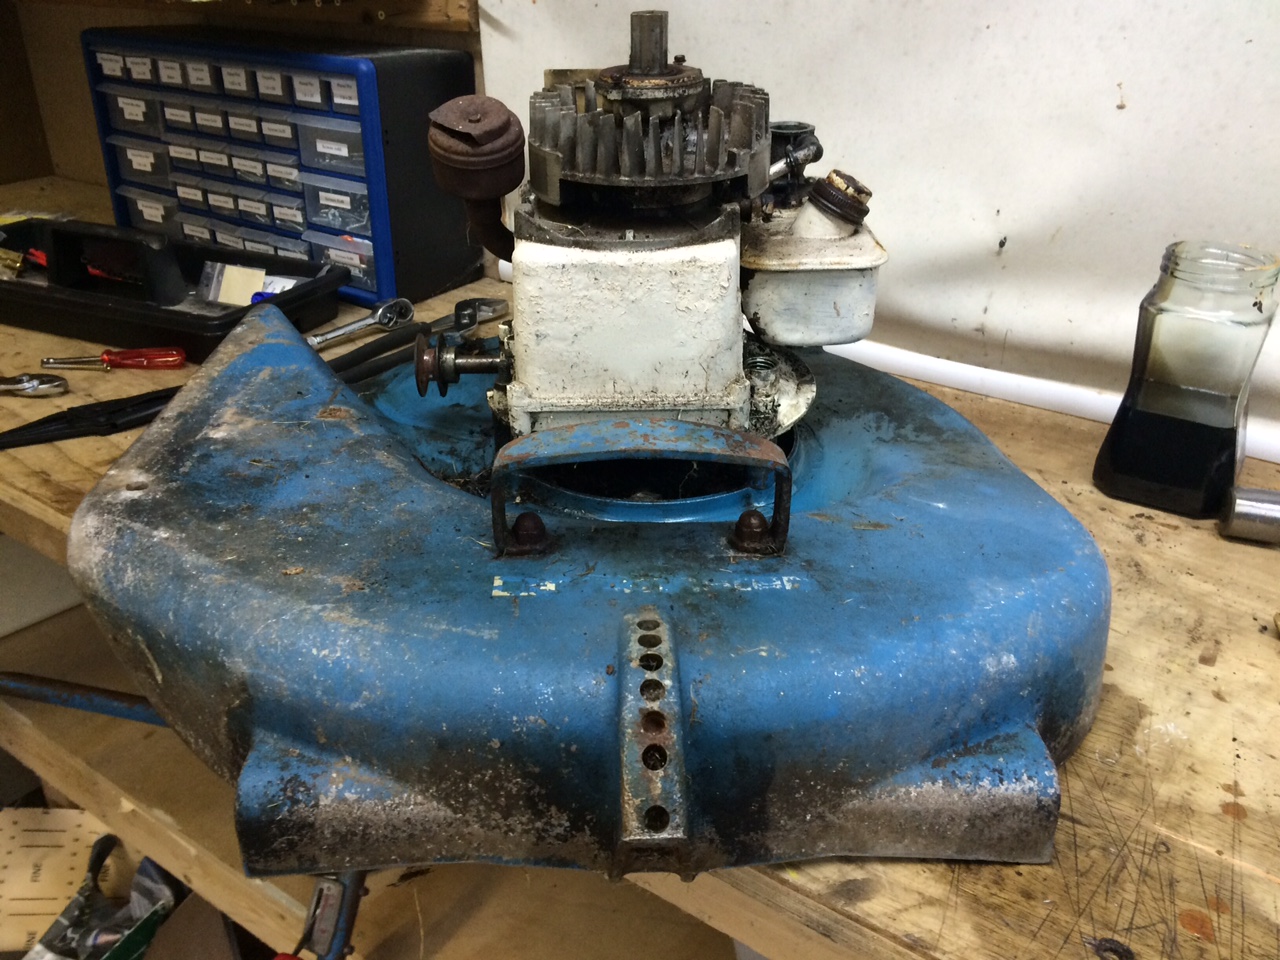
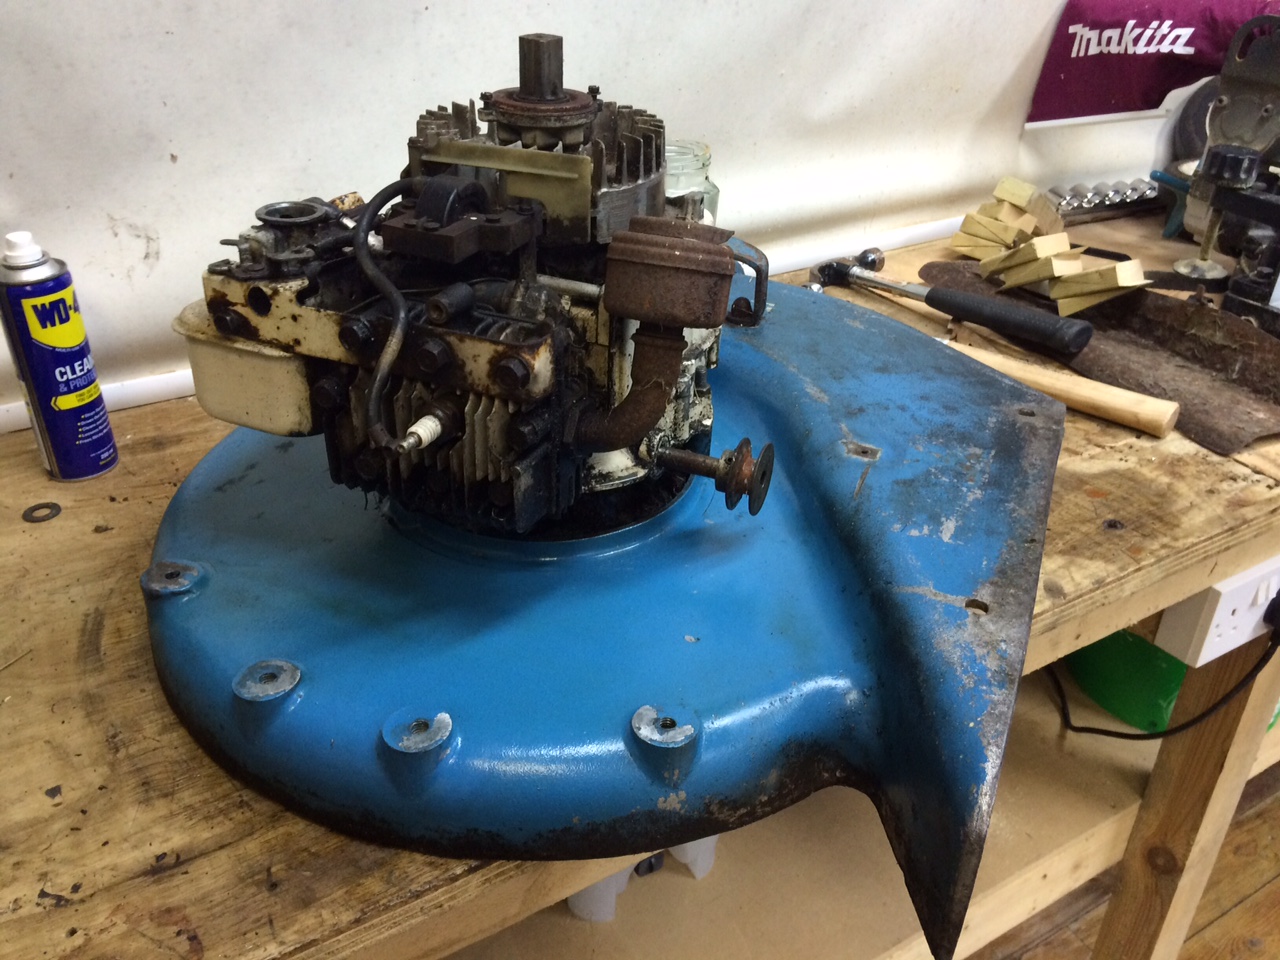
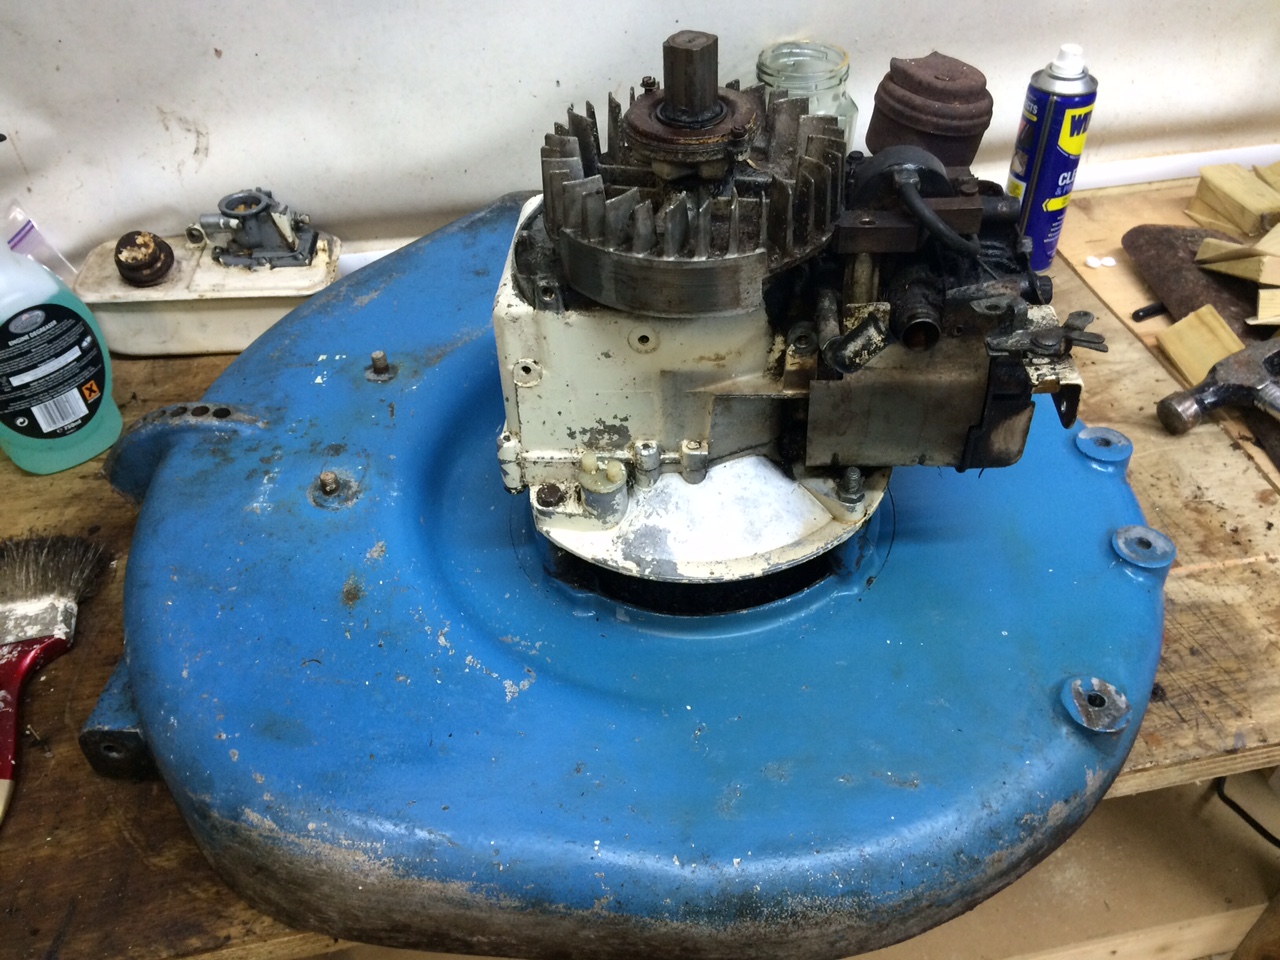
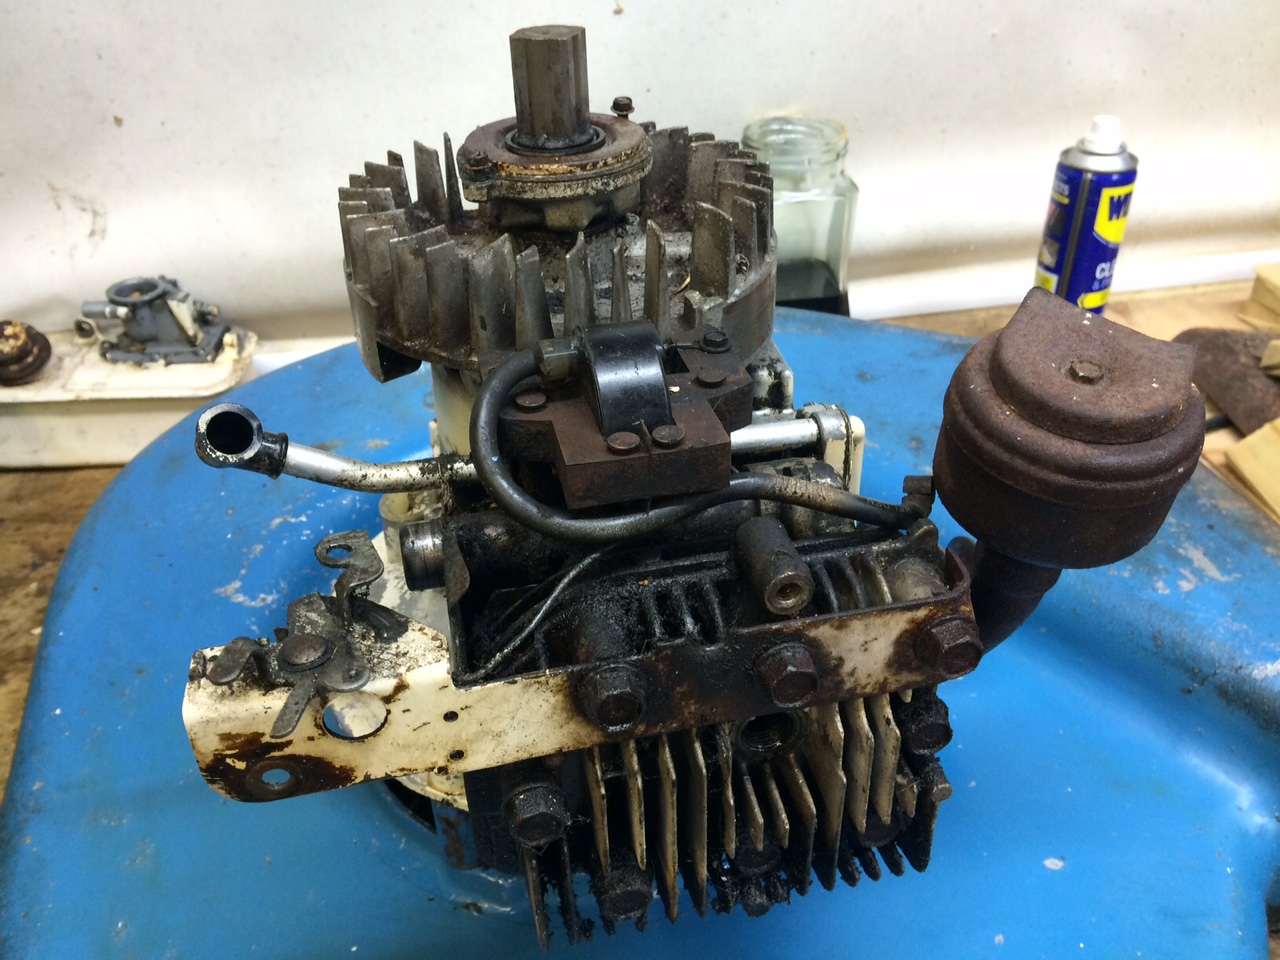
August 28, 2015 at 3:01 pm #14226vhgmcbuddyKeymasterWith a huge thanks to Dan at Liss Garden machinery, I’m confident the engine will run once its been put back together! Lastnight, we reseated the valves, cleaned and ground back the head to remove the effects of warping, cleaned and adjusted the points etc. Above are pictures of how i found the engine, below are pictures of it now – quite a considerable difference!
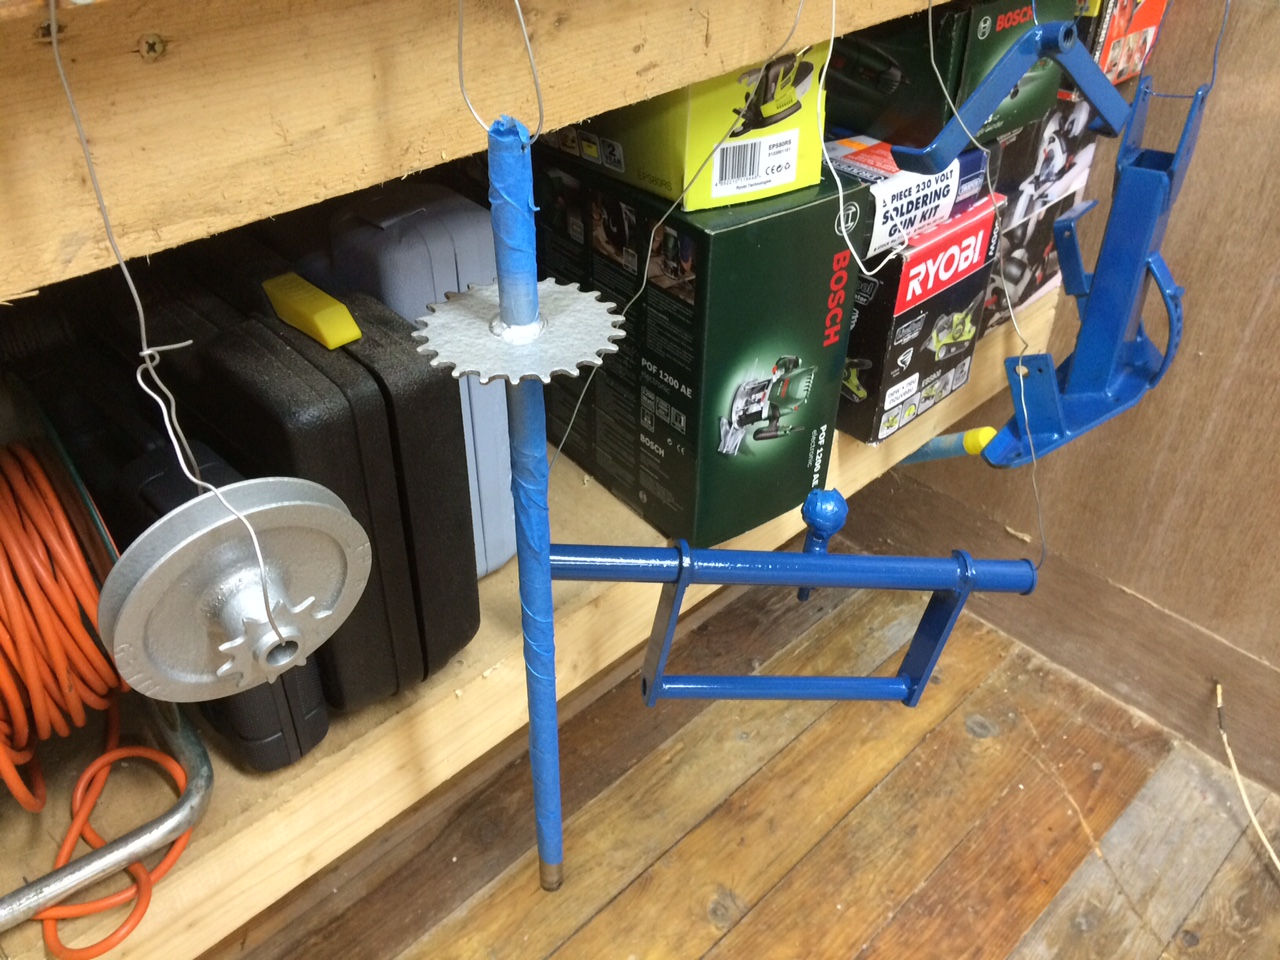
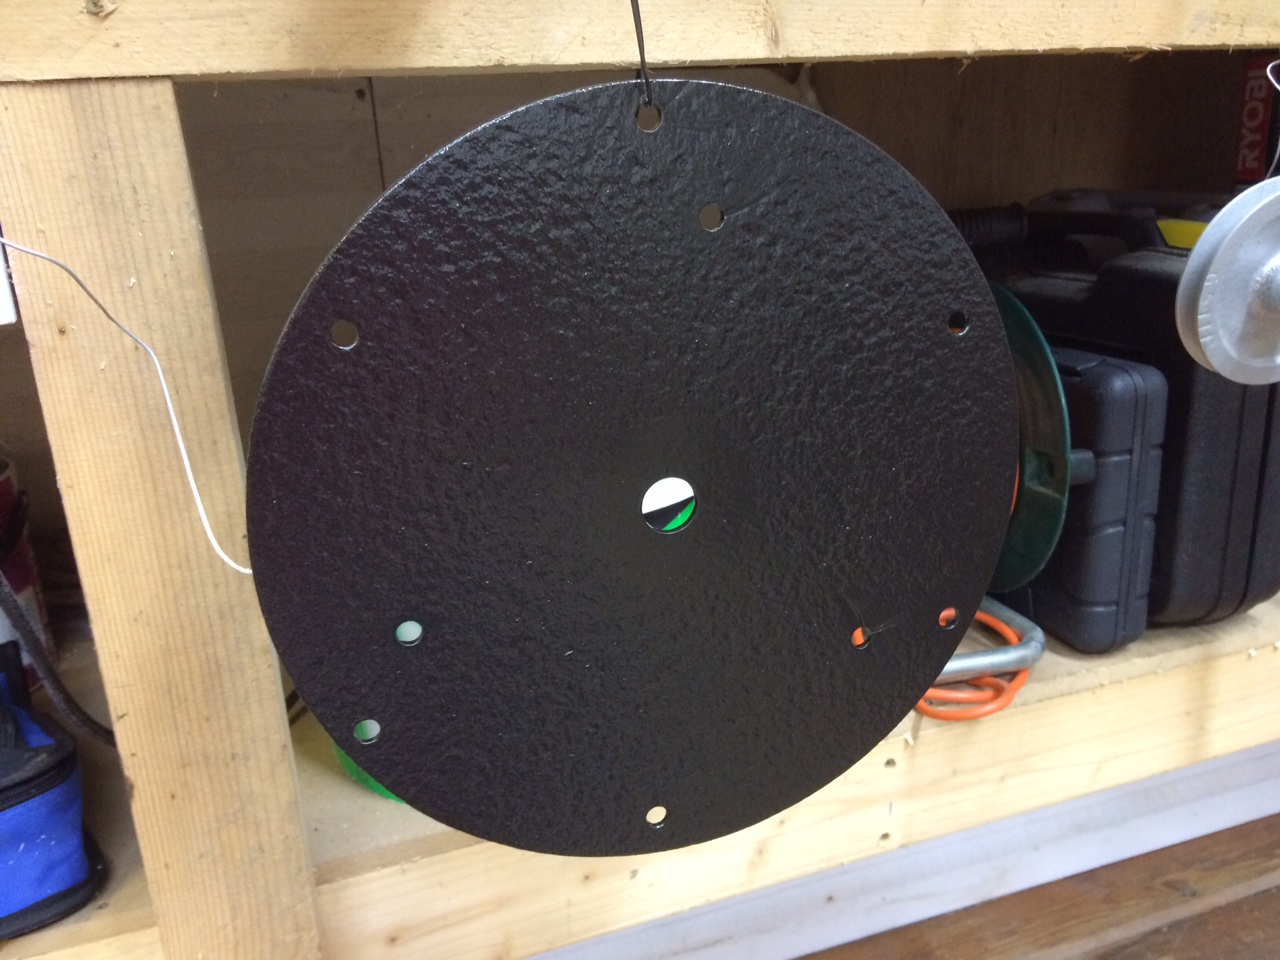
I’ve also started painting some components.
Attachments:
August 27, 2015 at 7:21 pm #14221vhgmcbuddyKeymasterHi Sam, I live in Stamford, Ken.
August 27, 2015 at 7:18 pm #14220vhgmcbuddyKeymasterI will come and introduce myself,not sure about exhibiting this year,I’m still in the process of restoring my Clifford mk4 diesel,its been a lot of work and hours put into it,but after talking to Chris I’m sure the restoration will soon be completed Thanks again hortiman you have been a great help to me. I’m really looking forward to finishing it now,Ken.
August 25, 2015 at 5:14 pm #14200vhgmcbuddyKeymasteri would like to give a big thanks to all that attended. we had a very good mix with around 45 machines plus 4 awning displays and with out you we would not have a display. also extra thanks to those that braved the wet conditions for the arena on sunday. i would also like to pass on thanks from the btf commitee for being a valued part of the show. i you have any feedback (good or bad) for the section or any other part of the show please P.M me and i will pass it on to the commitee.
once again thank you very much
August 25, 2015 at 3:29 pm #14197vhgmcbuddyKeymasterIt might or you might? That would be very kind will-haggle!
Joking. Yes, it certainly needs more work than I originally thought. If I’d known, I might not have started this project so I’m pleased I didn’t. From memory the last time the machine was turned off was due to the heavy vibration caused by the missing blade and subsequent lack of balance, not because the engine was in need of work.
Amazing it still ran.
August 25, 2015 at 2:43 pm #14186vhgmcbuddyKeymasterAs for the engine….well, I have no idea how it ran the last time it did (maybe 20 years ago)! It was heavily coked up and covered in carbon deposits, it took some real work to clean up. The head isn’t finished hyst yet but getting there as you can see from the pictures.
Attachments:
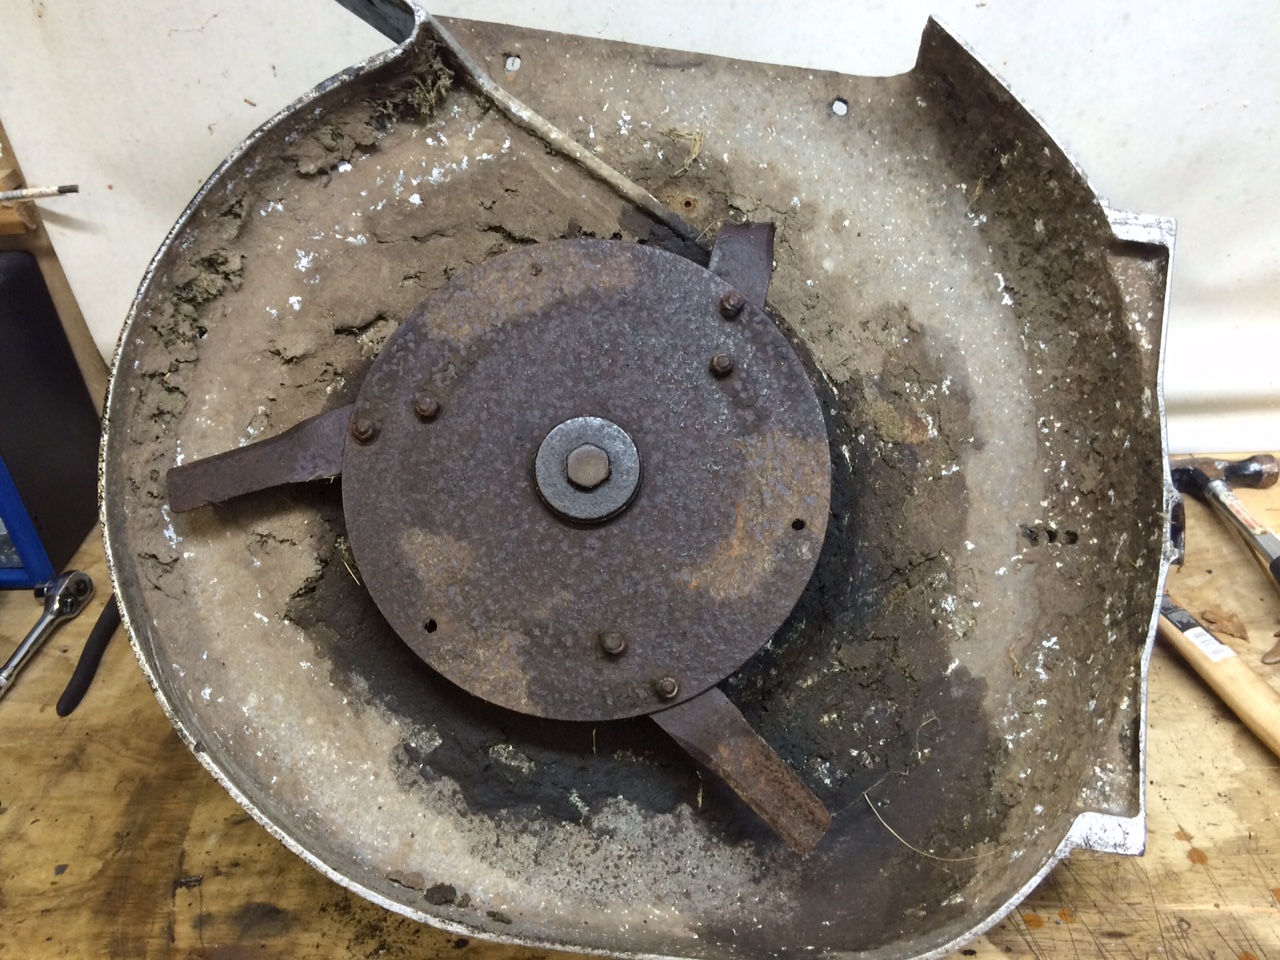
August 25, 2015 at 2:40 pm #14184vhgmcbuddyKeymasterThe blades weren’t in great shape so I’ve rubbed down and re painted the disc. New blades are on order, expected to arrive next week sometime.
Attachments:
August 25, 2015 at 2:39 pm #14177vhgmcbuddyKeymasterHi everyone,
So I’m making progress, despite a few set backs.
Here’s some updated pics of how things are going.
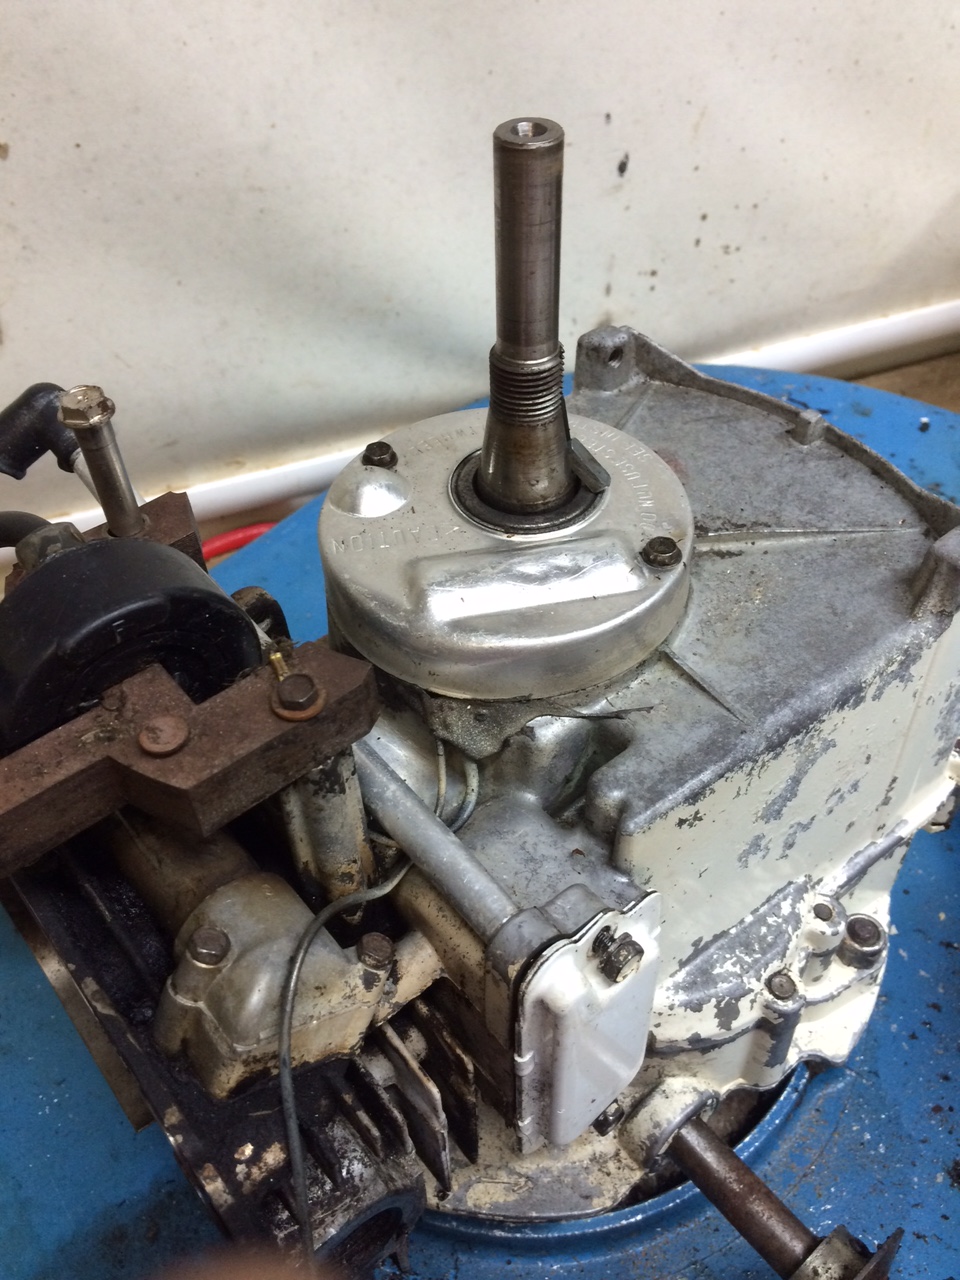
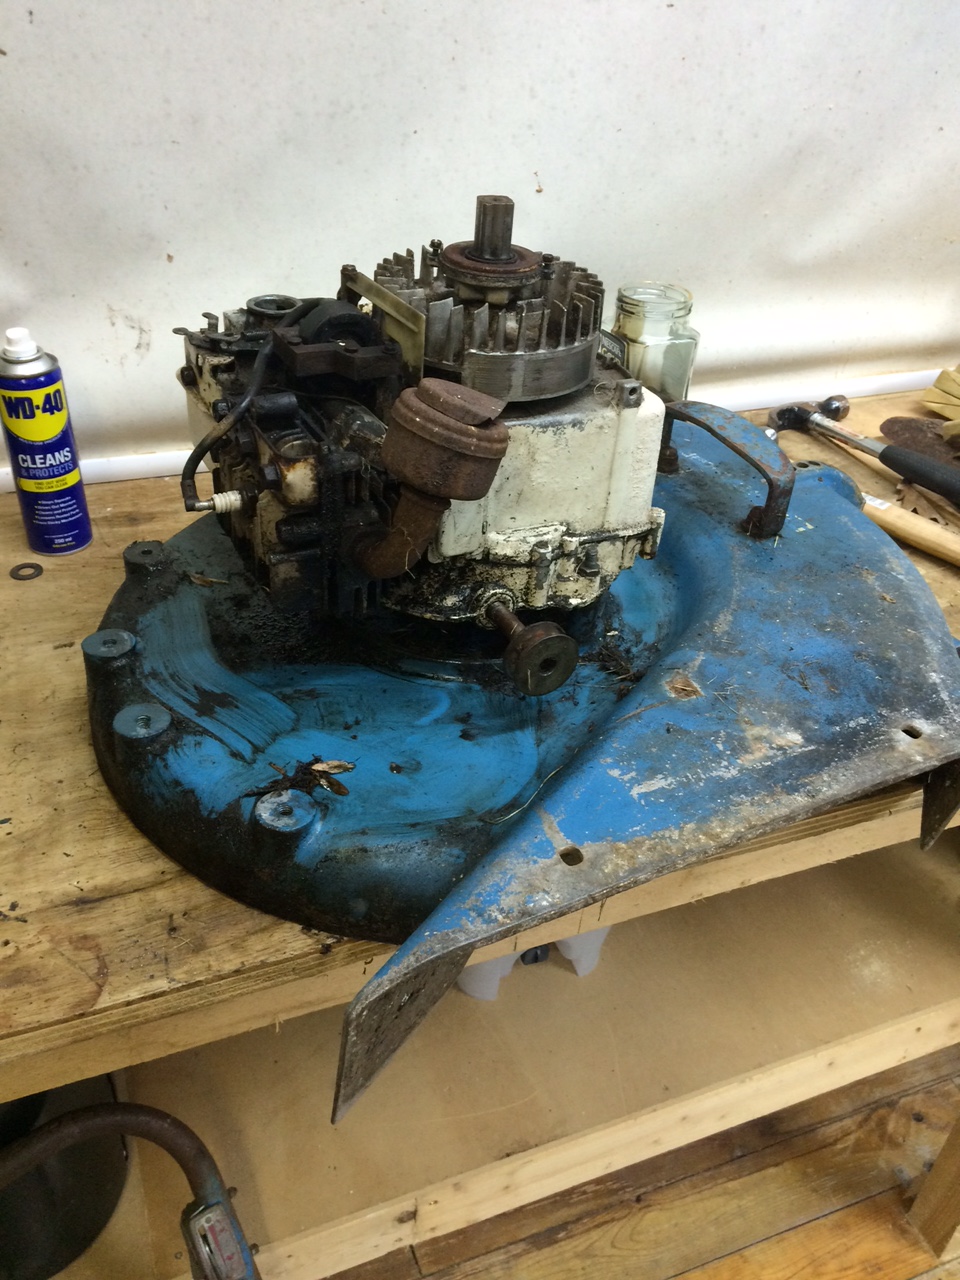
Firstly, some more pics of the stripdown.
Attachments:
-
AuthorPosts