Forum Replies Created
-
AuthorPosts
-
July 22, 2025 at 1:45 pm #43943
davidbliss
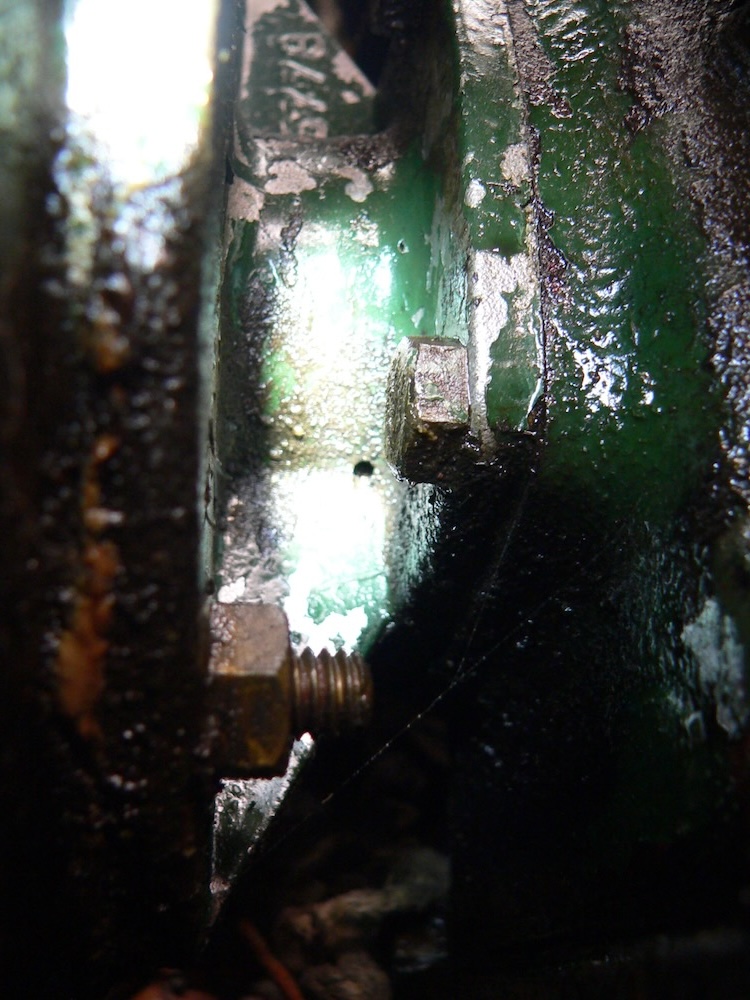
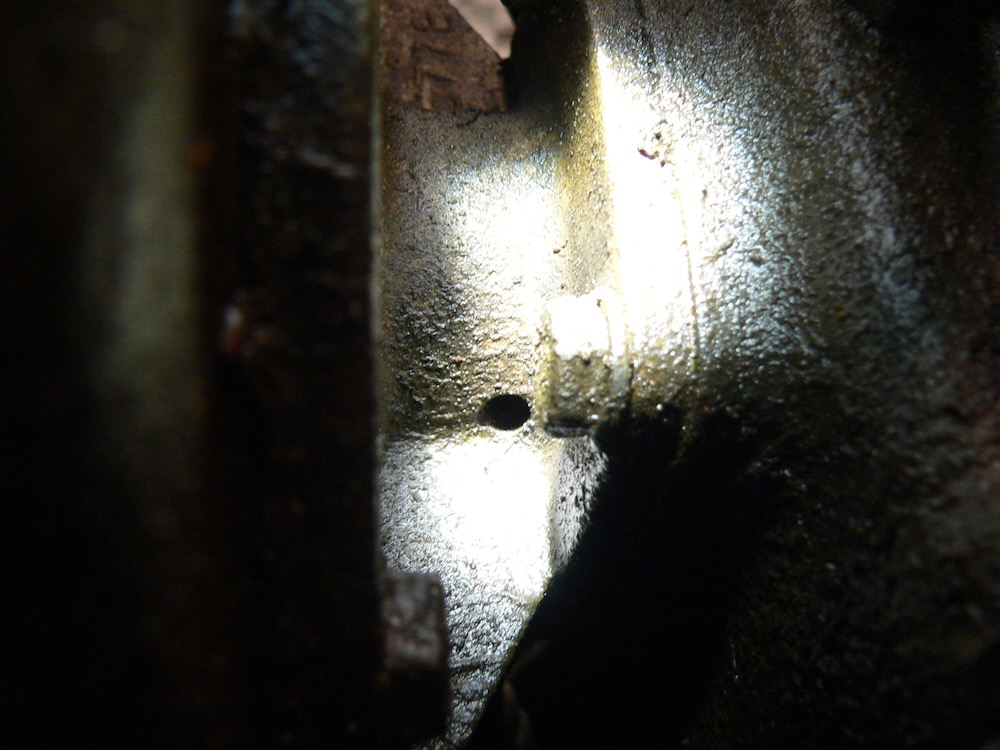
ParticipantGrahame, I have an idea what someone has done, the flywheel nut should be done up quite tight without the need of locktite, and with it being held in position with the roll pin and flywheel locktited sort of sends shivers down my back. and it could be penny has dropped. Right the crankshaft should be pulled up tight against that mag sides bearing, So it should be crank inner face up against, bearing, spacer, points cam and then flywheel all locked up tight with the nut, so you should have four parts to fit flywheel side yours wasn’t pulled up tight hence roll pin. I think what some would say is a non mechanical person has attacked or lost a bit it could even be on the impeller side loosing some shims that adjust clearance on the back side. Now if the flywheel wasn’t on at that time being messed with at the pump side they would have drawn the crankshaft threw some bit, then it looks to me they then fitted the flywheel later and on what should have been able to do is pull the nut up tight but in-doing so would have pulled the crank threw locking the impeller up against the back face, So I would remove pump housing and unscrew the impeller. Sort out the flywheel and hopefully be able to pull up tight and still turn the flywheel someone has lost something.
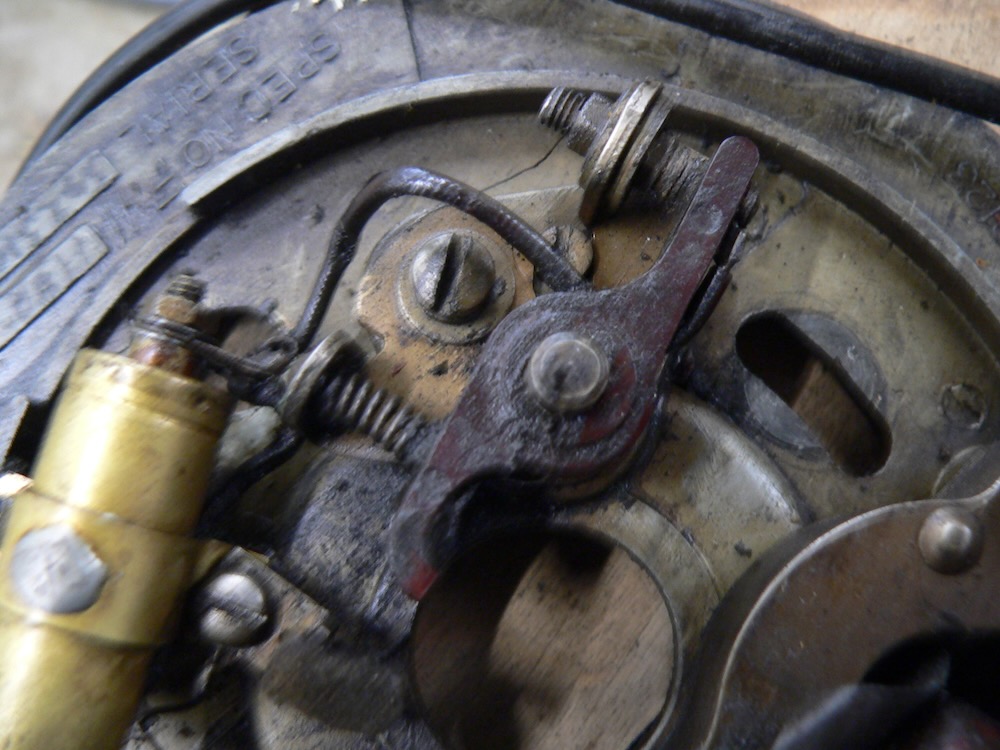
July 21, 2025 at 3:11 pm #43935ParticipantAndy In Grahame’s photo just visible I recon can see hole in the thread towards its end, I have seen all these sort of things bodges get up to, like a nut coming loose so they found one with a tighter thread being a different thread rate. Going back many years the one of the engines I had was a bit flat for some time but always started and checked the timing think 30 degrees BTDC if I remember right that didn’t improve things, then changed out the complete unit, only difference was the points, seems a bit odd as complete arm made of Tufnell used a flexi wire from coil and the stationary point was earth, whereas all the others have been opposite so stationary was insulated and fed from coil and point arm had just a fibre heal rest all steel earthed through the spring so less likely to fail, well it worked.
Attachments:
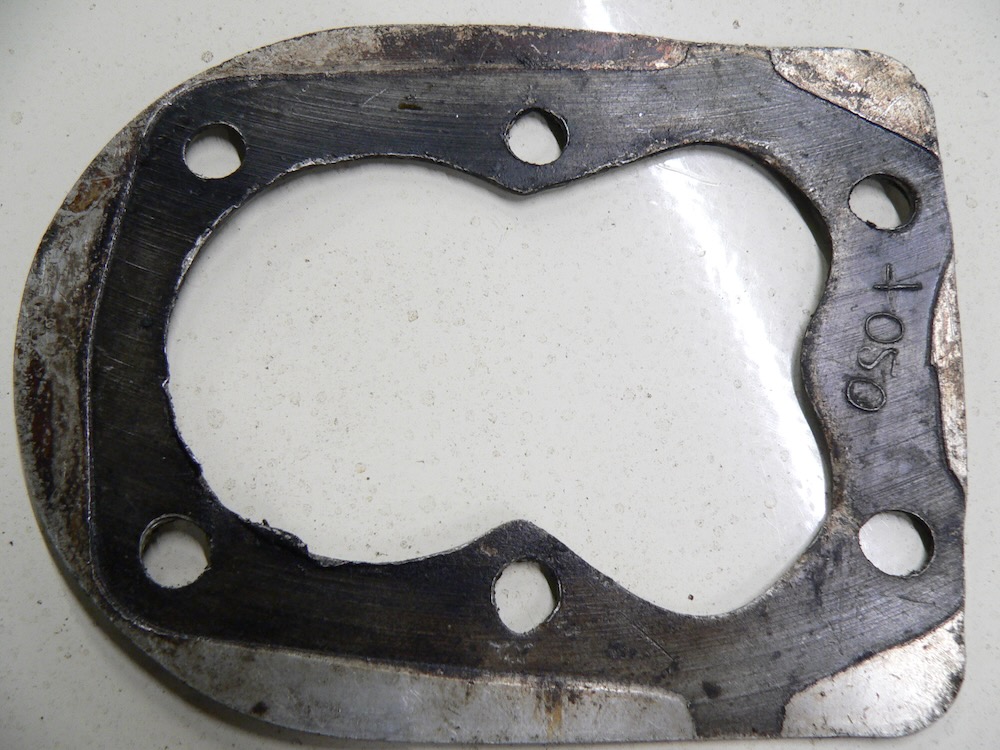
July 20, 2025 at 10:24 pm #43926ParticipantAndy Yes reckon the roll pin come the bodge it it up brigade as never seen a flywheel nut come loose had alloy break a few times where the rope hooks onto so fitted a new one and found the alloy is just a tight push fit so skimmed a bit off the steel and welded a nut and pressed the alloy back on this makes it so much easier to fit and all that I have seen had head gaskets made from soft 0.055 thou sheet alloy, the only major failure had was a die-cast flywheel with internal metal corrosion causing expansion and came loose from the steel boss causing a slight knock at idle.
Attachments:
June 27, 2025 at 7:39 am #43858ParticipantYes to everything, A for sale and wanted section bit on here think would be good.
DavidJune 26, 2025 at 12:14 pm #43853ParticipantWhat you need is a small two stage fire pump so pressure not volume, I was always at Knights engineers for anything from re-bores to any type of shaft grinding, they had a small splined shaft that had been hard chromed in places and was set up for grinding it back. They said here you are guess what sort of engine and hp drives onto that shaft, well I thought looking at the shaft at a guess thought like about a MK25 Villiers of hp rated, I was a bit out and had un-knowingly seen it at work, 900RPM 5 cylinder Gardener driving a large multi V belted pulley down to a small pulley that must have given a 5-1 ratio done for irrigation at Blooms nurseries. Two stage is the way to go, I have a 50s Stuart 3/4 inch motor .5 HP at 2800RPM head and GPH should be there but couldn’t find it and think the head was well up with the Alcon.
June 26, 2025 at 7:58 am #43848ParticipantAndy
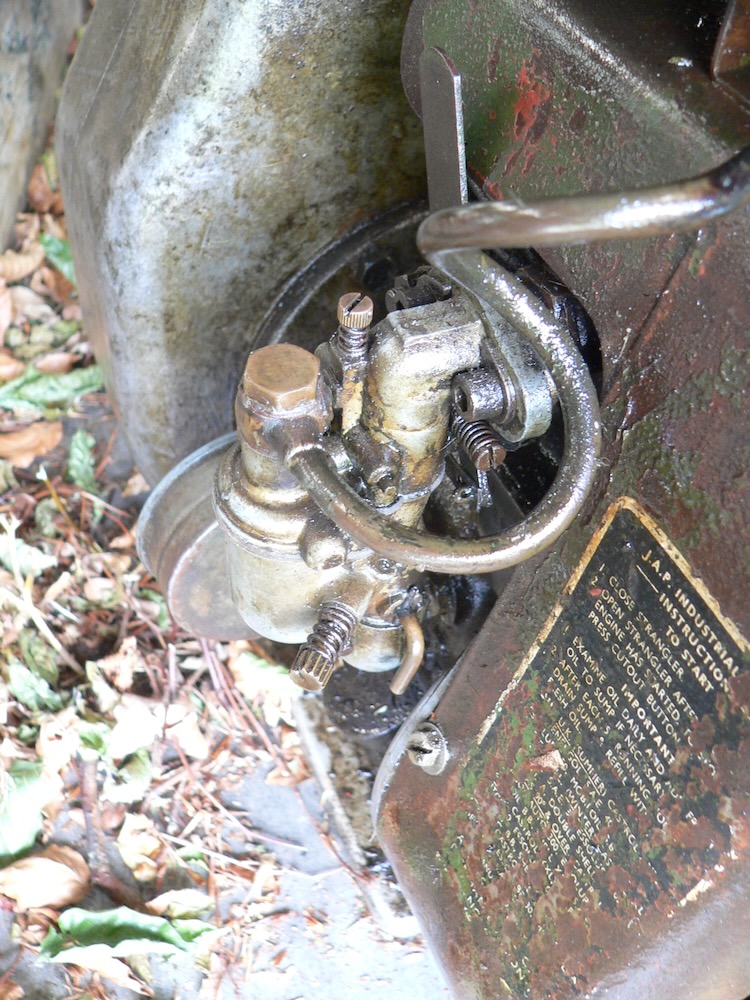
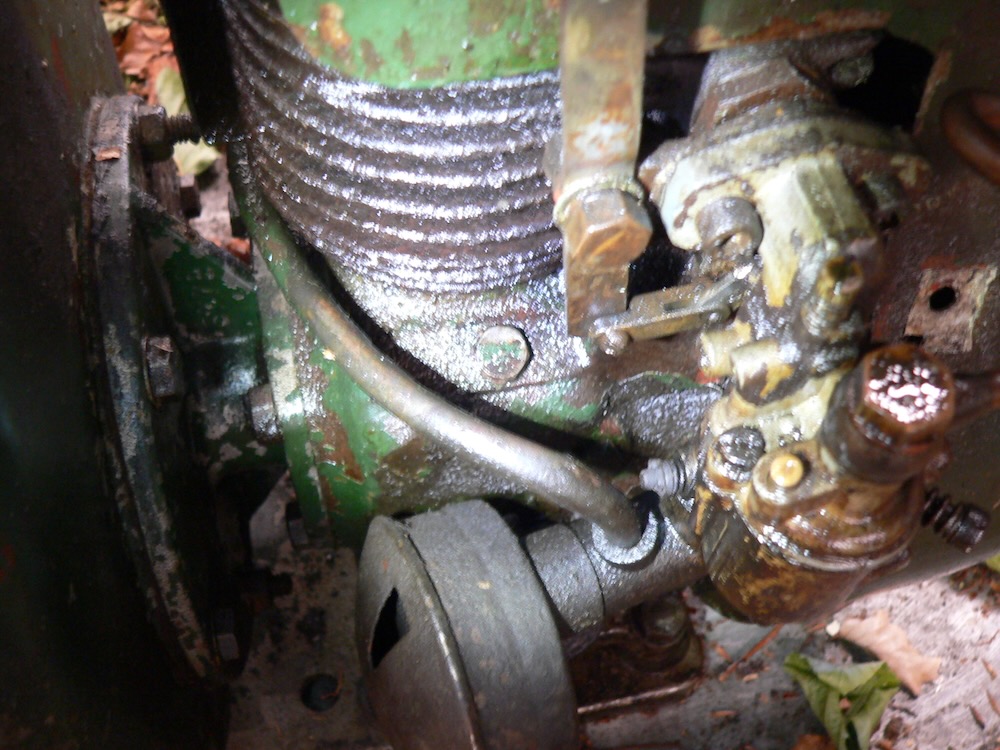
It isn’t yellow paint and for some reason with the LED light ether over exposed bits and changed material colour, its 60 years of crud from evaporated petrol, some places it was on very thick but did blow off a bit. that carb in my infancy I fitted for my father, as originals with the ball floats being dented looking like golf balls often after being left would go back to start it only to find been leaking. Looking back that pump was a real life line as the farms only water supply was the Bore hole that Panks put down in 1942 that regularly was out of action in the driest times so was a great help watering stock from ponds. Original carbs had T 12 and T 13 on with C1266? no JAP script, ordering a new carb I somehow was afraid when asked for butterfly orientation had got it wrong? well if I hadn’t would still have got the blame, luckily that carbs neck was universal moulded and I re-drilled and plugged and he never knew. In those early days my equipment to make anything was gutter bolts, hacksaw, file and Black&Decker drill, that carb number 01433C type 13TCA-2 and the later new correct one I fitted 01392 from just over 20 years ago.Attachments:
June 24, 2025 at 7:21 pm #43839ParticipantAndy
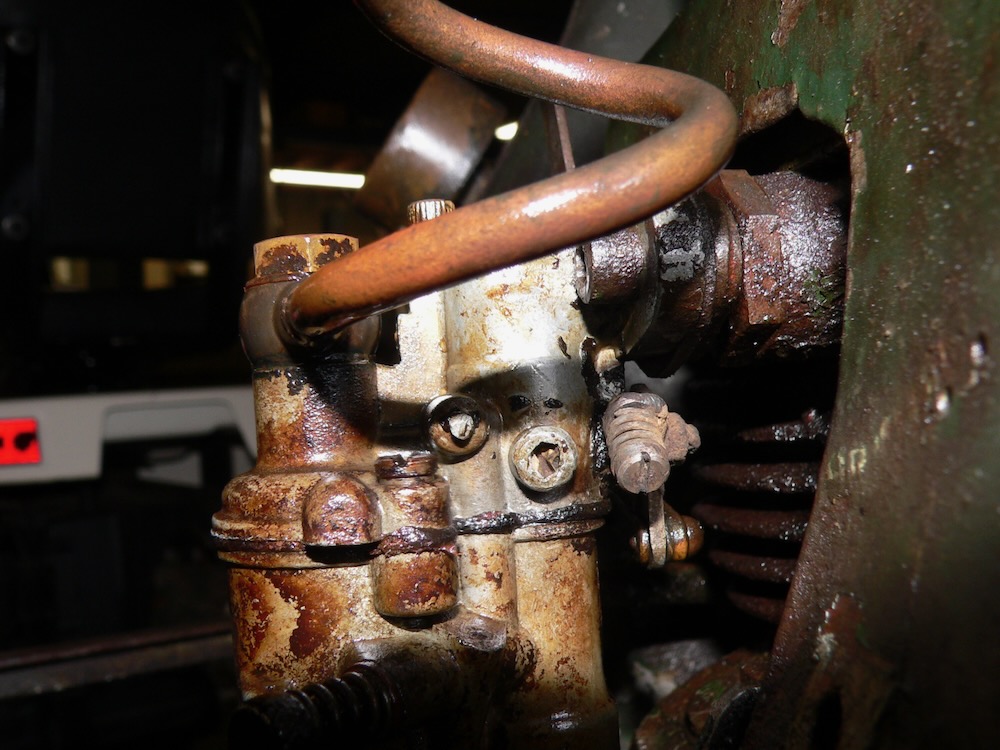
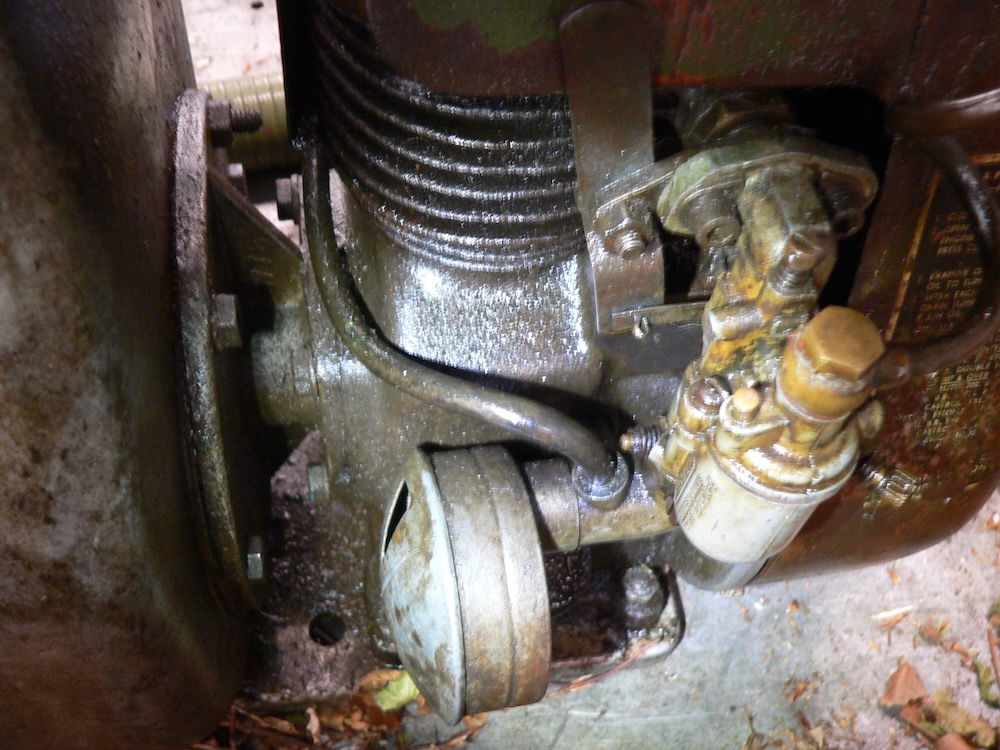
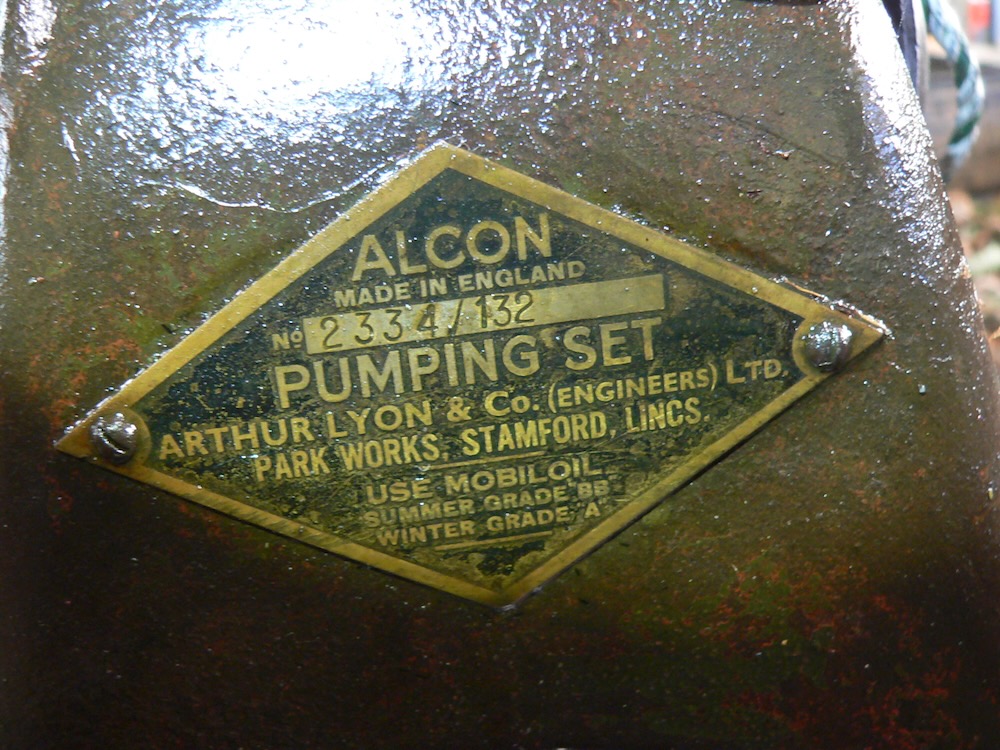
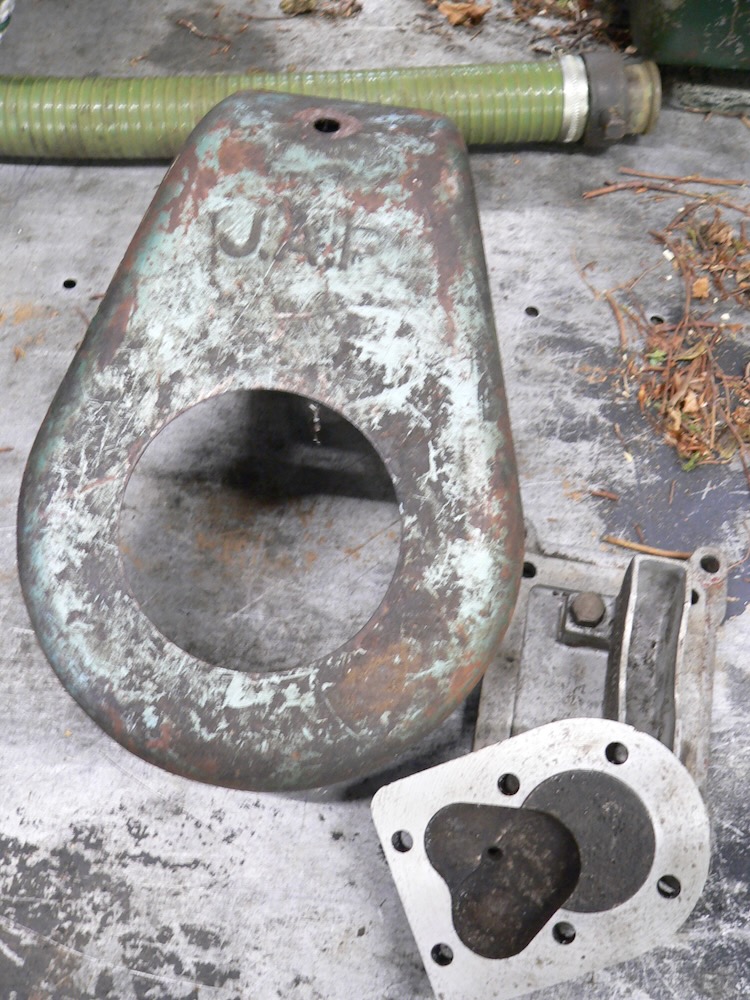
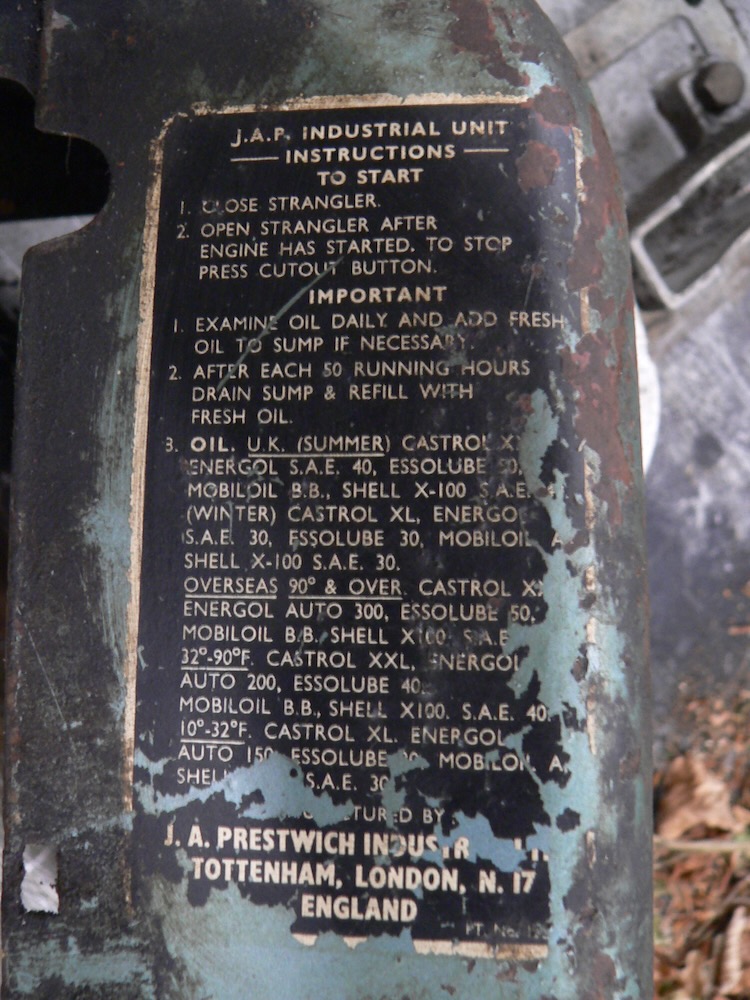
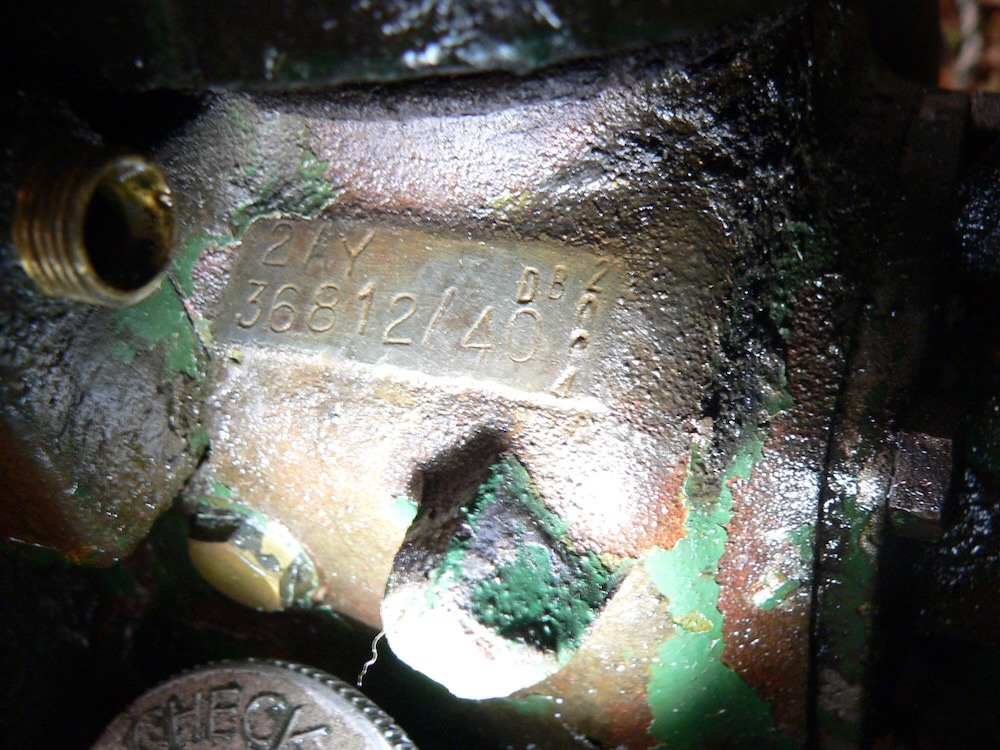
On both pumps there are non-return flap valves just inside the threaded suction hose connection, so not really foot valves but do same thing not on the pipe, and both pumps are sort of the same, the faster priming one has a smaller water re-circling jet and different housing where the ball fits. I did take it into Panks and they said never seen one like it and with difficulty of fitting a modern seal fitted the same type back from the other pump but that soon leaked again and swapped the crankshaft as was a little better and that’s been ok since, did put a drain hole so if it leaked again water wouldn’t be so likely to get into the oil, did the same but larger hole to the other when the left over’s were assembled, there are many differences between those engines as one has several extra bumps and the odd plugged hole for something, different valve chest thats sort of open, with a very heavy grove in the cylinder bore that goes round about a turn nearing bottom of piston stroke and the other is a much better engineered looking thing so what came first. The well used engine is numbered 36812/40 and the other has the Alcon plate 2334/132 so similar stampings, so crude in one part but better made in another. Was told who knows? Being Air Ministry was done for experimental or special job?.Attachments:
June 23, 2025 at 11:49 am #43832ParticipantGrahame
Both pumps seals might be ok, the old faithful has the just rubber washer and carbon ring running on a brass bush and is very quick to prime other has real good suction but takes ages to do so, the others carbon bush was robbed so thats got modern Alcon seal ceramic buts looks more to fail, never seen more than just over 20psi with those jets and with the two was putting out around 40, there is very little corrosion in the old faithful although in regular use and hardly ever dry, but the other is very badly pitted as stood years before I took it apart in the 60s so might have pumped something bit corrosive, engine is more or less in unused condition, All fittings have AM and crown and seem to remember same on the pumps but can’t find those, It would even rev higher I think as butterfly is only partly open. https://youtu.be/lMhDYL2Z_agJune 23, 2025 at 8:23 am #43825ParticipantIf any bit of equipment is not going to be used in the next few months I get the fuel out and if its a steel tank suck it completely dry, spray bit of oil in helps and same with the water side but you must not get oil near any part of the rubber seal. Just after the much used Alcon primed and with two engines running didn’t twig which of one of them made for a split second a funny noise, at the time I was striating the hose out as they knuckle and stop the water but now looking back can see why water slowed and went, I recon it was a hand full of hazel nuts the mice had carried into the suction pipe as the jet of water slowed but hose was still hard with pressure, had to knock out one hole nut out and found it in the bottom of the trailer while laying the pumps up. I have repaired a few pump housings caused by objects getting sucked up the suction pipe, one time found wedged in but not got in to do damage was a petrol lighter.
Attachments:
June 21, 2025 at 7:16 pm #43819ParticipantGrshame, daughter has done a video of the two Alcons today it might be a time before i see how it came out, I can tell how long the one pump was in work to as stamped date in 2002 as that was when I resurrected the donor parts pump back into working order and used that, So stood twenty two years. Bit disappointed as had to give it two pulls before it fired up, flat out that you say they can’t run long like that and that now frightens me a bit but been doing that for now 70? years and still hanging in there. I then started the other engine and they take 5-10 minutes to prime so both had ben making some bit of noise and noticed I hadn’t dropped the old faithfuls hose into the water, so no wonder it was a bit more noisy, dumped the hose into the pond and it only took seconds it seemed and was primed so that is quick, but once up and running there’s no difference, think running just under 20 psi and doubled up more or less double the pressure. Just as I had nearly cleared up the friend that had put his rev counter on that old engine 50 years ago came over and he remembered the 4000 rpm. Both engines differ with the well used engine having a serial number ending in 40? date, and other has nothing, both were in the AM green the resurrected one still is what paint still there. just recently was give a few Jap bits and looks like was from a generator going by the head, tin cowl good no dents and sump, and if you find the loss of compression isn’t just a stuck valve and was a cam-follower I have a spare so all free to anyone.
Attachments:
June 3, 2025 at 12:46 pm #43782ParticipantI got the key width wrong it was .035 thou wider and that amount of joggle would retard it quite some bit and has worked as with every thing fixed being modern so there no way of adjusting and I wouldn’t have thought such a small engine could be that vicious but it was. I have worked on the really old 40s Briggs with the peg that ran onto the crank then later they ran it off the camshaft that with wear was rather touchy, think the Kohler done same idea. nothing like the good old Villiers.
May 23, 2025 at 7:28 pm #43762ParticipantAndy
We ran Ransomes stuff, Combine and we broke up one that went to them for spares, ploughs, modern reversible and one of the old last heavy Hexatracks behind one of the first 1941 D7 7M so often used Stennets and Denison near Bruisyard,and with Ransomes gone with poor non genuine wearing parts used them quite a bit, but often came back with other things so good job they weren’t closer or would have had treid to save lots of interesting stuff, So will be going to see Barry Denison for mower bits if can find them.May 22, 2025 at 10:19 pm #43758ParticipantI had a phone call today and he still has barrels he said somewhere, so are going over in the next two weeks to have a look. Anyone need Ransomes parts, ill take my camera anyhow.
May 22, 2025 at 7:50 am #43755ParticipantAndy, I am not holding my breath but got a phone number from long back and is still good that took most of Ransomes parts, I will try.
May 20, 2025 at 10:51 pm #43751ParticipantGraham
On some of those old carbs they just used a long screw that holds the air cleaner on if not screwed back in with the air filter off I have had them suck up fuel strait through that hole.-
This reply was modified 1 year, 2 months ago by
davidbliss. Reason: missed word
-
AuthorPosts