Forum Replies Created
-
AuthorPosts
-
April 1, 2015 at 5:24 pm #12369
 trusty220Keymaster
How old is the engine? If it is the original one it will probably have a sticker in the centre of the recoil saying “Easy Spin Starting”, in which case it will have a combined contact breaker and condenser assembly under the flywheel. Some of the later engines had a sticker saying “Magnetron” which is the B+S trade name for their electronic ignition.
The contact breaker assembly is not expensive and it is far better to replace it than try to clean up an old set.
Best of luck
P.S.- Make sure that it isn’t down to a duff spark plug; even a new one fresh out of the box can be faulty. Always check the plug in an engine that you know works.March 31, 2015 at 6:57 pm #12361trusty220KeymasterIt’s the centre pages of Classic Car Weekly- Johnny Polish lets me have his old copies. I think it’s a picture of an Earl’s Court Show from the fifties.
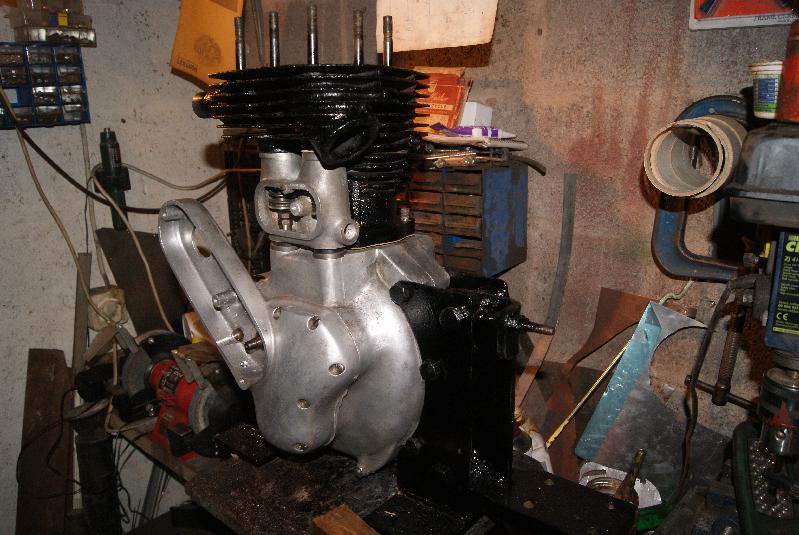
March 29, 2015 at 6:15 pm #12320trusty220KeymasterIf you’ve been following this and were wondering what had happened lately I can tell you that Tractor World at Malvern got in the way and so did the AGM on the following weekend. I’m back on it now so it should be quite straightforward for the next few bits.
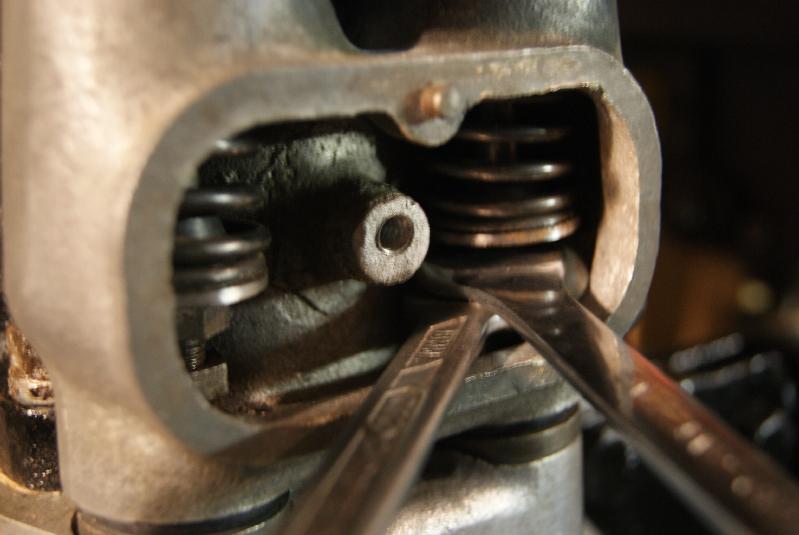
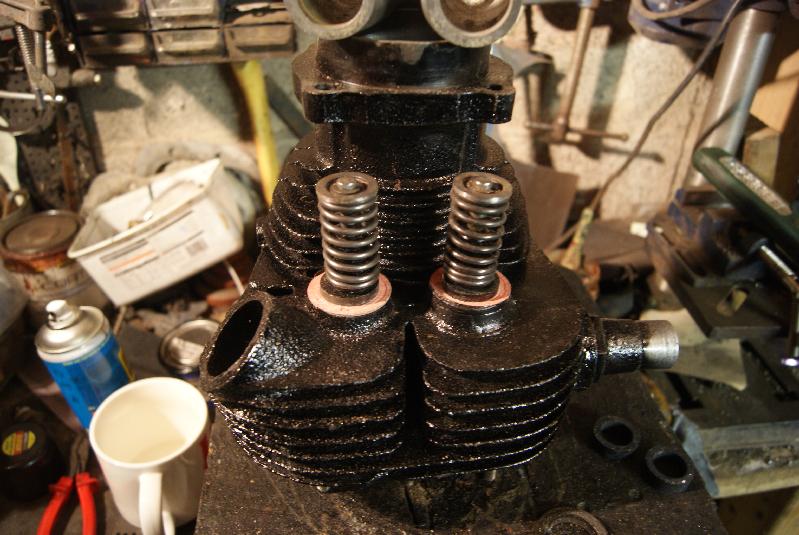
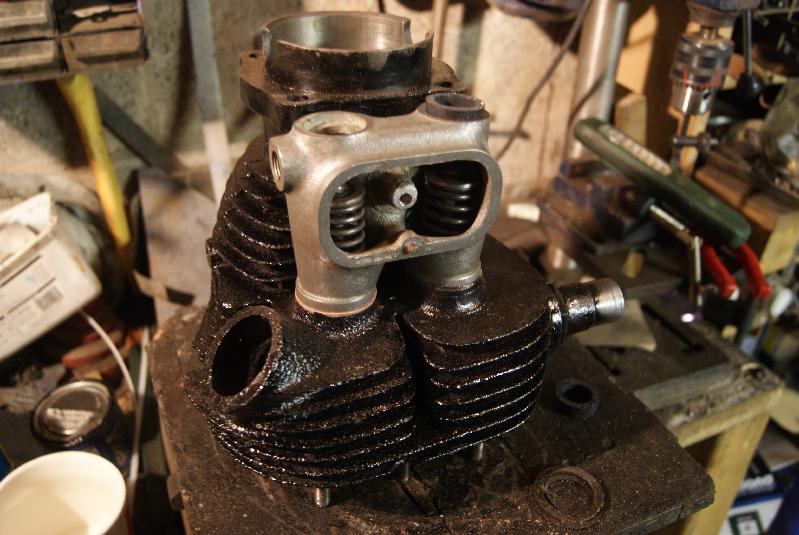
First off was to set the tappets; this is done in exactly the same way on whatever engine you’re working on. Set the piston to TDC on the power stroke (that’s when both valves are down and the piston is at the top). Do not confuse it with the stroke between Exhaust and Intake because both valves could be closed then as well, but the exhaust will only have just closed and the intake is about to open and so they will be on the wrong parts of the camshafts. Settings for this engine are :- Inlet 4 thou’ : Exhaust 6 thou’
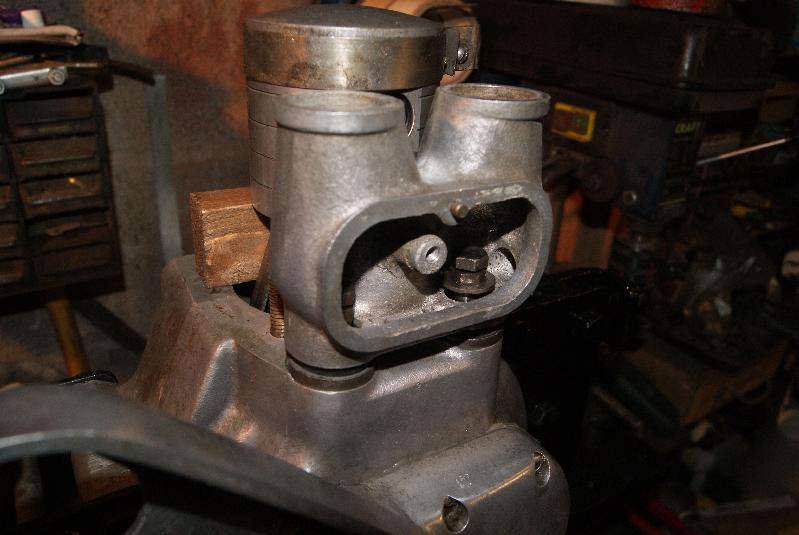
To achieve these settings you have to screw the bolt in the top of each cam follower and then lock it using the locking nut underneath. You can see this on one of the photo’s, and it does get a little tight in there. Once you’ve locked it up do a final check of the valve gaps because they can alter when you turn the locknut slightly.
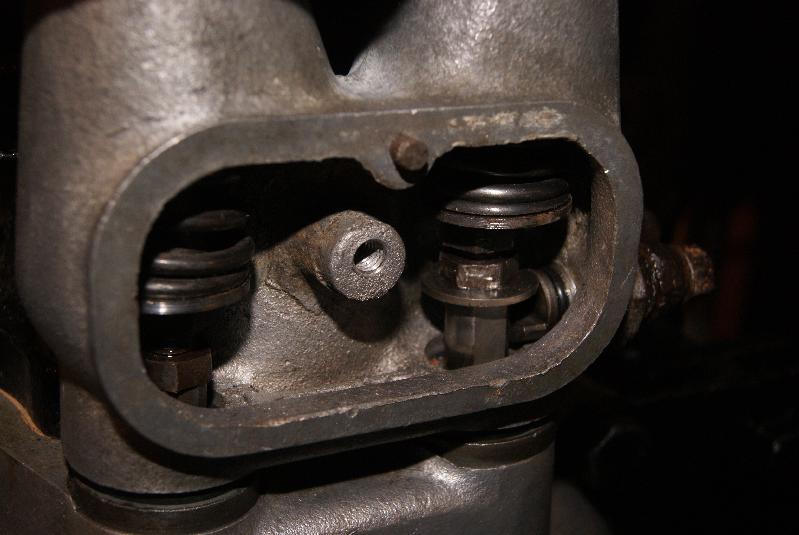
Next bit is to replace the exhaust valve lifter and to do this you really need to put the exhaust valve into the open position by turning the crankshaft. Once the valve is open you can then wind the lifter mechanism in to the valve chest, making sure that the foot is underneath the washer on the cam follower as you turn the ferrule in. Once it is all the way home, check that there is still freeplay on the lever once the exhaust valve is down otherwise the valve lifter will be holding the exhaust valve open permanently and the engine won’t run.
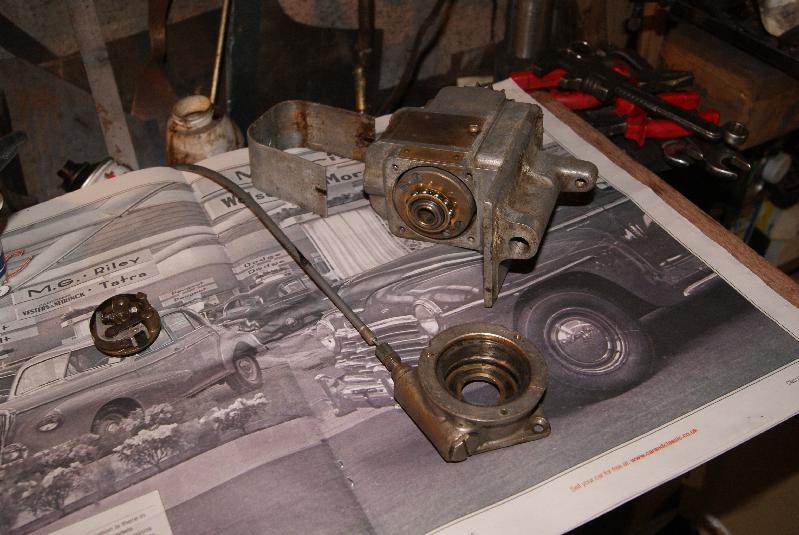
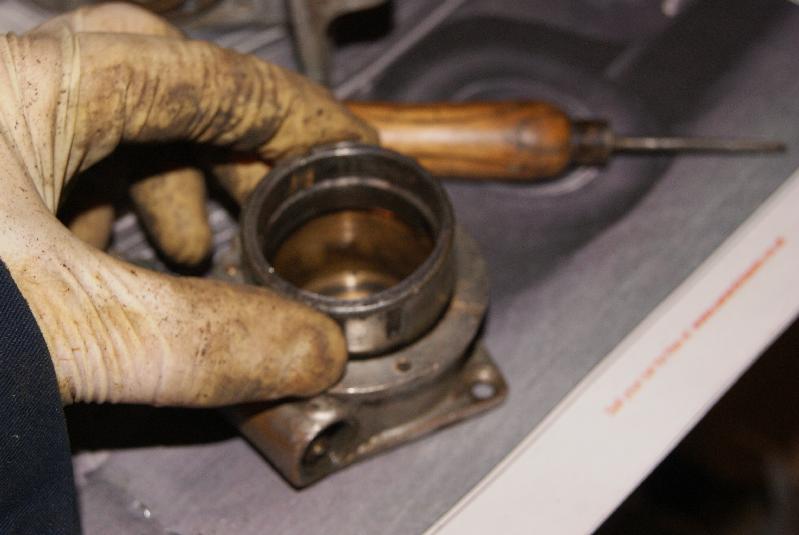
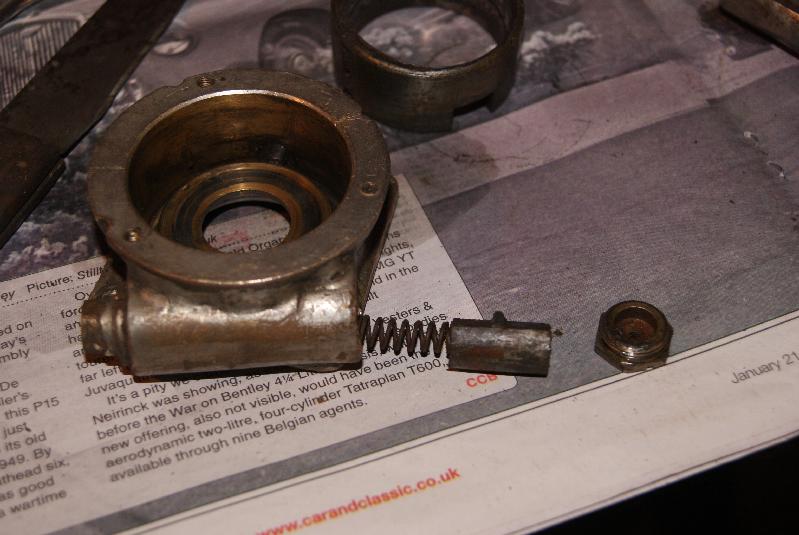
My attention was next given to the magneto which is a BTH one in this case. These are peculiar in that the contact assembly (the “points”) is on a backplate that rotates on the end of the armature shaft. The cam that operates the contact breaker is stationary and takes the form of a ring that fits inside the circular housing; to advance and retard the spark there is another device which is spring loaded that turns the cam ring slightly inside it’s housing. There is a cable control to operate this from the driver’s seat. All of these can be seen in the pictures.
What you can’t see is that the points were pitted and corroded and the carbon brush behind the rotating plate was worn away on one side; the slip ring that the brush rubs on was very dirty as well, so that I’m optimistic that with a good clean, new brush and correct gap on the points we should be in business!
Watch this space to find out.Attachments:
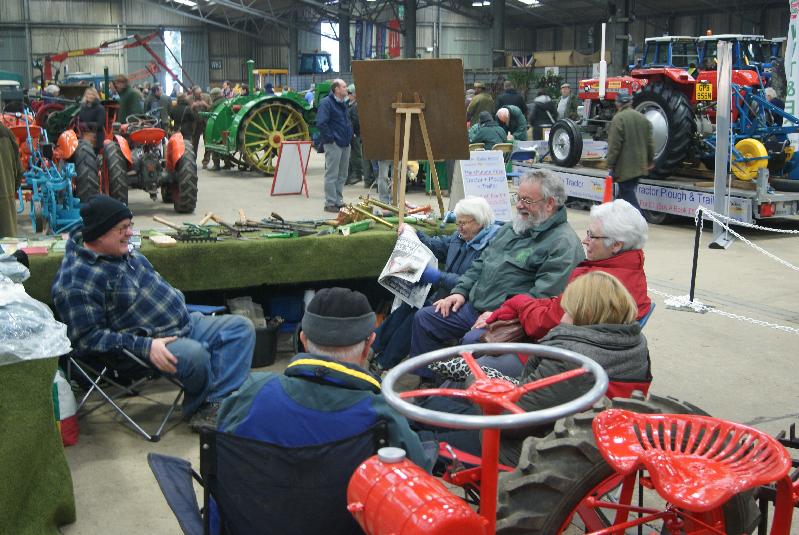
March 15, 2015 at 6:26 pm #12075trusty220KeymasterThe first show of the year is over and seems to have gone in a flash. Thank you to all exhibitors who took the time to bring their machinery over; despite the freezing conditions it has been good to meet up with quite a few new faces.
Two new club members who signed up at the show are Robin Day from Kent and R.P.Fisher from Staffordshire. Welcome to you both and your memberships are already winging their way down to Charlie via the wonders of the internet.
Next club event is the AGM next Saturday, and may I remind you if you are planning to come please bring your membership card to show to the people on the door; if you don’t they will charge you to get in but membership entitles you to one free entry per membership card.
See you there.
Geoff
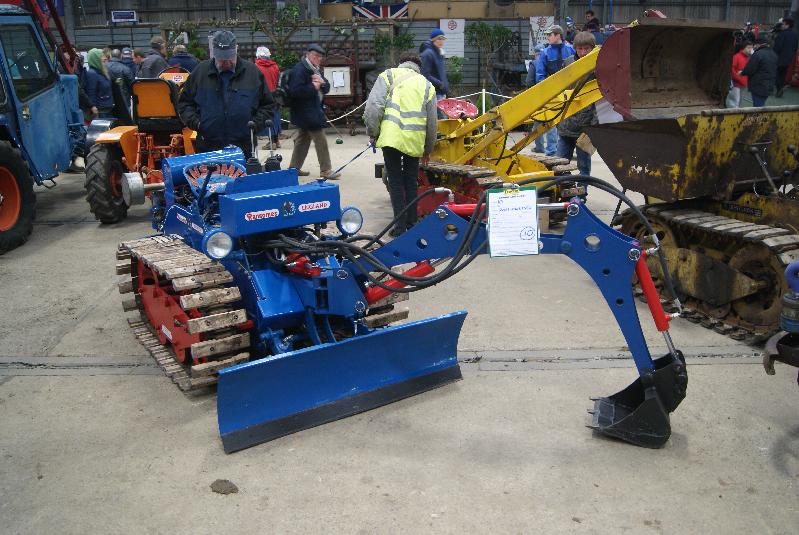
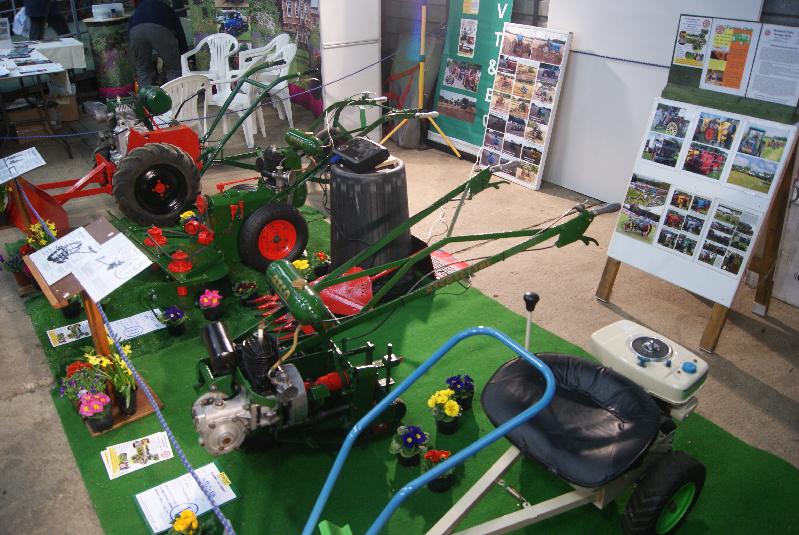
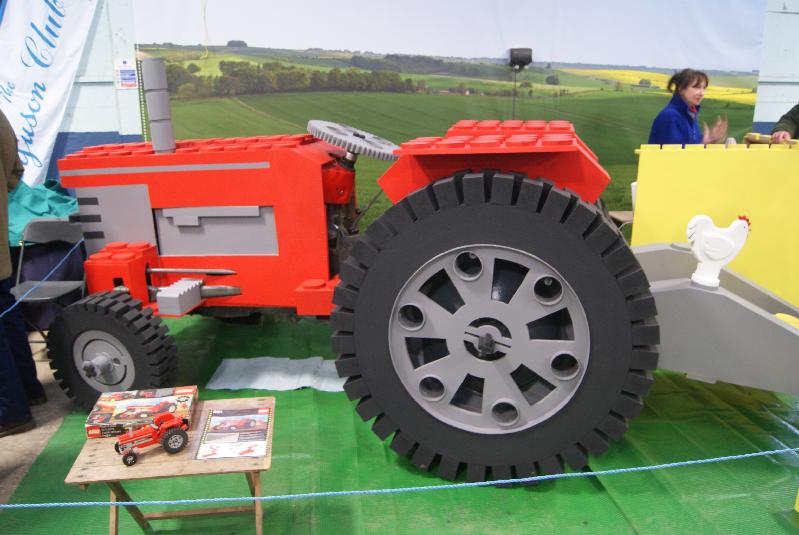
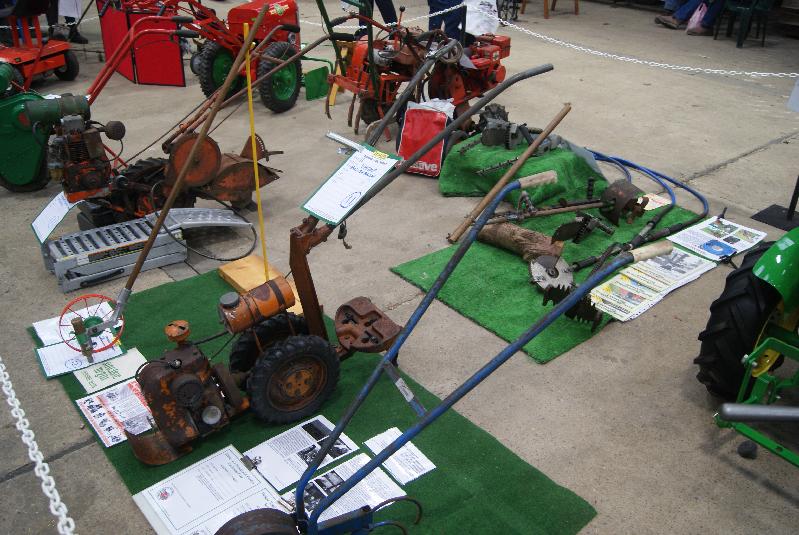
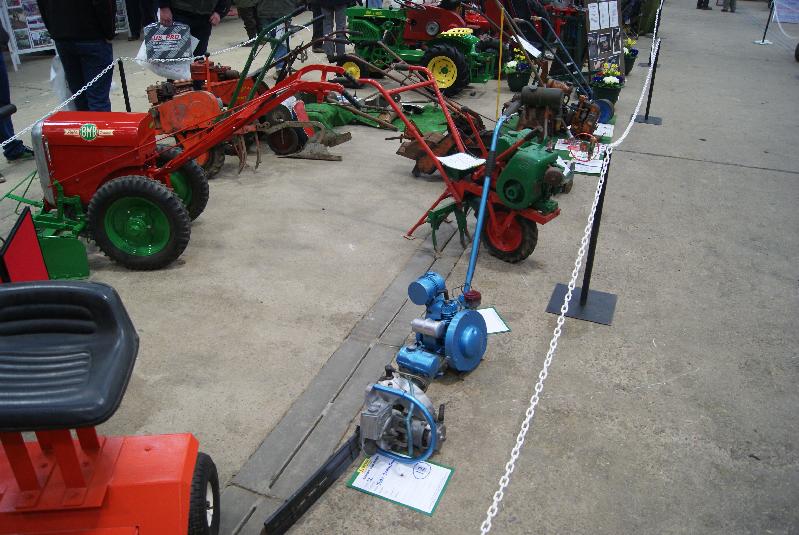
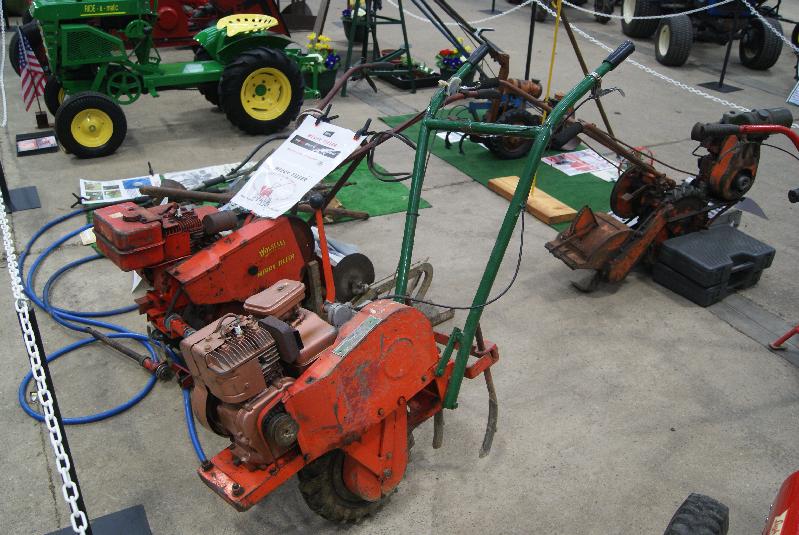
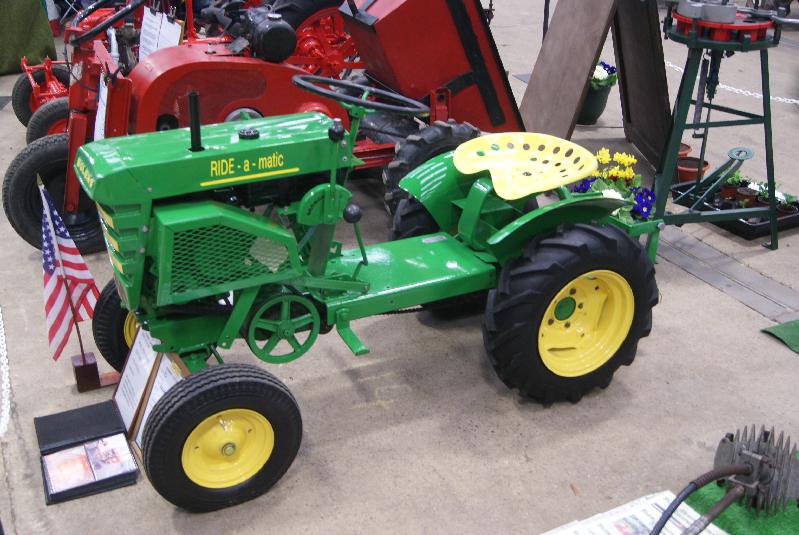
March 14, 2015 at 6:37 pm #12057trusty220KeymasterAnd a few more because I didn’t want to exceed the size of the previous posting. My apologies if your particular machine isn’t shown but there were so many people standing around it was impossible to take pictures of some of the exhibits.
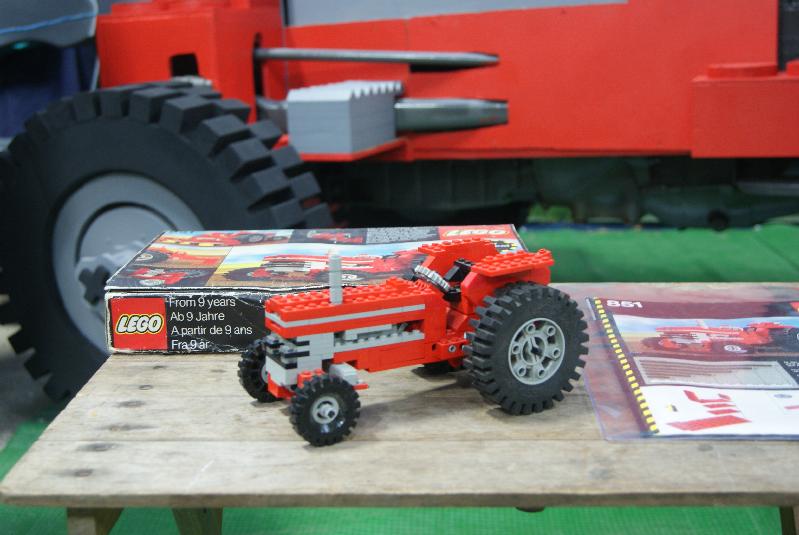
The Lego MF135 was actually full size with a drivable 135 skid unit inside- very clever and they deserve to win something for effort alone.
Attachments:
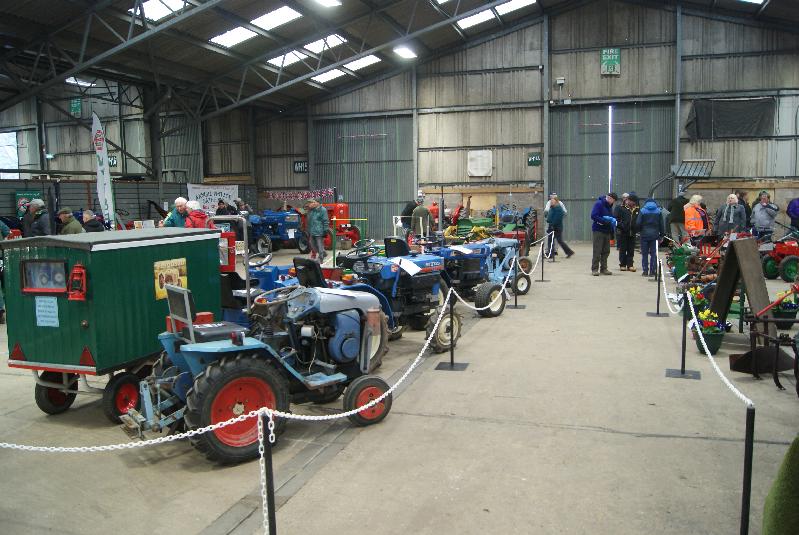
March 14, 2015 at 6:32 pm #12047trusty220KeymasterAfter a very hectic but enjoyable first day, here are a few pictures for those of you who are planning on coming tomorrow.
Attachments:
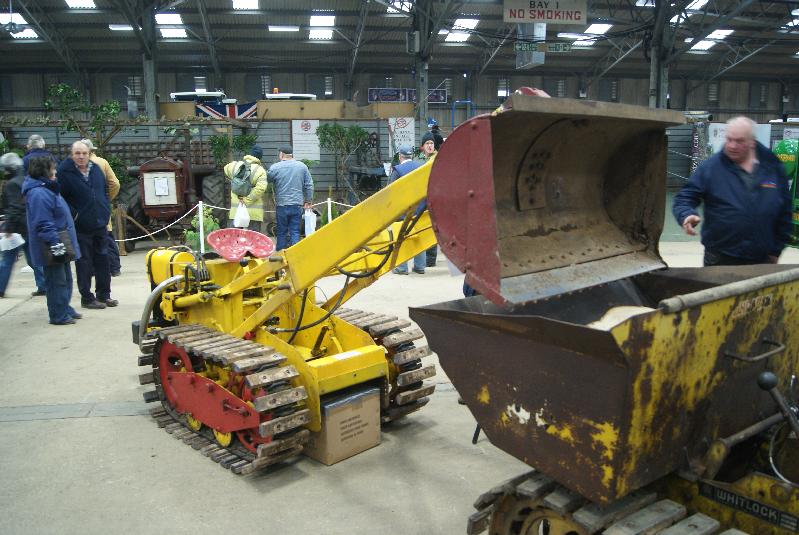
March 13, 2015 at 7:34 pm #12030trusty220KeymasterIf you intend to have a poke about the auction I would wear wellies. It was getting very muddy and it was only half there. In fact I got soaked walking around and had to go to the Stockman’s Grill to test the All Day Breakfast to make sure it is going to be up to the usual standard- it was and it certainly restored my warmth and spirits!
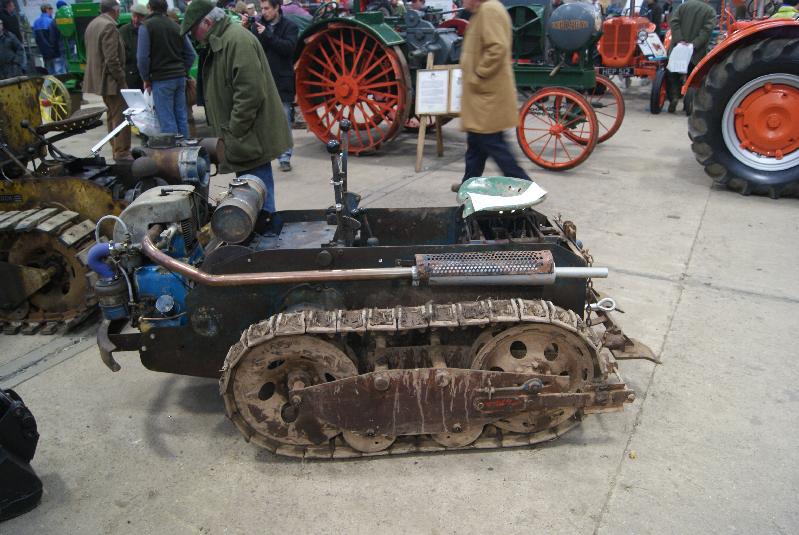
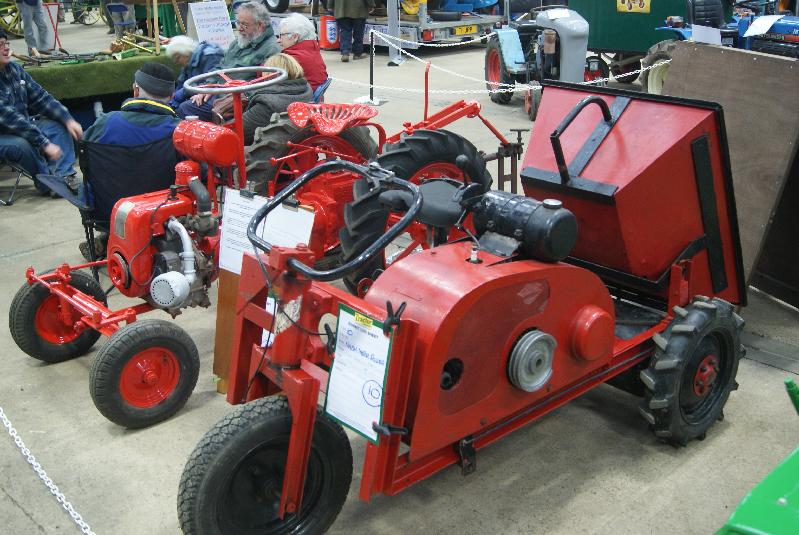
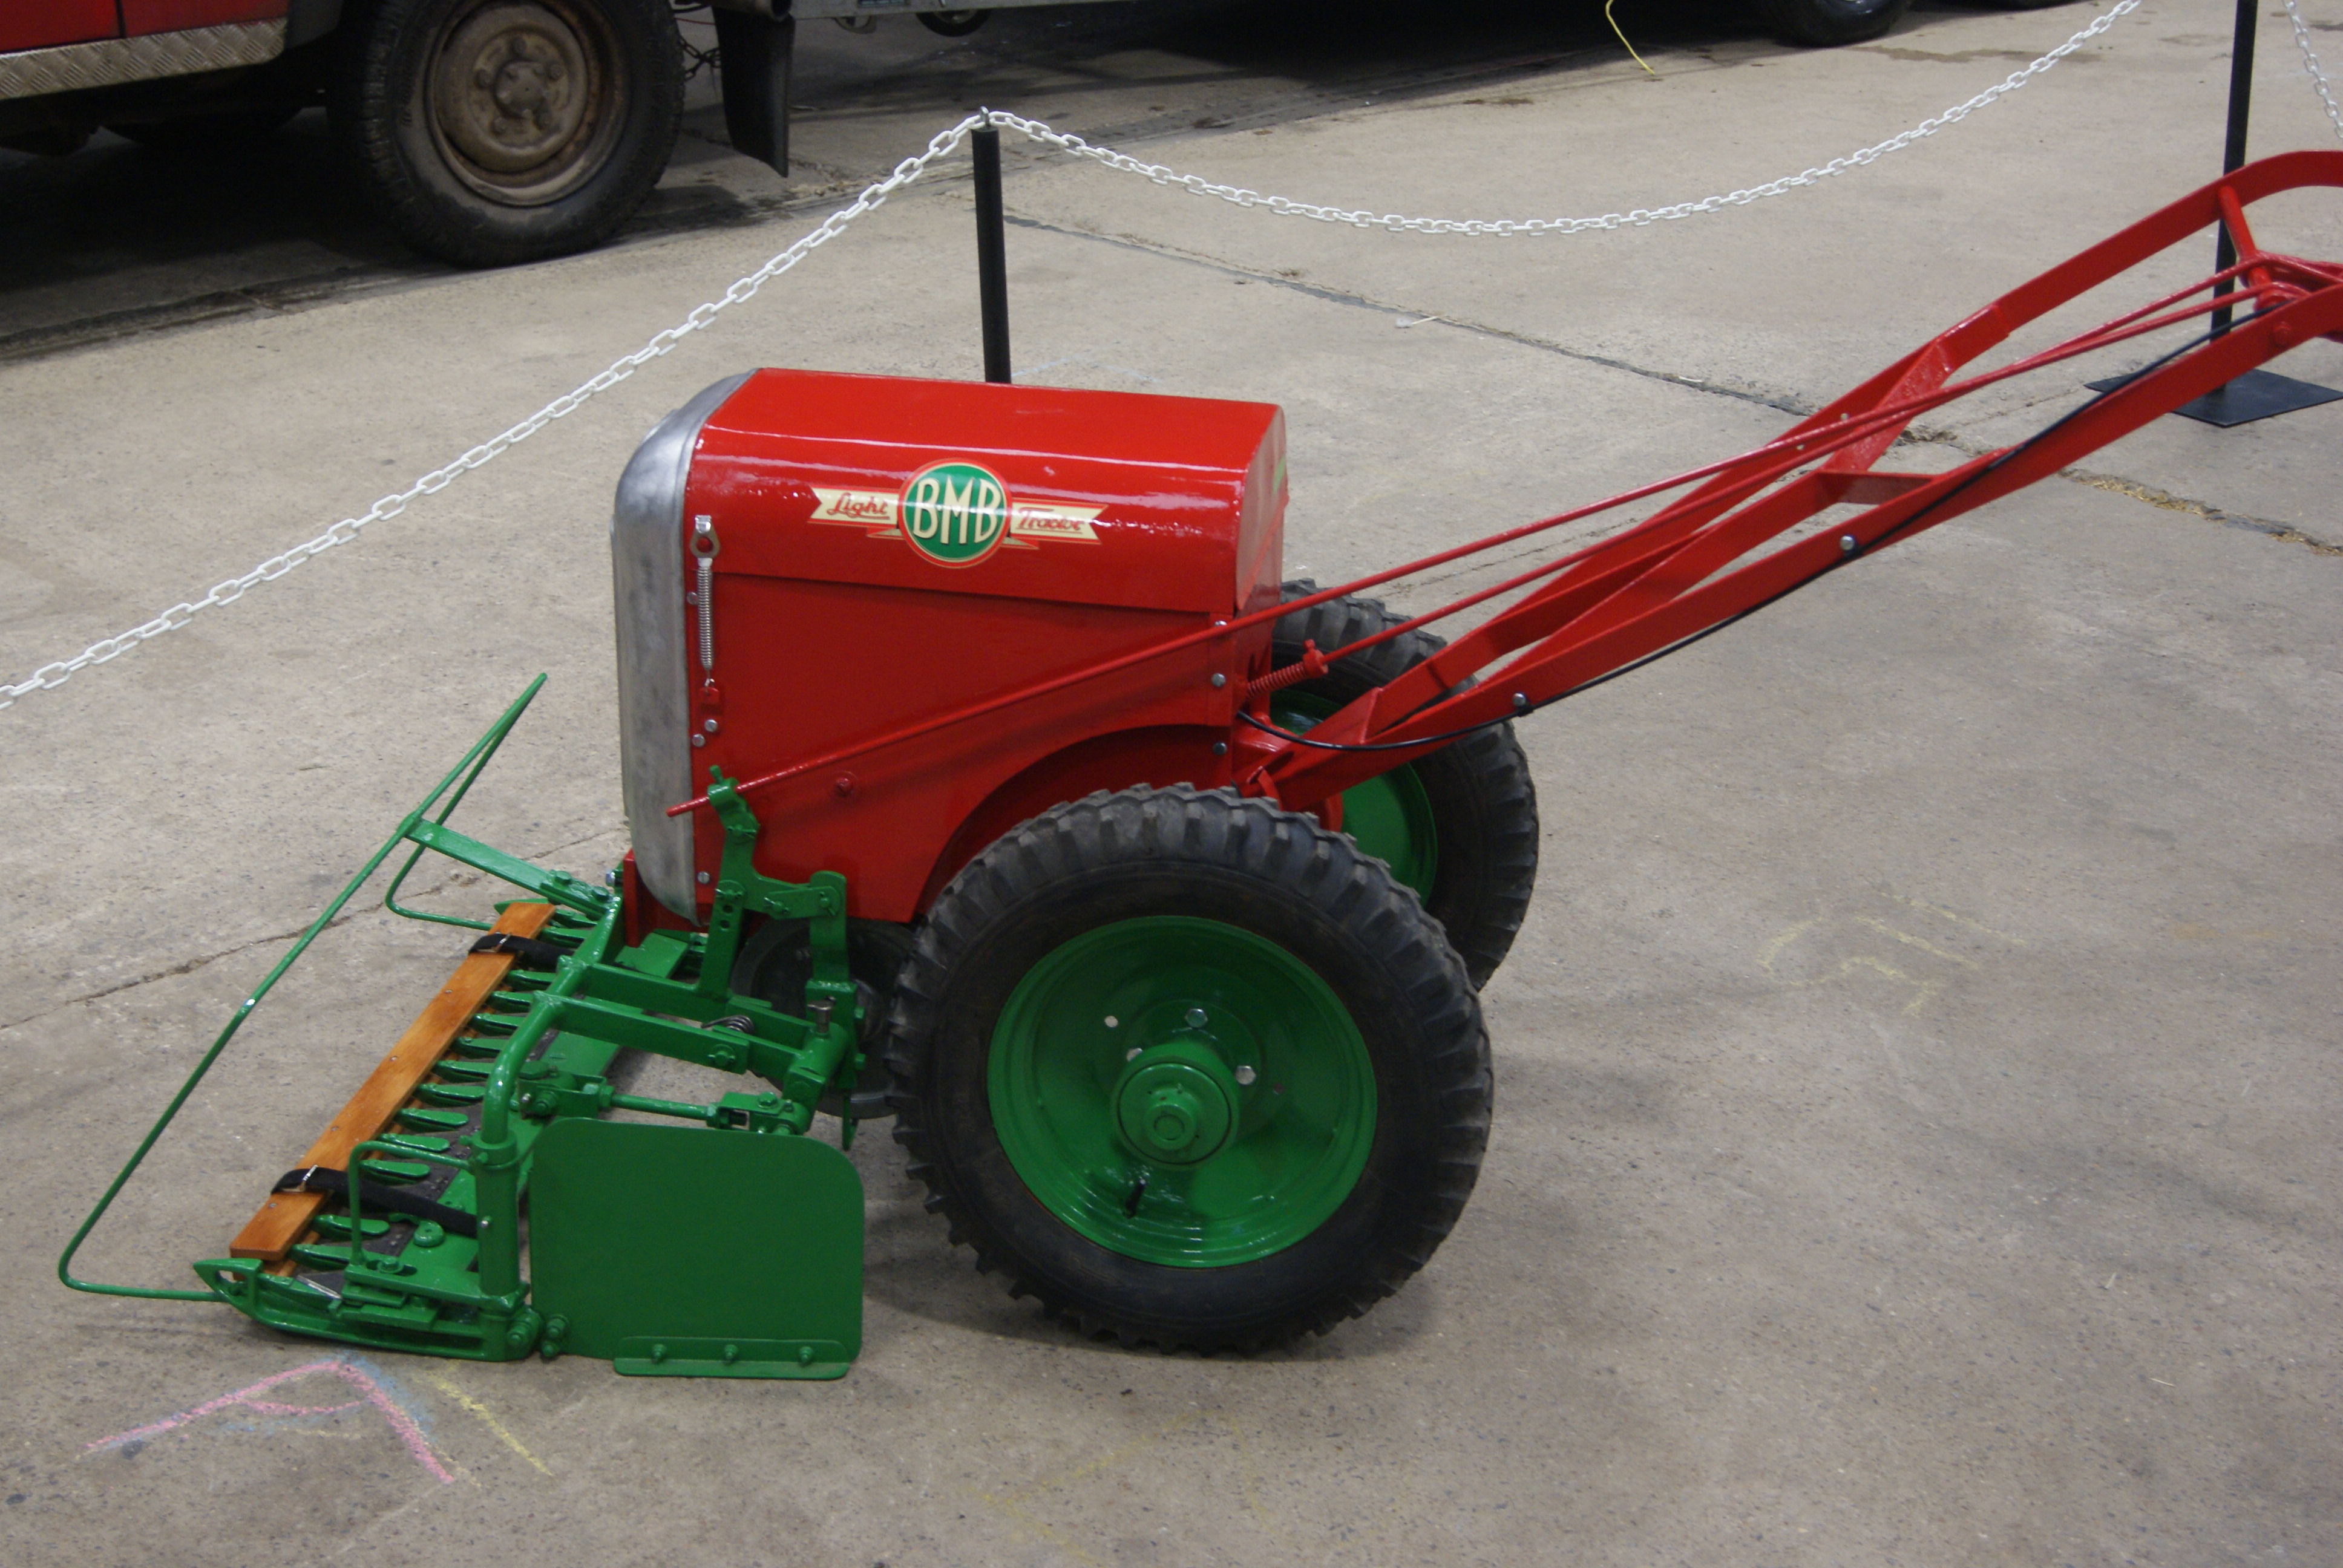
The BMB is very interesting in that it has the only finger bar mower that I have ever seen on one. It belongs to Robert Biggs.Attachments:
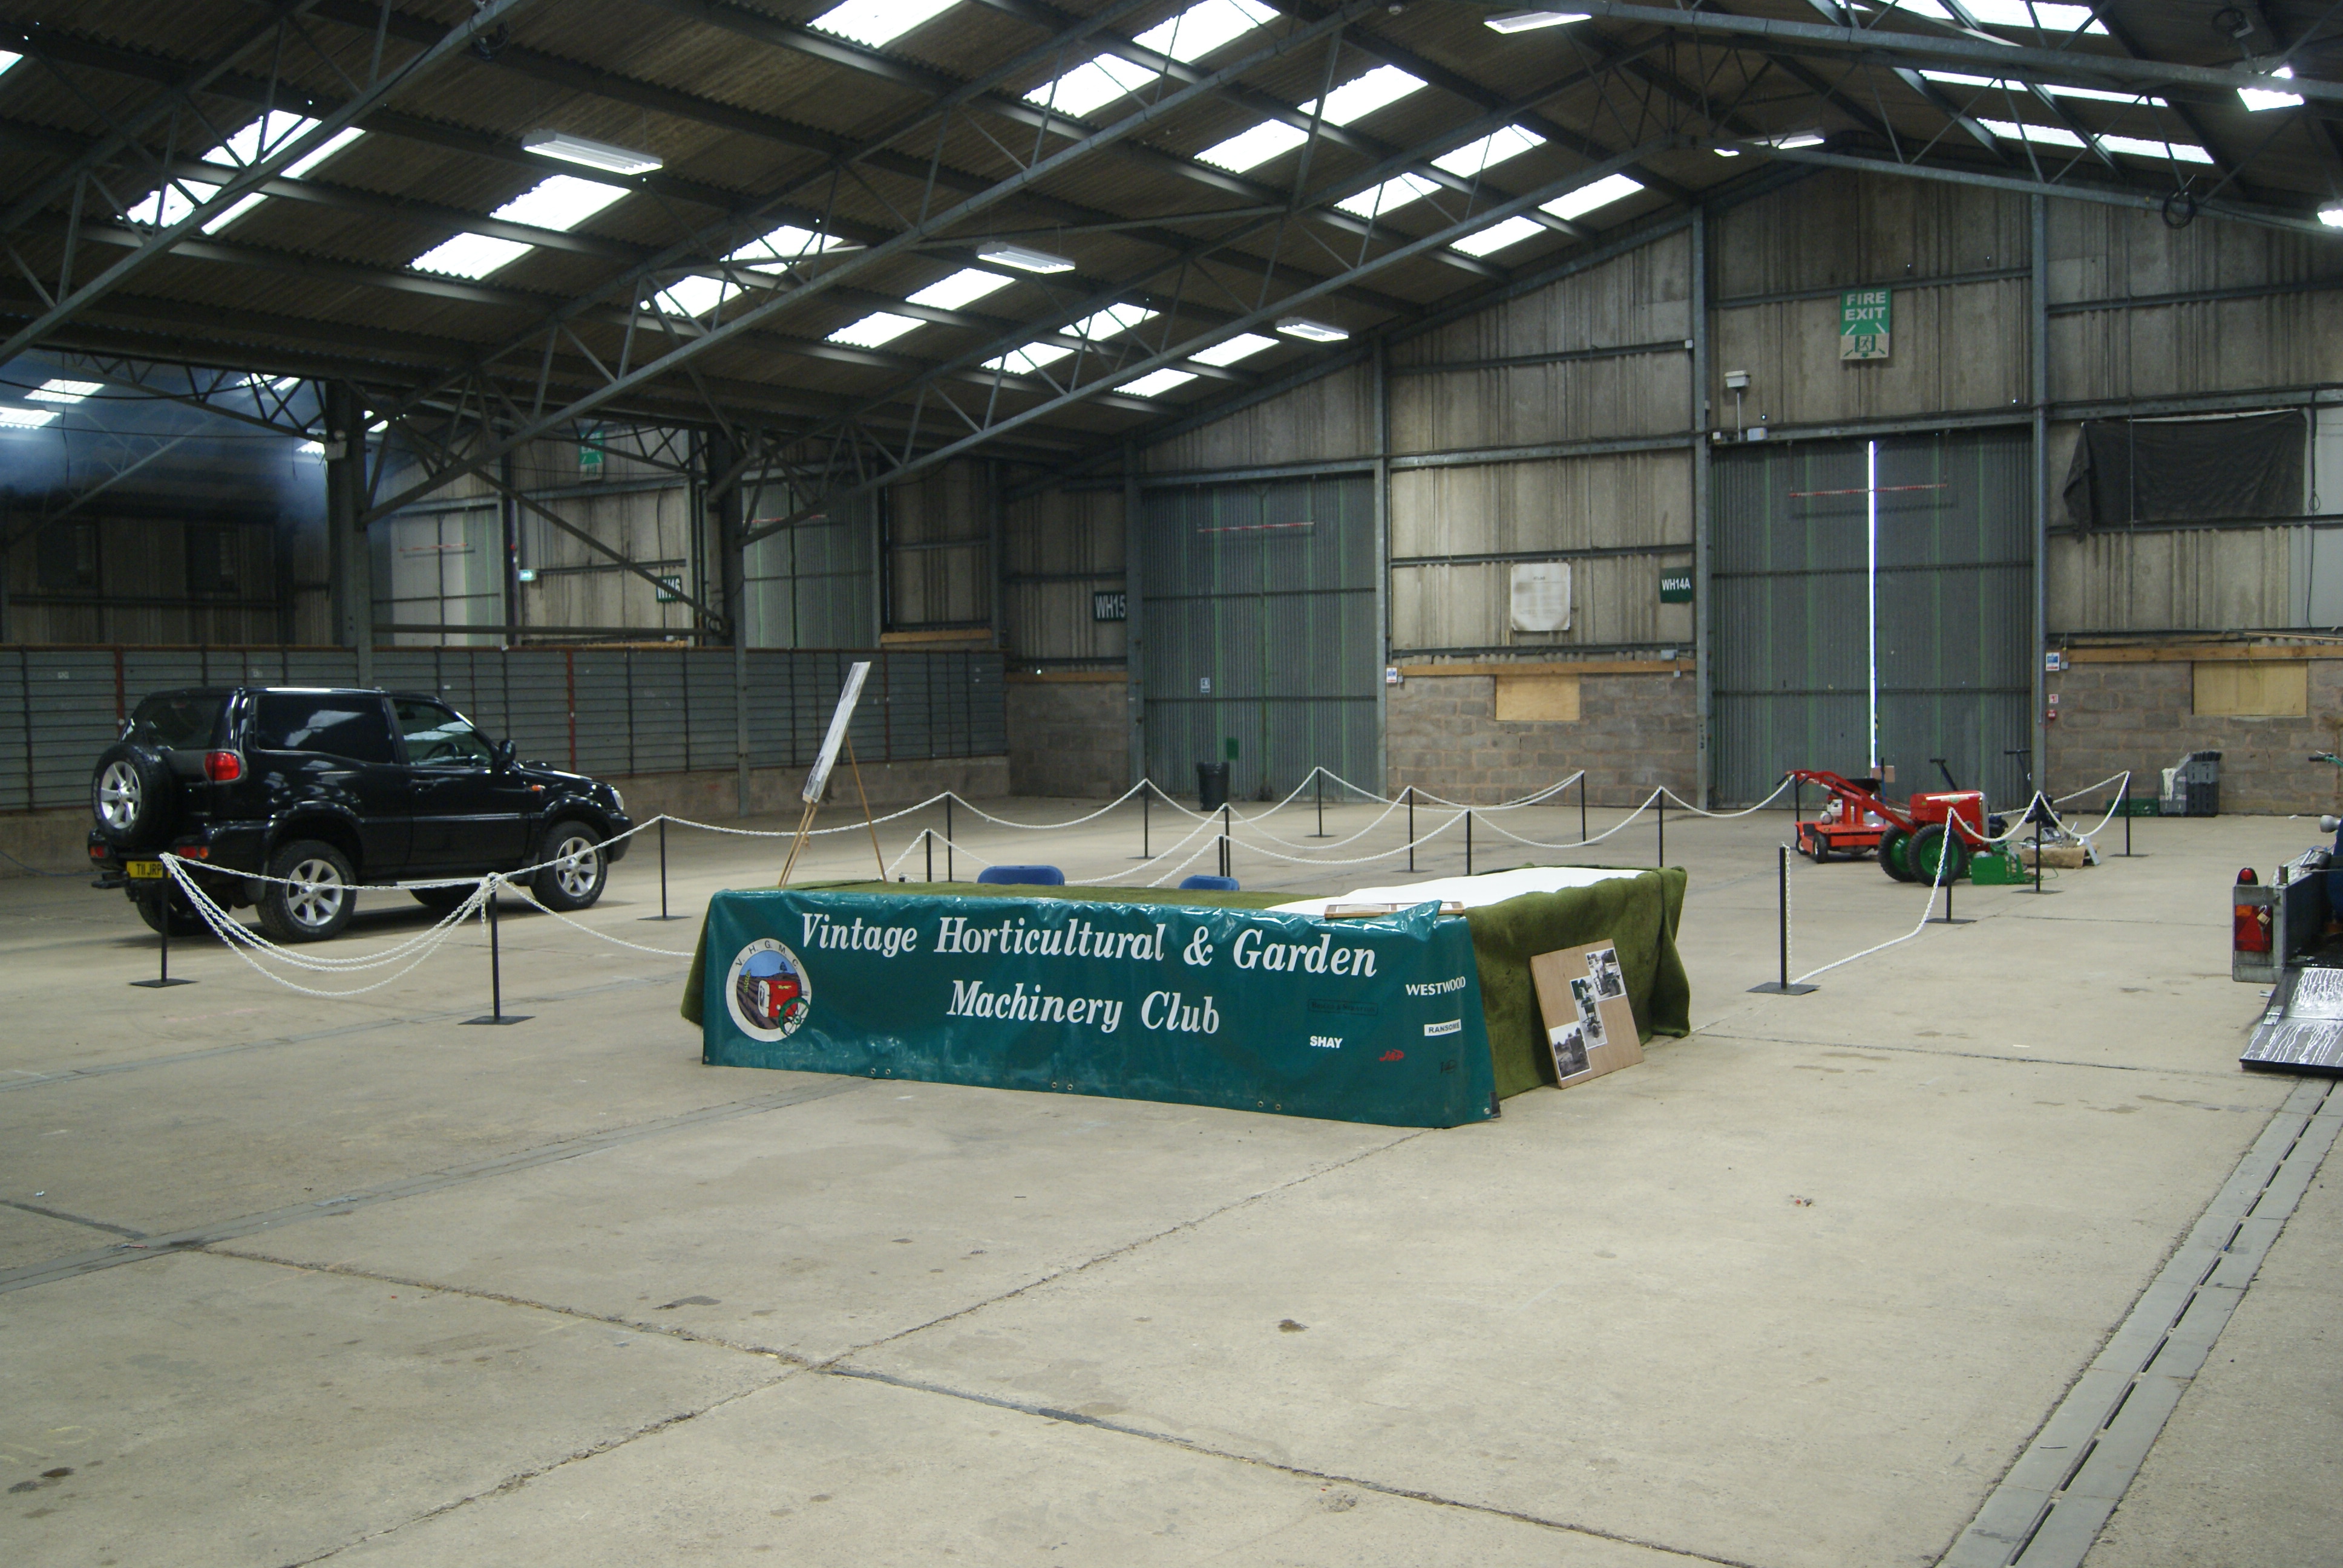
March 13, 2015 at 3:47 pm #12024trusty220KeymasterGot there at 9.30 this morning and laid out the stand. It’s better that way because I can get things ready and talk to the stewards about what we want before it gets busy. Still, here’s a quick view of it before everyone turns up.
By the way- the auction looks to be a good one this year. For catalogues have a look on the H.J.Pugh website.
Attachments:
March 12, 2015 at 8:49 pm #12019trusty220KeymasterYou aren’t going to believe this, but I haven’t bought the pork pie. It looks like you’ll have to buy an All Day Breakfast in the Stockman’s Grill. I’m sure that Steve will oblige, Ivan!
Chris- I thought that it was easy to get out of Wales (just look at the Severn Bridge tolls), but the tricky bit was getting back in. Last time I went over the bridge it cost me £12.80, but I did have a trailer as well as an English registration plate! Put a daffodil in your lapel and you should be OK.
See you both on Saturday.
March 1, 2015 at 5:50 pm #11922trusty220KeymasterIt’s been a long two weeks- I’ve mainly been occupied repairing the wife’s Mondeo. First it was the dual mass flywheel so we fitted it with a single mass flywheel conversion kit and new clutch, found a hole in the gearbox where the planet gears from the diff were trying to escape, so that meant a new gearbox. Whilst doing that we found a broken front spring, so changed that but in the process found that the top bearing had disintegrated. Because it was a Sunday afternoon I had to do a temporary fix and buy a new one in the week, then do the whole spring job again to replace the bearing. I’m just waiting for the next thing to go wrong now!
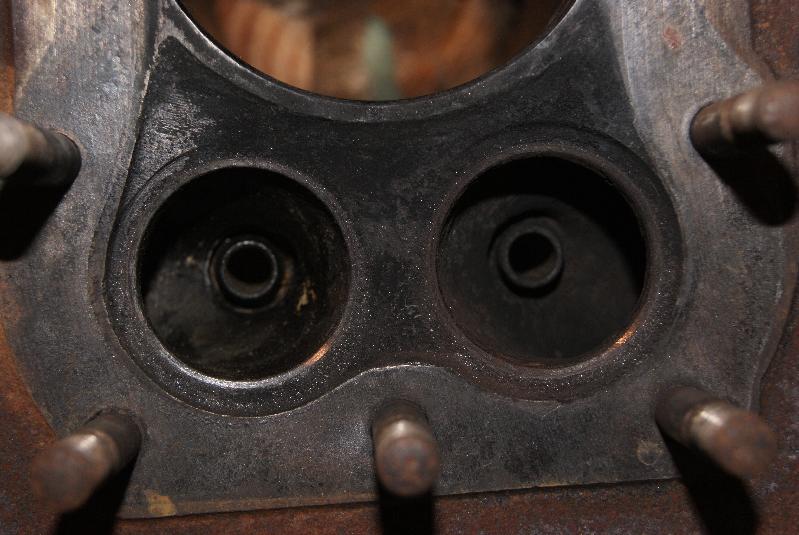
Back to the Norton; I lapped in the valves to their respective seats, making sure that there was an even grey mark all the way around both valve face and seat. Springs and colletts were then re-fitted and the fibre washers for the top seal of the valve chest were fitted. As bought they were too small for the inside diameter and so I had to open them out with a half-round file, but a little bit of care got them fitting just right.
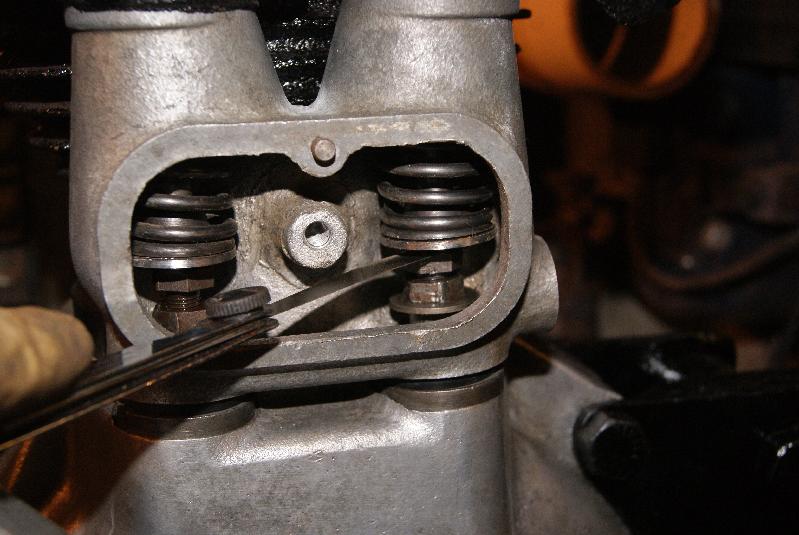
A quick trial fitting of the valve chest on the barrel was worth doing for peace of mind, and I also tried the casting on the crankcase with the rubber seals in place. Now, when you assemble it all you have to do it in a certain order because the exhaust valve follower has a washer underneath the adjusting screws- this is there so the exhaust valve lifter has something to lift up- and the washer will not fit through the bottom hole of the valve chest casting.
The only way to assemble it is to fit the adjuster screws to the inlet cam follower, lower the valve chest casting over the cam followers then fit the adjuster screw and washer to the exhaust cam follower through the inspection hole. You can see this on the photograph.
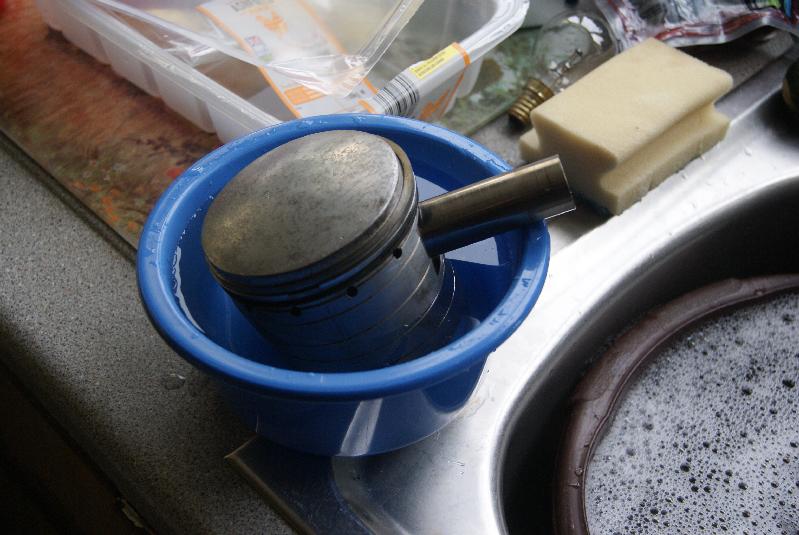
The piston rings were then added to the cleaned-up piston and the piston fitted to the connecting rod. This sounds easy and it is, but don’t be tempted to use any force in putting the gudgeon pin back in; because the expansion rates of the aluminium piston and the steel gudgeon pin are different you can heat up the piston in boiling water and the gudgeon pin will push in by hand easily, whereas at room temperature they will not be persuaded.
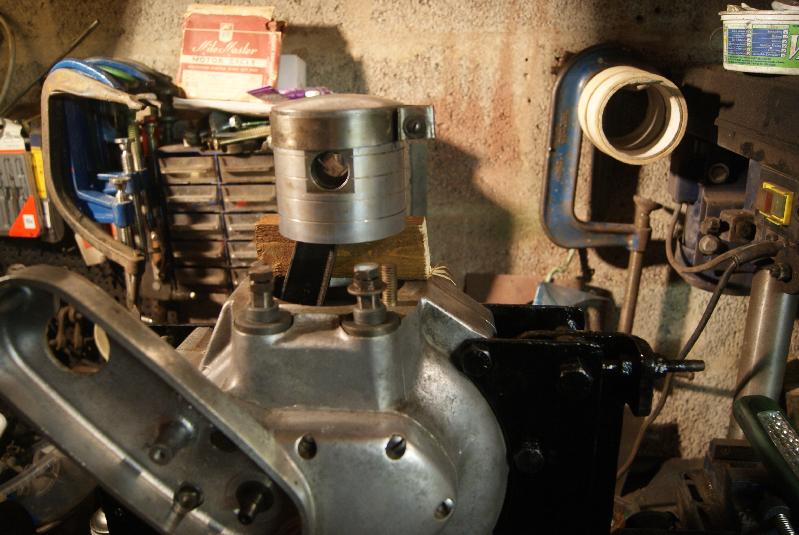
All that is left to do then is to fit a simple piston ring compressor, support the piston on a block of wood (as in the photo) and lower the barrel onto the piston whilst feeding the valve springs into the valve chest. Once the rings are in the bore you then have to dismantle the piston ring compressor to remove it out of the side, then push the barrel all the way down onto the crankcase studs.Attachments:
February 18, 2015 at 4:44 pm #11753trusty220KeymasterOh no, not again!!!!!
Don’t believe a word he says, fellas!February 13, 2015 at 12:47 pm #11669trusty220KeymasterI’m not saying ANYTHING more!
February 12, 2015 at 5:14 pm #11664trusty220KeymasterThere seems to be a common thread here- do all of our committee members have fiddles, then????
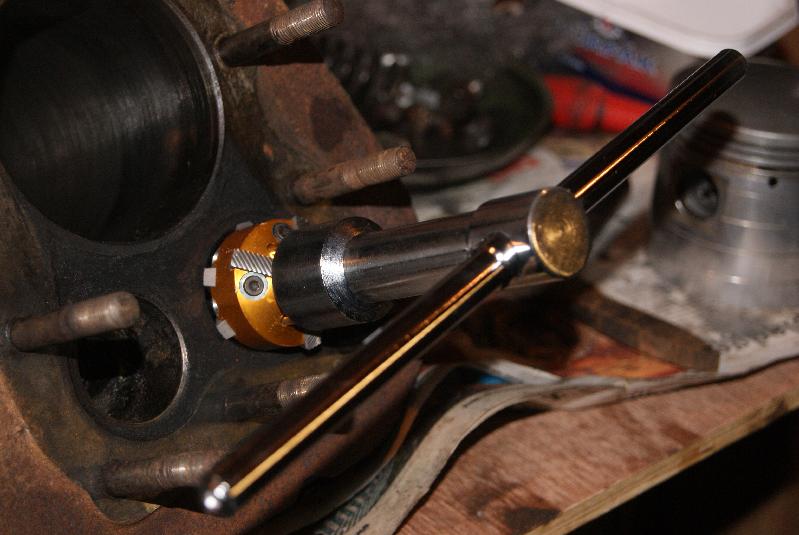
February 11, 2015 at 7:26 pm #11643trusty220KeymasterI’ve just been playing with the valve seat cutters and I’m impressed! It took me less than ten minutes to re-cut the seatings with minimal effort- but then, the set of cutters is priced at over £600 so I should have expected something good, I suppose!
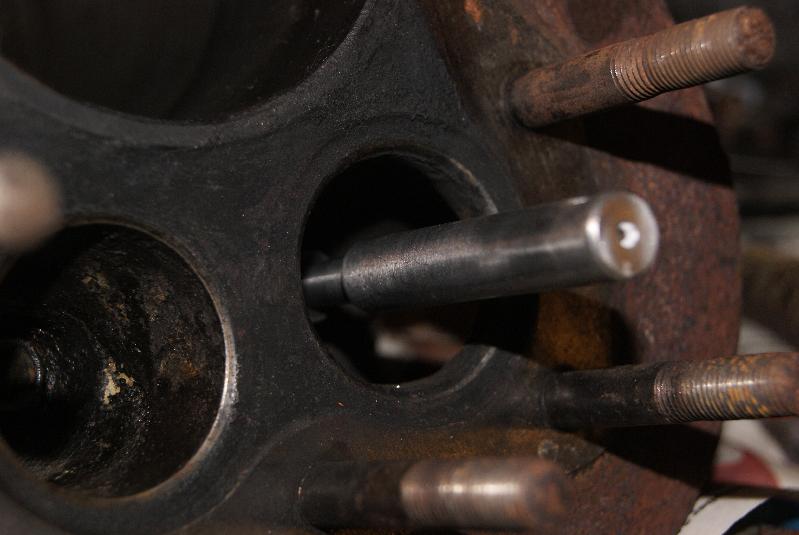
If you follow the pictures you will see that the first step is to insert the valve guide follower; this is tapered with a split plastic sleeve on the outside, so you push it in as far as it will go and it expands to fill the hole. What it does is it provides a perfectly central shaft for the cutter head to rotate on, which you can see in the next picture. All you have to do then is attach the T-bar to turn it with and cut some valve seats- simples!
Well, not quite that simple because I had to cut the seats back quite a way to remove the pits and blemishes, so the seating face was quite wide (about 3mm). This is too wide so I reduced the face to 1mm width by putting a more acute angle in the base; the correct angle for the face is 45 degrees, and I took more out underneath the face using a 60 degree cutter.
Next stage is to lap them in using valve paste.Attachments:
February 11, 2015 at 1:32 pm #11638trusty220KeymasterI know it’s not clever, but I’ve done it myself a few times to get me home when I’ve had a puncture. Normally though you jack up the side that’s flat and put a wooden wedge between the axle and the front casting on the good side; at least then the stub axle is well clear of the ground, and you can even leave the deflated tyre and rim on to save a bit of work!
Let’s hope they don’t have another puncture! -
AuthorPosts