Home › Forums › The Main Forum Area › Projects › Ransomes MG2 Serial number 137
- This topic has 62 replies, 11 voices, and was last updated 10 years, 2 months ago by
andyfrost.
-
AuthorPosts
-
September 30, 2015 at 8:21 pm #14701
 daveParticipant
Jonathan I have been told that the first few M G 2 were painted green
as they were made in the old mower factory and all Ransomes mowers
were painted green so that was the paint they used. This may be an old wives tail
but I have seen other early MG2’s in green. Dave.September 30, 2015 at 8:34 pm #14703oddhatuk
ParticipantMy 1945 MG2 has traces of green paint under the blue on the engine sump. I had assumed that this might have been a war time economy, but perhaps it was Ransomes practice to use green as an undercoat?
October 1, 2015 at 9:40 am #14707expeatfarmer
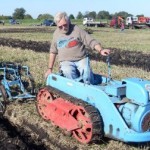
ParticipantThe body and gearboxes including pto are primed in grey then topcoated in green and then a further coat of blue has been applied, but as 137 still has traces of coach lines and decals I can only assume it left the factory blue.
October 10, 2015 at 8:40 am #14803ParticipantFinally managed to finish the idler wheels and the load rollers. The idlers were rebuilt to size using 1/2″ square bar rolled and brazed to the rims, the rollers were restored to size using 1/2″ slices of 8″ dia cast bar bored out to an interference fit located on rawl pins and then brazed, should last another 80 years. In the meantime I have sanded off the body acid treated it with phosphoric and then given it a light coat of primer putty to stop any re rust, I will now apply a light skim of filler to fill the rust pits. All the bolt on bits have been through my electrolysis tank ,been shot blasted, acid treated and primed, I am working my way through a bog box of parts and thankfully can now see the bottom of the box.
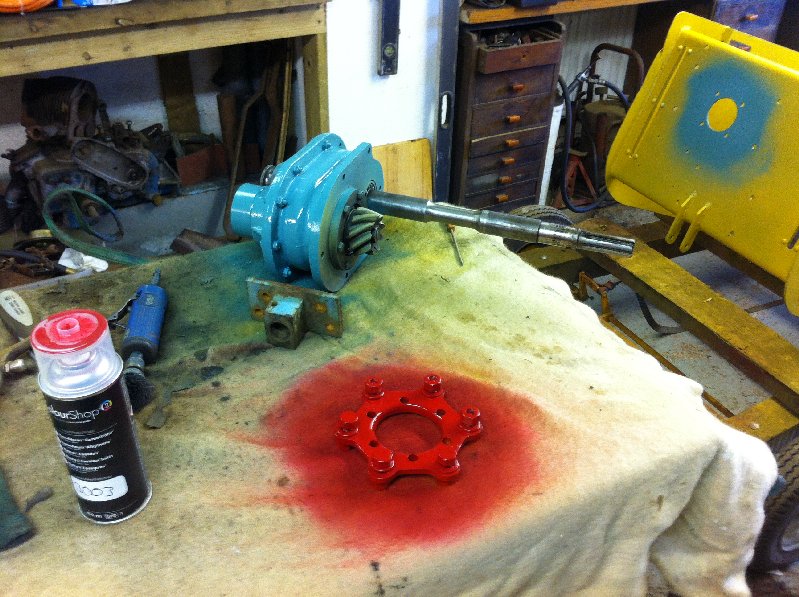
Some parts of the tractor still had original paint, which looked different to the Orwell blue and the red commonly used, I tested the colours on a spectograph and came up with a turquoise ( 102 ) and Ruby red (3003) I ordered some test aerosols and tried it out with very pleasing results. As I do not think that these machines were ever shiny gloss finish I have opted for a satin finishAttachments:
October 10, 2015 at 8:48 am #14810ParticipantThe big chunk of channel iron on the left of the engine bay is embossed ” Dorman Long Middlesborough ” and is also stamped on the edge 137
Attachments:
October 10, 2015 at 9:59 pm #14817 wristpinParticipant
The big chunk of channel iron on the left of the engine bay is embossed ” Dorman Long Middlesborough ” and is also stamped on the edge 137
https://www.dormanlongtechnology.com/en/Dorman%20Long%20historical%20information.htm
October 14, 2015 at 9:02 pm #14837ParticipantI am now in the process of re assembling the engine, what is the view on painting the engine casings body colour? I have seen restored machines with polished casings and painted, my view is that the T engined mowers were painted casings and as such I think the MG 2 would have been too.
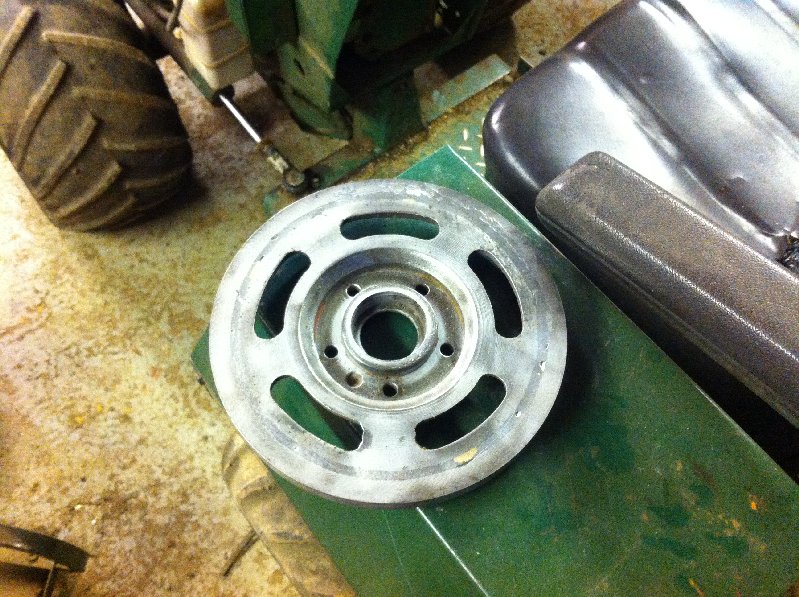
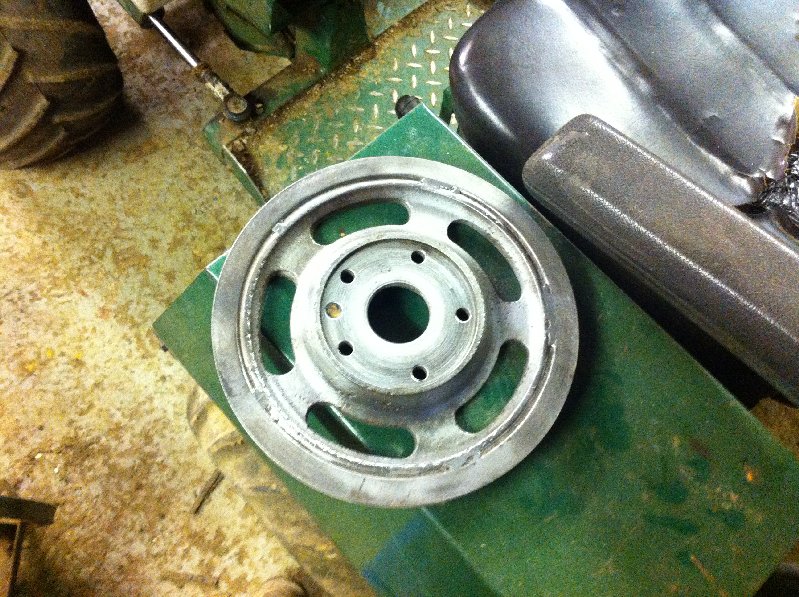
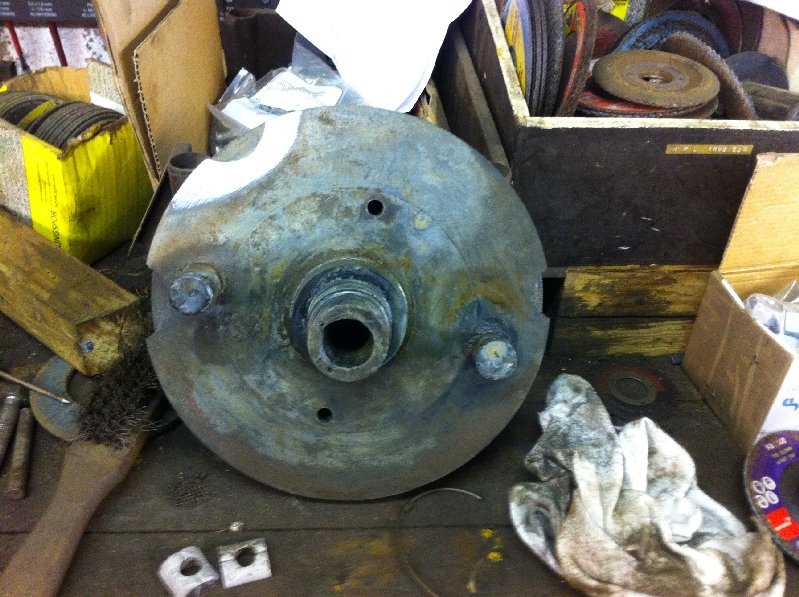
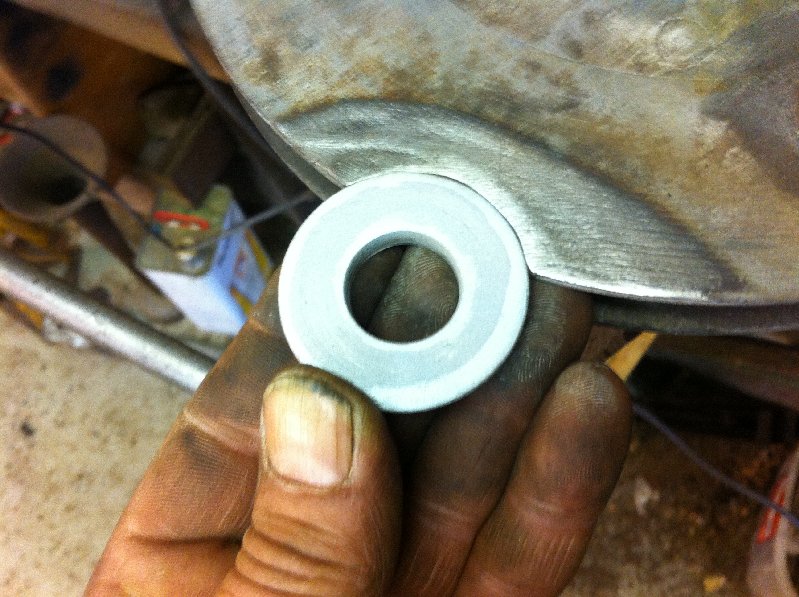
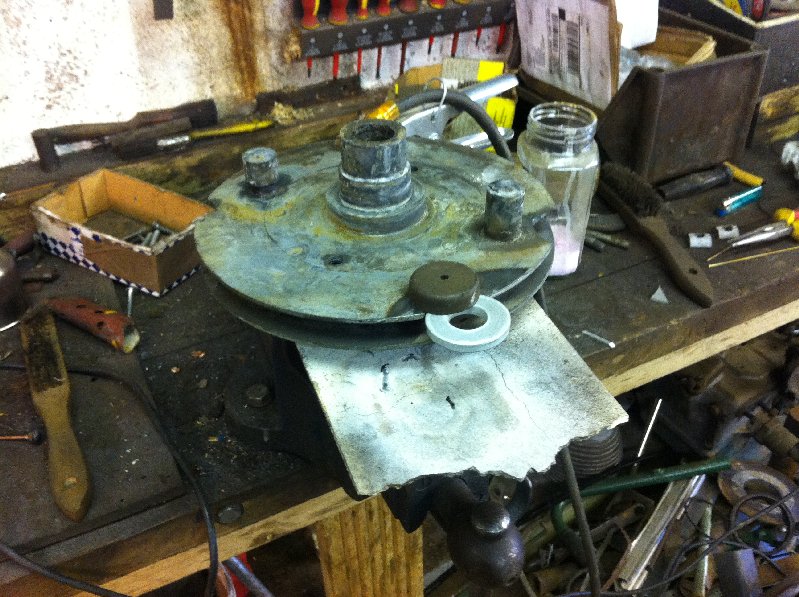
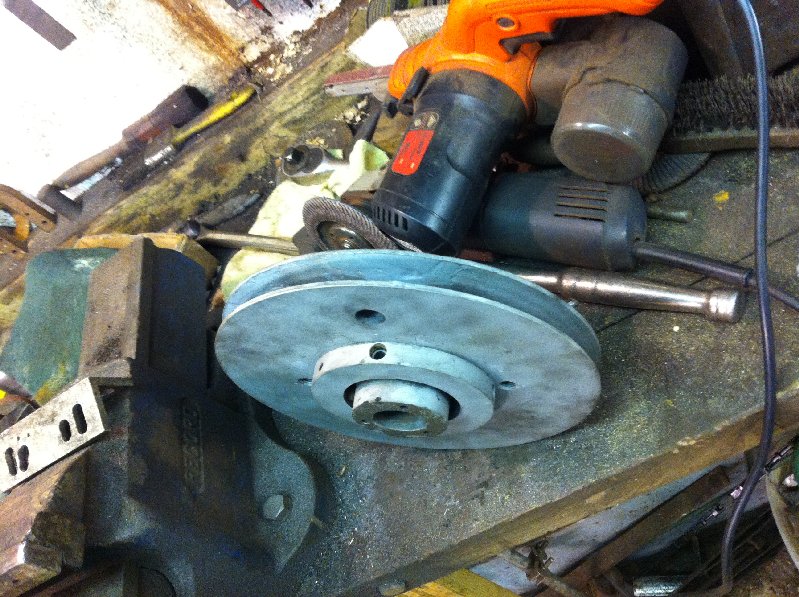
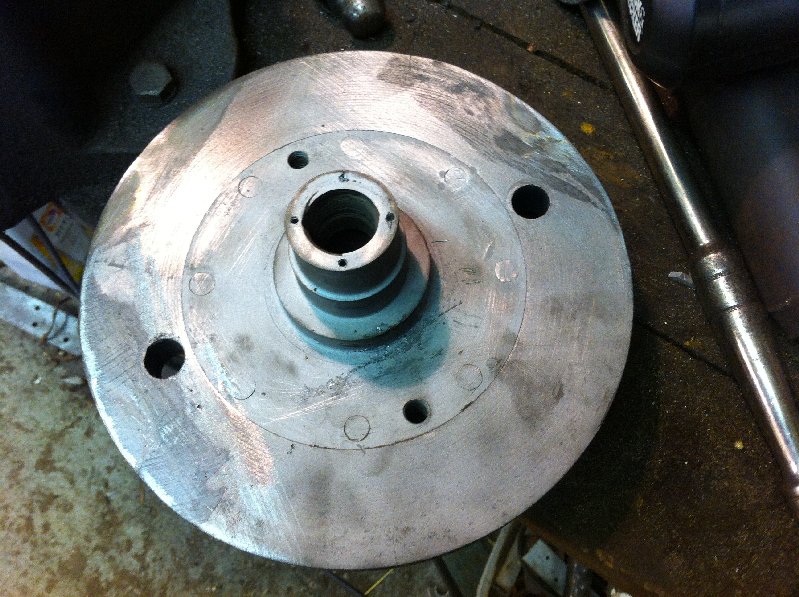
October 22, 2015 at 6:12 pm #14905Participant[attachment=13519:IMG_1095.jpg][attachment=13520:IMG_1096.jpg][attachment=13521:IMG_1097.jpg][attachment=13522:IMG_1101.jpg][attachment=13523:IMG_1102.jpg][attachment=13524:IMG_1104.jpg]Whilst the track pads are cooking in the phosphoric acid I decided to tackle the damaged flywheel pulley which is made of cast iron. I thought about heating and welding with MIG but decided that with my luck it would be the flywheel that would crack and not the weld so I looked at the three big chunks missing where someone had tried to lever the clutch apart instead of simply using two long bolts to push it apart. The chips were rounded and I had just found some really big thick washers which were just right to fill in the missing bits. I ground out the chips to an exact fit on the washers which I held in place with a magnet flush with the outer face and then brazed them in, cut the surplus washer away with a cutting disc and then using a power file I rounded off to the o.d of the flywheel. A lathe would have been better but too big for mine. As the washers were about 6mm thick it matched in well with the vee belt groove in the flywheel, I shaped away the surplus washer with a sanding disc to match the sides of the vee. Quick smear of plastic metal to smooth them over and a coat of paint, 3 virtually invisible mends!
October 22, 2015 at 6:17 pm #14908ParticipantApologies l tried to copy files across.
Attachments:
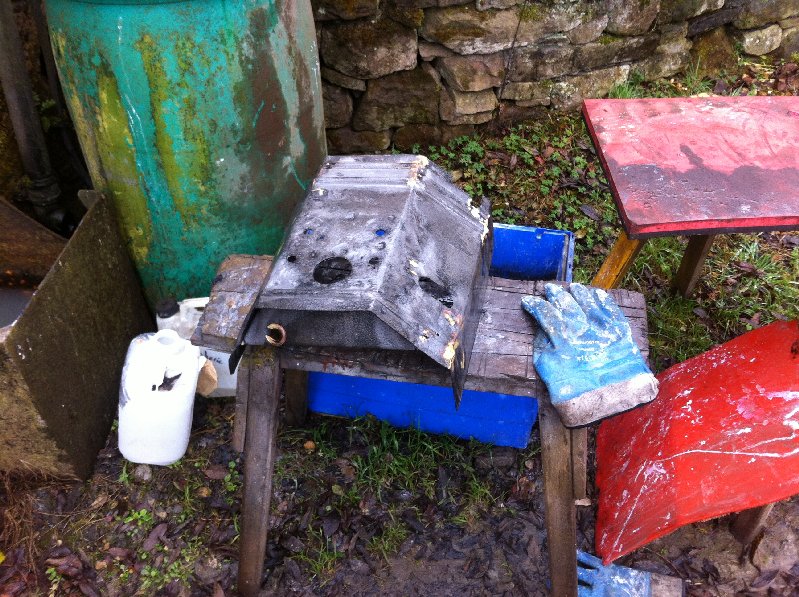
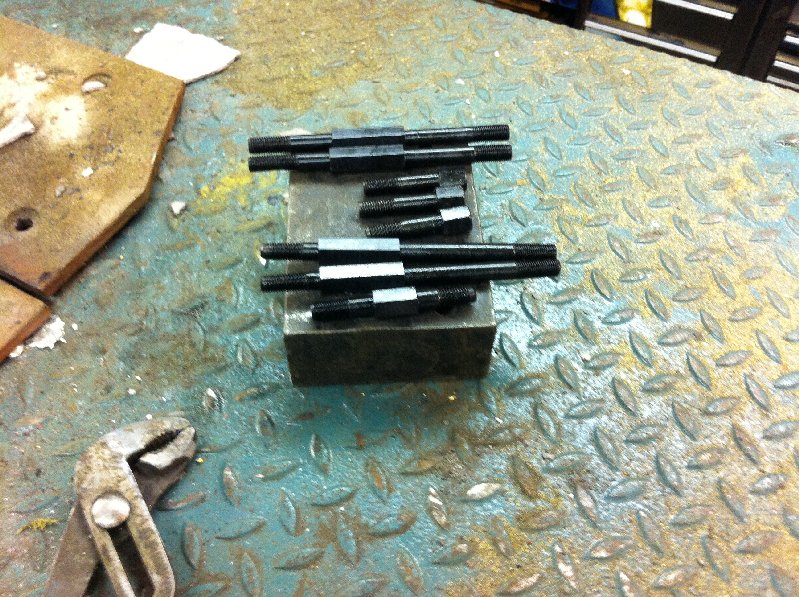
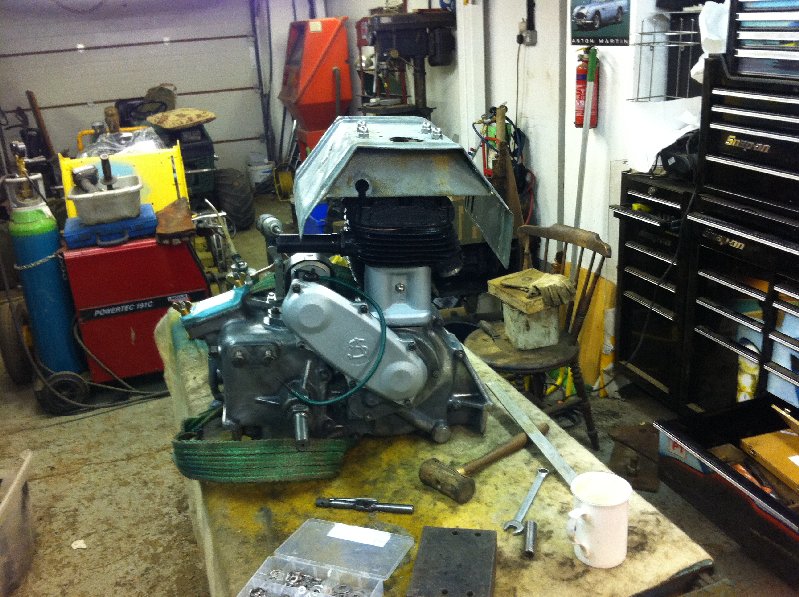
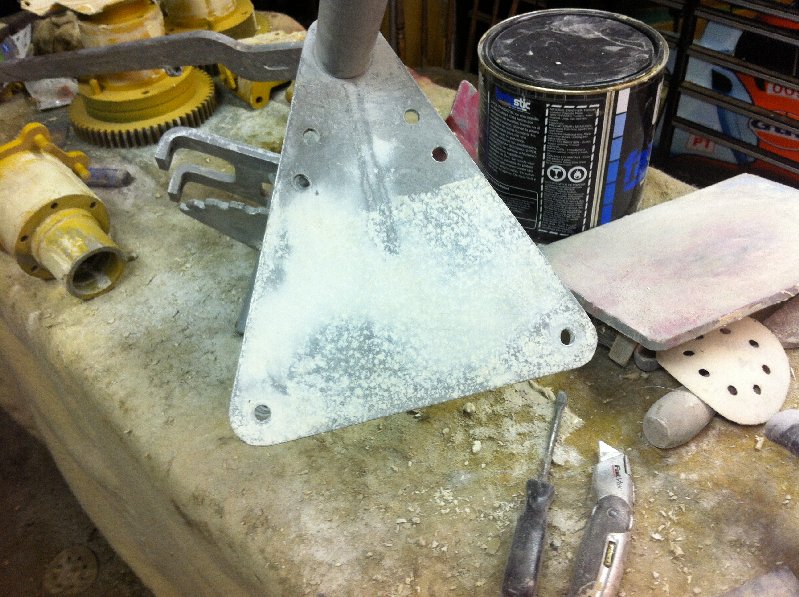
November 4, 2015 at 7:56 pm #15074ParticipantHaving decided that it would be a good idea to complete and seal up the rebuilt engine before I start more grinding filling and sanding, recent jobs have been to fit a new piston and rings ( thanks to Neil) Change the oil pump ( damaged flange ) rebuild the clutch and ratchet starter mechanism. Make up a new set of cylinder head studs. Make an adapter to fit a 12 tooth sprocket on the Lucas magneto.Cut out a set of new gaskets for the timing cover, barrel,final drives, pto and magneto( heavy felt). I have also painted all the track washers and one set of pads, the other set are ready to paint. One job I have been putting off is the engine cowling which was in a very sorry state, I soaked it in the acid bath, shot blasted it and then set to brazing up all the stress cracks and rust holes before giving it a preliminary panel beating to get it back into shape. I also annealed the whole thing to make it less brittle. Today I put it all together and surprisingly it looks ok.
Attachments:
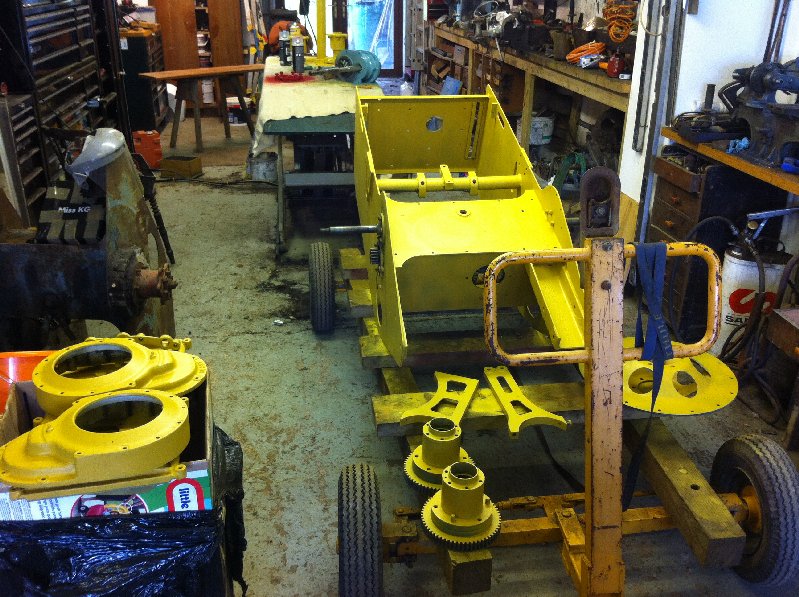
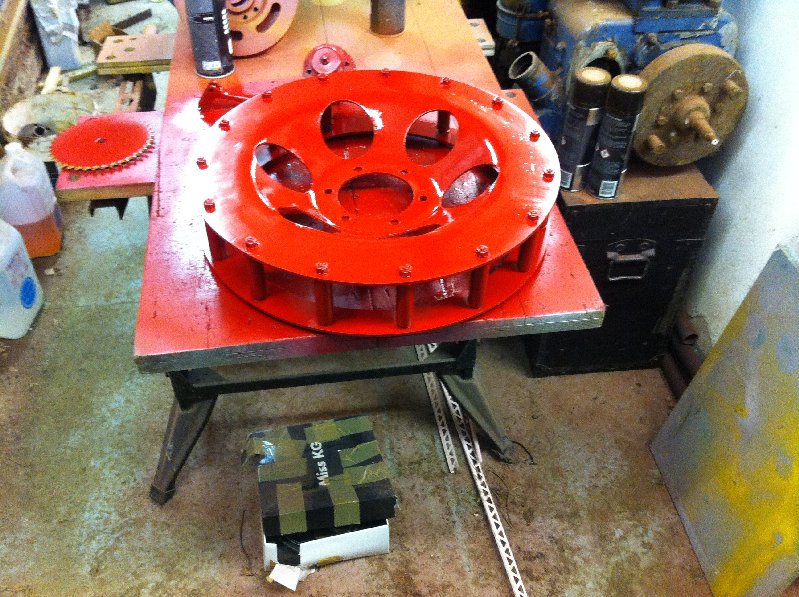
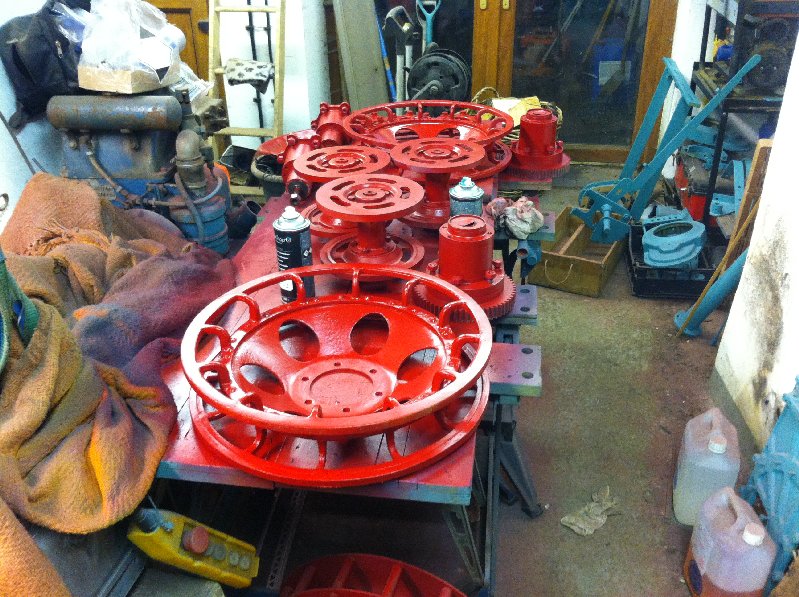
November 13, 2015 at 7:55 pm #15187ParticipantReached a milestone today finally managed to complete the rebuild and paint of the drive wheels I seem to have been on with them for months. Having to be careful that I dont get carried away with finish I keep looking at other original machines to see what level of marks/gouges etc were sent out from the factory I do not want it to be better than original I just want original and that means defects. Skimming with filler to reduce the pitting is a chore but the effects are very pleasing.
Attachments:
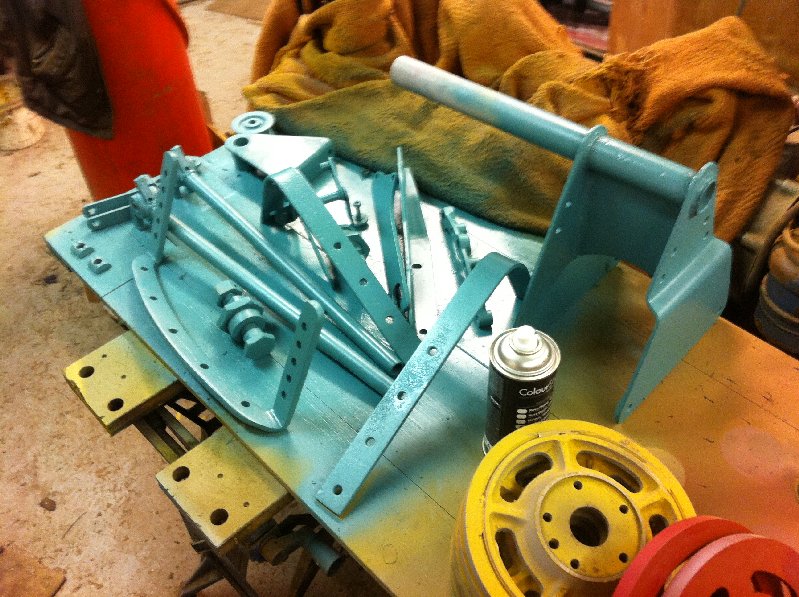
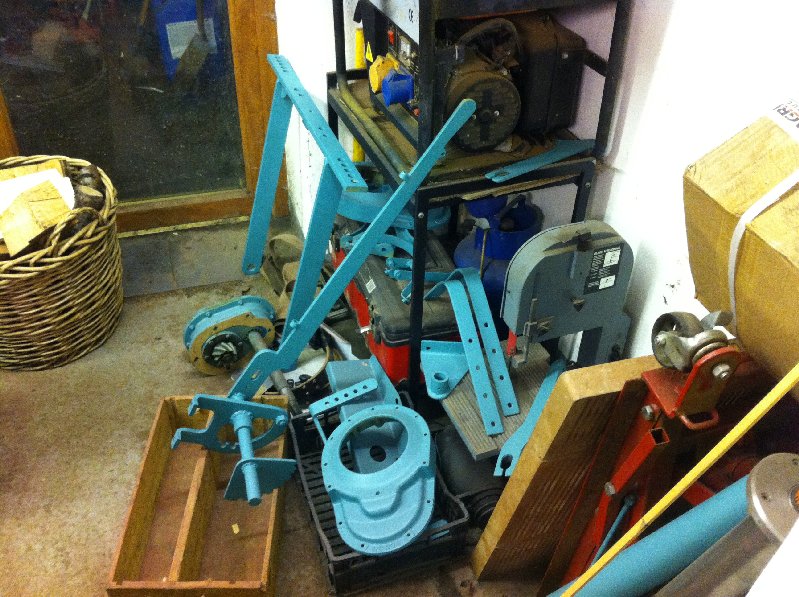
November 18, 2015 at 7:13 pm #15233ParticipantMalvern is beginning to seem awfully close and I still have a lot to do on 137. Progress is slow but steady, basically every component was badly rusted and in need of rebuild. The engine is now fully rebuilt , new clutch, track rollers rebuilt with new bearings and seals, final drive bearings and seals, new steering brakes,cooling fan rebuilt, tracks refurbished with new bolts and rubbers. Idler wheels restored to original size, drive wheels restored , track load rollers restored to original size. The 1936 machines only had side decals which were the scrolls off lawnmowers no decal on the fuel tank front and no Royal warrant tempting though it is to add a few extras I am resisting and sticking with it as it was which includes no track roller mudguards , no final drive casing protectors and no extra signage. Where practical I am restoring and re using original nuts and bolts but when they are badly rusted or abused I am replacing with new.
Attachments:
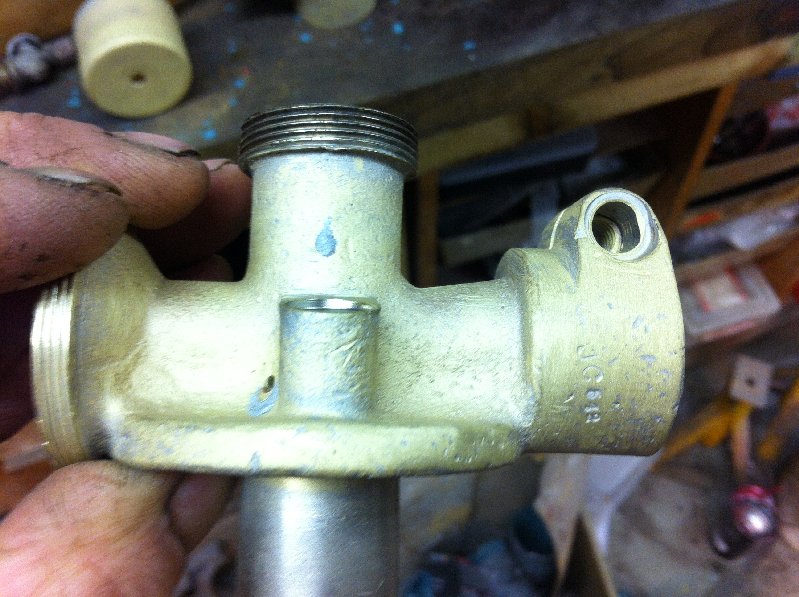
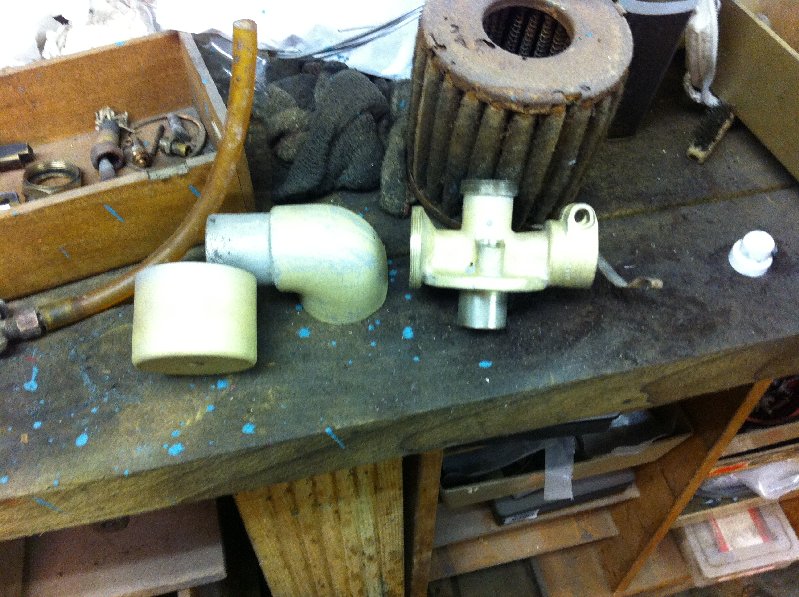
November 19, 2015 at 7:06 pm #15242ParticipantToday I have been restoring the carburettor which is a brass cast Amal, nickel plated. Over the years it has been bruised and bashed and had a number of nasty vice marks. I polished these out with my Dremel but did not like the shiny finish as the original would have been peat flour sand cast. After a bit of thought I dug out some brass plumbing fittings and polished them up with the Dremel and then shot blasted them with glass beads to see what effect it produced. Very pleasing effect and by a strange coincidence the carb is stamped “JC 648” must be an omen! Next job is to Nickel plate it .
Attachments:
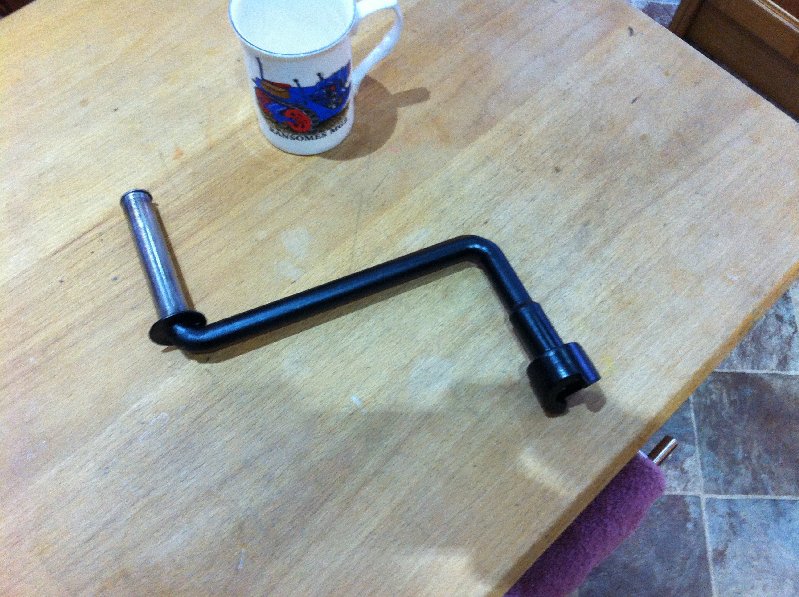
November 28, 2015 at 7:50 pm #15348ParticipantA significant part missing from 137 was the starting handle, these early machines were notorious for wrist breaking so I need to get it right. Today I discovered that the female starter dog off the later TB engine was a perfect match for the male dog on the T engine. It took me hours to machine down a TB receptor they are a shrink fit and then welded but I got there in the end.
November 30, 2015 at 1:07 pm #15361ParticipantThe offset is probably more than it needs but seems to work ok
Attachments:
-
AuthorPosts


- You must be logged in to reply to this topic.
VHGMC Forums
Got a machine and need info or have a question? Then a post in the VHGMC forums is a great place to start!
Who's Online
There are no users currently online