Home › Forums › Groundcare Machinery › Grass Cutting Machinery › Allett Regal No.1 › Reply To: Allett Regal No.1
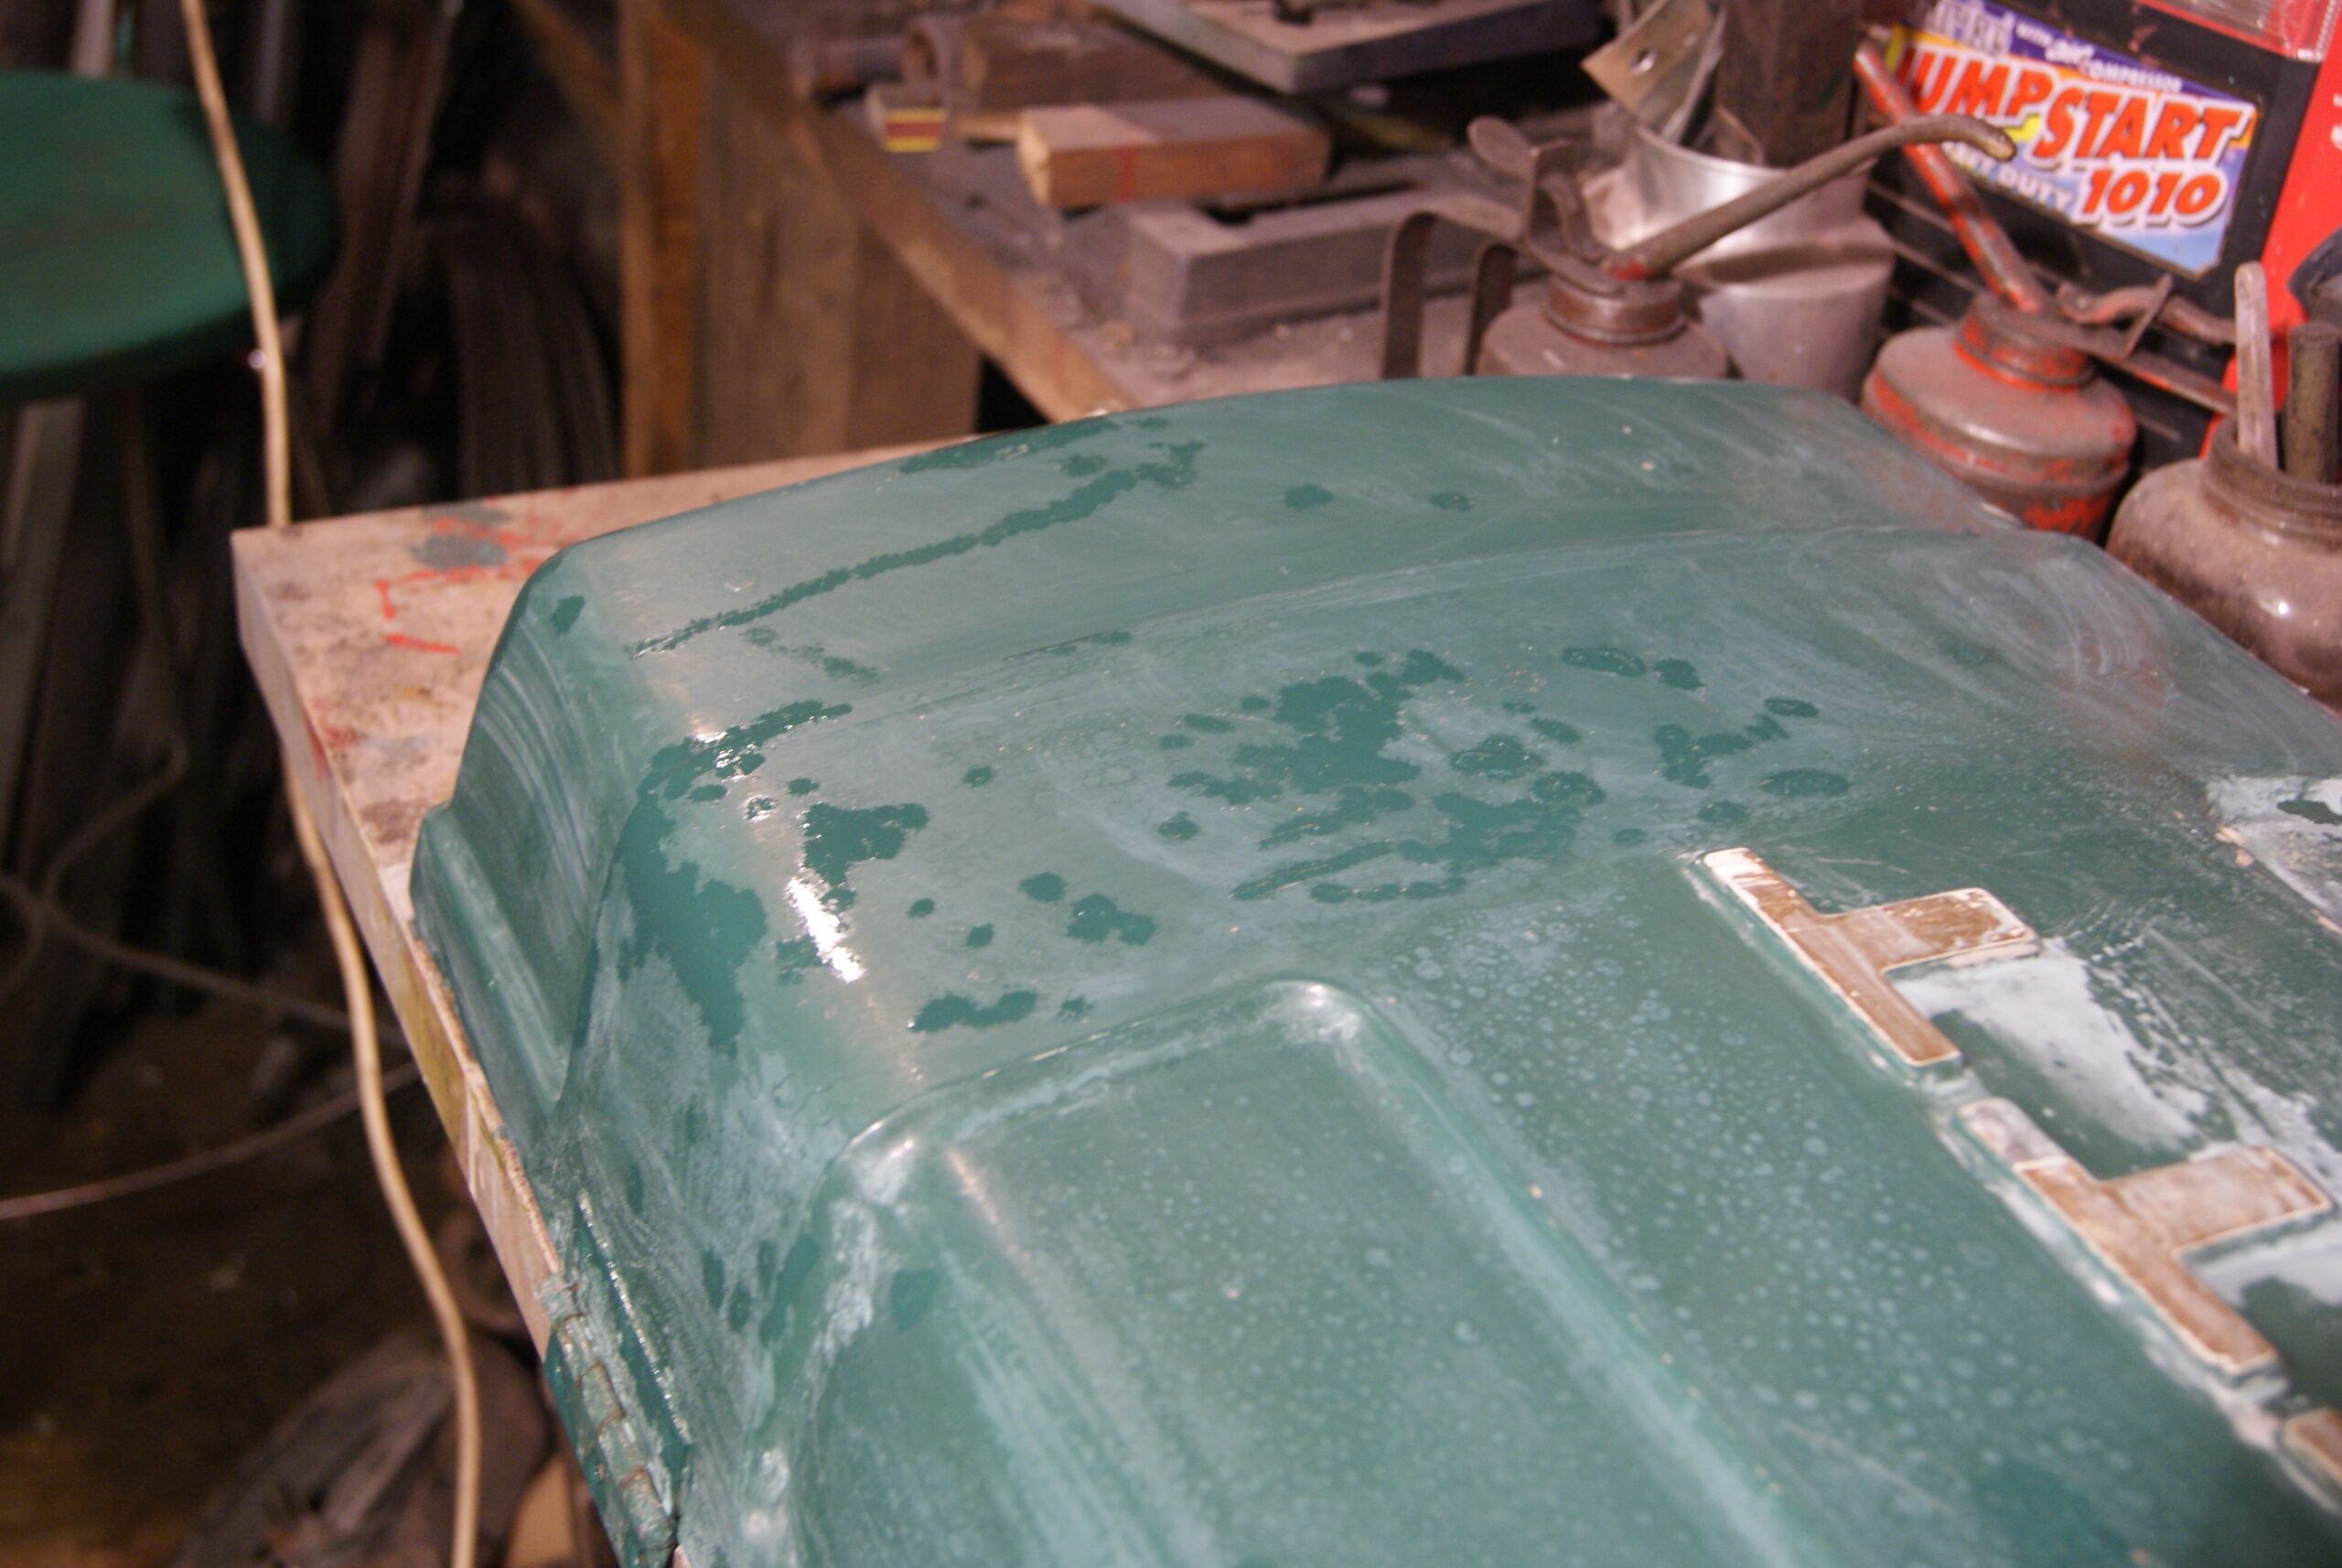
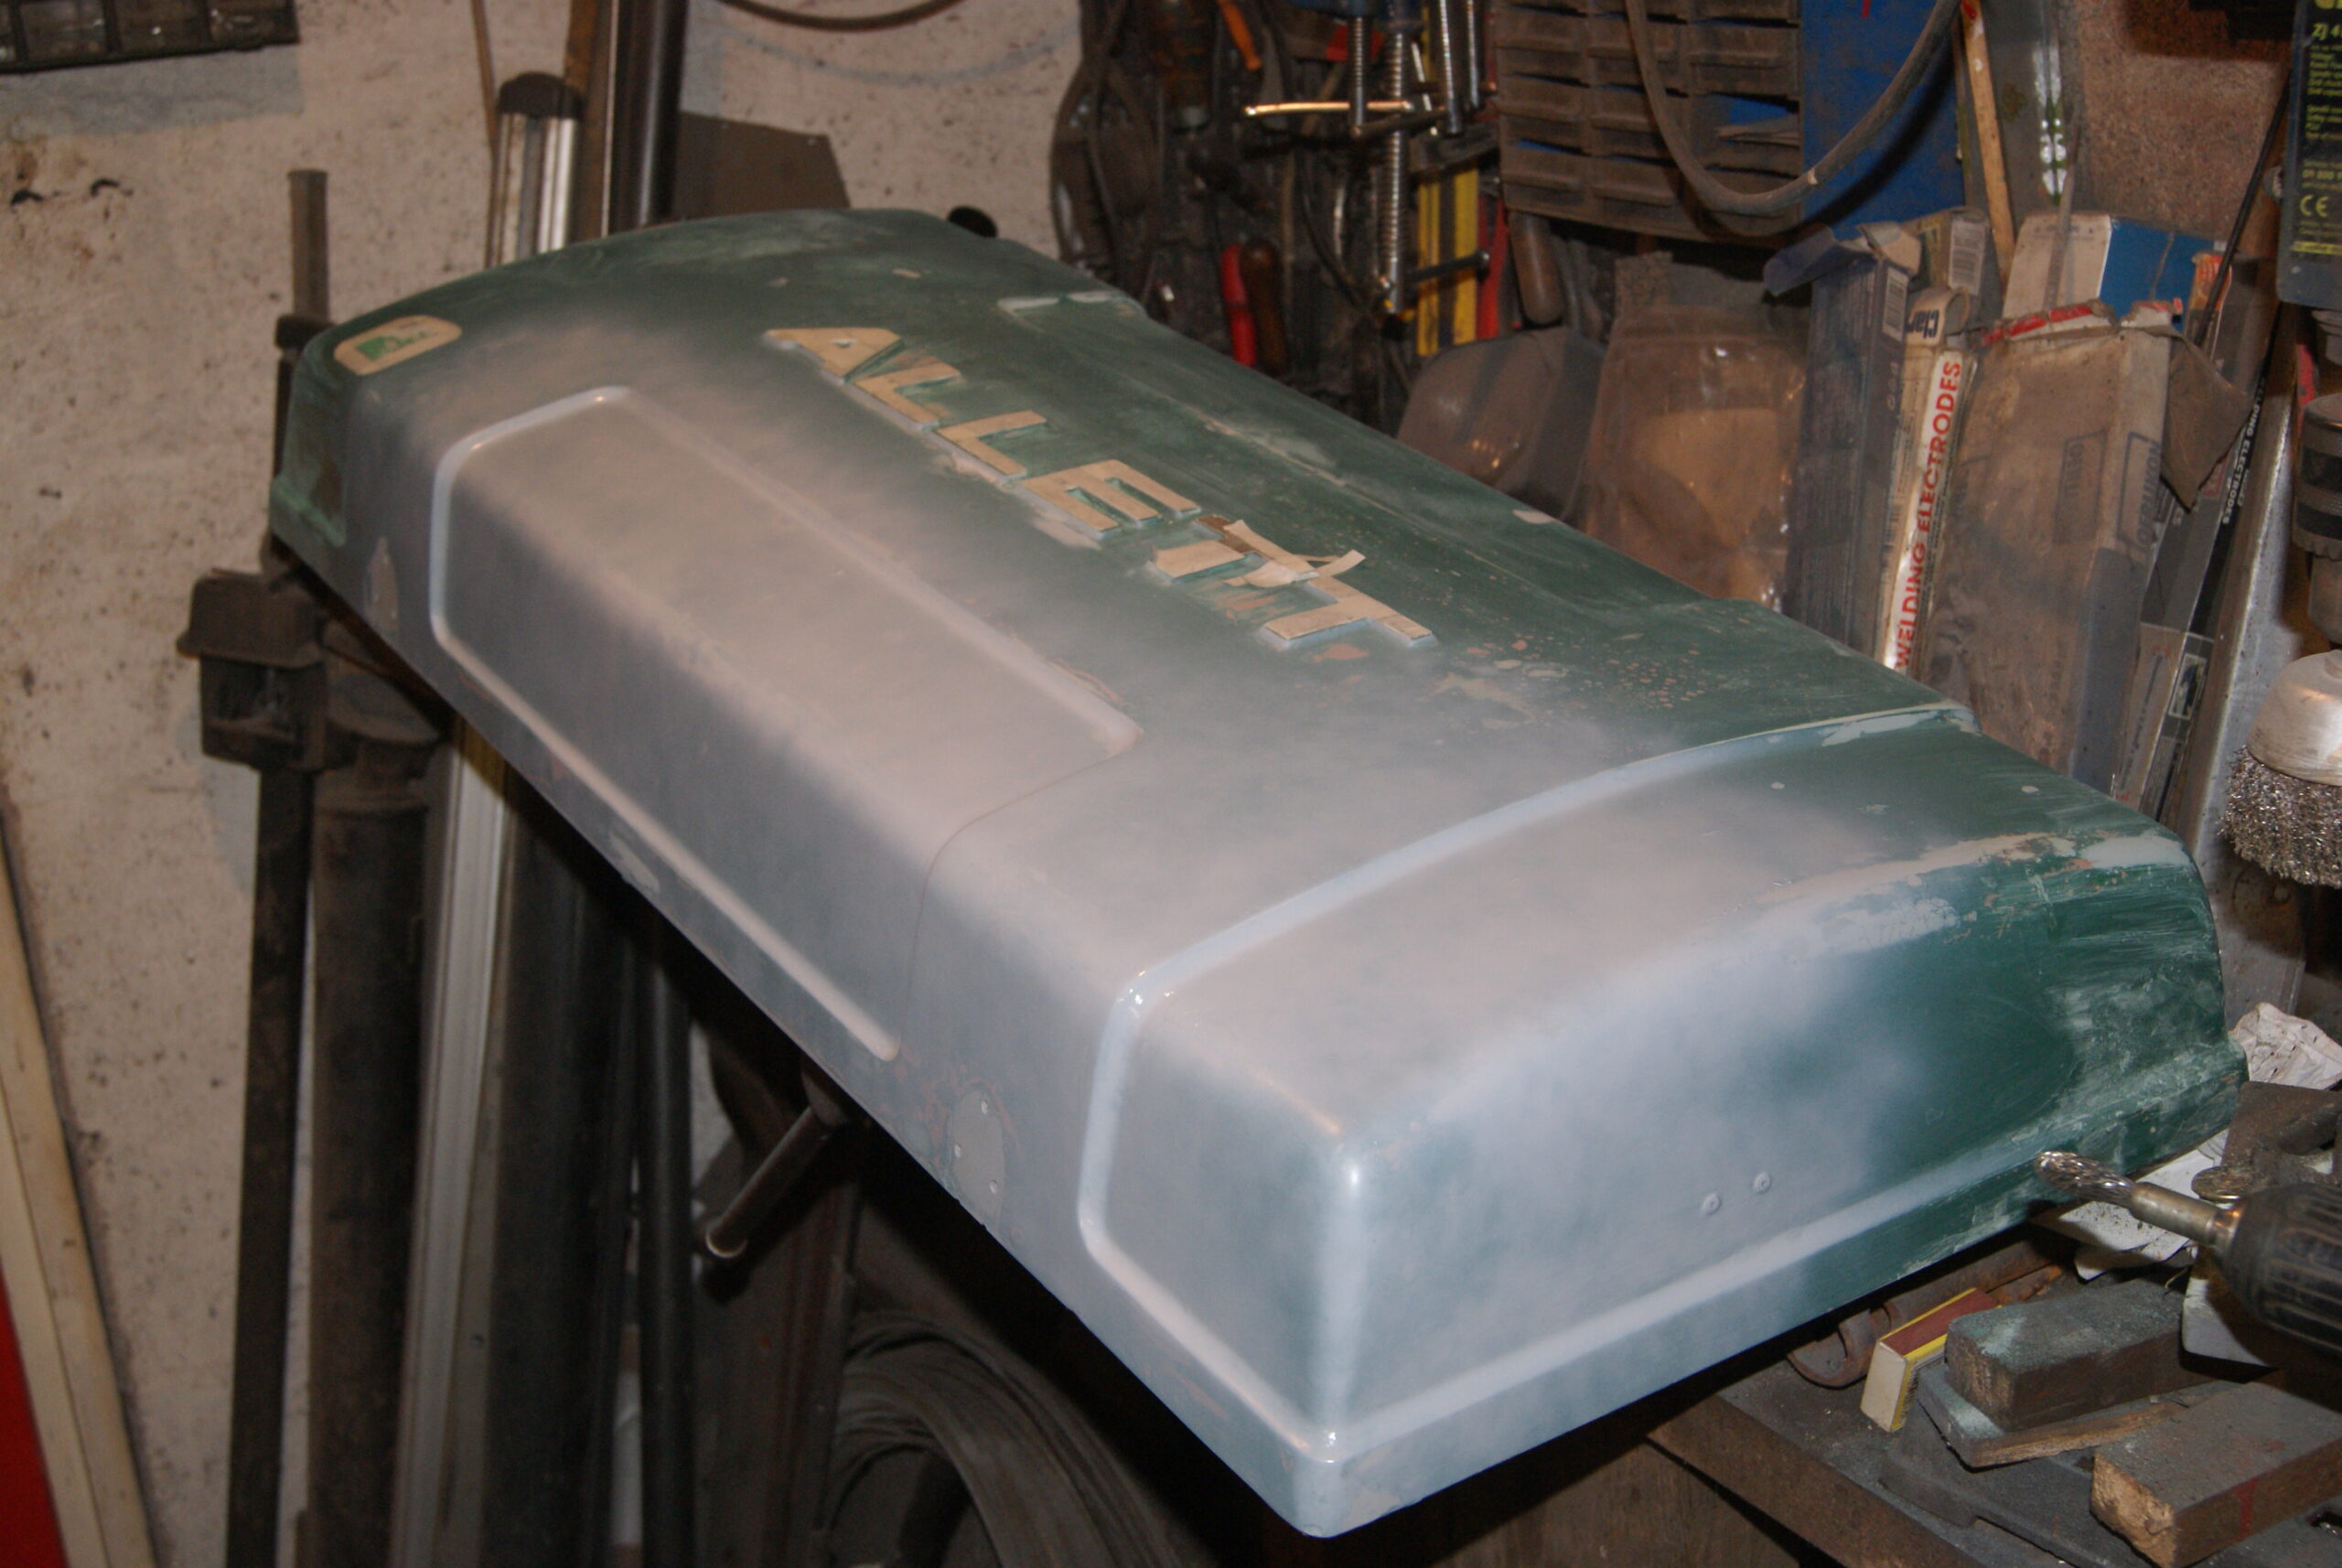
It really has been some time since I updated this story but I haven’t been slacking. The main piece of news is that I’ve had a minor disaster with the fibreglass lid; it had many dents and scratches which I was filling with stopper (a very fine filler used for small imperfections) but when I went to flat them back to blend them in with the rest it proved impossible without rupturing hundreds of microblisters. It looks like somebody in the past has repainted the lid with a high-build primer/filler; this was coloured orange. The green paint was applied over the top of the orange primer but because the surface preparation was not good enough at the time, the primer/filler has lifted in hundreds of blisters and lifted the green topcoat with it. What this meant in this case was that when I flatted it down it left lots of orange spots in the green paint- not a good look!
I have now flatted it all down, filled the blemishes and it has had a coat of grey primer and the first coat of green. I’m currently waiting for it to dry.
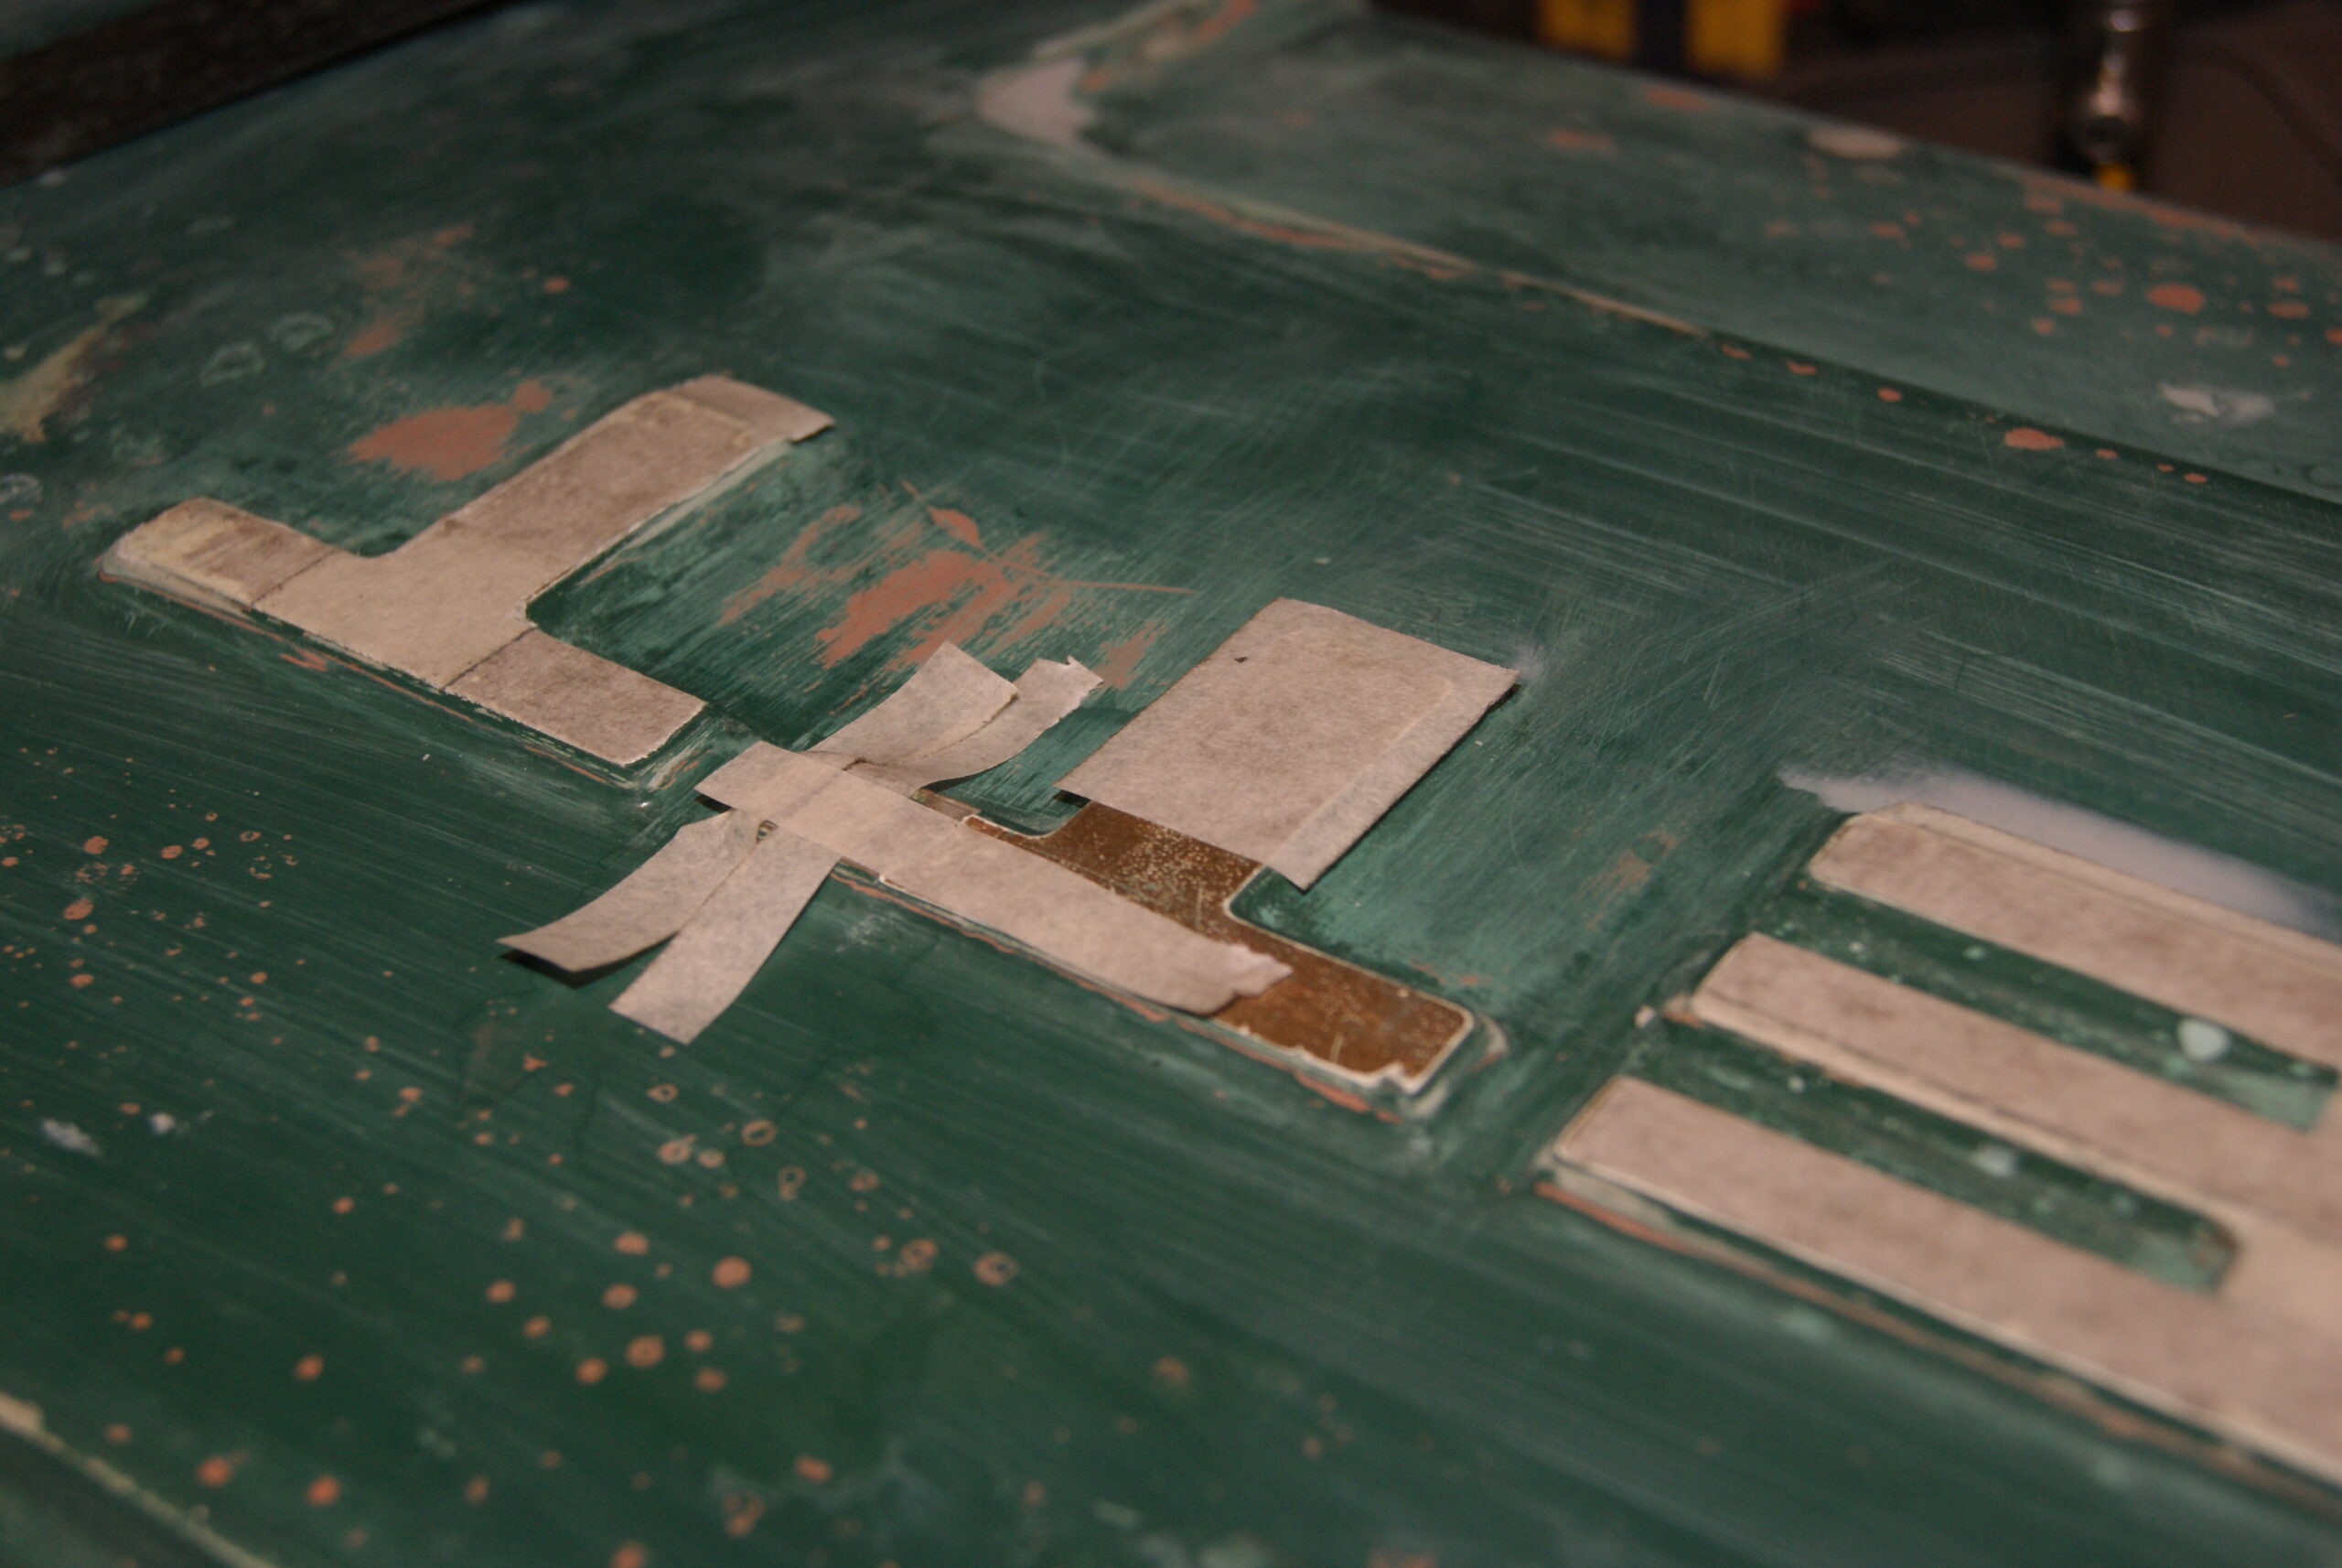
Another part of the job involved preserving the lettering on the top which is applied to raised pieces of fibreglass. The letters themselves are cut out of plastic and glued on, so I wanted to try to preserve them as best as I could. Masking tape was applied to each one in turn, then carefully cut around with a very sharp scalpel to leave a close cut mask on each letter. This seems to have worked fine so far, but I also had to make up a piece to repair one of the letter “T’s” which had become broken; a piece of 10 thou plastic card sorted out the job, secured with epoxy adhesive. When finished I’ll take off the tape and give the letters a light coat of gold, then rub it back with fine wire wool to age it.
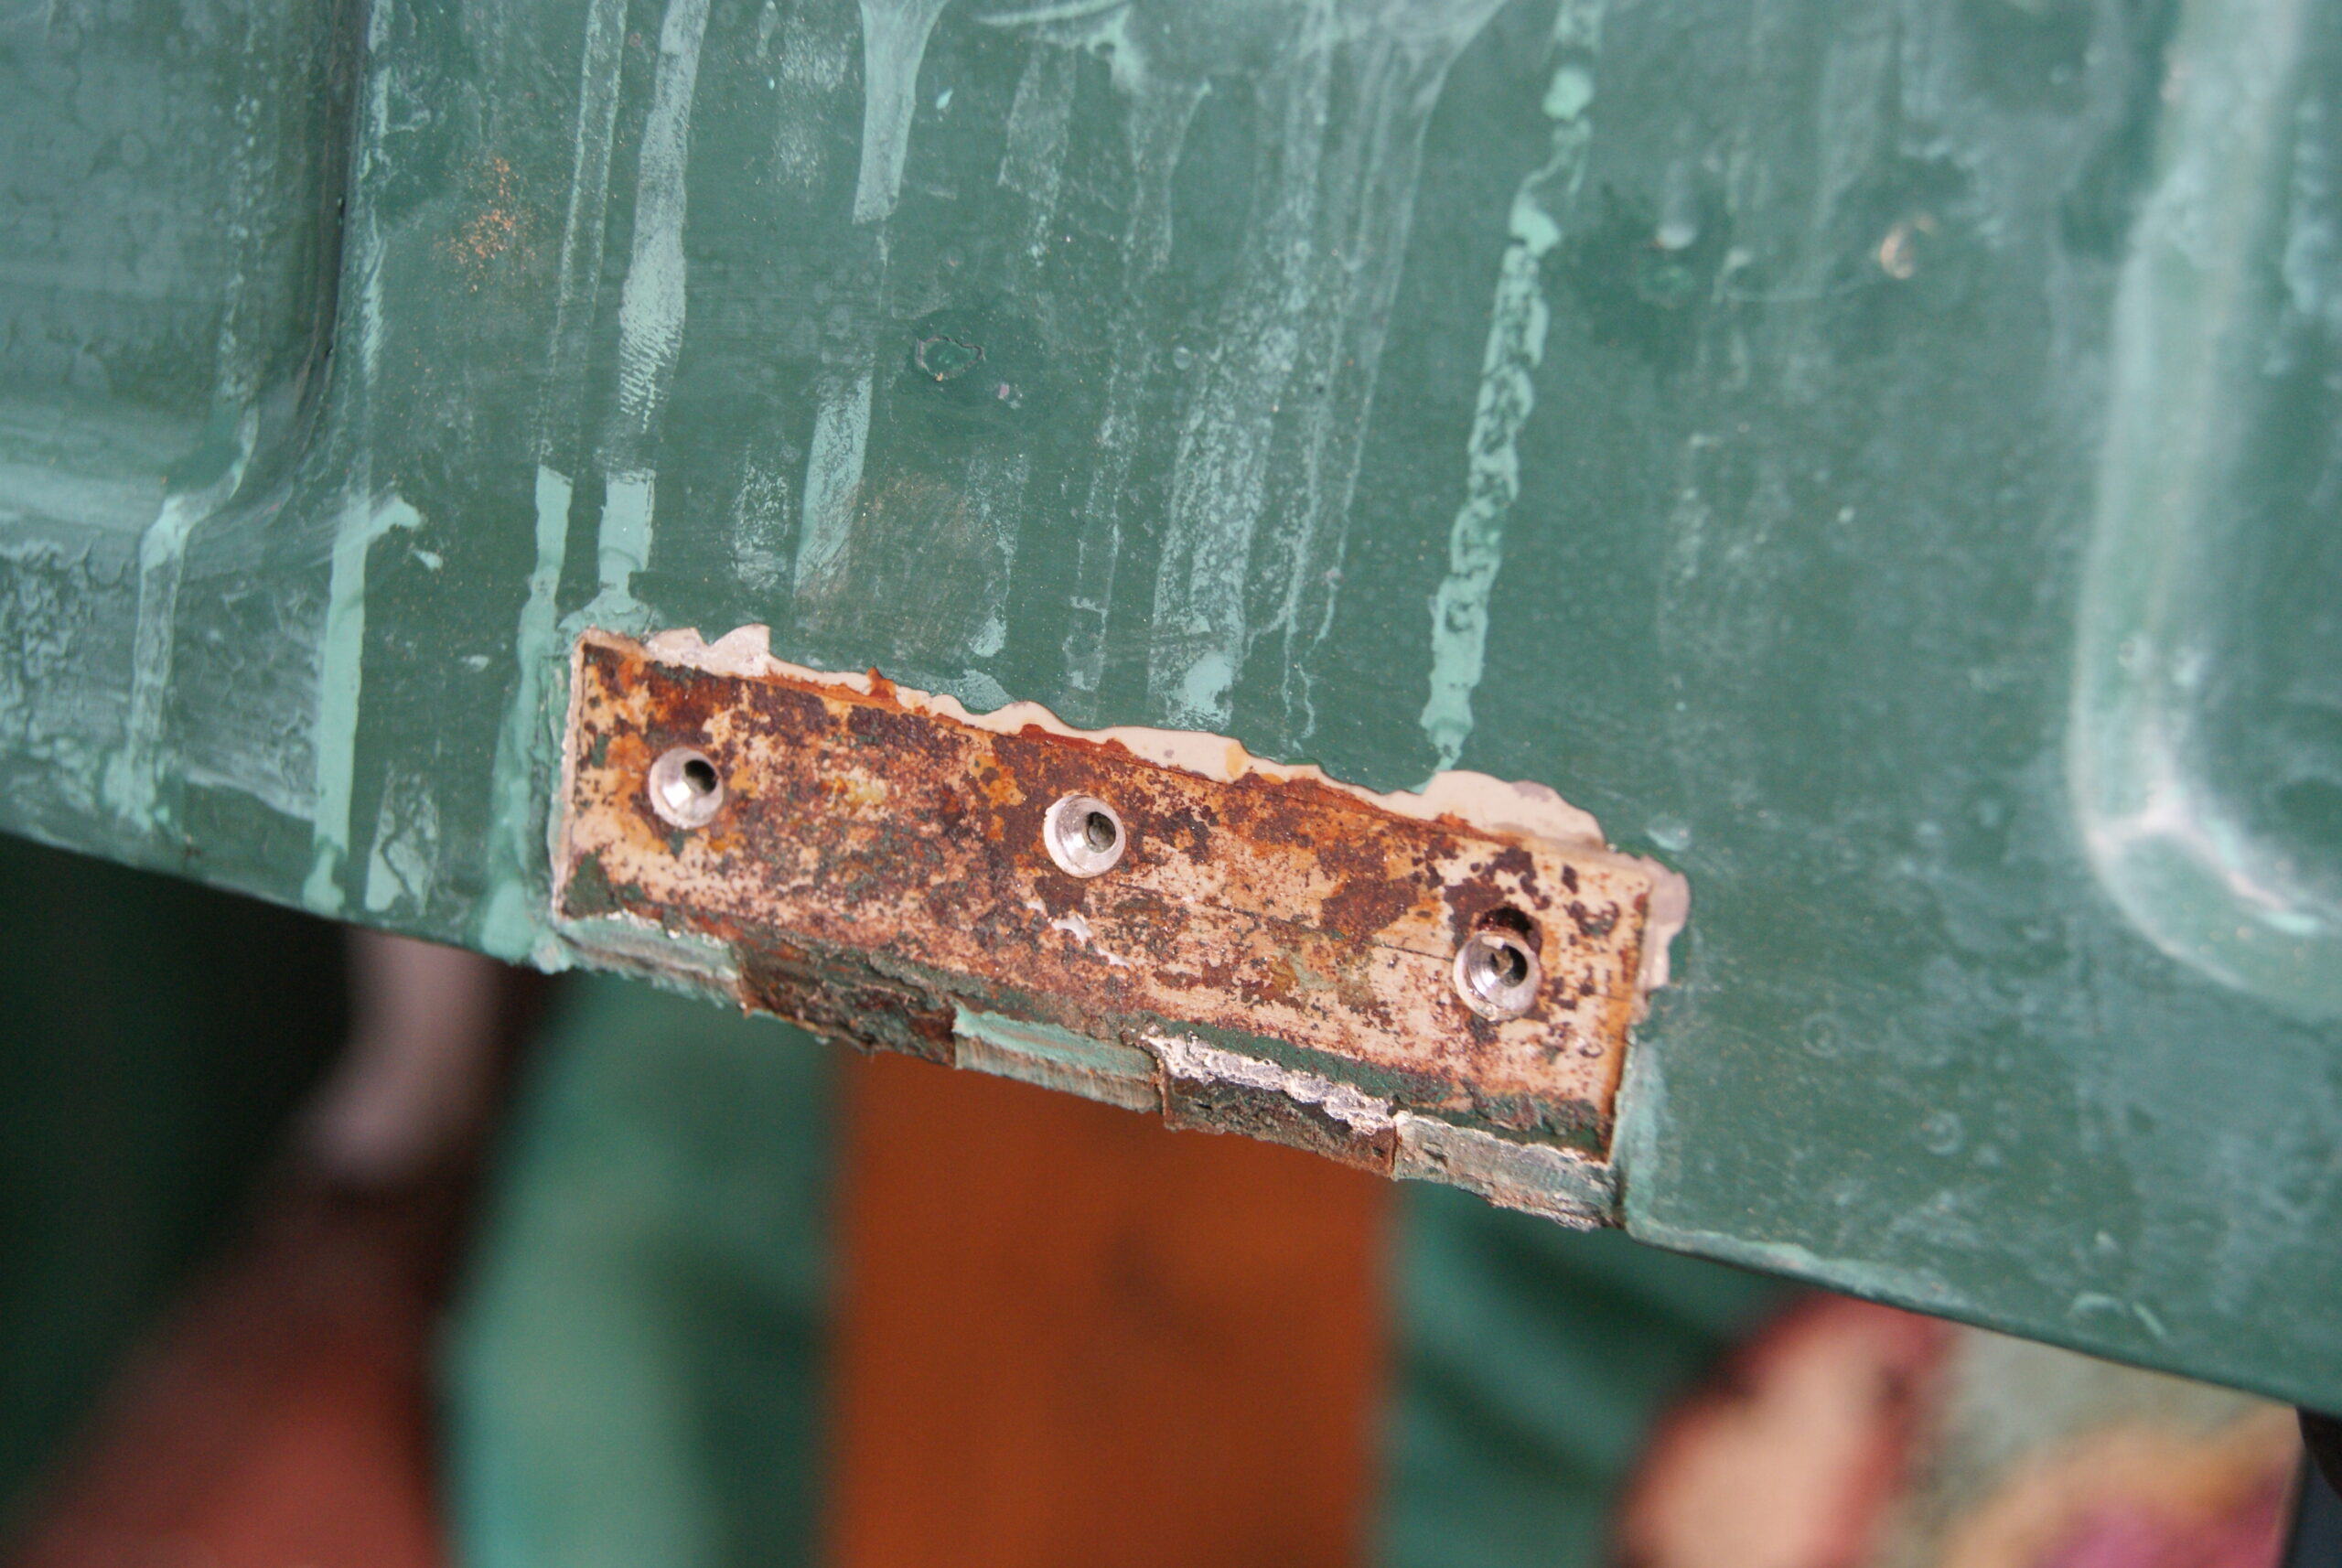
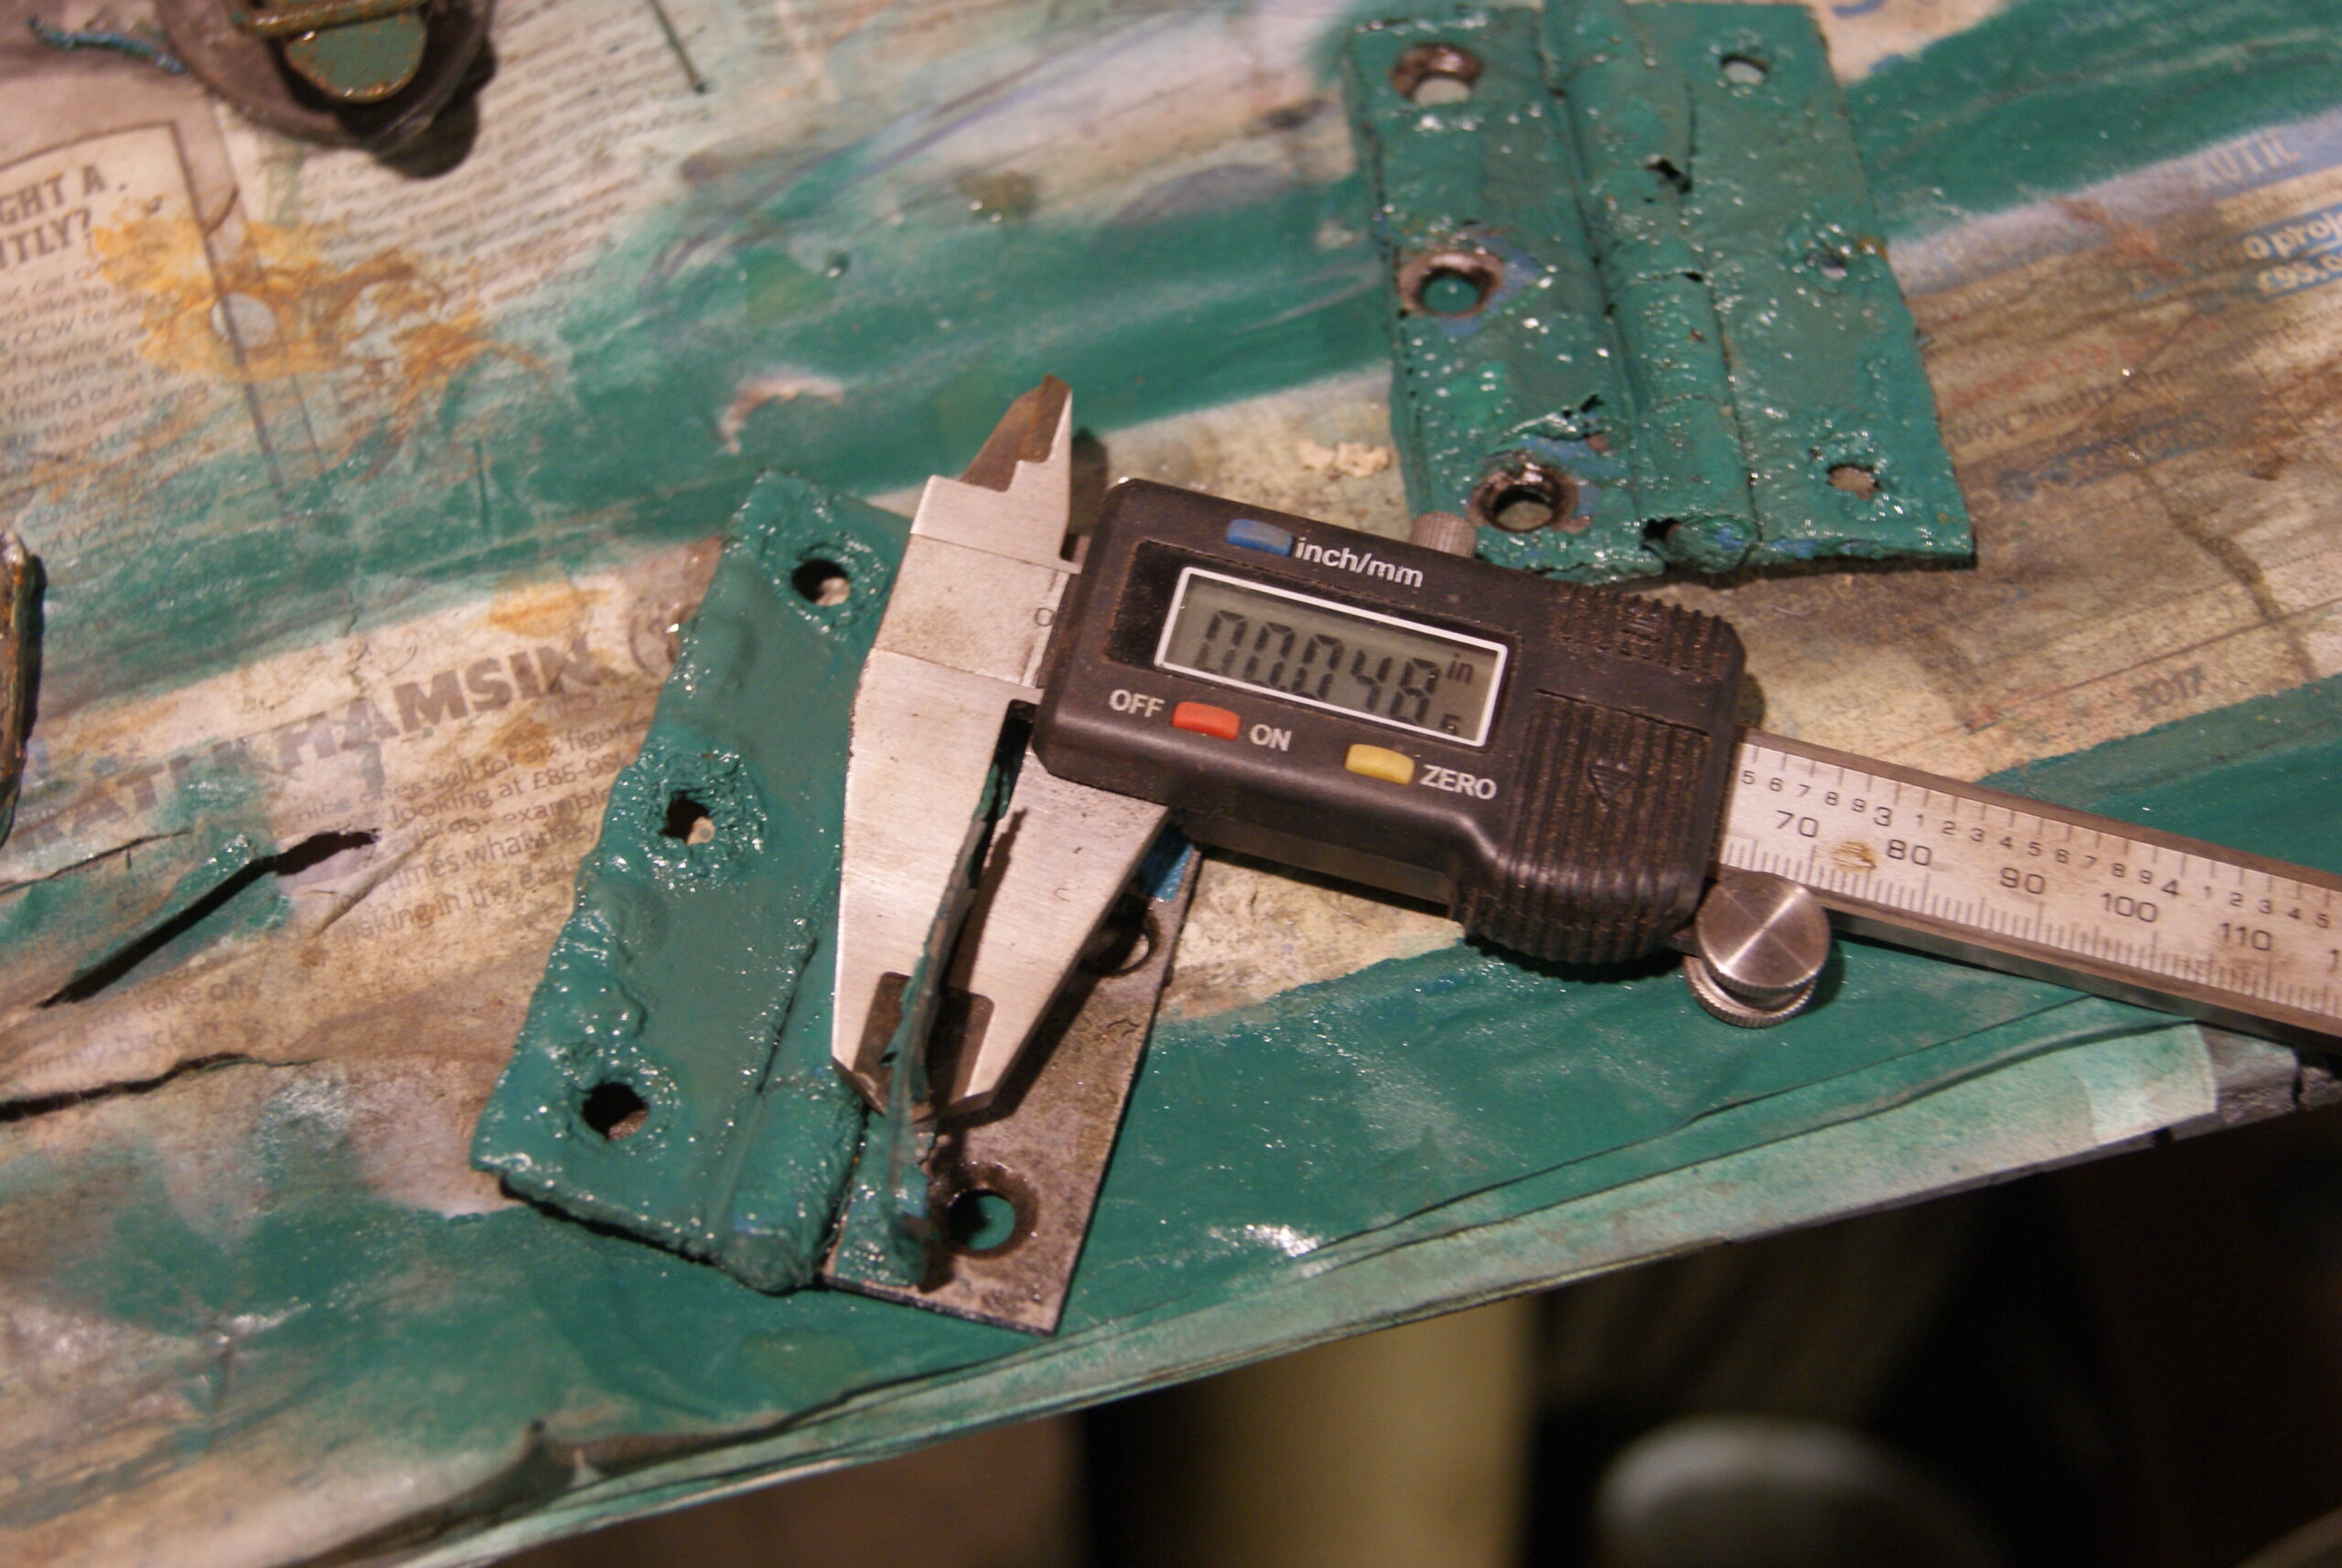
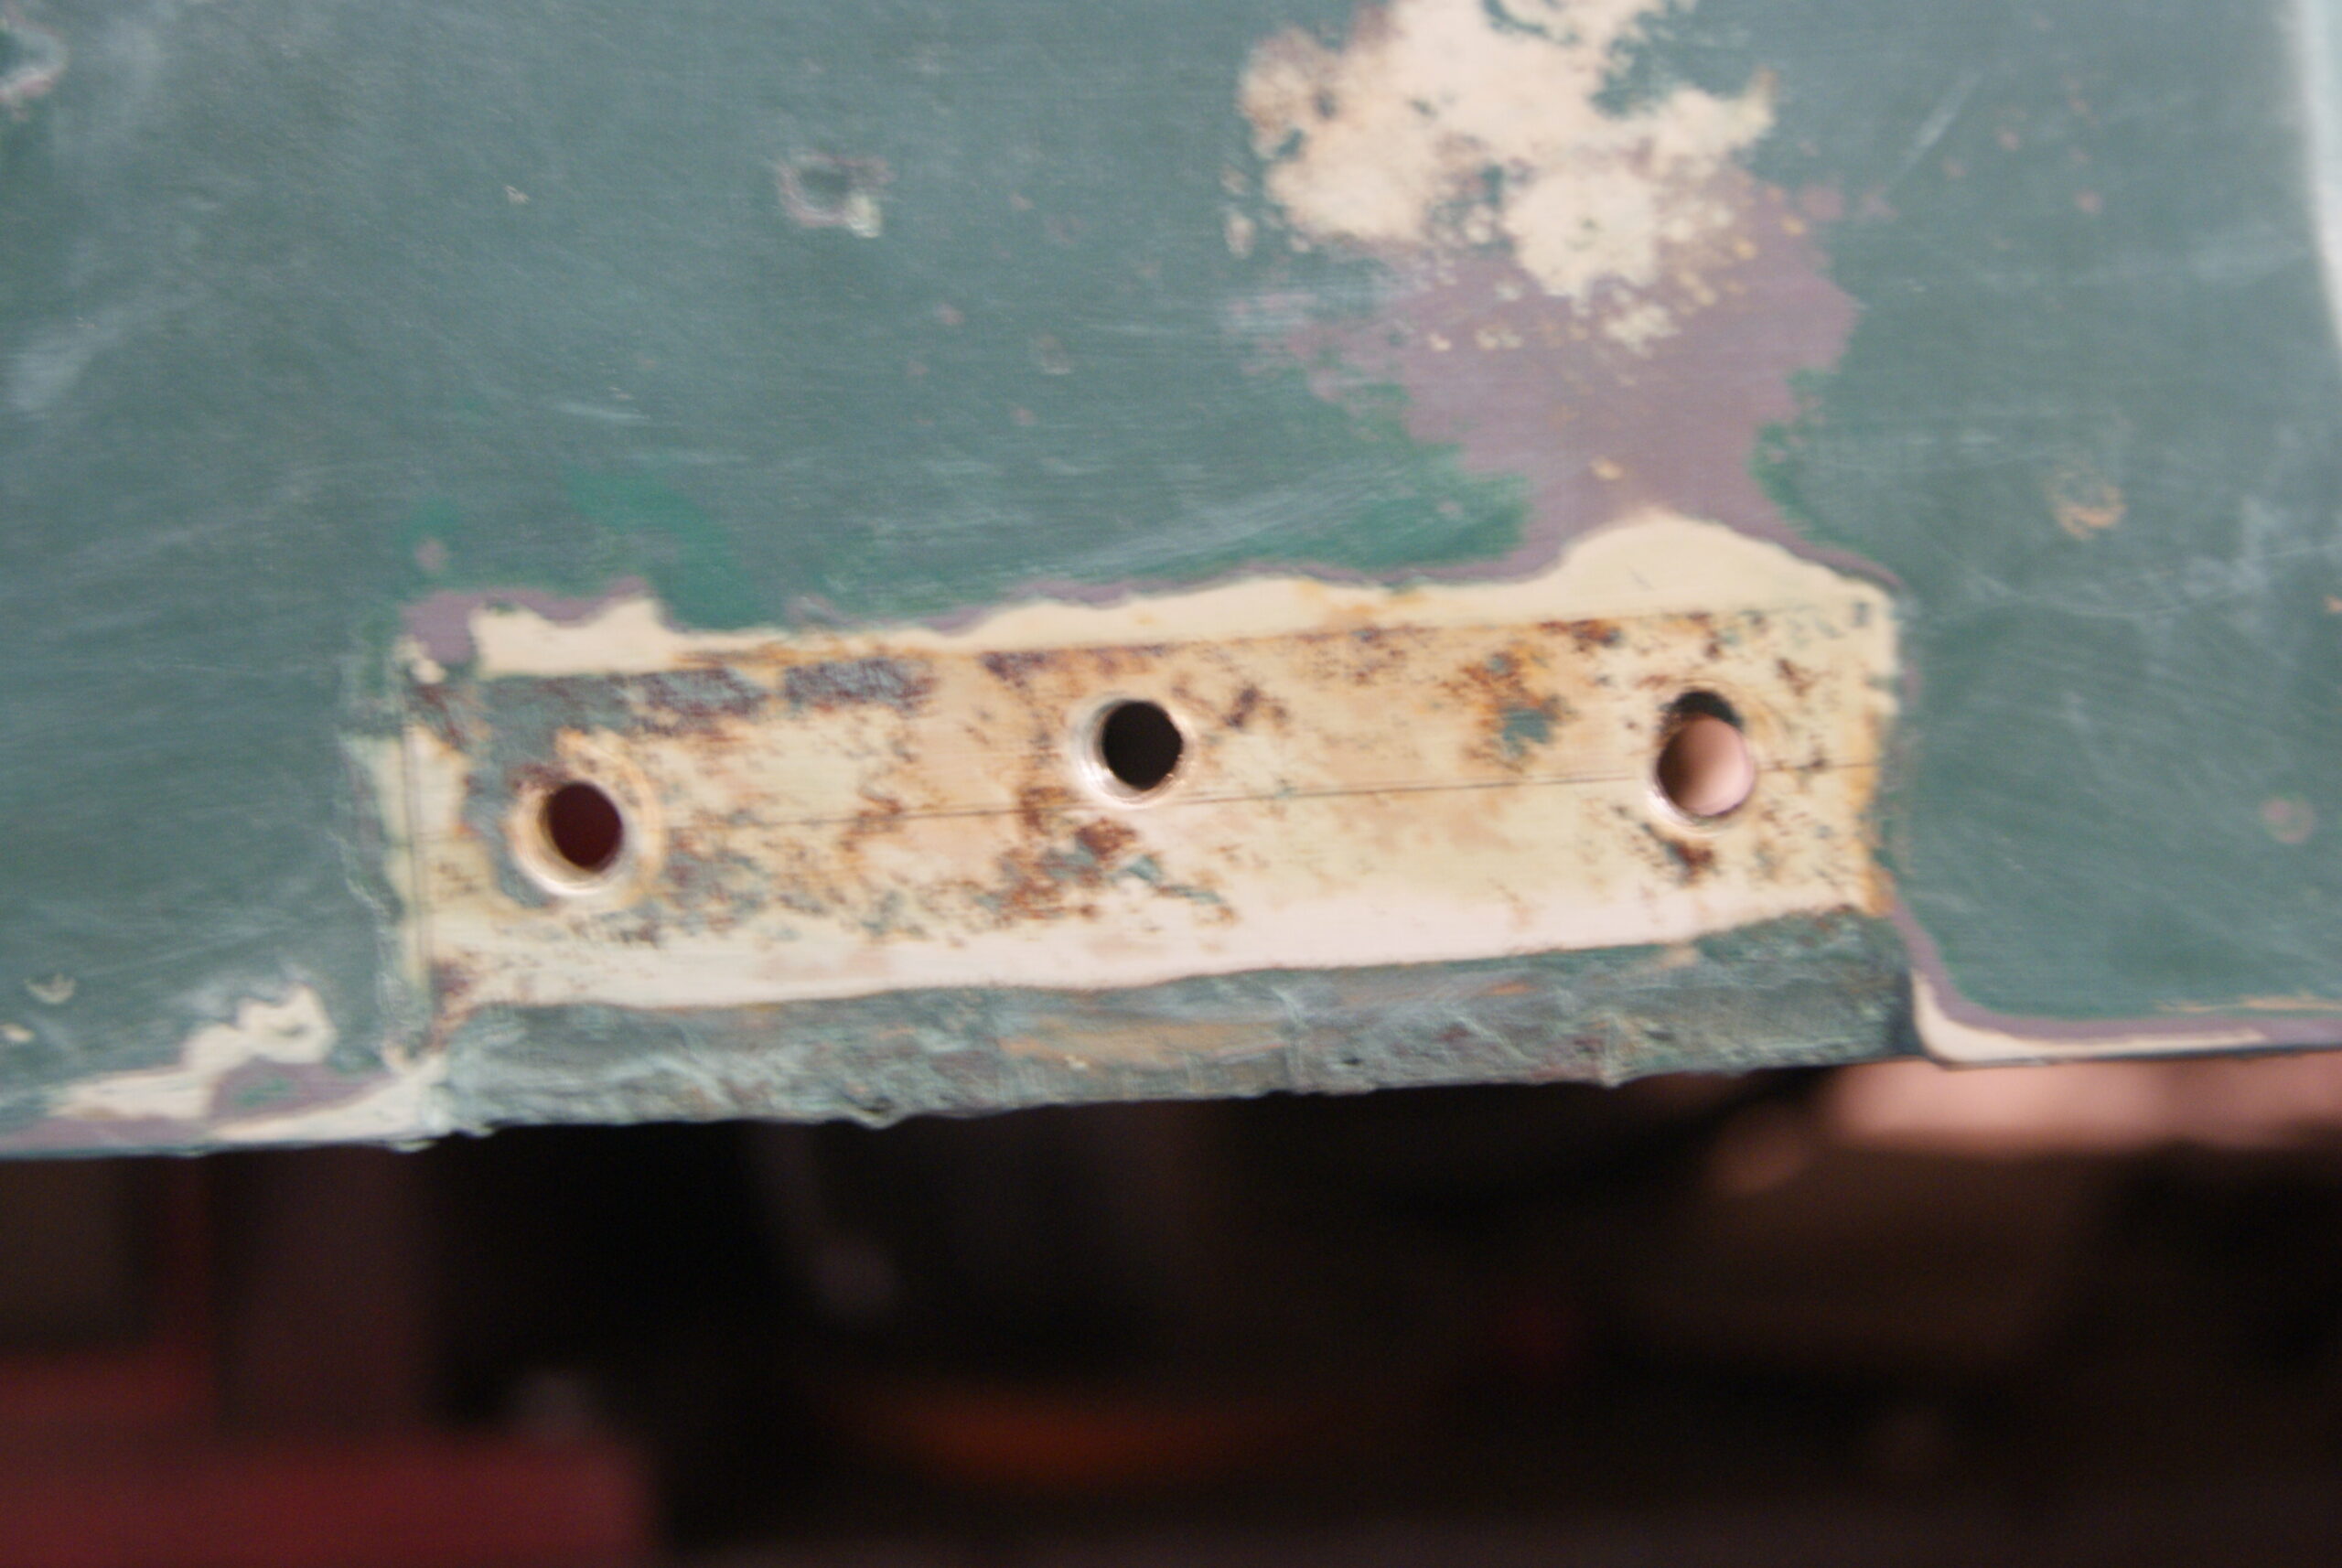
To give some idea of the thickness of the paint I have included a photo that I took whilst stripping the hinges off- the screen on the digital vernier is set to imperial and it is showing just under 50 thou. I just couldn’t leave the metalwork looking like that, it looked awful! I’ve included another photo of the place where the hinge was mounted and you can see the original pencil marks that the builder used to mark out the position of the hinges. I wonder how long before these see the light of day again.
The cylinder and bottom blade will be coming back tomorrow so that will be another part finished. Unfortunately I couldn’t re-use the cylinder bearings as one was showing signs of wear and the other broke when the factory people tried to remove it from the cylinder shaft. They are still available but the modern equivalent has the four holes tapped 1/2″ UNF, whereas the original used 1/2″ BSF, so that means I’ve got to wait for some 1/2″ CSK screws to arrive.
Oh well, we’ll get there one day!