Home › Forums › The Main Forum Area › Projects › Landmaster Saturn Rotary Lawn Mower
- This topic has 26 replies, 5 voices, and was last updated 9 years, 5 months ago by
trusty220.
-
AuthorPosts
-
April 12, 2014 at 8:42 am #7336
darmic1
ParticipantI thought I would share the restoration of my latest Projects.
I found and won the 1st one on the well known auction site for the sum of £5.00
A drive down to Bridport to collect and a nice day on the beaches too, and it was home. It had been Hammerited at some point in its life, but was complete with its grass box. The seller reported that it came with the house having spent around 20 years in a garage laying idle.
Here are a few pictures from the auction site.April 12, 2014 at 8:51 am #7342darmic1
ParticipantOnce home I decided to get it running before stripping for restoration. Am pleased to say once the carb was cleaned, fresh fuel added, points and magneto cleaned, it burst into life easily. It ran well, but had no stop switch, the only missing part. Once it had ran for about half an hour, it was dismantled and sent out for a small aluminium weld repair and shot blasting. The engine was degreased ready for paint removal.
April 12, 2014 at 9:02 am #7349darmic1
ParticipantThe engine is a Briggs & Stratton 148cc 4 stroke. Its numbers are:
Model Type Code
92502 0253 01 6801222
I would say this is original and would make the machine circa 1968.
I removed all the old paint on the engine using a heavy duty paint stripper, etch primed and applied several coats of matched colour. The tank, carb, bracket etc also had the same treatment.
I am extremely happy with the paint finish, really smooth and is mirror like.April 12, 2014 at 9:08 am #7359darmic1
ParticipantOnce the paint had cured and hardened, The engine was reassembled, waiting to be reunited with the mower deck.
The engine sat on the bench for a week prior to painting and had previously shown no leaks, but once painted it decided to weep a puddle of oil overnight from the crank seal. This was replaced and no more problems.April 12, 2014 at 9:14 am #7364darmic1
ParticipantThe next task was to repair the Blade guard beneath the deck. This had some fairly serious corrosion and an attempt to repair it had been made with fibreglass. I cut away the bad steel, formed a new piece and welded it into place. I then made use of the old mounting bracket, by carefully cutting it out and welding it to the new section.
April 12, 2014 at 9:22 am #7368darmic1
ParticipantThe Deck and Grass box were collected from the blasters having been cleaned up and etch primed. My next job was to apply some colour. The paint was matched to the original paint uncovered on the deck and on the grass box, so a good match was assured. It transpires the colour is a Ford colour used on agricultural machines of that era. I do have the name and code somewhere…..
I also painted the engine shroud and metal air filter tins in the white, as was original to the machine. The handlebars, roller and blade guard were powder coated satin black.April 12, 2014 at 9:34 am #7372darmic1
ParticipantApril 12, 2014 at 9:37 am #7376darmic1
ParticipantApril 12, 2014 at 6:03 pm #7414will-haggle
ParticipantLooks good, Darren, if you’d like to send the words and pictures to me I’ll stick it in the Cultivator…
cultivator-editor@outlook.comApril 12, 2014 at 7:30 pm #7416darmic1
ParticipantApril 12, 2014 at 7:47 pm #7422darmic1
Participant
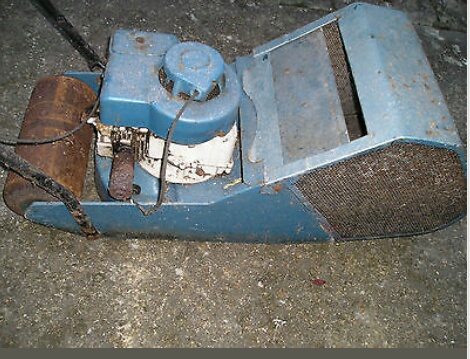
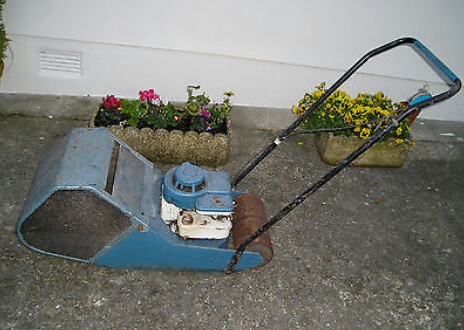
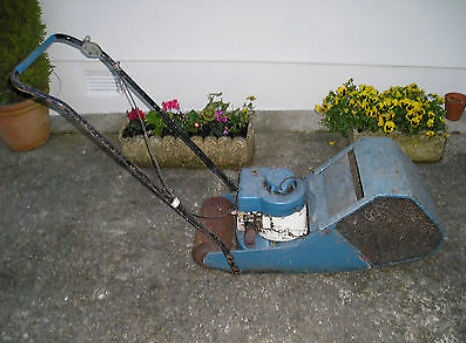
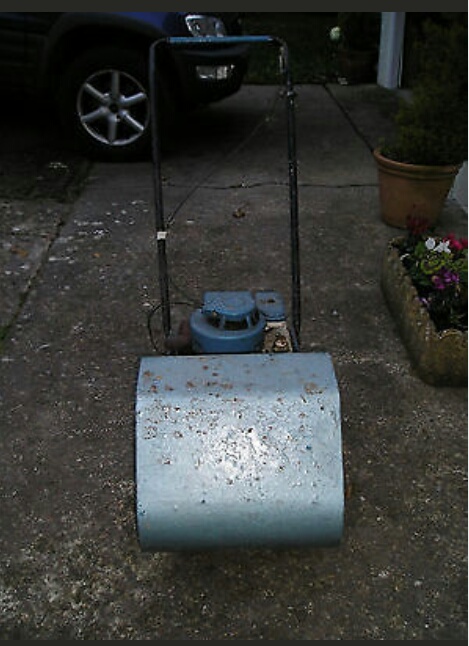
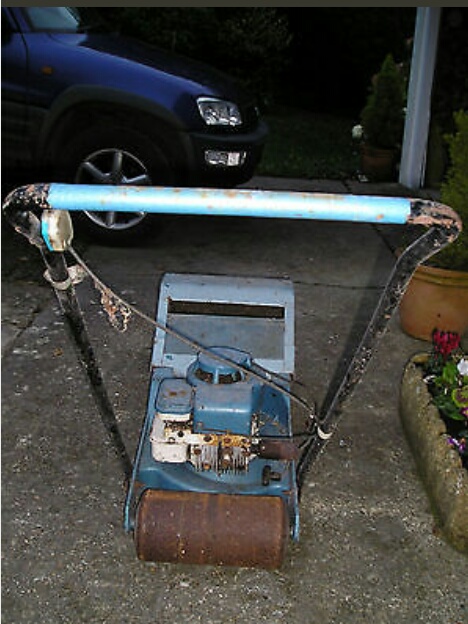
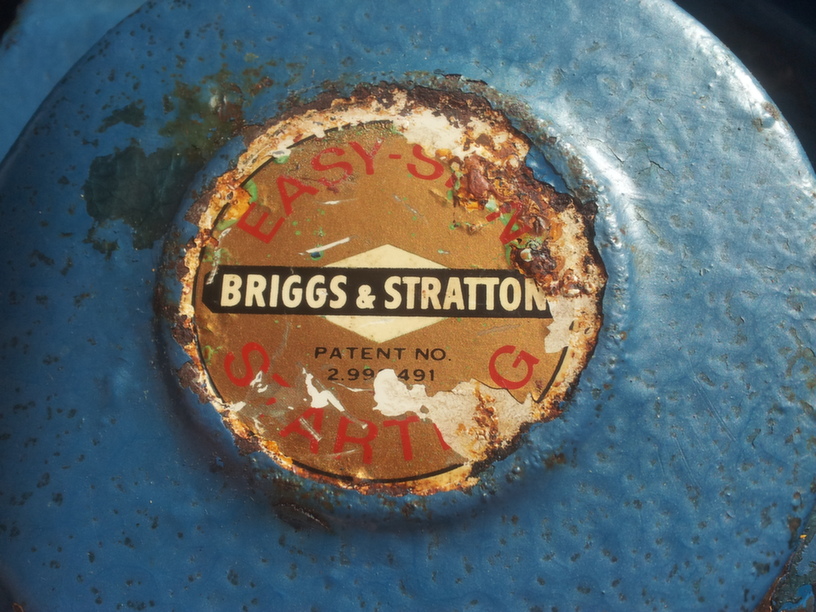
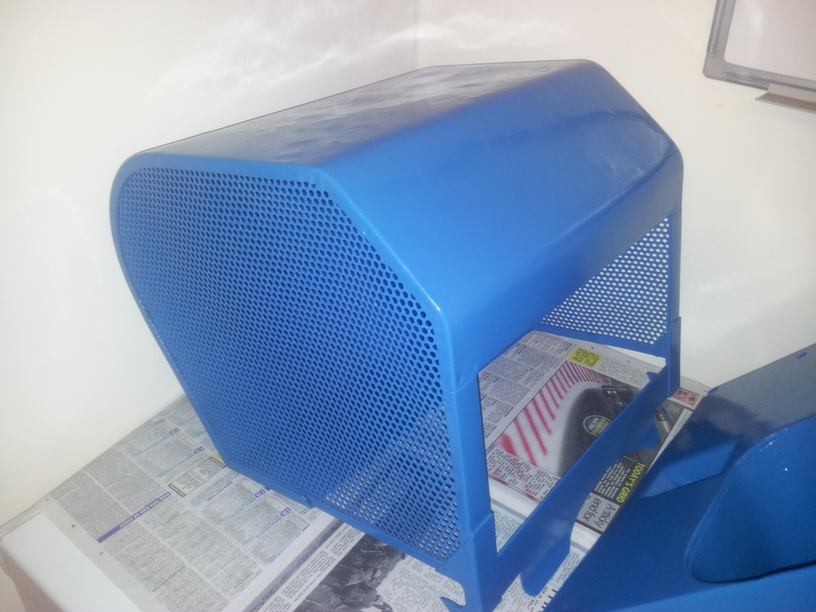
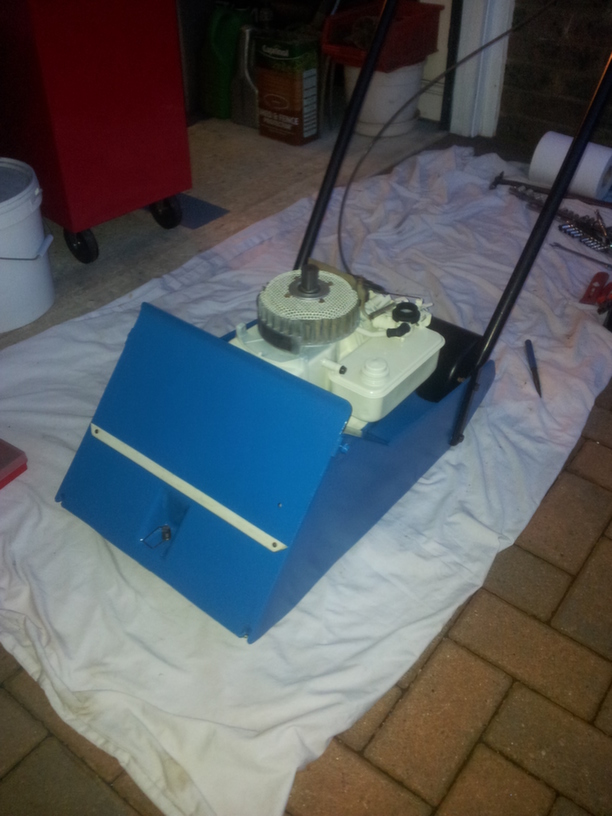
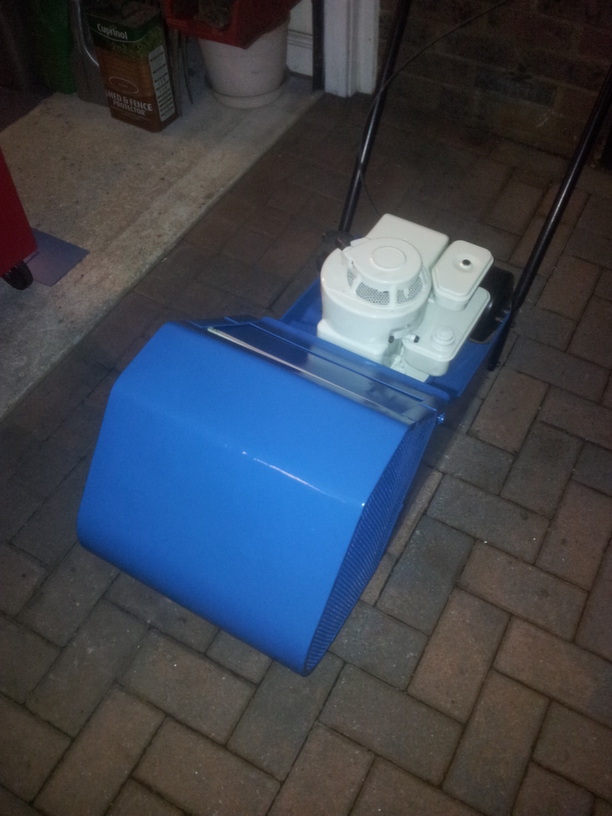
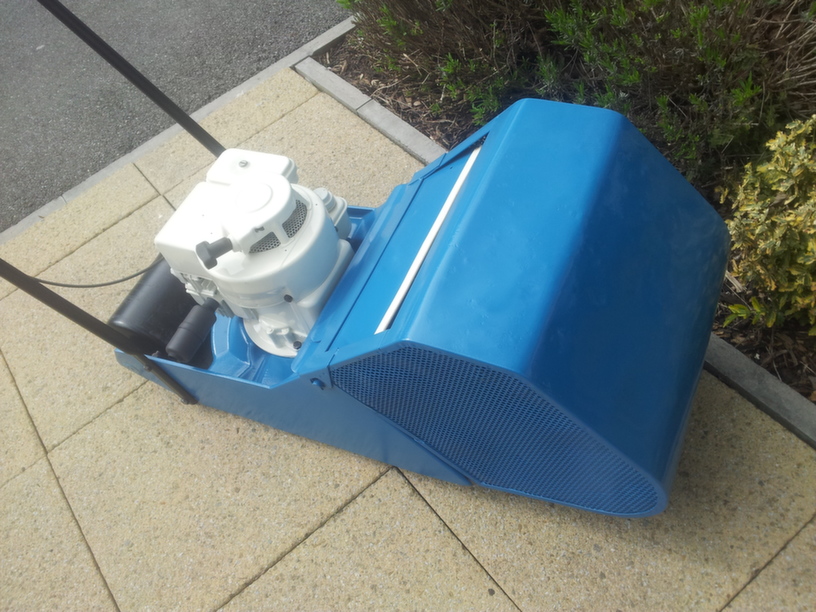
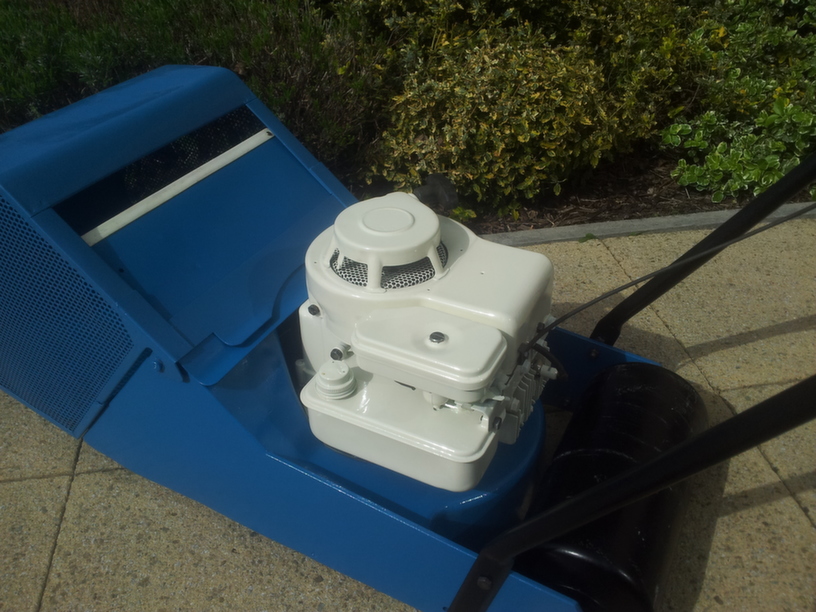
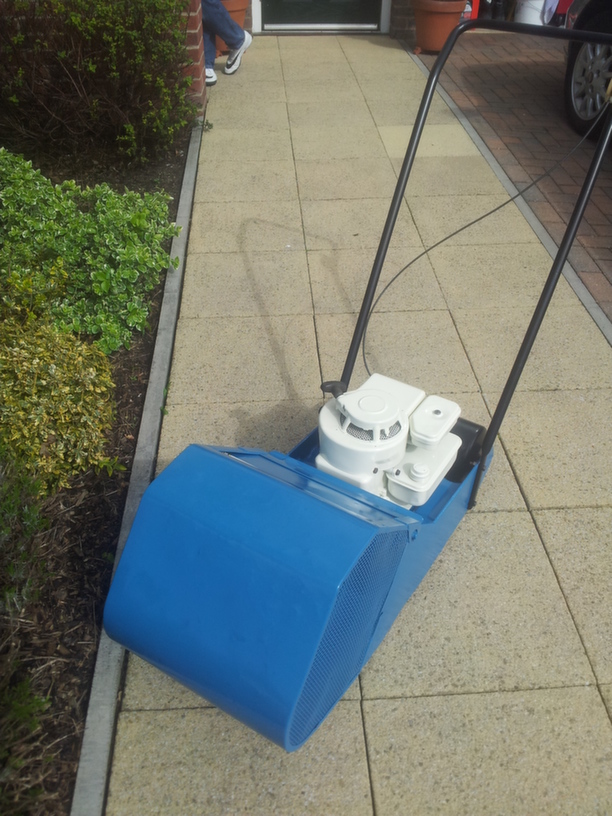
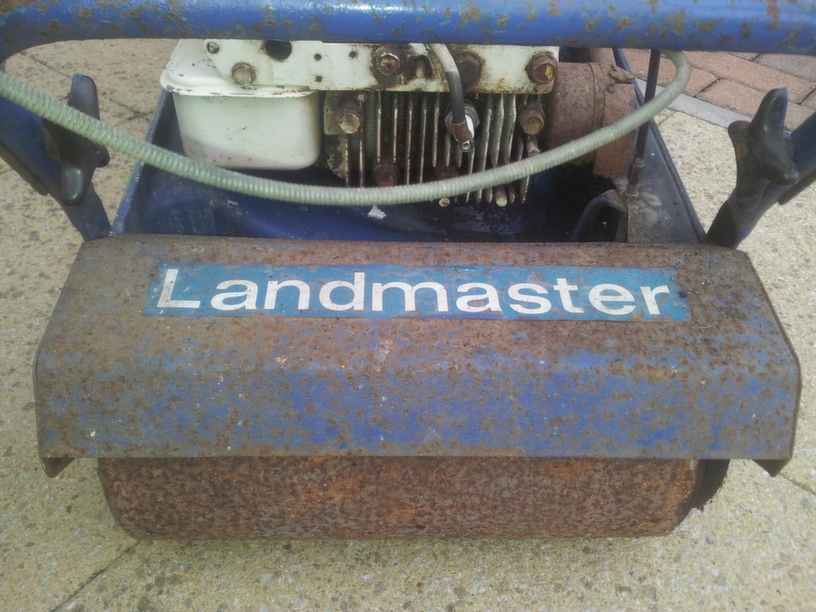
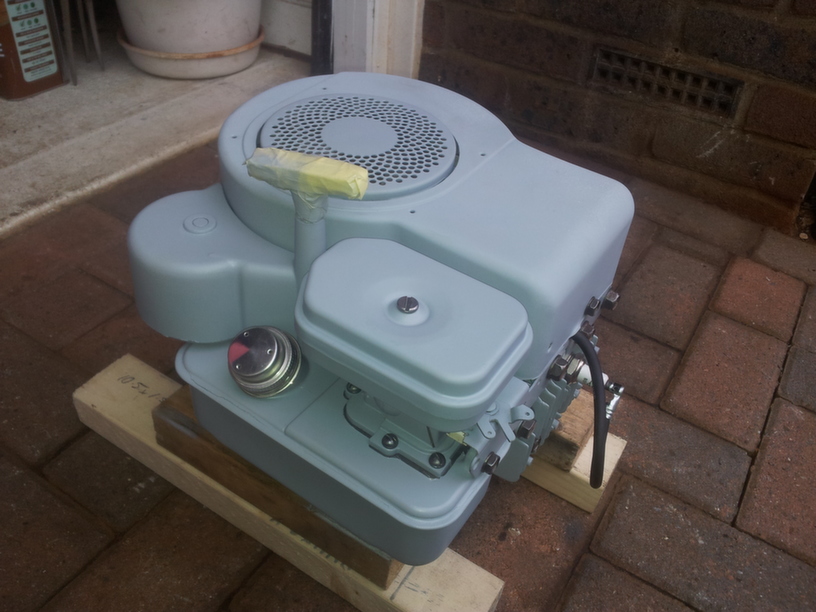
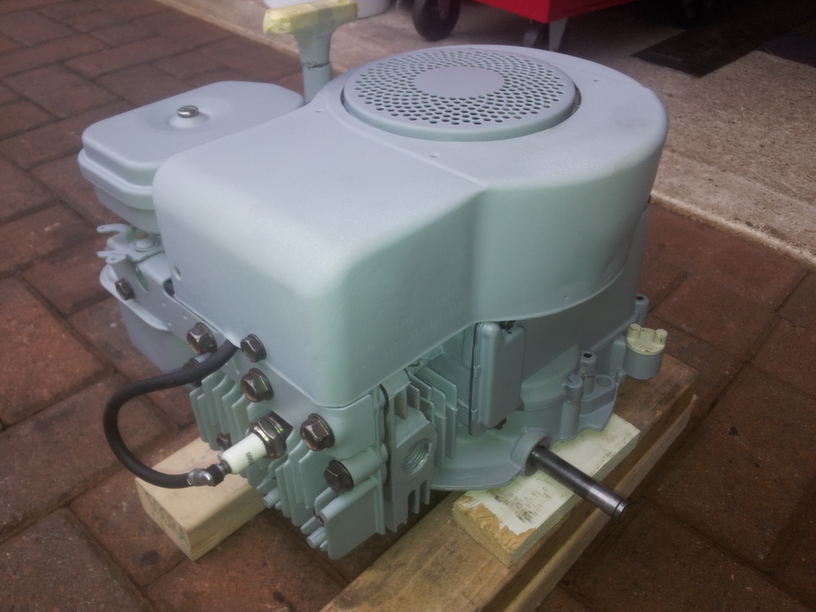
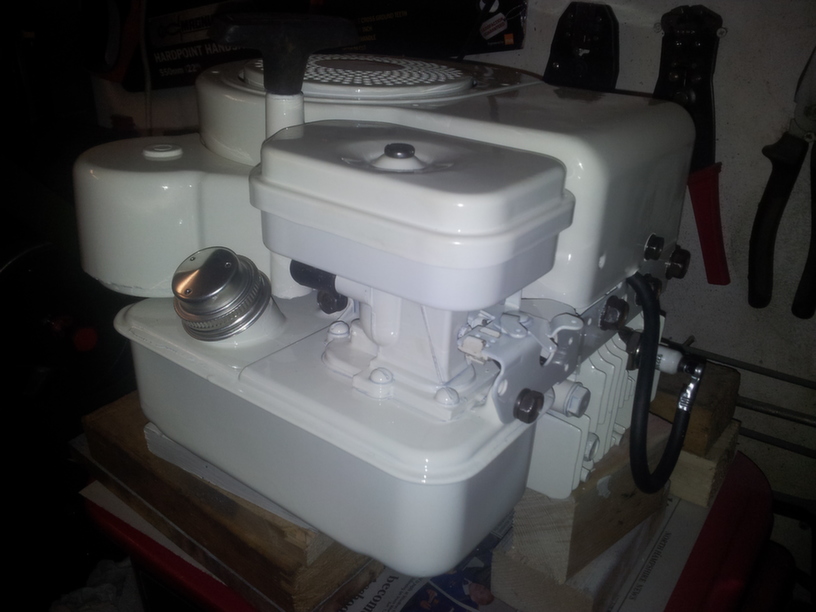
This machine is a later model, fitted with a belt driven rear roller, its driven from the PTO on the side of the Briggs & Stratton engine. It has adjustable handles and it also has an unusual exhaust which vents beneath the deck. The numbers of this engine are:
Model Type Code
92988 0960 01 79012922
So from that it would be circa 1979
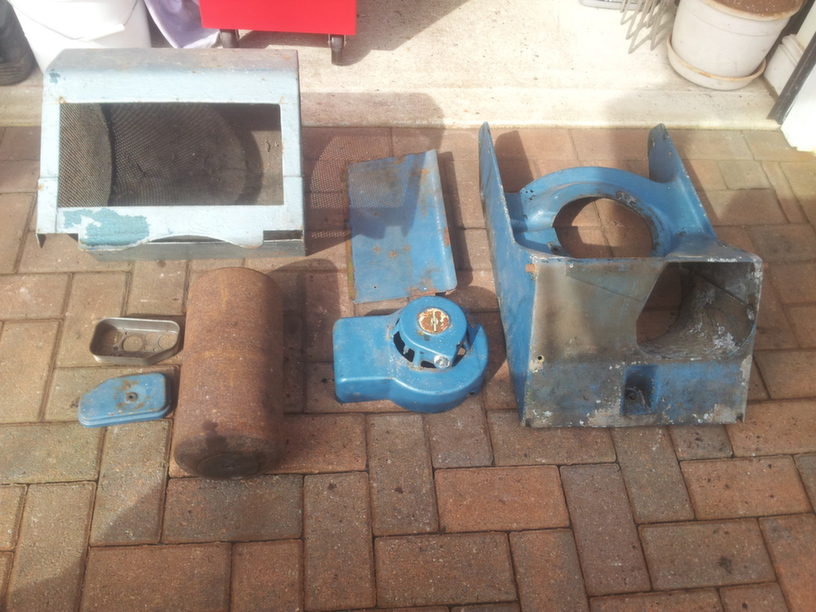
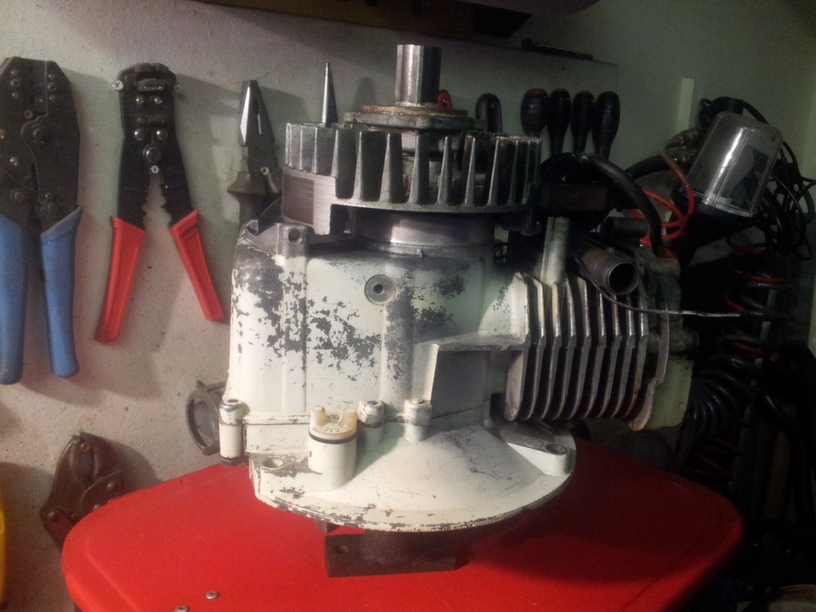
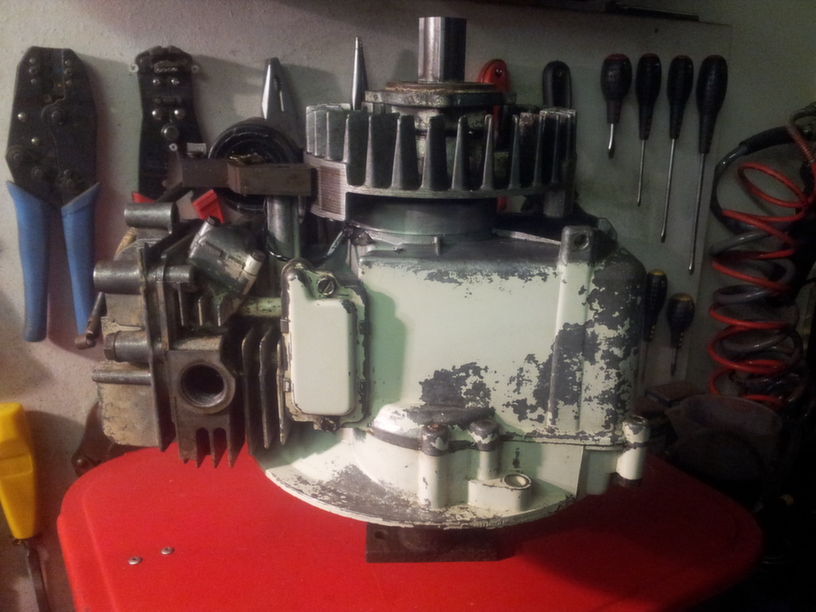
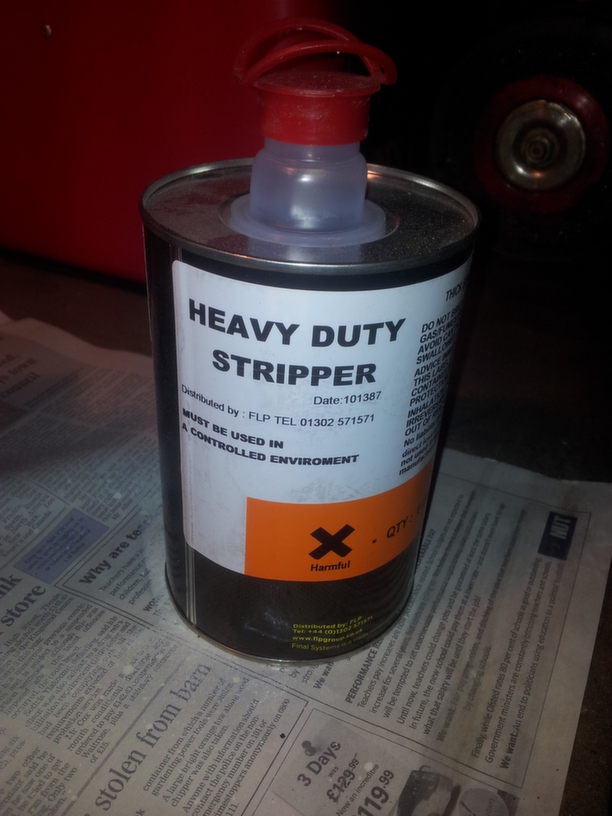
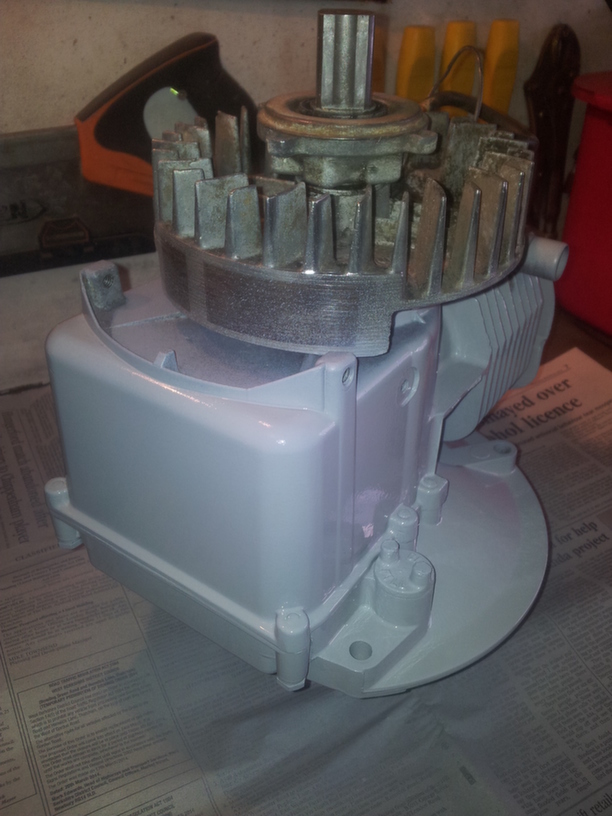
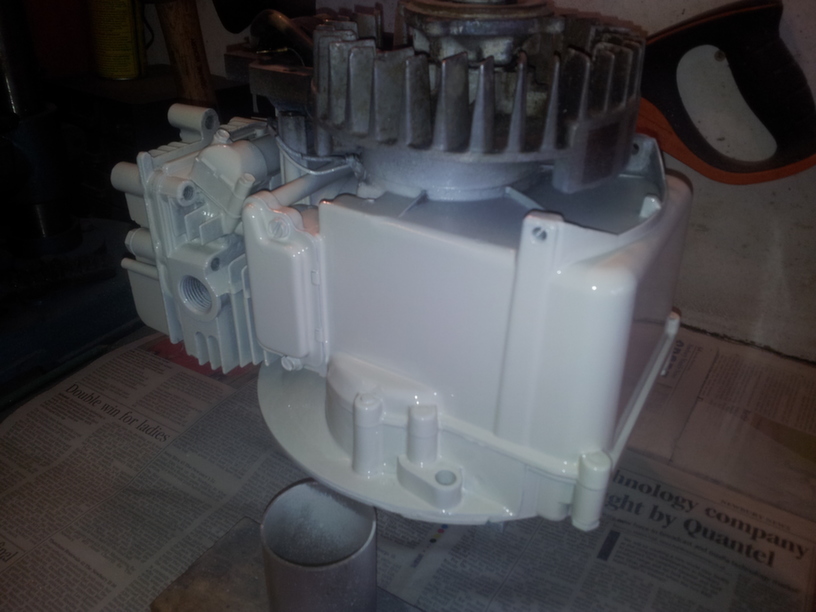
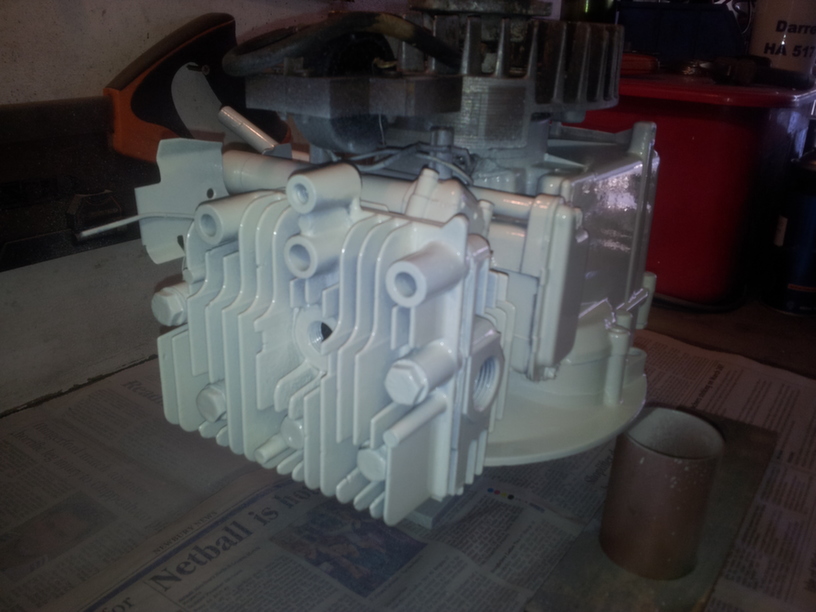
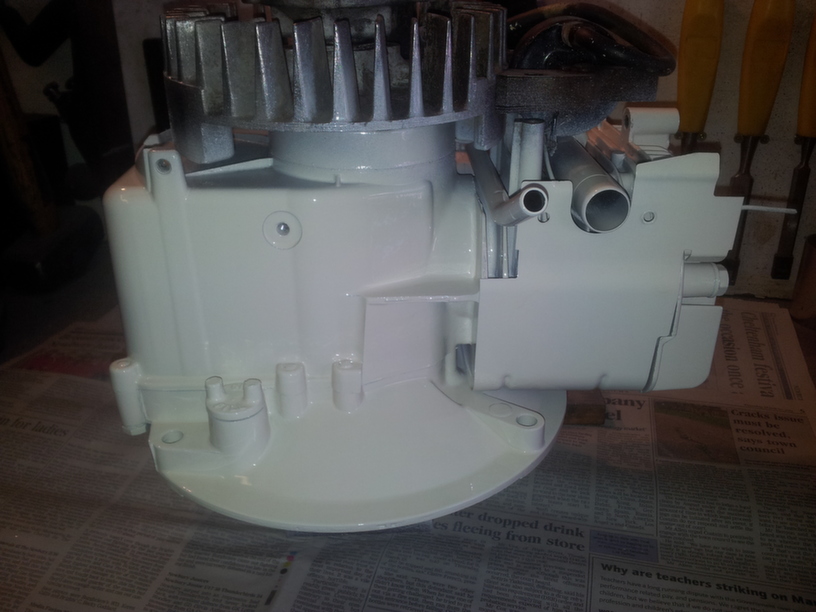
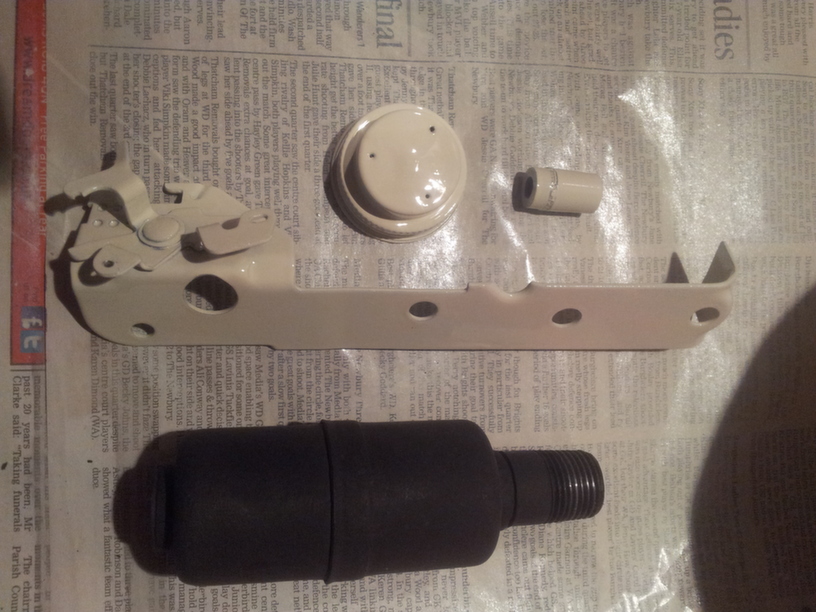
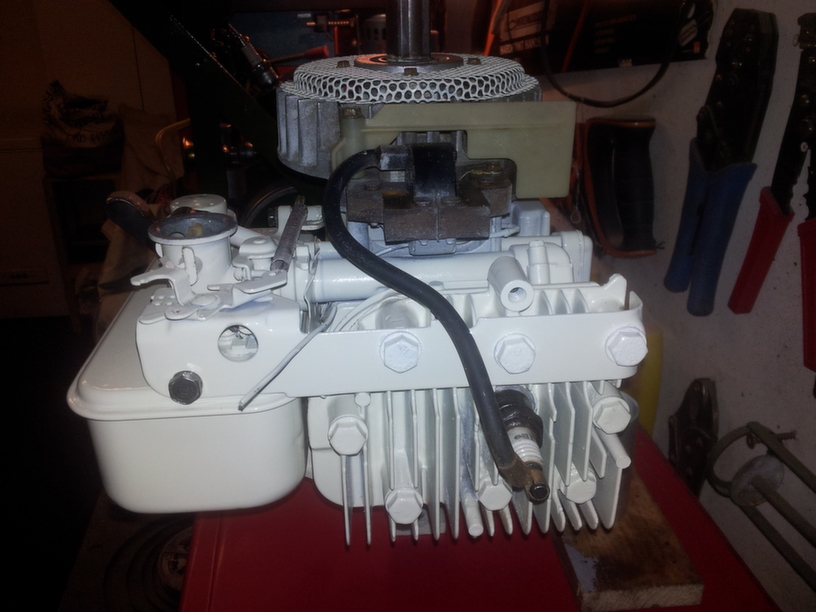
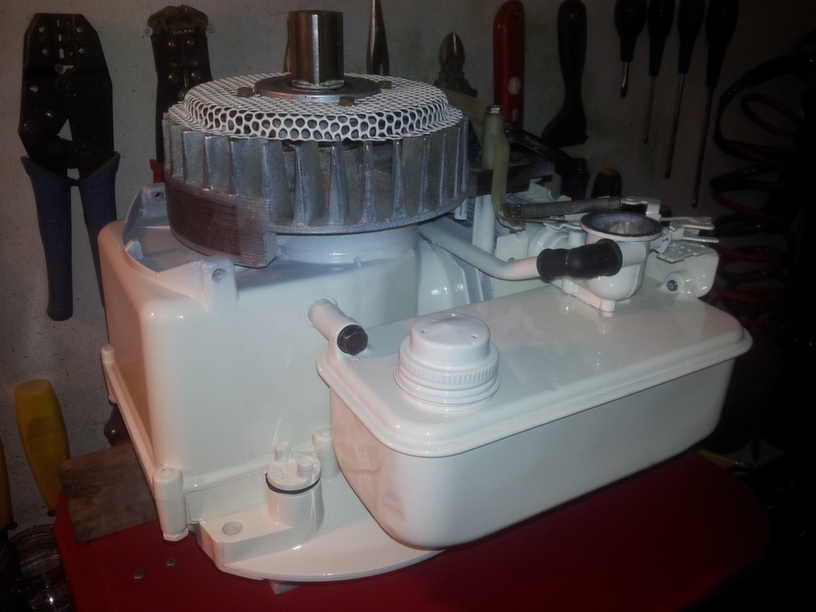
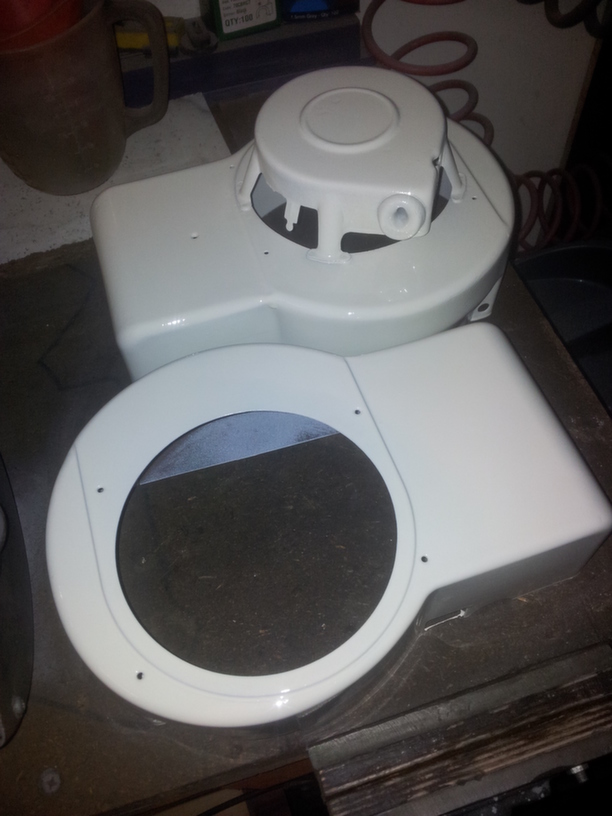
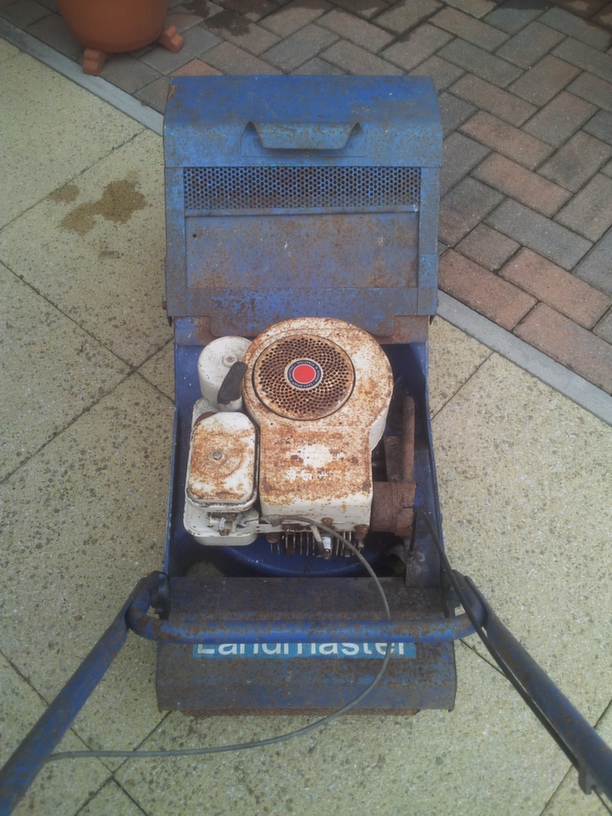
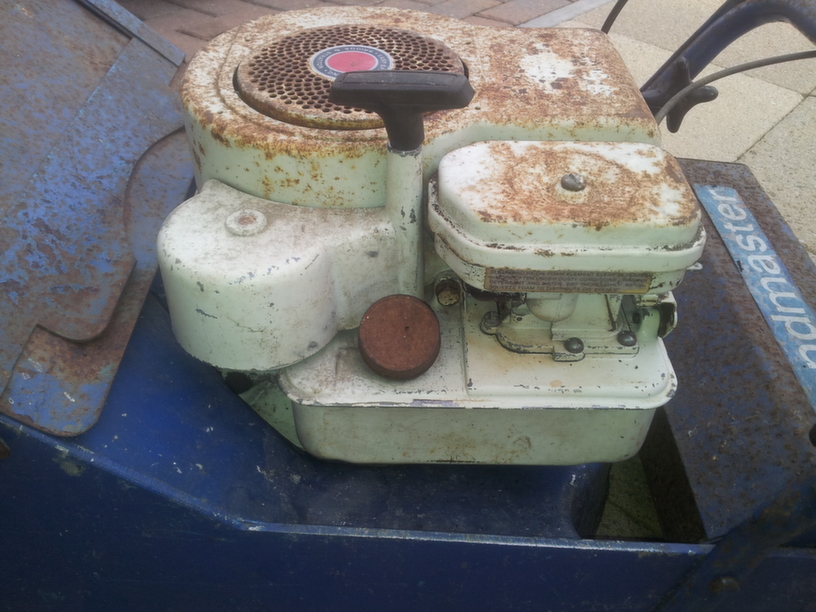
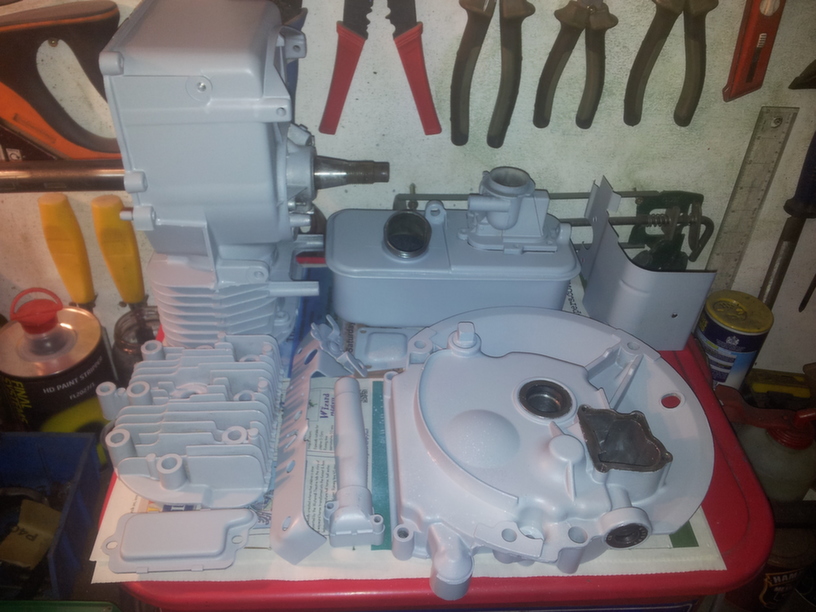
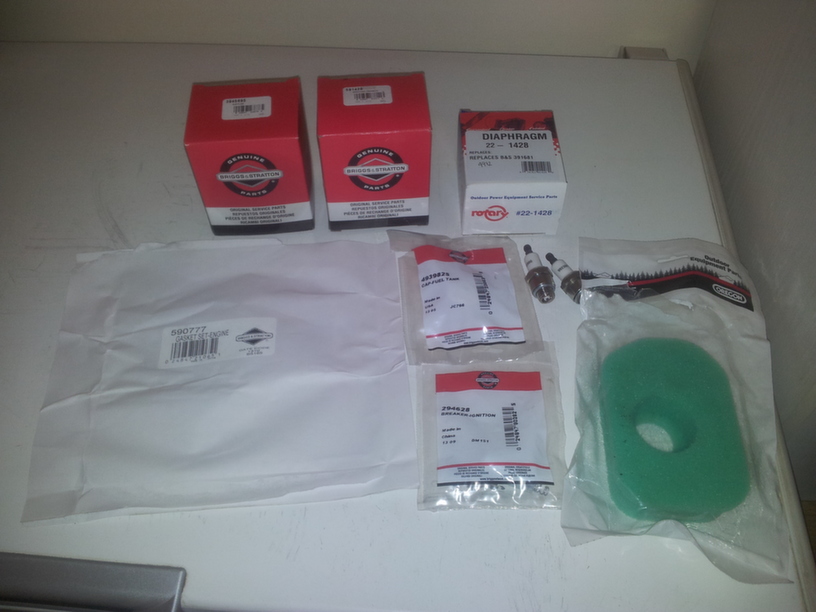
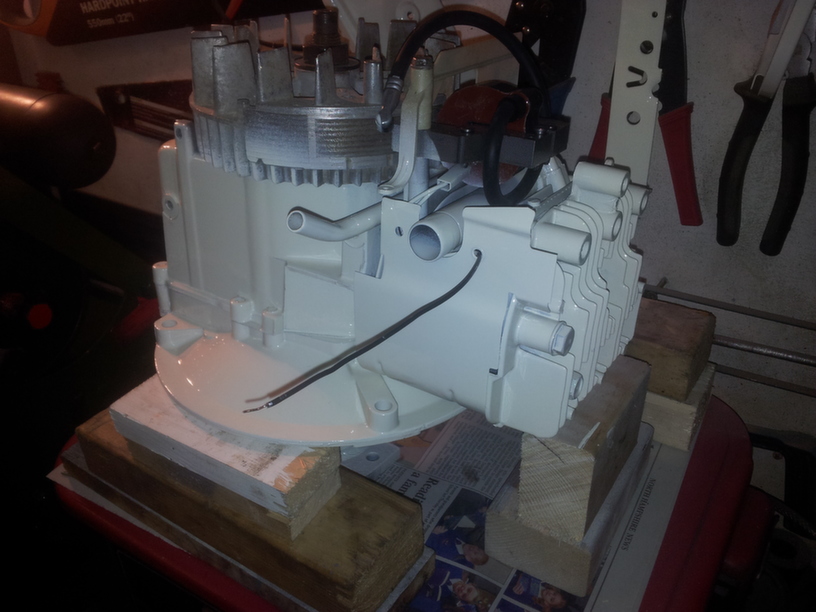
Unfortunately, this mower wouldn’t start, despite trying everything, it had fresh fuel, clean carb, flywheel magnets cleaned and air gap reset but no spark could be produced! I suspected the points, condensor or the magneto armature. As this one wouldn’t run and it was an untested engine I decided to strip it down completely, remove all the old paint and inpsect the internals before spending any money on spares.
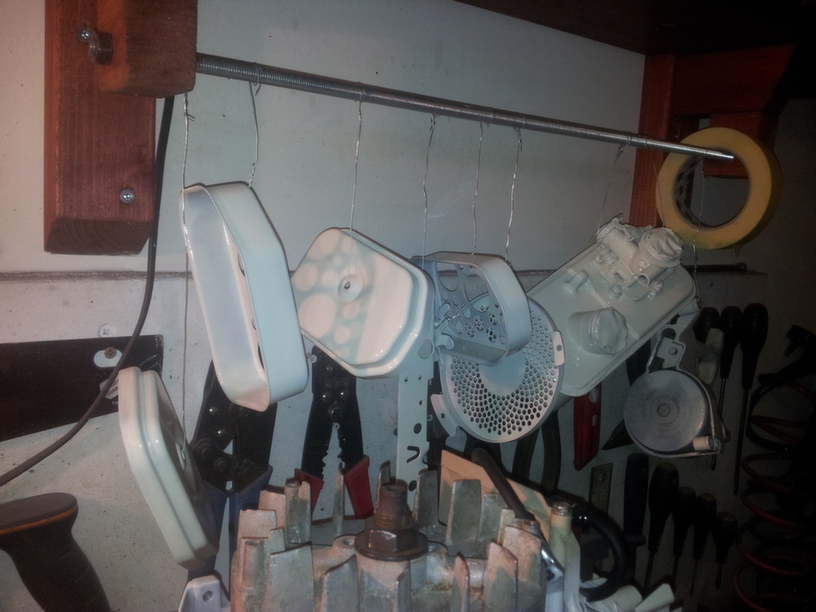
April 12, 2014 at 7:54 pm #7424darmic1
ParticipantUpon inspection it was found to be in excellent shape internally. So I went ahead and ordered all these bits. Including Full gasket set, New electronic ignition Magneto armature, thus doing away with the points and condenser. Replacement air filter, exhaust, spark plug, fuel cap and carb kit. I then etch primed the engine and reassembled it using the new parts. Very pleased to report a good healthy spark now.
April 12, 2014 at 7:57 pm #7428darmic1
ParticipantApril 12, 2014 at 8:01 pm #7431darmic1
ParticipantApril 13, 2014 at 6:58 am #7439charlie
KeymasterDarren a great job, always good to see something different.
-
AuthorPosts
- You must be logged in to reply to this topic.