Forum Replies Created
-
AuthorPosts
-
May 23, 2020 at 7:43 pm #34457
 trusty220Keymaster
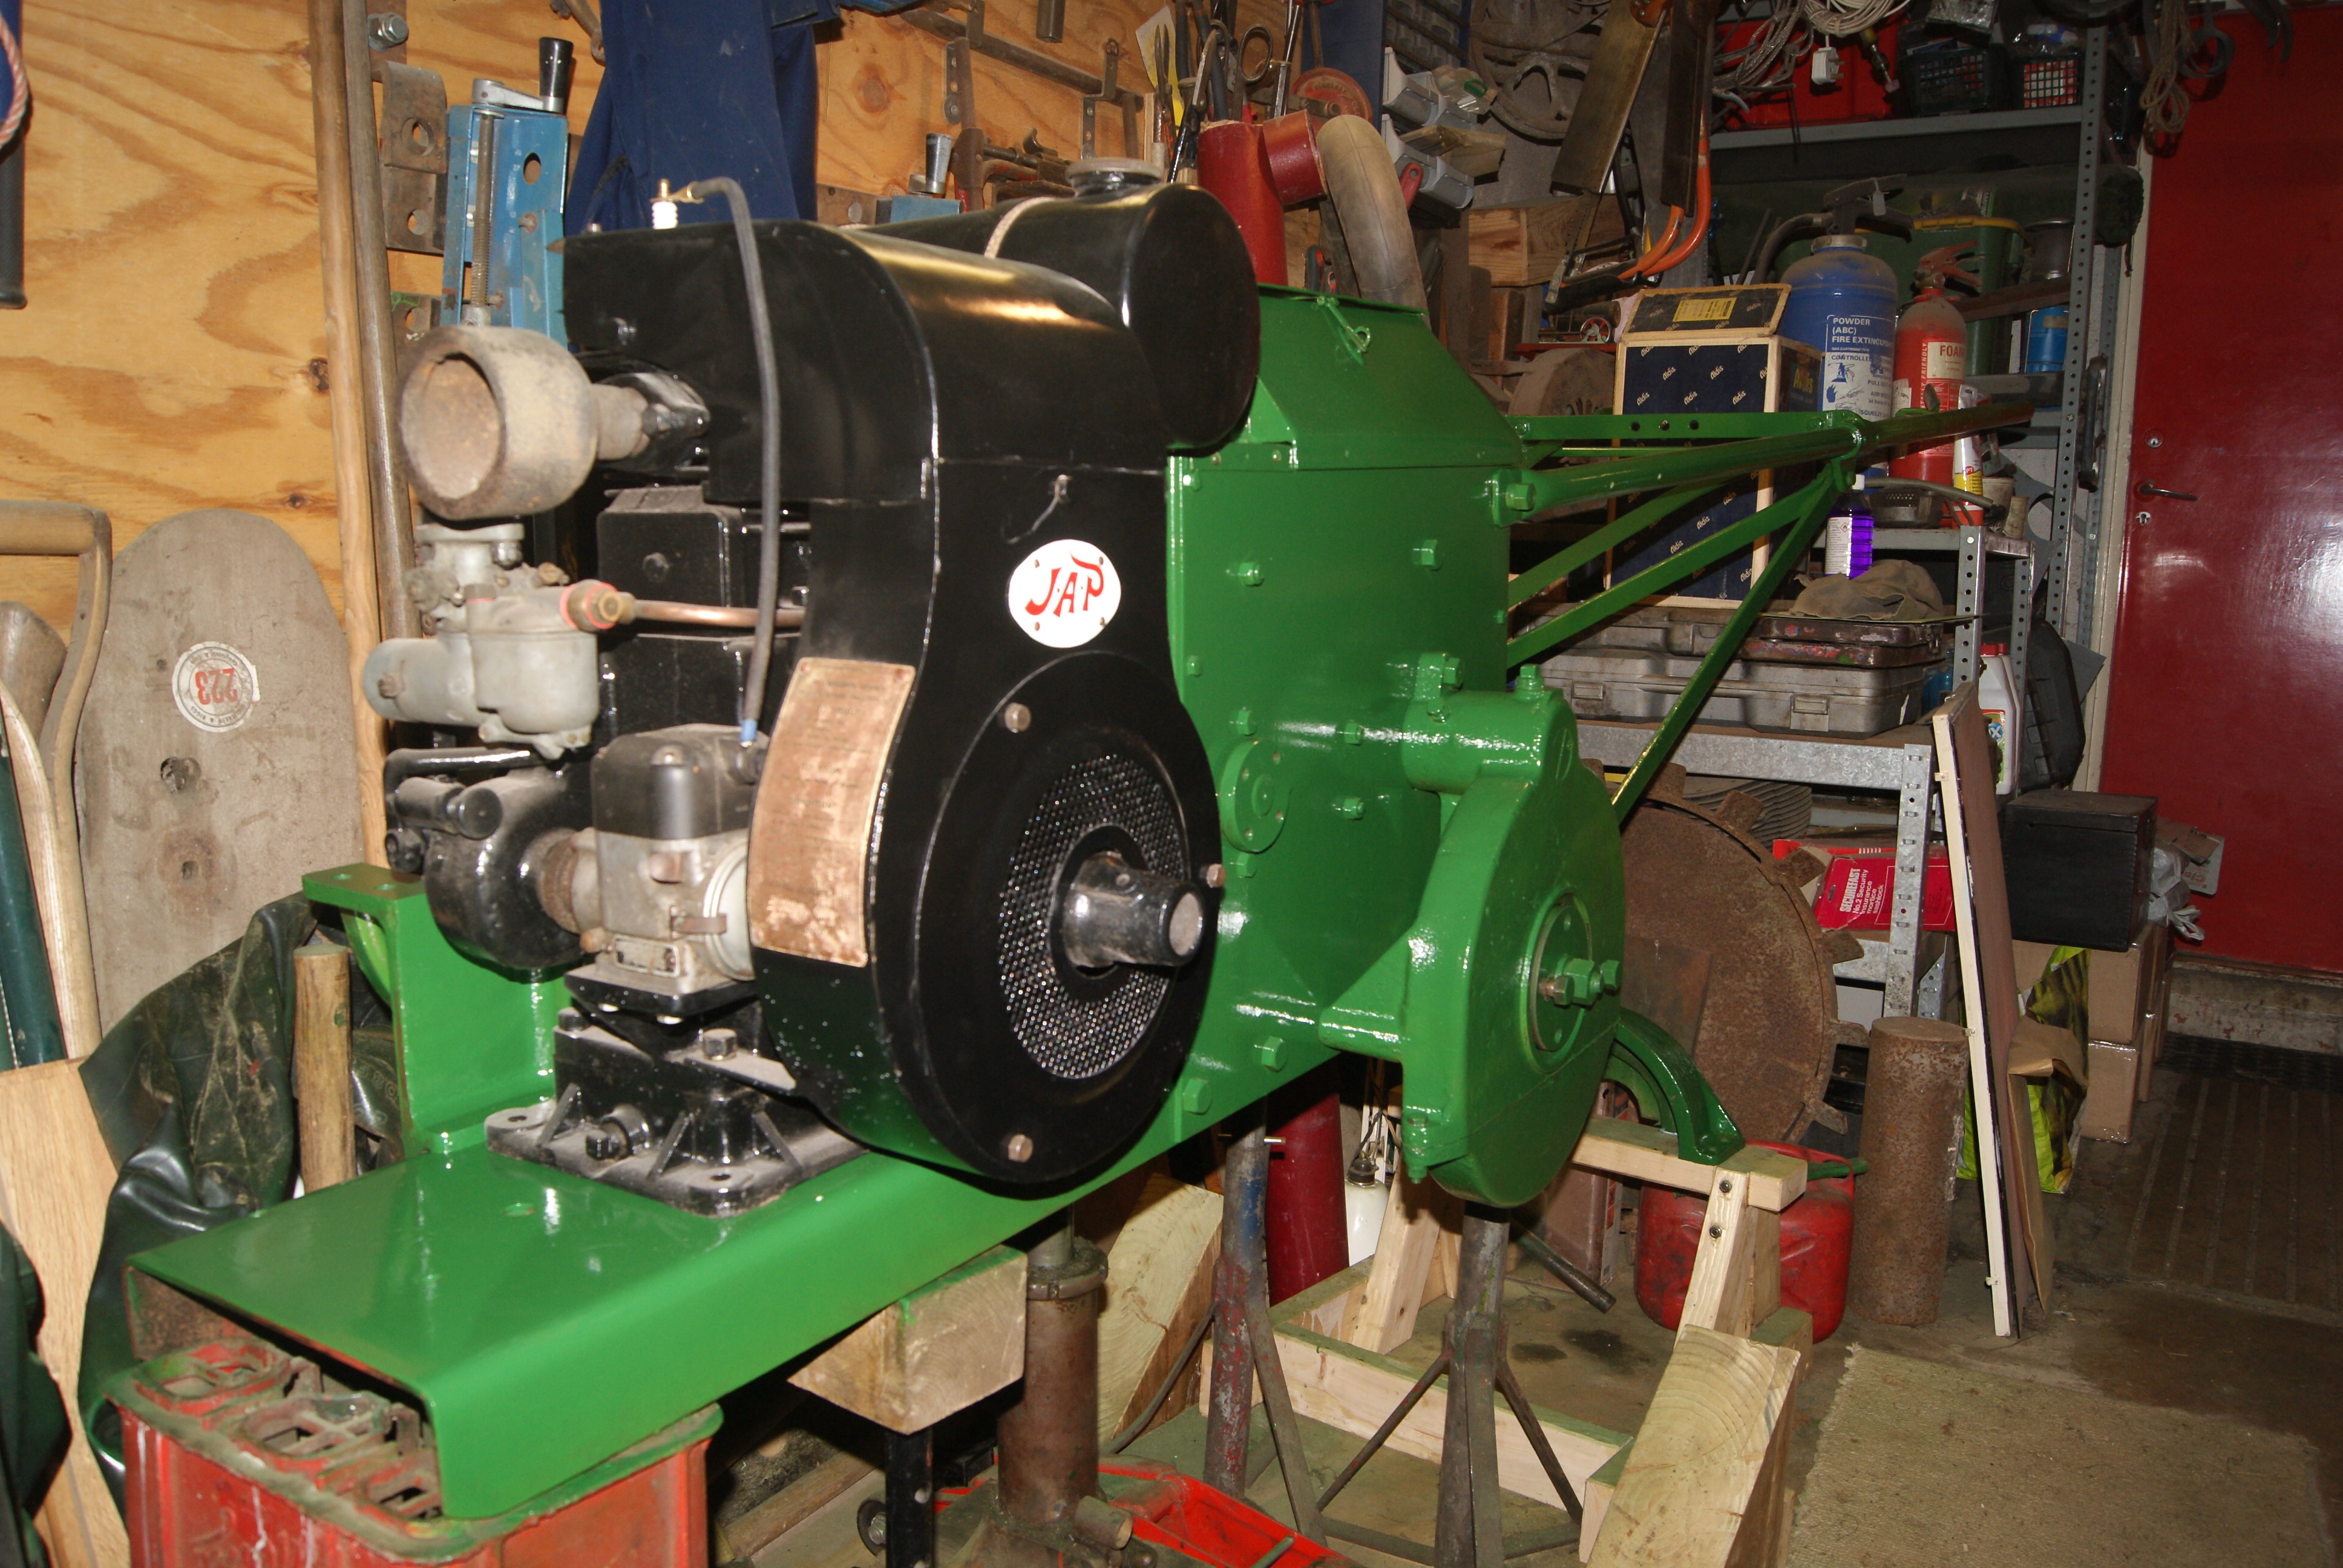
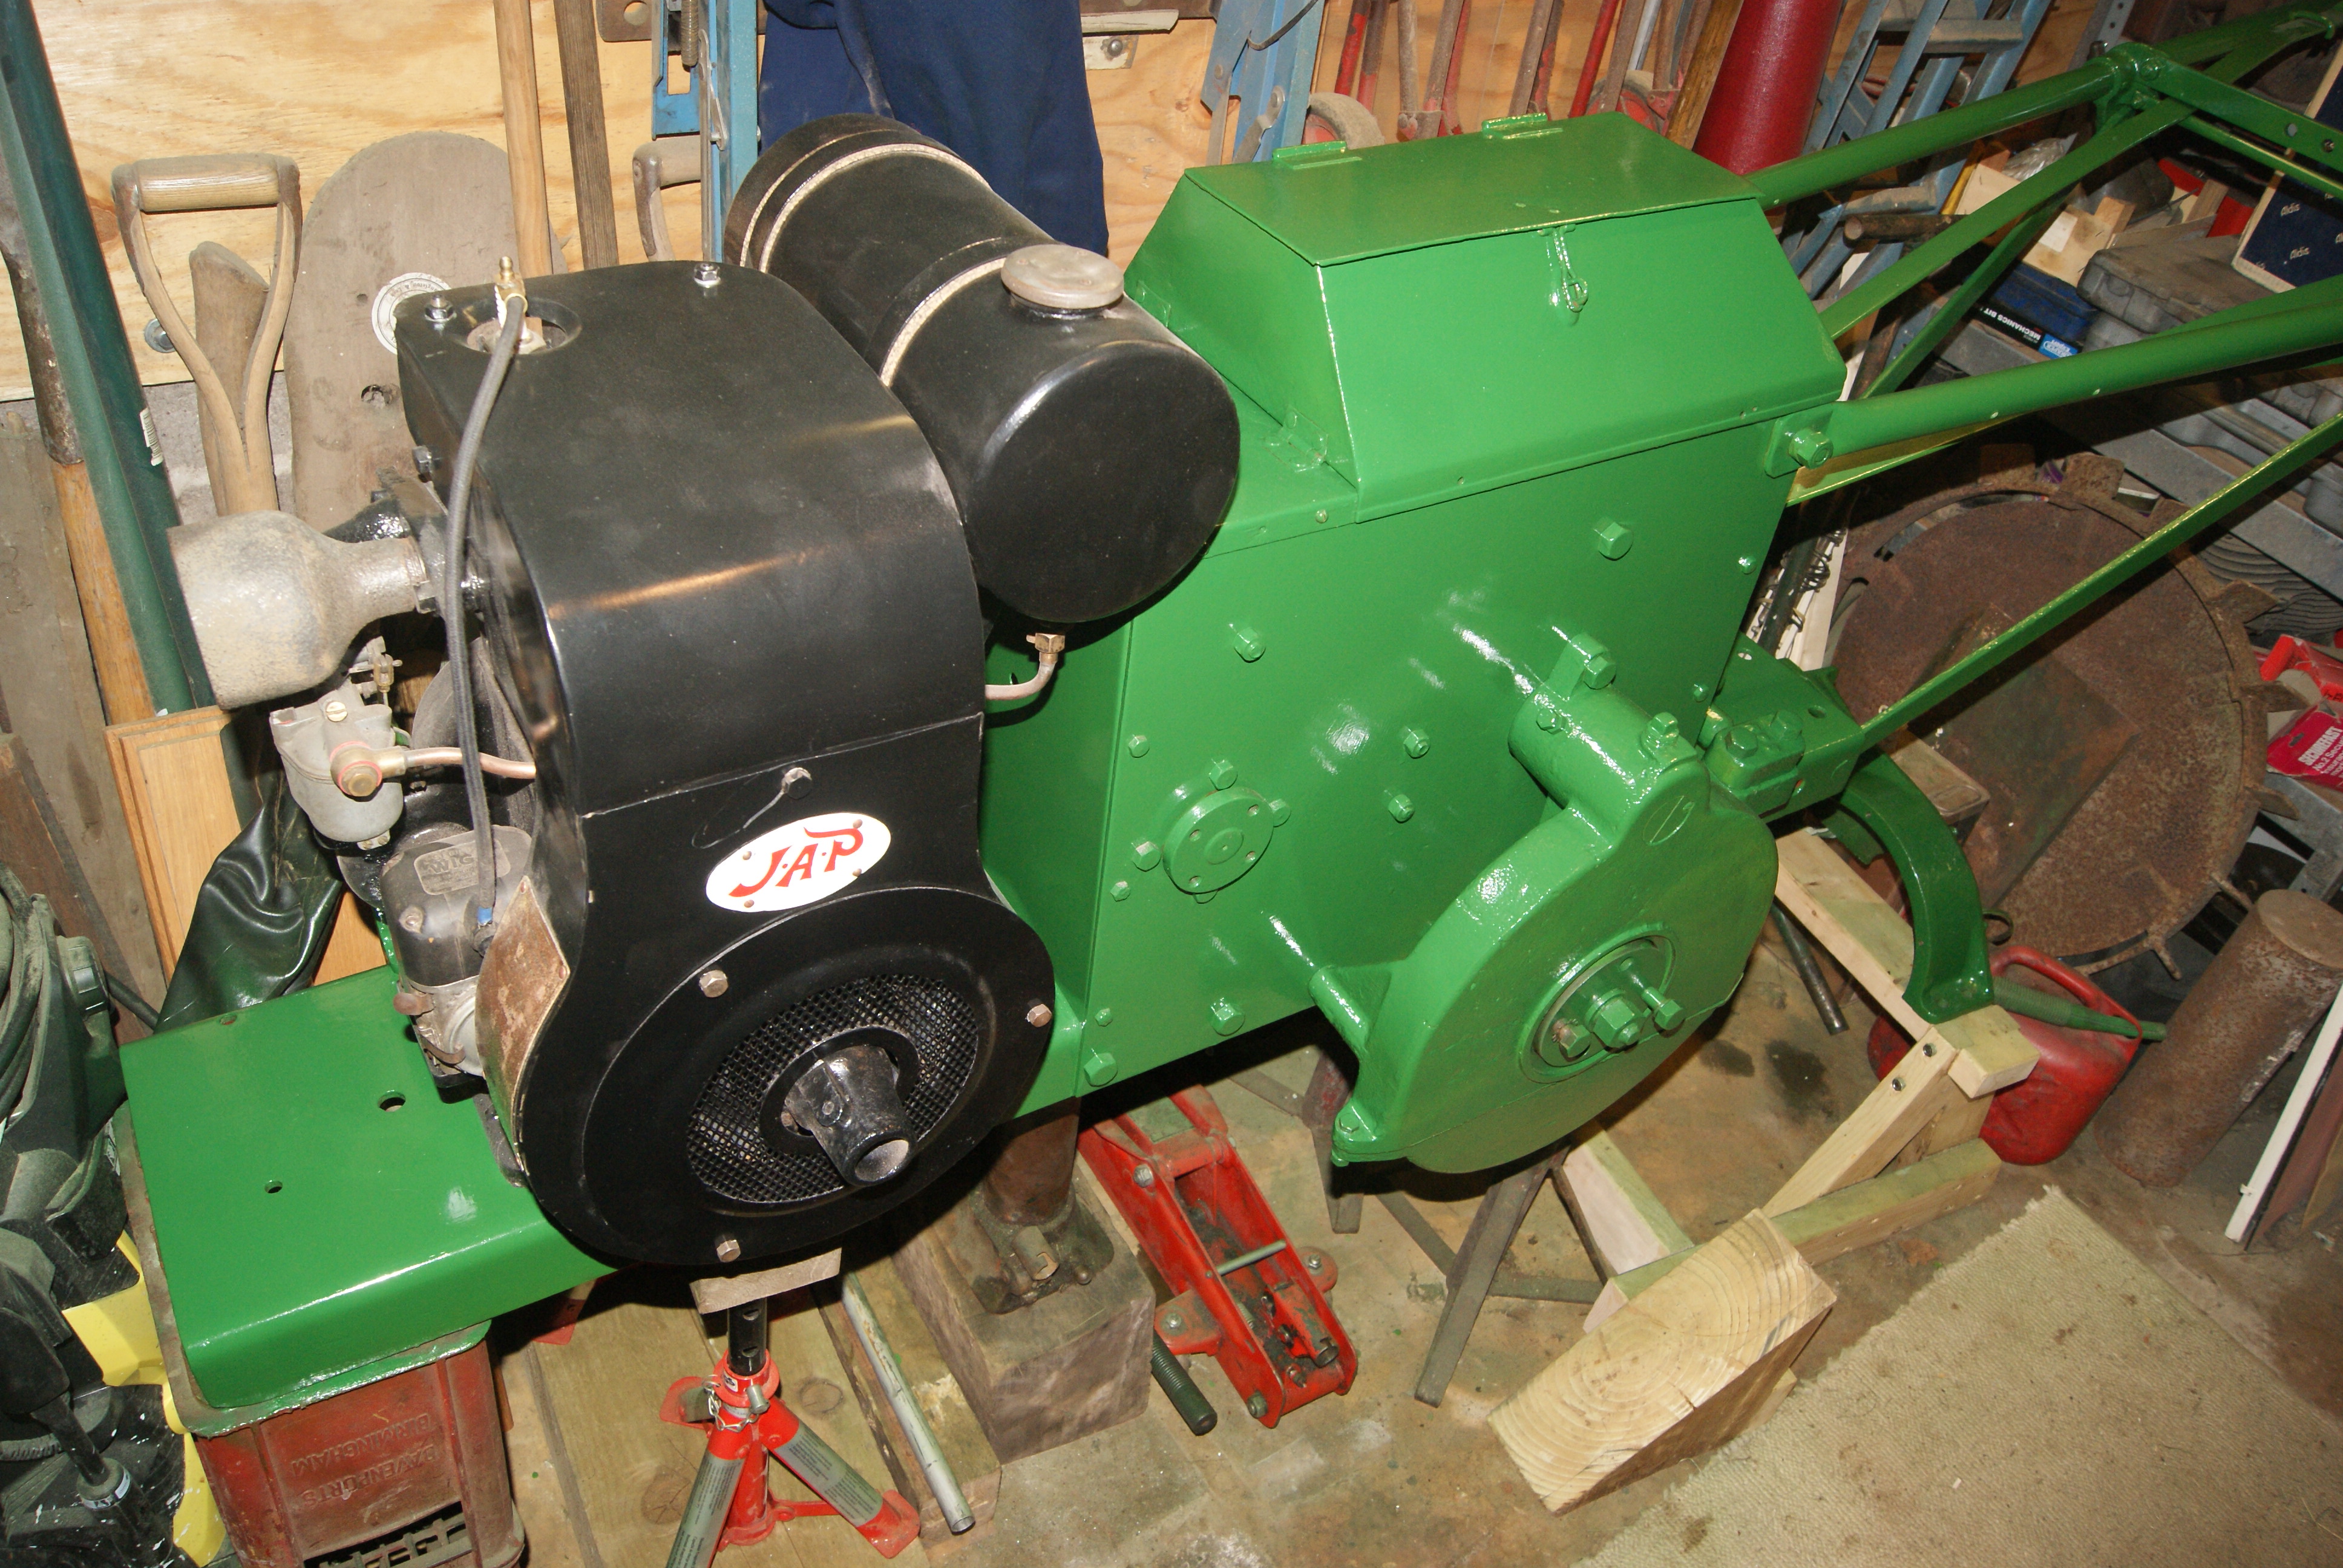
The engine is now in pieces in my garage. I decided to do a full rebuild on it rather than mess about doing bits and pieces. I can now get a brilliant spark just by turning the flywheel by hand, so that should help! One thing that I did find that was causing the trouble was the exhaust valve was coked up quite badly and not seating, so the valves have been cleaned up and new seats cut in the barrel.
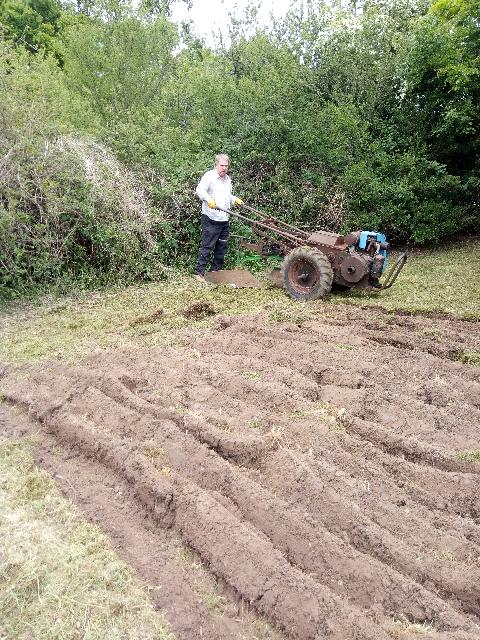
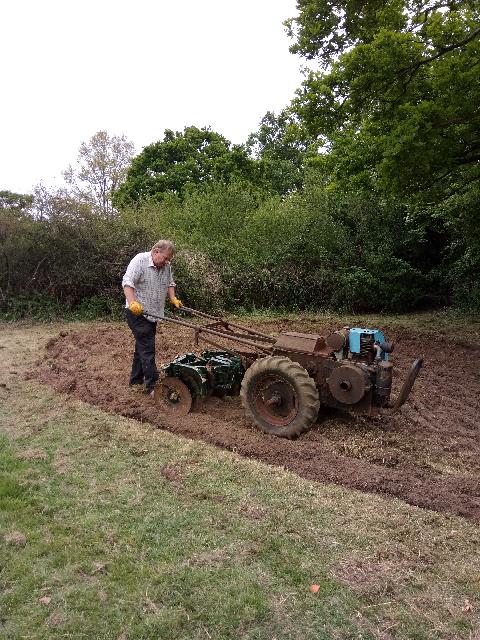
Re-assembly scheduled for tomorrow, so watch this space for progress. If it goes (and there’s no reason why it won’t) I’ll put the engine back on the Earthquake and rotavate the allotment. Then I’ll transfer the muck heap to the allotment and stir that in as well. Jean can then plant her spuds in that, so we may have some for Christmas dinner!
Rhubarb and custard for pudding as well, maybe? Potatoes and rhubarb should clean the ground up nicely without having to hoe too much.
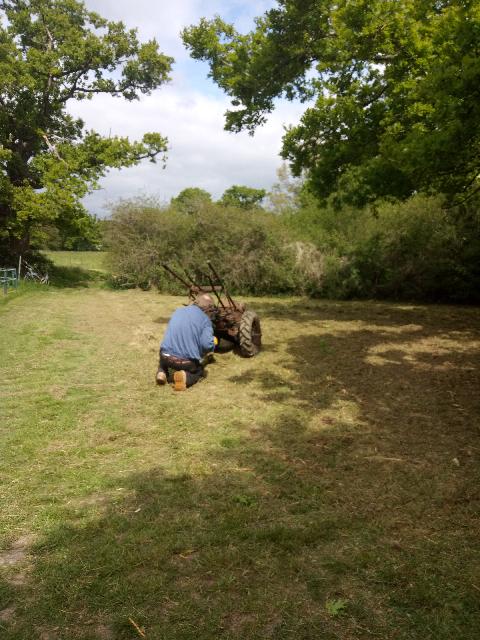
May 20, 2020 at 7:36 pm #34433trusty220KeymasterI’ve been struggling to get the Earthquake to run today. Outside in the bright sun from 9 o’clock this morning until 1 o’clock I’m now very brown, covered in oil and stinky! By 1 o’clock I’d had enough so I’ve left it to carry on with tomorrow.
The Earthquake isn’t the easiest of machines to work on. To remove the cowling off the Villiers 25 you have to remove the clutch lever cover- to do this you have to take the right hand wheel off. You can see why I called it a day! I’m not in any hurry after all and I can soak the ground with the water bowser once the spuds are in, so I’m not racing the weather either.
May 19, 2020 at 9:16 am #34423trusty220KeymasterThose were my thoughts exactly. I think these are going to be late-lates!
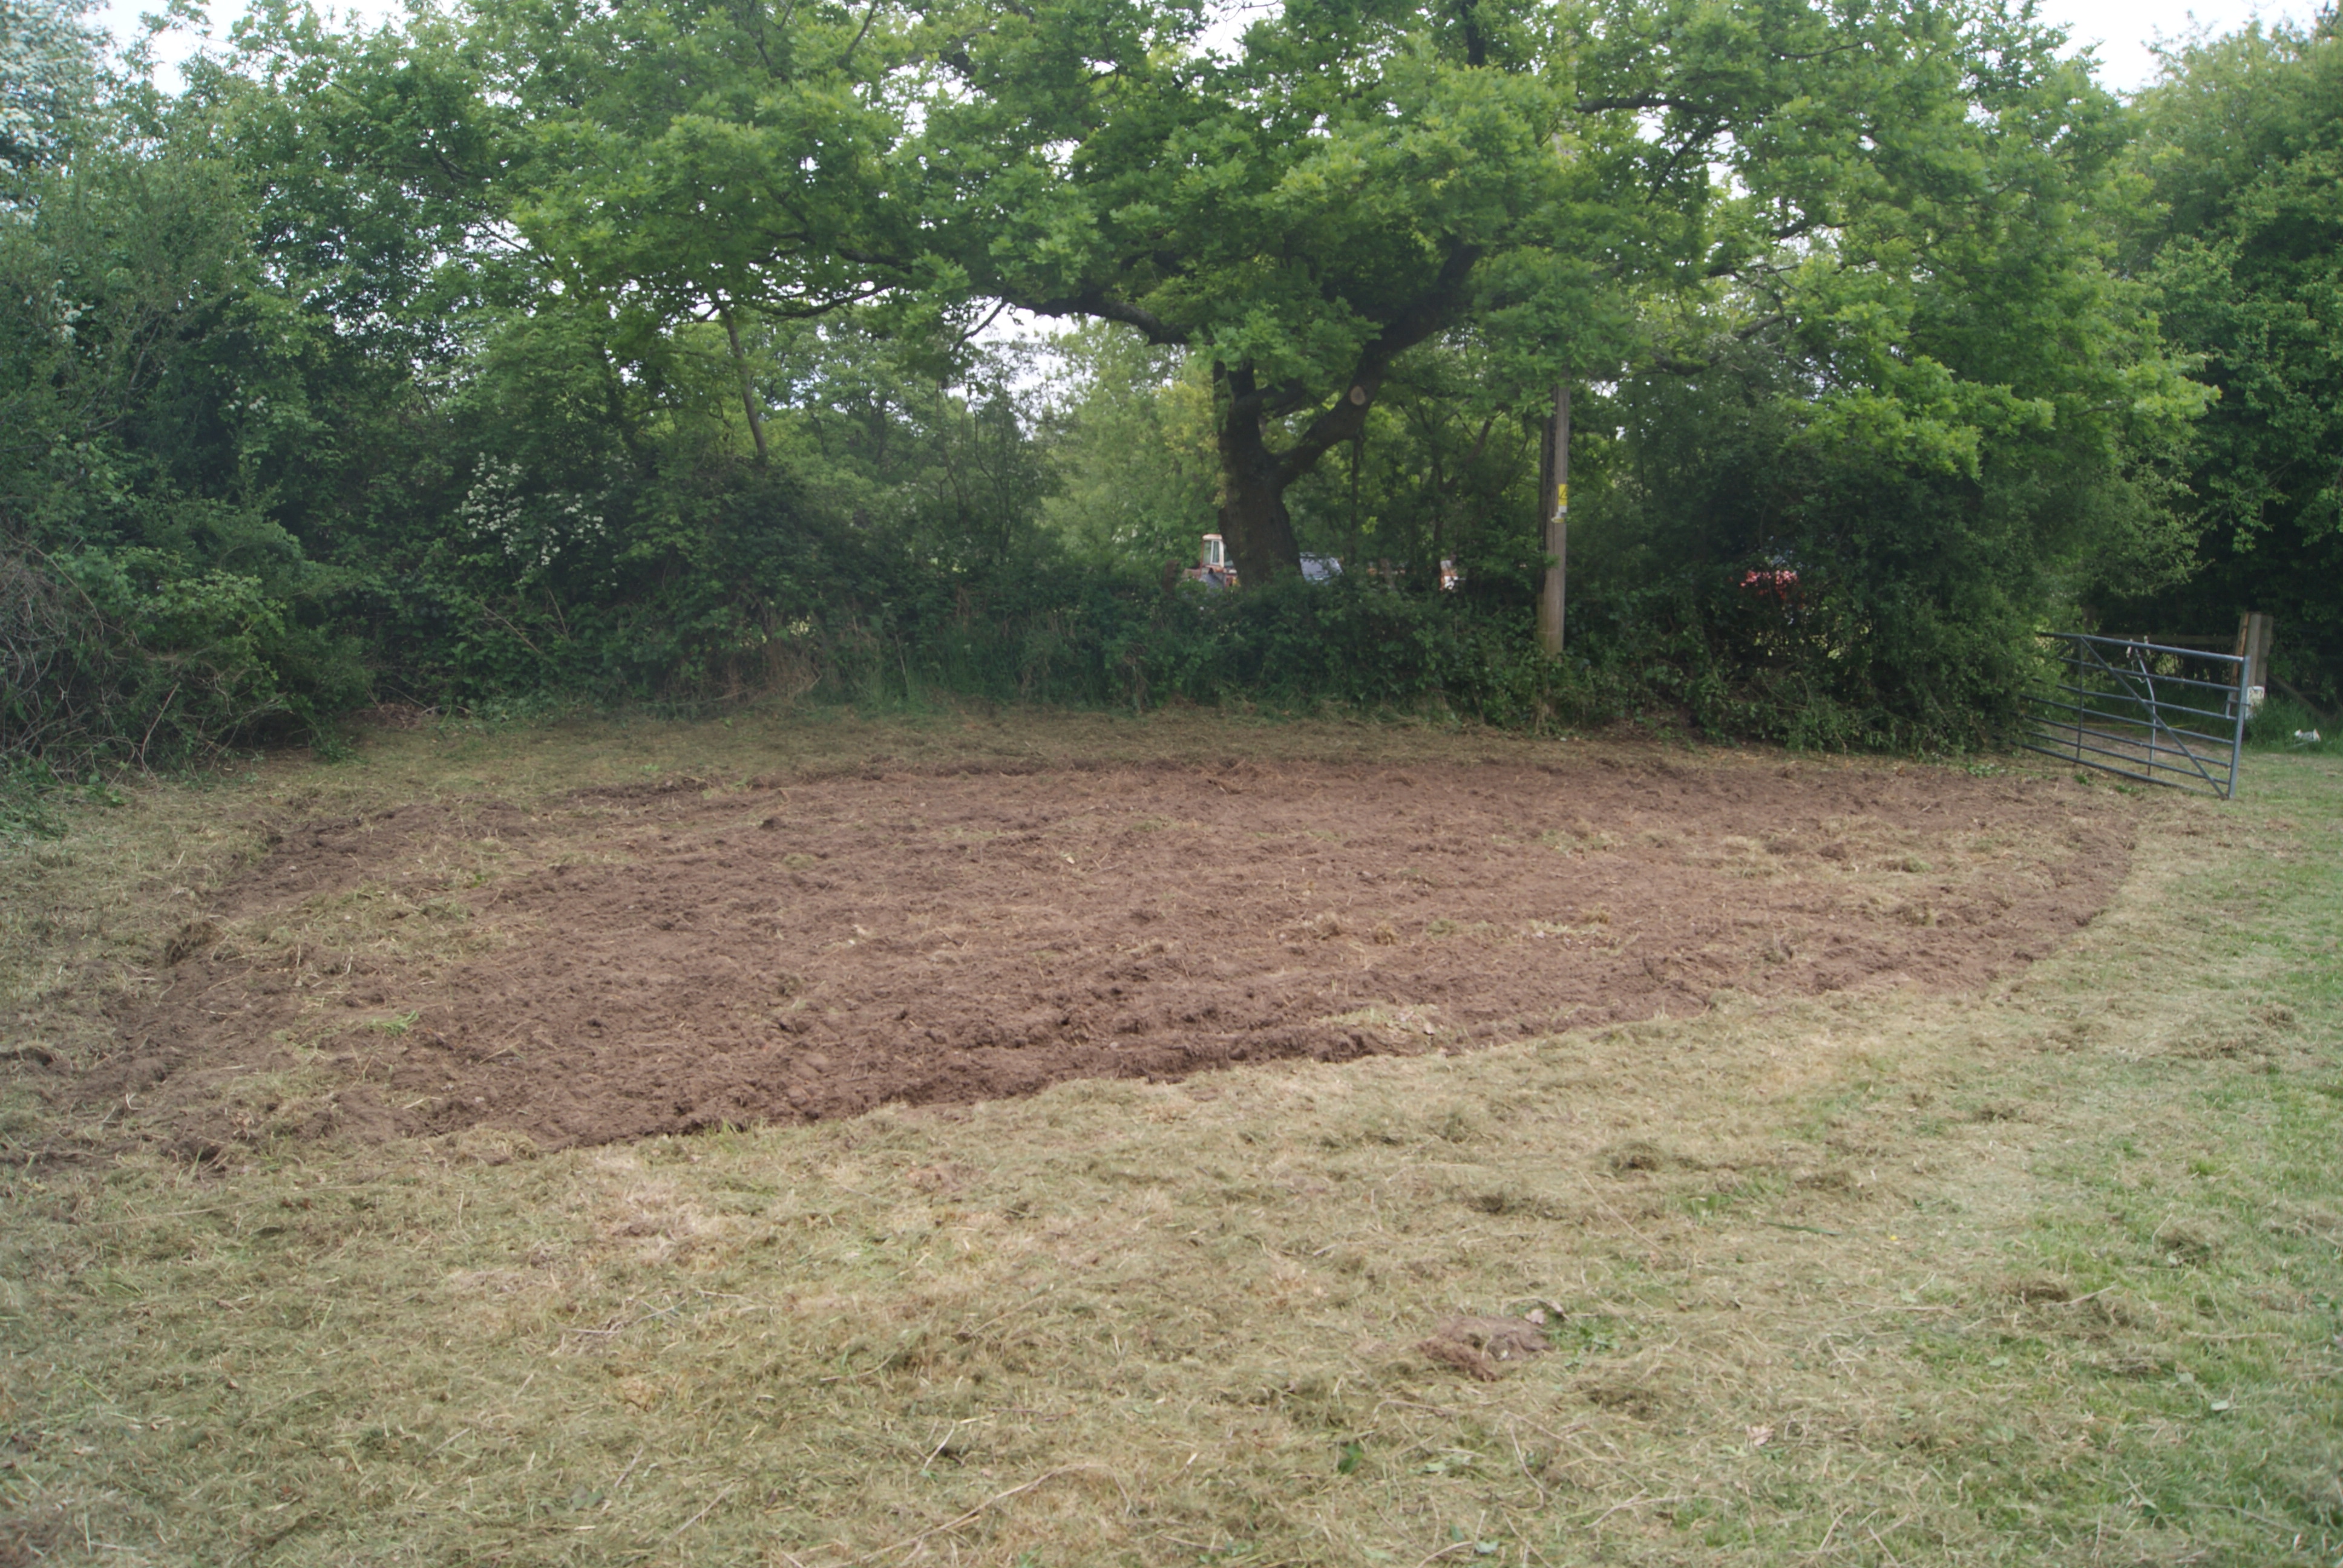
Top of the list of things to do is going to be servicing the Trusty Earthquake so that I can chop up some of the fibre in the soil, then I’ll dump a Trailer load of horse muck on it and turn that in. That should give the potatoes something to get their teeth into!
May 17, 2020 at 9:54 am #34381trusty220KeymasterPlease accept my apologies for the lack of pictures- I think I must be at the end of the line and everyone was online last night so the pictures wouldn’t load.
Here goes, try again!
Attachments:
May 14, 2020 at 1:47 pm #34347trusty220KeymasterSo sorry to hear about this latest event.
When I had an allotment I found the only way to keep hold of tools was to take them home with me. A bit of a fad but cheapest in the end. What a shame people can’t leave well alone and respect other people’s property.
I’ll keep a weather eye open on the auction site for your missing items. I feel sure that others will do likewise.
May 11, 2020 at 8:27 pm #34312trusty220KeymasterOne thing that I forgot to put on the list was the pair of steel wheels. When I had to clear out of my late father’s workshop one of the first things I did was take the wheels to the shot blasters to get them out of the way temporarily. They are still there, waiting to be done because I told the owner that I wasn’t in any hurry!
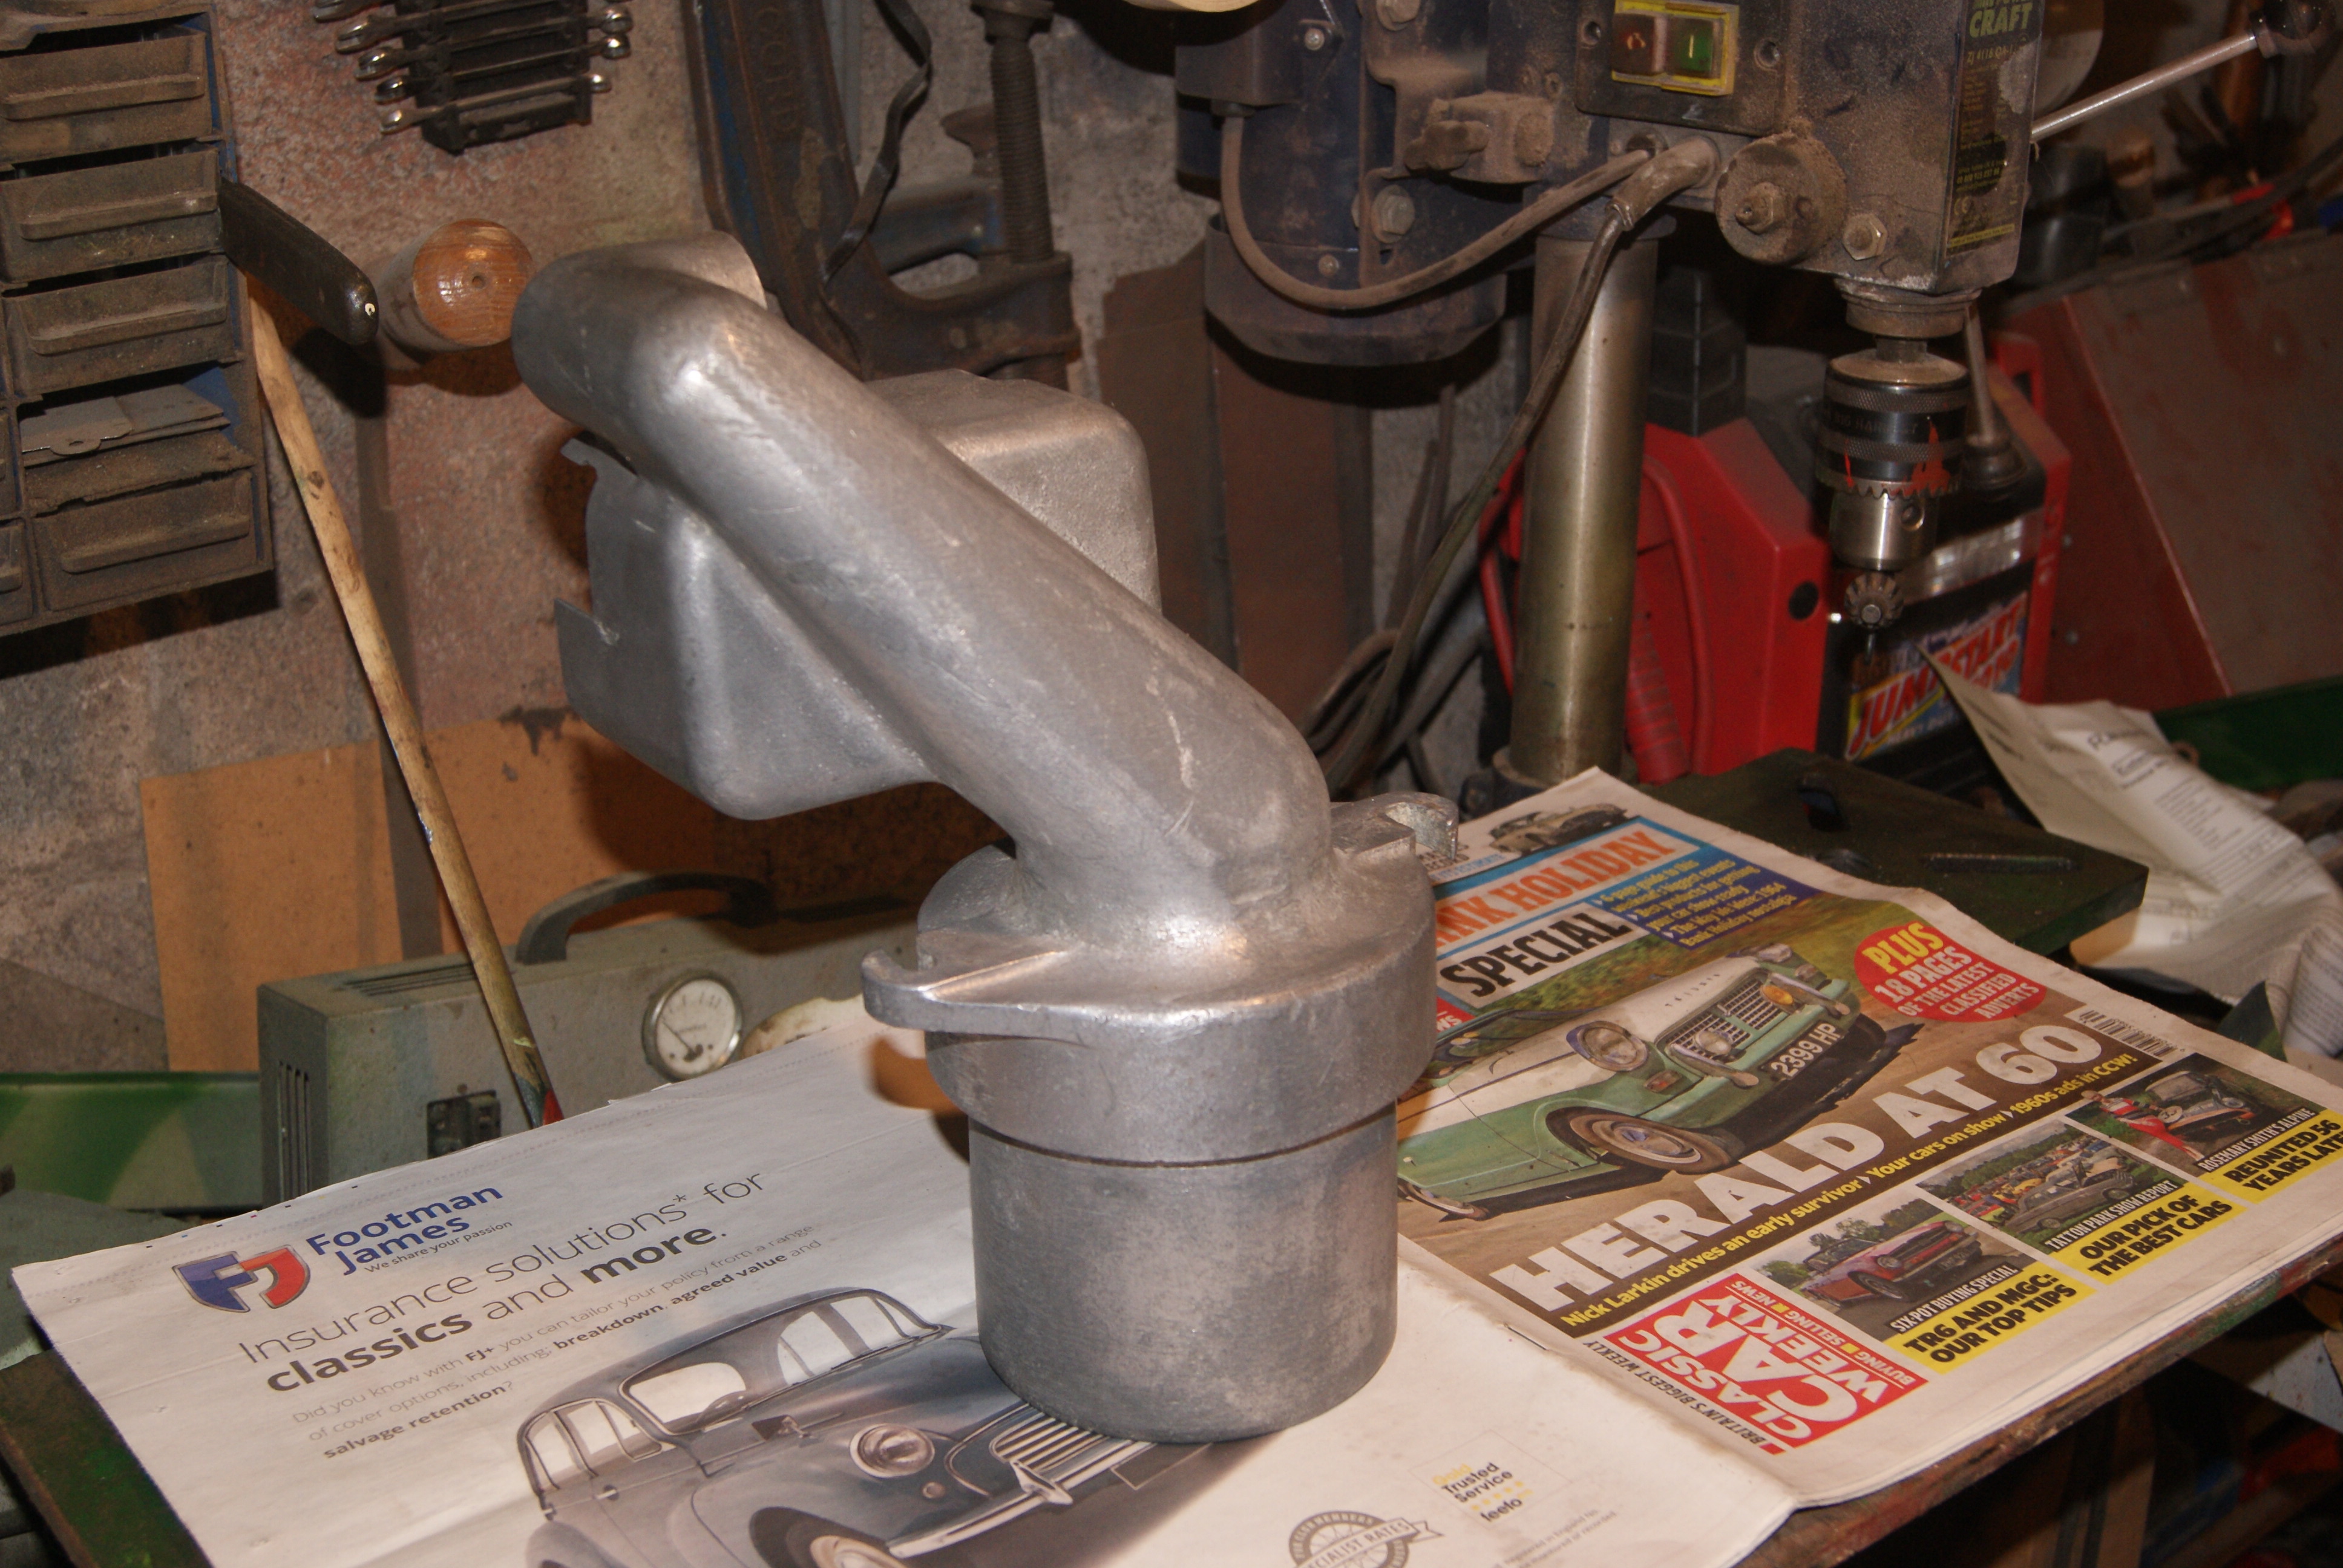
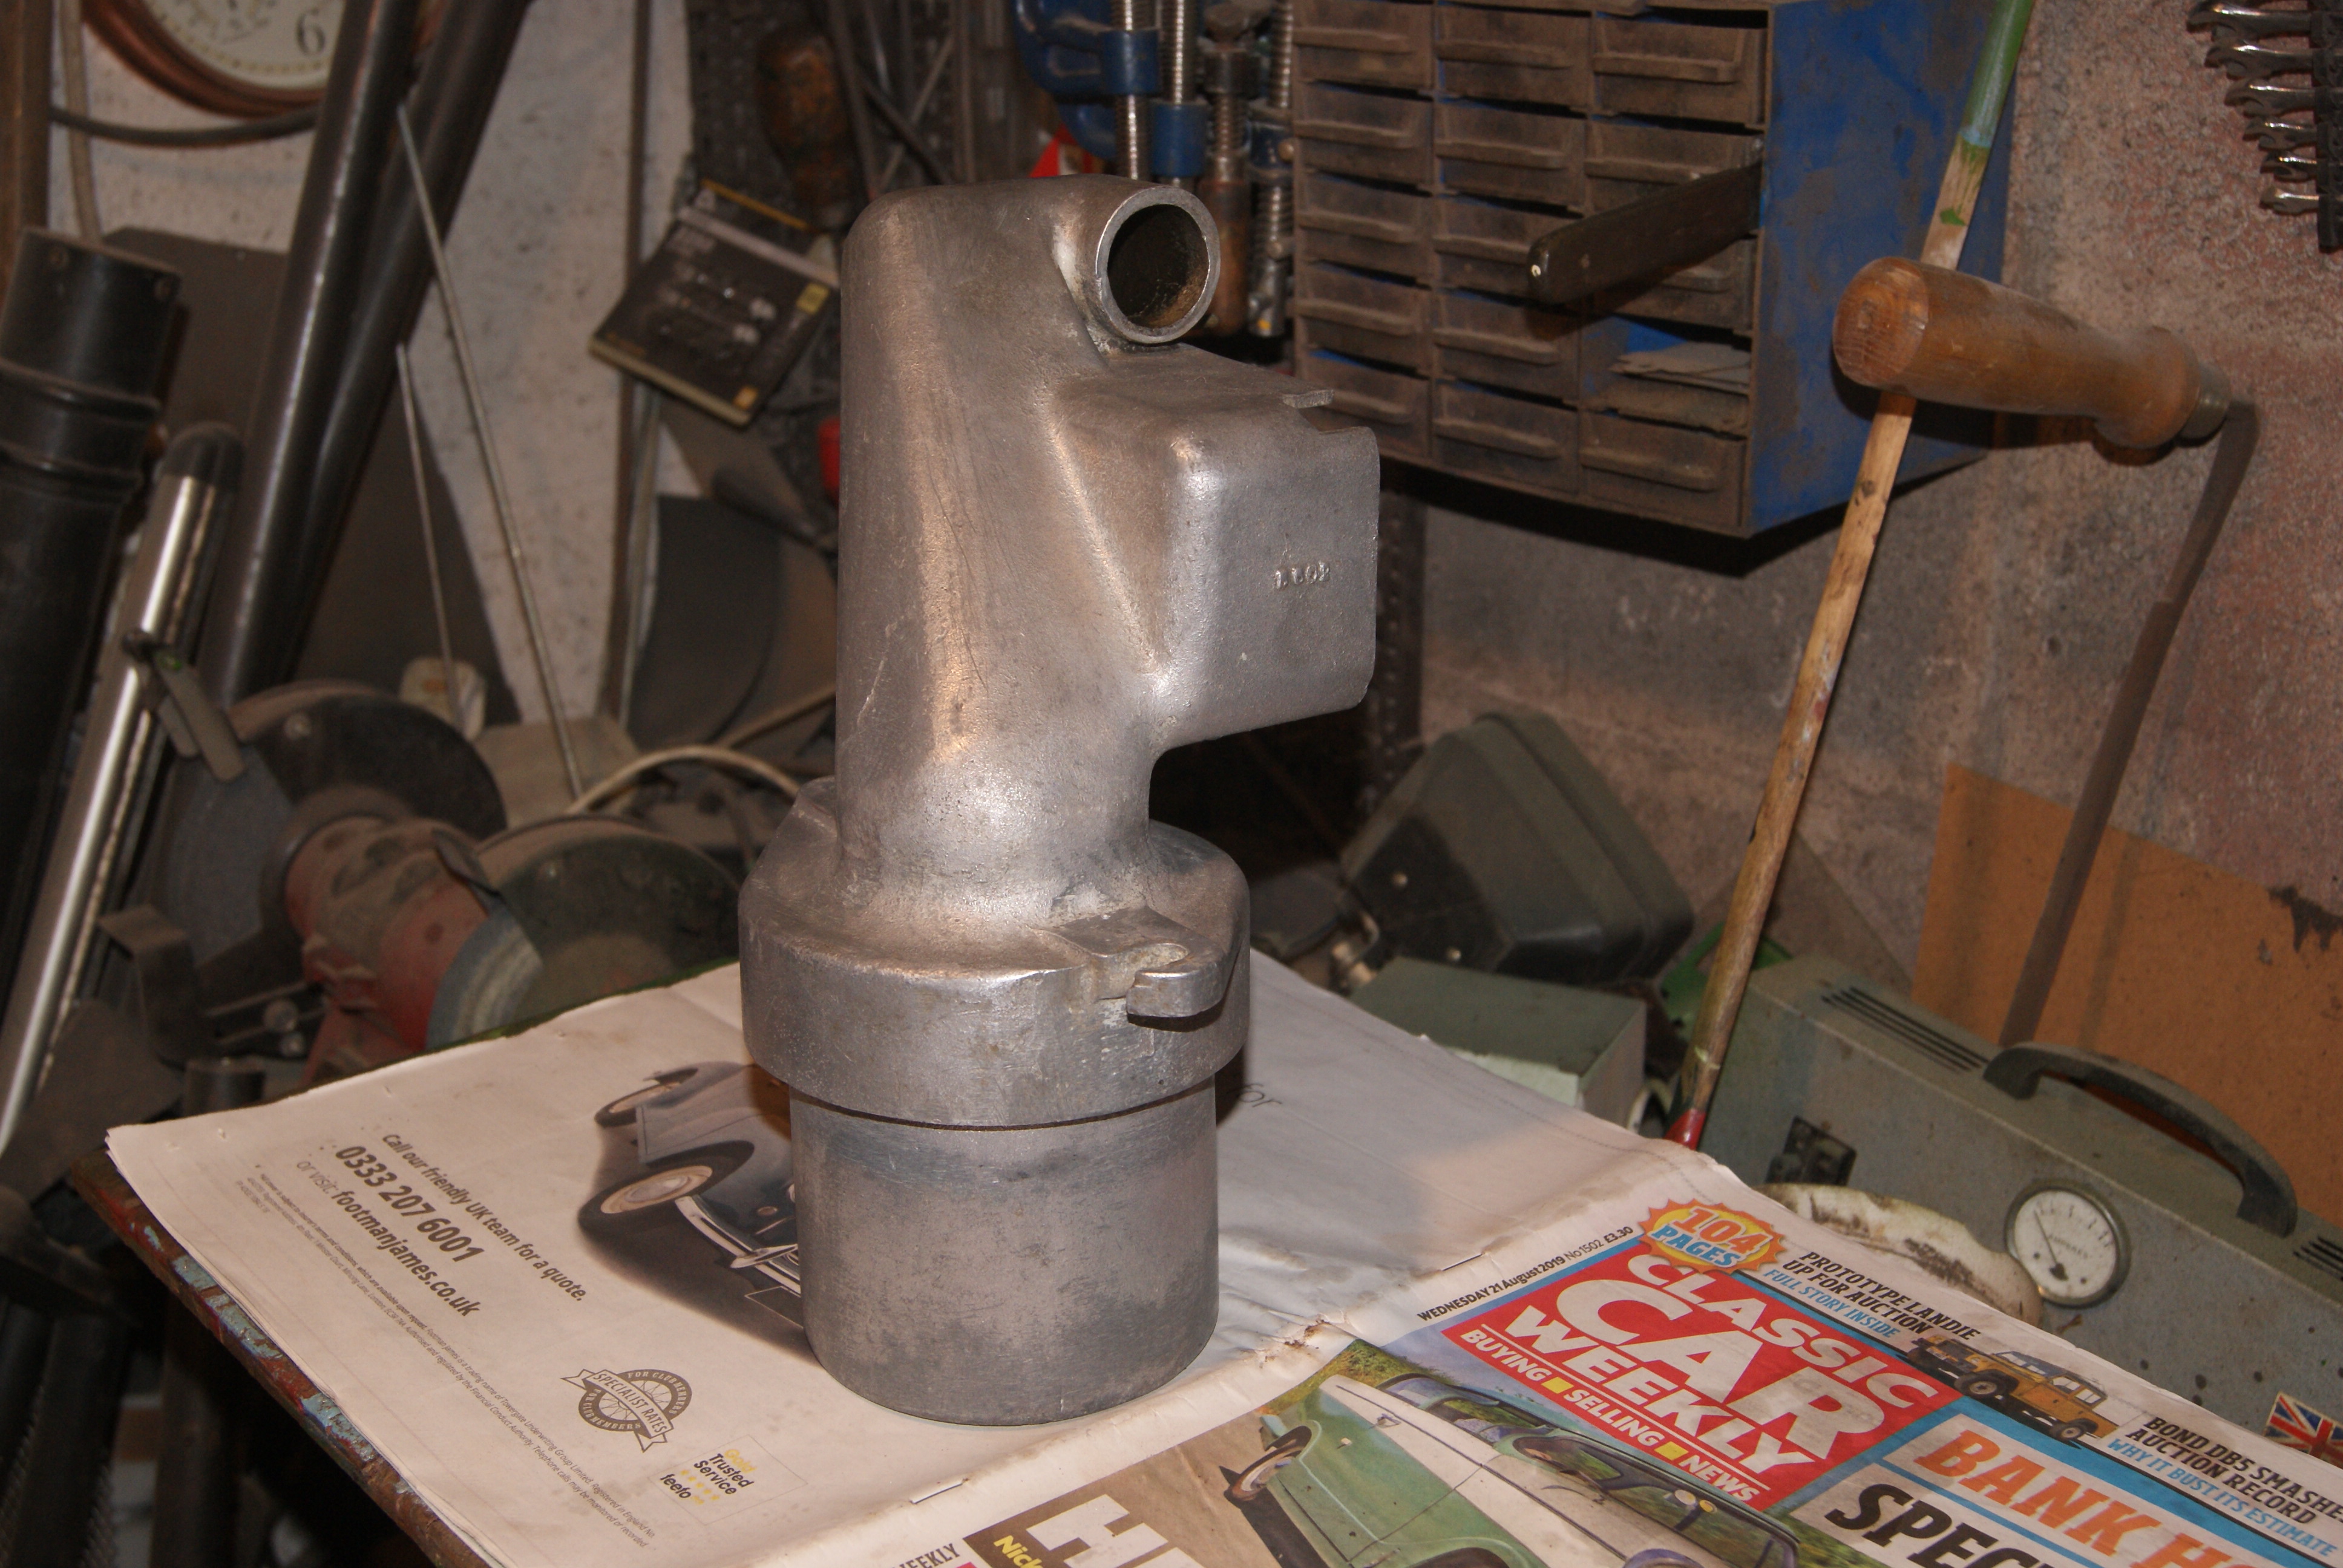
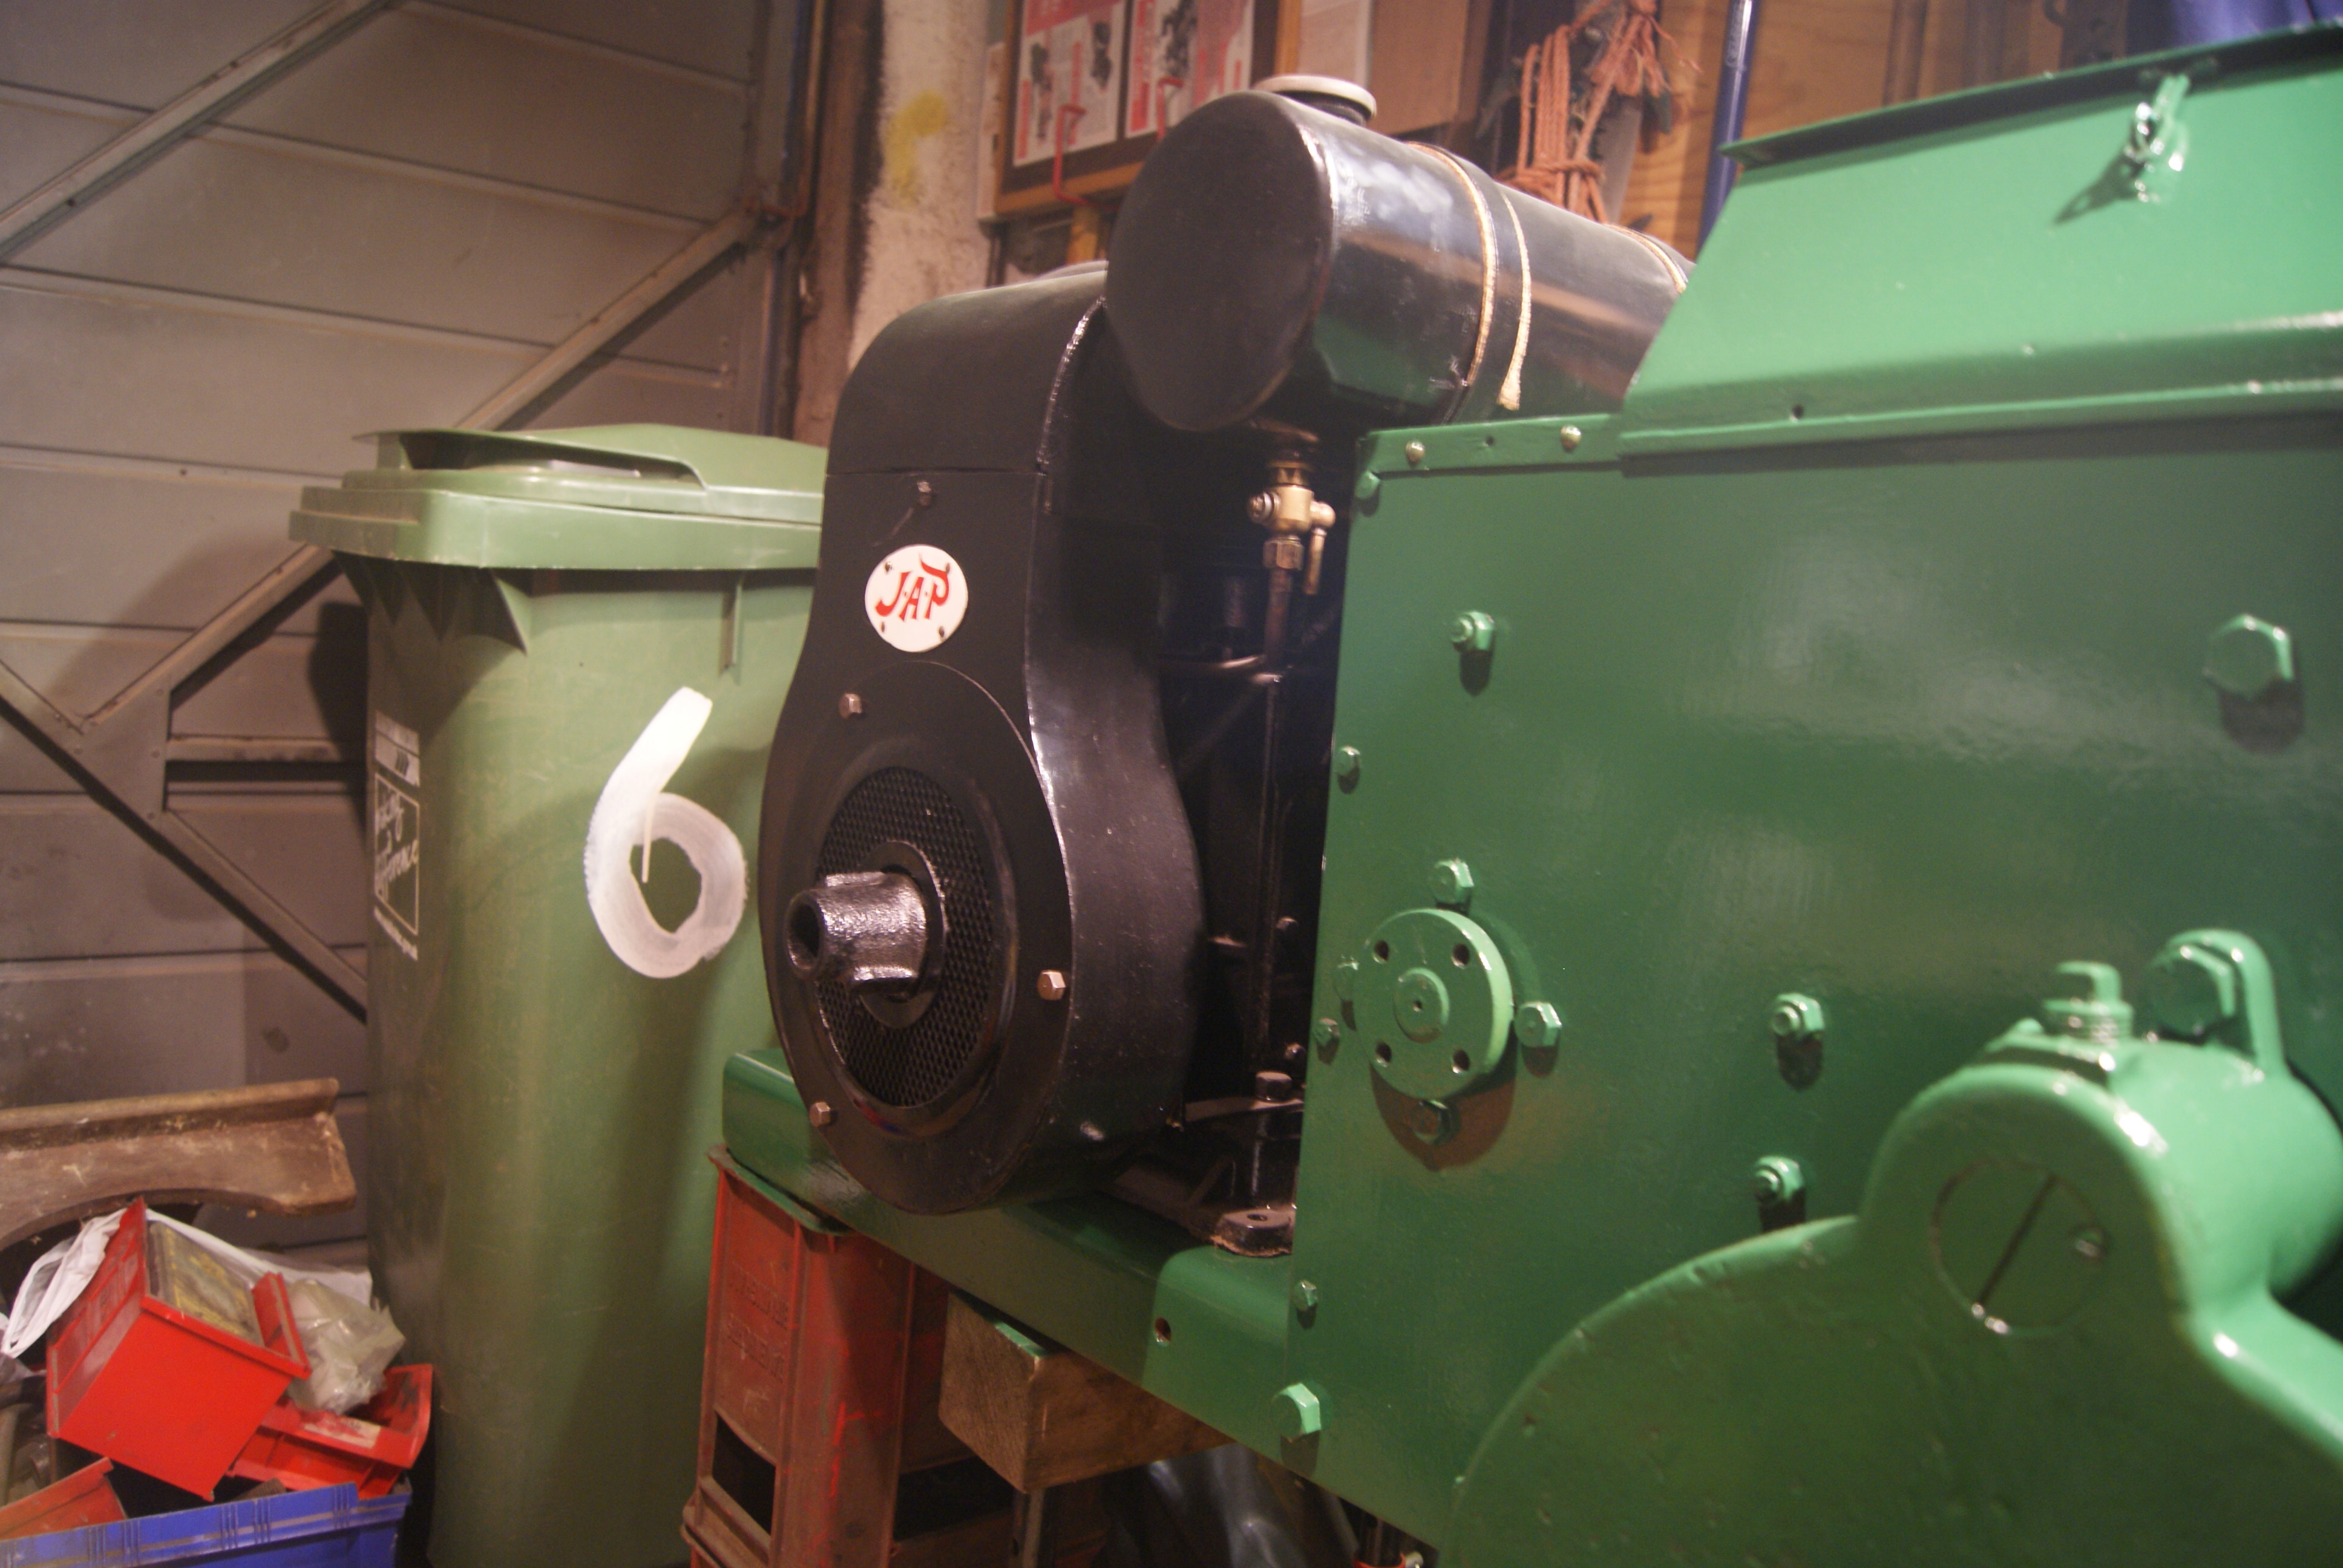
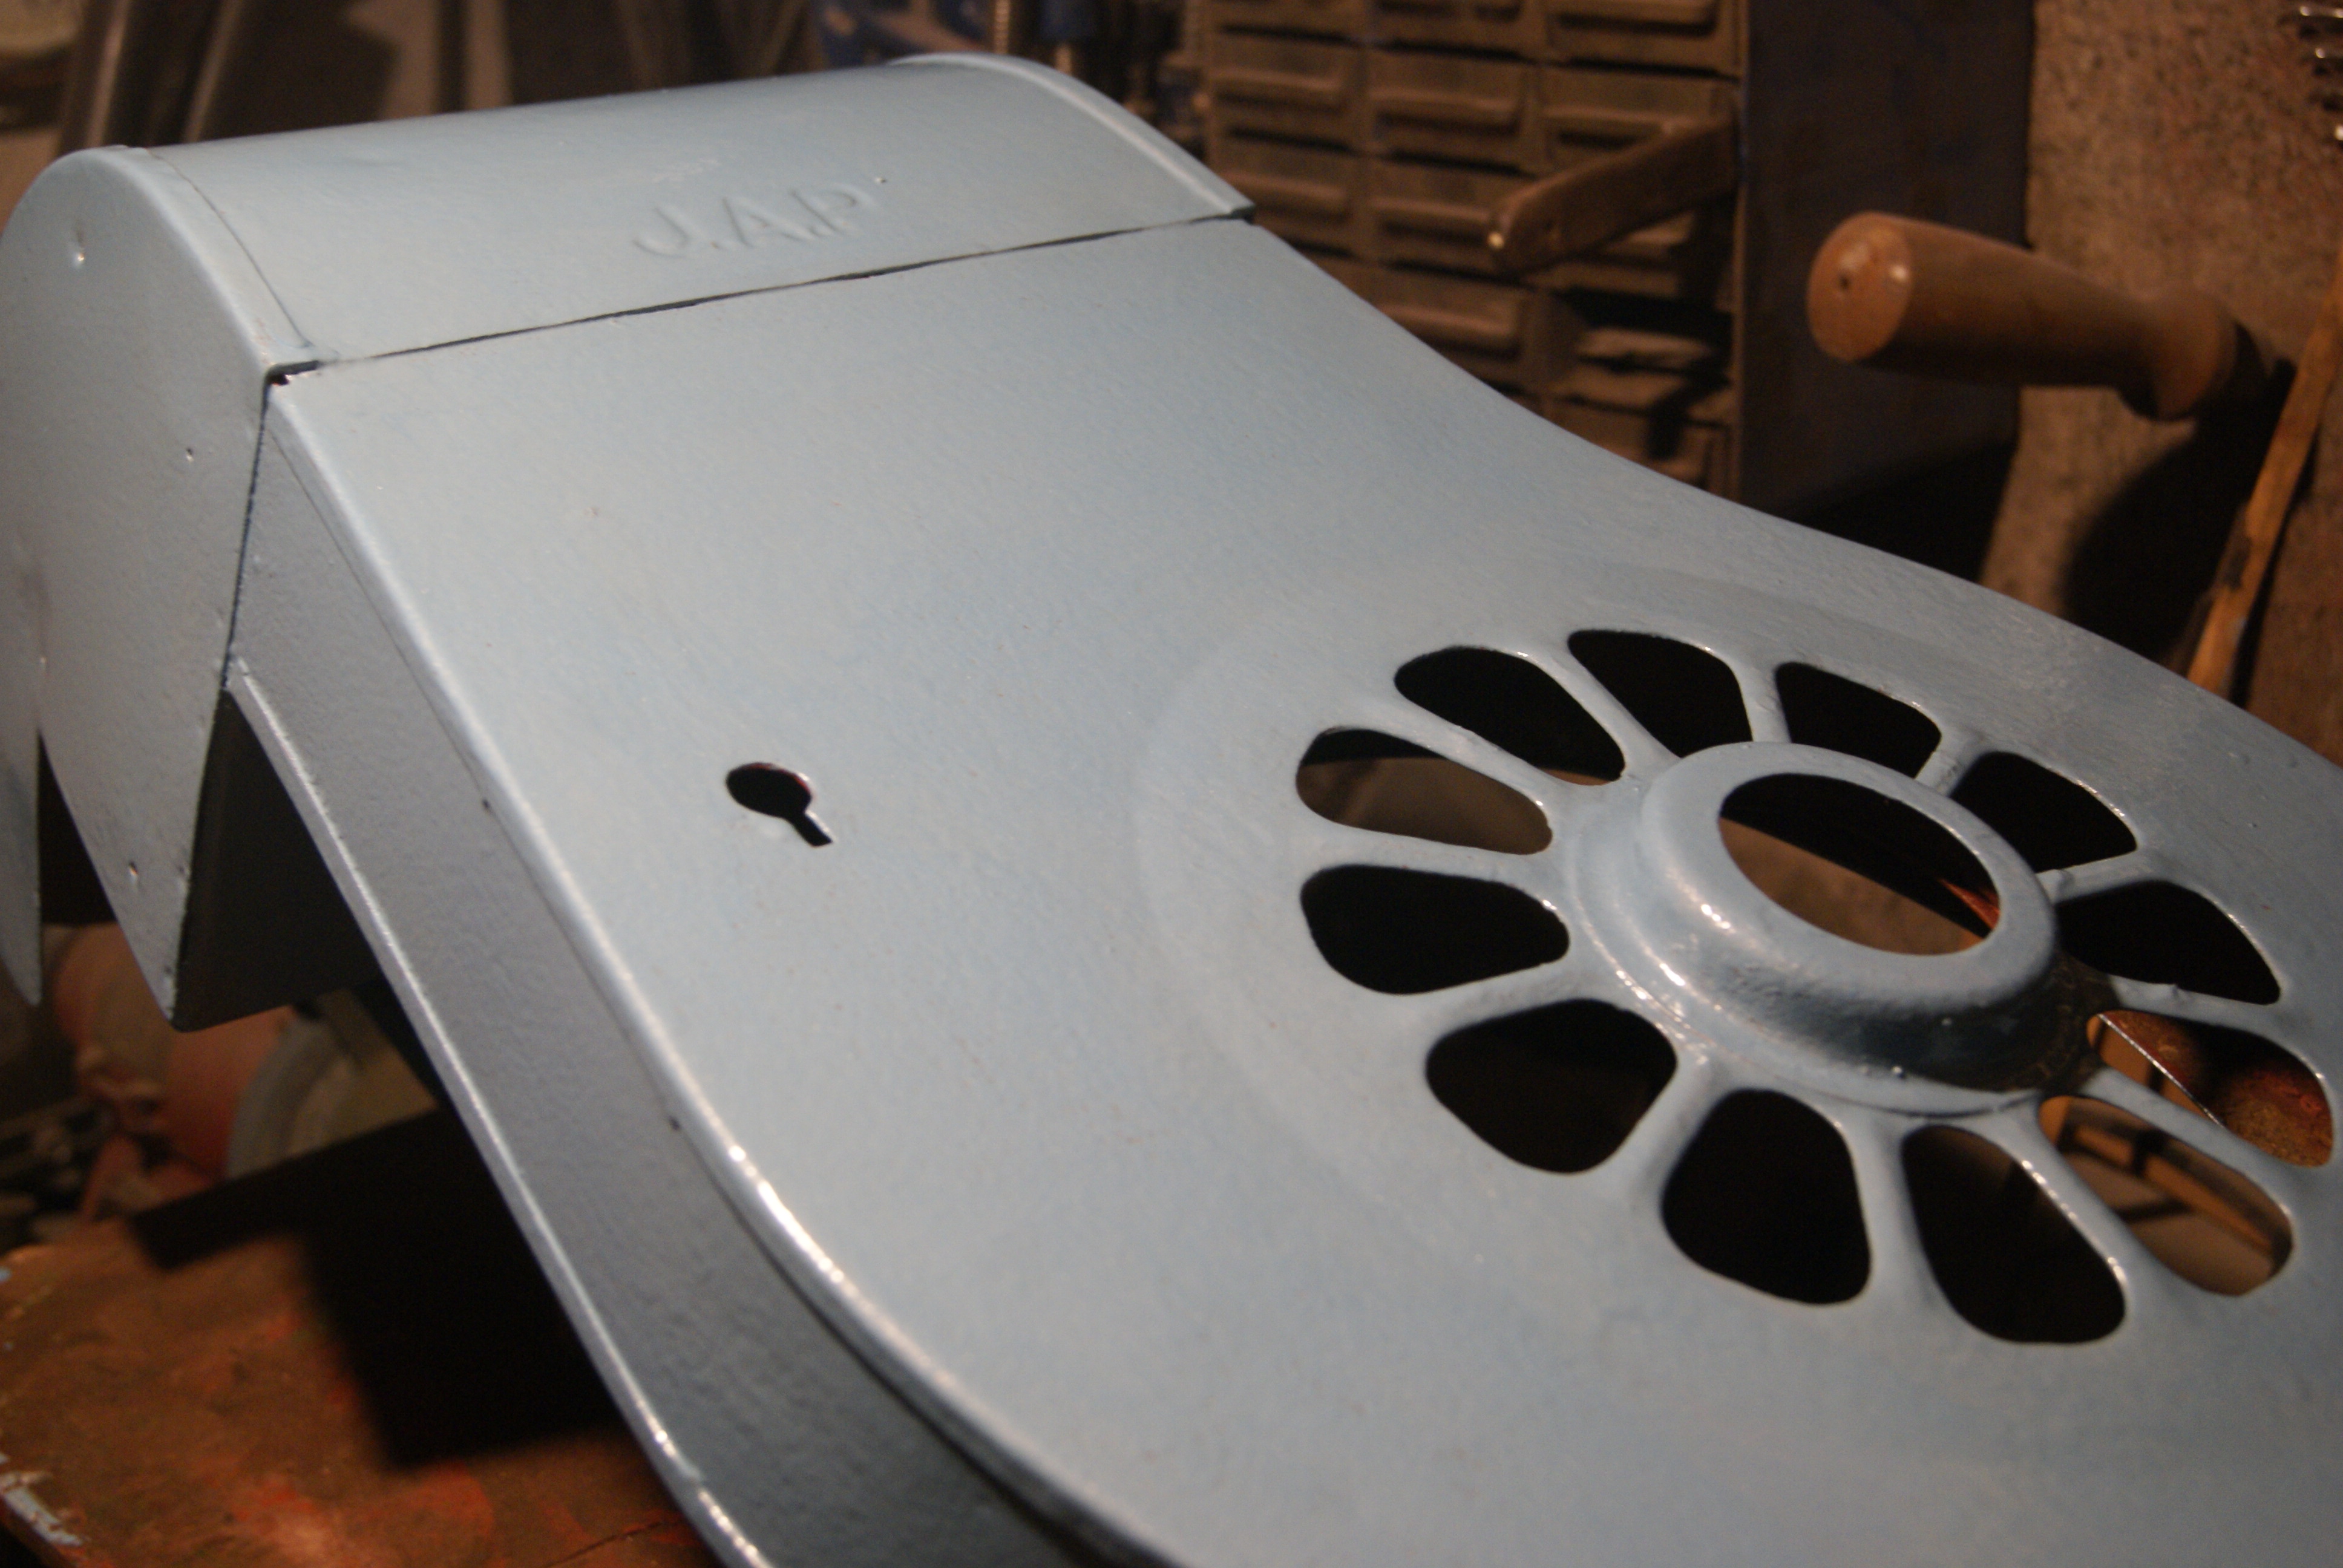
I managed to find the air filter and have spent the day cleaning it. It was filthy, so first step was to brush it with a brass wire brush. This is gentler than a steel one and doesn’t score the aluminium, so once the larger lumps of dirt were brushed off it was treated to a dose of WD40 well worked in with fine steel wool. Finally a sink full of hot water and washing up liquid, with more scrubbing with steel wool and you can judge for yourself the results. Not exactly like new, but not far off and with a few battle scars left to show it’s age.
I have also re-positioned the throttle rod steady into a position that looks more in keeping. It isn’t the original- this would have been a cast iron one- so I think this is a replacement that has been hurriedly fitted to keep the tractor in work. It had been bent in an effort to align the throttle rod, so this time I’ve fitted it correctly so that it all lines up without the need to bend the bracket at all. Time will tell if I’ve succeeded.
Attachments:
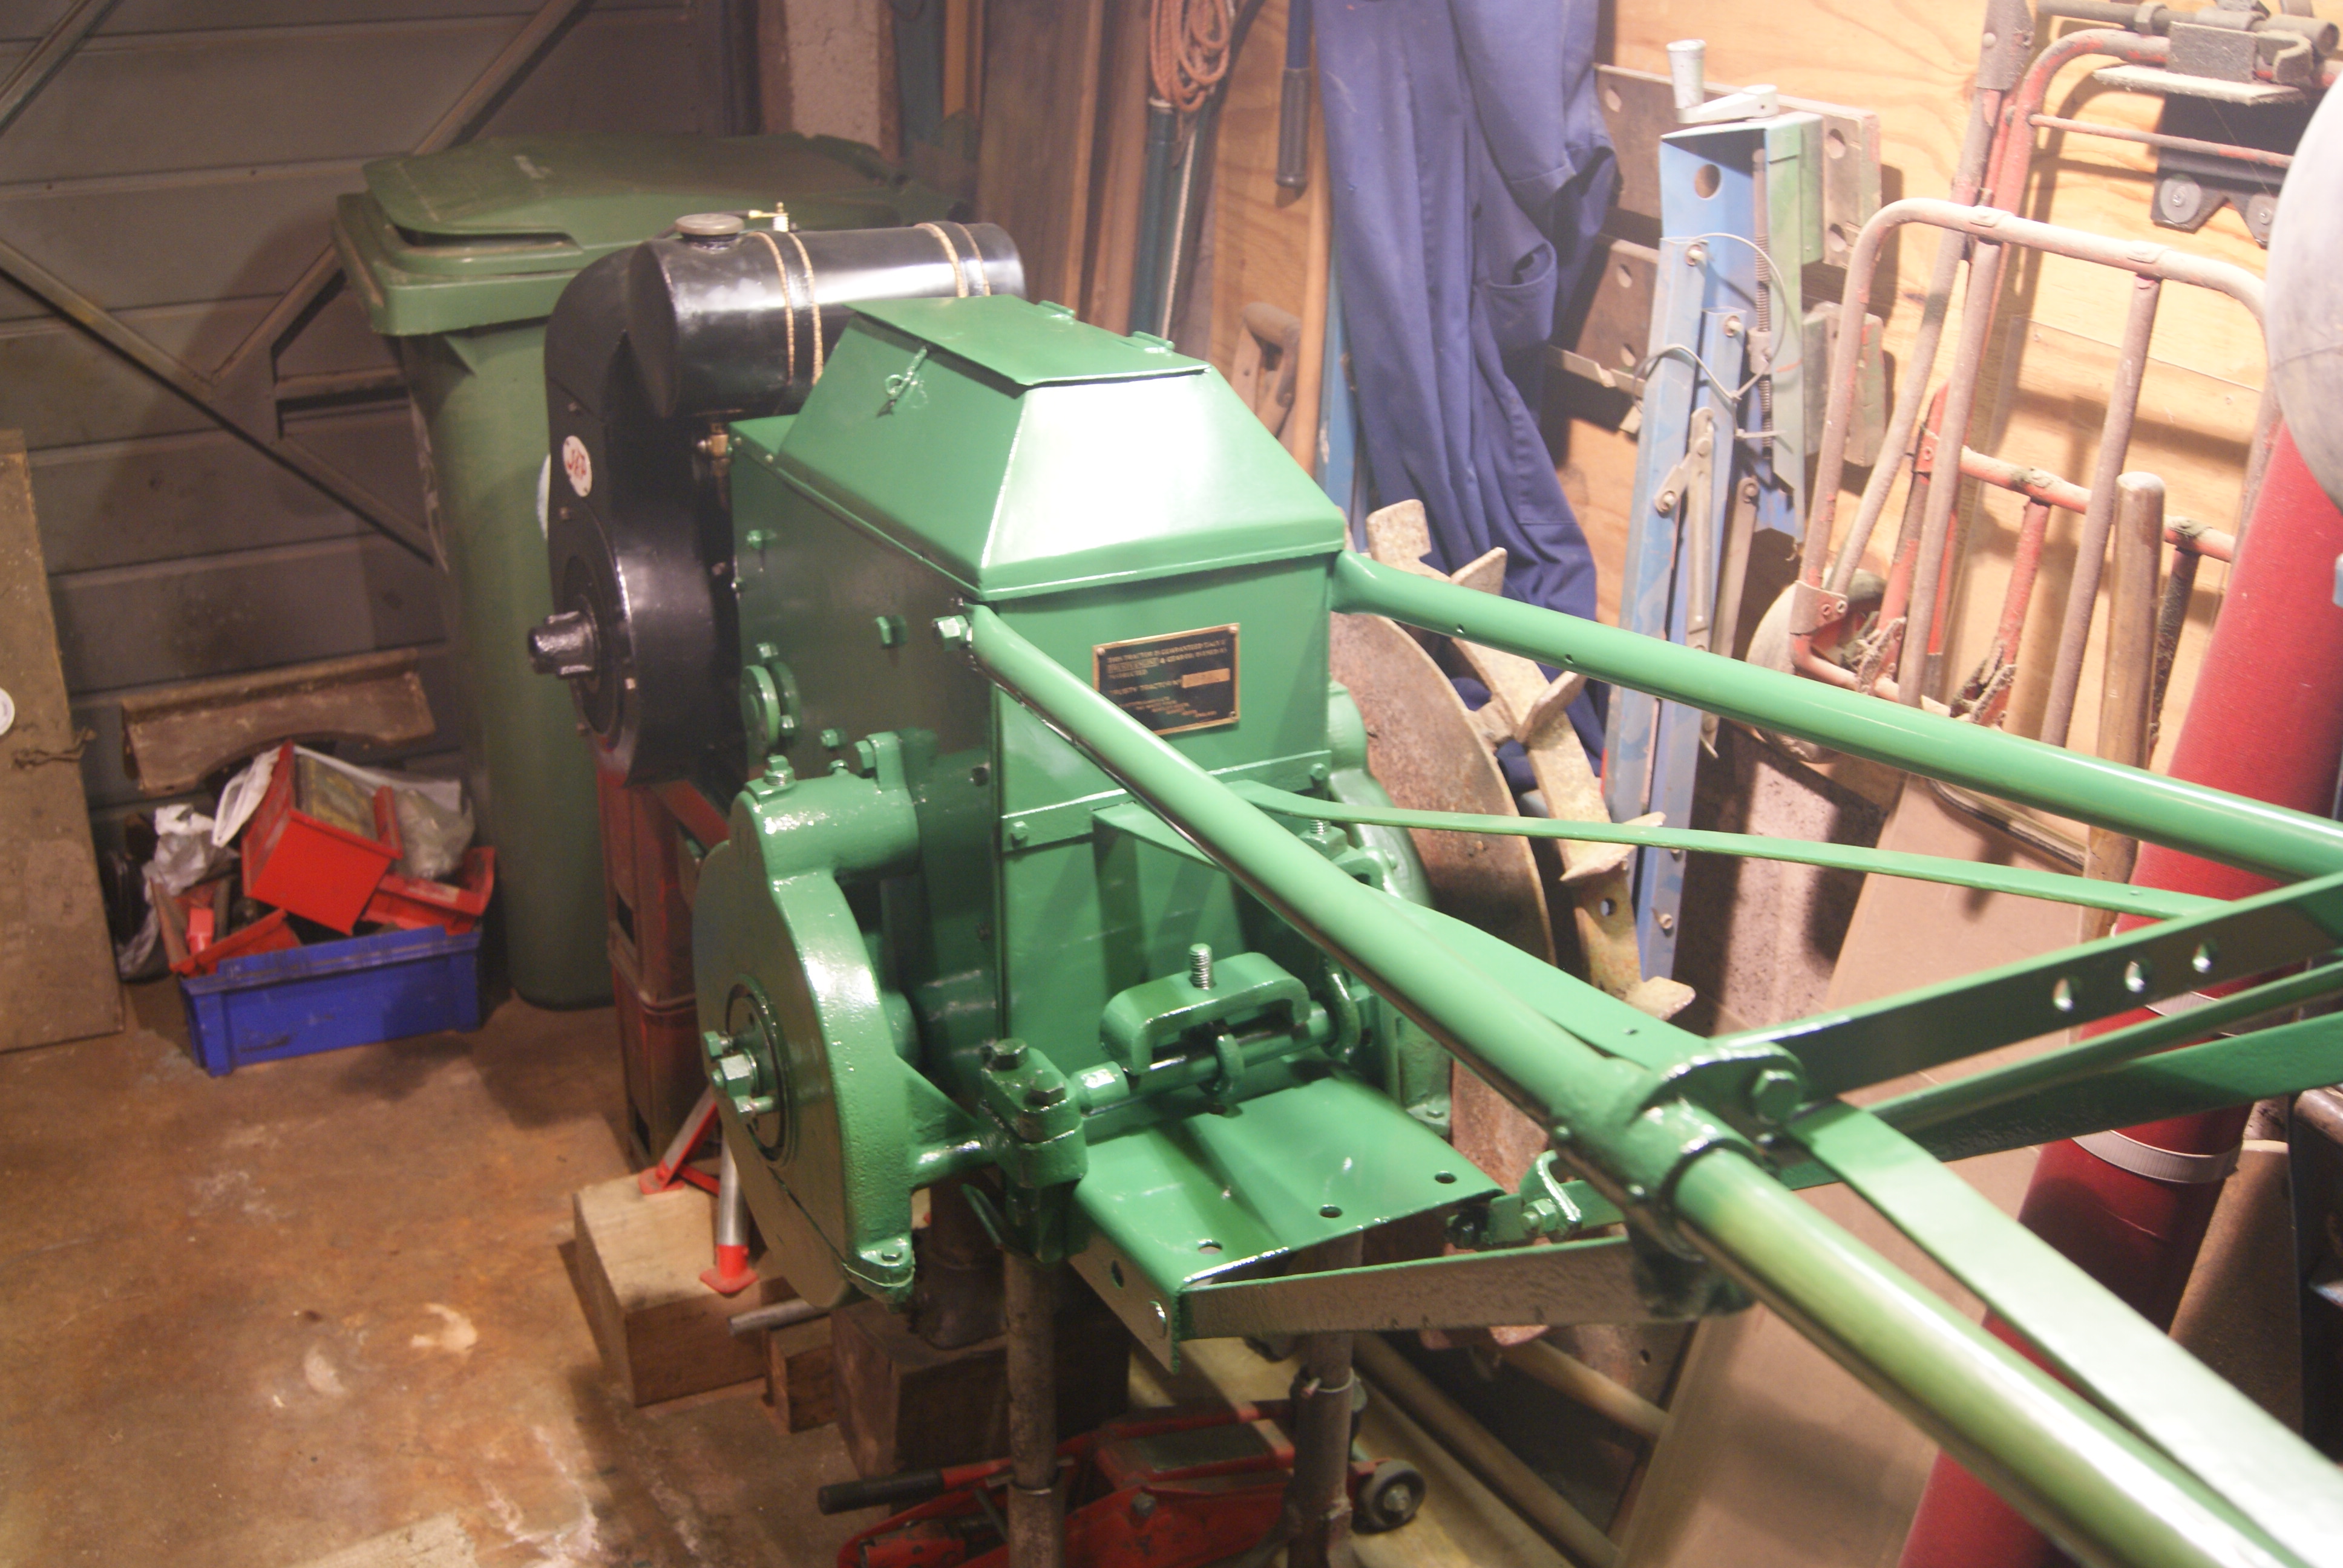
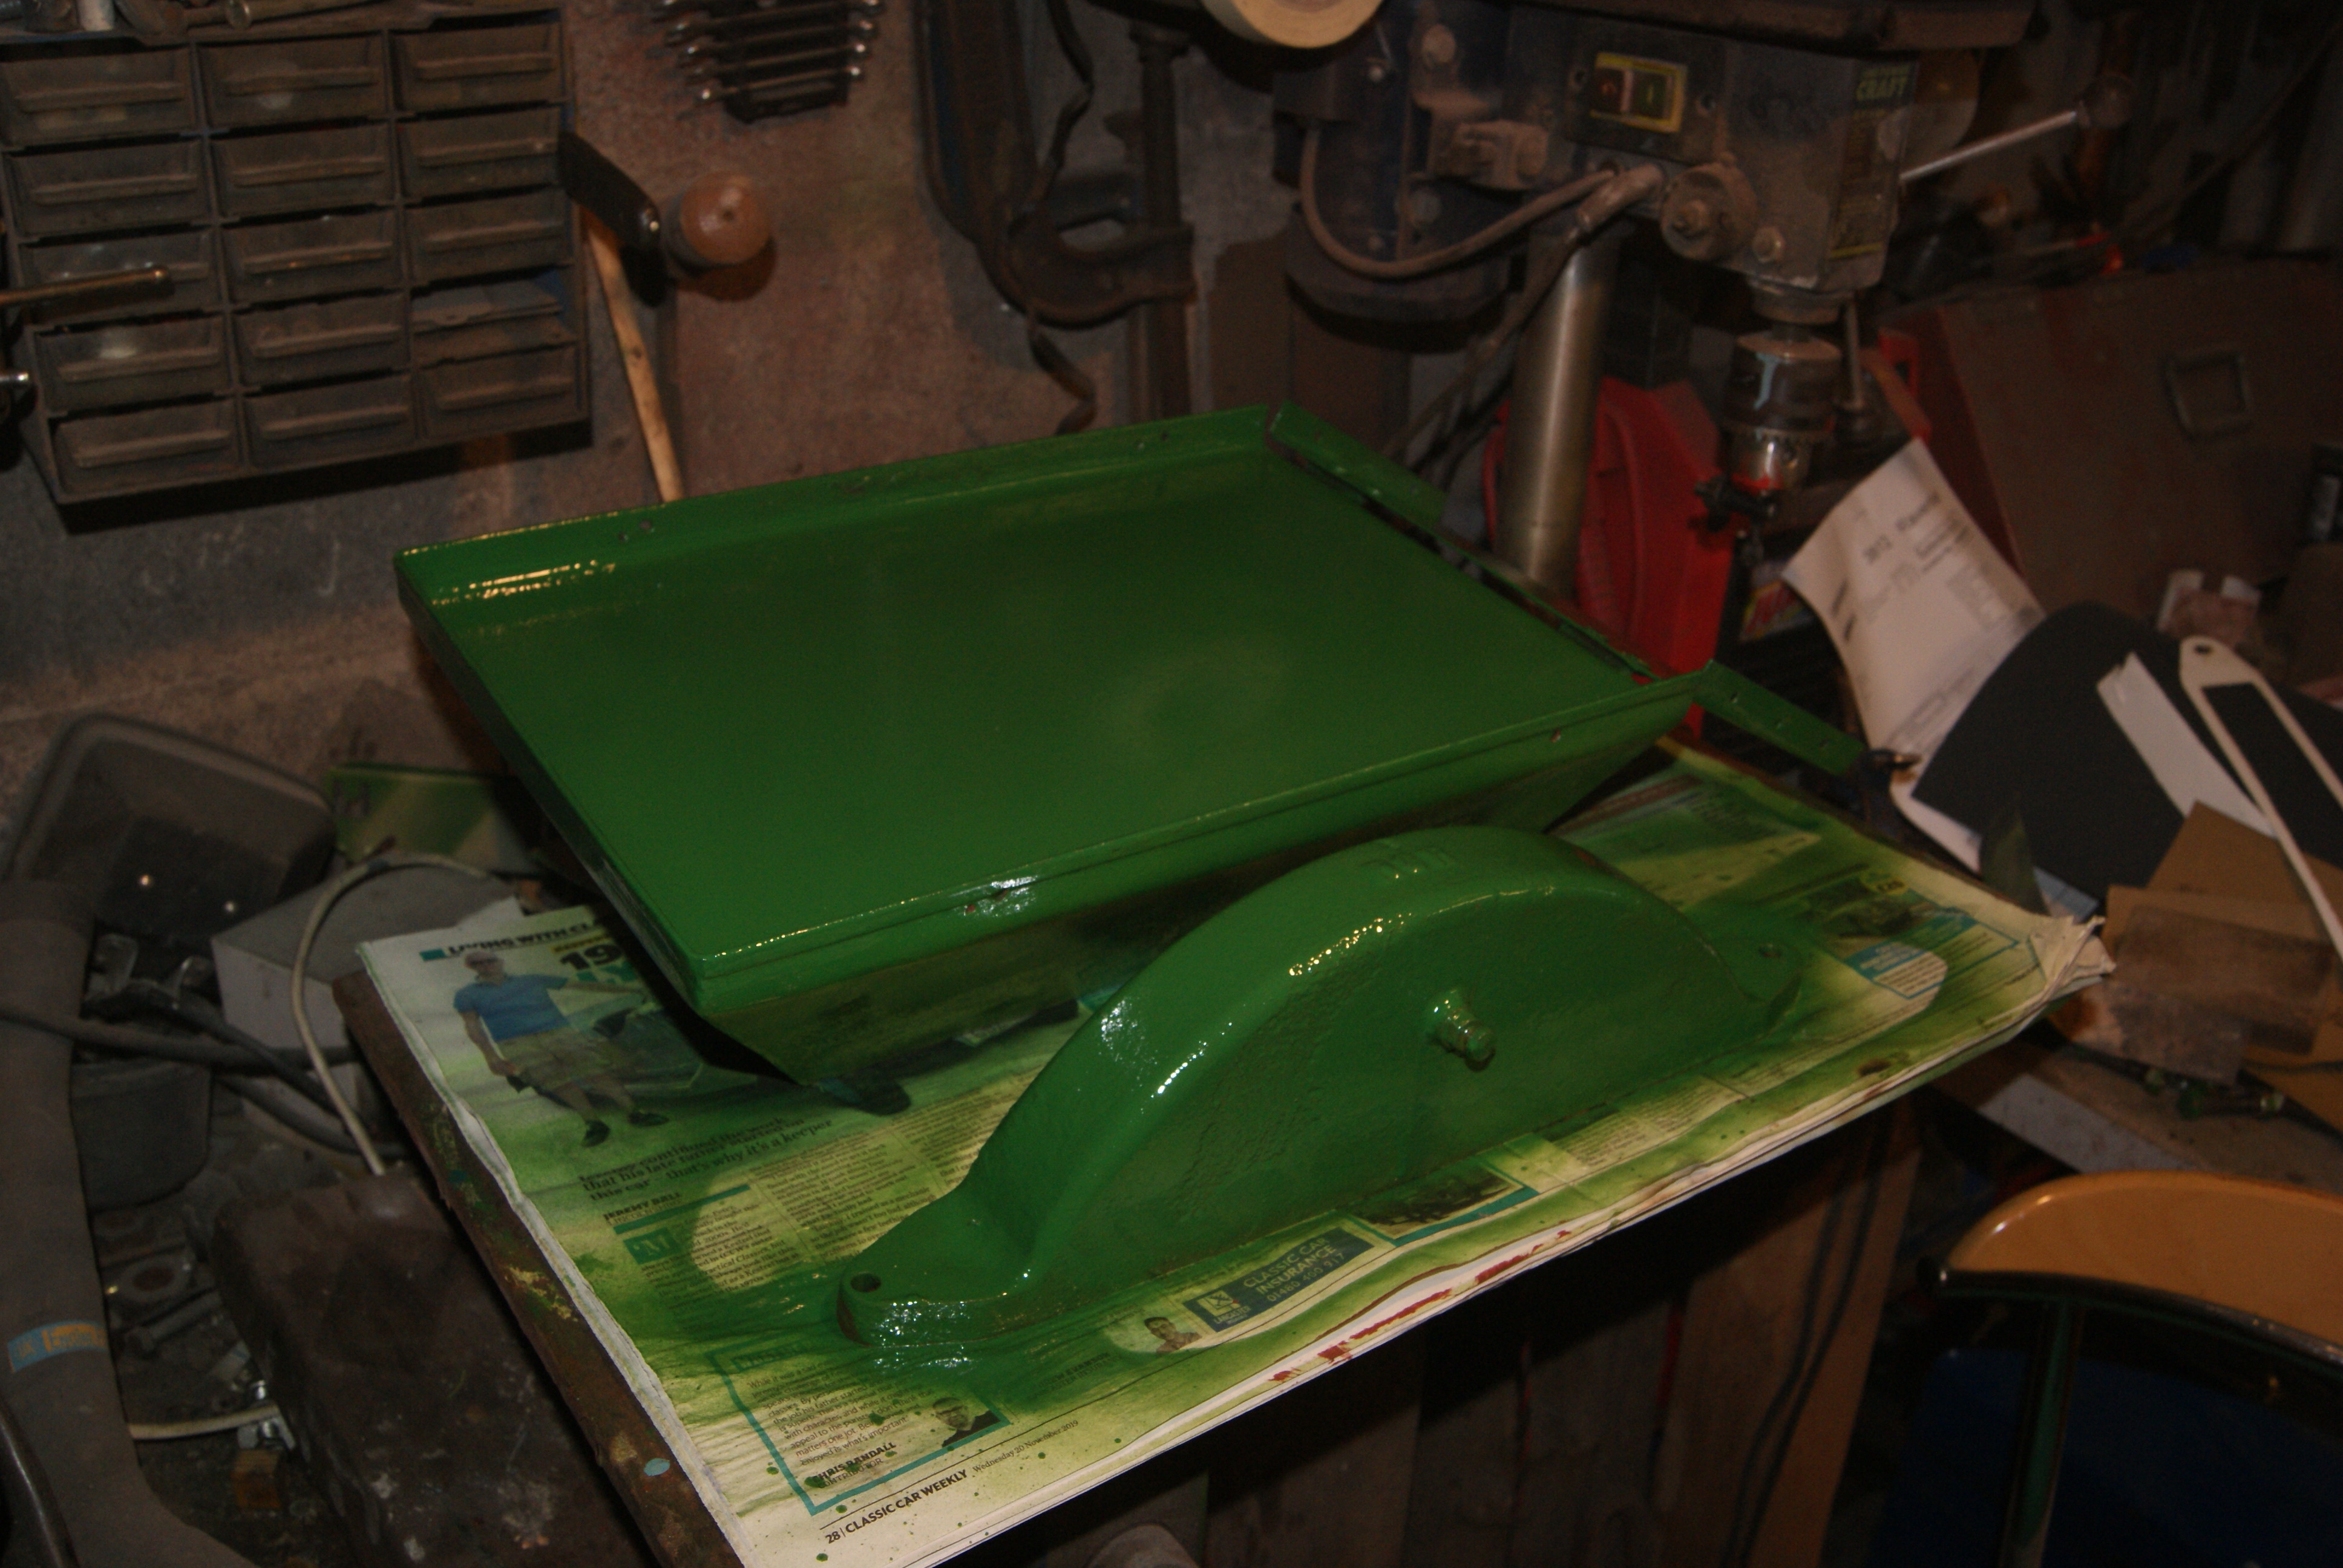
May 10, 2020 at 10:54 am #34281trusty220KeymasterAfter a few days in the garage with paint brush and aerosol cans (I’ve learnt me lesson now, so I’m not poking any wire into the top ever again!) the Trusty is certainly coming together very quickly.
I had to take the top of the clutch cover off to fit the engine now that the clutch is firmly bolted to the crankshaft, but I thought that would be the better way so that I could get the length of the drive chain just right. I’ll just have to patch the paintwork up again once it’s all together.
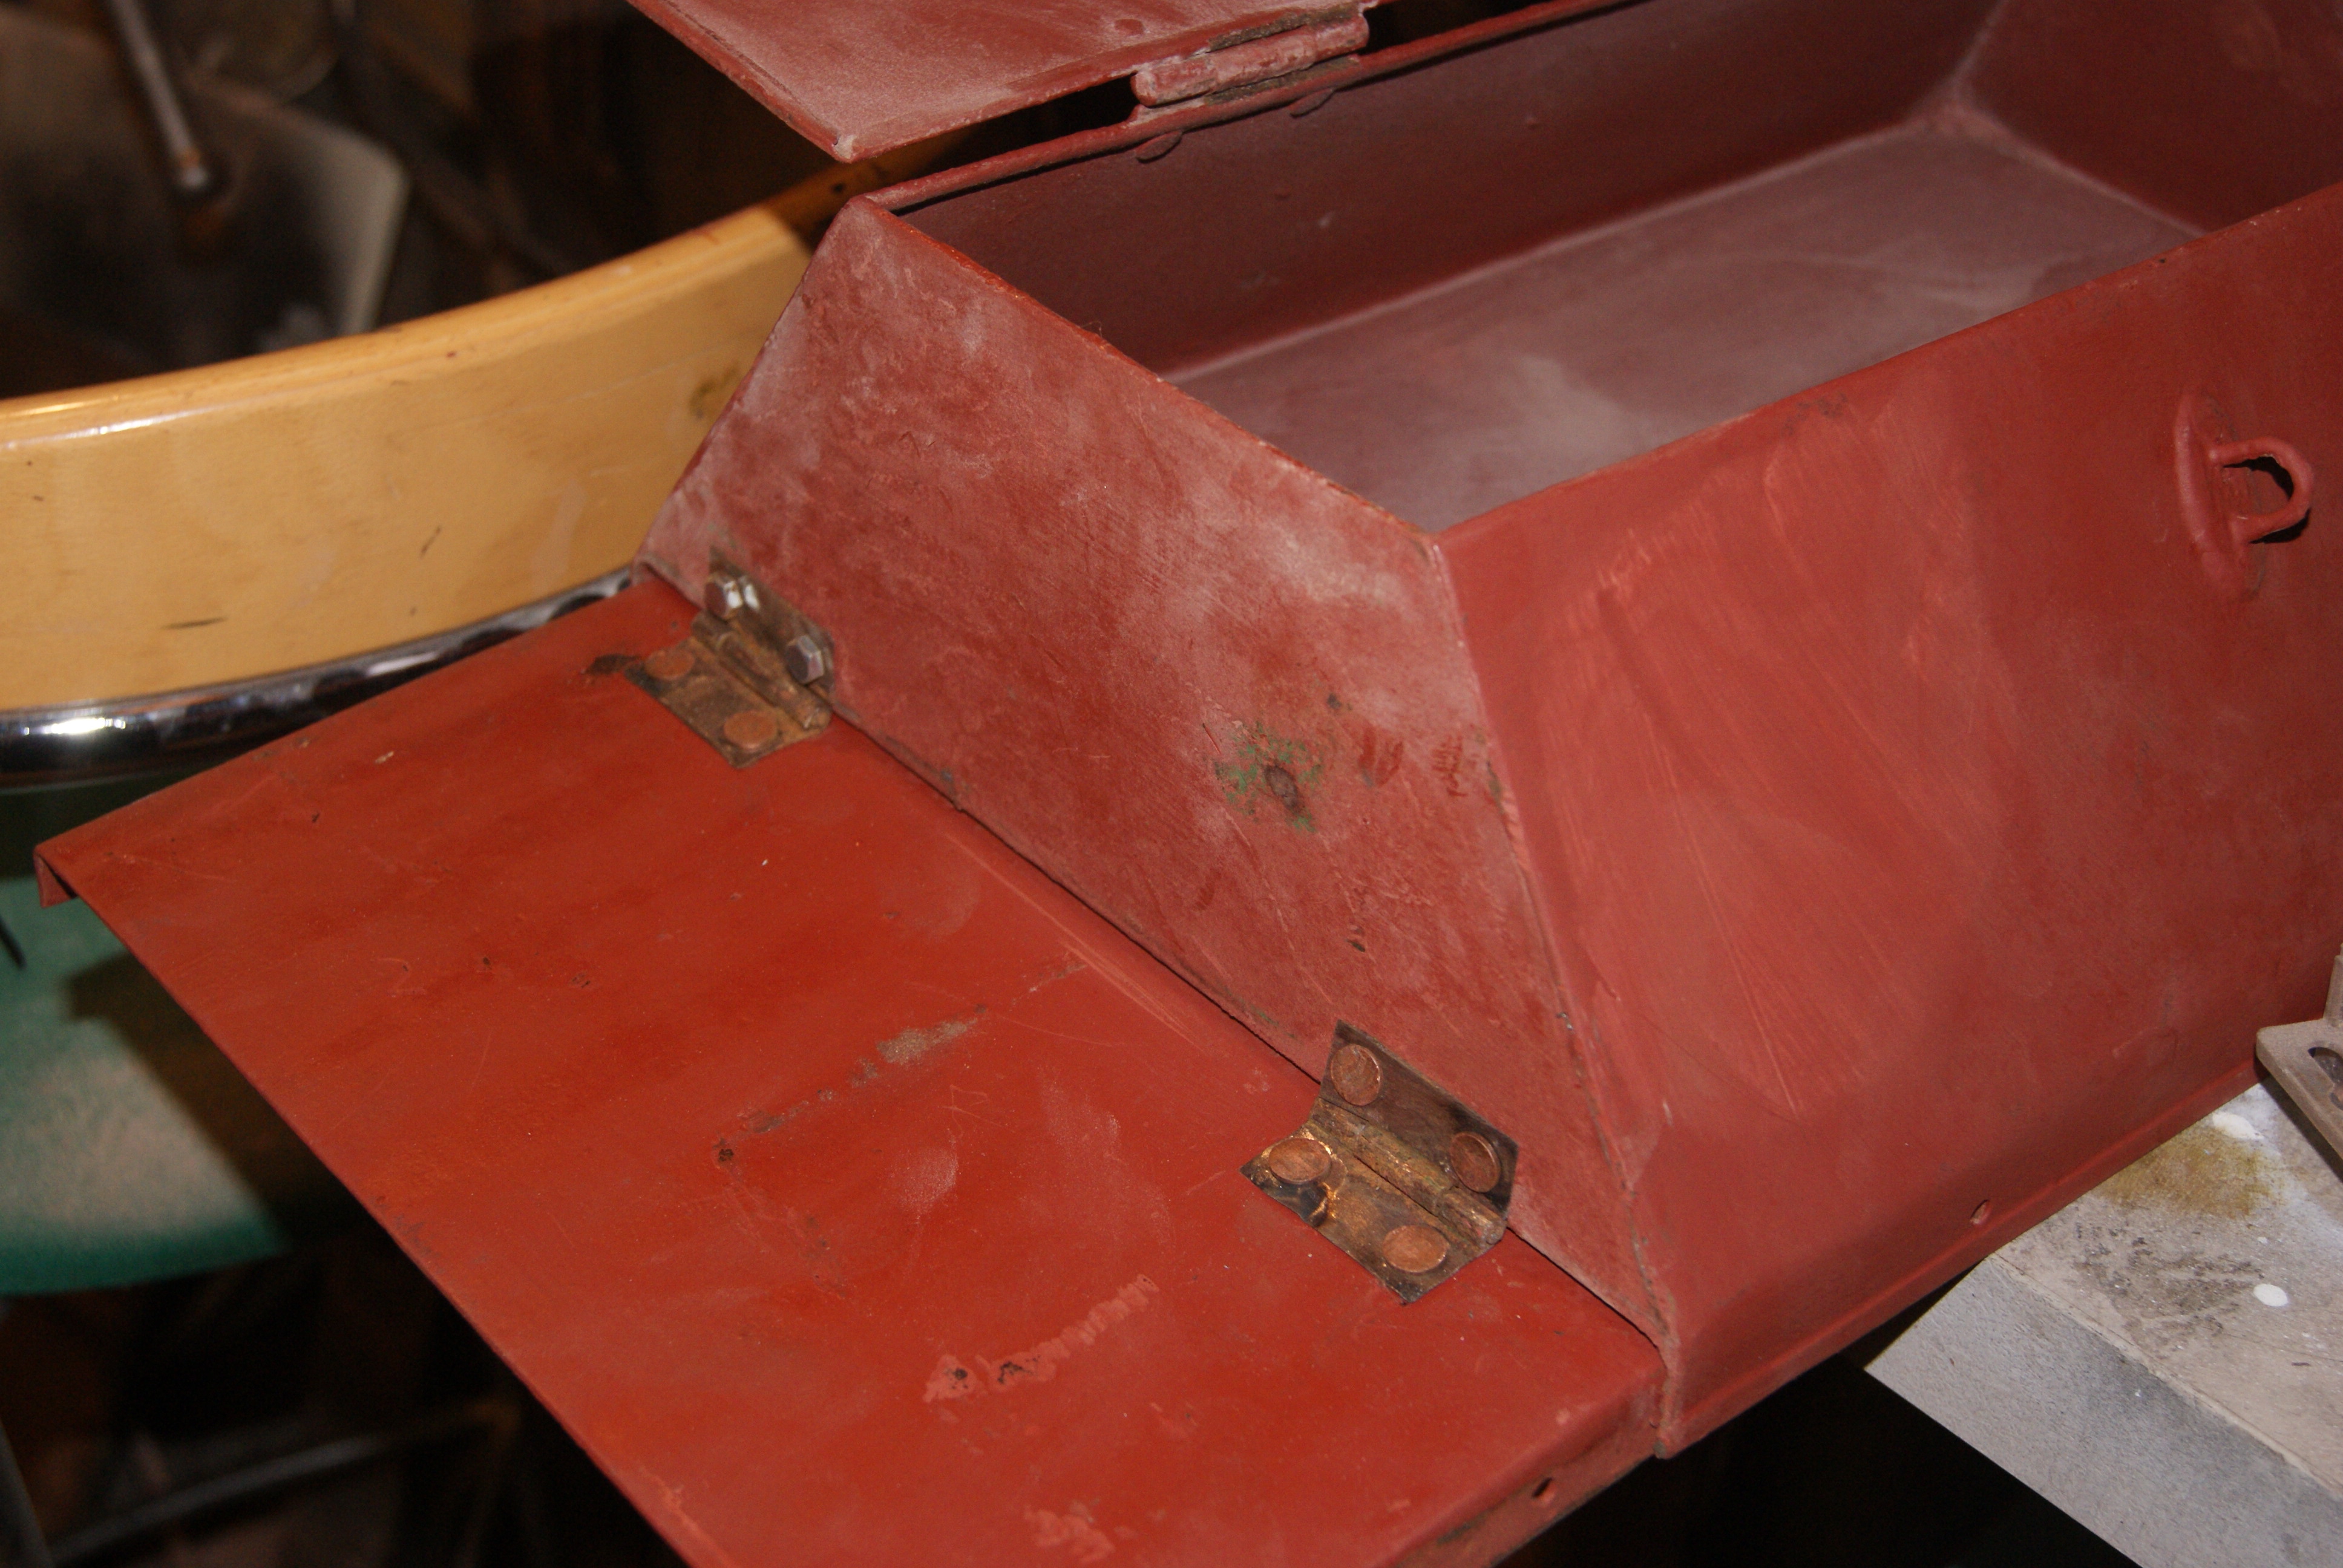
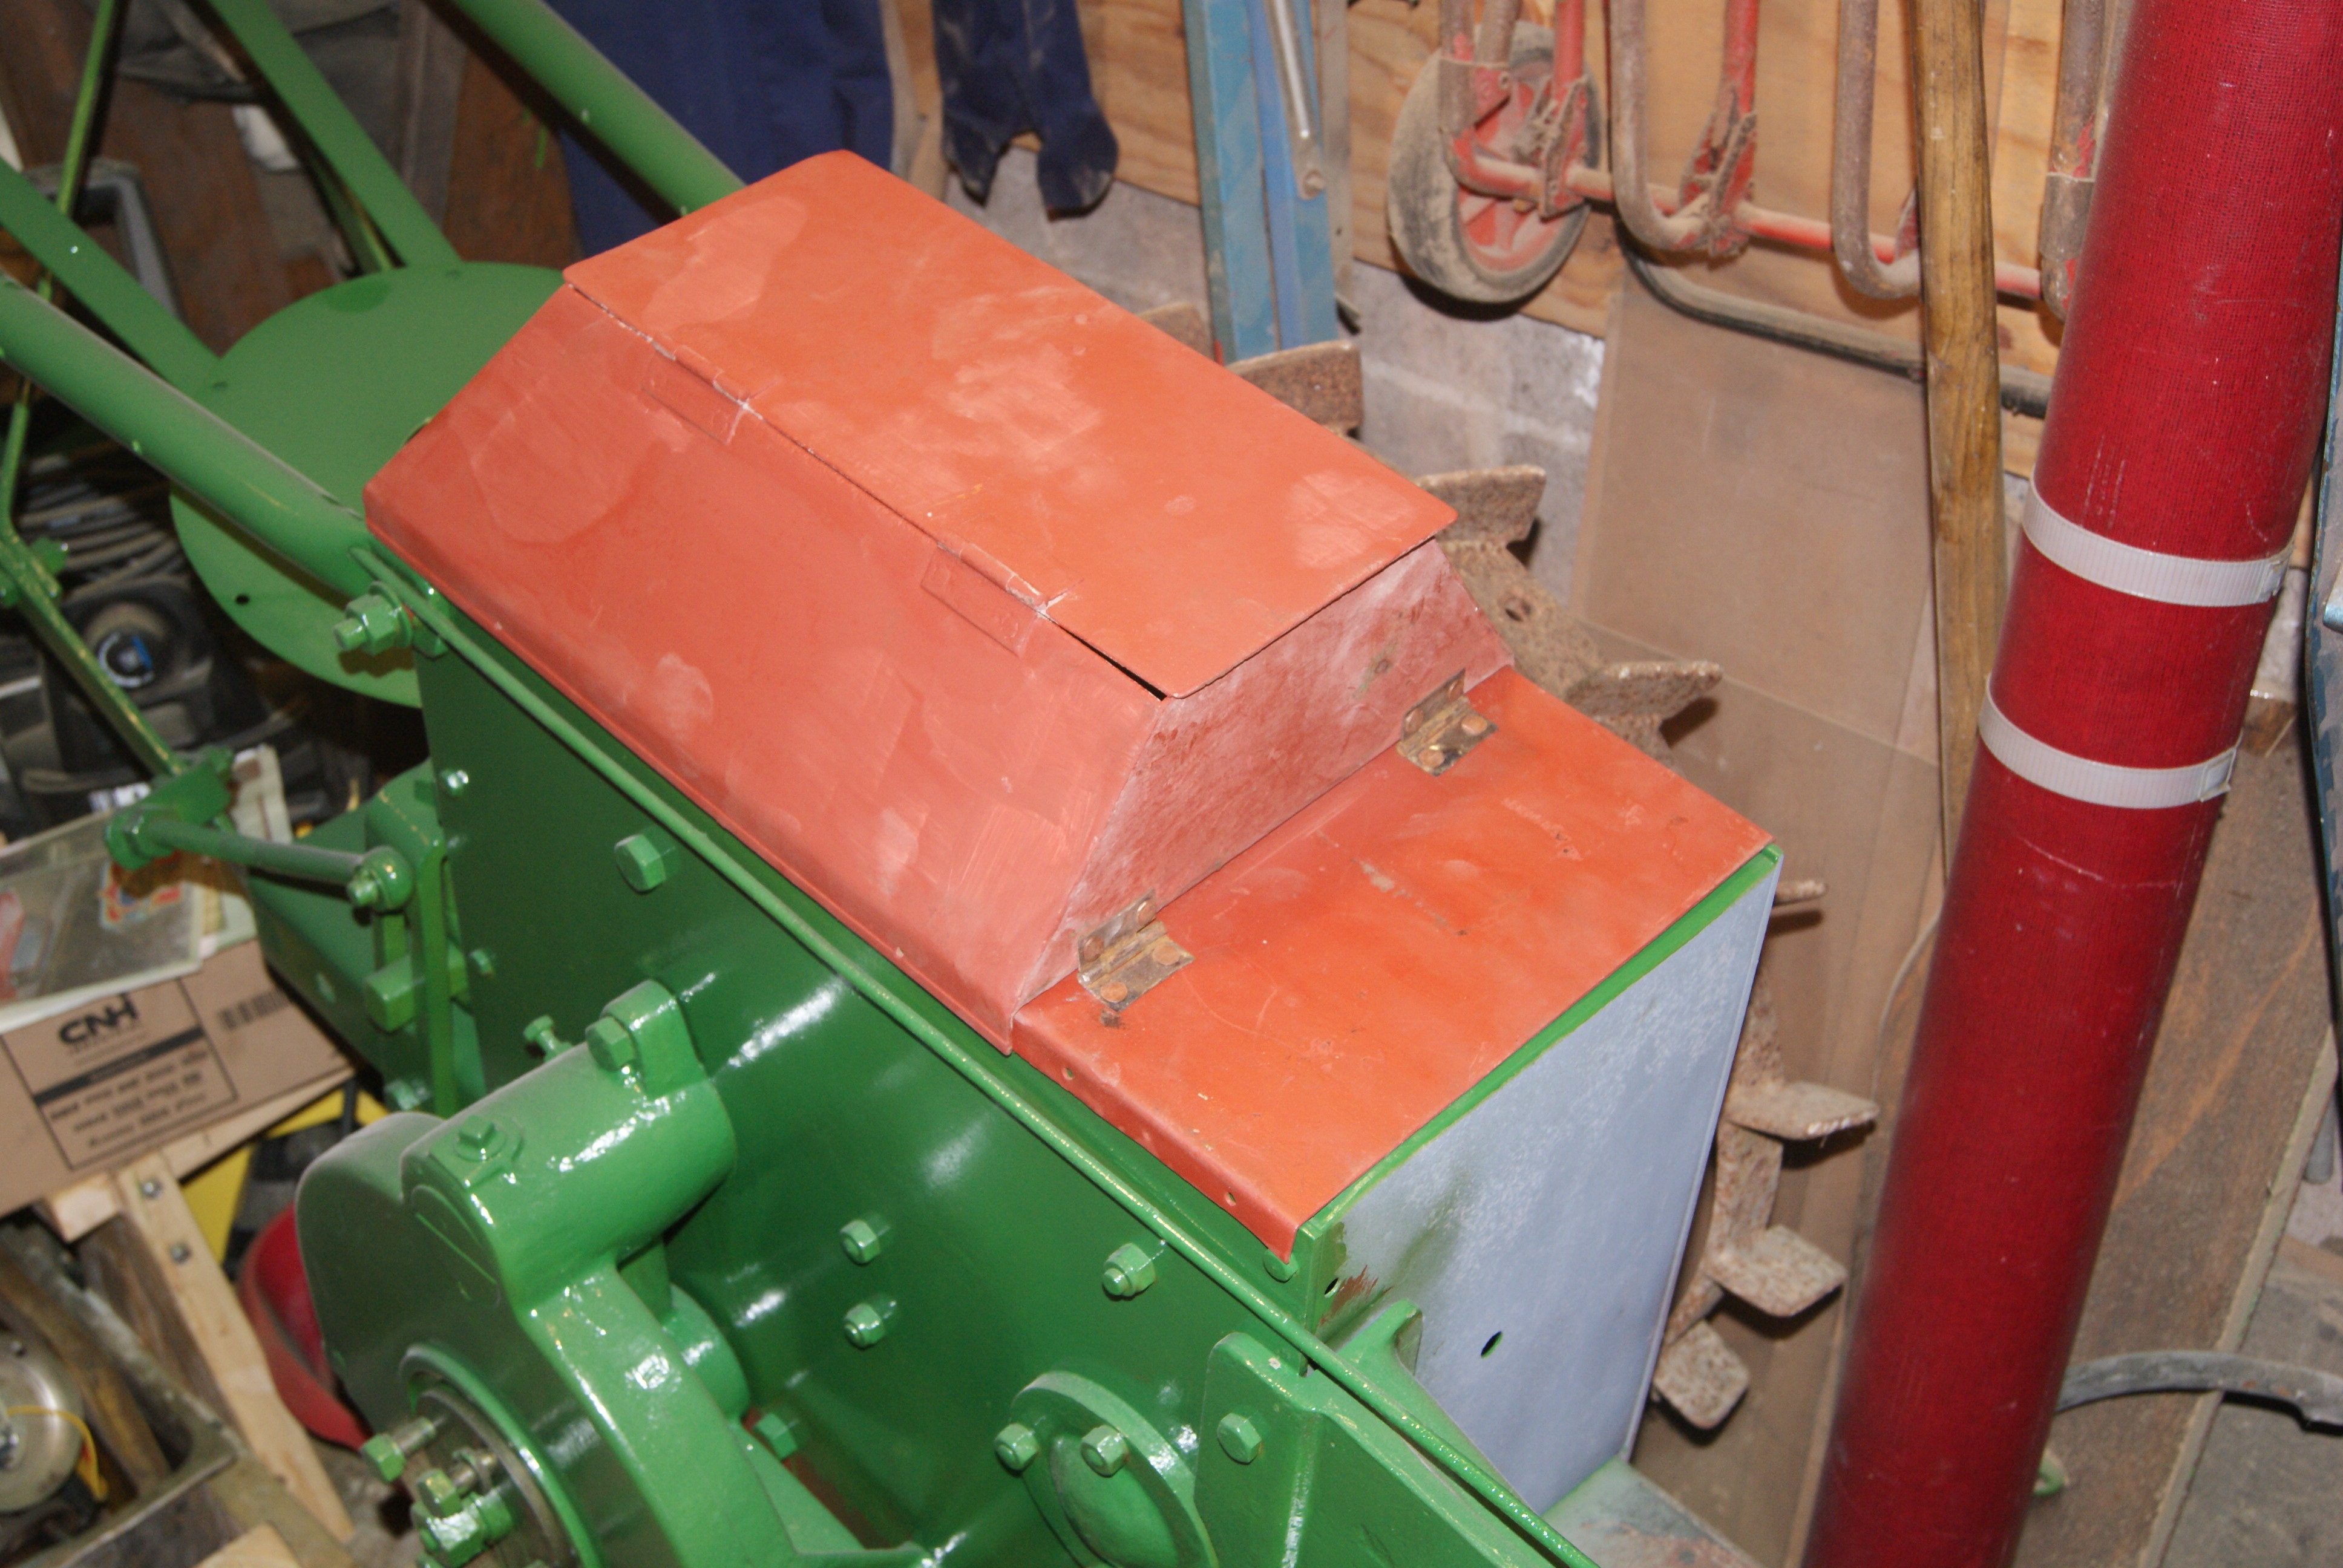
The toolbox is now finished and bolted down. I took the decision to drill some holes in the side casing to bolt the front plate down; if I move house in the near future I don’t want to have the toolbox floating around loose to get damaged or lost, so that seemed to be the best way to keep everything together. All I need to do now to complete that part is to make some transfers to put on each side; that will be a rainy-day job!
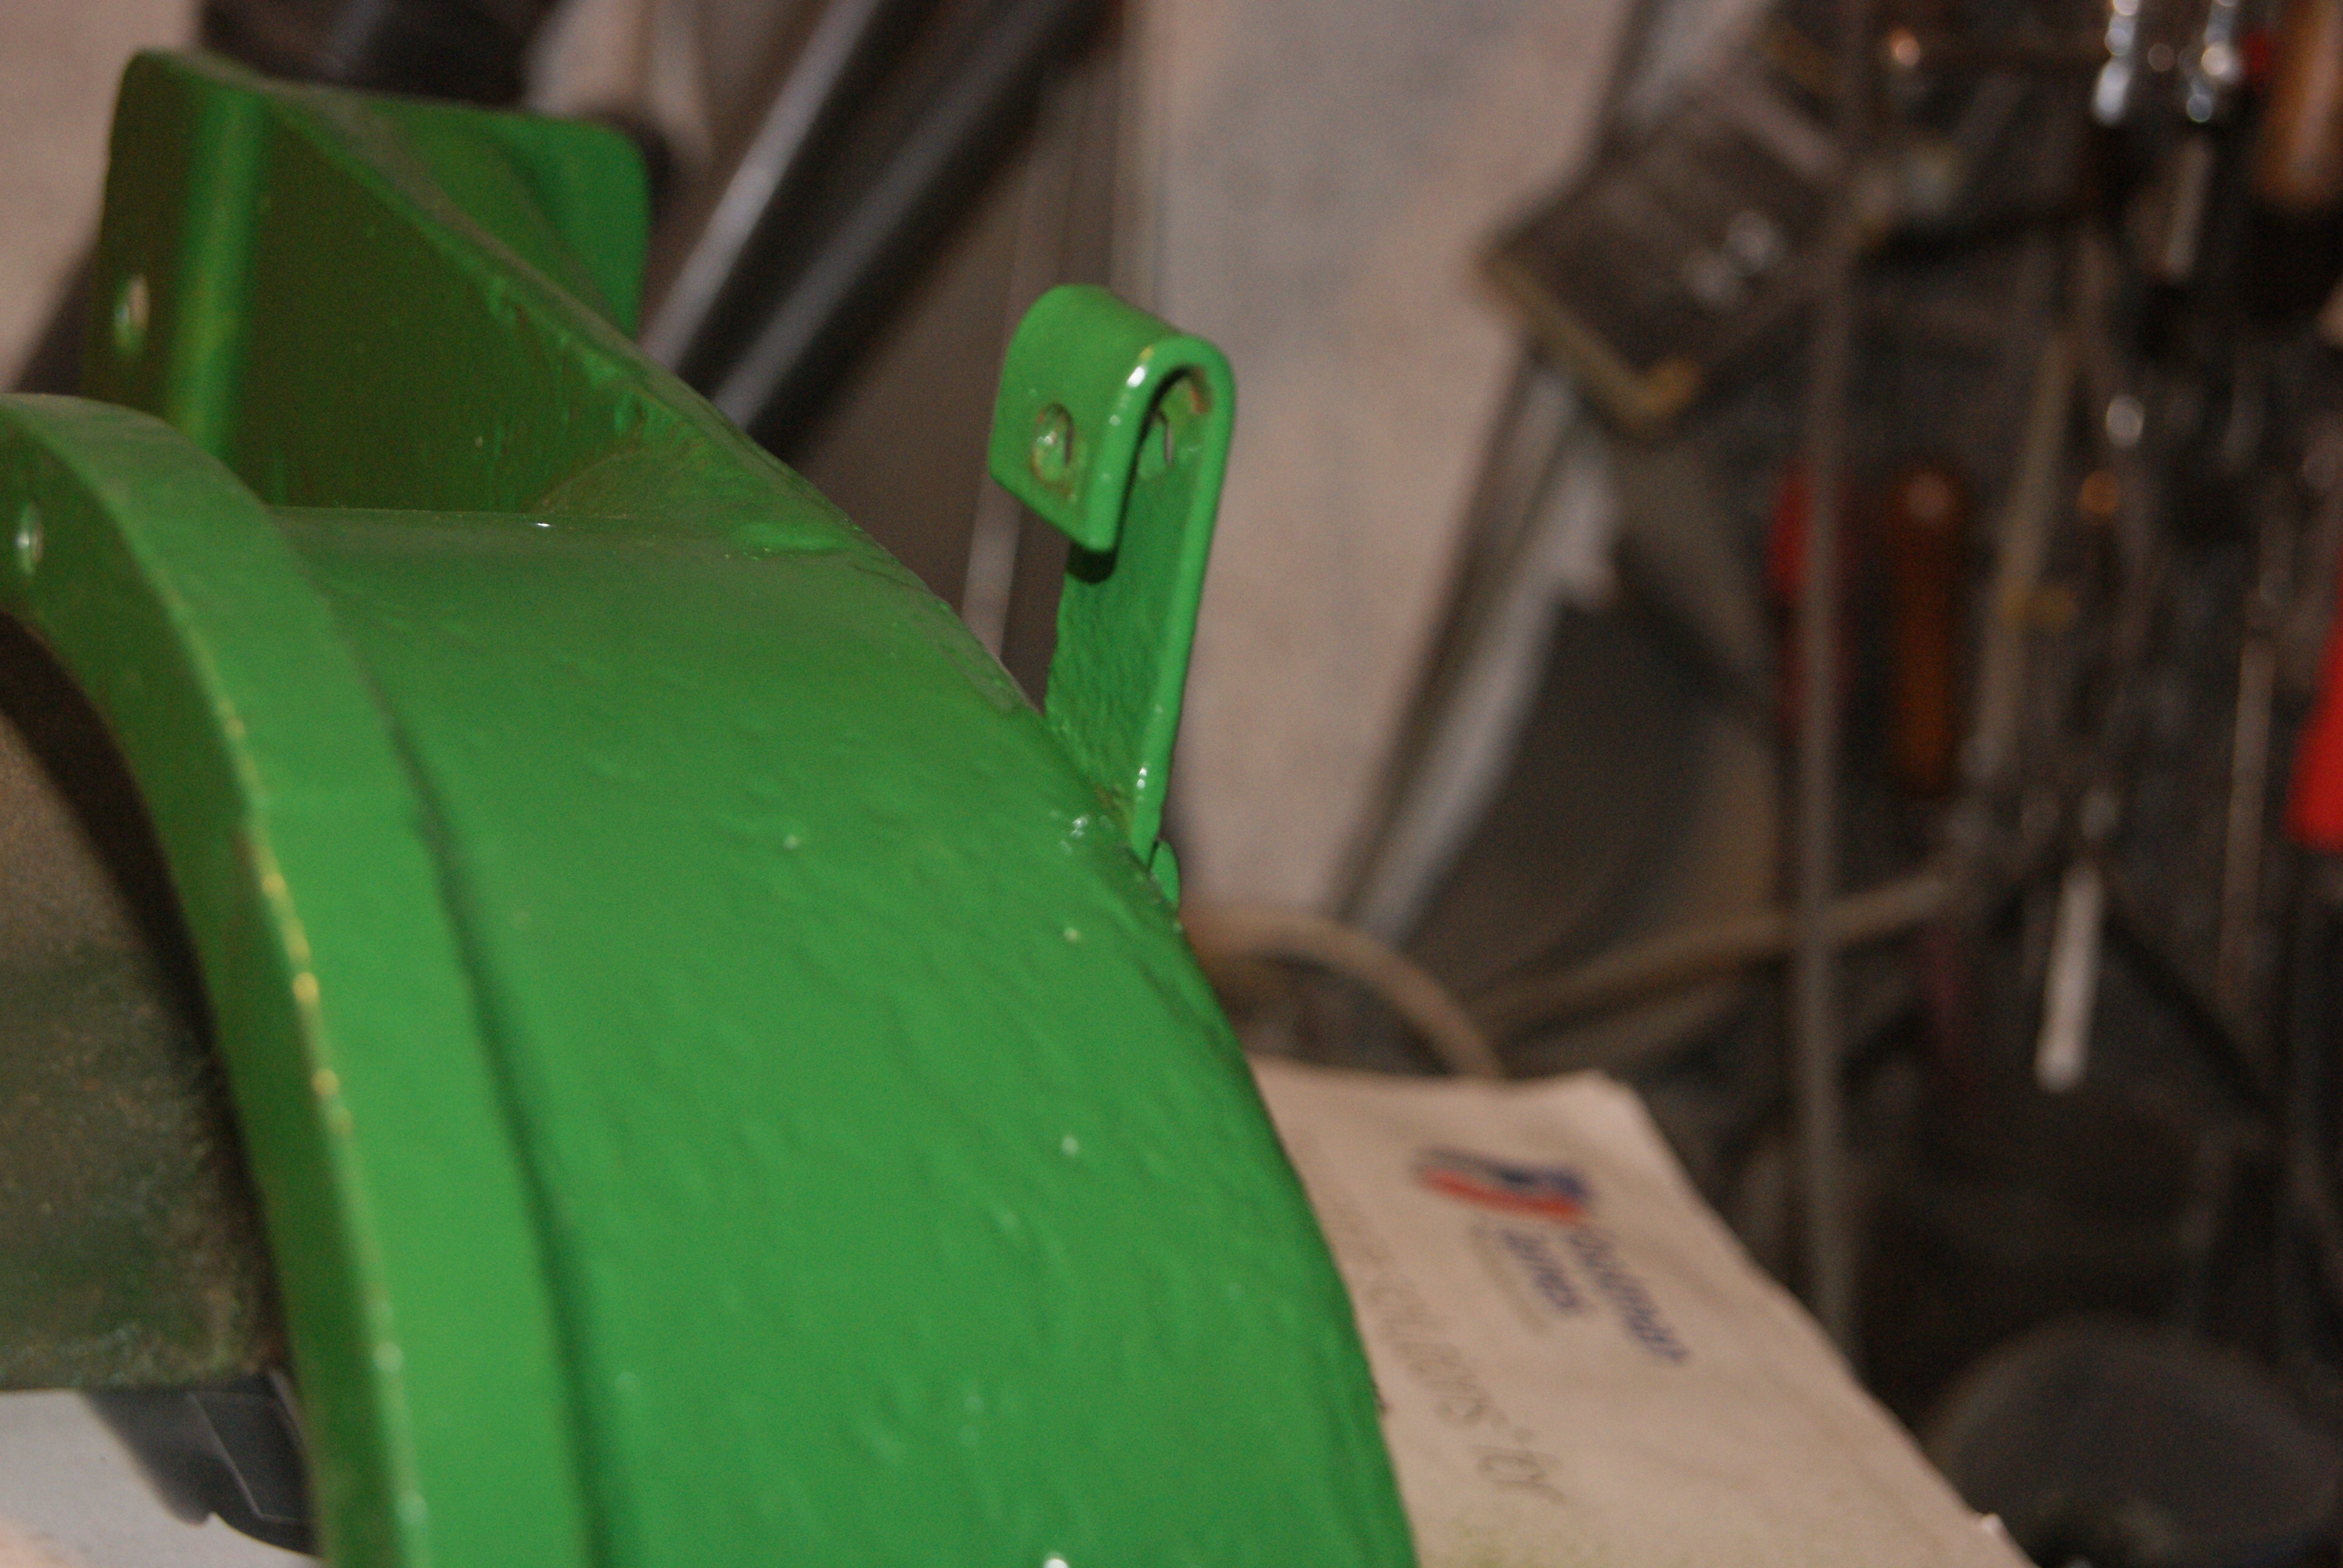
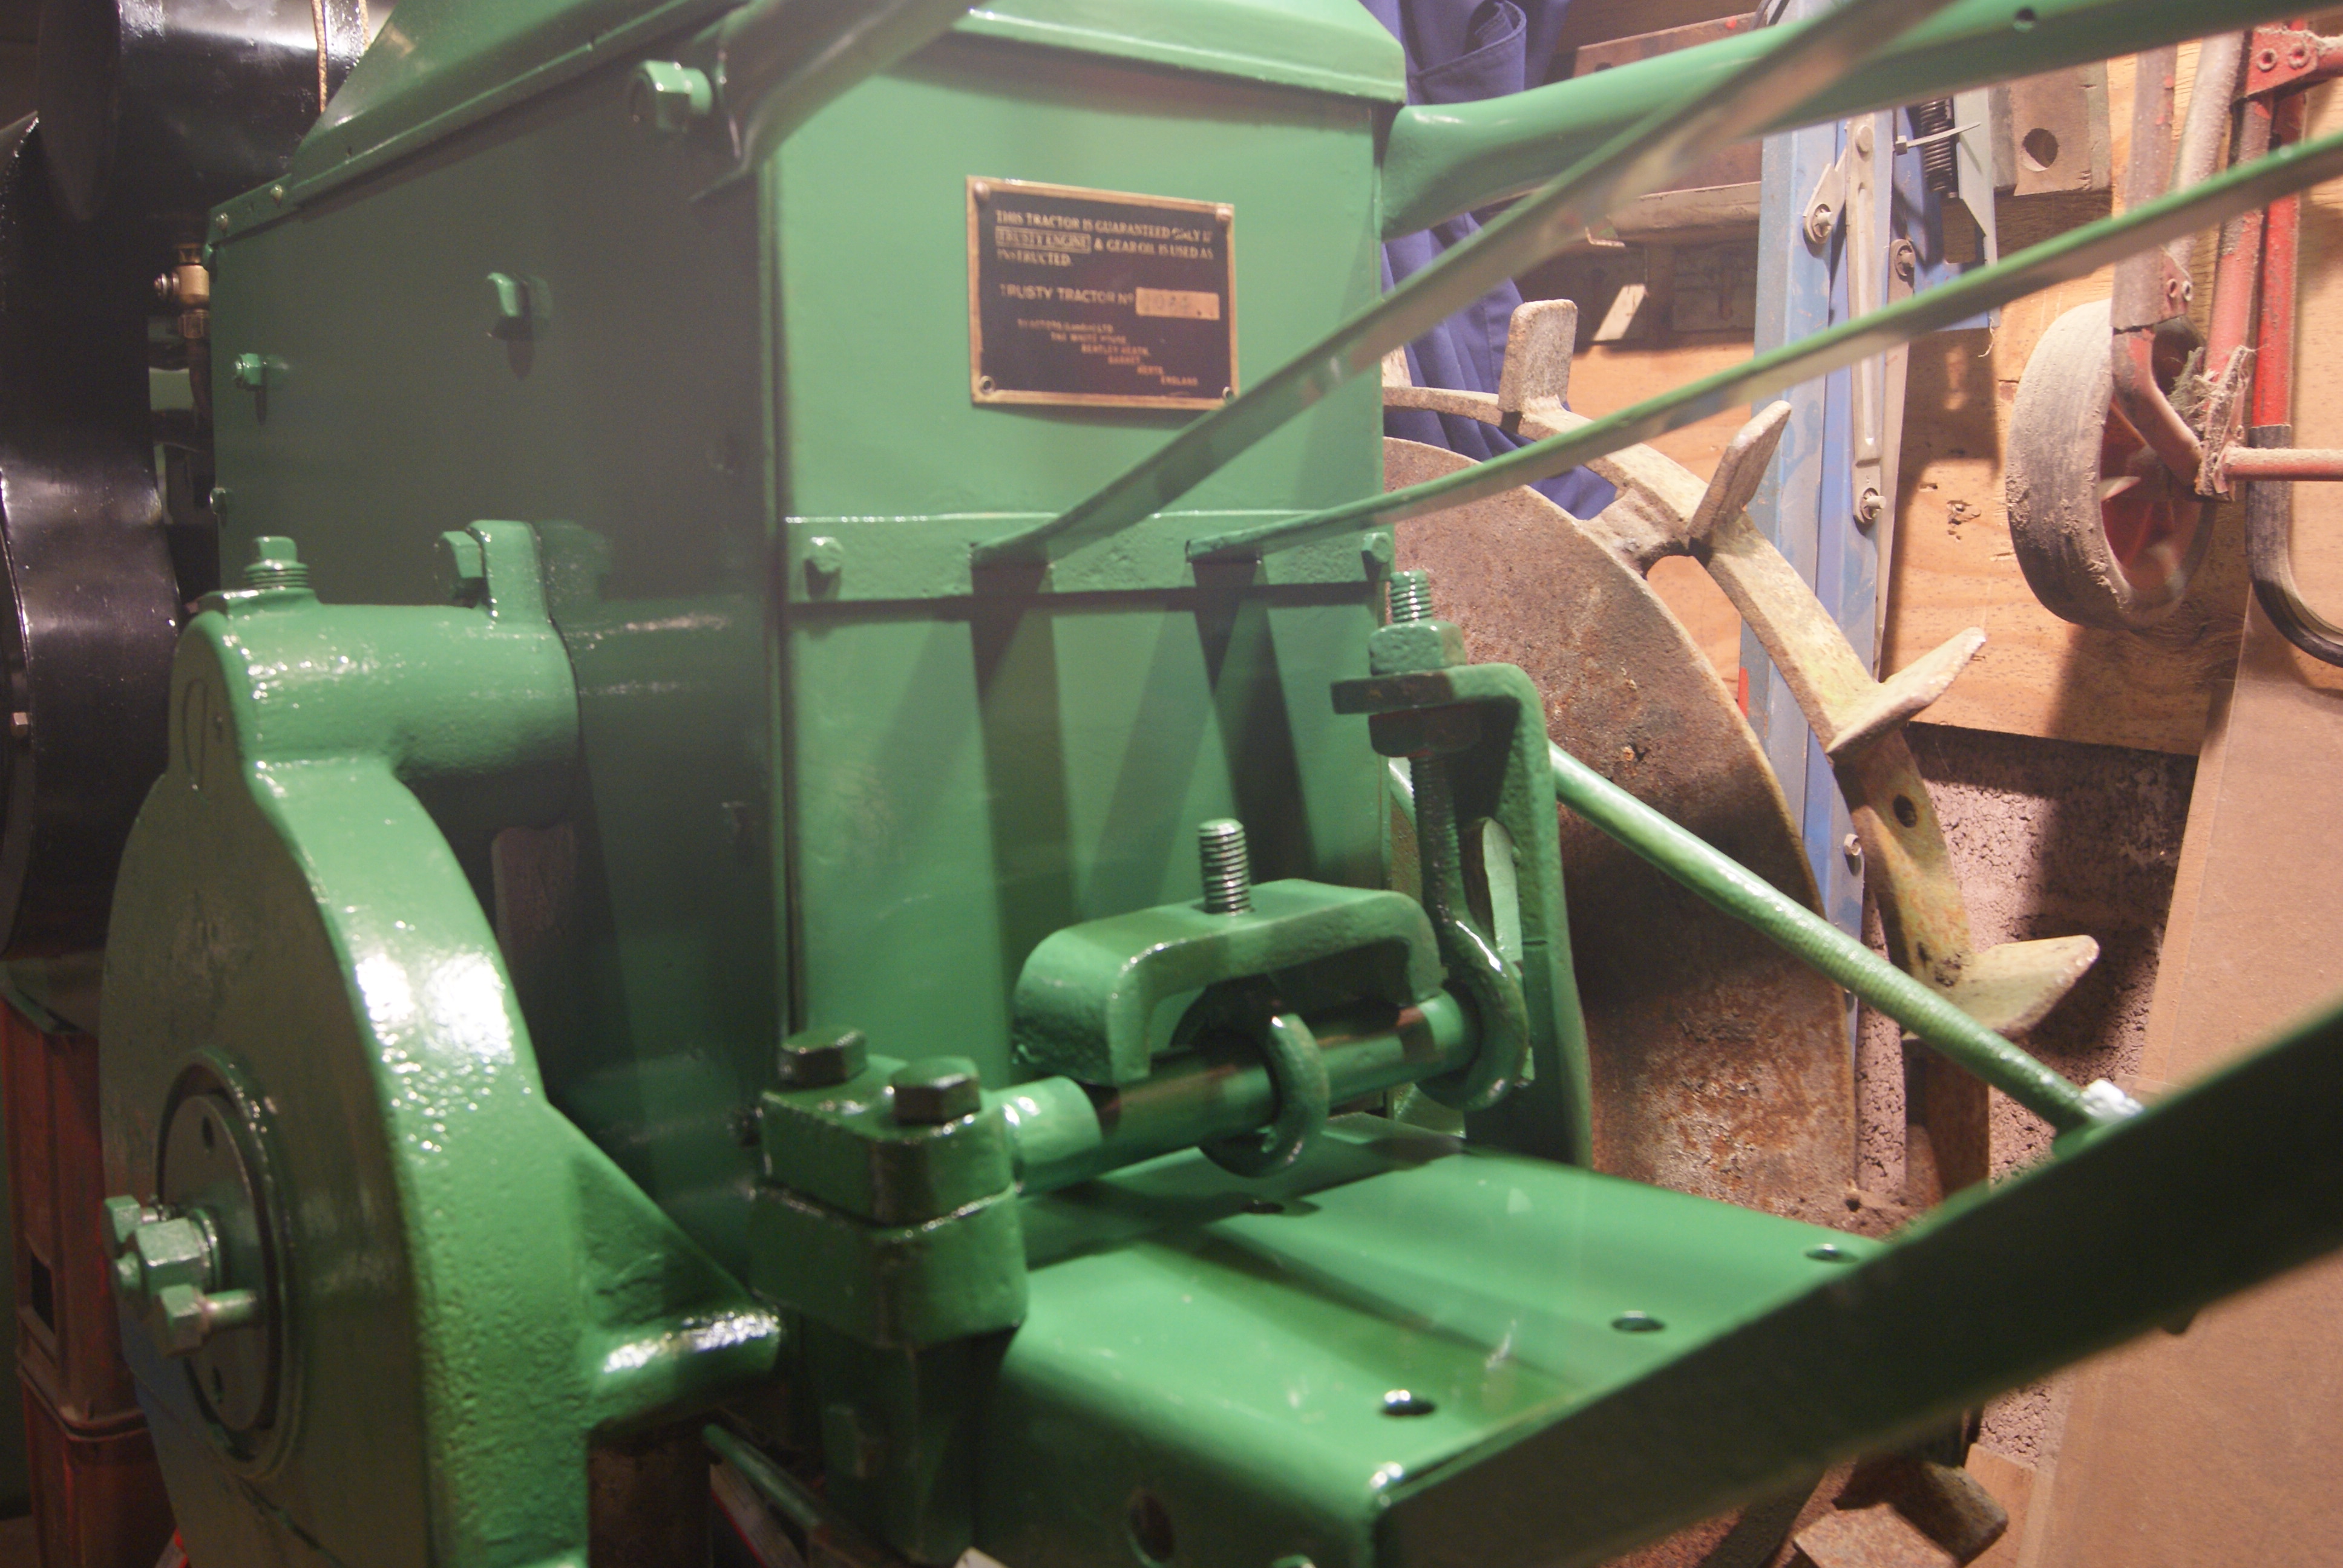
The drawbar is now finished and fitted; you will also see that I have loosely put the serial number plate in position on the back of the transmission casing, and it does look good. I may modify all of my other plates in a similar way so that they stand out better.
Things that are left to do are:-
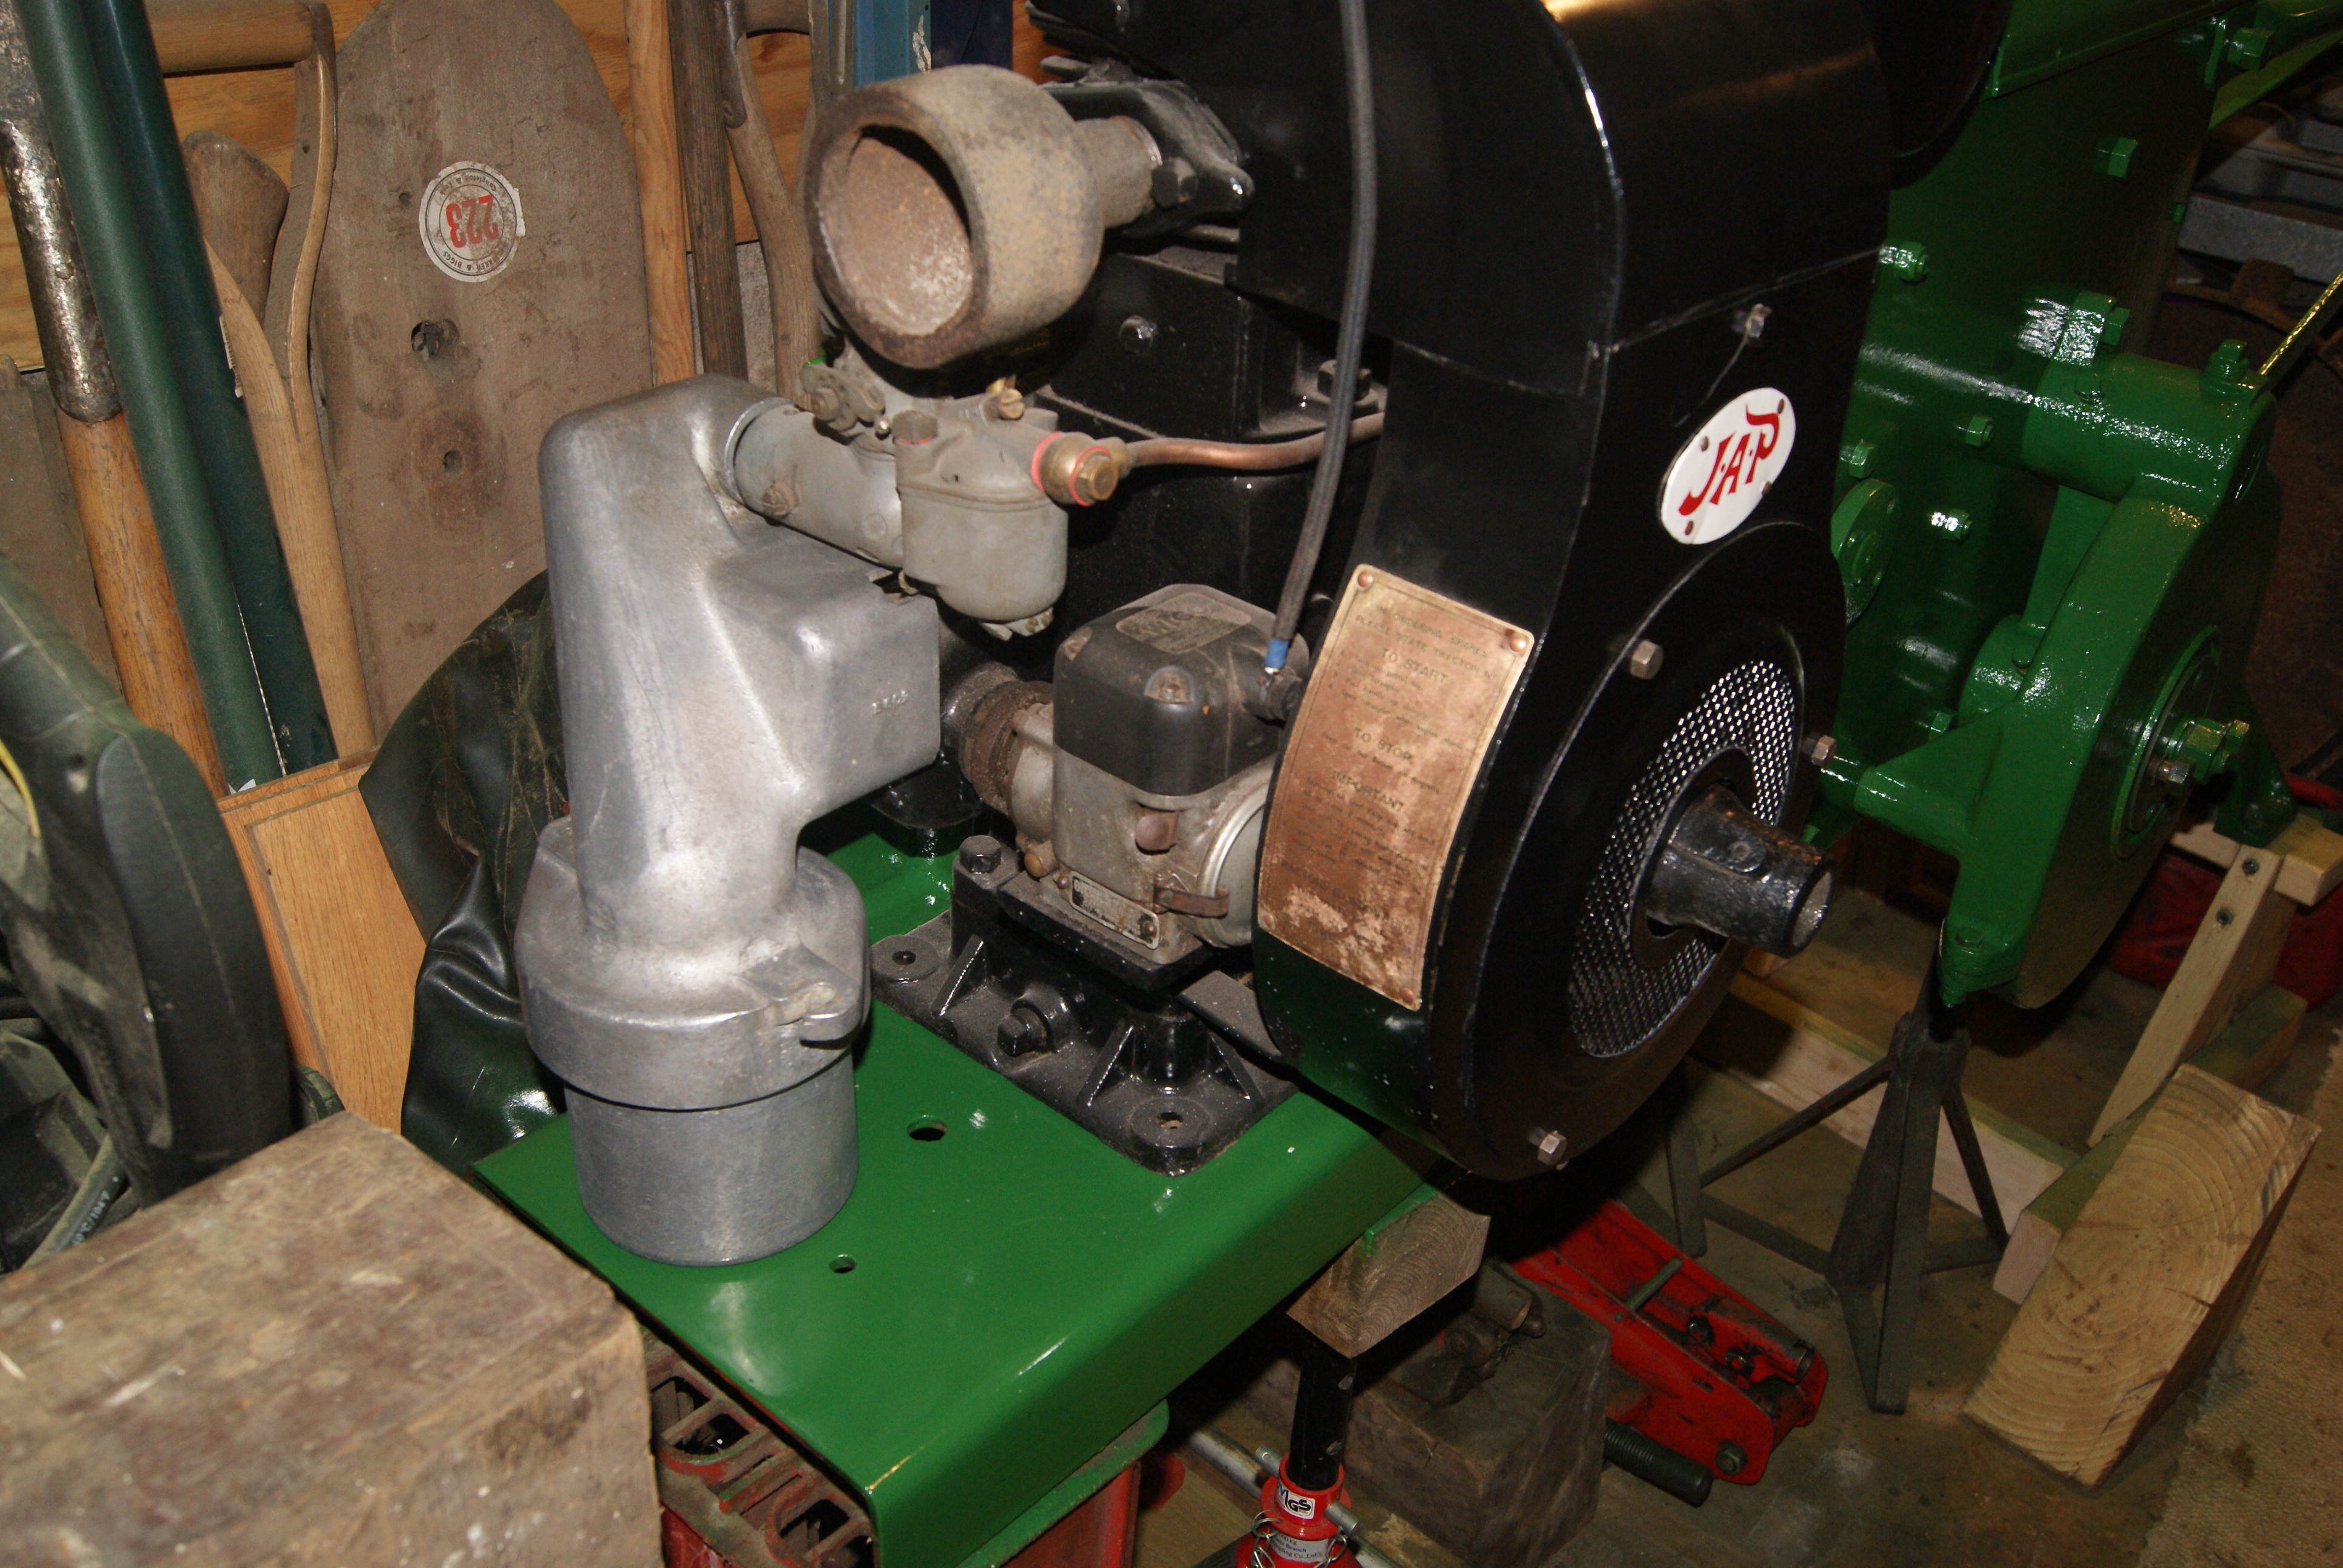
1. to search around for the very distinctive air filter which sits on the front of the chassis;
2. to search for the engine hold-down bolts;
3. find the length of new Reynolds chain that I bought years ago for this job;
4. purchase a 5/8″ Whitworth nut to hold the plate to the eyebolt on the drawbar;
5. purchase some 5BA screws to fit the serial plate to the transmission case.
6. find the throttle/governor link.As you can see, not much left to do now!
Attachments:
May 10, 2020 at 10:33 am #34280trusty220KeymasterWhen I was rebuilding a Norton Big Four engine for a Trusty Steed a few years ago I came across a chap who specialises in magneto repair in Halesowen in the West Midlands. He doesn’t touch all makes but he does know just about all there is to know about BTH and Lucas magnetos, as well as having a huge stock of parts for these makes. He doesn’t charge silly money, either, and the magneto that he did for me was absolutely perfect- search under “Trusty Steed Engine Rebuild” and you will find the thread together with plenty of photo’s.
His name is Tony Cooper and he can be contacted on 0121 559 2405.
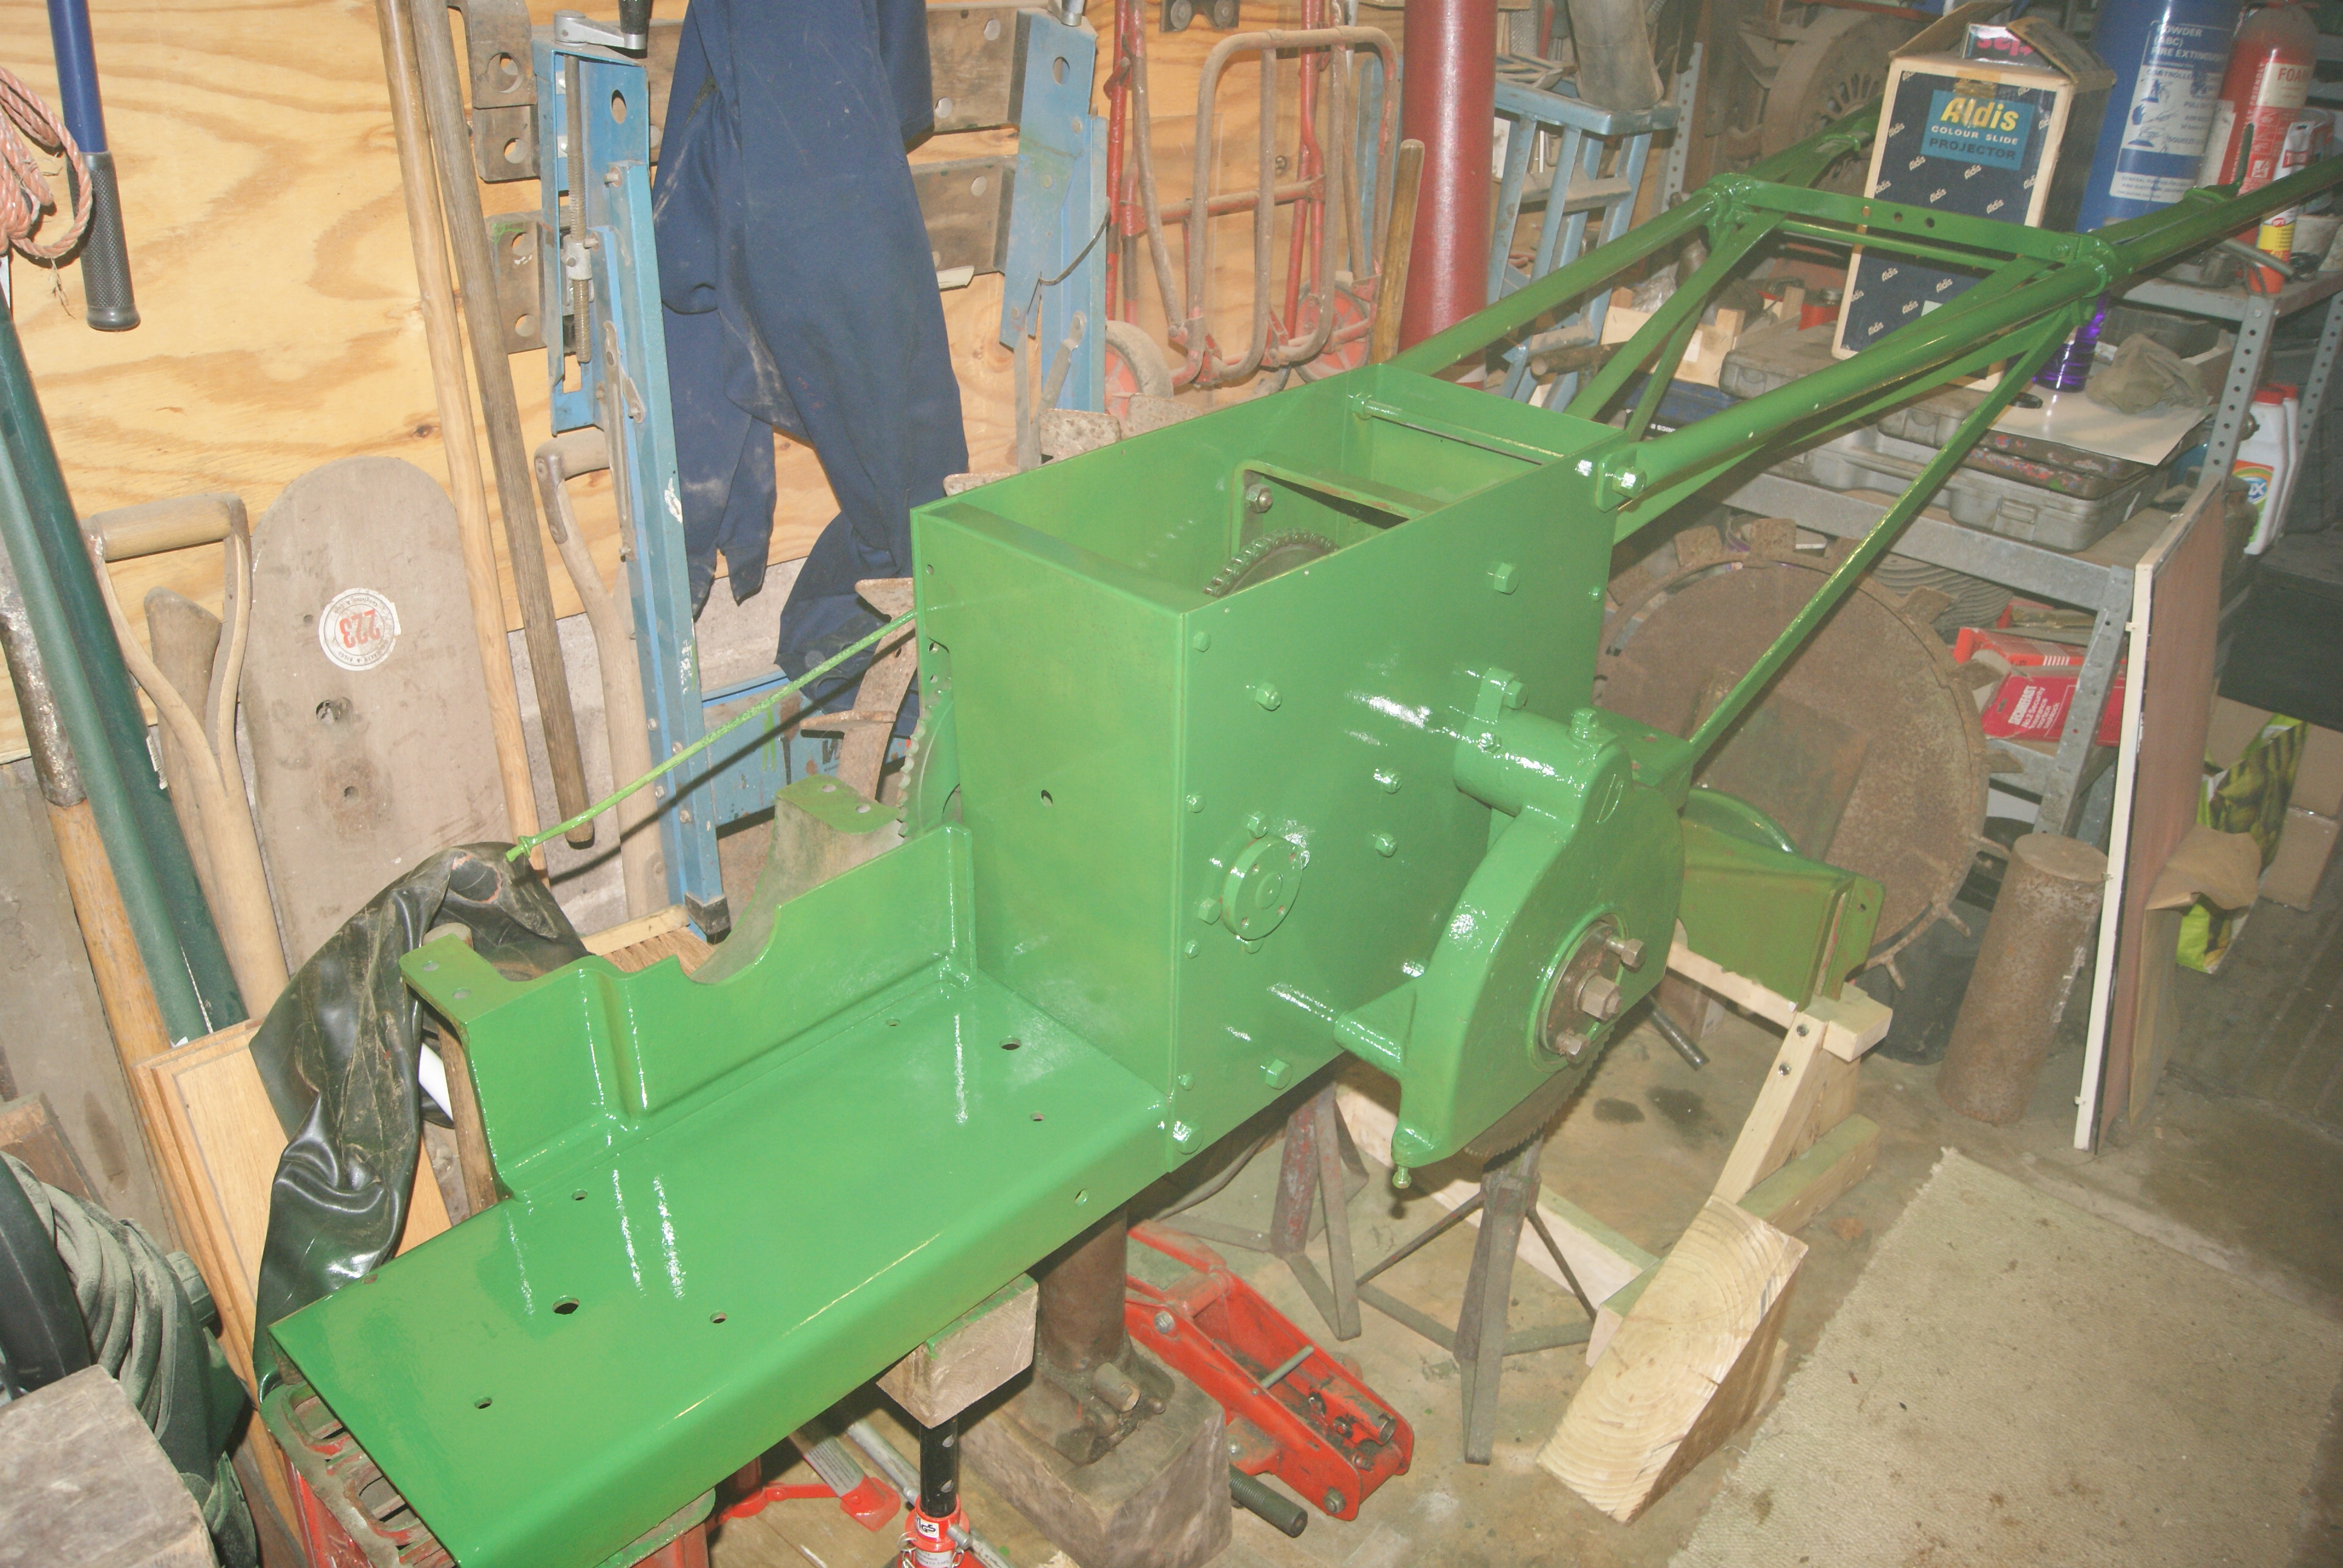
May 7, 2020 at 2:00 pm #34231trusty220KeymasterI’ve been juggling work in the garage with work on the farm this week, so apologies for anyone that thinks I’ve put it down again! The first thing that I did was have a good sort out, then pushed the Trusty outside to turn it around so that I could work on the other side. This is now done and I have jacked it up much higher than I had it before so that I can work on it more easily without grovelling on the floor half the time.
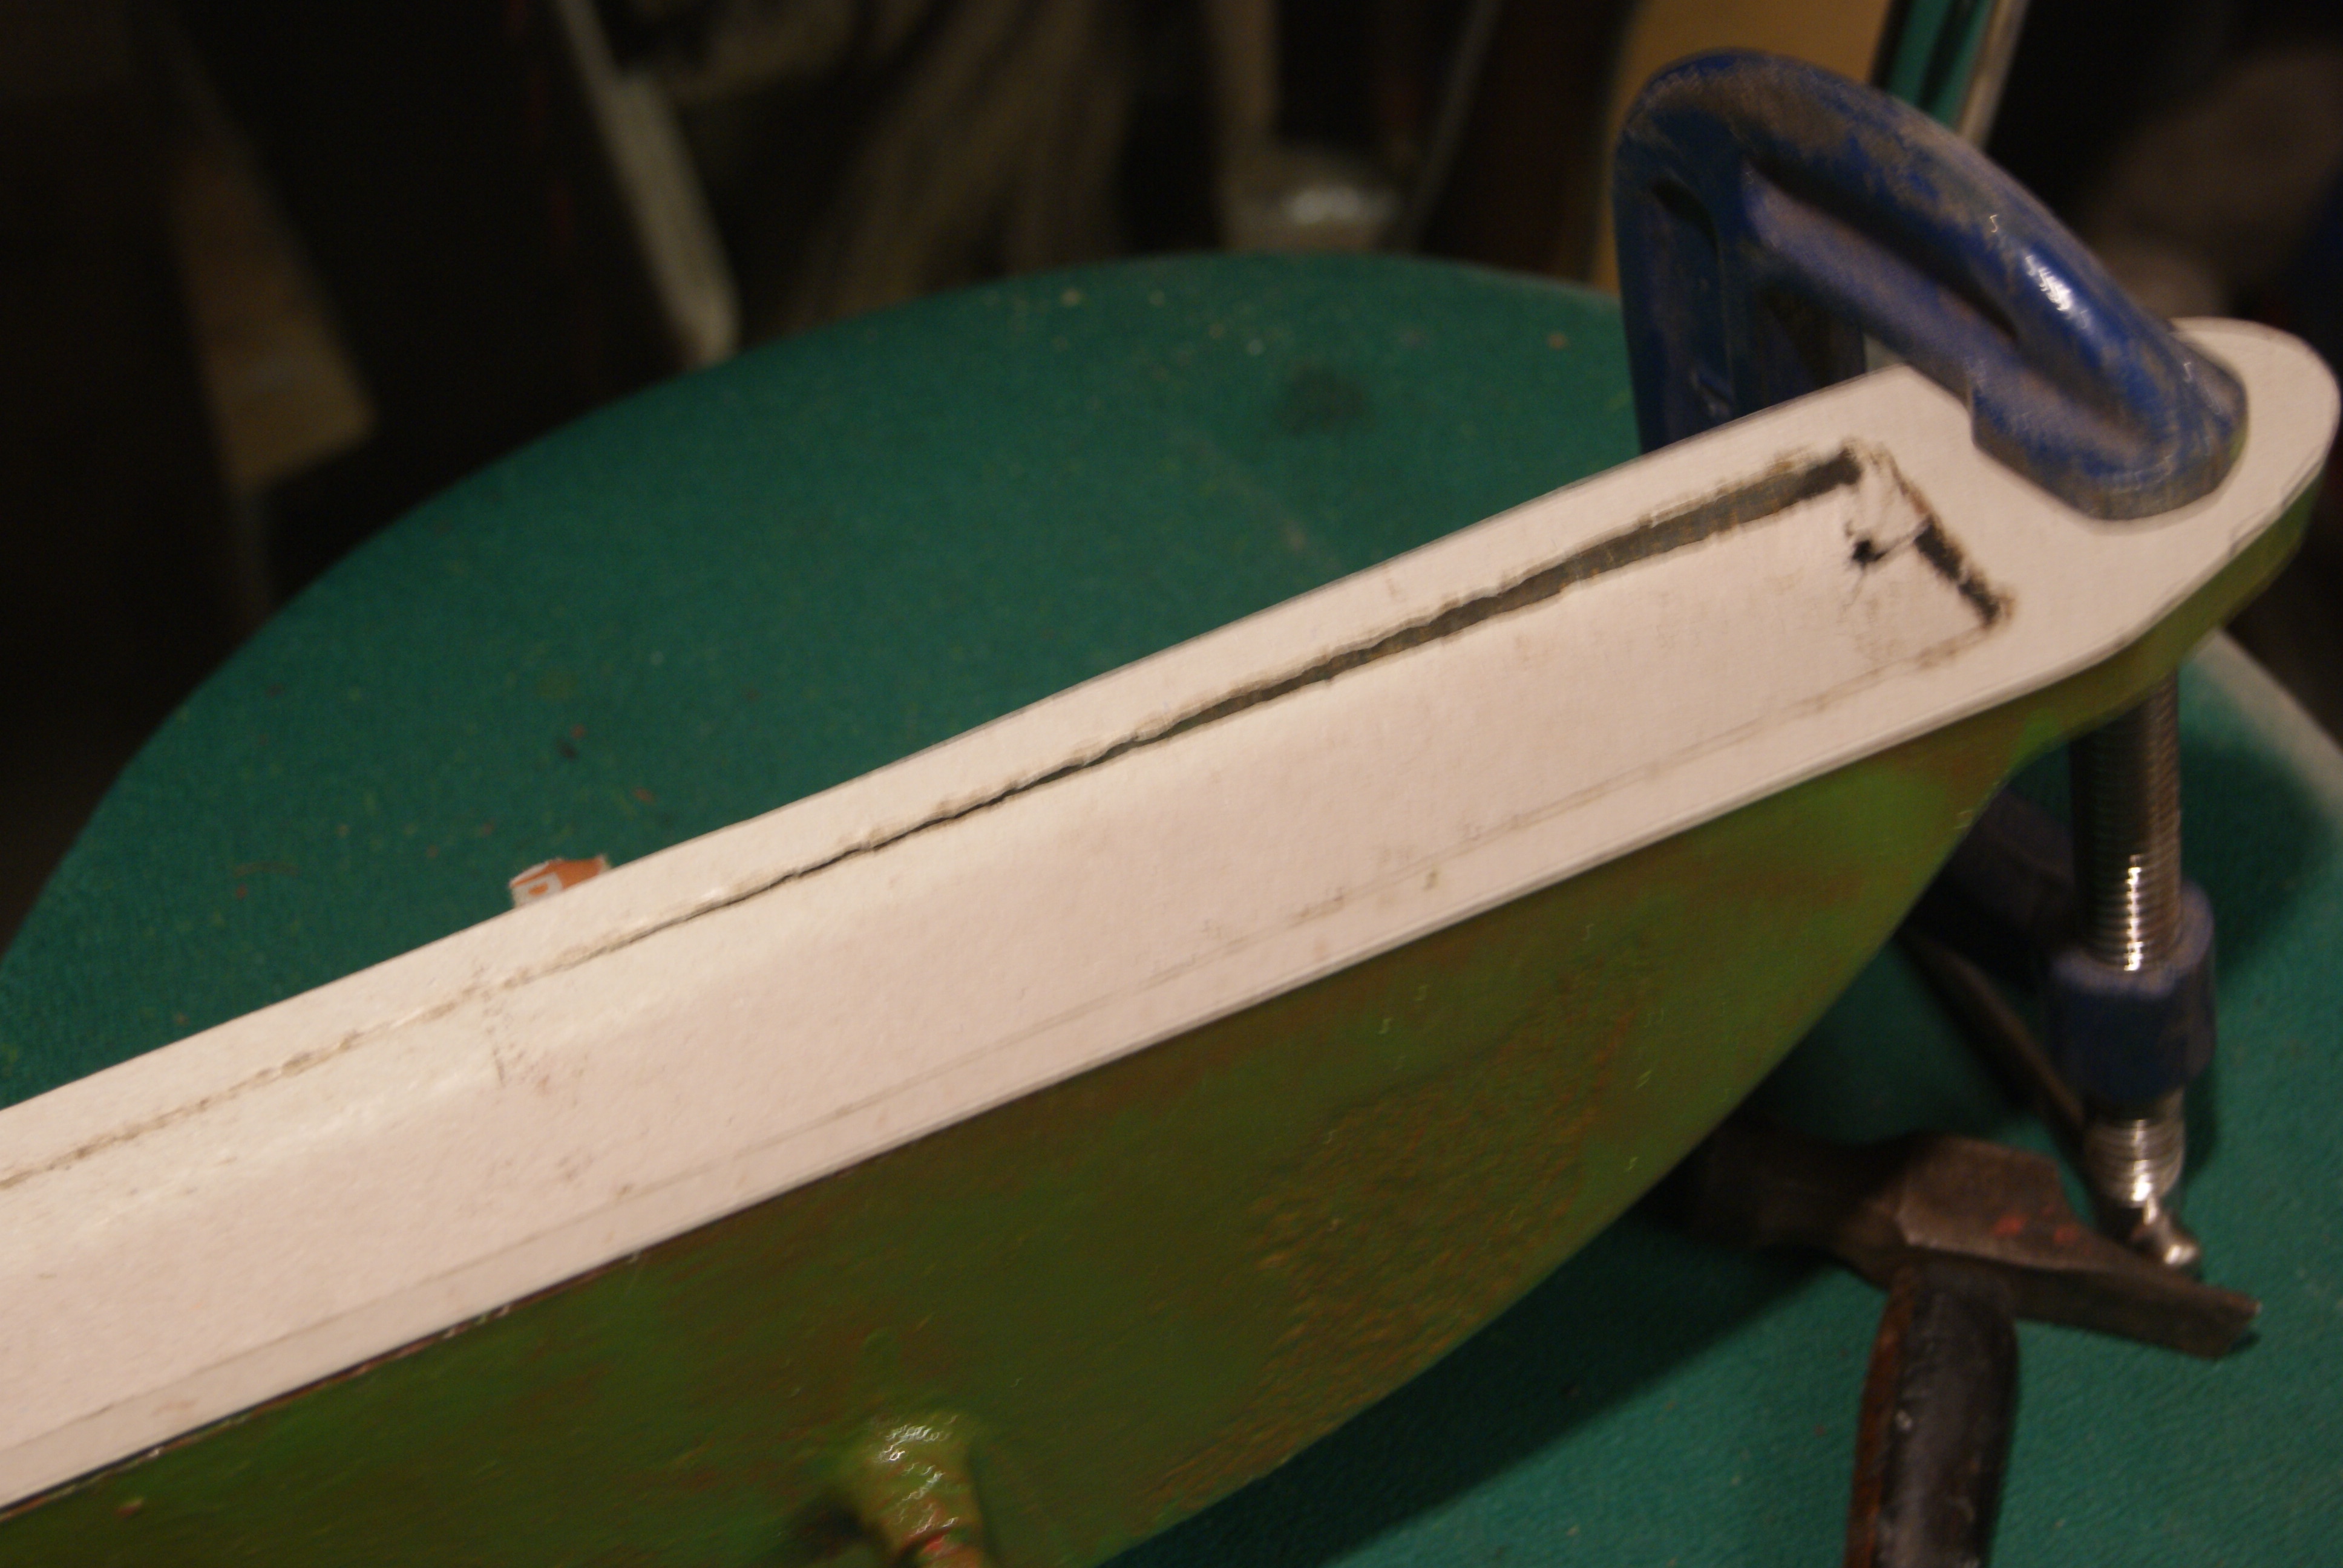
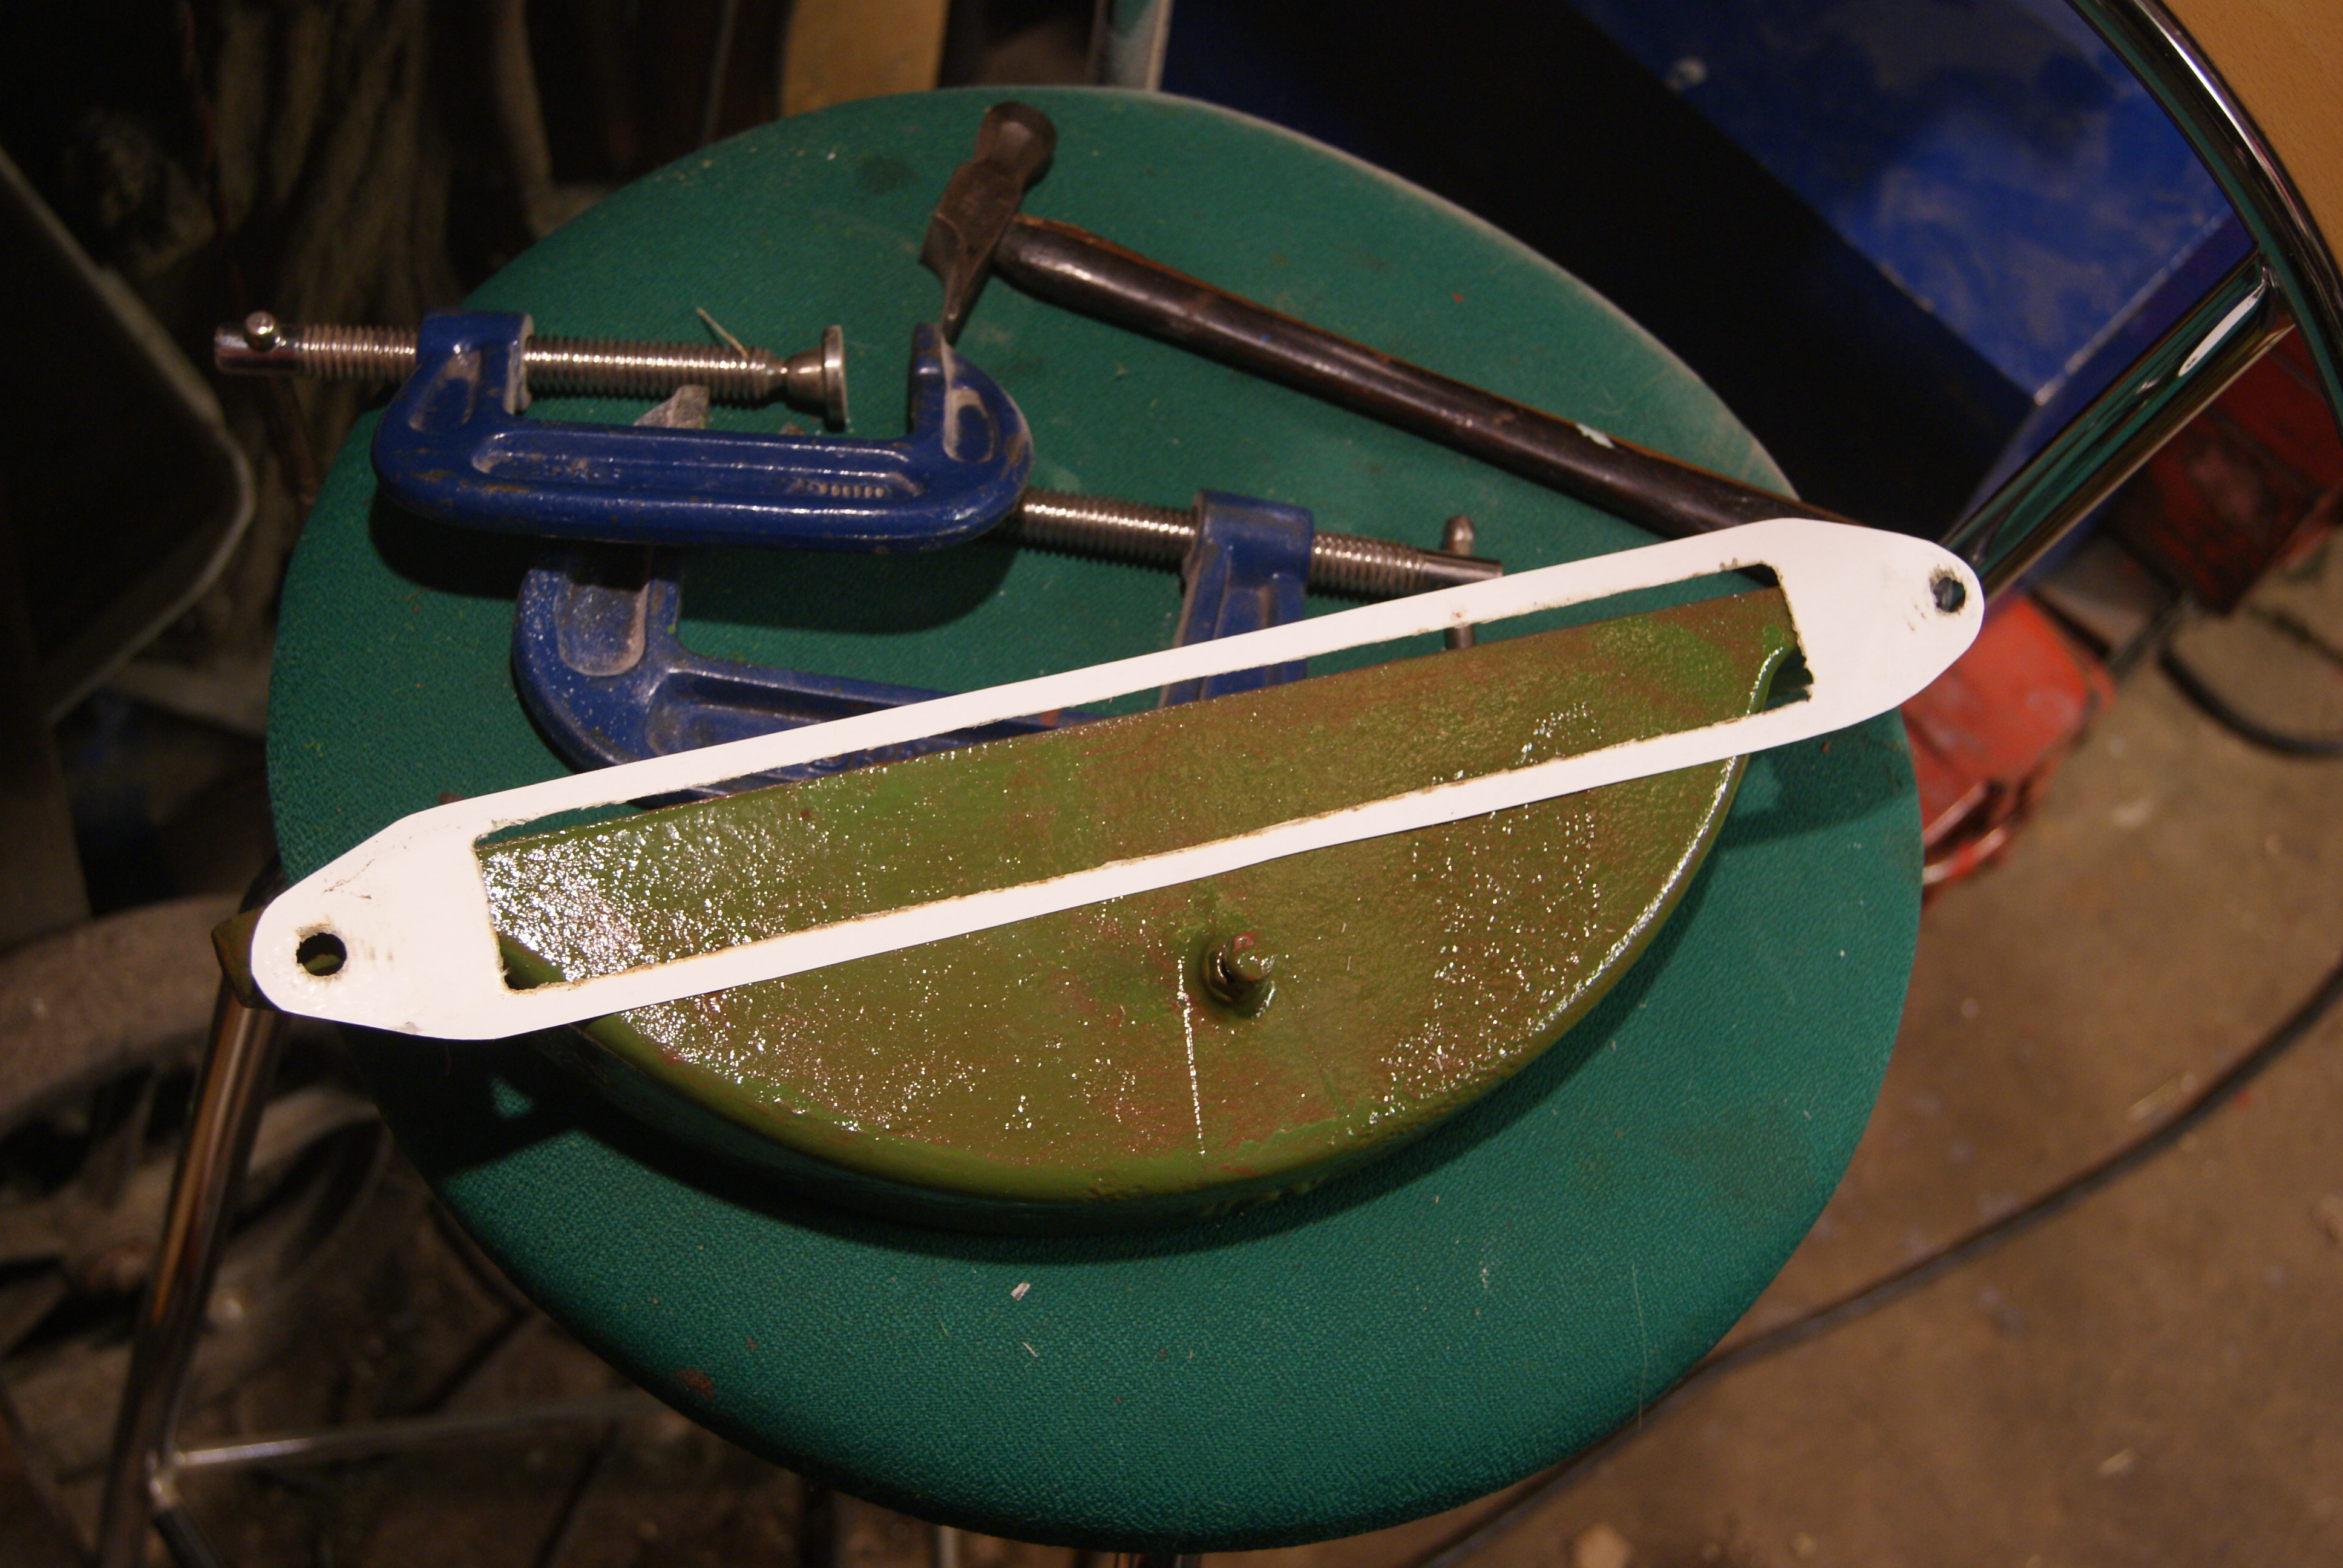
First job was to take the wheel off; it was then that I found that I had left the bottom tray of the reduction gear loose, probably because I didn’t have a big enough piece of gasket paper to make the gasket. It doesn’t take long to knock one out and I’m sure all of you oldies know how to make one using a hammer across the open face of the casting, but I’ve put some photo’s on the post to show some of the younger members who may not know this old trick. The secret is to clamp the gasket paper firmly in place so that it can’t move, then tap gently at a slight angle where you think the edge of the casting is. Once you’ve found it you’ll find that it will cut through the paper cleanly and all you have to do is to follow the edge around the casting until you meet up with the original cut. You can do bolt holes in the same way but you are better using a small ball pein hammer to do those. Once you’ve gone round all of the edges you are left with a perfect gasket which is tailor made to your machine- what could be simpler?
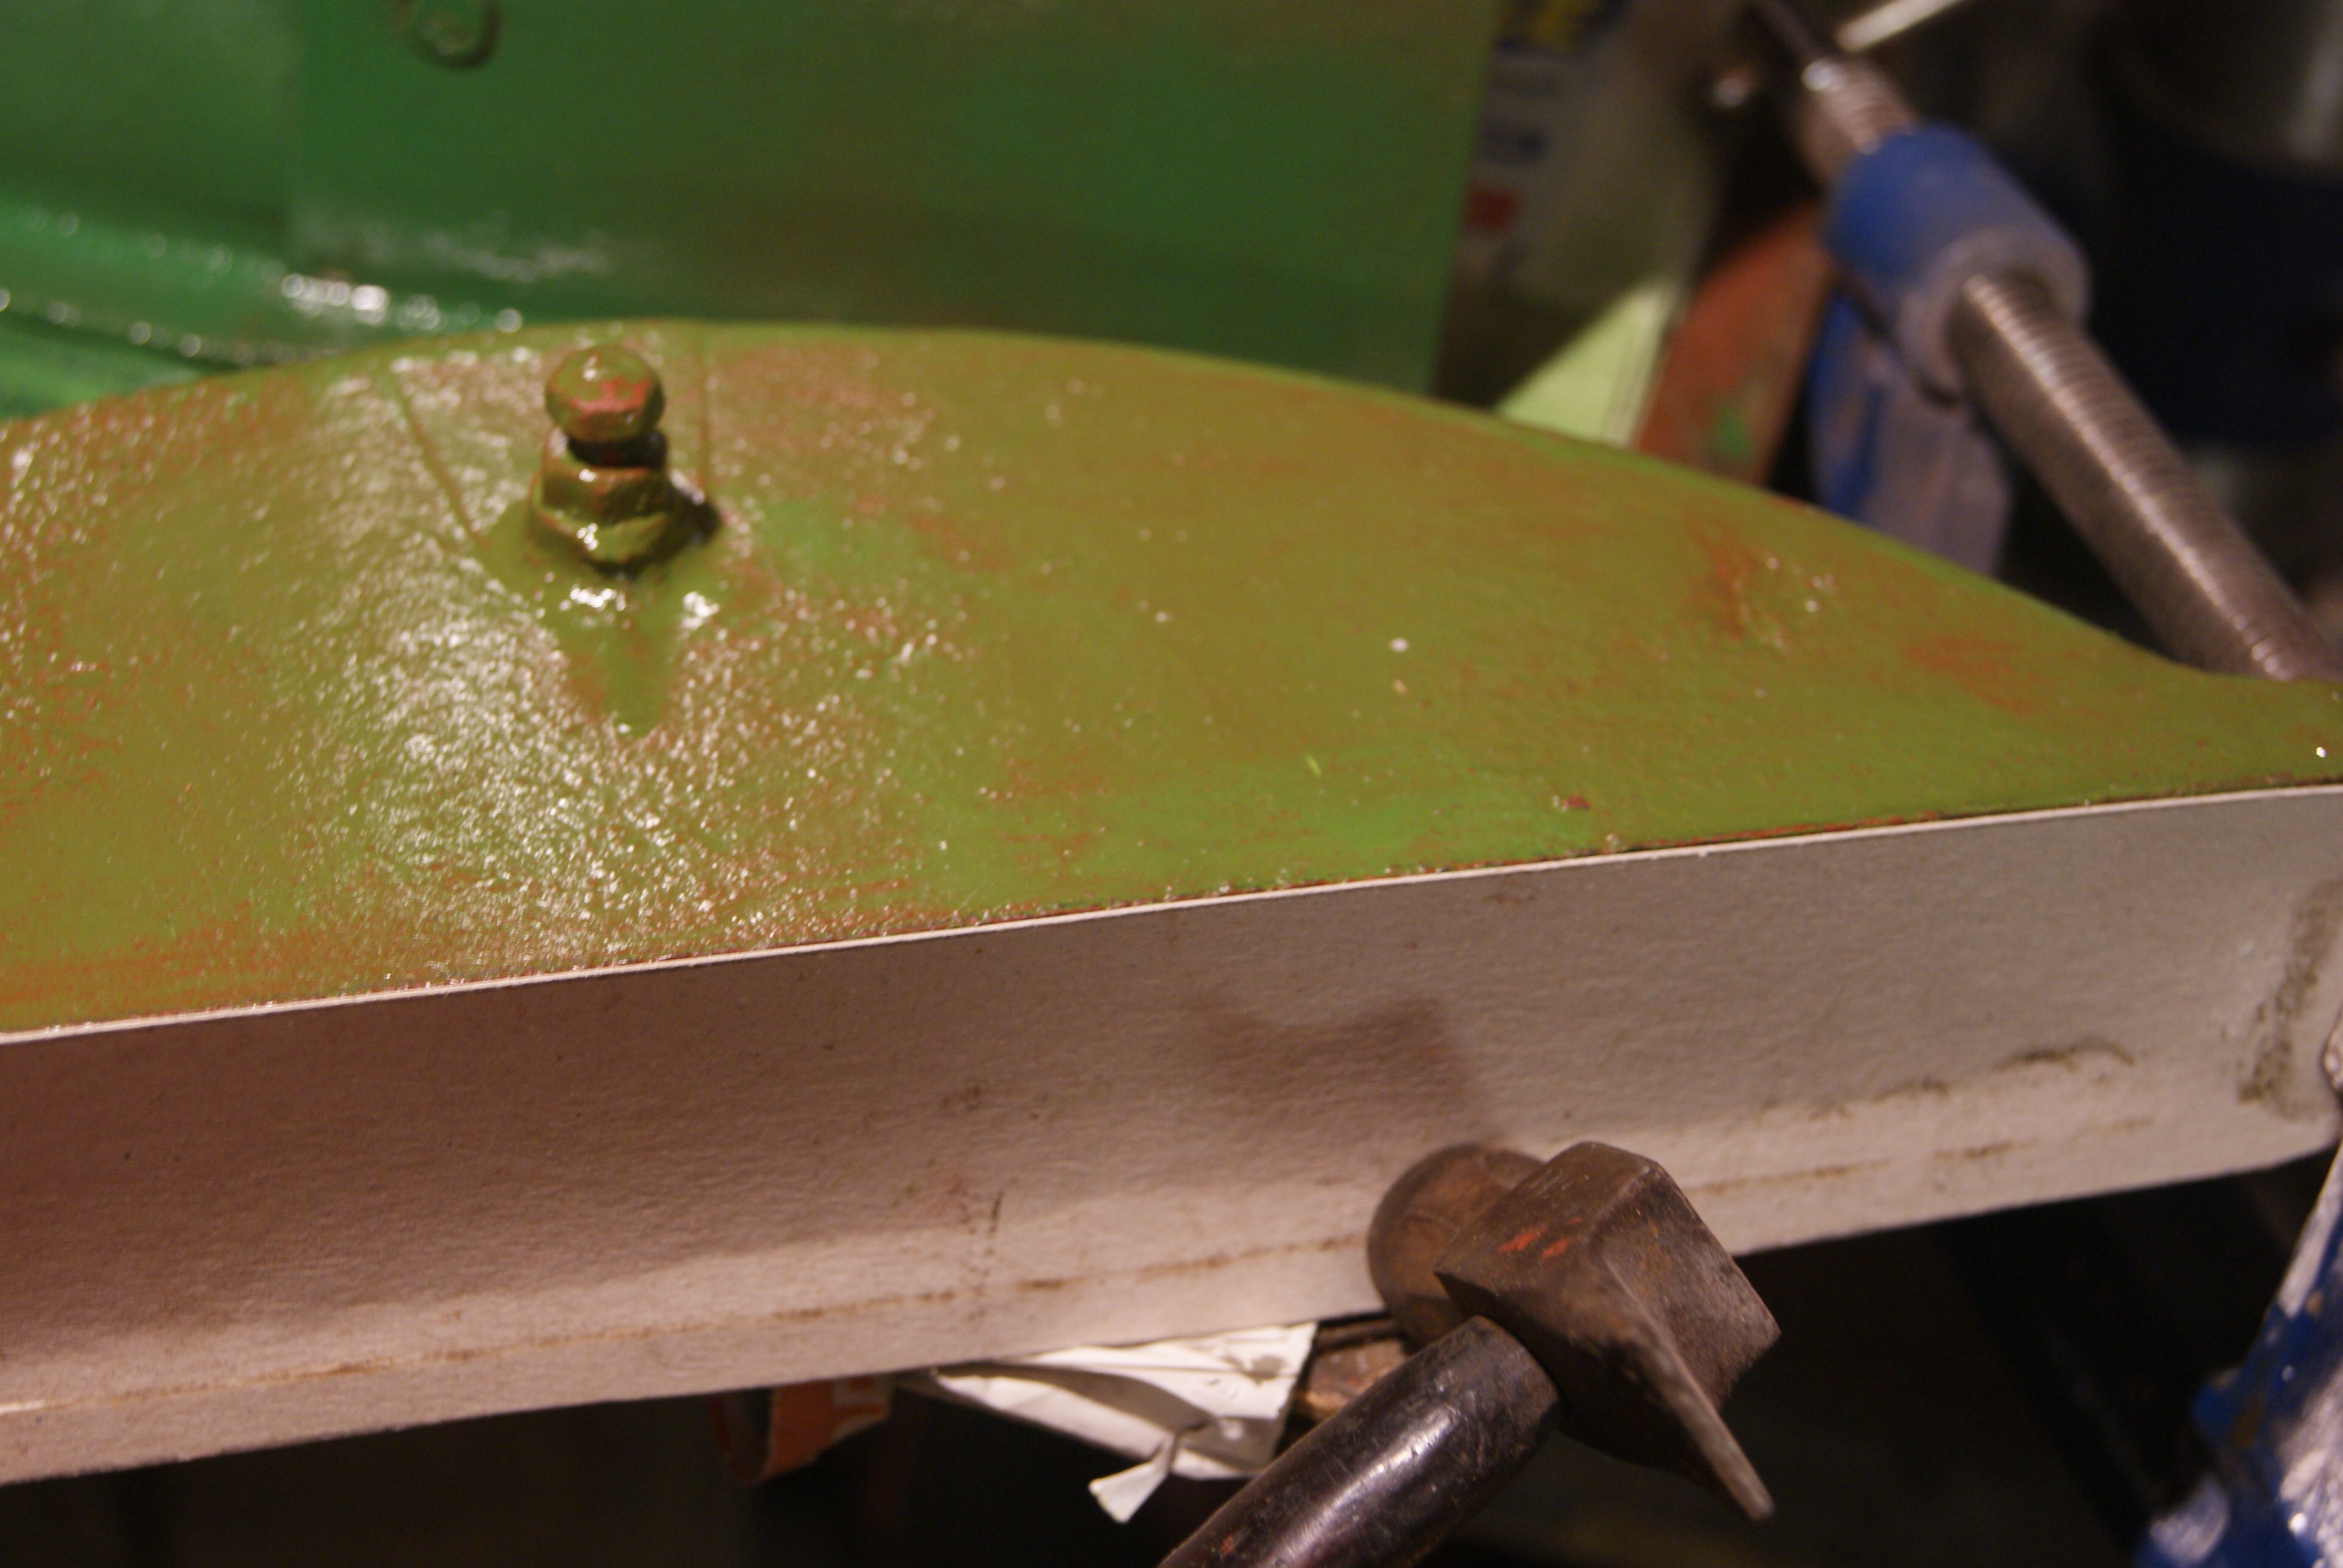
As you will see from the pictures I have also taken the time to paint this side of the tractor as well. Once the paint’s dry I will carry on with some more. It’s certainly starting to come together quickly now, so not much longer!
Attachments:
May 3, 2020 at 4:24 pm #34133trusty220Keymaster……and here it is after three coats. Not quite as good a finish as I could have achieved by spraying but not bad for the conditions.
Attachments:
May 3, 2020 at 11:35 am #34123trusty220KeymasterThe paint came the other day and I found time to try it out. Unfortunately I didn’t read the instructions when I ordered it and it appears that it is most suitable for spraying- I have all the stuff to spray it but nowhere to do it!
I ordered the best brushes I could find locally and tried it out with brush application. At present it looks like three coats will be necessary to get satisfactory results; the pictures that I took are after two coats and show a few areas where the paint seems to contract to leave pock marks, very similar to silicone contamination when spraying cellulose, but these should clear up after a final coat.
The colour is spot-on and is a hammered metallic finish. Once I’ve moved and have a suitable workshop I will re-do it by spraying, but until then it will keep the weather out of it.
Attachments:
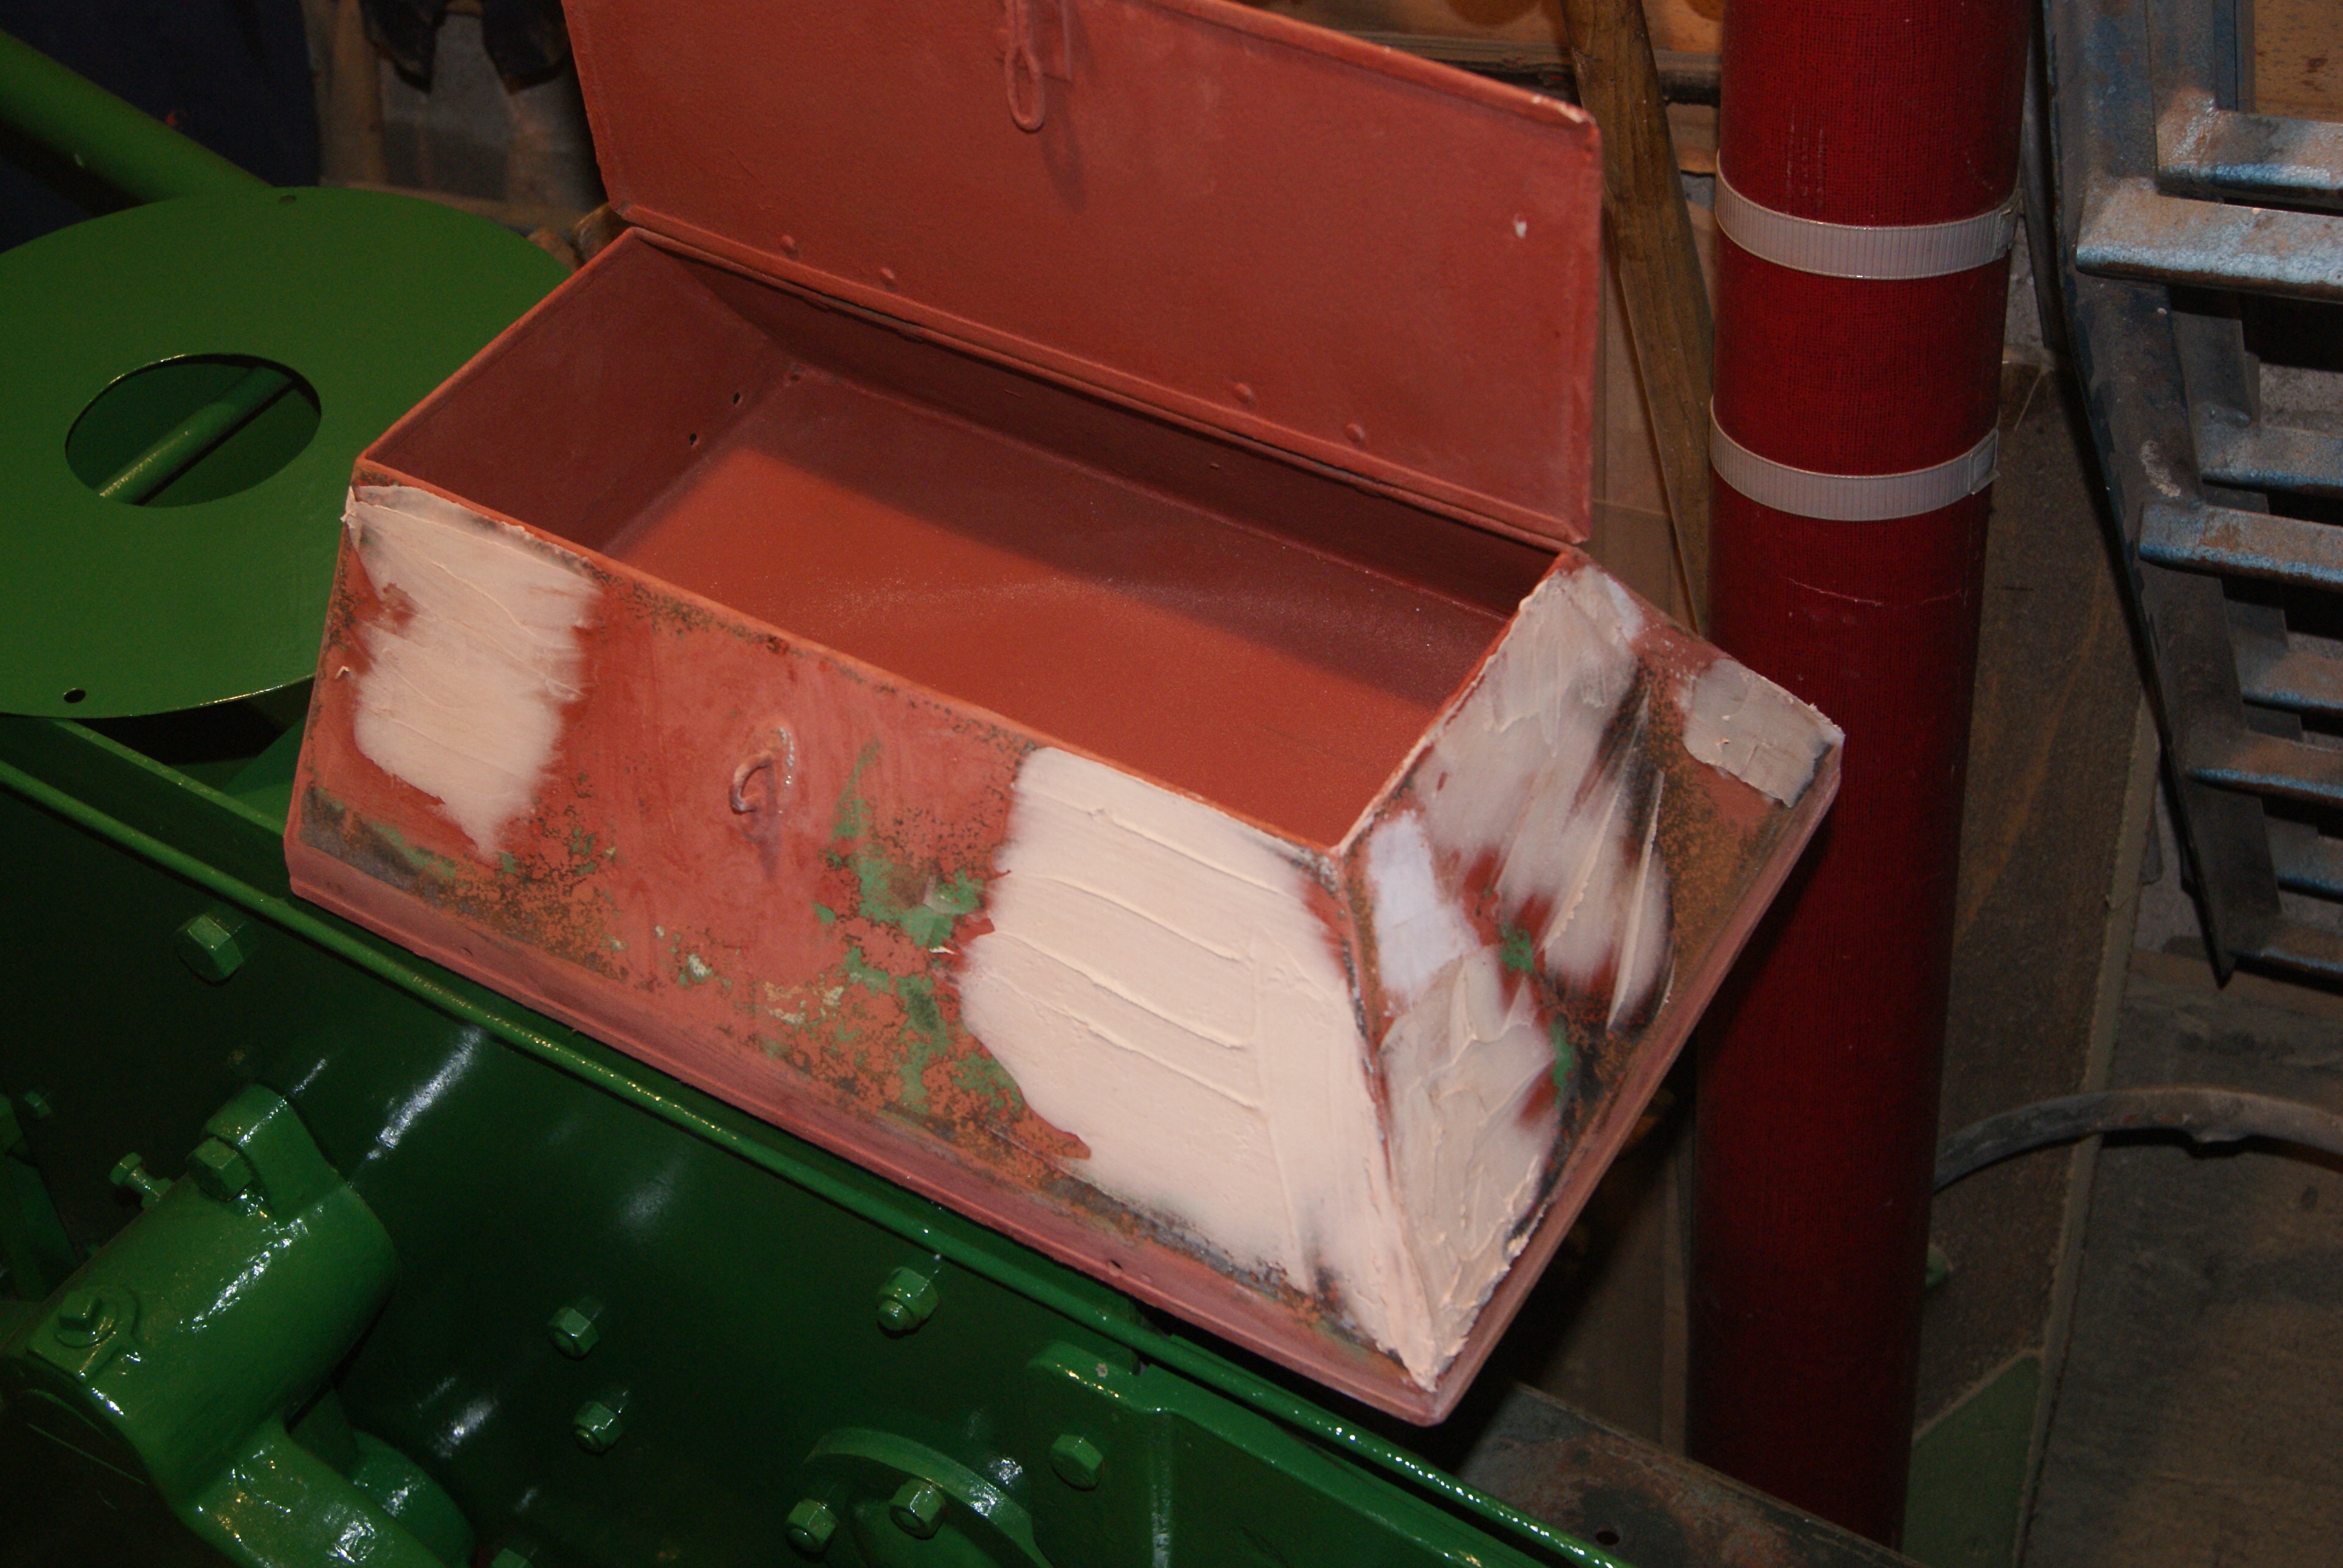
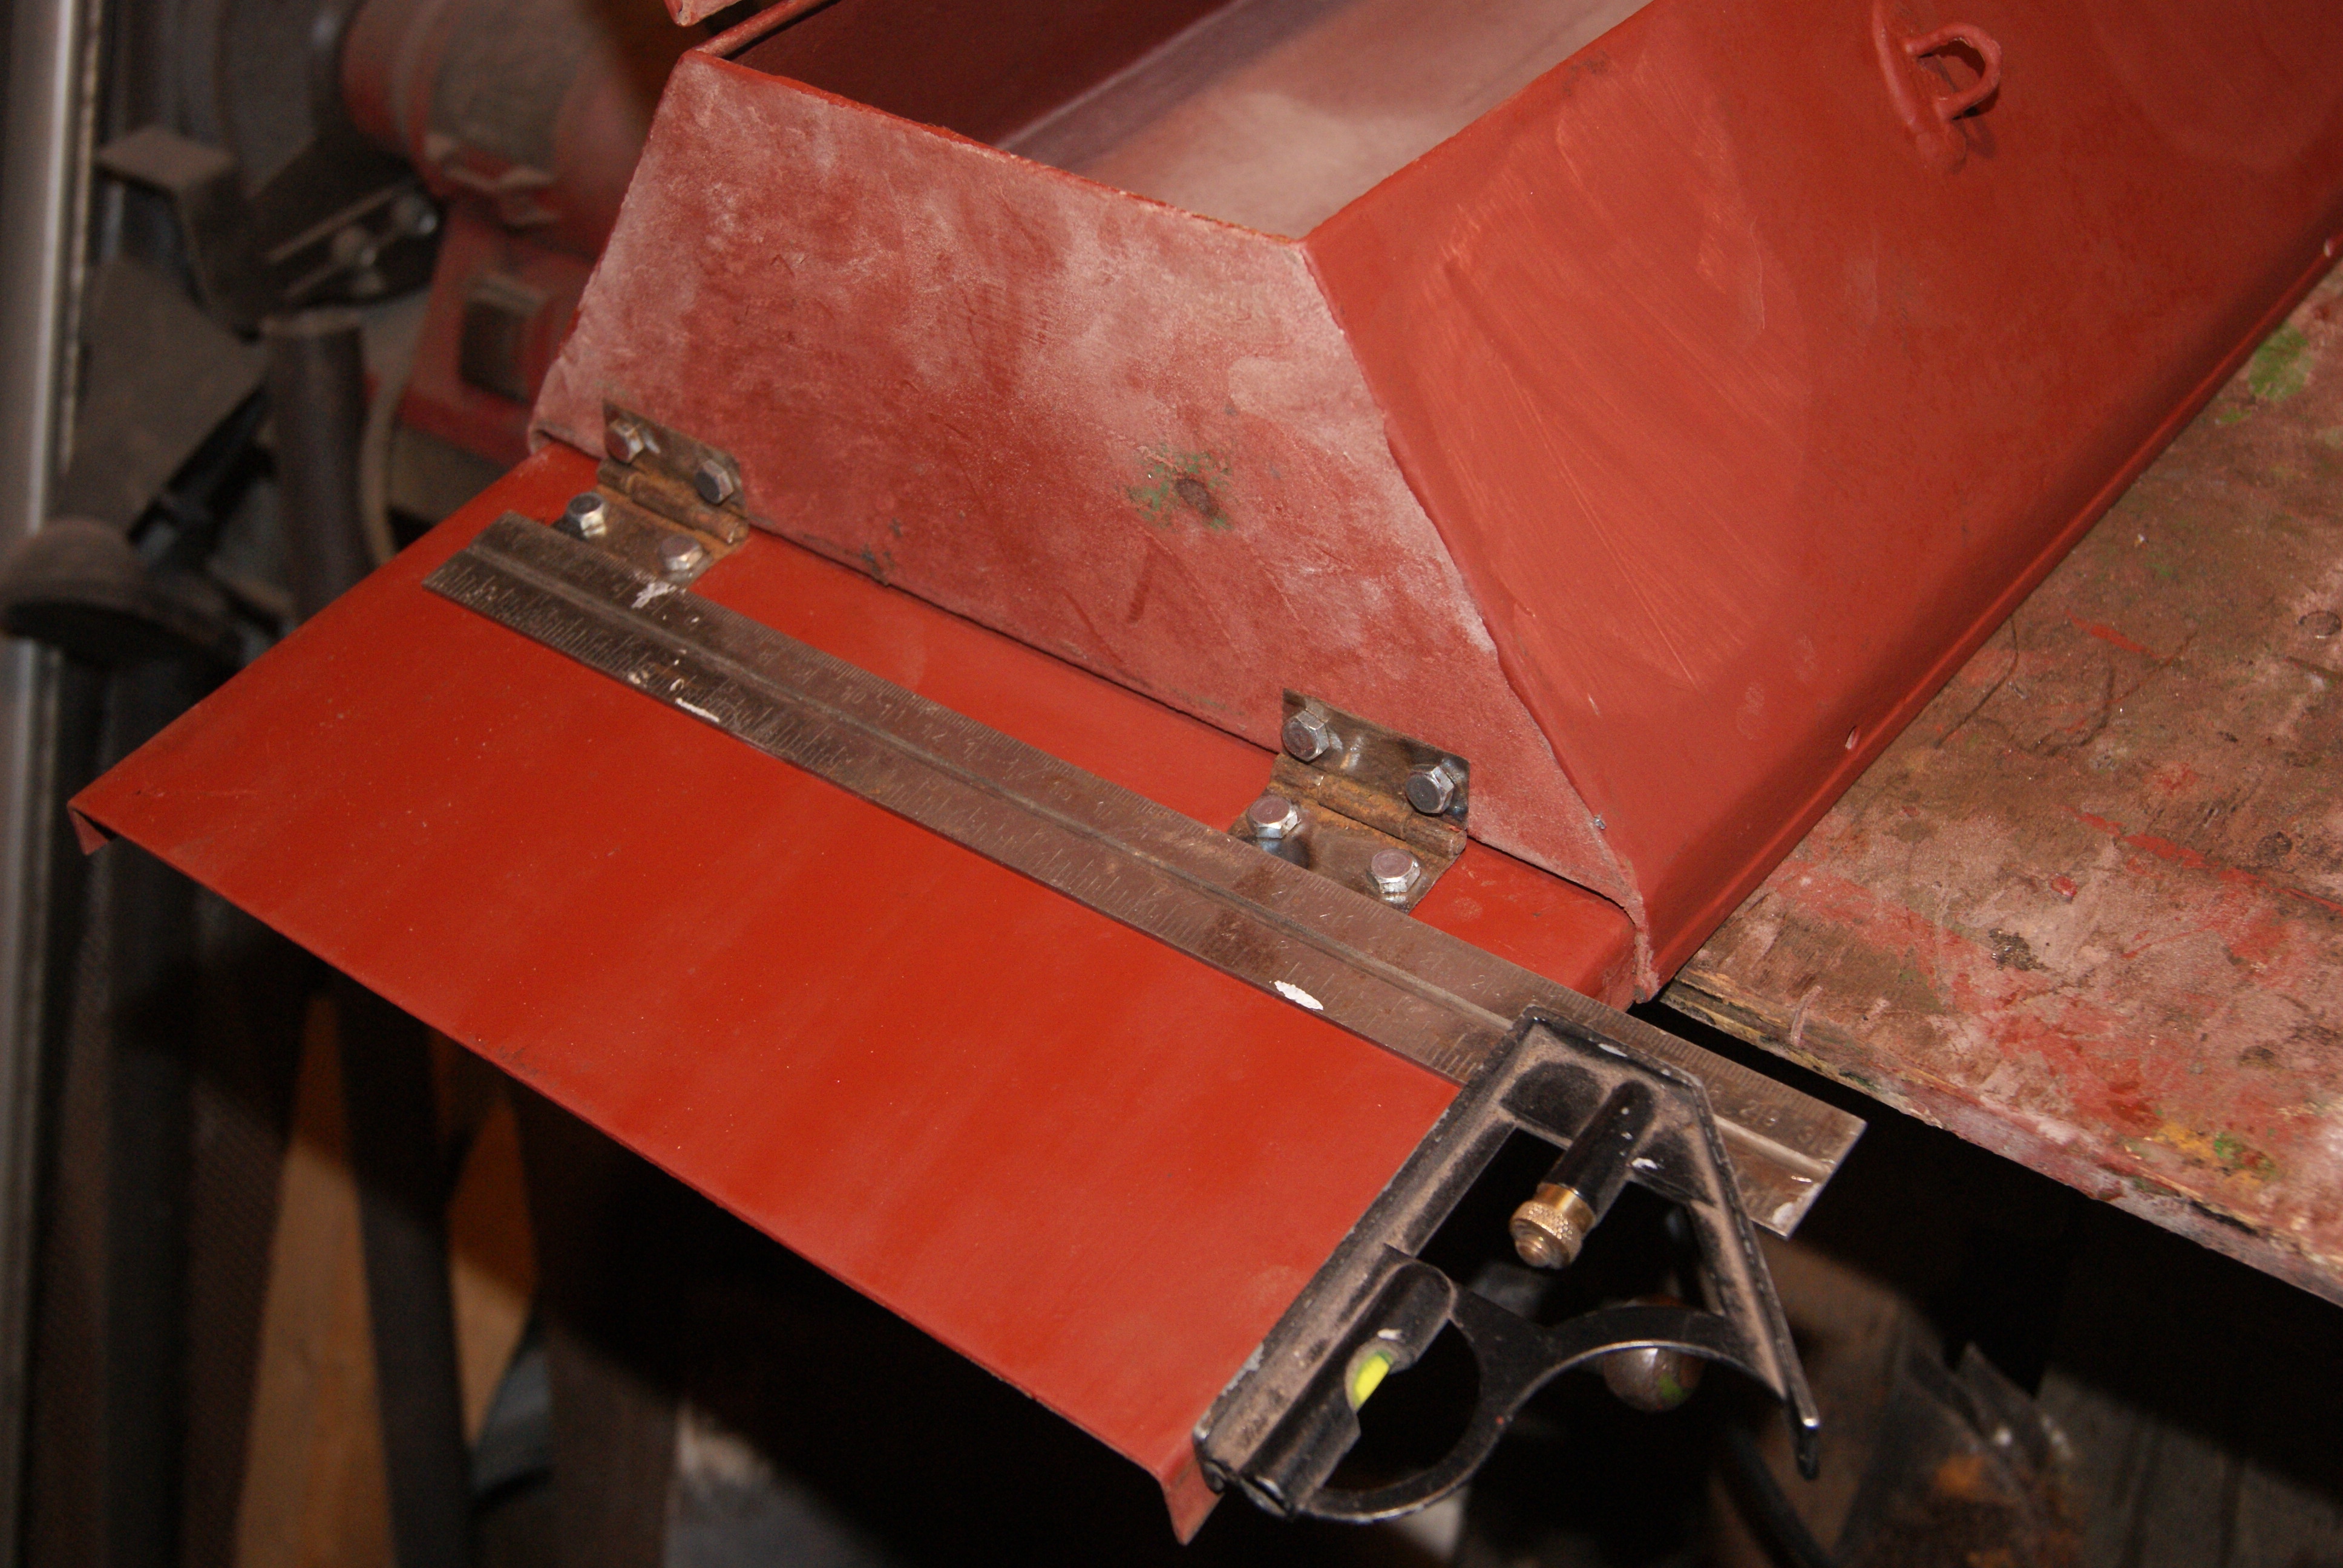
May 1, 2020 at 1:16 pm #34089trusty220KeymasterBack to the rebuild today. Because the toolbox was in such good condition I had hoped to put a few coats of red oxide primer on it, flatting between each coat. I hoped this would fill all of the small blemishes and rust pits on the surface; this it did, but the paint is too soft and kept clogging up the glasspaper. Not wanting to throw so much of it away I resorted to the tried and tested method of skimming P38 filler thinly over the worst spots. Three applications later and it all came good with a lovely smooth finish. I’ve never been able to achieve it with one application as flatting down always shows up something else, but three is about right for this.
Before painting the top coat I decided to attach the front plate with it’s hinges. This can be more difficult than it sounds because if you don’t get the hinges in exactly the right place it strains the rivets and everything loosens up after a short while. The best method I have found is to bolt everything together first, adjusting their position if needed before tightening everything up. Once the hinges are in position and tightened you can then remove each bolt in turn, replacing each bolt with a soft rivet and cold forming the head before removing the next bolt. The method is foolproof and as long as you don’t lose patience it works every time.
Attachments:
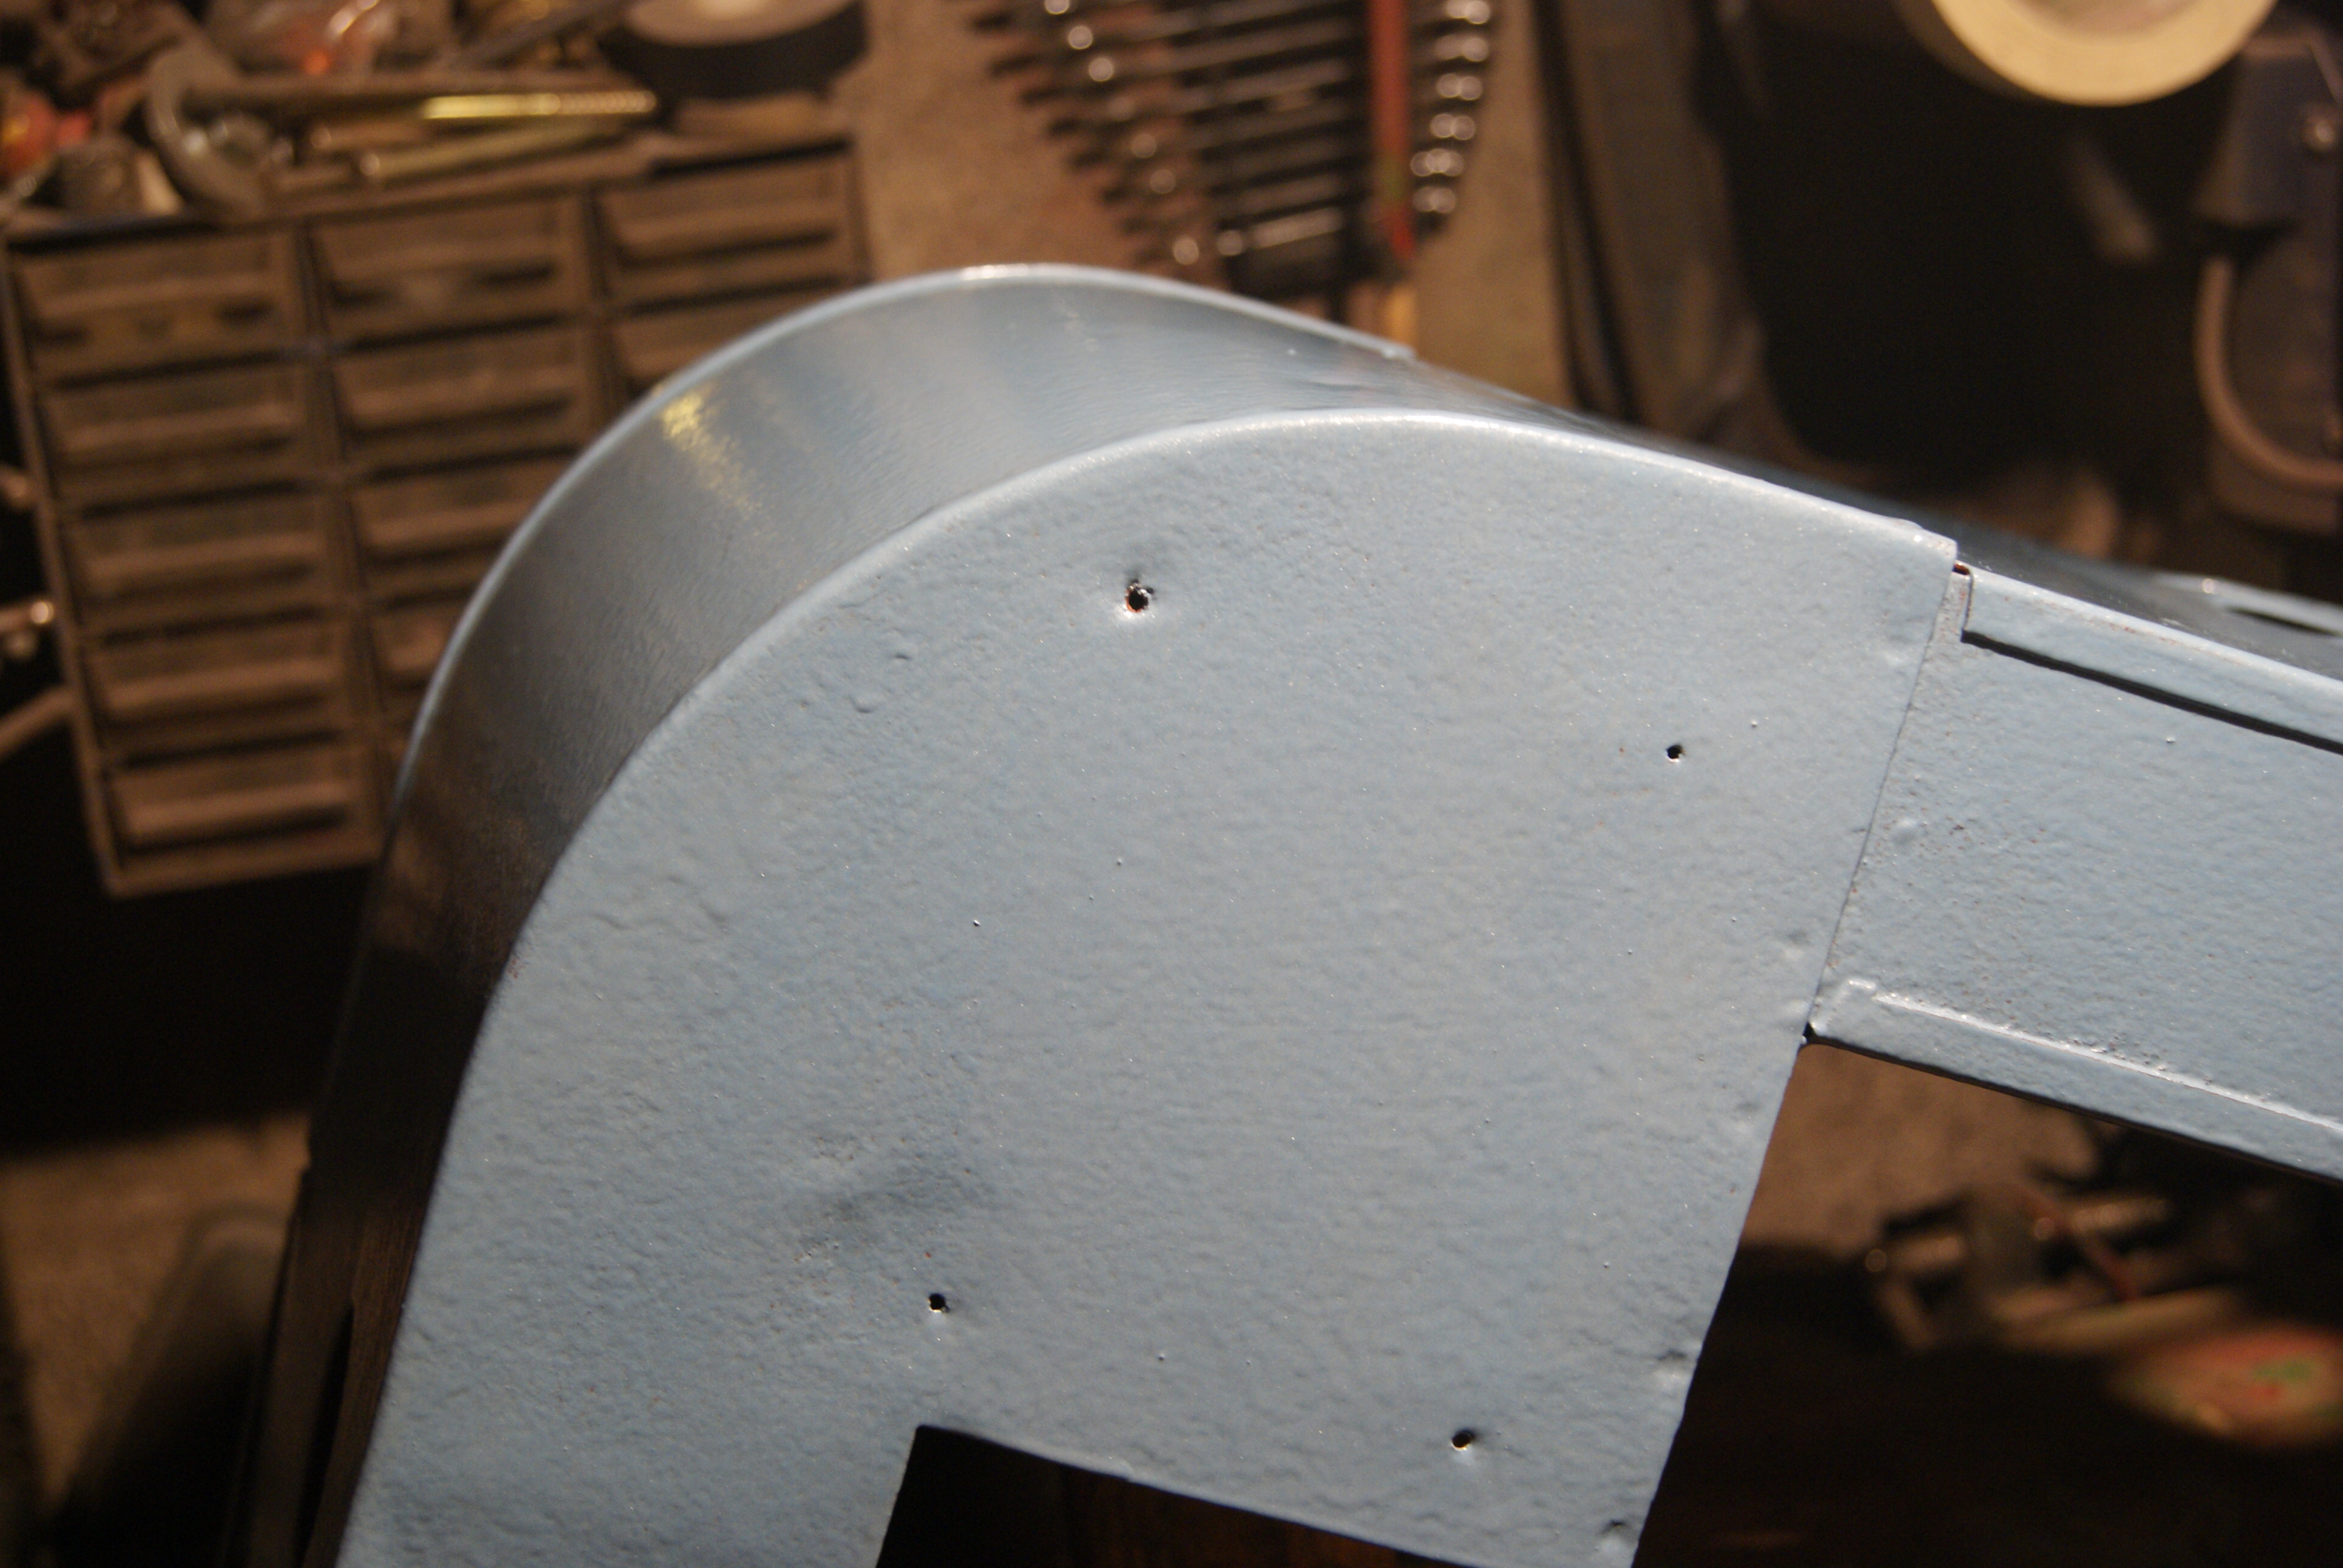
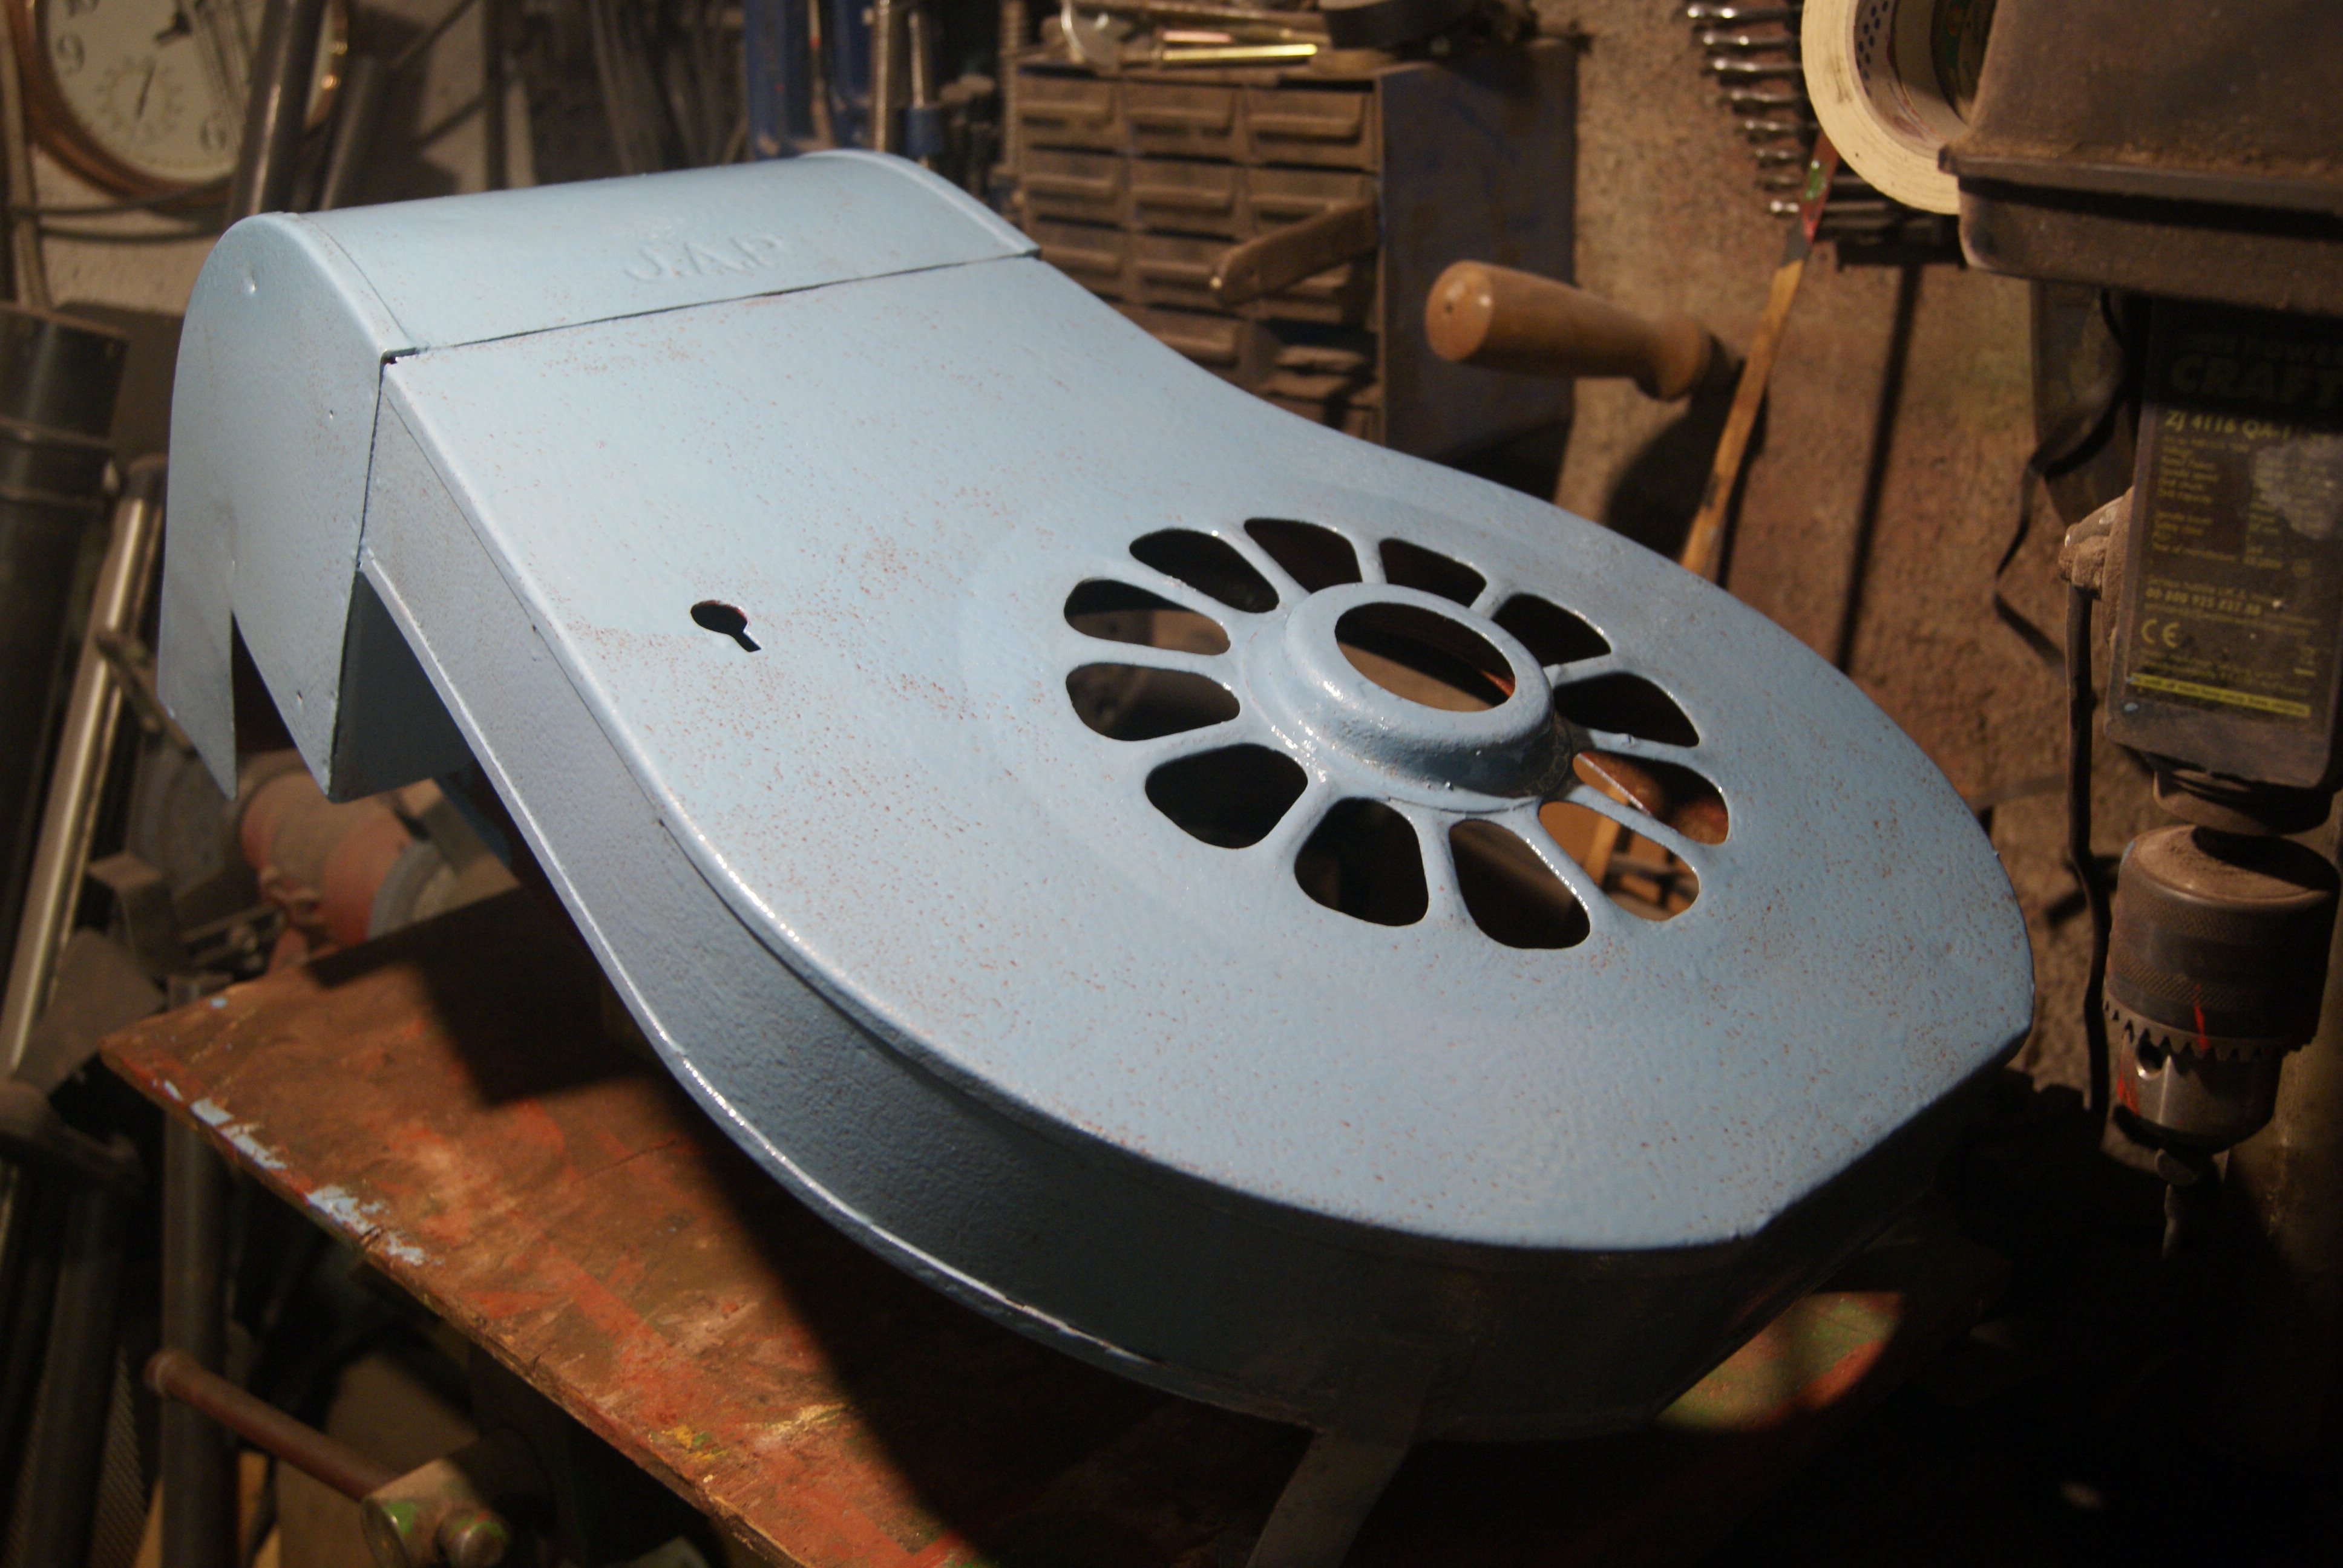
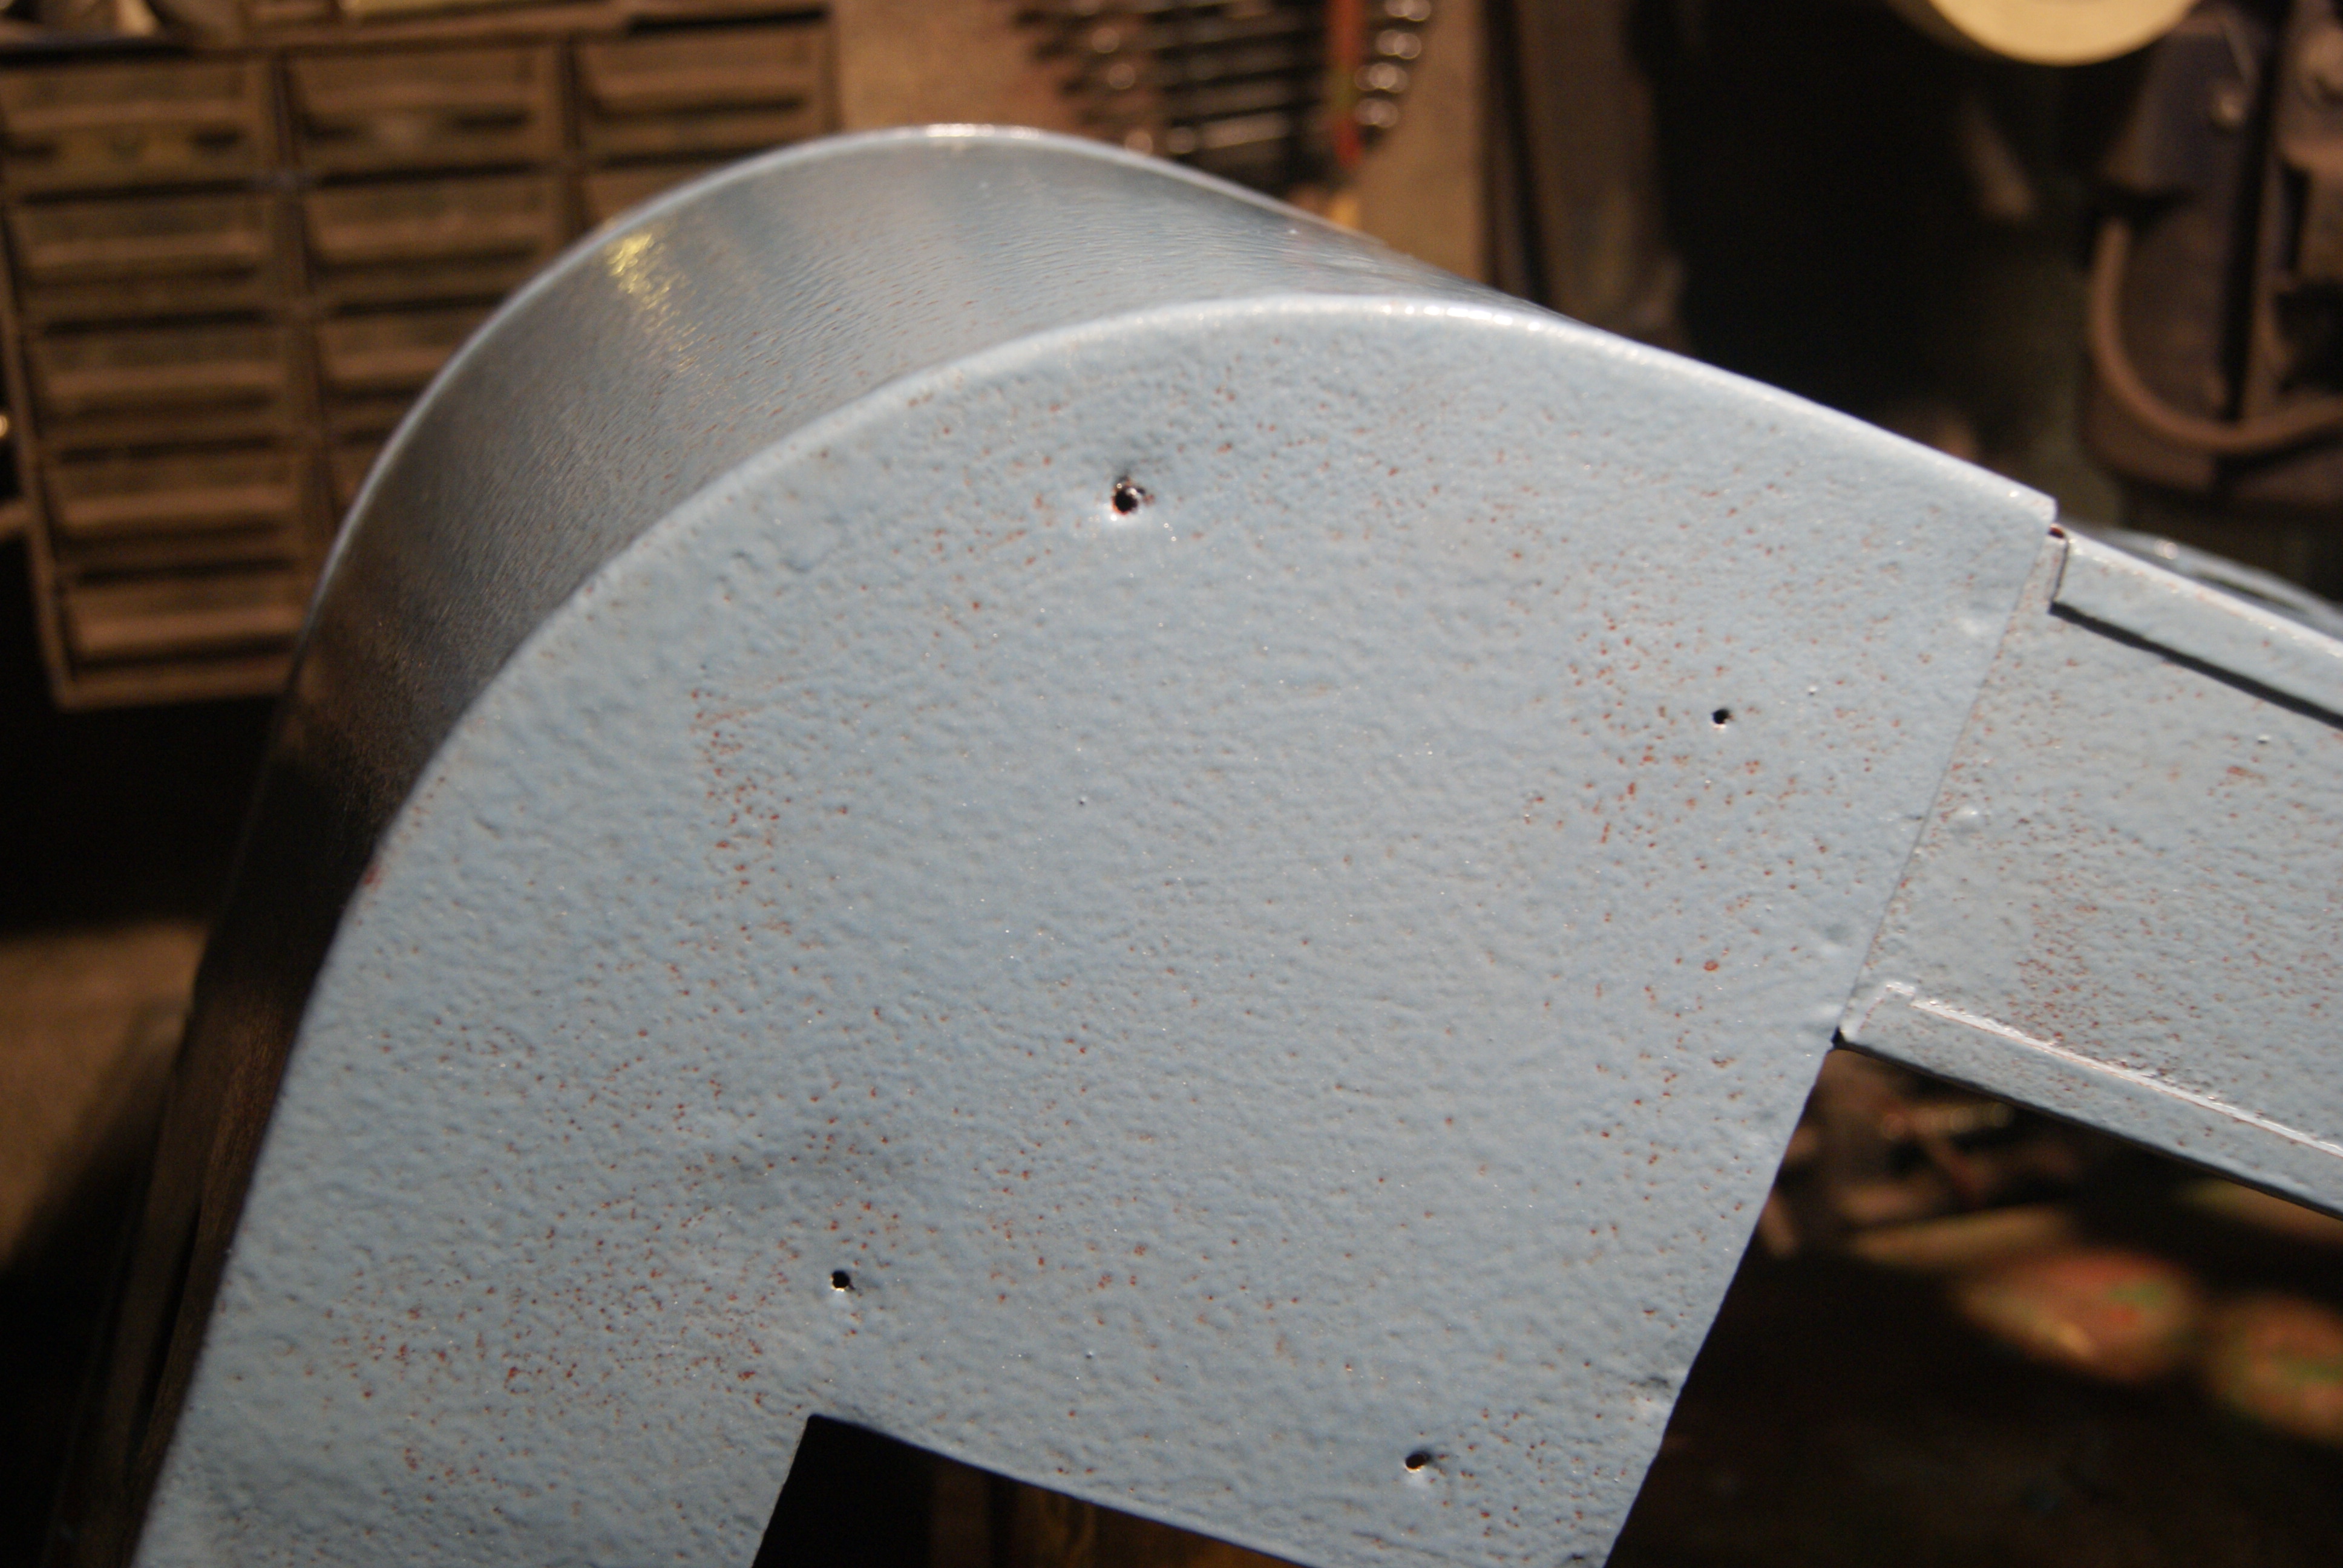
May 1, 2020 at 9:19 am #34088trusty220KeymasterSalt water has probably been the cause because it is on the front of the cowling, just the right place to catch all of the spray off the road when travelling to and from matches. Steel rivets won’t have helped, but who would have thought that these machines would last for so long?
I’ll give Vintage Brass Plates a call to see if they’ve done one already- you never know! I don’t think my plate will make a good copy though as it is barely legible.
April 30, 2020 at 10:44 am #34082trusty220Keymaster……and that’s without mentioning the Trusty at £1750! Where on earth do they get their prices from?
April 30, 2020 at 10:41 am #34081trusty220KeymasterIf you look at the second picture you will see that there is a gap between the top of the finger and the underside of the sliding knife. To achieve a clean cut without jamming the gap needs to be closed up- at the moment it will be the same as using a pair of scissors with the pivot screw undone.
To adjust the gap you normally slide the moving knife out of the side of the cutter bar and stretch a piece of string across the fingers where the knife slides, then you can bend the fingers up or down so that the cutting edges just touch the string. In theory, when you replace the sliding knife you will achieve a smooth scissor action on each side of every finger. It takes a bit of time to get it right but you will find a world of difference once you’ve done it. At present it will be like cutting wet cardboard with a blunt pair of scissors- it just doesn’t work!
-
AuthorPosts