Forum Replies Created
-
AuthorPosts
-
May 24, 2024 at 11:07 pm #42329
rjy
Participantwill-haggle: “It may be worth sending your info to Charlie with the pictures and he could put it in the Cultivator Magazine for you, there may be someone nearby who can have a look at it for you”
I can’t. PMs are not allowed unless I pay.
I also can’t ask about my “pending moderation” question in another thread (awaiting approval) about the legality of driving/pushing pedestrian controlled machines along the pavement, a topic I’d imagined might be of general interest.
Oh well.
May 23, 2024 at 12:48 pm #42313ParticipantThank you Mr Haggle. I’m just going up to the allotments to put a new tarpaulin over the remains, will get some photos then.
I have asked in another thread (awaiting approval) about the legality of driving/pushing pedestrian controlled machines along the pavement. I don’t want to get in trouble!
May 22, 2024 at 8:37 pm #42305ParticipantI note the “you can always buy a donor machine quite cheaply”. I assume the value of this one is about 300Kg of scrap metal. It might be better to use this as a donor machine, looking at it, I don’t know, if there’s anything usable there, I find the prospect somewhat depressing. Anyway, questions:
I live about 350yds from this machine. If I (literally) dig it out, is there any way I could move it that distance, on its own wheels, with no running engine. I have a Howard 350 that it might be possible to use as help pull.
As I say, I know nothing whatsoever about these. Can any drive mechanism be disconnected, and are wheels/axle likely to be able to rotate?
May 21, 2024 at 8:20 pm #42292ParticipantI see. Thank you, this one seems to have standard strake wheels, although not splittable (maybe an old mod? Could be made splittable). Don’t know what the engine is, do the pics give a clue?
Perhaps it’s compost, though.
-
This reply was modified 2 years, 2 months ago by
rjy. Reason: Toomuchbiglypictures
Attachments:
May 21, 2024 at 6:40 pm #42284ParticipantThank you. It looks, from the brief glance I had, like this machine this machine (Trusty tractor with JAP 6 engine and 3-speed transmission, BUT with all-metal wheels (what are these called?). The bumper is the same at any rate.
Whether it turns over or not is anyone’s guess. A good sign is that there’s still a sparking plug vertically in the cylinder head, but whether it’s tight of not…
I will have to have another look, and try to get a few photos.
April 7, 2023 at 9:35 pm #40700ParticipantI don’t think they are Howard, either, but I don’t know what they are! I could use a ridger (“furrower”).
April 7, 2023 at 9:34 pm #40699ParticipantI don’t think they are Howard, either, but I don’t know what they are! I could use a ridger (“furrower”).
April 6, 2023 at 8:04 pm #40696ParticipantA belated thank you! Coming home from the alottment the other day I twiddled trhe vertical screw, and 3/4 turns out from where it was and it ran very well. Next step is to rotavate again, and then check the plug.
April 6, 2023 at 7:56 pm #40688ParticipantWell, I’ve developed an allotment, and rotavated it. Excellent.
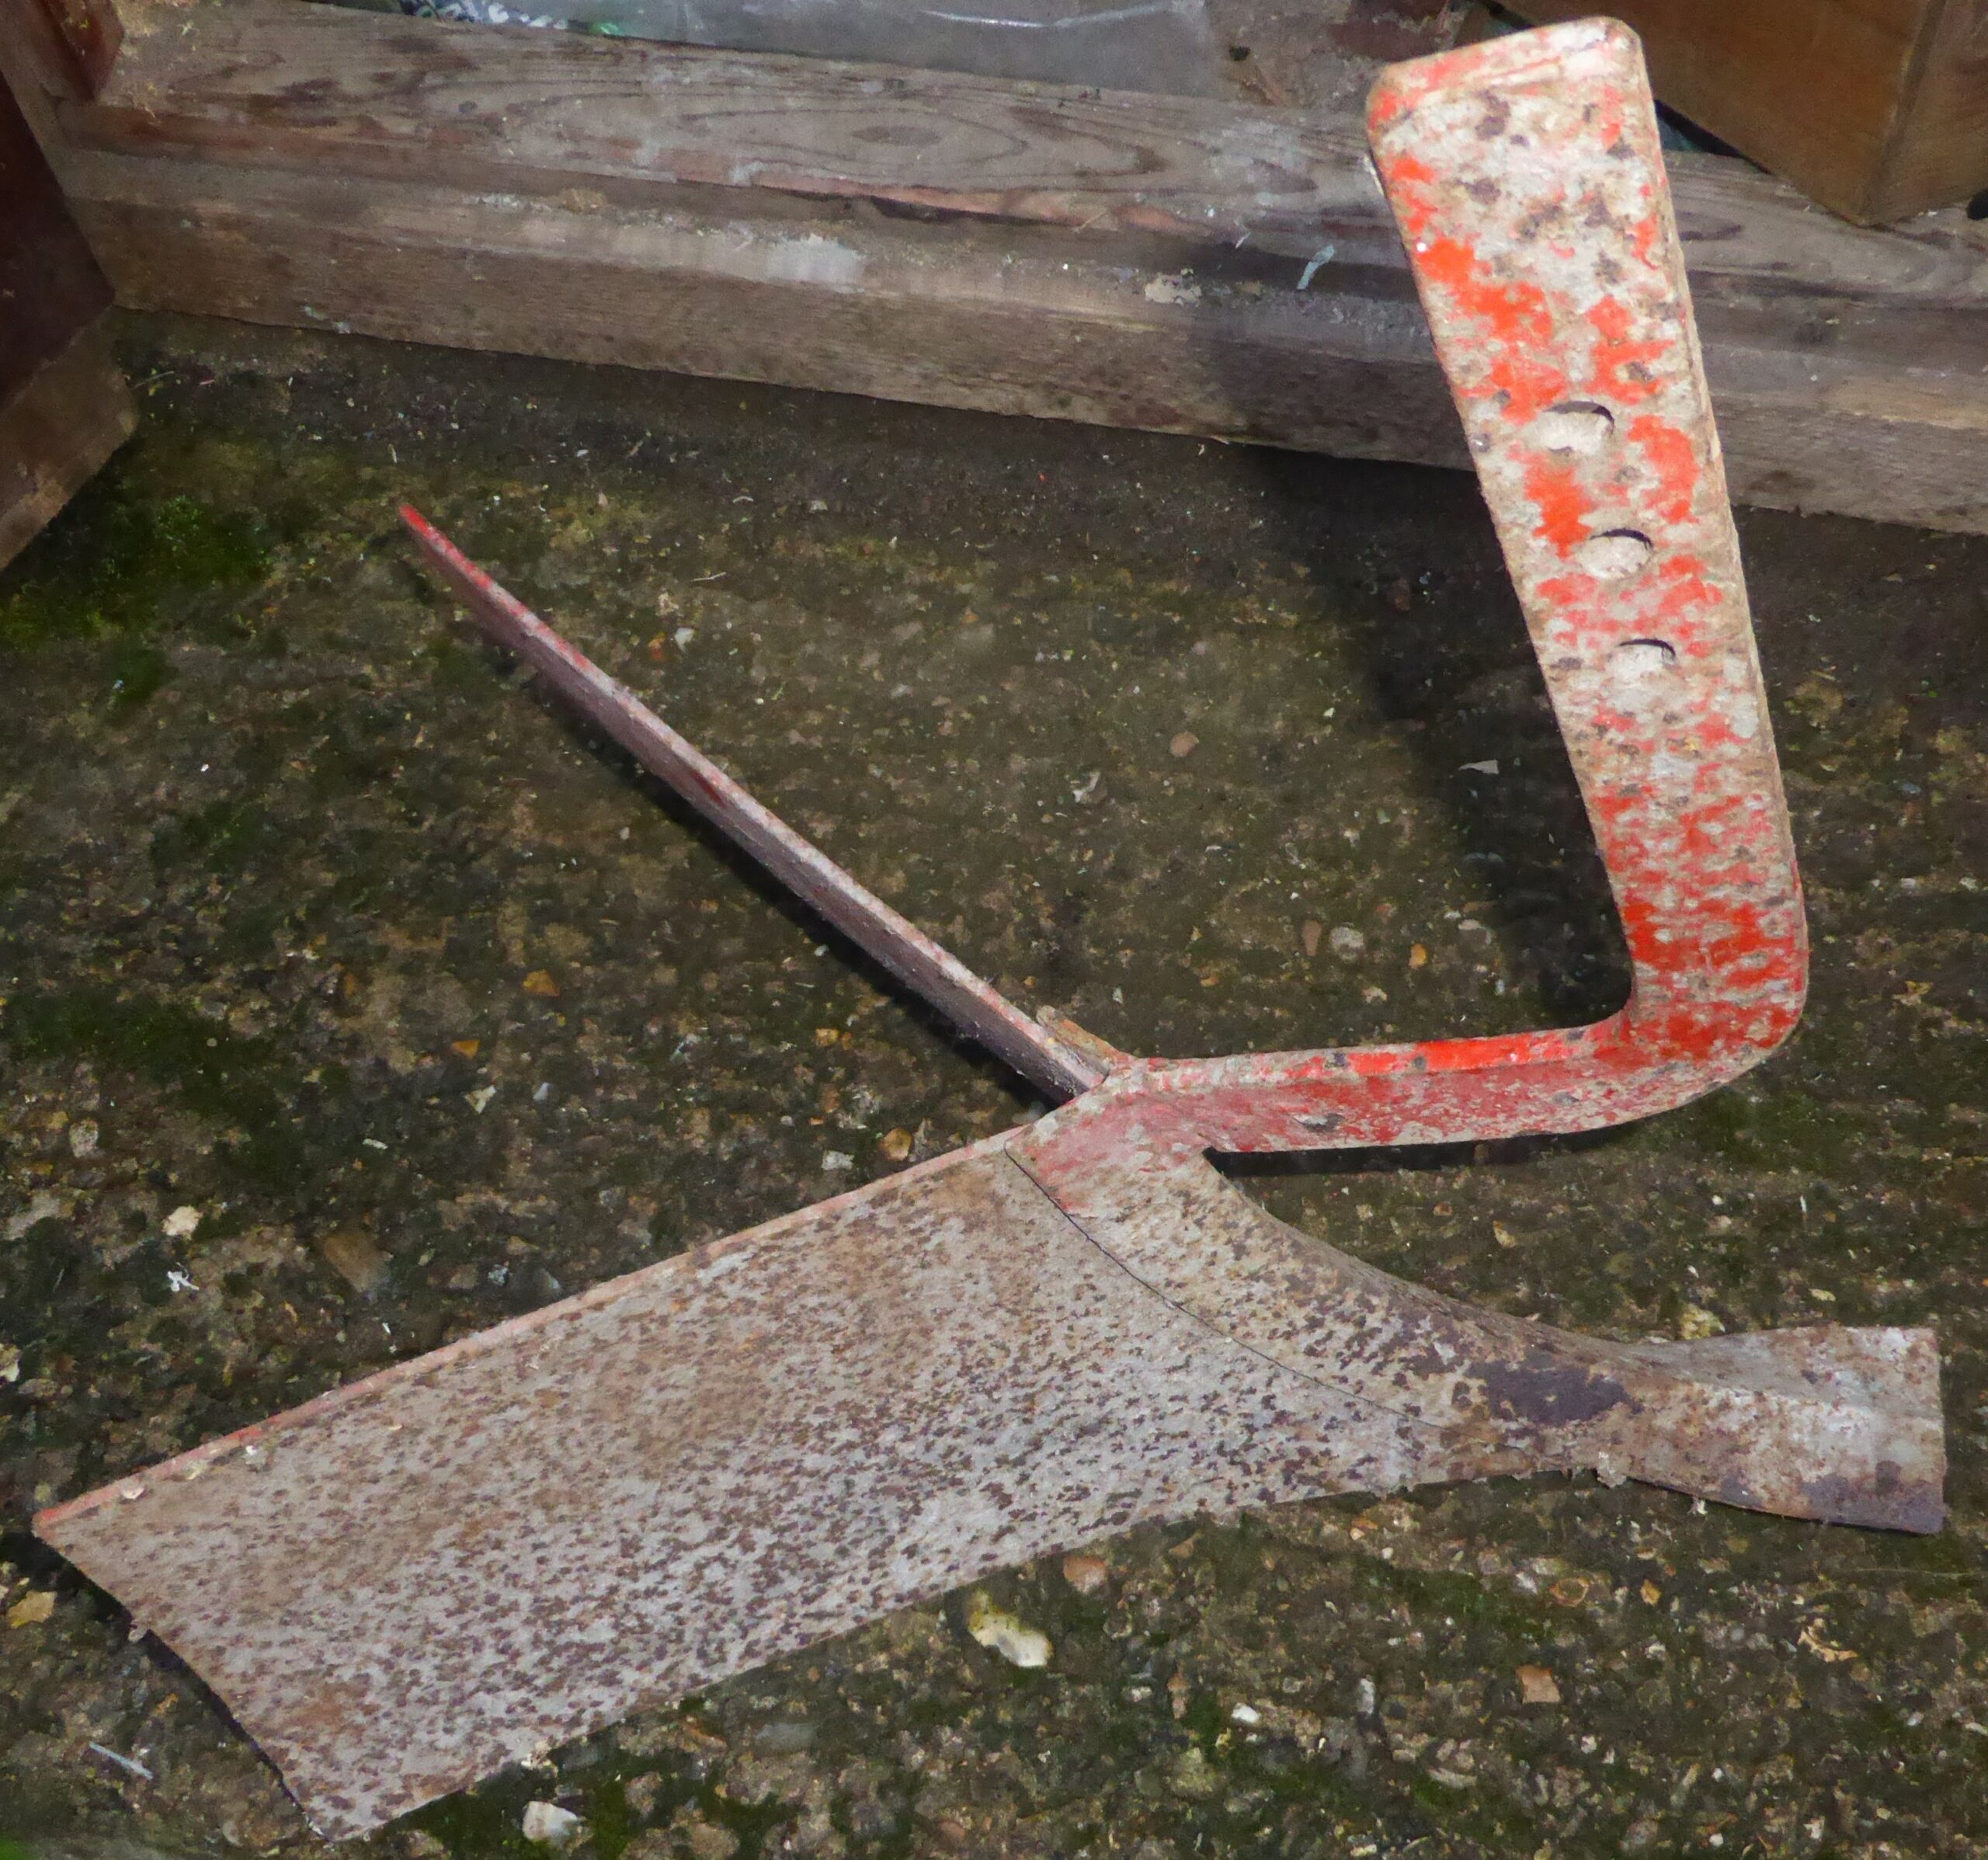
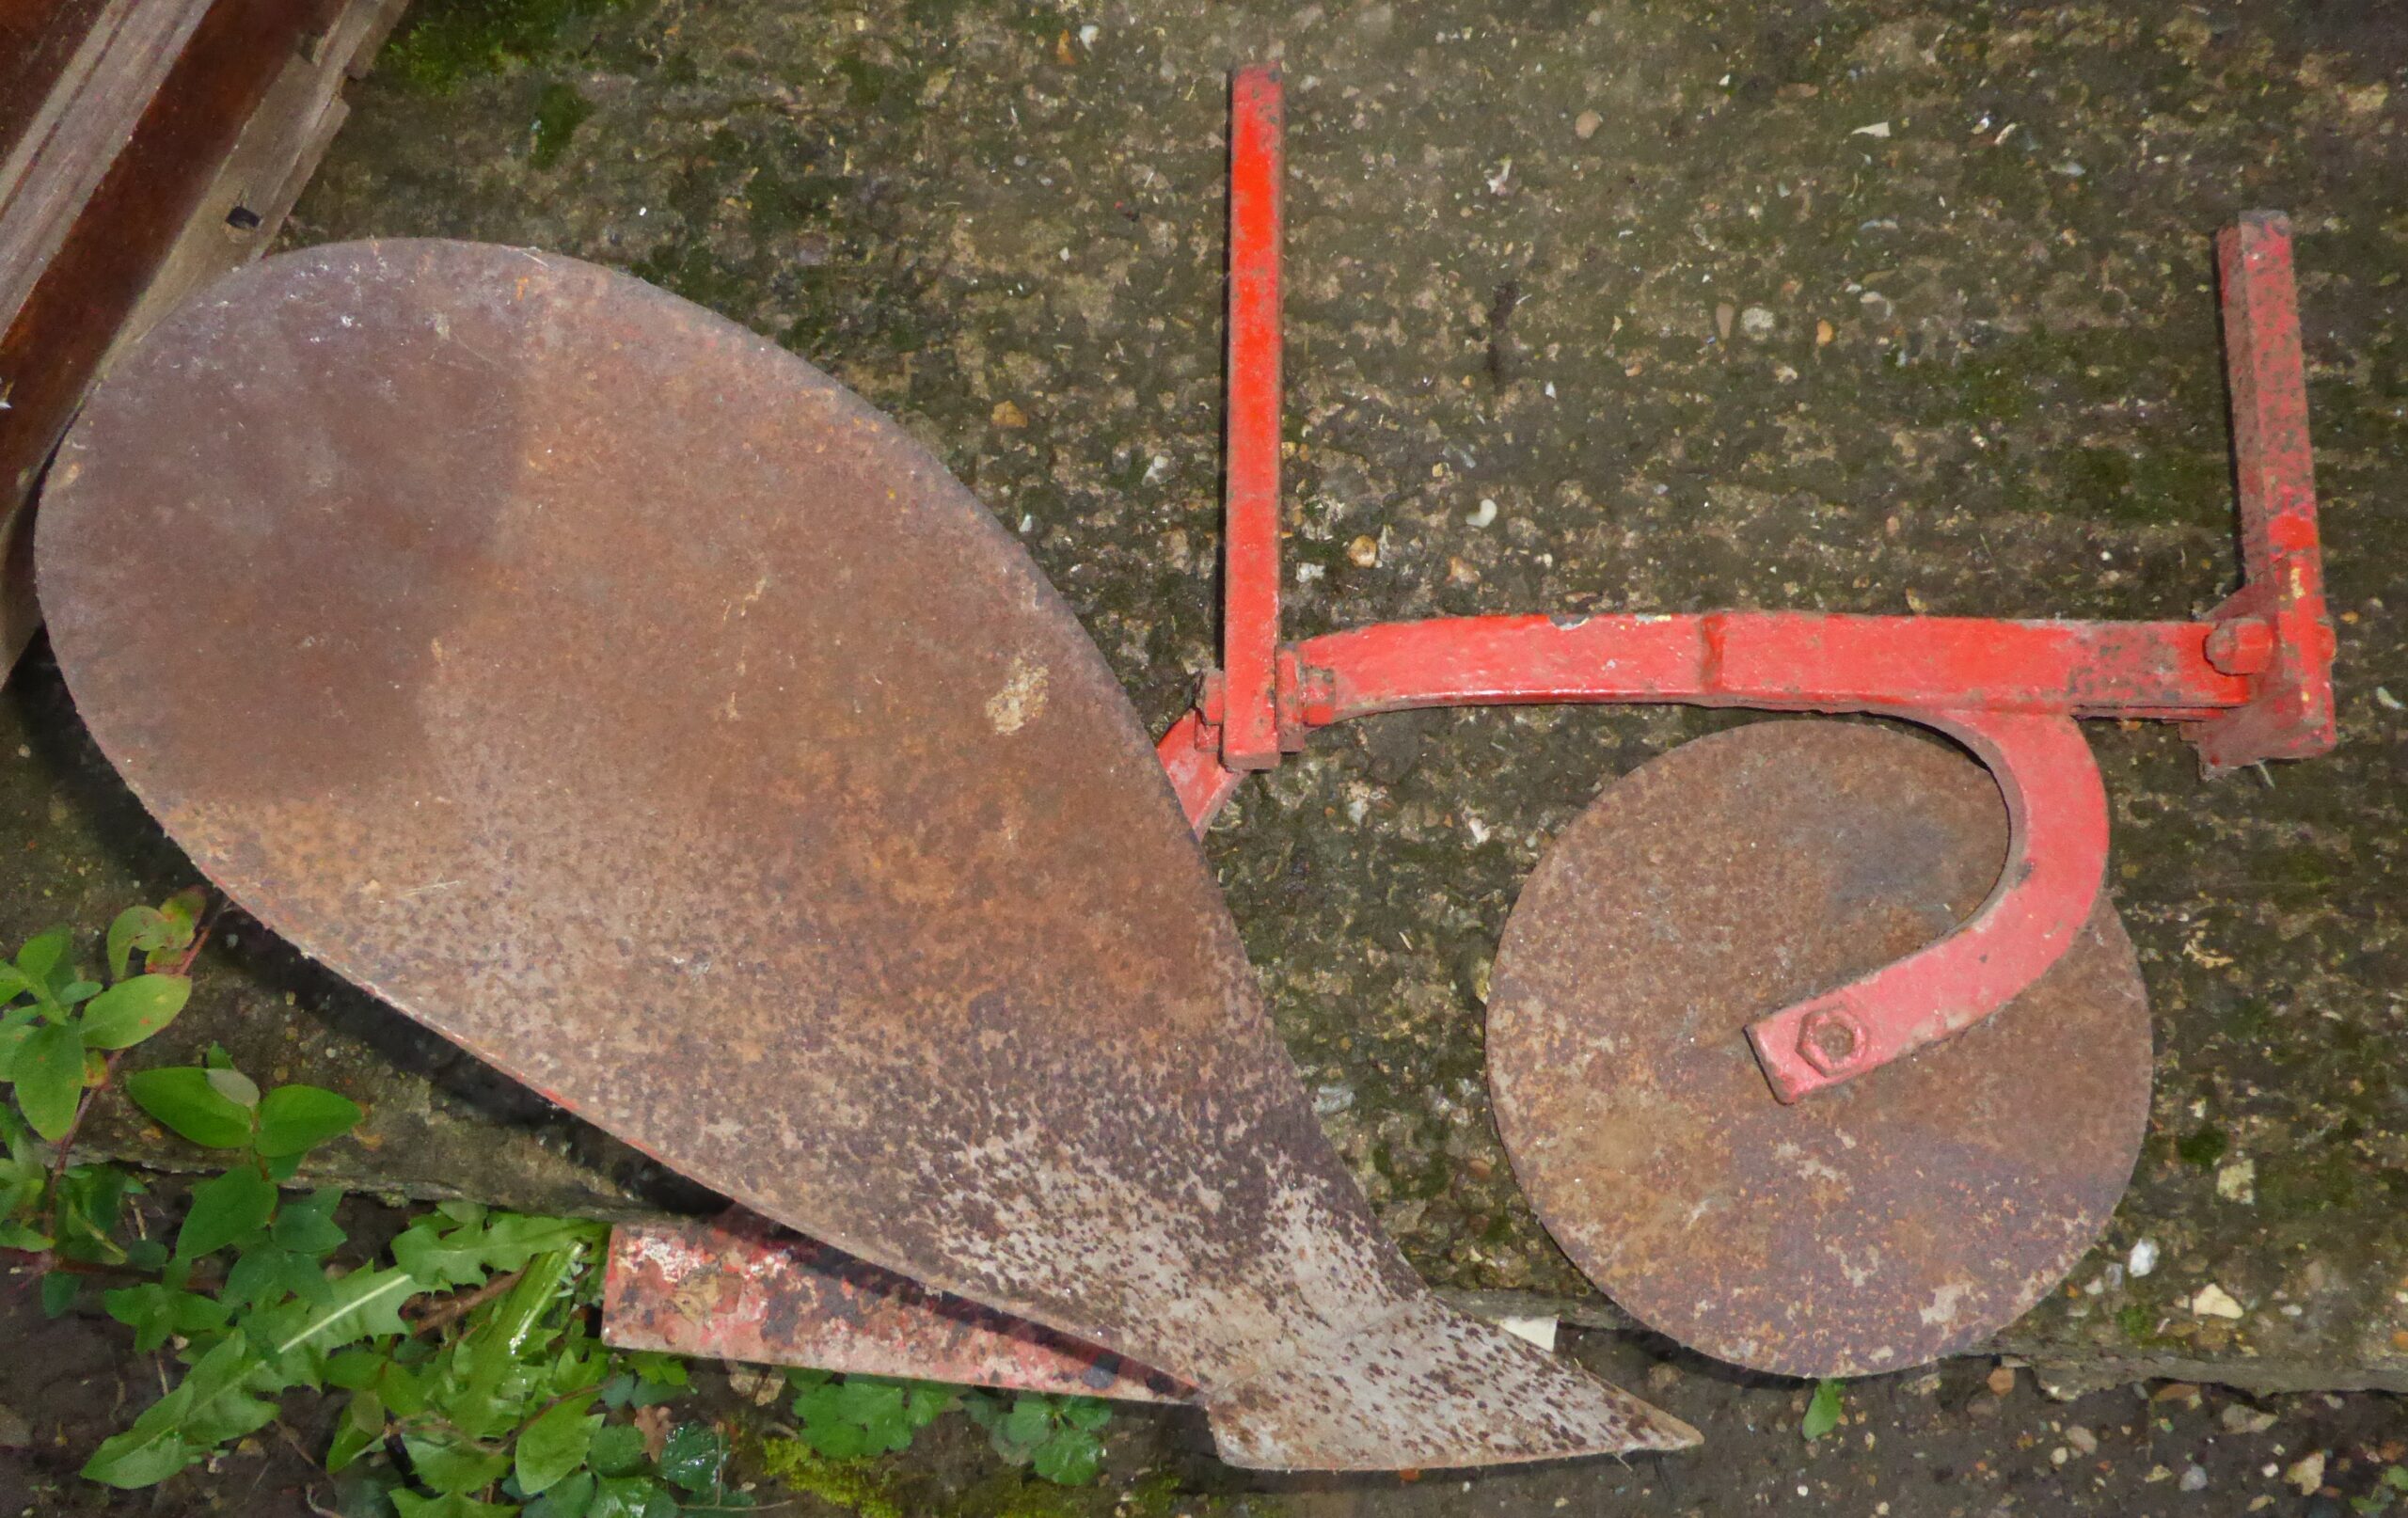
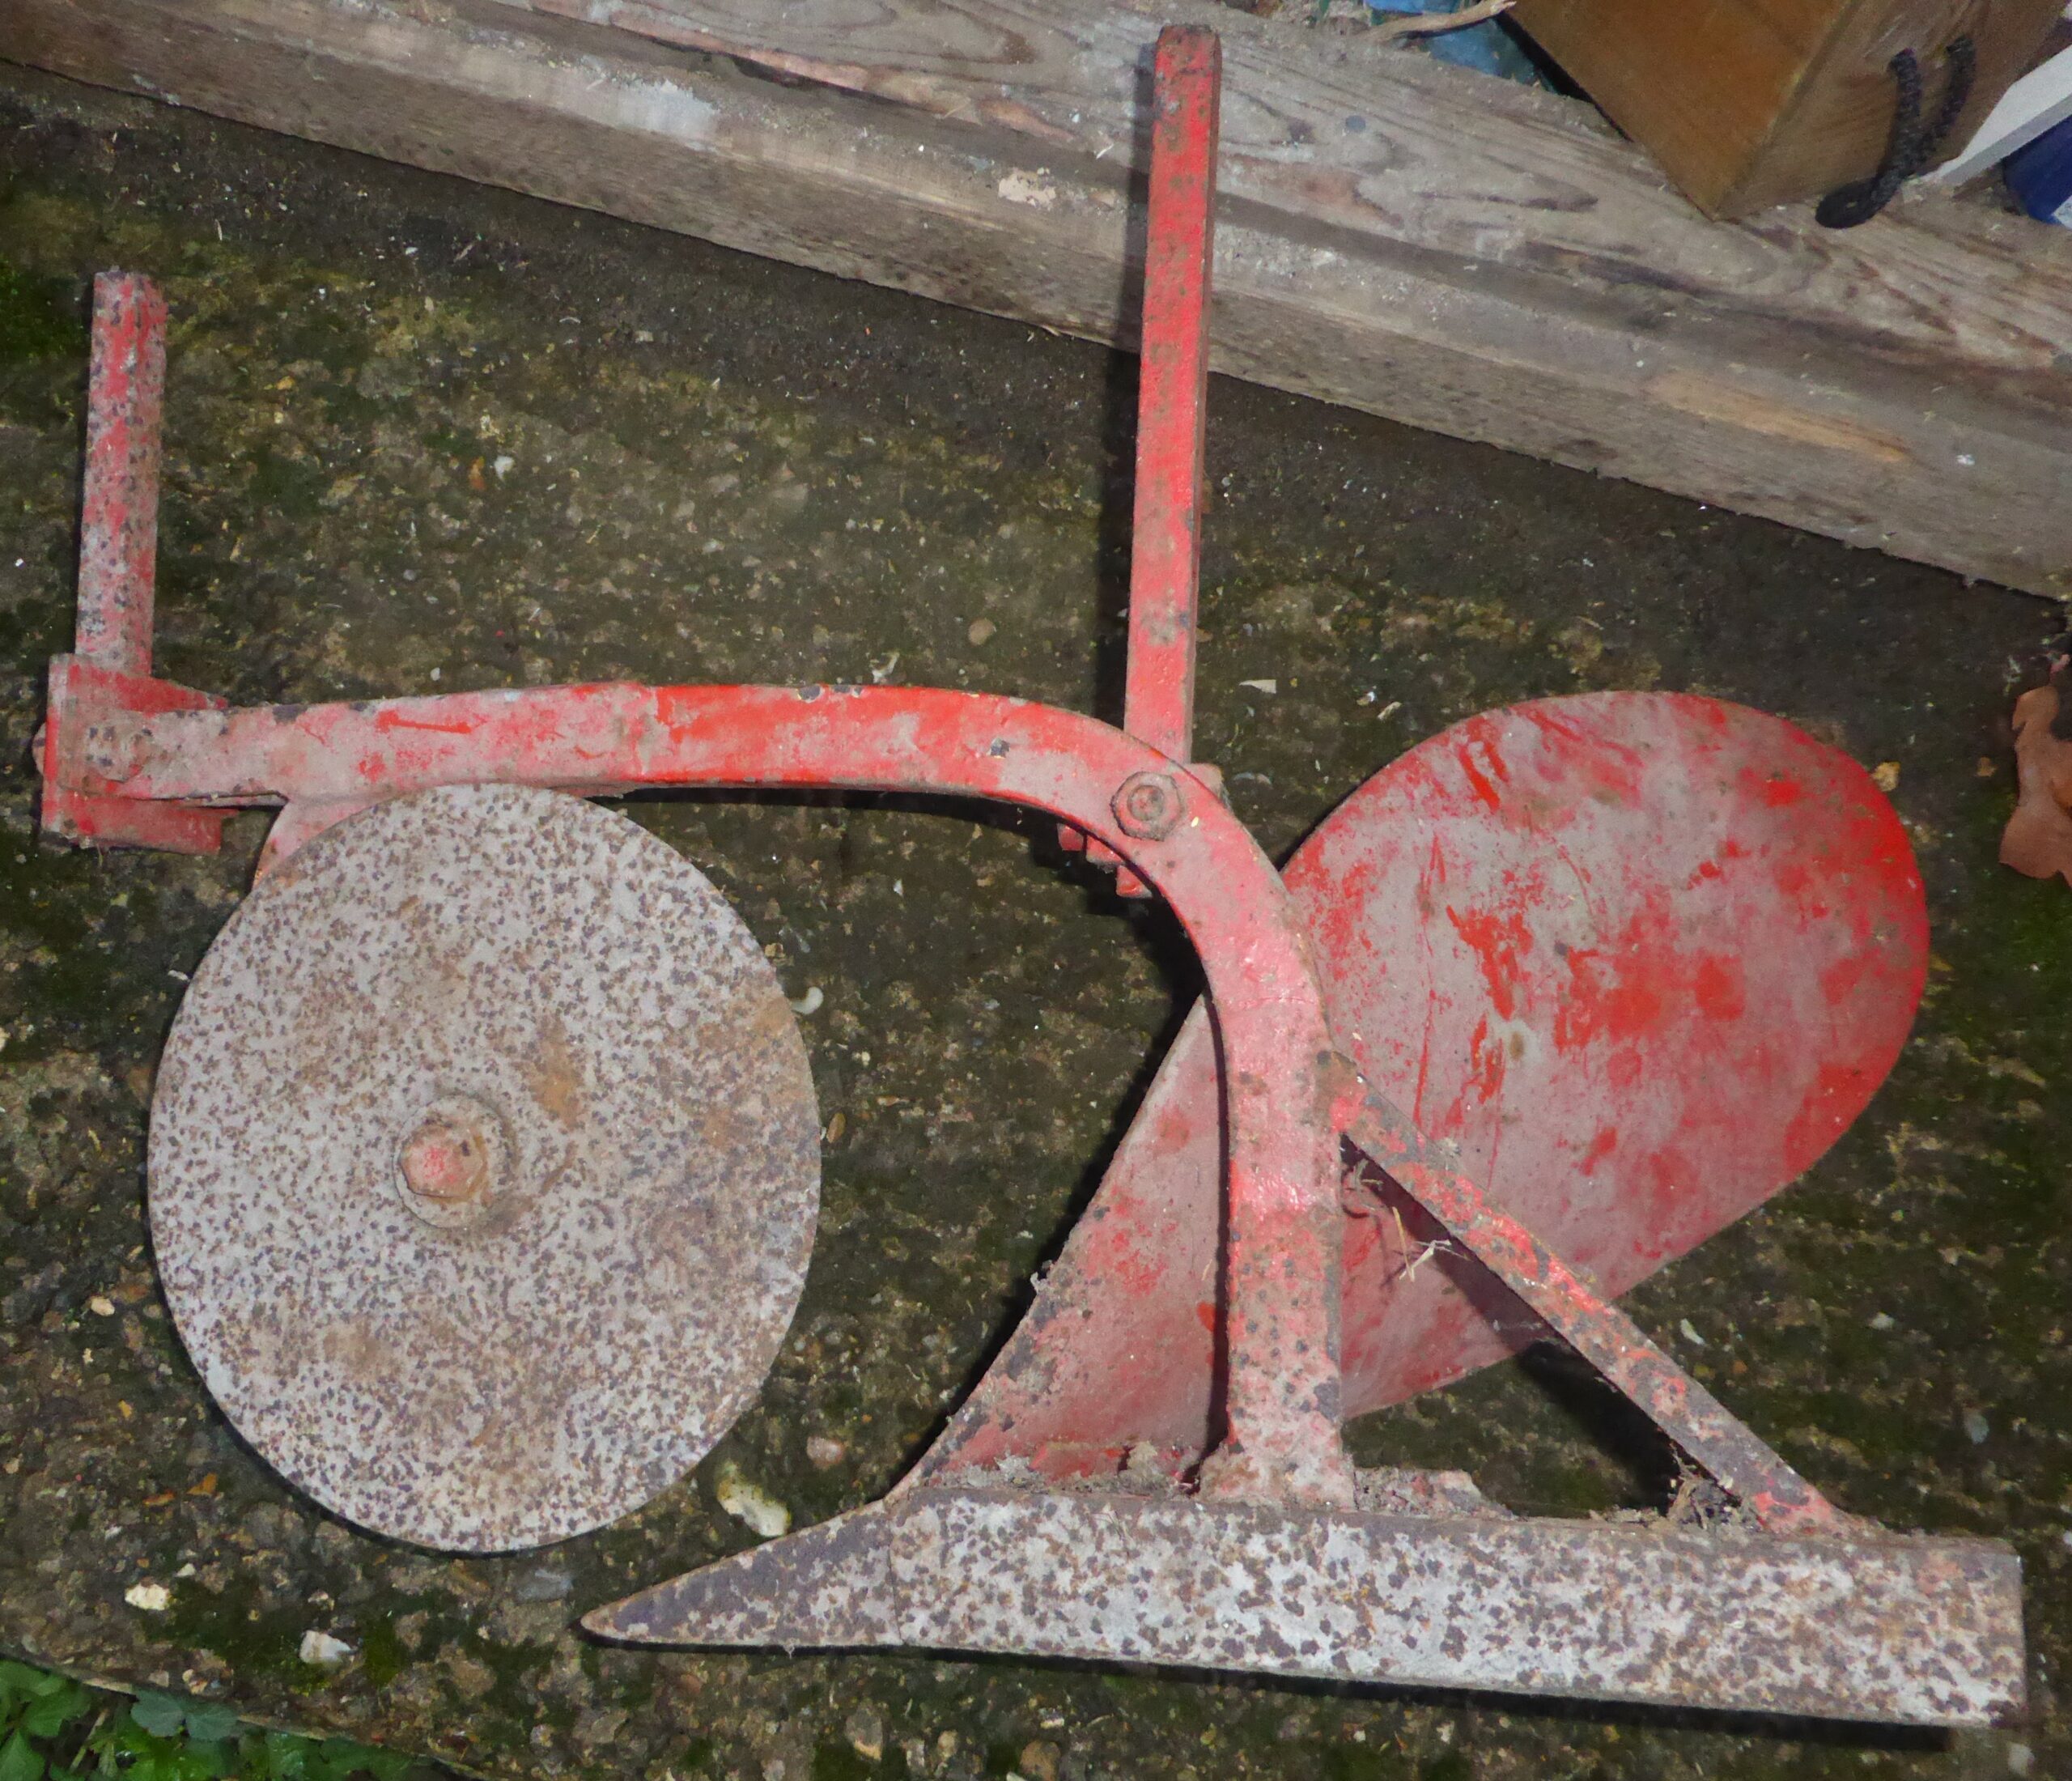
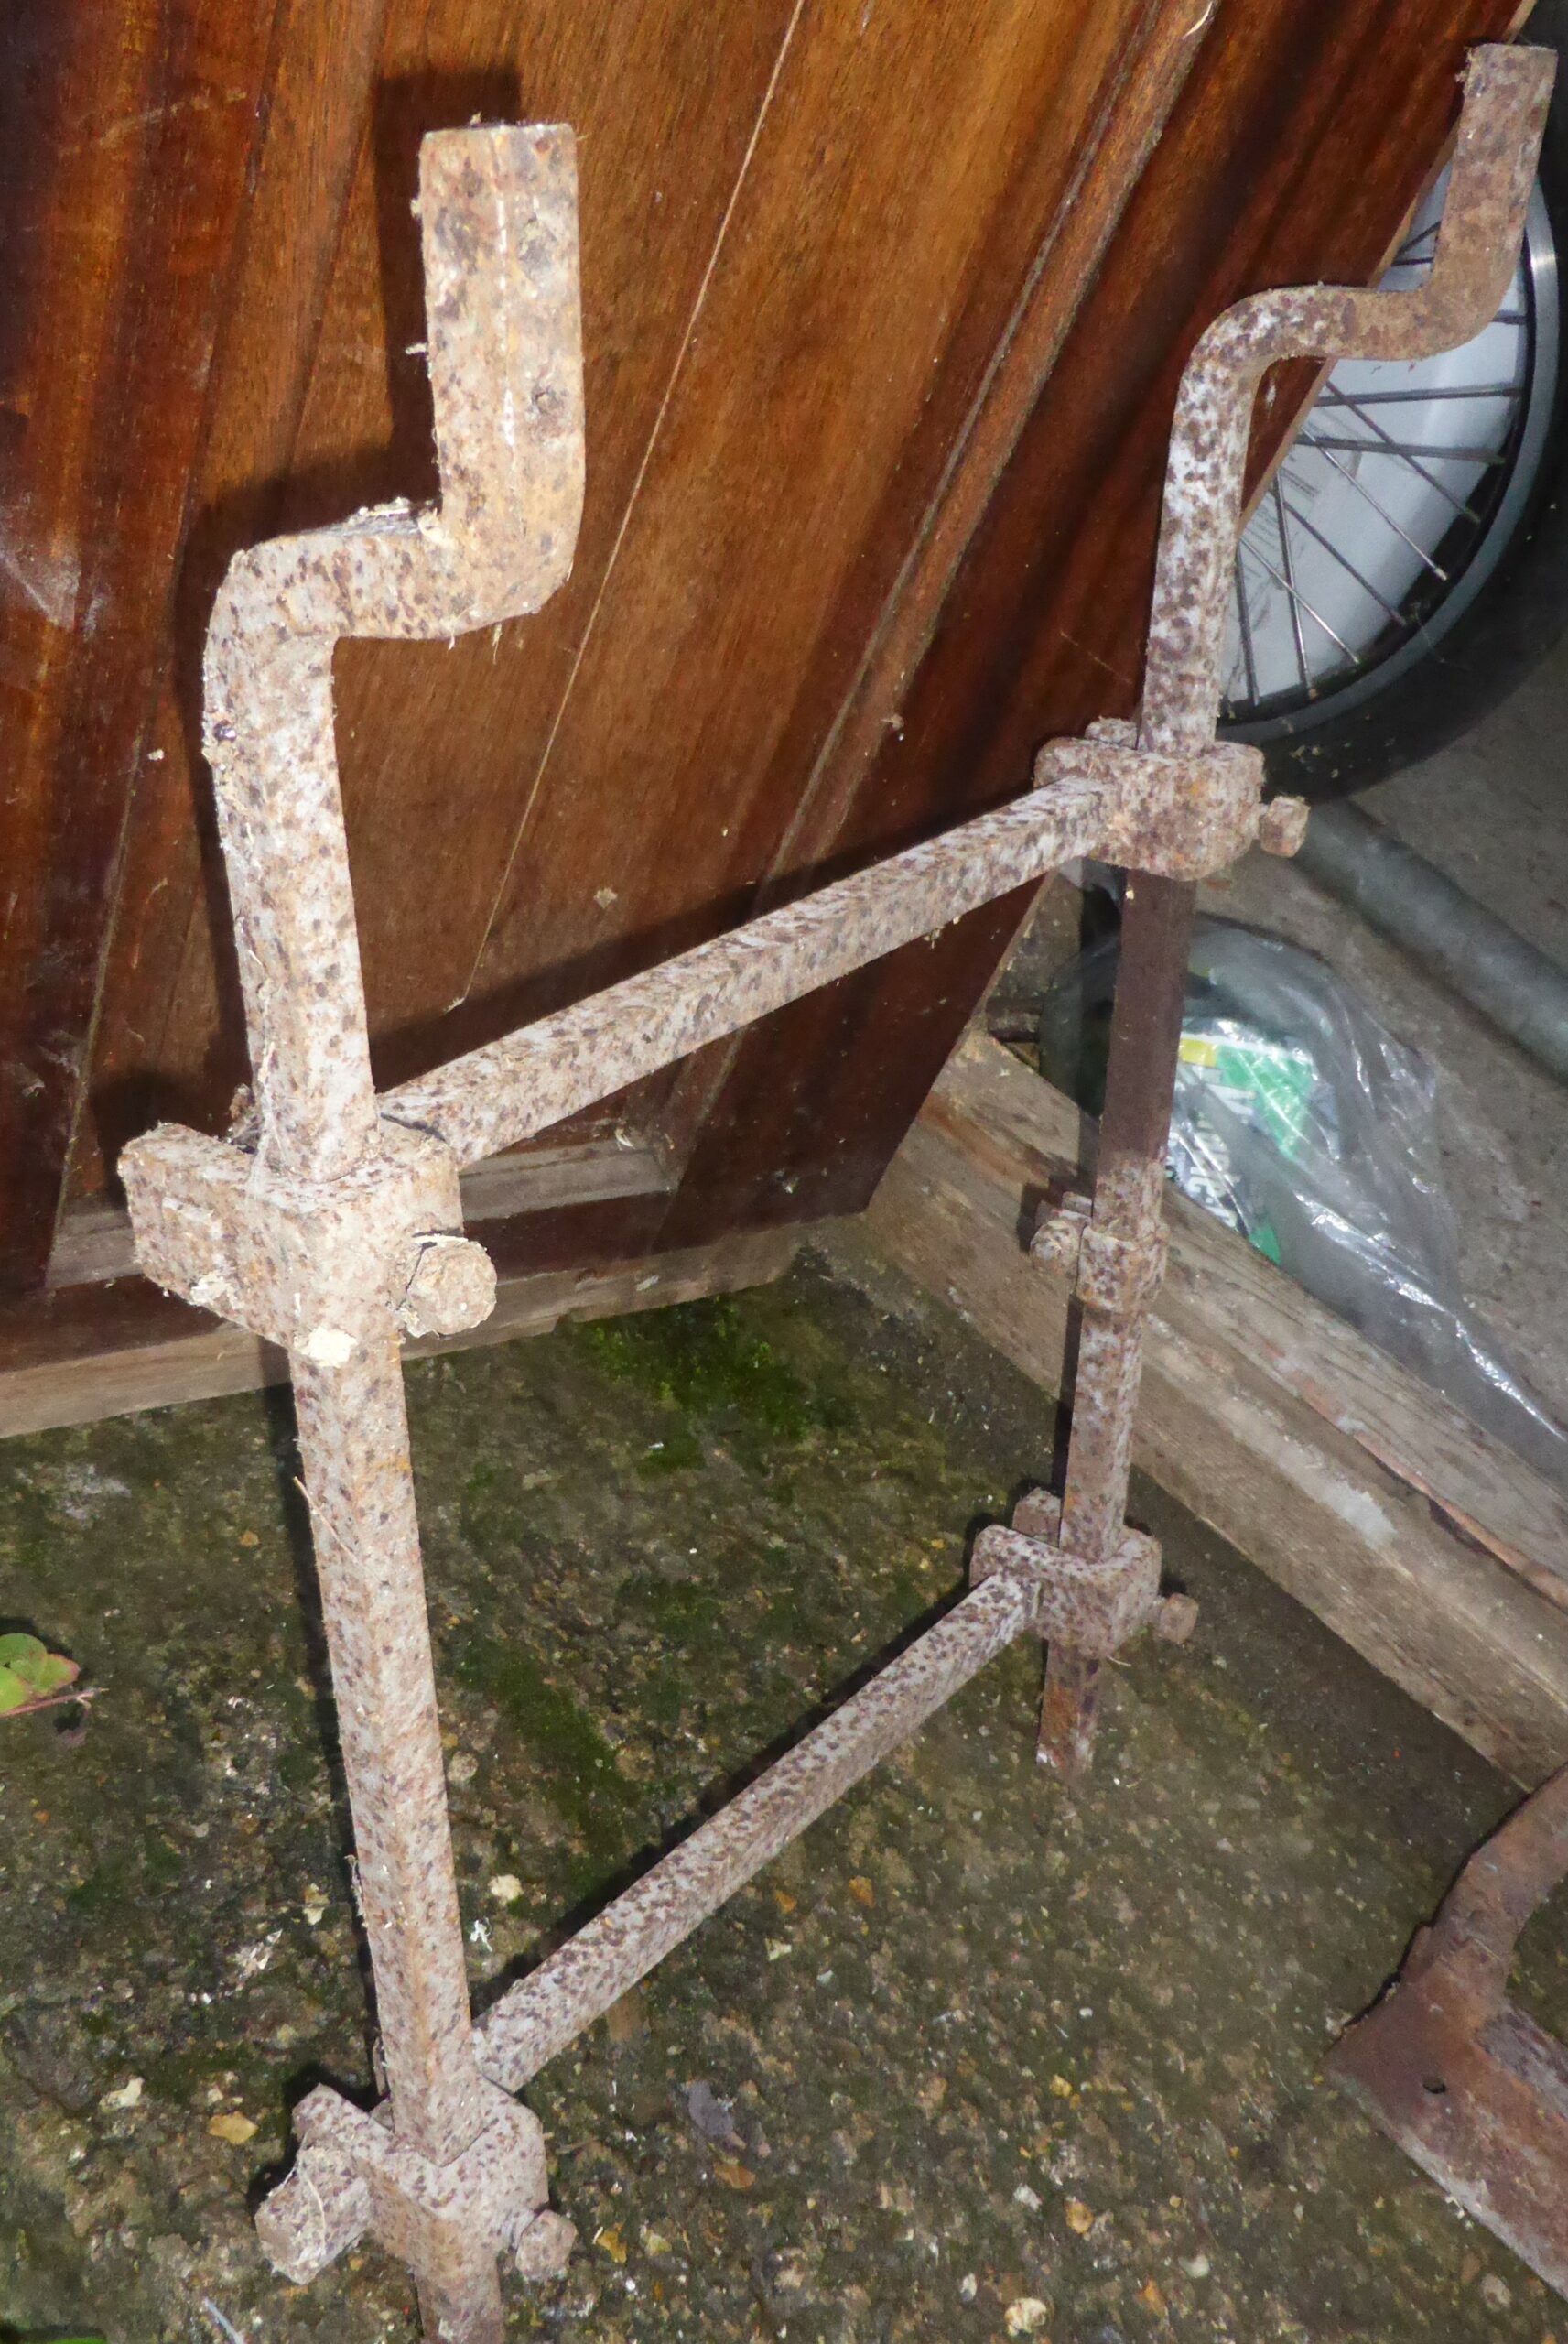
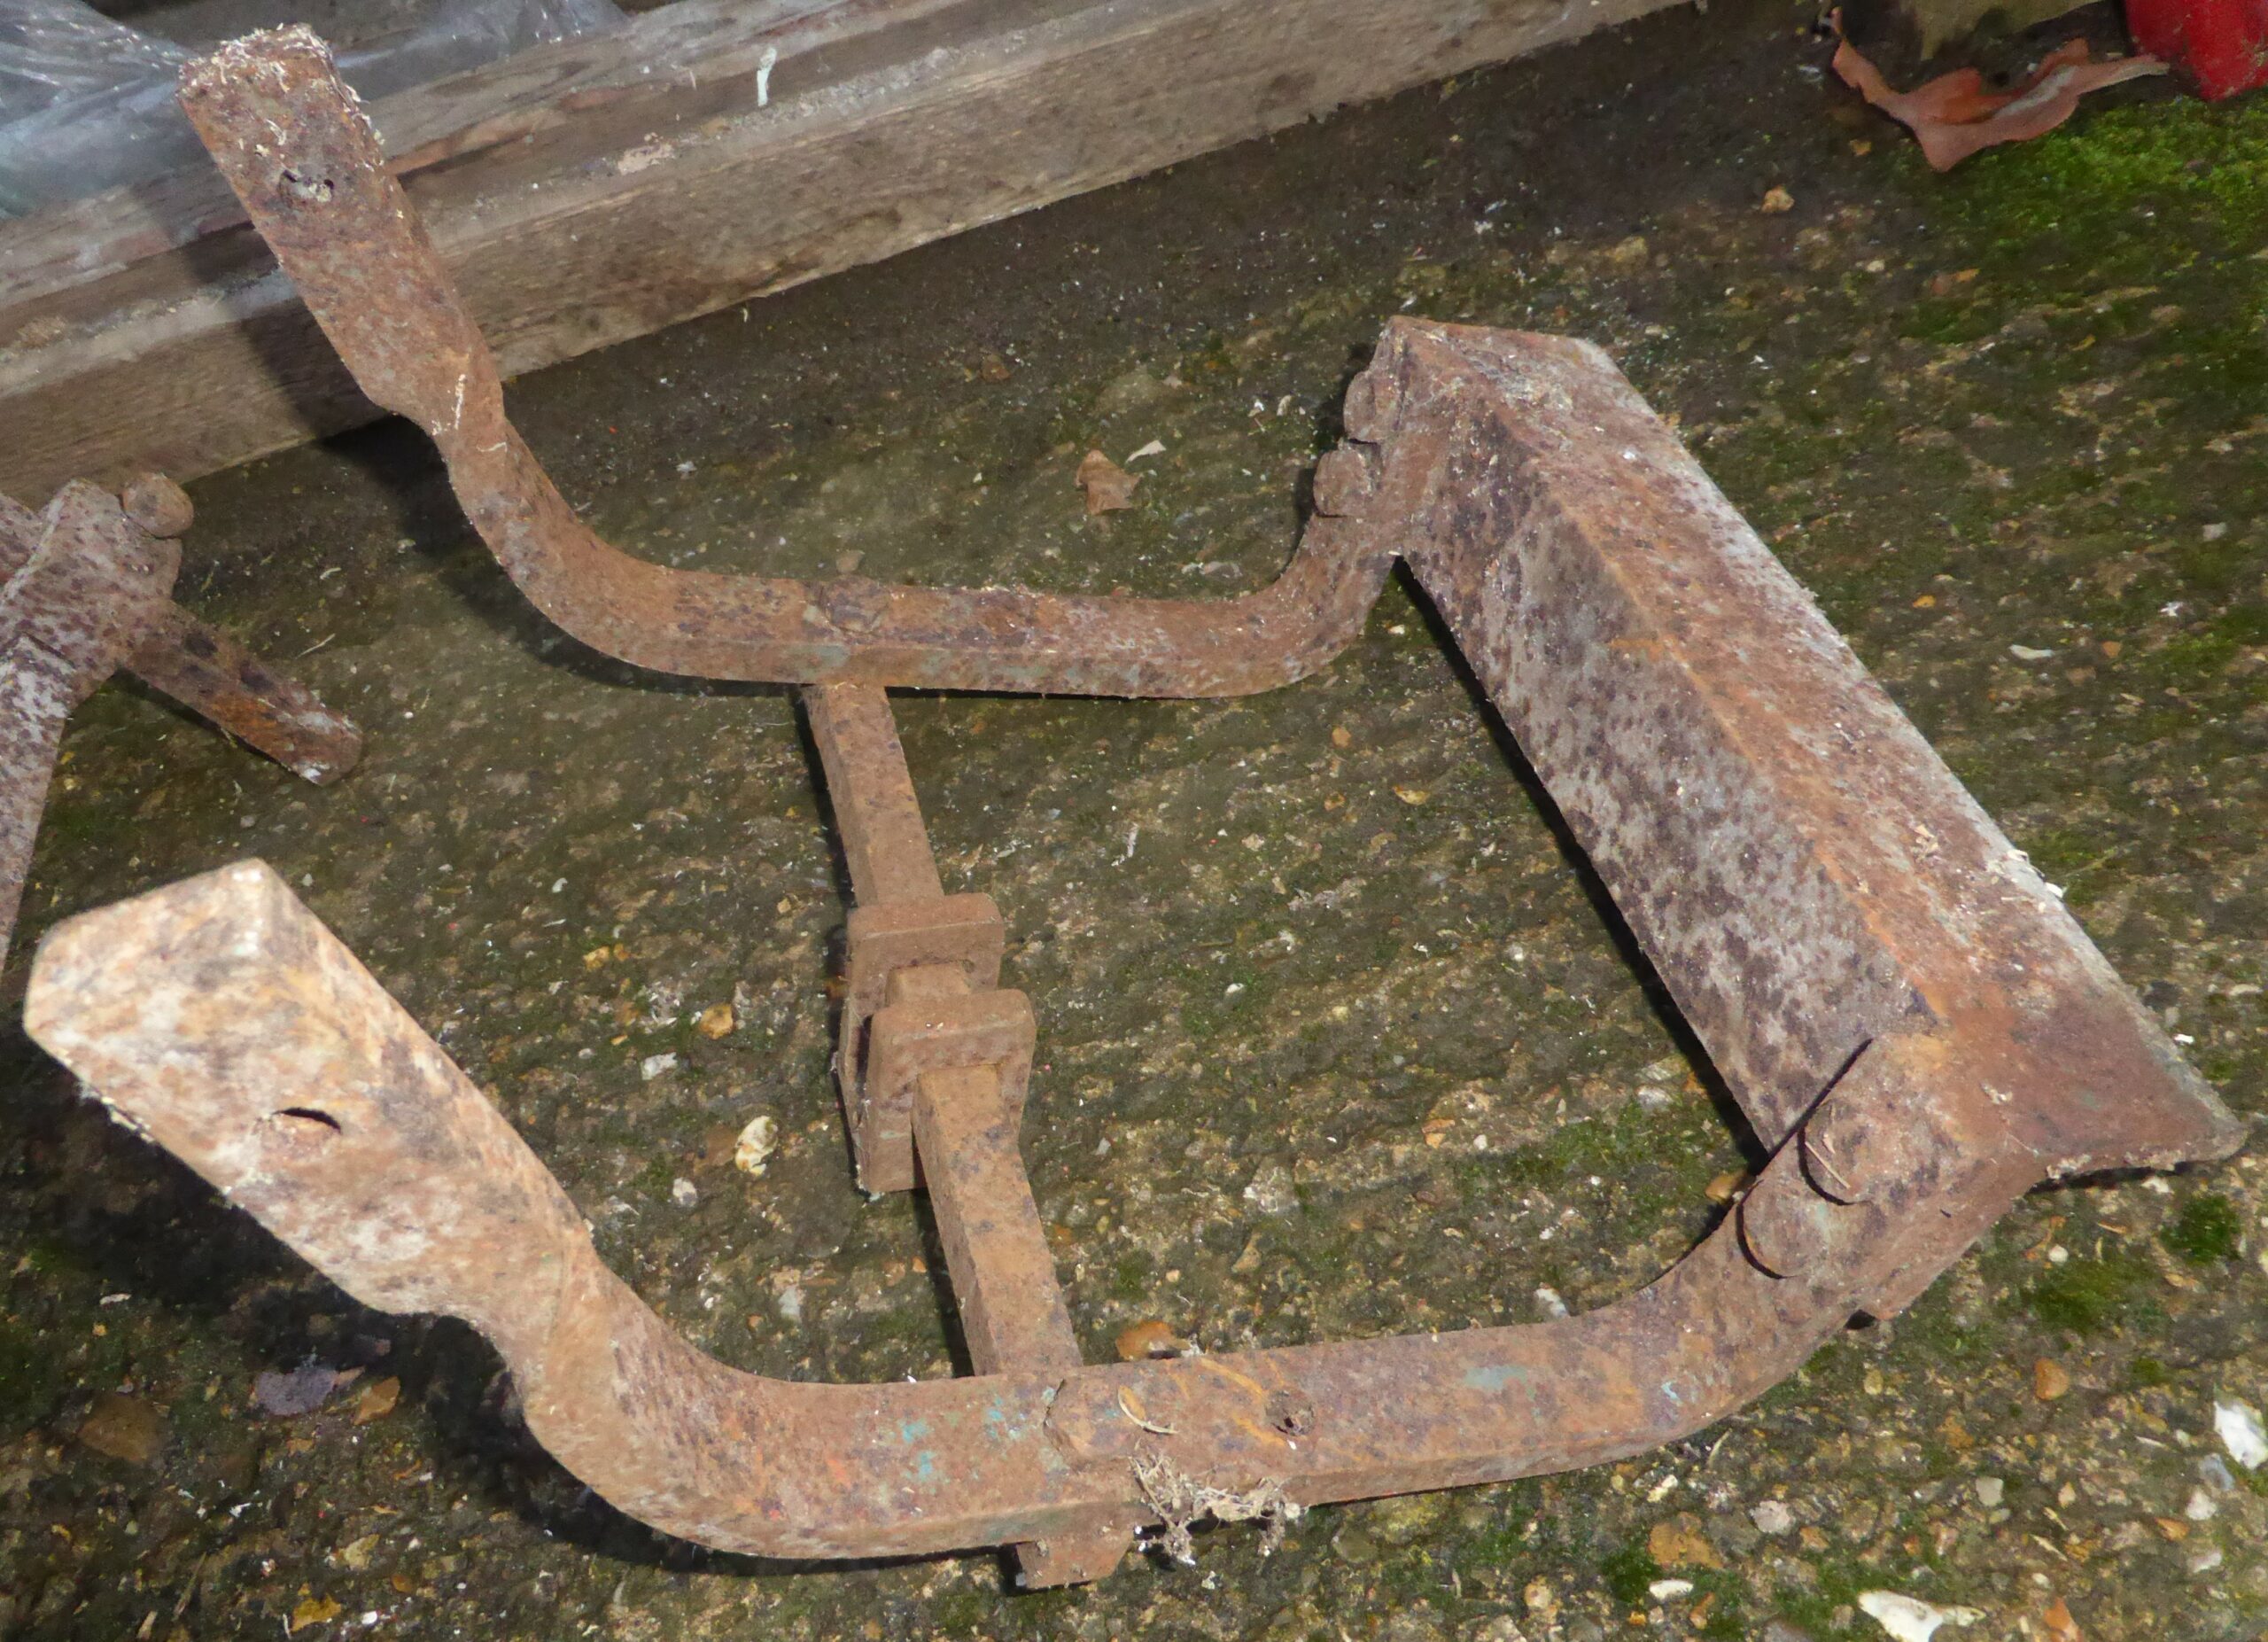
Looking at the stuff that came from North Cornwall, there are various attachments. Not at all sure they’re for Howard 350s.
Any ideas what these are?
THere seems to be some sort of ridger, a plough, and a couple of metal frames, quite rusty but very solid, which may have a trace of green paint on them. I suspect these are “old”.
-
This reply was modified 3 years, 3 months ago by
Attachments:
October 31, 2022 at 11:55 pm #40152ParticipantThat’s right. It is the original Kohler carburettor, with a main jet adjustment going vertically down, an angled idle jet, and a horizontal screw for idle speed adjustment.
Currently the main jet is set 1 3/4 turns out, the idle jet 2 1/4 turns out, not that it’s particularly a fixed setting, even from new (although I don’t think I have ever adjusted these before).
After the 25-year or thereabouts gap in operation, there was some varnish in the carb, but I soaked it in acetone, and blew through the various holes and galleries with compressed air, so hopefully they are clean.
Is carburettor adjustment likely to be the culprit, rather than control cables, governer? I hope so!
October 28, 2022 at 5:56 pm #40149ParticipantRan the machine for about 1 1/2 hours today. The clutch survived the strain. Very rooty ground, old bramble “Turks heads”, long creeper roots, places I’d grubbed out smallish ash trees etc. It will need going over again a couple of times, but success so far.
October 19, 2022 at 7:03 pm #40114ParticipantWell, I will test this tomorrow, but thought I’d better add this before I forget.
Problem: rebuilt clutch would not disengage.
I had re-glued the clutch friction material exactly, I thought, where it came off (distortions in the material back this up, and that the ends of the friction material met as they originally did). The clutch material overhung the end (larger diameter) of the inner cone by 1mm to 2mm max.
The clutch would not engage, due to the friction material fouling the inside (back) of the cast iron pully.
Fix: I filed off the back of the inner cone’s attached friction material. Clutch operation OK.
September 28, 2022 at 6:09 pm #40031ParticipantNo, I don’t like it either, but I’ve used it before by making it into sheets (glass/clingfilm/silicone sandwitch, separated/spaced by washers) which at least mekes it into gasket and not stuff that bungs up oilways.
I’ll look out for some Flexoid. I might have some steam gasget at another place but I’ll have to go looking.
Again FWIW and for the record: gasket material is 1mm thick measured by vernier calipers.
September 26, 2022 at 9:54 pm #40009Participant“JB weld”!! That’s what I was looking for, had seen it mentioned, but brain ft made me think “Chemical Matal” which I had some of. Argh! Will keep you informed.
September 26, 2022 at 6:24 pm #40006ParticipantWell. Write-up, FWIW. In case it’s useful.
Took the clutch apart, using the opportunity to re-pack the bearings with grease.
I scraped off the outer surface of the friction material, taking care, it’s probably fragile. I also cleaned the cast iron outer cone, and the inside surface if the friction material, scraping gluey residue off, and the light alloy inner cone, dressing it lightly and evenly with a flat file.
It seemed a good idea to put the chemical metal on the alloy inner cone, so I did that, as it was easier than putting it on the friction material, wiping on a thin layer with a plastic spreader, then using a coarse hacksaw blade as a notched spreader to make it an even depth all ’round.
After that, I put the assembly into a press and applied light pressure until the chemical metal began to squeeze out.
Tomorrow I’ll get it out and fit it It will be interesting to see what happens if I can get the thing started. This is the machine with points, which is in rather better condition than the other one.
The thought occurred that it may have been better to use “Gun Gum”, use a couple of bits of flat bar with holes for a bolt through the middle, and a couple of spacer blocks to allow the cast iron and alloy to be pulled up, then when all’s ready, stick it in the oven on “low” for an hour or so before turning it up to 200C for another hour.
We shall see.
Quiet in here…
-
This reply was modified 2 years, 2 months ago by
-
AuthorPosts