Home › Forums › The Machinery Forums › Ride-on machines › Ransomes tracks.
- This topic has 9 replies, 3 voices, and was last updated 10 years, 2 months ago by
expeatfarmer.
-
AuthorPosts
-
April 18, 2016 at 8:42 pm #20603
 joegrgrahamParticipant
Evening all.
Here is the first of probably many MG questions.
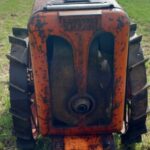
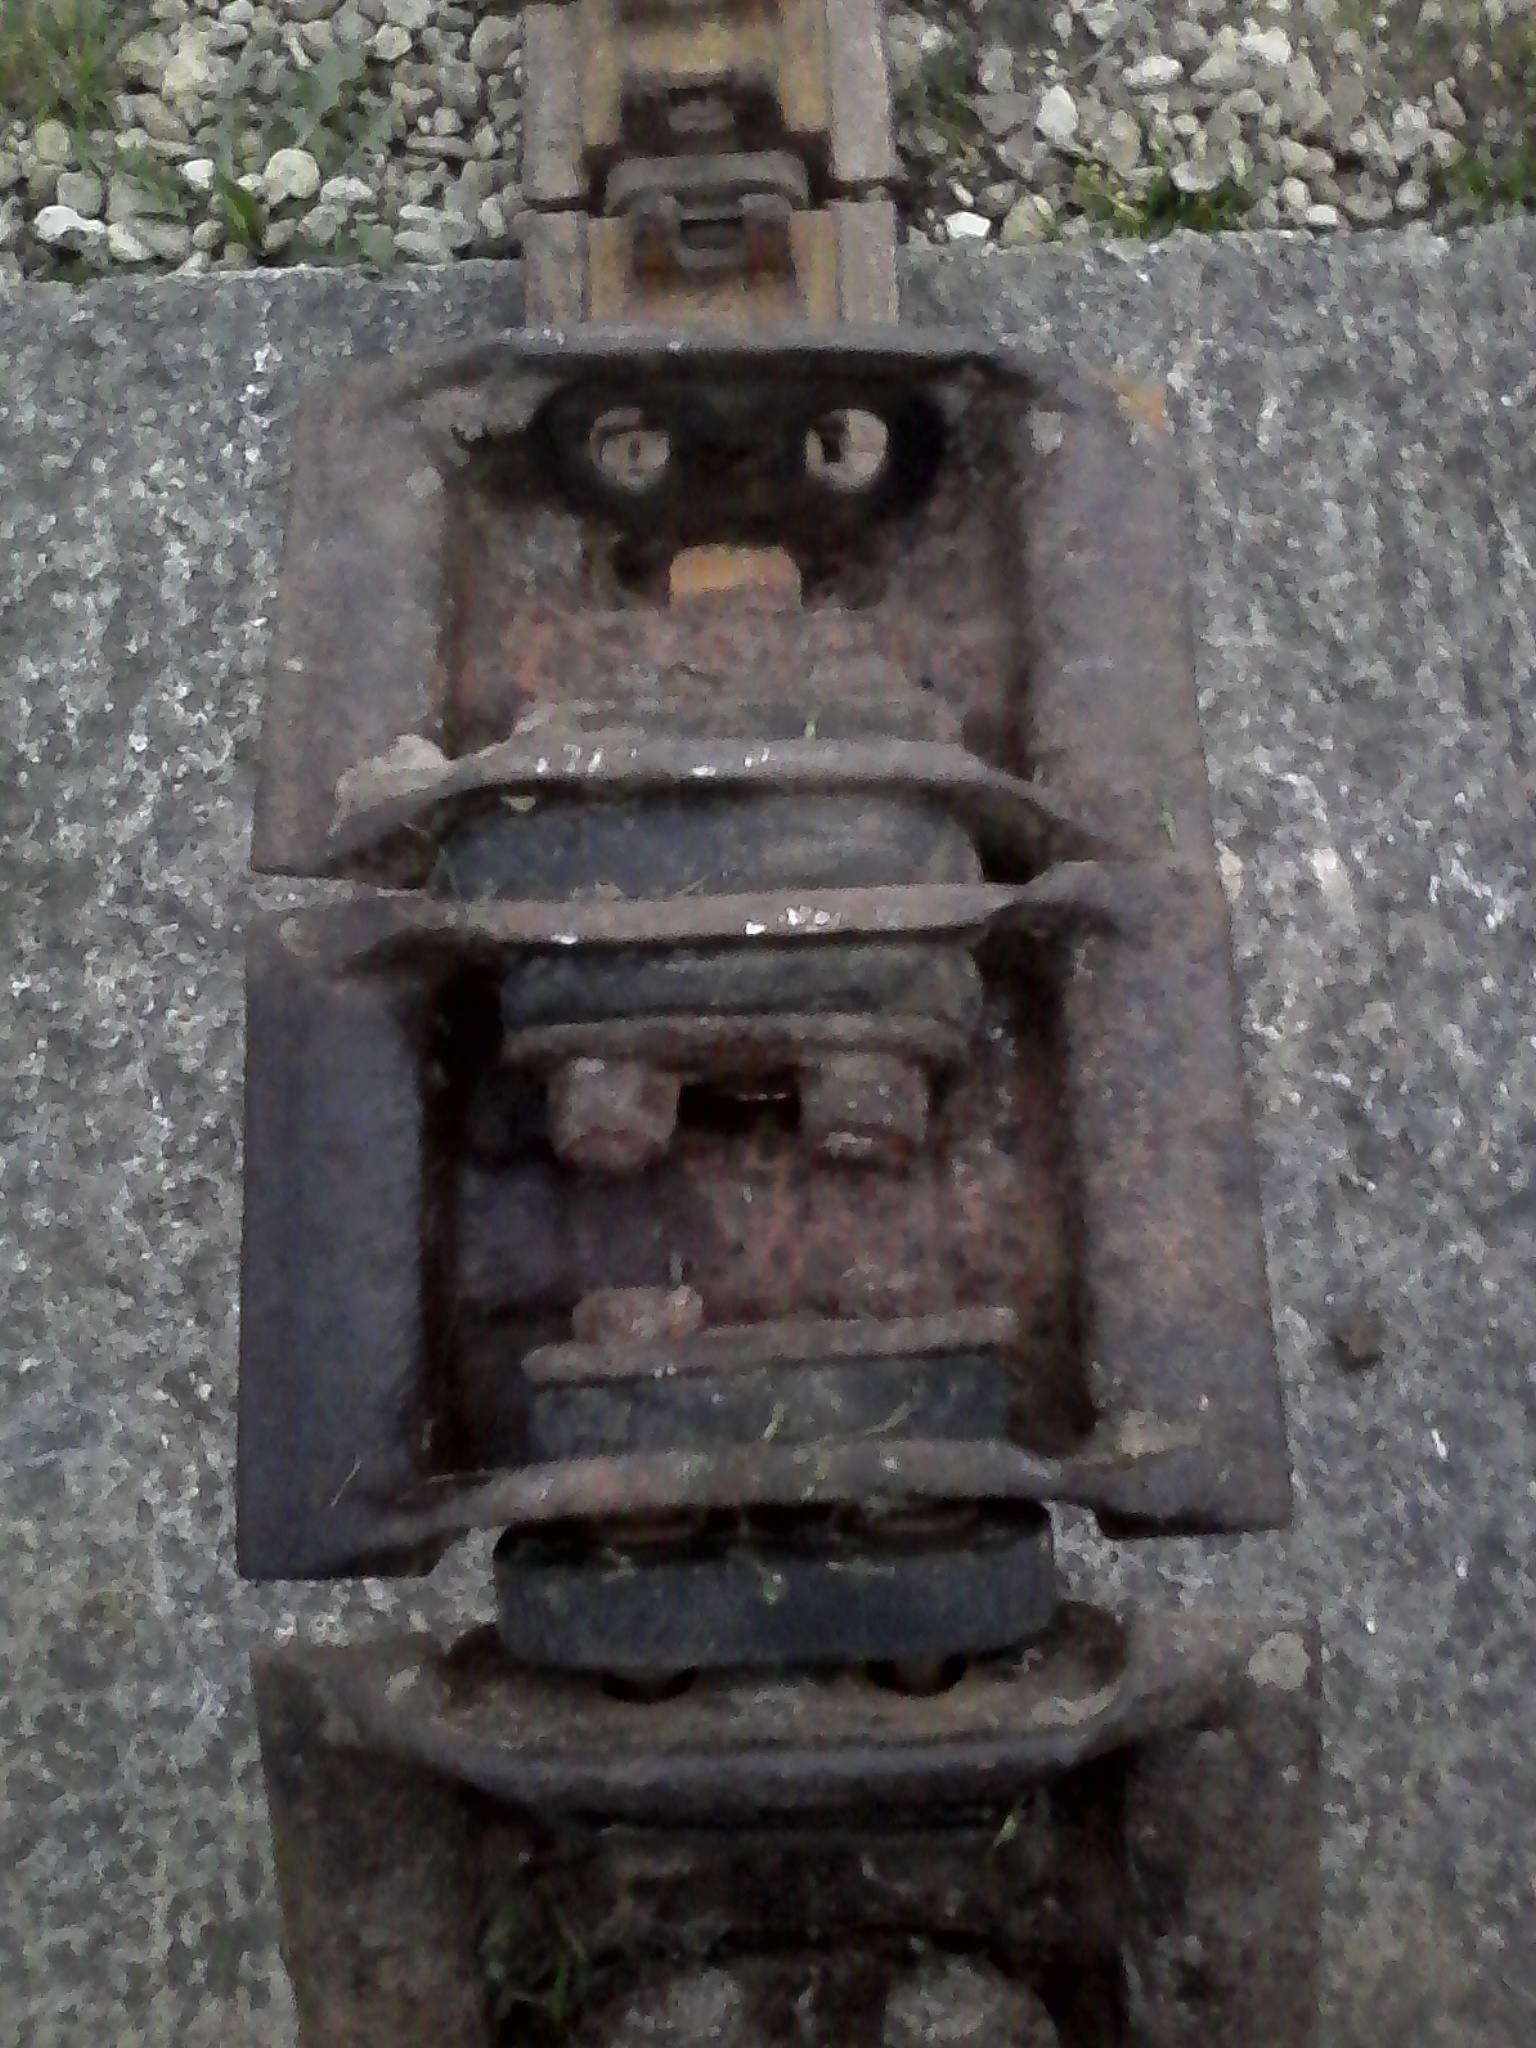
Tonight I got the MG2 on blocks and split the tracks.
Some centre rubbers are gone, some (probably original) are tightened to the point of distortion and offer very little movement between adjoining plates and others (which look newer) are half the thickness and the whole lot flops around like mad.
The pic should illustrate this.
The bolts are all rusty so any adjustments are unlikely.
Am I better off just replacing the whole lot? Or is there any good reason to leave well alone and just replace the missing ones?.
Thanks,
Joe.Attachments:
April 18, 2016 at 11:10 pm #20609 ransomes256Participant
Joe,
As the supplier of the parts I would prefer to not advise although please feel free to call me.
However, I would like to point out you should try and keep the track sections the same way round relative to each other. The reason for this is that over the years the tooth sections will have worn more on one side than the other so if assembled randomly you may get some tracks pitched as current, others with a larger pitch and some with a tighter pitch. This I am sure you can see may lead to drive wheel engagement and smooth running and track retention an issue.
NeilApril 19, 2016 at 8:42 pm #20623joegrgrahamParticipantThanks Neil.
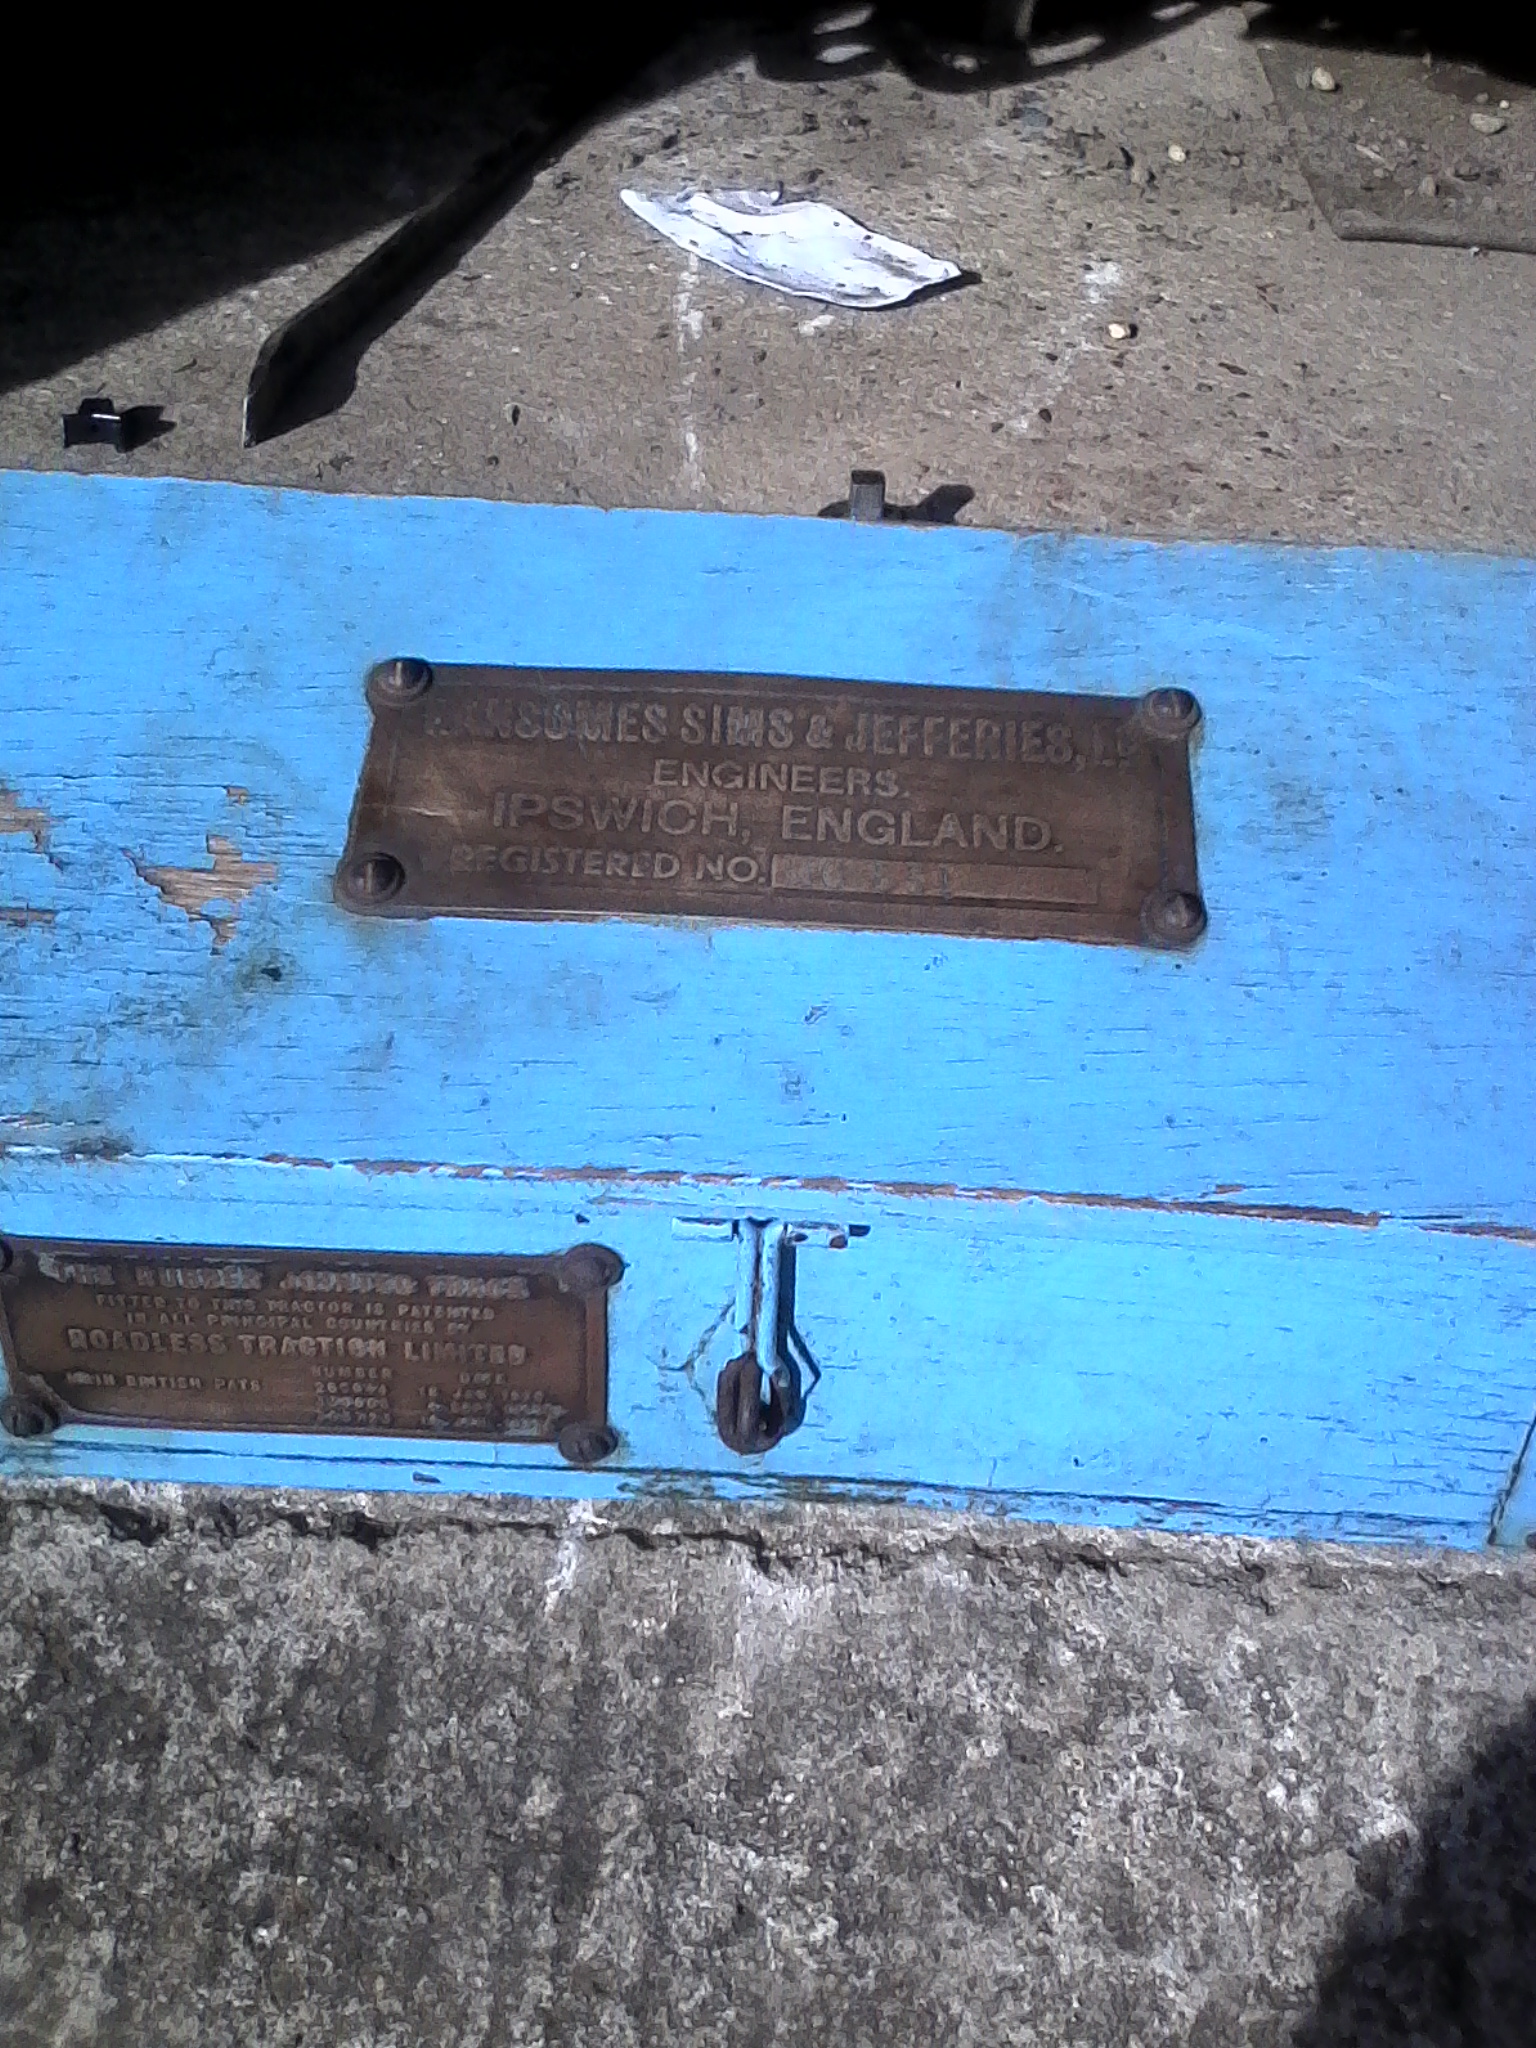
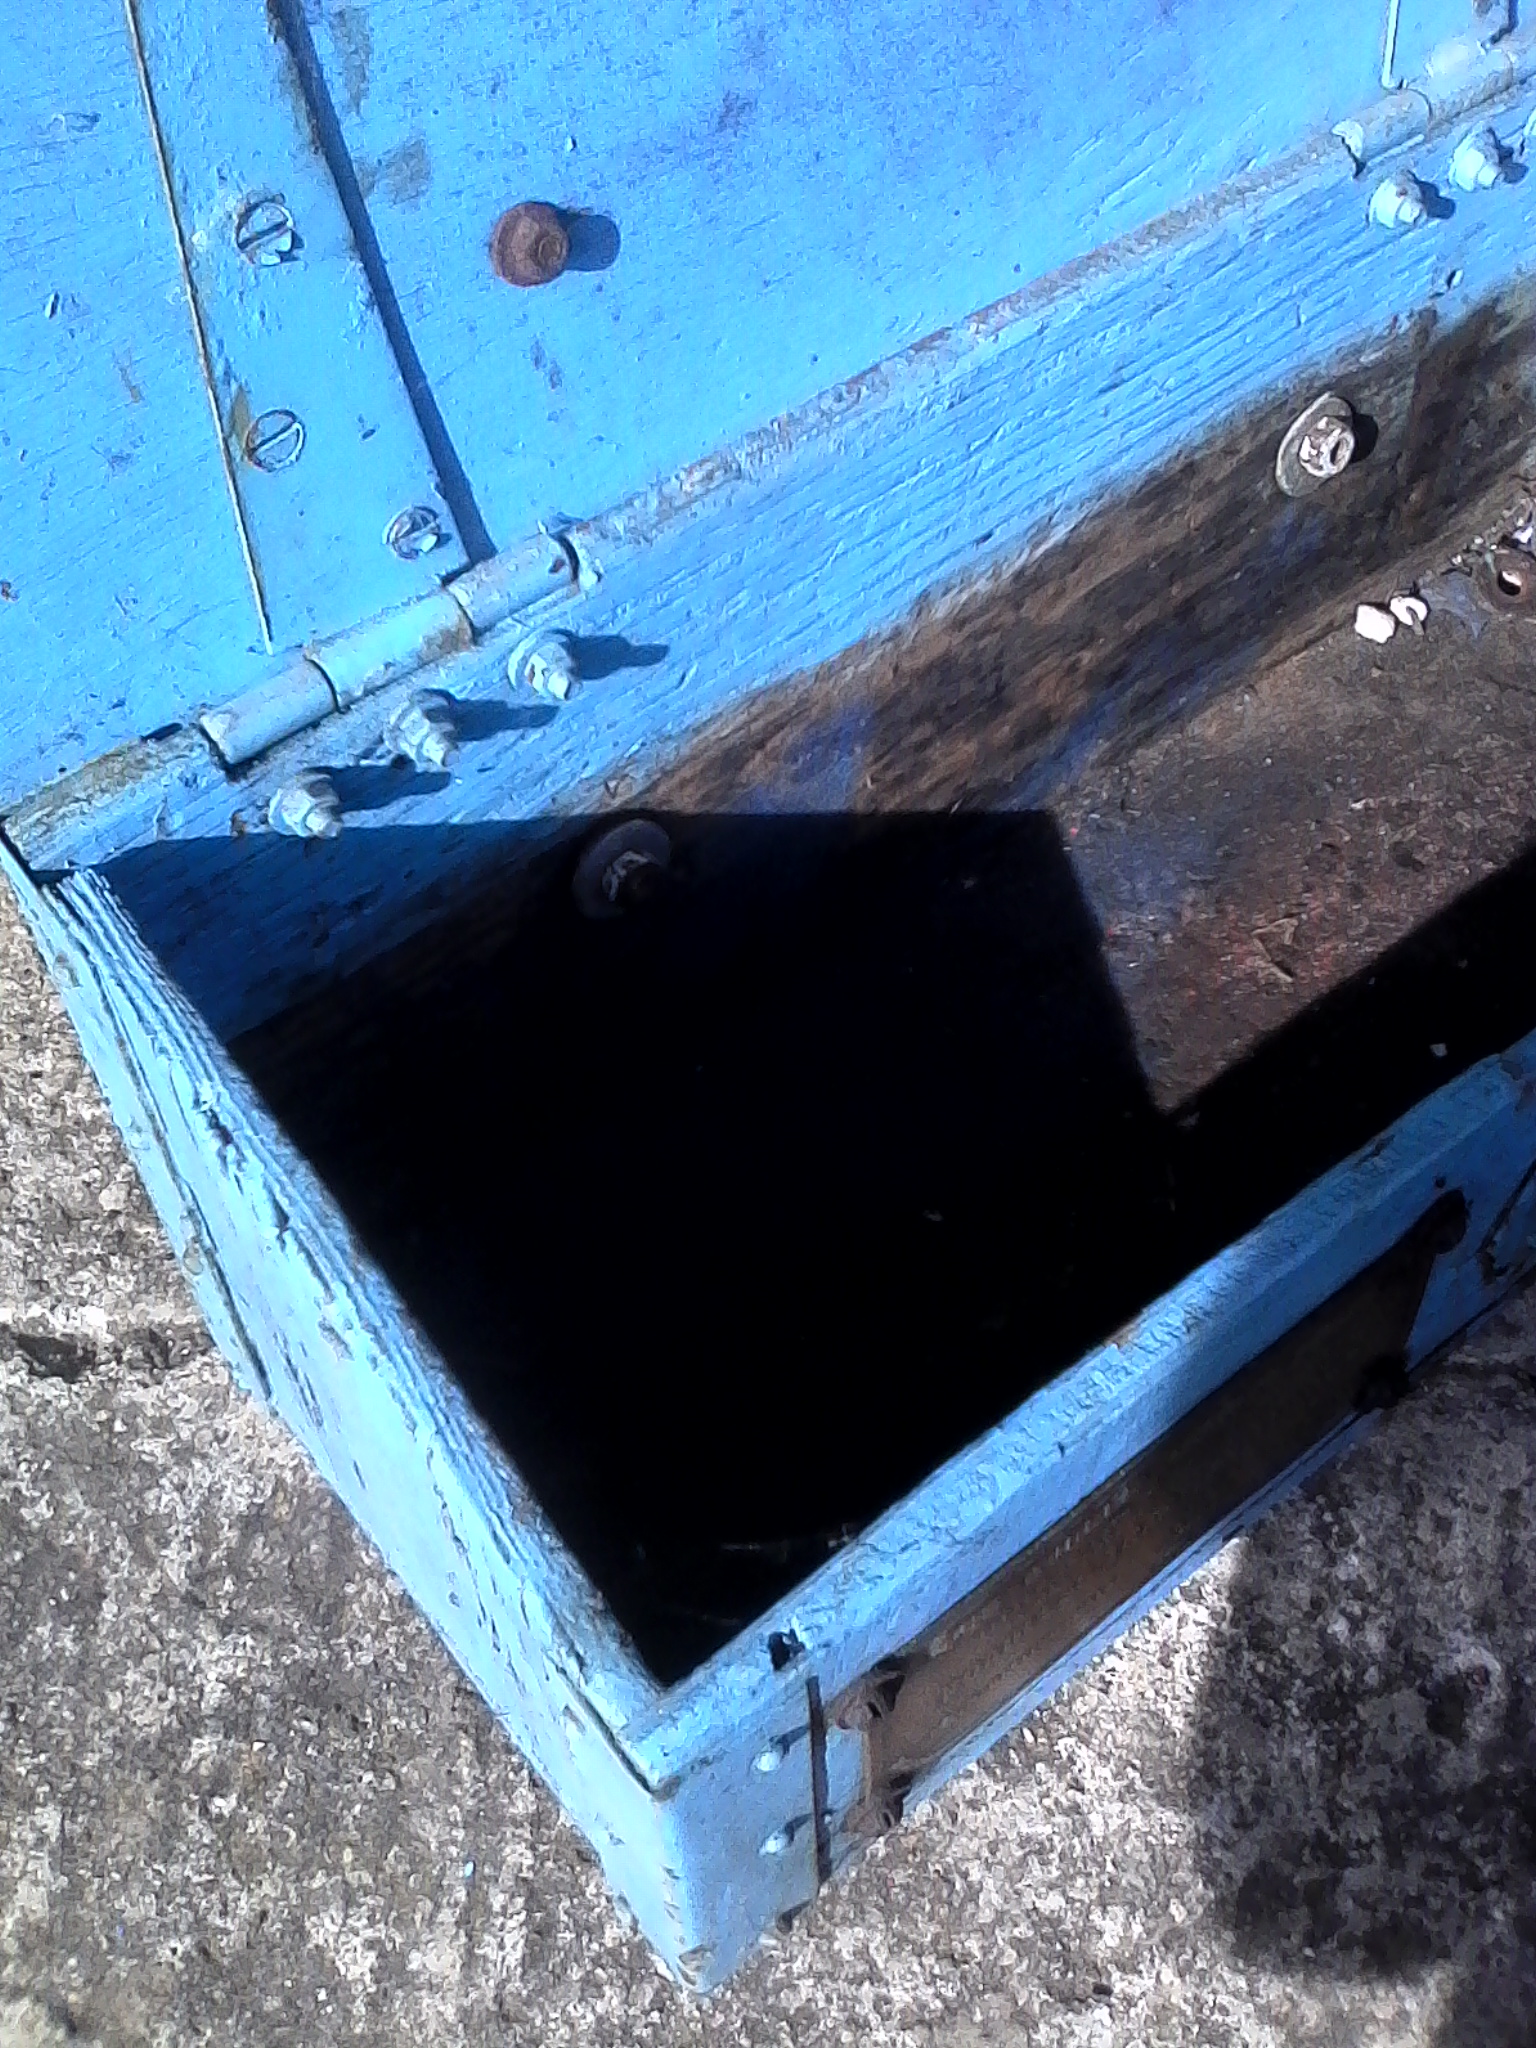
Tonights activities have revealed that the MG is indeed an older restoration. I have found brushed paint, some stainless bolts, and am i right to presume that two bits of rotten ply are NOT correct for the floor?. Also, i noticed the toolbox is made of ply.
Now, the big question is, do I leave it and just fix what needs fixing, or given the level of dismantling I shall need to do, do I go the whole hog and do a full restoration??.
Joe.April 20, 2016 at 6:49 am #20633ransomes256ParticipantJoe,
The floor and the toolbox were originally made from pine with some steel reinforcing edges etc.
I have some drawings to help make some replacements to the correct pattern.
The level of restoration is always open to debate. I feel the most important thing is what you are happy with and what you intend to use the tractor for. If it is staying at home for some fun the level is less important than going to shows and ending up with a broken bolt in a track and getting stranded or using it for ploughing and doing some increasing damage due to heavier loading.
With the MG2 the maintenance of the flywheel assembly is very important as a miss fire or kick back can easily break the flywheel and these are not available.
Hope this helps
NeilApril 20, 2016 at 9:02 am #20634expeatfarmer
ParticipantHi Joe following on from Neil I would advise that you replace all track rubbers plates and bolts. Each pair of bolts and rubbers should be tightened to give a specific spacing between the faces of the adjoining pads, this affects the engagement of the drive sprockets in the track. If you mix old and new, when you tension the tracks the pitch will vary between old rubbers and new rubbers which will cause excessive wear and at worst cause the track to ride up on the sprocket teeth.
I have two original MG2 tool boxes both of which are made from 4 ply with metal corners. The floor boards are pine. As Neil says the level of restoration is your call complicated by the fact that someone has painted it before. I have one MG2 that is totally original with all the patina of its age I give it an annual rub over with WD 40 and oil and have won prizes with it for originality, my second was a complete box of rusty bits restoration which I took back to as new condition due to the fact that it is the oldest known MG2 existing. Most of my other Mg’s are mechanically restored with the tubs and paintwork as I found them in the original factory paint. I have had a couple that have been painted up by previous owners, most of which I have moved on when I found a more original one.I have recently spoken to a chap that owned number 116 bought from new in 1936 but all he has left is the i.d plate which fell off when the cowling cracked through due to vibration.April 20, 2016 at 6:40 pm #20640joegrgrahamParticipantThanks again for the useful input.
From expeatfarmers comments, my toolbox may well be original, if it isnt, it is nicely made, so can stay. The floor is rotten, but we will worry about that another day.
I much prefer reliability and useability over a pretty paint job, so I think I will dismantled as much as necessary to do the repairs, then give it a light wire brushing to remove rust bubbles and flaky paint, then see what it looks like and go from there.
My phone, which has the photos on is about to go out the window, so I will try and upload a couple of pics later.
Joe.April 20, 2016 at 6:59 pm #20641joegrgrahamParticipantPic of toolbox.
Attachments:
April 20, 2016 at 8:11 pm #20645ParticipantJoe I would say that is an original box, the plaques have been moved from the rear of the tub.
April 20, 2016 at 8:37 pm #20646joegrgrahamParticipantThat’s good news about the box!.
One last question for tonight. How do I remove the sprocket wheel? (All the rollers are seized solid, a couple are broken, plus the hub seals need replacing.) Ive removed the six bolts around the flange (still need to drop the WC rollers) is it held on a taper? Does it need a puller?
Thanks,
Joe.April 21, 2016 at 1:02 pm #20650ParticipantJoe.
The sprocket wheel is just a very neat fit on the hub. I use plenty of release oil/diesel/paraffin to soak in and then using a soft hammer thump the outer rim and then again at 180 degrees to rock the wheel on the hub. Some heat may also help. The rollers can be freed by tapping with a hammer ( as per manual ) Use a release fluid but not oil and do not oil when you have them free they are meant to run dry. The other way of removing wheel if you are removing hubs is to take off hub and wheel as an item and thump the whole assembly down on a big log or timber. -
AuthorPosts
- You must be logged in to reply to this topic.