Home › Forums › General › Help and information › 1947 Allen Scythe 11c refurbish and running issues
Tagged: allen scythe running issues
- This topic has 8 replies, 4 voices, and was last updated 4 years, 11 months ago by
 trusty220.
-
AuthorPosts
-
August 25, 2021 at 12:48 pm #37745
 jake-yoParticipant
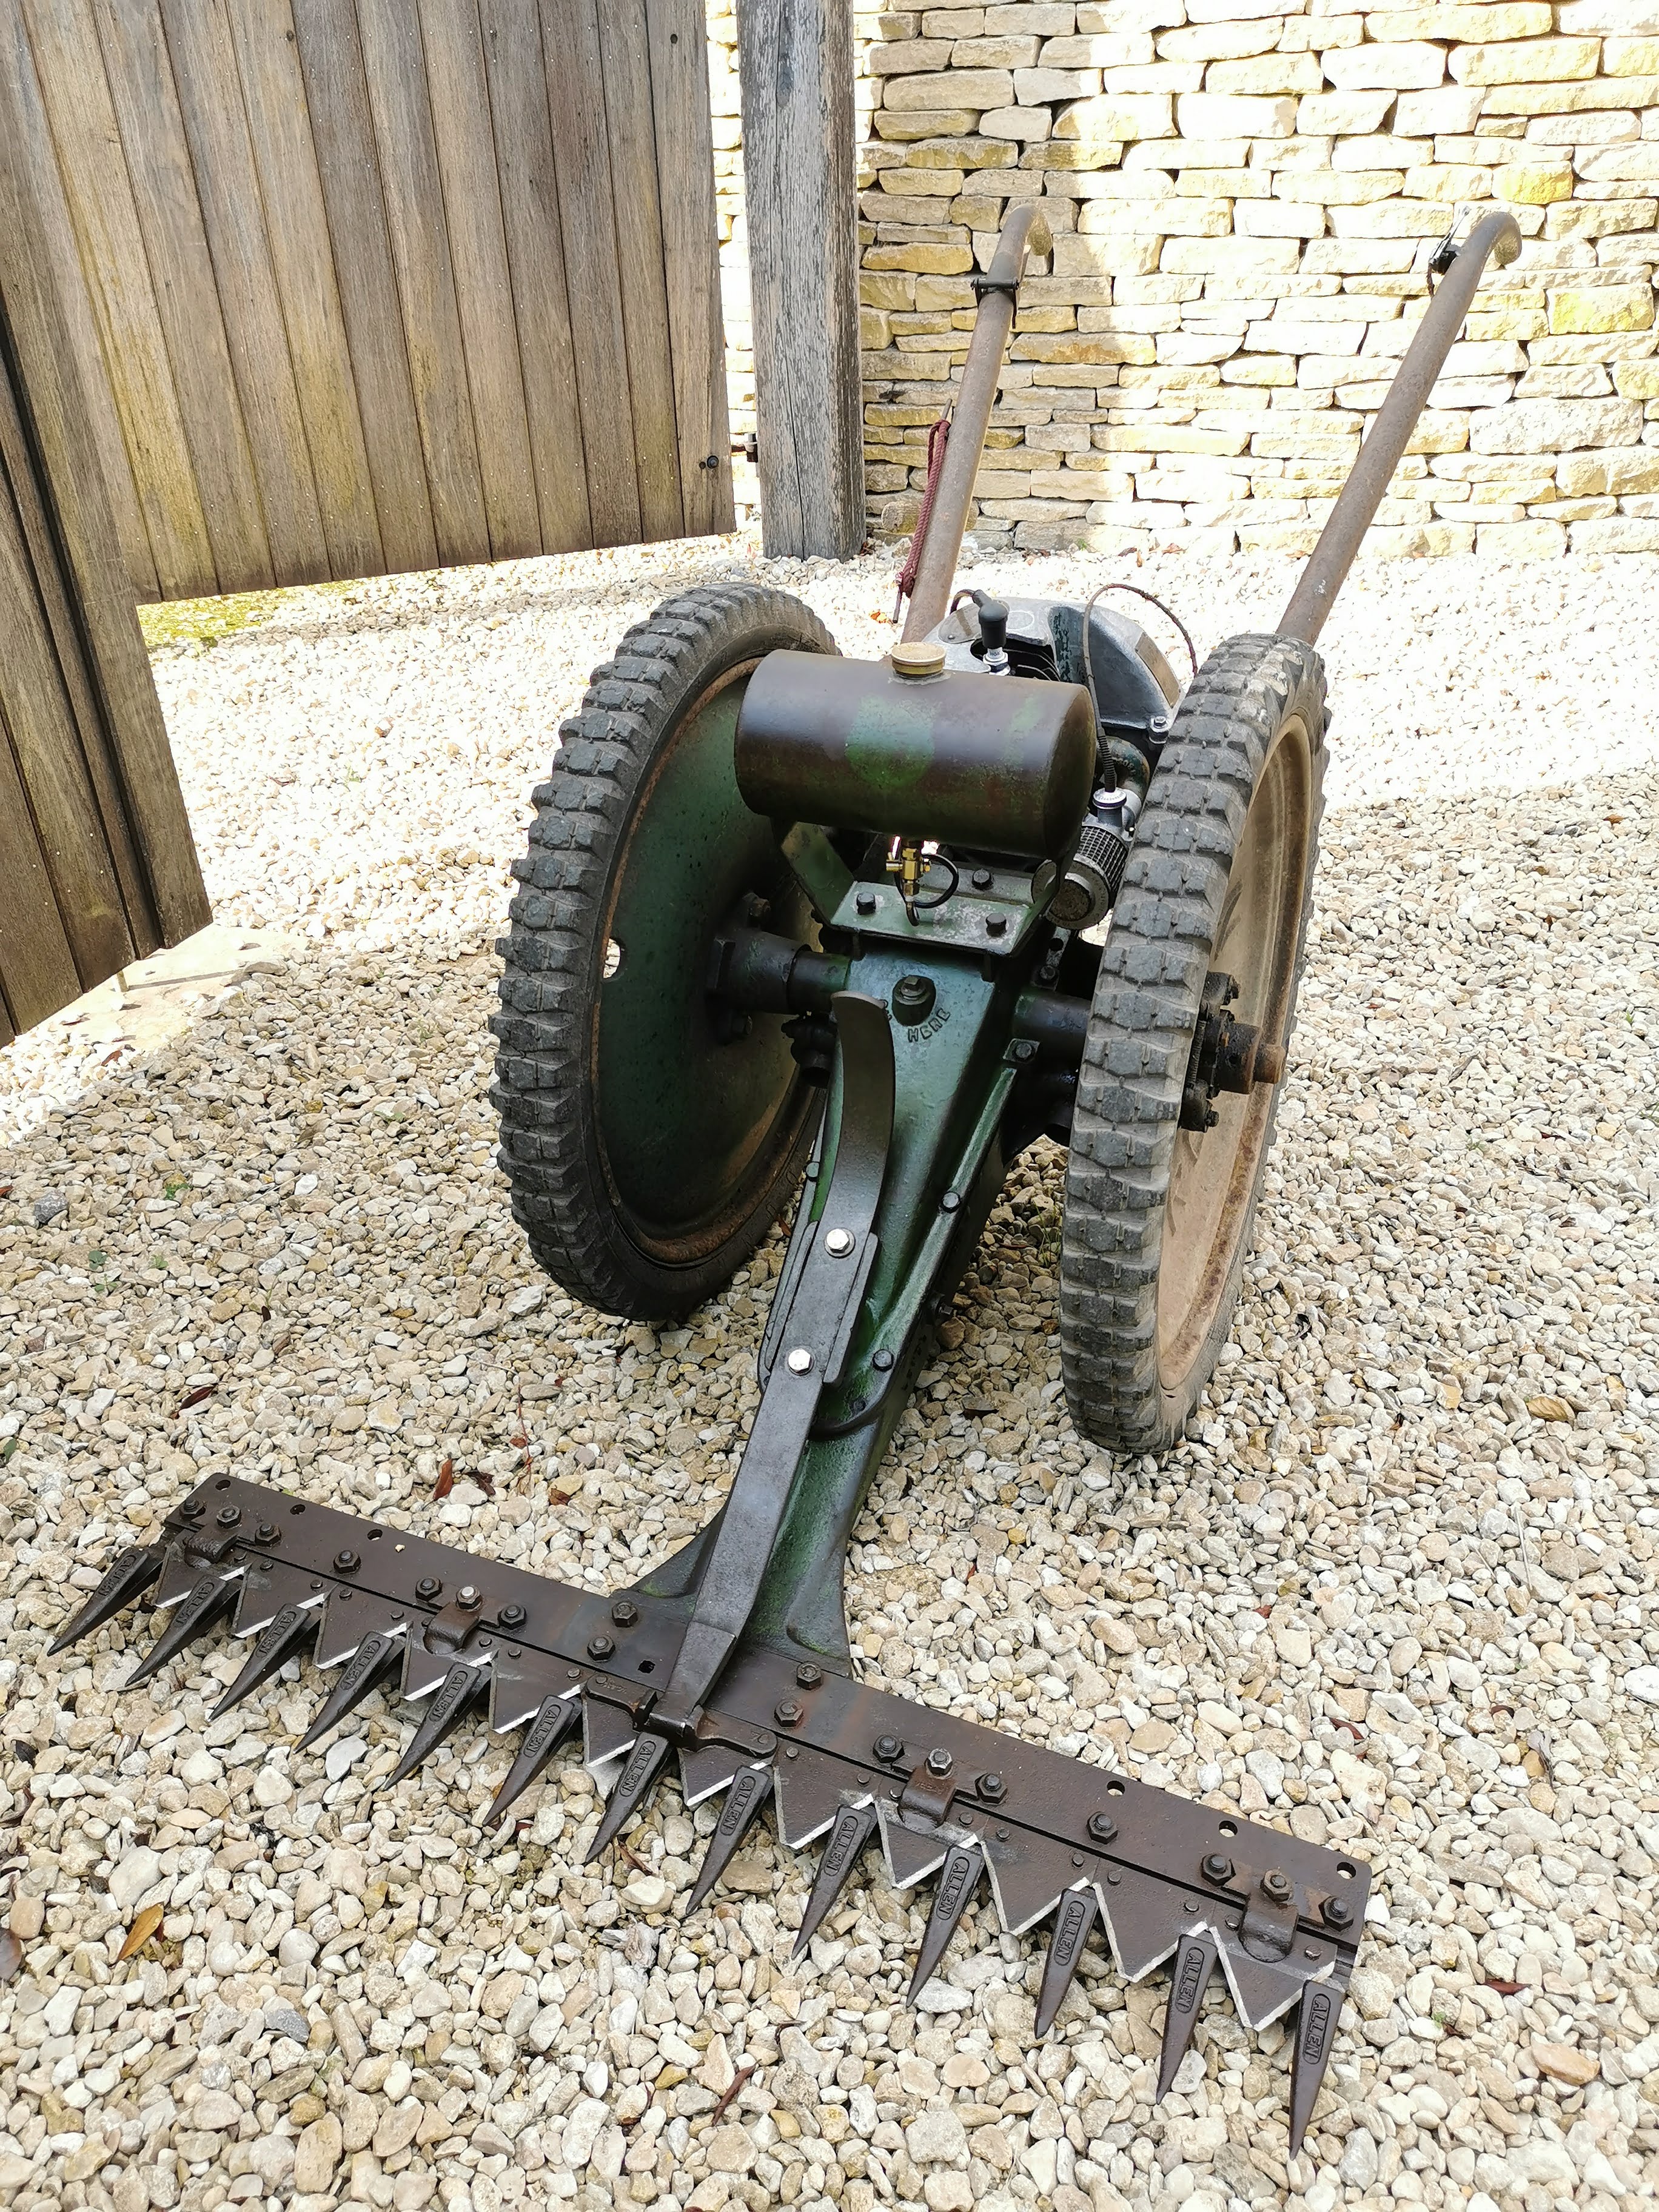
Hello, I have recently acquired and partly restored a 1947 Oxford Allen Scythe…
Apart from the wheels (still to do!) the machine has been cleaned and tidied up. I have thoroughly removed all rust end debris from the fuel tank, fuel lines and carburettor which has had a full overhaul. The years of built up grime have been removed from the engine and body of the machine, and the blades sharpened and their guides adjusted accordingly.
Now, after much head scratching, measuring and adjustments, I finally managed to set the timing and points to a position to where I believe they are correct, and the machine starts, runs and idles well – as can be seen in the video here: https://www.youtube.com/watch?v=c-r1C1VtdXM
Setting the points gap from the flywheel when the flywheel has to be removed to adjust them was a definite challenge and took some clever measuring with calipers and lots of patience!
Now the issue I am running into is that the although the machine starts and runs well, and will drive under it’s own power fine, it seems under-powered and will stall when getting up against any load! The governor keeps it ticking over on idle, but the throttle won’t increase the revs above this point – adjusting the throttle cable more just makes it hard to stop the engine when the throttle is closed.
There is plenty of fuel available with the odd drip coming out of the intake pipe joint, which makes me wonder if it is running too rich?
I’m unsure where to go next to get the thing running sweeter! Any tips would be greatly appreciated!
Cheers, Jake
Attachments:
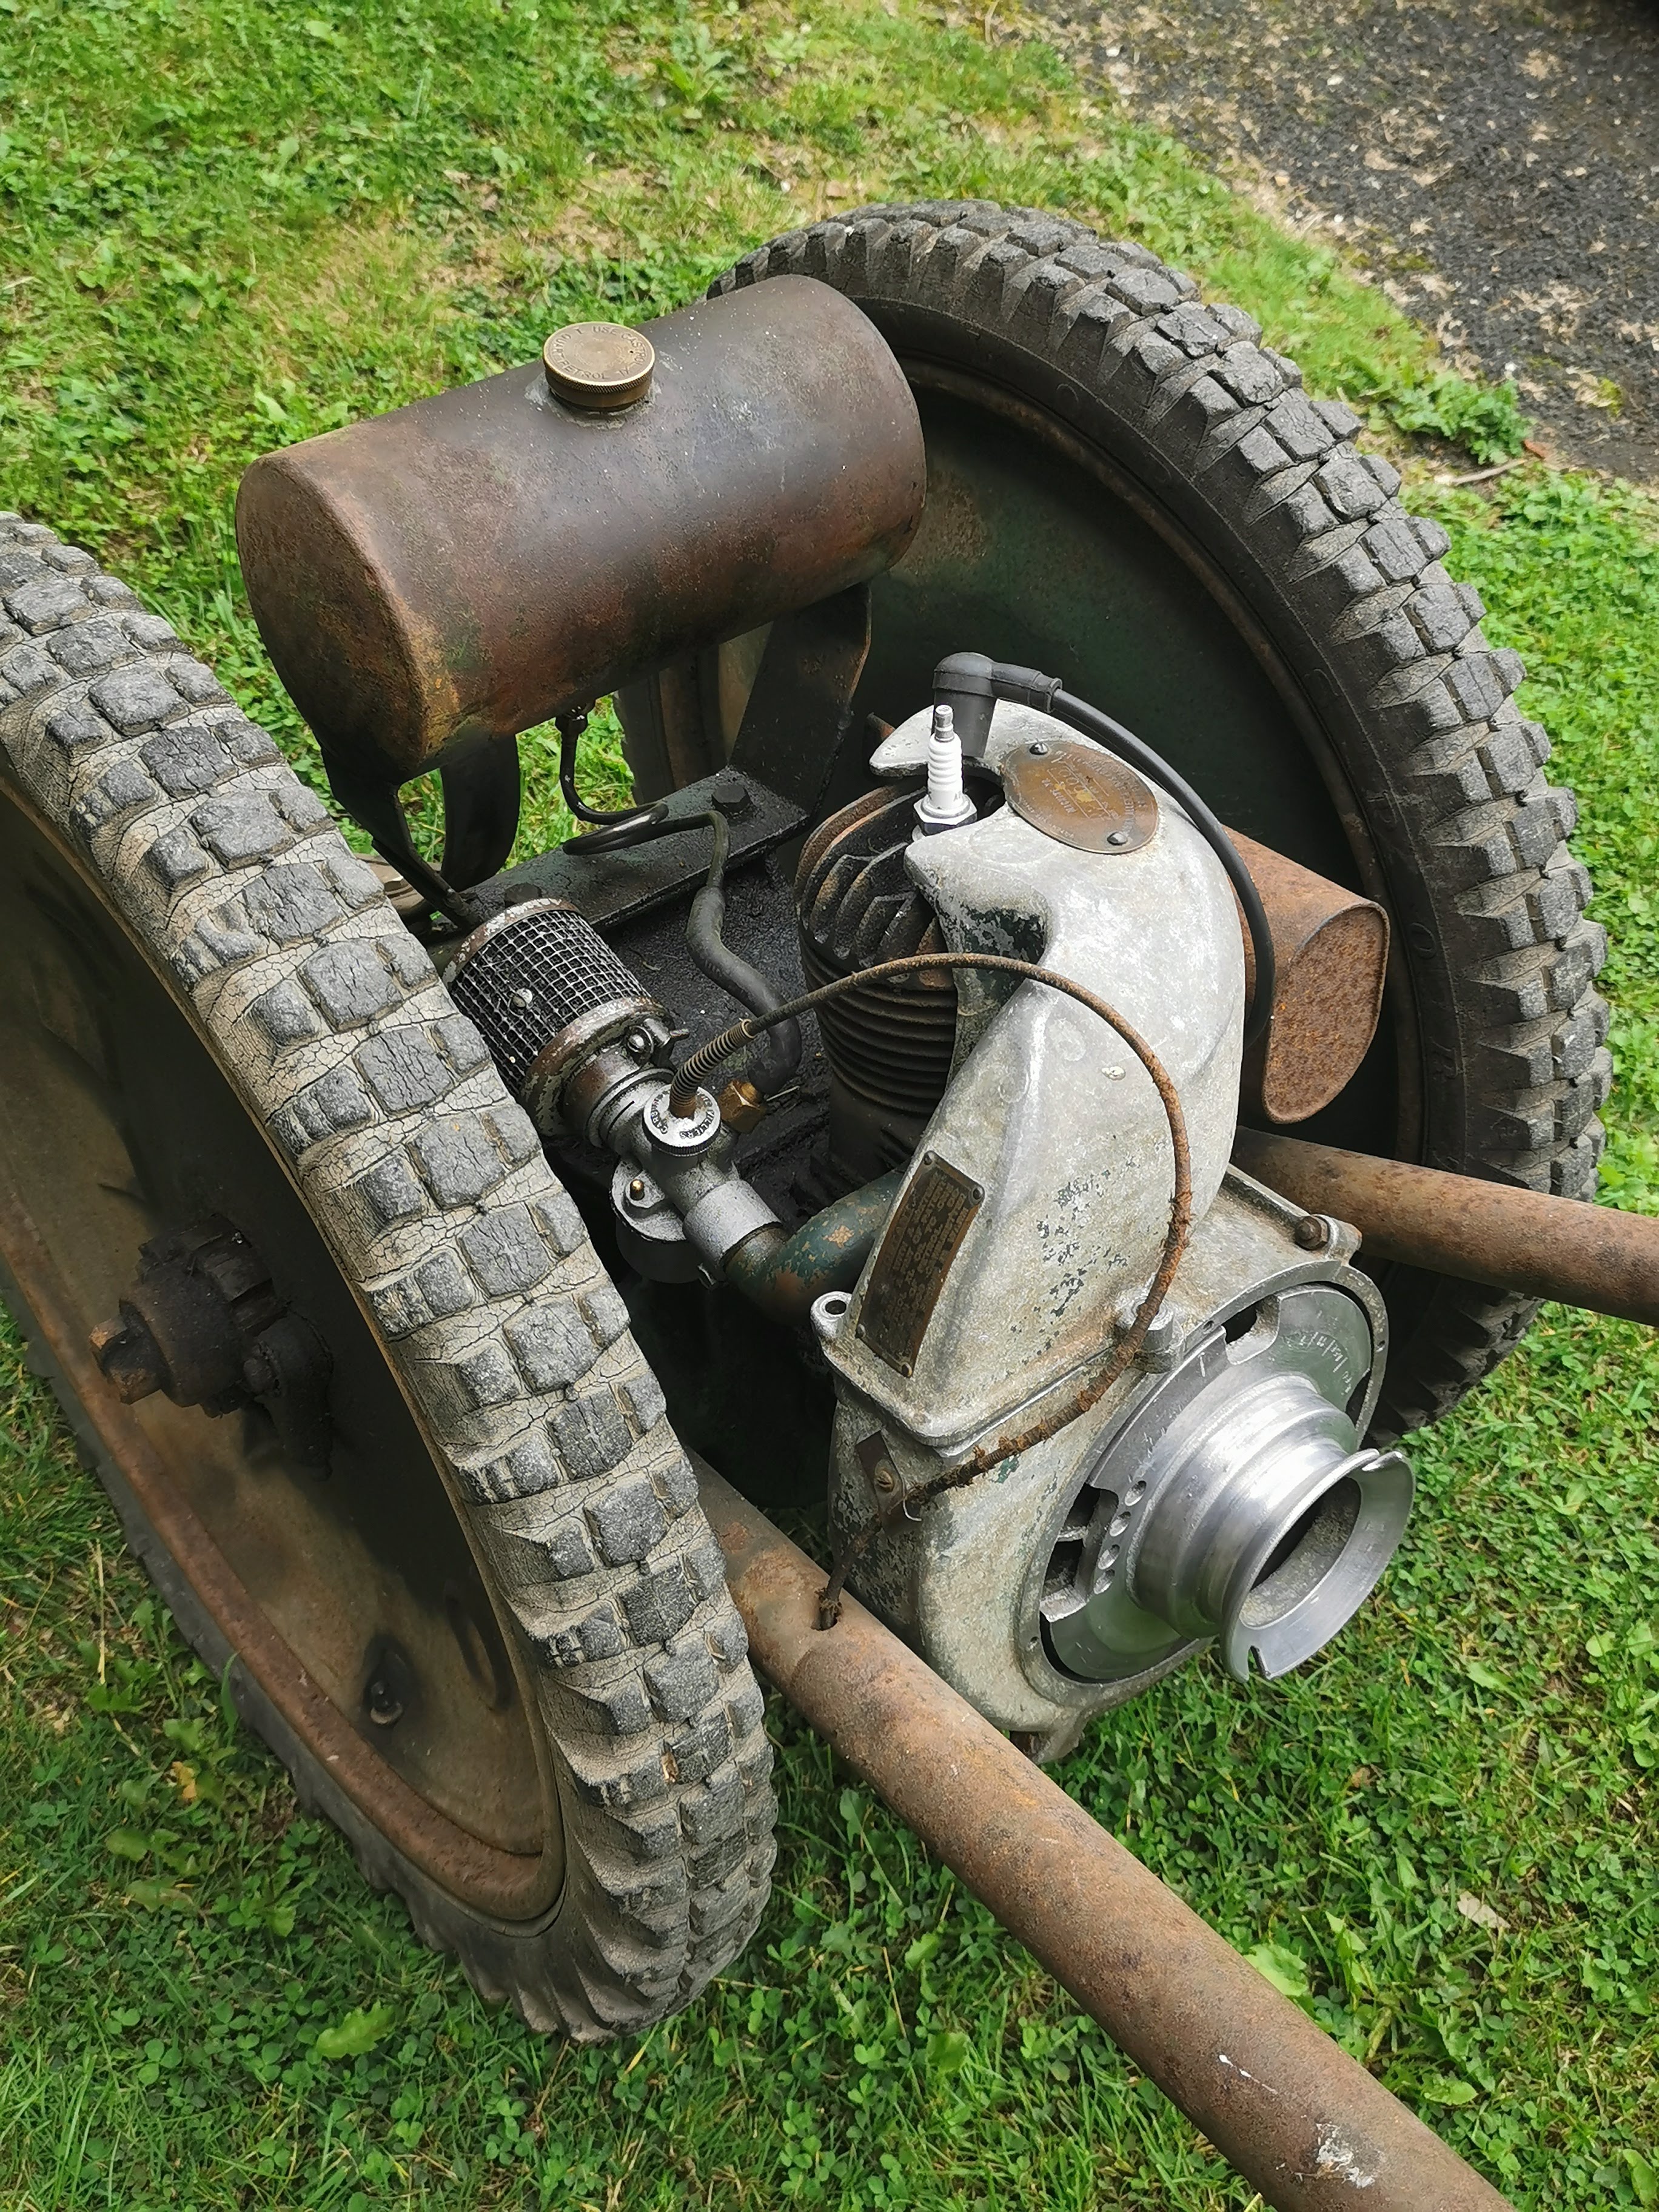
August 25, 2021 at 12:58 pm #37749jake-yoParticipantSome more photos for those interested:
Attachments:
August 25, 2021 at 7:02 pm #37753andyfrost
ParticipantFrom your description it sounds as if you’ve got timing issues , try advancing the timing fractionally.
You need the flywheel in place to both set the points correctly , and set timing.
If there’s no improvement after re-setting , get back to us.Andy.
August 26, 2021 at 9:16 am #37754jake-yoParticipantThanks Andy,
Currently my process for setting timing is as follows:
1. rotate engine clockwise until top dead centre can be measured with the depth gauge on the bottom of vernier calipers
2. zero depth gauge then rotate engine back anti-clockwise until piston has gone down 5/32 (4.5mm)
3. align flywheel mark with mark on housing and tighten whilst checking it hasn’t moved on shaft
I’ve got quite well practiced at that routine now! And I have tried adjusting the timing by tightening up the flywheel with the timing mark in different positions close to the mark on the housing. Is it as critical as 1 or 2mm out?
I’ve noticed that when originally reassembling the flywheel housing with one of the timing marks on, there is some margin for movement as it slips around the backplate which the points and coil are attached to until tightened down. But I have aligned it so as the joint to the top part of the cowl is horizontal and looks to be coplanar with the intake pipe on the engine.
Seems like I’m so close but starting to lose patience with this old engine unfortunately!
Cheers
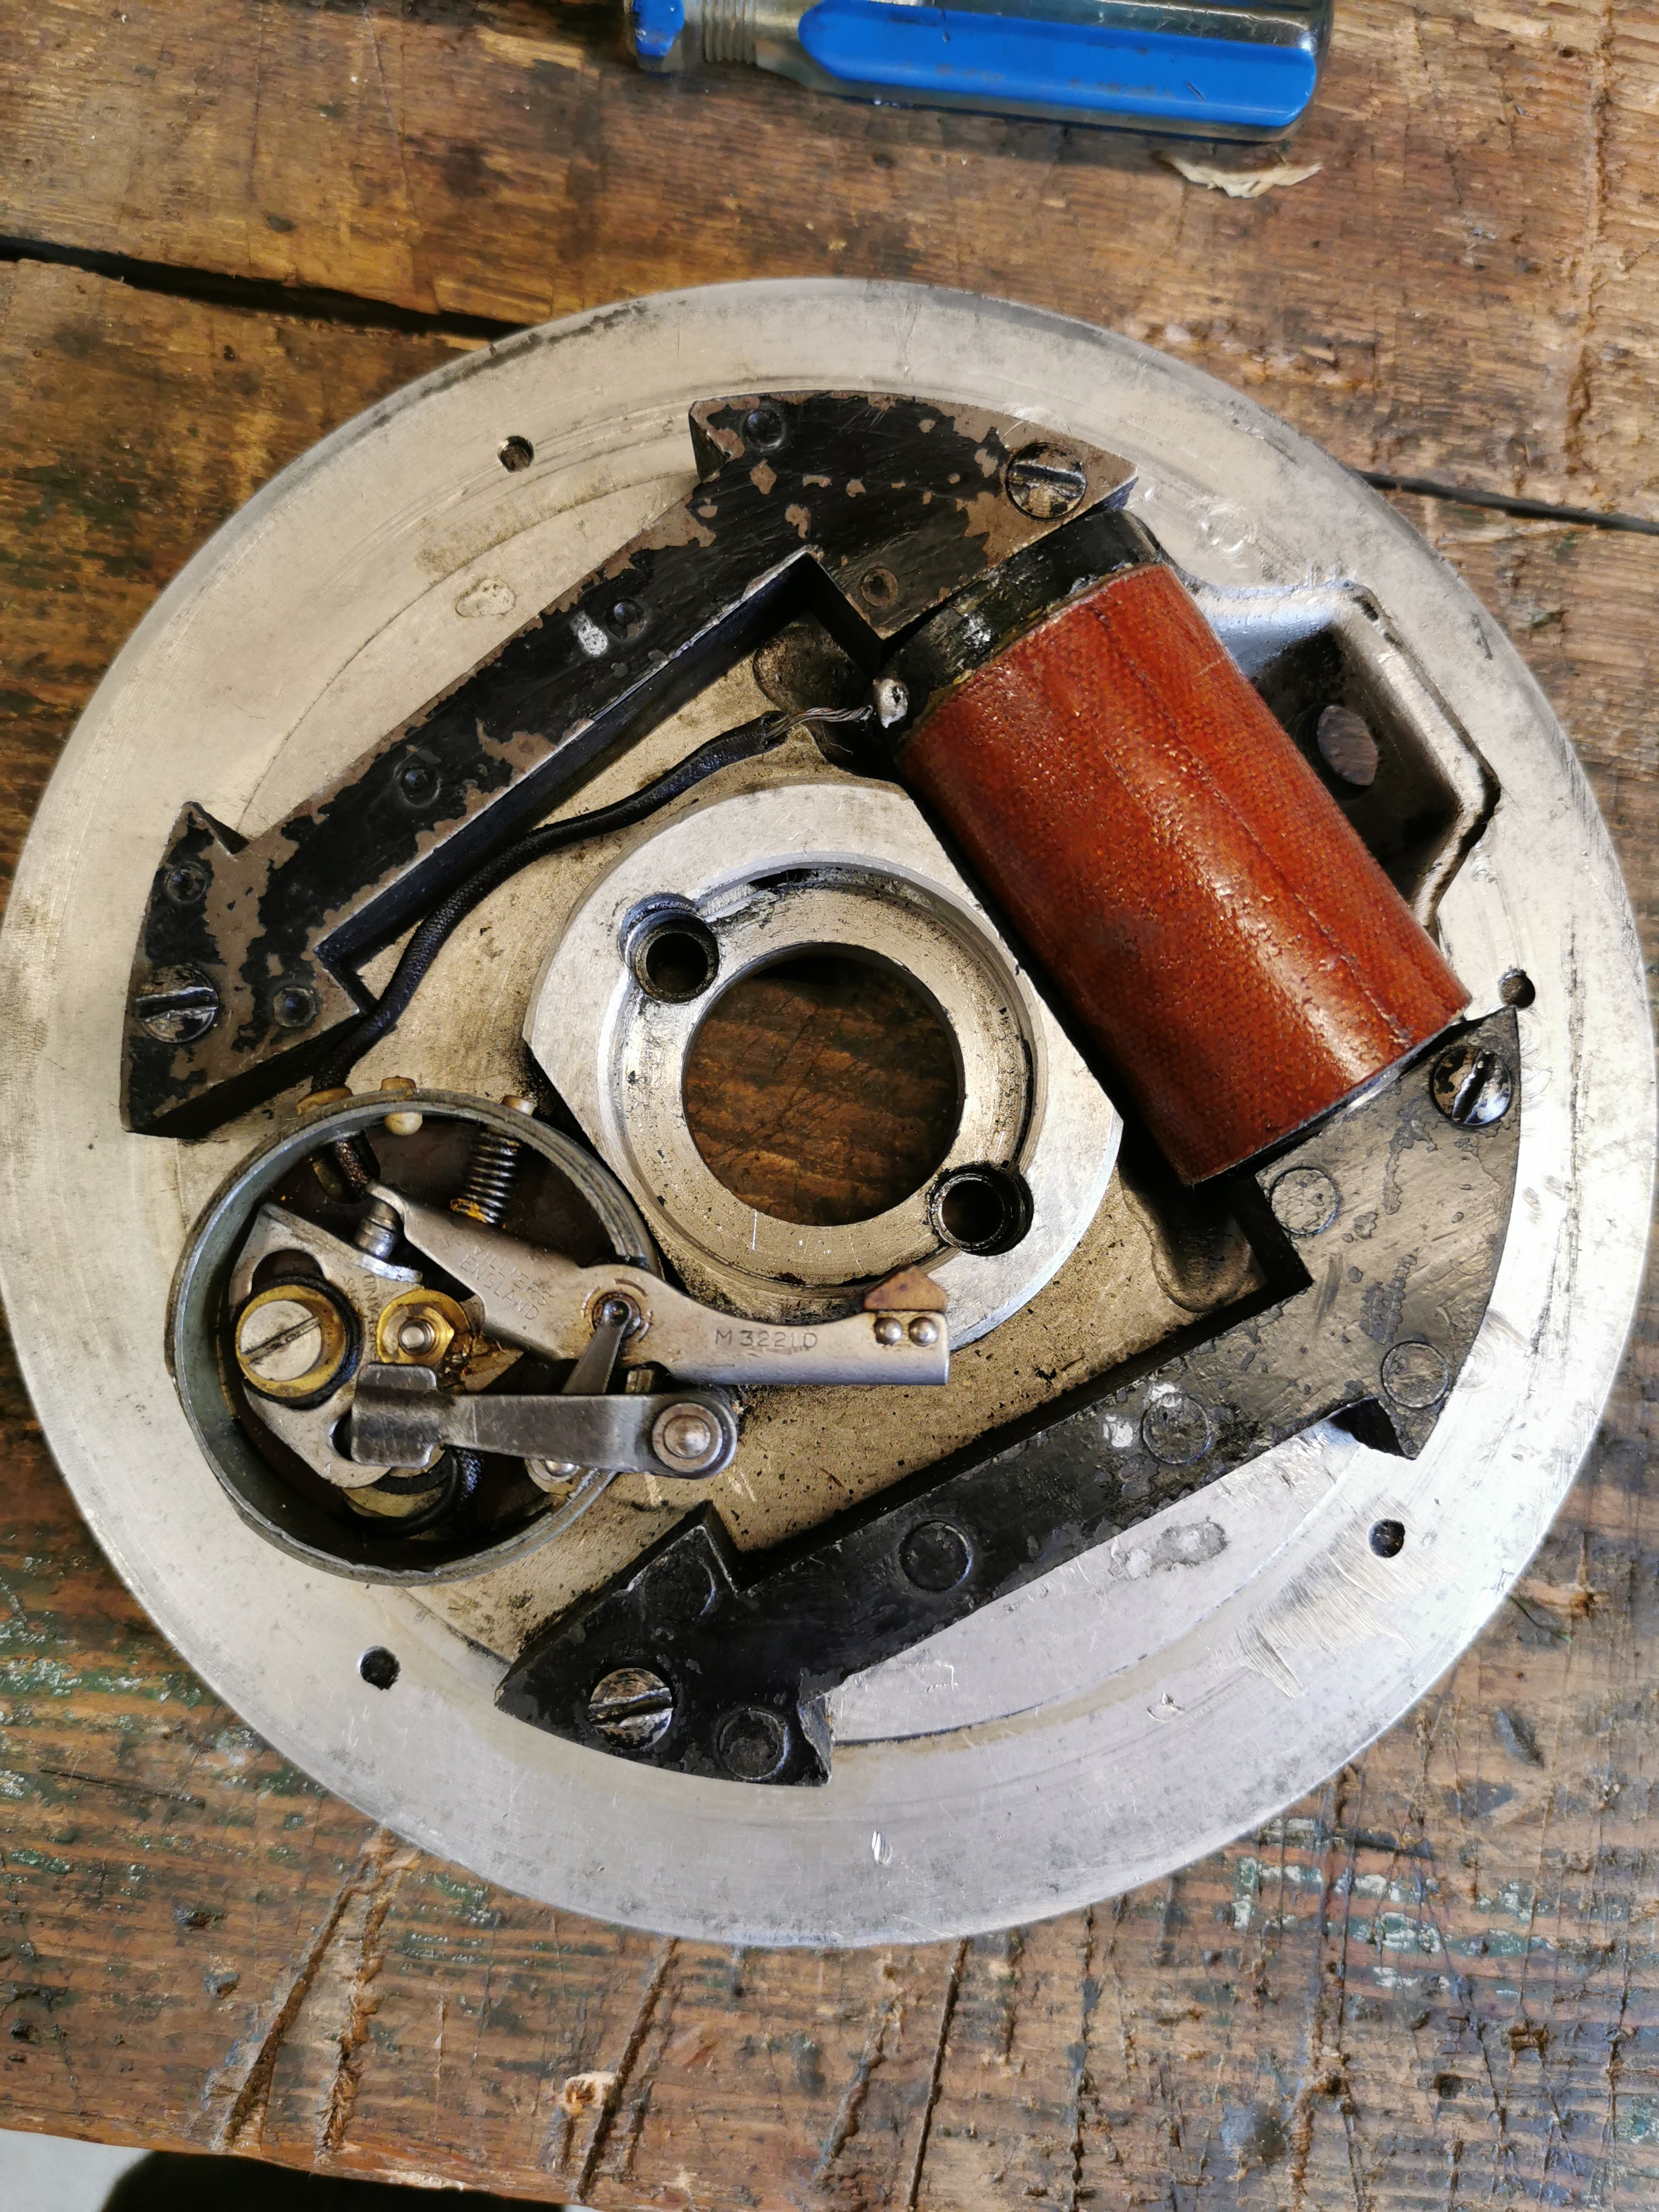
August 26, 2021 at 9:18 am #37755jake-yoParticipantIt is also impossible to set the point on this engine with the flywheel in place as it is solid and the cam follower for the points is on the inside of the flywheel…
August 26, 2021 at 10:15 am #37756ParticipantWhen you have backed off the piston as you have done, this is then when the points should be cracking open. Personally I never take no notice of the timing marks , as over the years mixed parts may have been fitted.
The fan on the flywheel “should” be a seperate part , and once removed you can adjust points with flywheel in place.
Some close-up pictures of your flywheel would help.Andy.
August 26, 2021 at 7:00 pm #37758 trusty220Keymaster
I’m with Andy- can you show us a photo of the flywheel? Normally, if the flywheel is brass you can access the points through the holes between the spokes. Obviously you have to remove the brass cover first but it should be possible to rotate the flywheel on the crankshaft to set the points to the correct gap.
With the piston at the right distance before TDC you should then be able to turn the flywheel in the running direction and then stop when the points are just opening- this is the point at which the spark is generated. Lock everything up without allowing it to turn and it should work; take no notice of the timing marks as they are often in the wrong place.
I hope that helps, but please show us a picture of the flywheel if you are still in difficulties.
August 26, 2021 at 10:04 pm #37762 wristpinParticipant
Takes me back to the late 50s when I bought a Lambretta for a fiver that the owner had given up on. It would start and idle but not accelerate. To cut a story short the owner had managed to get it firing at around Bottom Dead Centre. That was possible as the centrifugally controlled cam inside the flywheel had been assembled 180 degrees out. Fast forward to 2009 I visited a customer to fix her ride on mower and there was a rather sorry looking Lambretta that her late husband had used for commuting around farm. A deal was done . Seemed like a good idea to convert it from points to electronic ignition . Kit fitted, pig to start and disappear in reverse – the engine was running backwards. A word with the suppliers of the ignition kit and soon sorted – I was not the first.
All of this is a long winded way of saying what others have said in far fewer words that incorrect two-stroke ignition timing can have strange effects.
A few things that can accumulate to contribute to an issue.
Points gap. Start by setting that accurately mid way between the top and bottom figure .
When positioning the piston only rotate the crank in the running direction of rotation so that any big end wear is absorbed. If you go too far don’t turn it back which will “ stretch” any slack – go right round and compress the wear again.
Then, if you can devise a way of locking the crank it will avoid the possibility of upsetting all your careful measuring while you set the point at which the contacts open.
The traditional way is with a fag paper . Correctly set up one of the windows in the flywheel will just give you room to insert it between the shut contacts and slowly turn the flywheel until you feel it start to release. At that point it’s time to tighten the flywheel nut. Villiers used to supply a couple of designs of wrenches designed to be hit with a lump hammer to ensure that the nut is good and tight. I have to say that I don’t get on with the lump hammer and wrench, I prefer a homemade flywheel band holder – a steel strap with a long handle used in conjunction with a socket on a long breaker bar. Why couldn’t Villiers give a torque setting ?
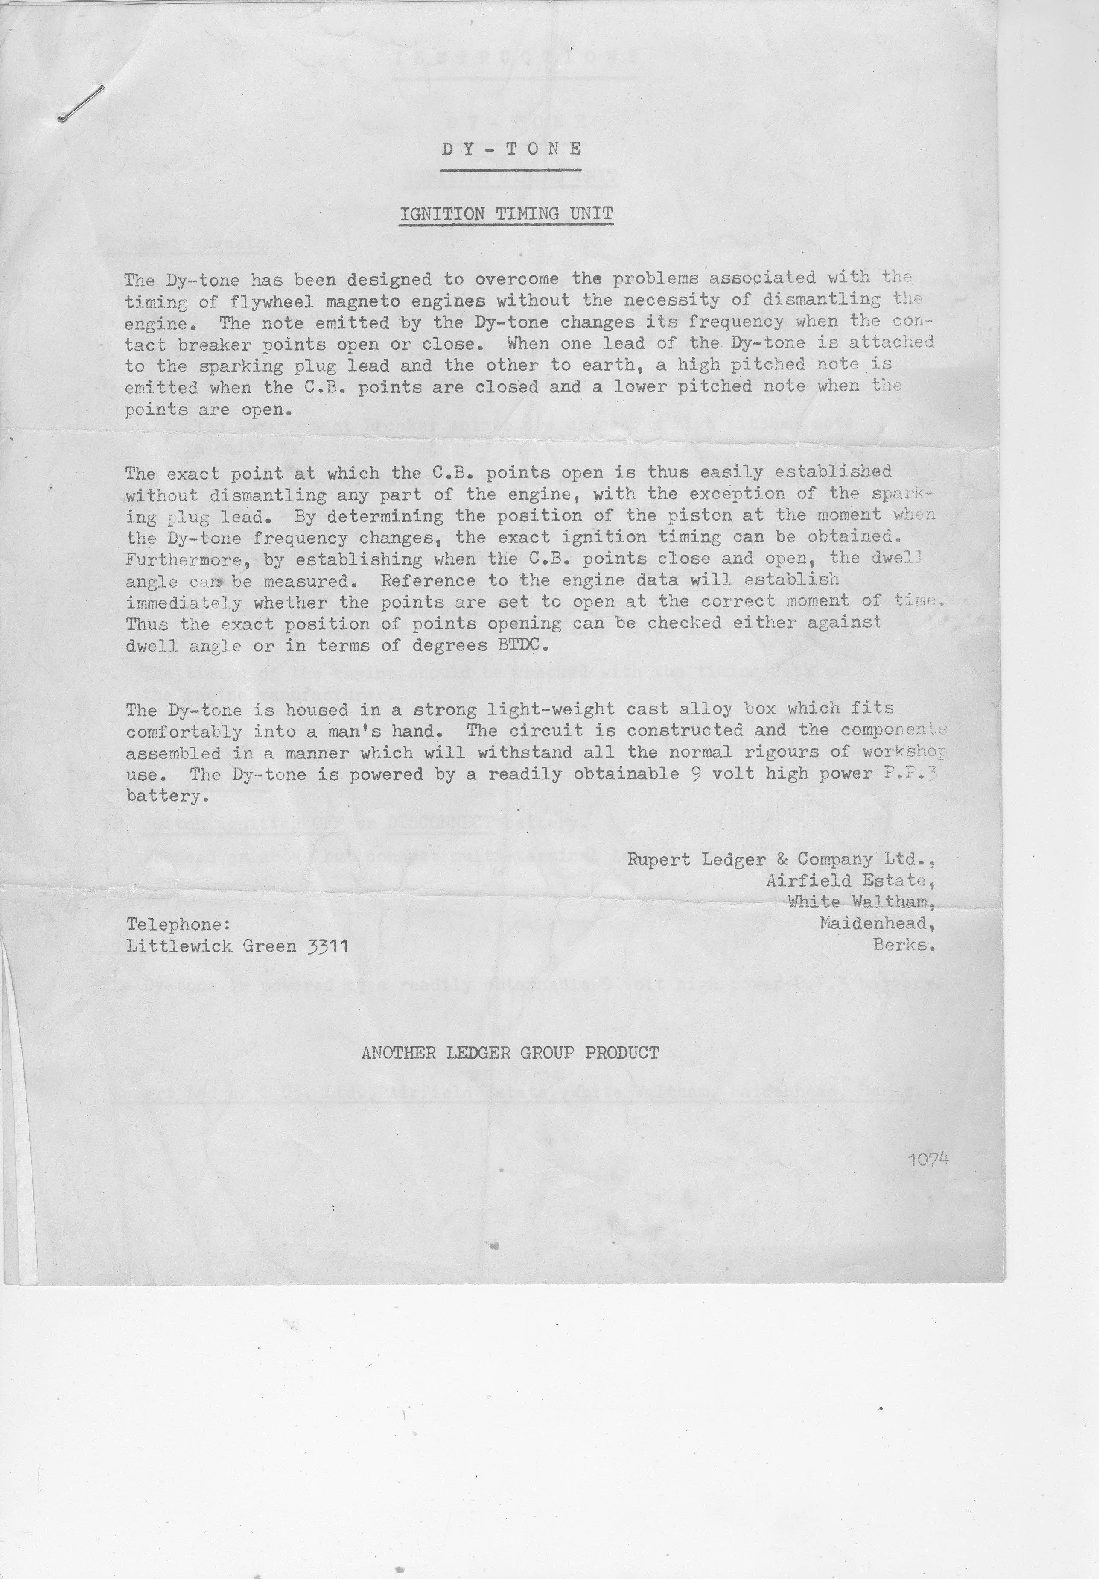
Going back to the fag paper test for determining the contact opening point , it is a bit of a three handed fiddle. Back in the 60s there was a company called Rupert Ledger who made various bits of small engine test equipment, one being the Dy-Tone – one lead connected to the HT lead and the other to any good earth. It emits an audible tone which changes the minute the contacts open. As a bonus, a fuzzy change of tone says dirty points. The other bonus is that it’s hands free so while moving the flywheel on the crank and pinching up the nut with no messing about with fag papers one’s ears look after detecting the contact opening point.Attachments:
August 27, 2021 at 5:23 pm #37770trusty220KeymasterWe used a similar system to time up Ransomes Motor Triple engines with a home-made buzzer that you connected over the points (contact breakers). The MAG 2055 had a separate distributor which made things easier- just set the crankshaft on it’s marks and turn the distributor until the points were just opening; you could even tell when the points were dirty by the noise the buzzer made!
Thanks for a trip down memory lane! I’d forgotten that little piece! until you said.
-
AuthorPosts

- You must be logged in to reply to this topic.