Home › Forums › The Main Forum Area › Projects › SIMAR M11 slow restoration.
- This topic has 26 replies, 5 voices, and was last updated 11 years, 1 month ago by
 charlie.
-
AuthorPosts
-
March 22, 2014 at 4:30 pm #6740
 charlieKeymaster
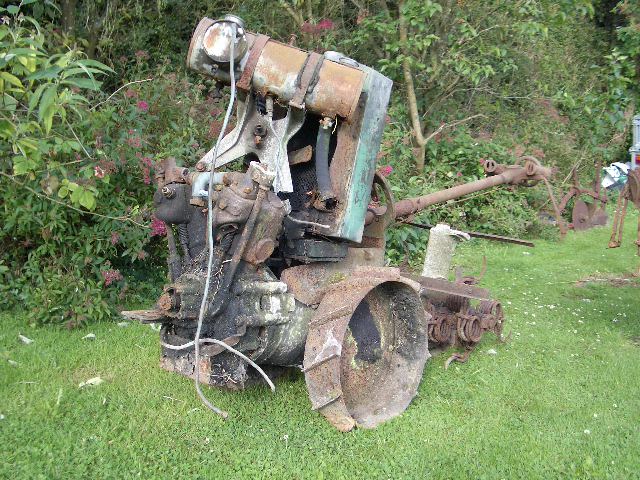
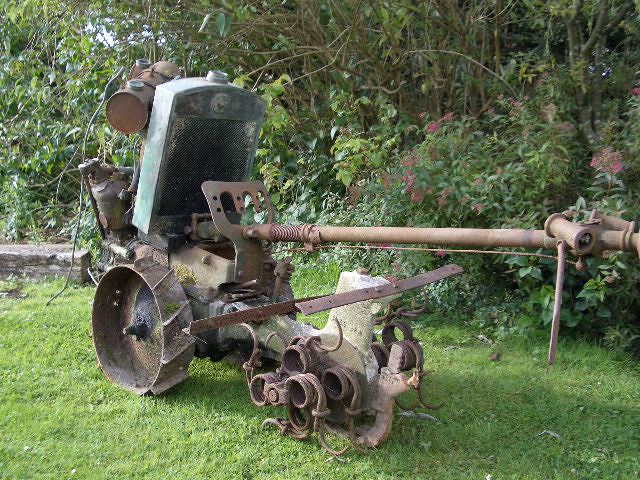
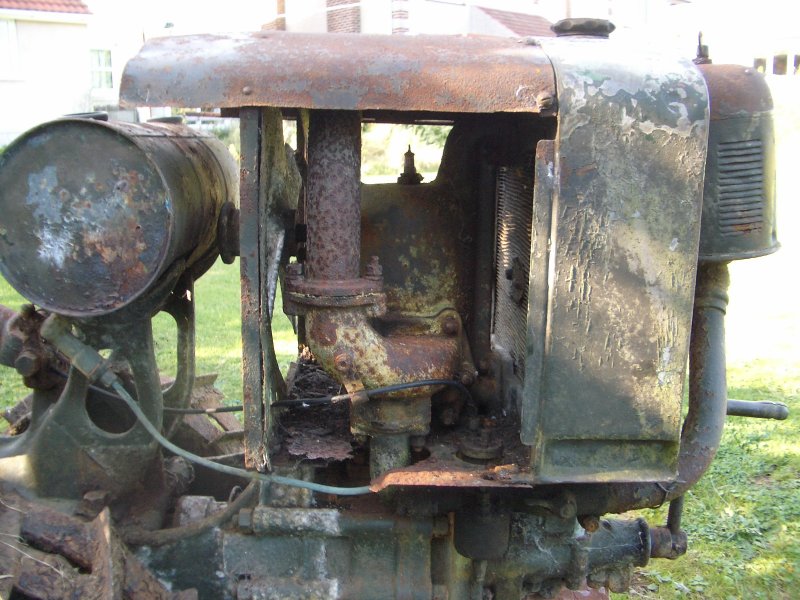
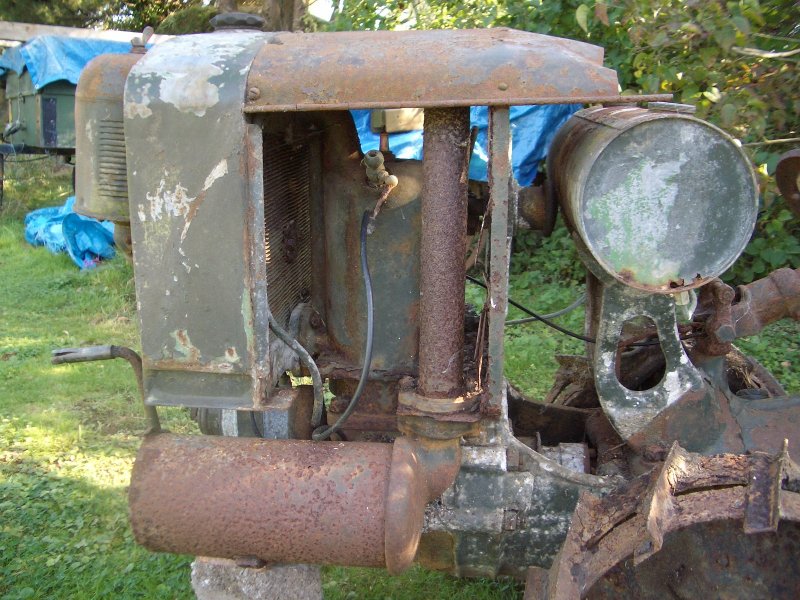
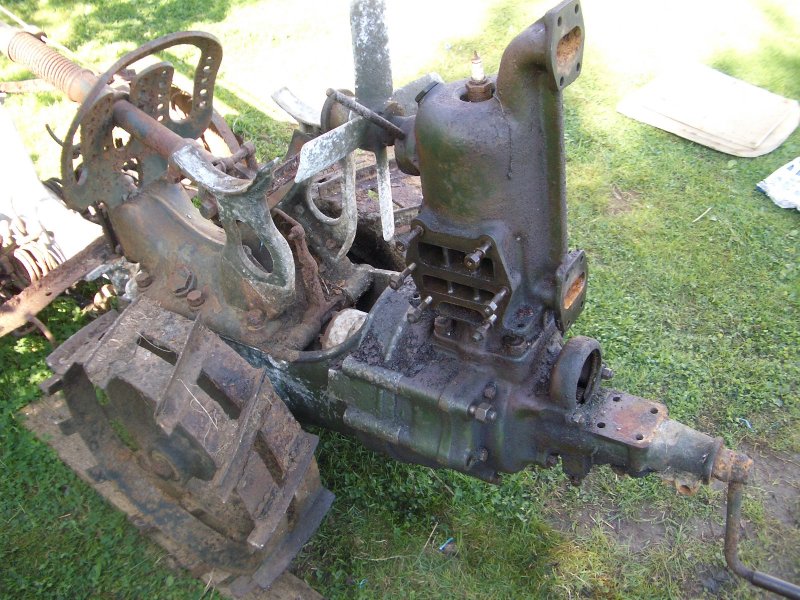
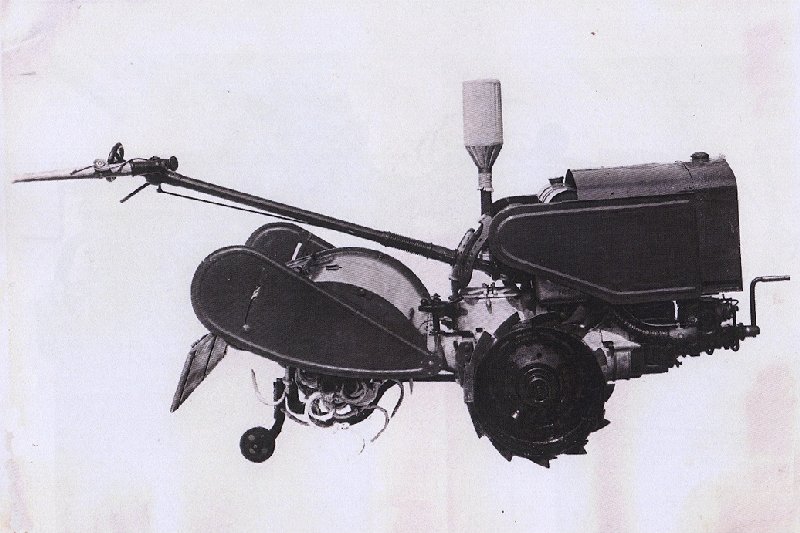
I thought it was about time I started a topic covering the very slow restoration of the SIMAR M11 I have. It all started back in 2004 when I collected these two machines from Sussex. One machine has V twin and radiator behind, not sure of the model. Sadly this machine is in a very poor condition with parts missing such as the magneto and will probably not be restored.
The other machine with radiator on the front and single cylinder 2 stroke engine, is the M11. The photos below show both machines after I had unloaded them.Attachments:
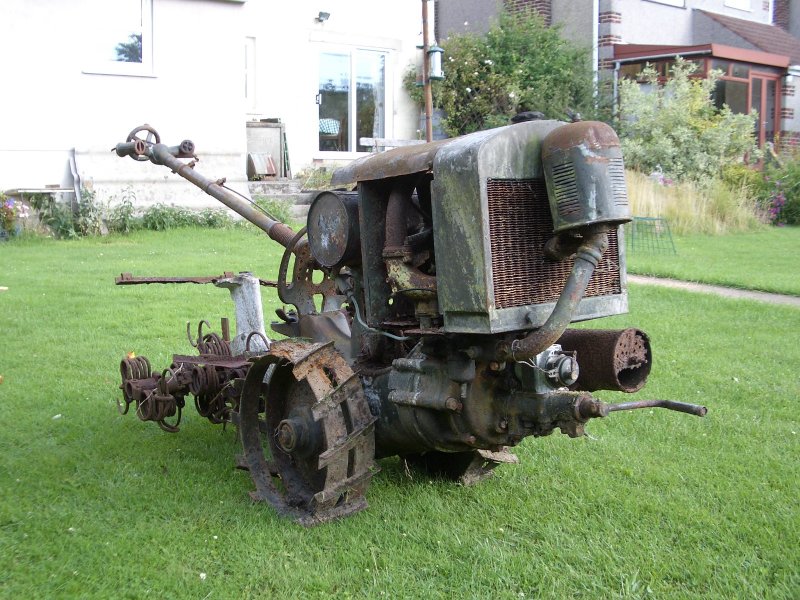
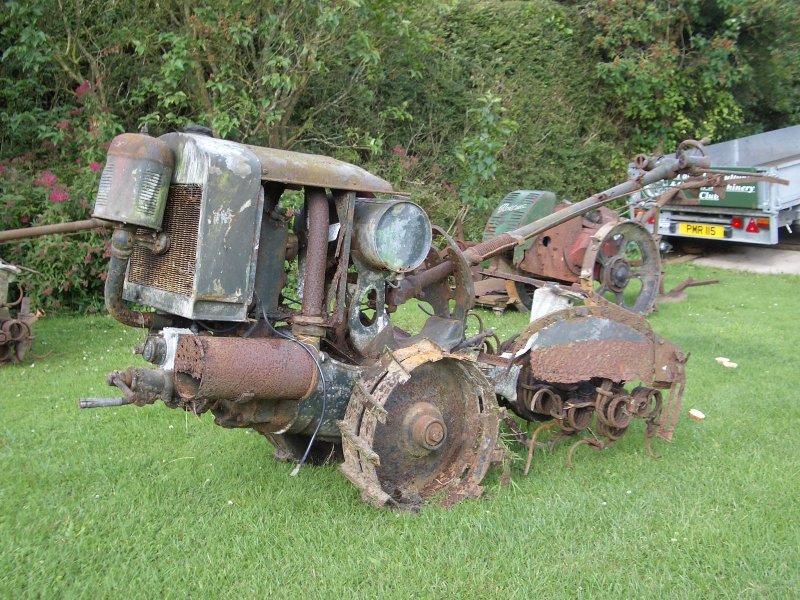
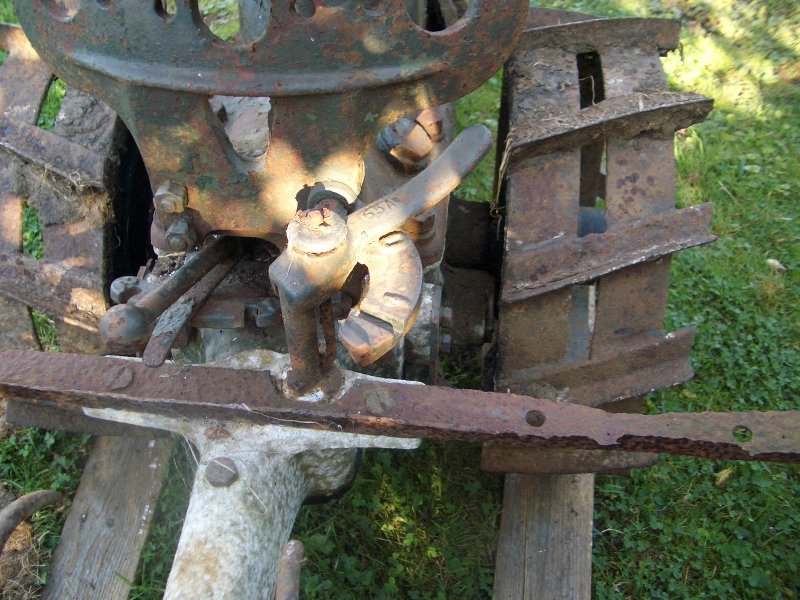
March 22, 2014 at 4:38 pm #6745charlieKeymasterI started the restoration in Sept 2005 by taking over 50 photographs of the machine and various parts from both sides, front, rear and above to make sure I knew what it had looked like and what went where, before I started the strip down.
Attachments:
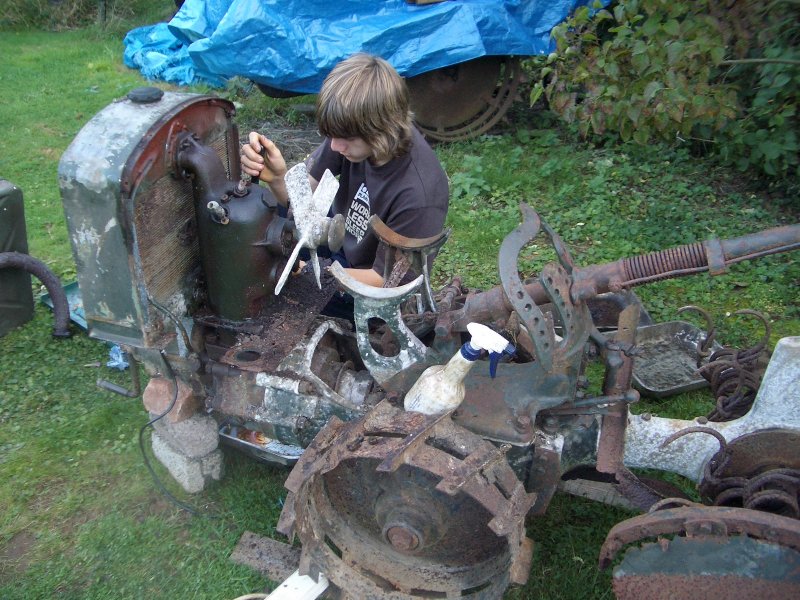
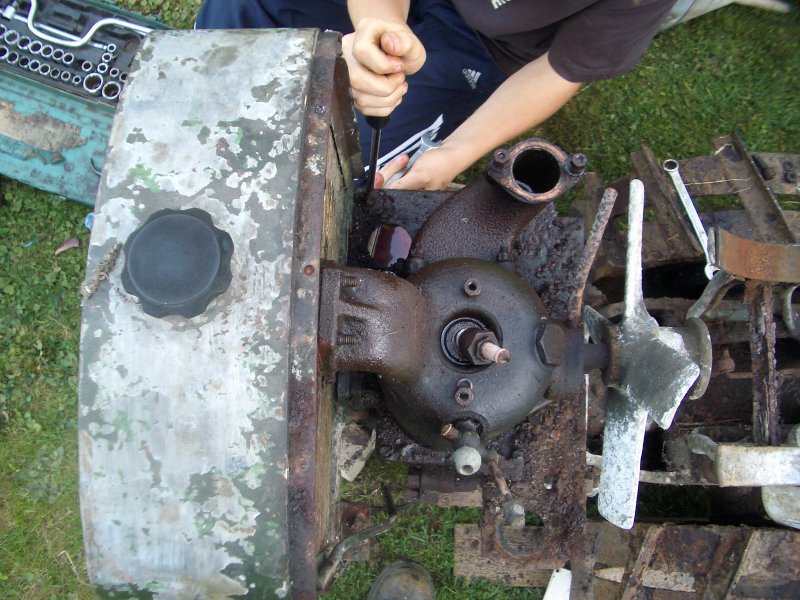
March 22, 2014 at 4:47 pm #6750charlieKeymasterThe strip down then started, I was helped by my eldest son Alex. Remarkably most nuts and bolts came undone without the need to cut them off. Although the machine dates from 1930-36 metric threads are used as it is Swiss made.
Attachments:
March 22, 2014 at 4:47 pm #6755 vhgmcbuddyMember
About on a parr, resto wise with the two A56’s I started with Charlie They took me nearly 5 years but good luck and I will be watching as you progress.
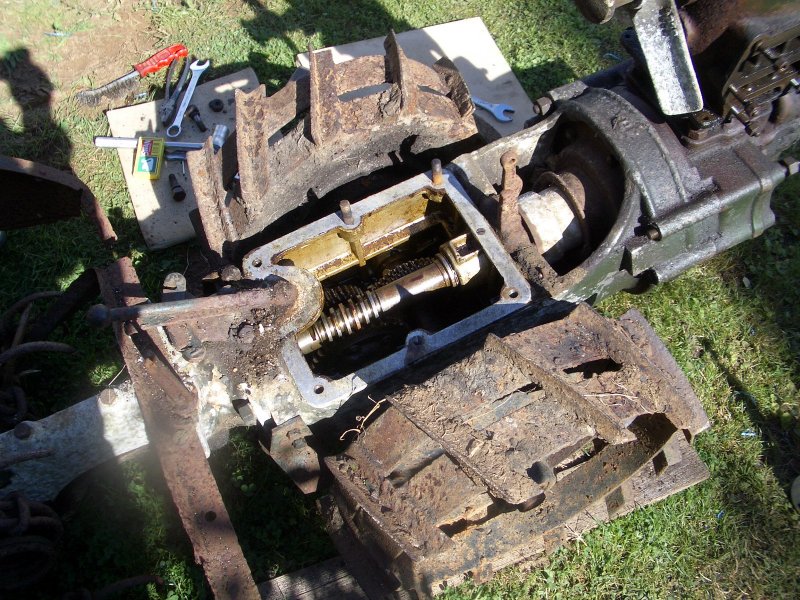
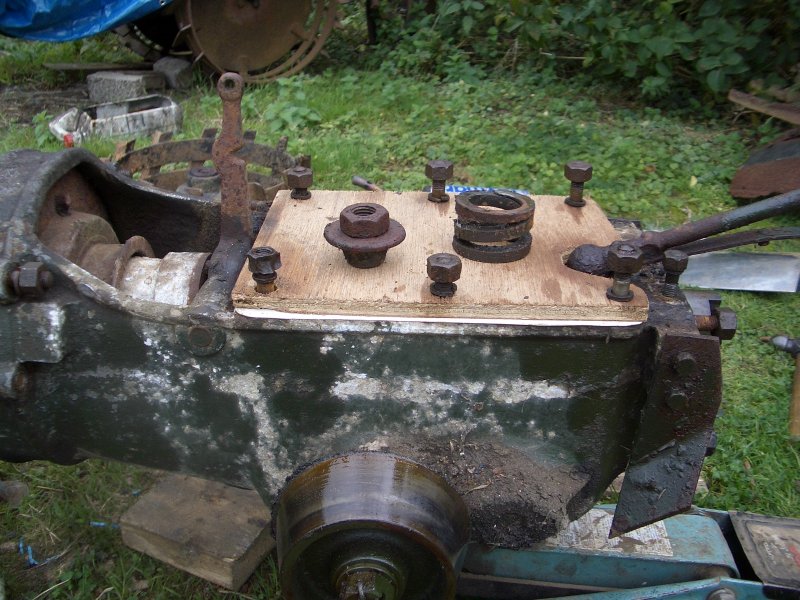
March 22, 2014 at 4:48 pm #6756charlieKeymasterWith the gearbox cover removed I was able to see that there was still oil in there and it looked to be fairly rust free.
Attachments:
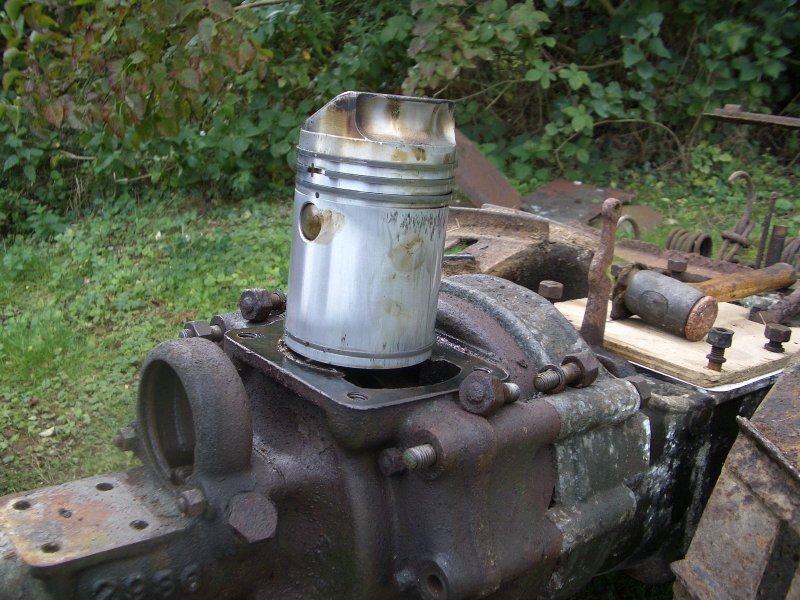
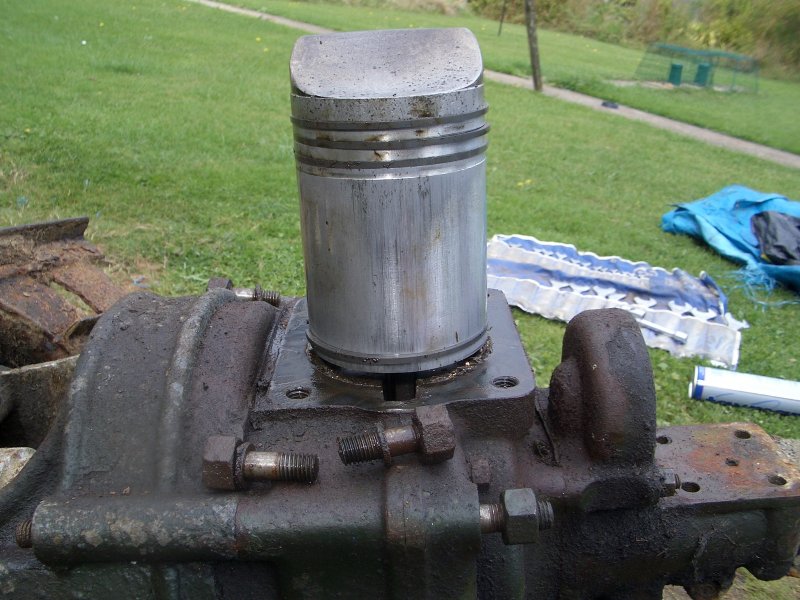
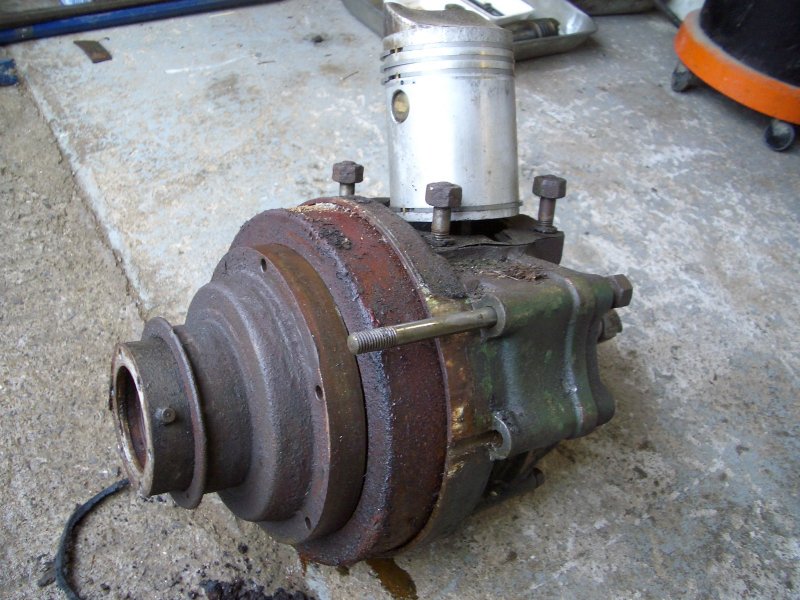
March 22, 2014 at 4:51 pm #6759charlieKeymasterCylinder barrel removed, a bit of scuffing on the piston. The engine is rated at 11hp.
Attachments:
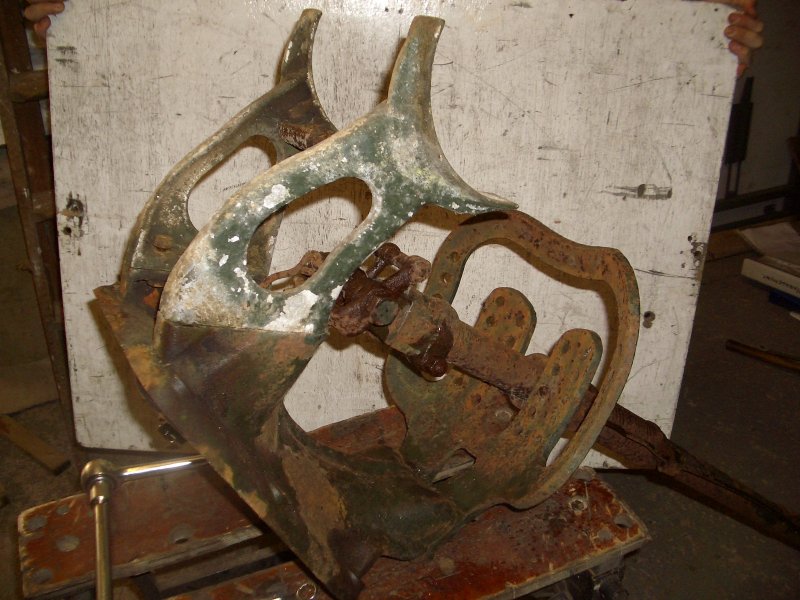
March 22, 2014 at 4:54 pm #6763charlieKeymasterHandle bar and fuel tank support bracket which are mounted on the gearbox cover.
Attachments:
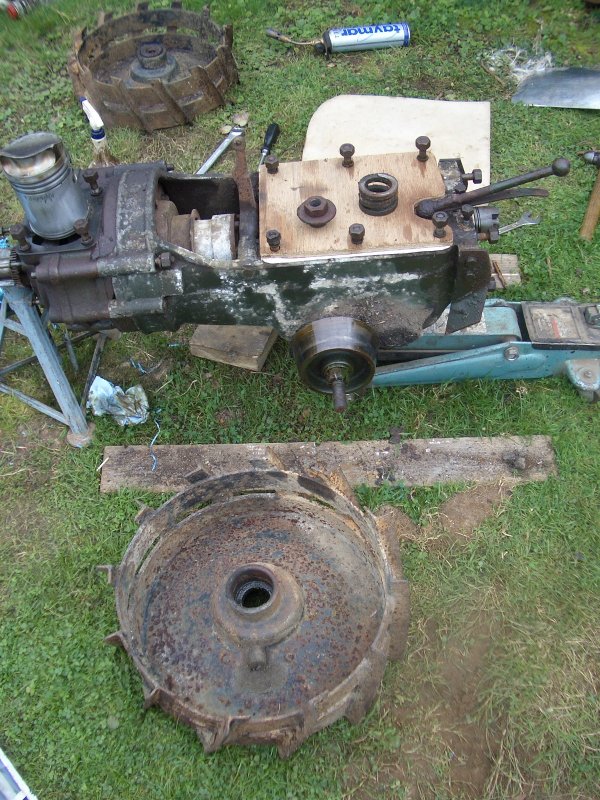
March 22, 2014 at 4:57 pm #6765charlieKeymasterWheels removed.
Attachments:
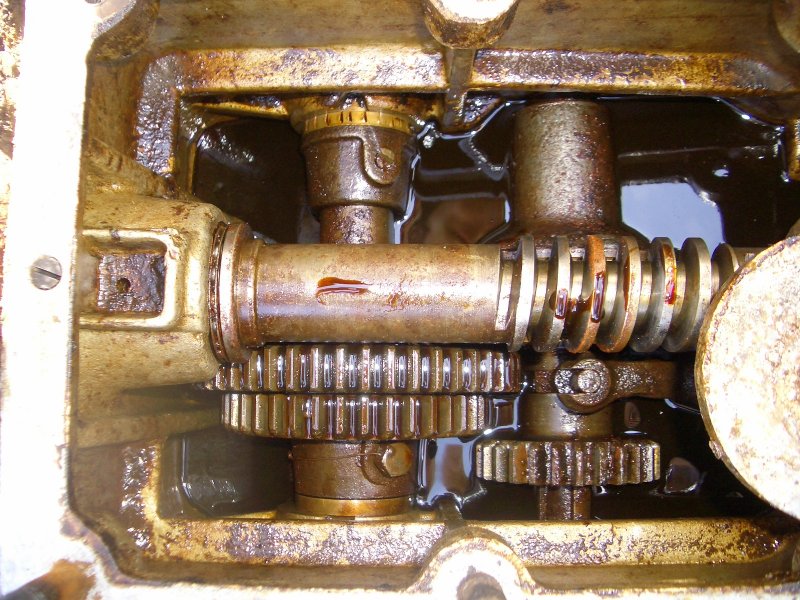
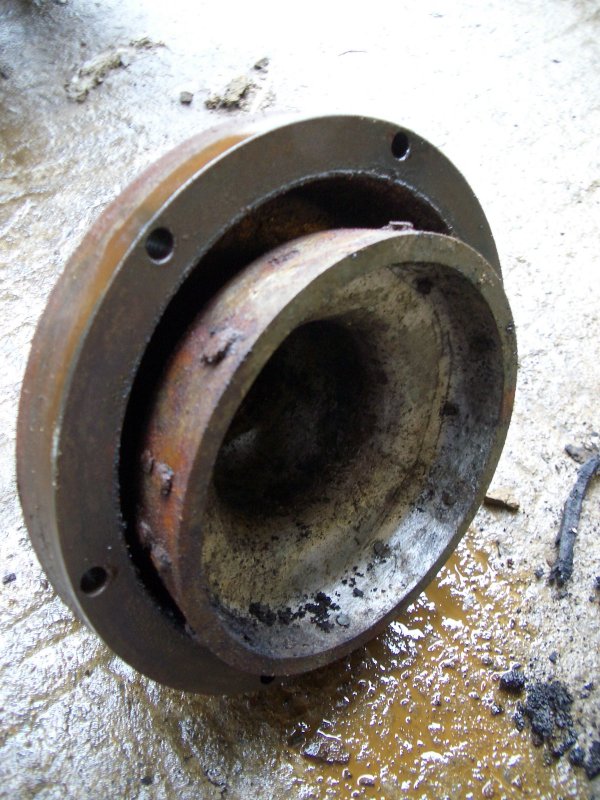
March 22, 2014 at 5:00 pm #6768charlieKeymasterInside the rotor drive, again nice and oily and rust free.
Attachments:
March 22, 2014 at 5:13 pm #6770charlieKeymasterThis was about as far as I got in 2005.
Major problems identified, fuel tank rotted out, tin work around rotors almost non existent, engine side covers rusted through in places and hinges broken. Handle bar adjustment to swing left or right seized solid and something certainly not right with big end of engine as it would only rotate so far. Magneto would need a full rebuild and radiator was an unknown regarding leaks. I took the radiator away to have it tested and was very pleased to find it was OK.
After much heating, soaking with penetrating oil, gentle taps with soft hammer the handle bar adjuster sleeve was still firmly stuck. I decided a bit more persuasion was needed so using a flat ended bit in the SDS drill set to hammer only I attacked the sleeve. Holding the drill against one end of the sleeve a gentle plume of smoke like rust emerged from the other end, something was happening! Further application of the drill to both ends alternating between them and eventually there was movement, success.
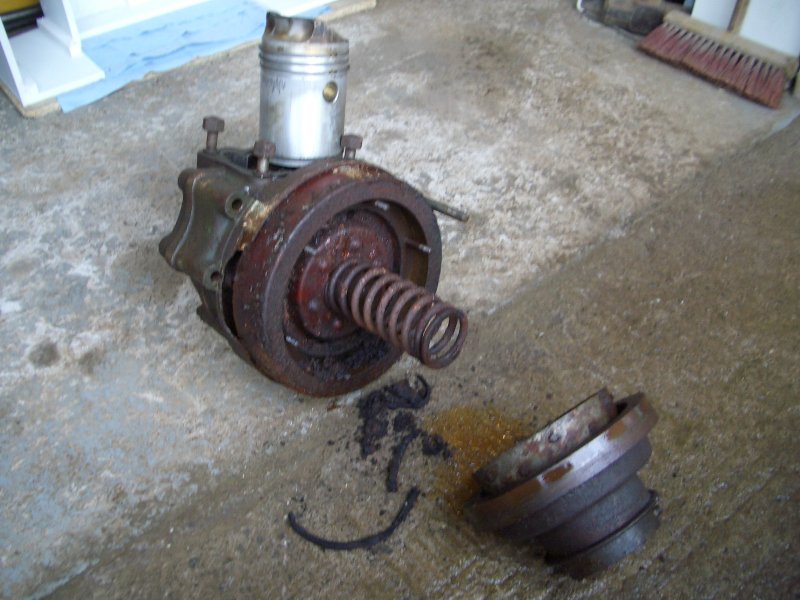
The next job was to tackle the engine and clutch. It was now January 2006.Attachments:
March 22, 2014 at 5:15 pm #6774charlieKeymasterStripping the clutch, which is a cone clutch, revealed a new lining would be required. This was carried out by a clutch and brake relining company, not cheap, but a very necessary job. Little did I know just how much more this restoration was going to cost!!
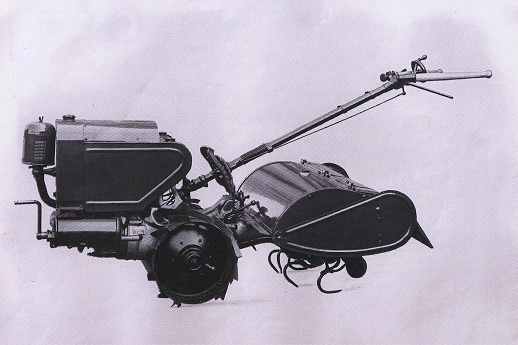
March 22, 2014 at 5:24 pm #6775charlieKeymasterI had initially thought this was a M10 Rototiller although the air cleaner did not look right and the only photo I had seen was in the booklet ‘Experiences of Rototillage’. A trawl through the very good SIMAR website, motoculteur-simar confirmed my suspicions and I was able to identify it as an M11. Photo’s below courtesy of the website mentioned.
Attachments:
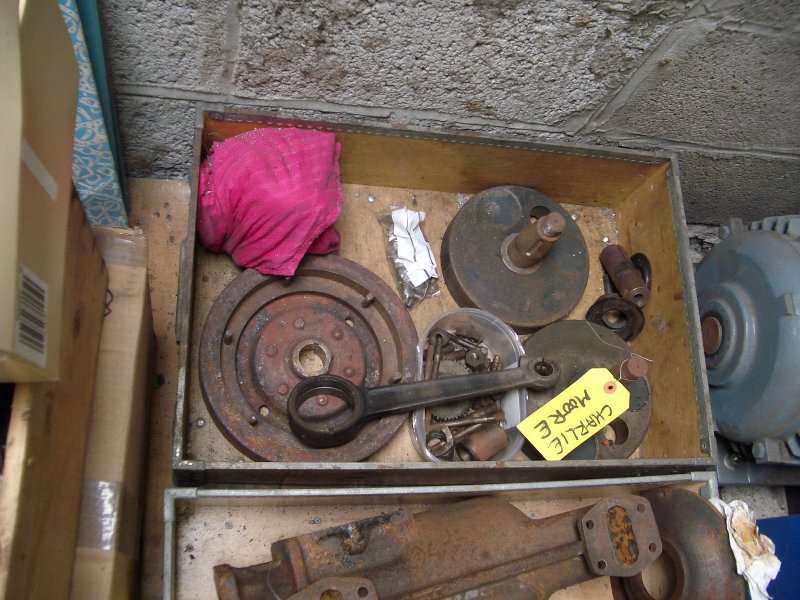
March 22, 2014 at 5:32 pm #6778charlieKeymasterWhen I pulled the engine apart I found why it would not rotate fully, the big end roller bearing had broken up. This was not going to be an easy fix. Unsure of where to take the engine I phoned Cox & Turner and after a good chat with Ian Cox he confirmed they could do the work. So the engine was taken to them for a new big end bearing to be made, new crank seals fitted and magneto rebuilt by someone they knew. They were unable to get any seals that would fit the crank and crankcase so it was agreed the case would be machined to enable new seals to be fitted. A new roller bearing had to be made to order for the big end. Yes all this did cost a fair bit.
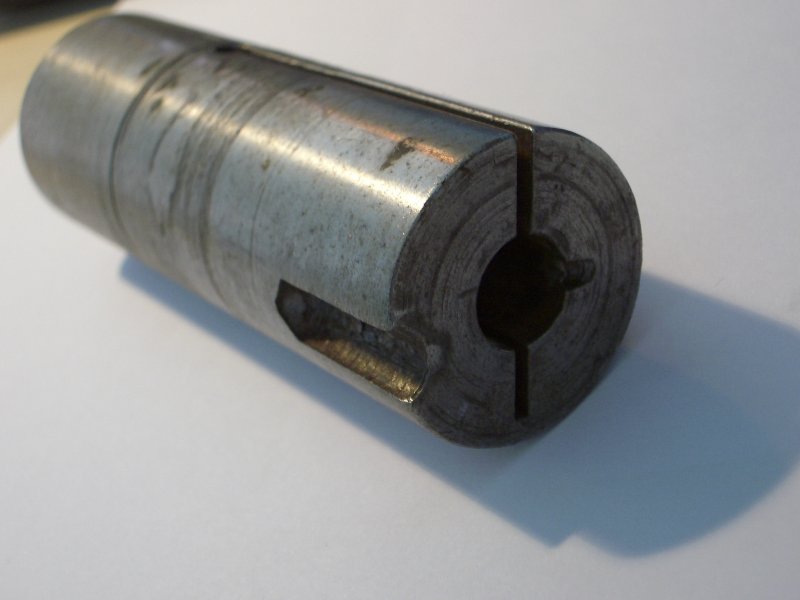
March 22, 2014 at 5:48 pm #6779charlieKeymasterThis is what was left of the big end bearing and damage it had caused to crank pin. The photo of the crank pin shows where the locating dowel goes and how the end of the crank pin is split, another dowel goes in the end to open the split and lock the whole lot to the crank web. This proved to be a bit of a challenge to remove as only a small diameter drift could be used which had a tendency to bend.
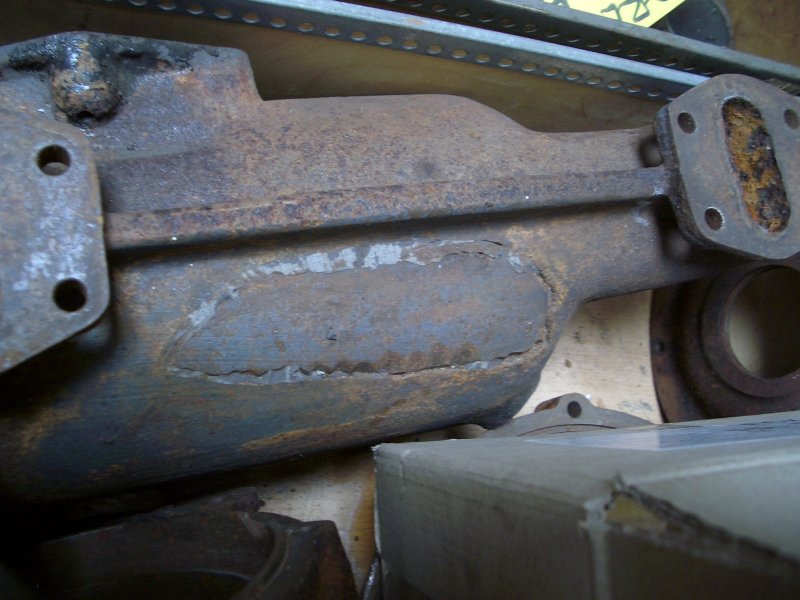
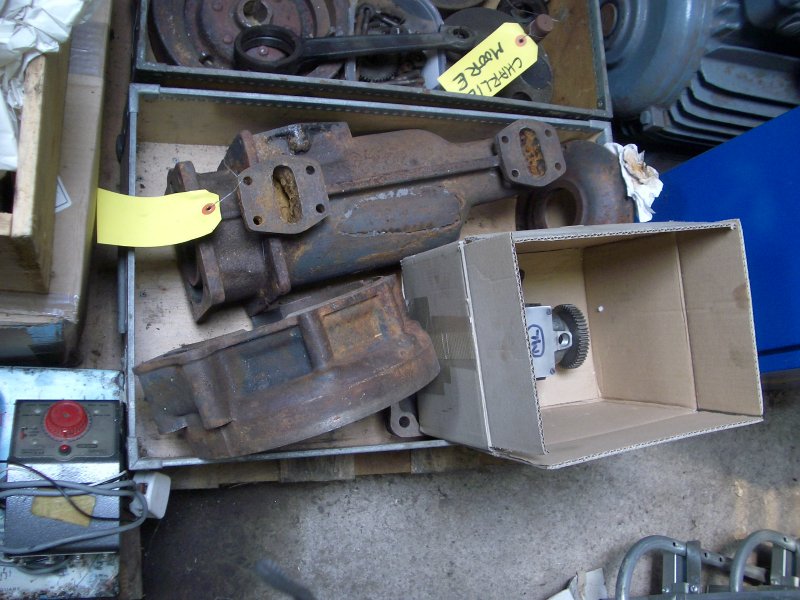
Due to workload and my saying the job was not urgent it took a while before I was able to collect the engine but it was well worth the wait. A crack in the water jacket also had to be repaired, luckily it was only the outer and had not damaged the bore. Photos of the parts at Cox & Turner awaiting reassembly.Attachments:
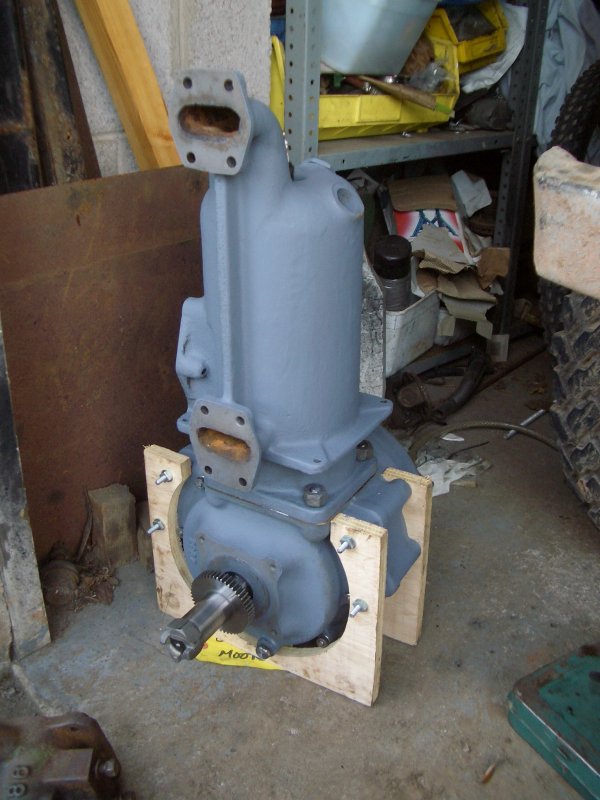
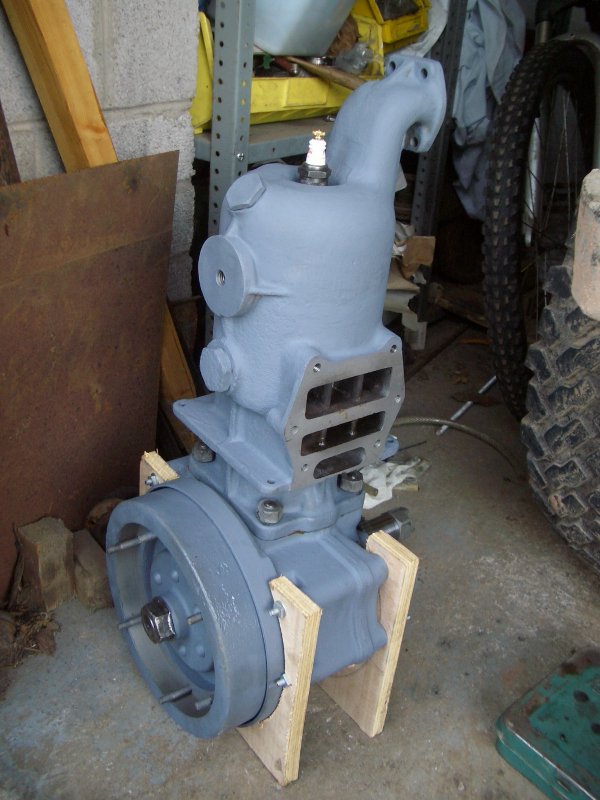
March 22, 2014 at 5:52 pm #6785charlieKeymasterFast forward to 2011 and the engine is home again with new magneto drive gear and all other work completed along with rebuilt magneto. Total cost was a four figure amount, ouch!!
Attachments:
-
AuthorPosts


- You must be logged in to reply to this topic.