Forum Replies Created
-
AuthorPosts
-
October 22, 2018 at 5:14 pm #29466
 ssorthiekParticipant
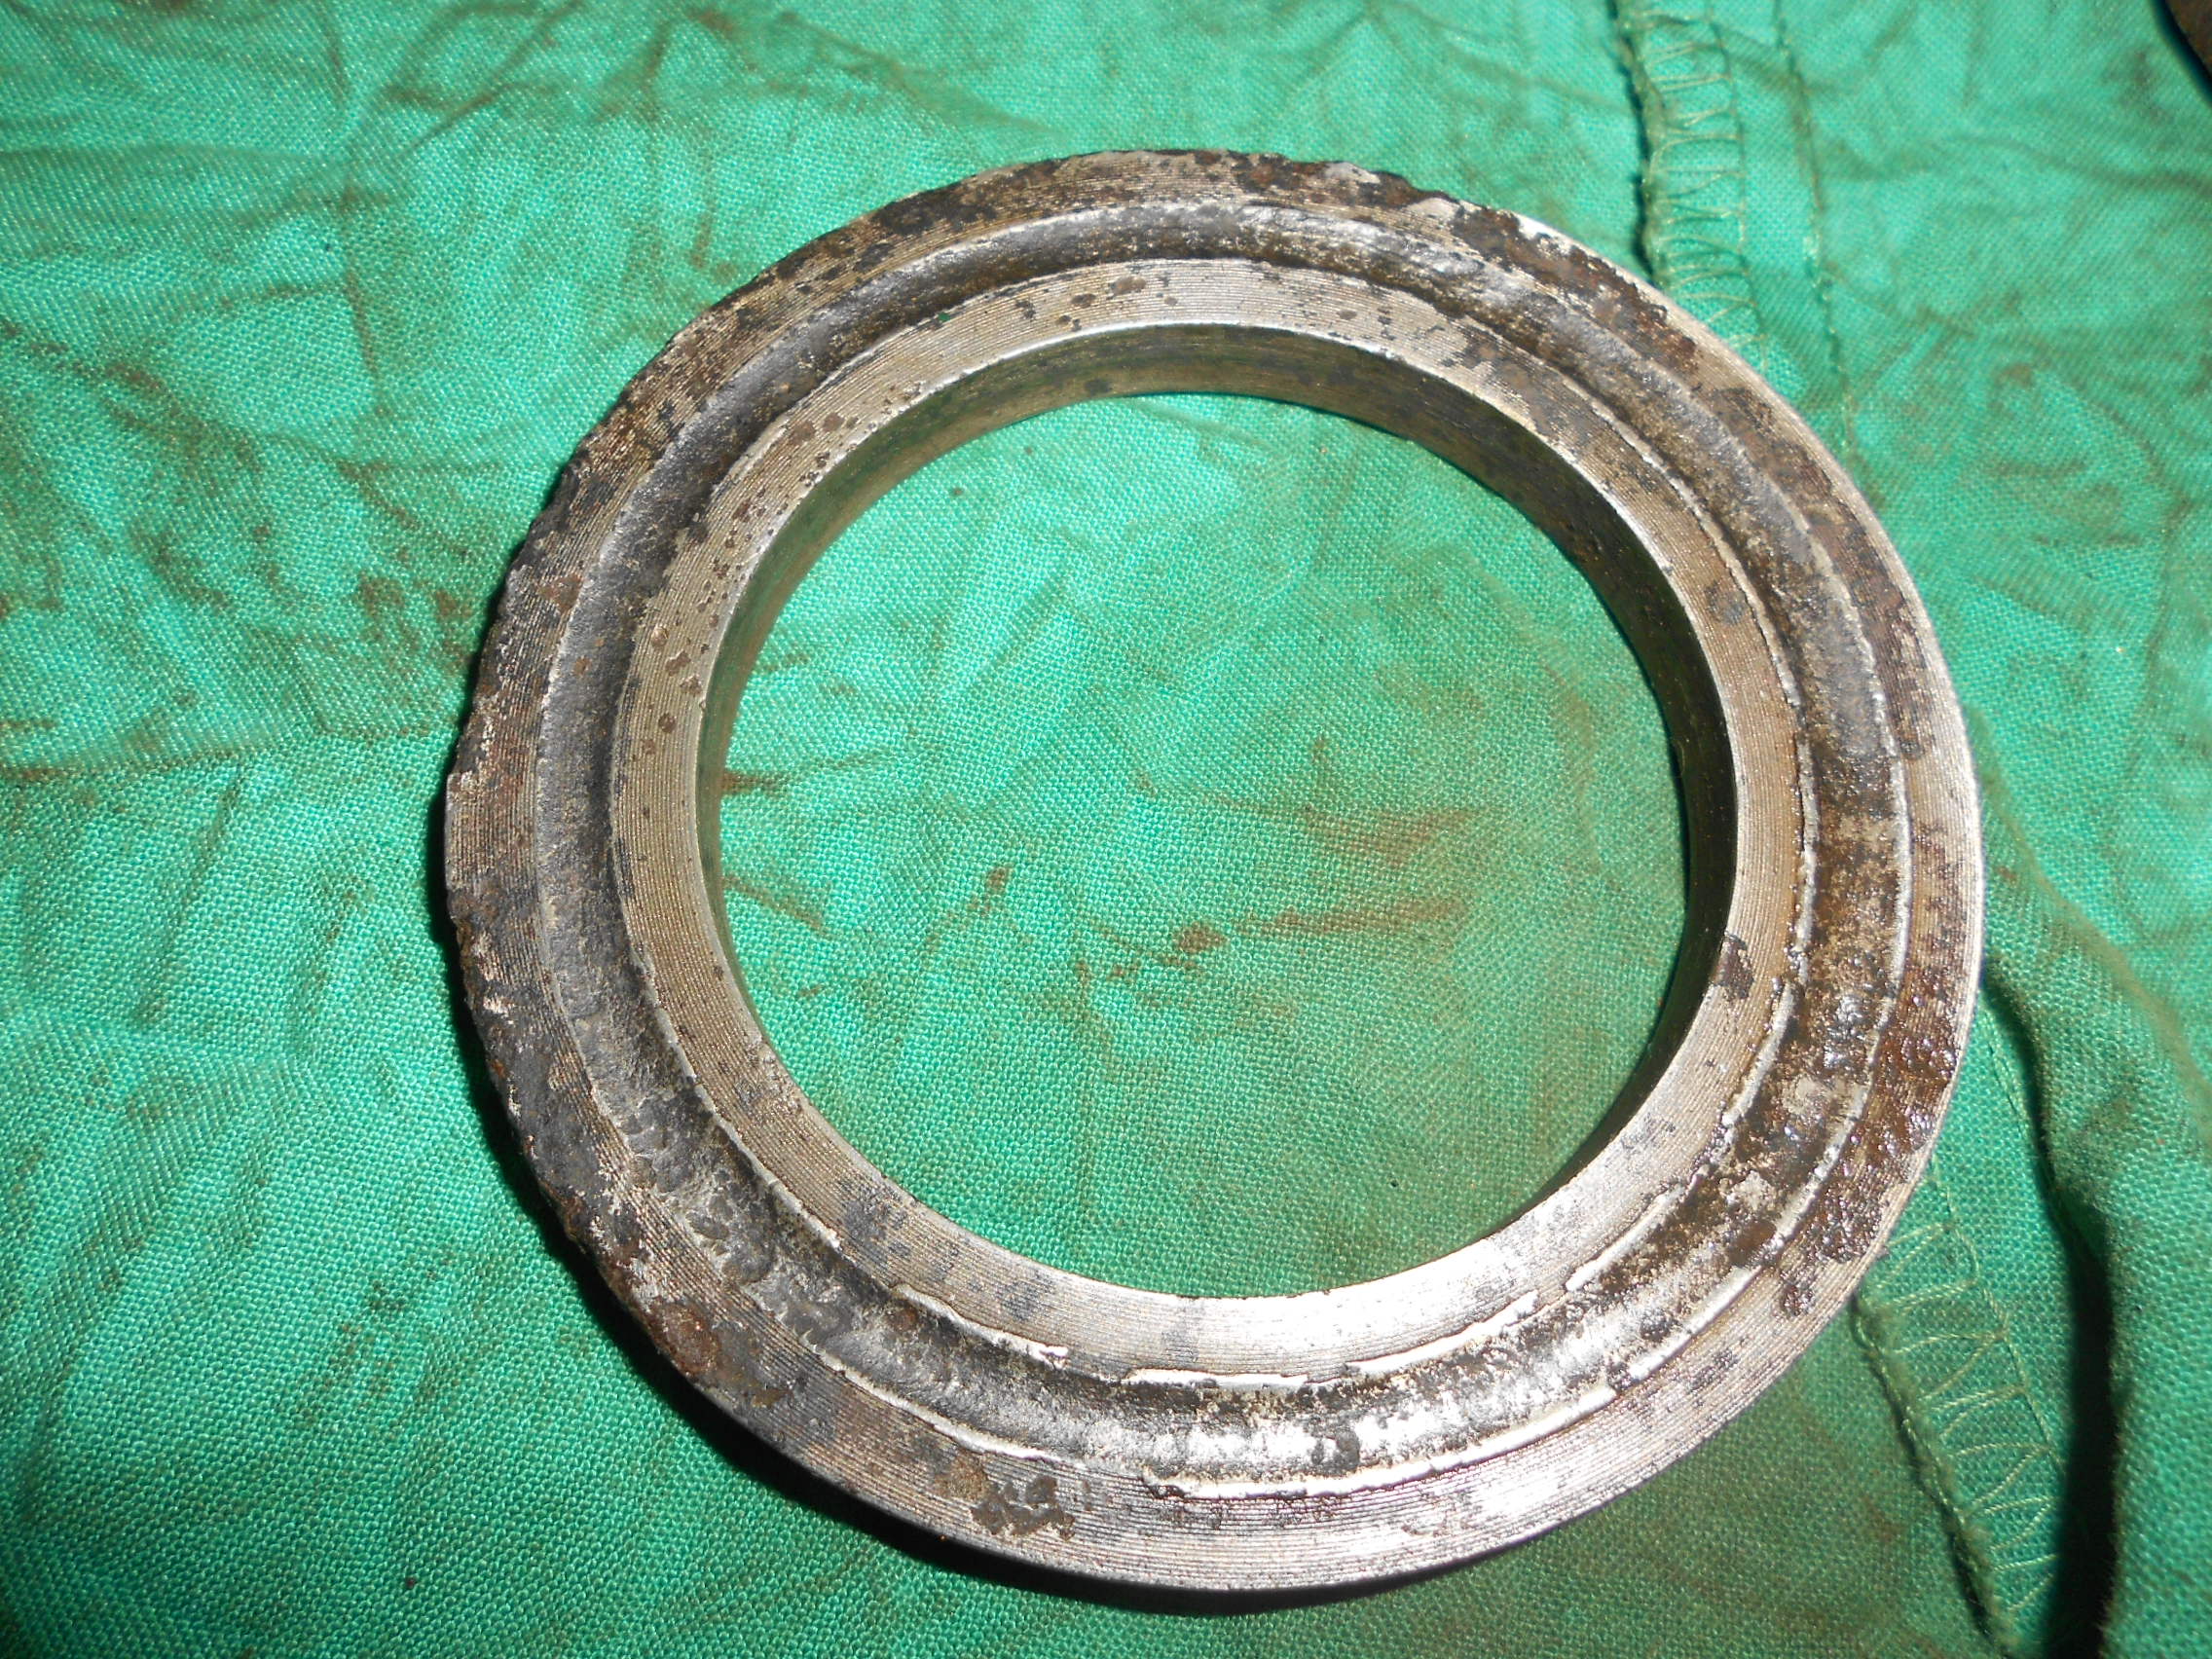
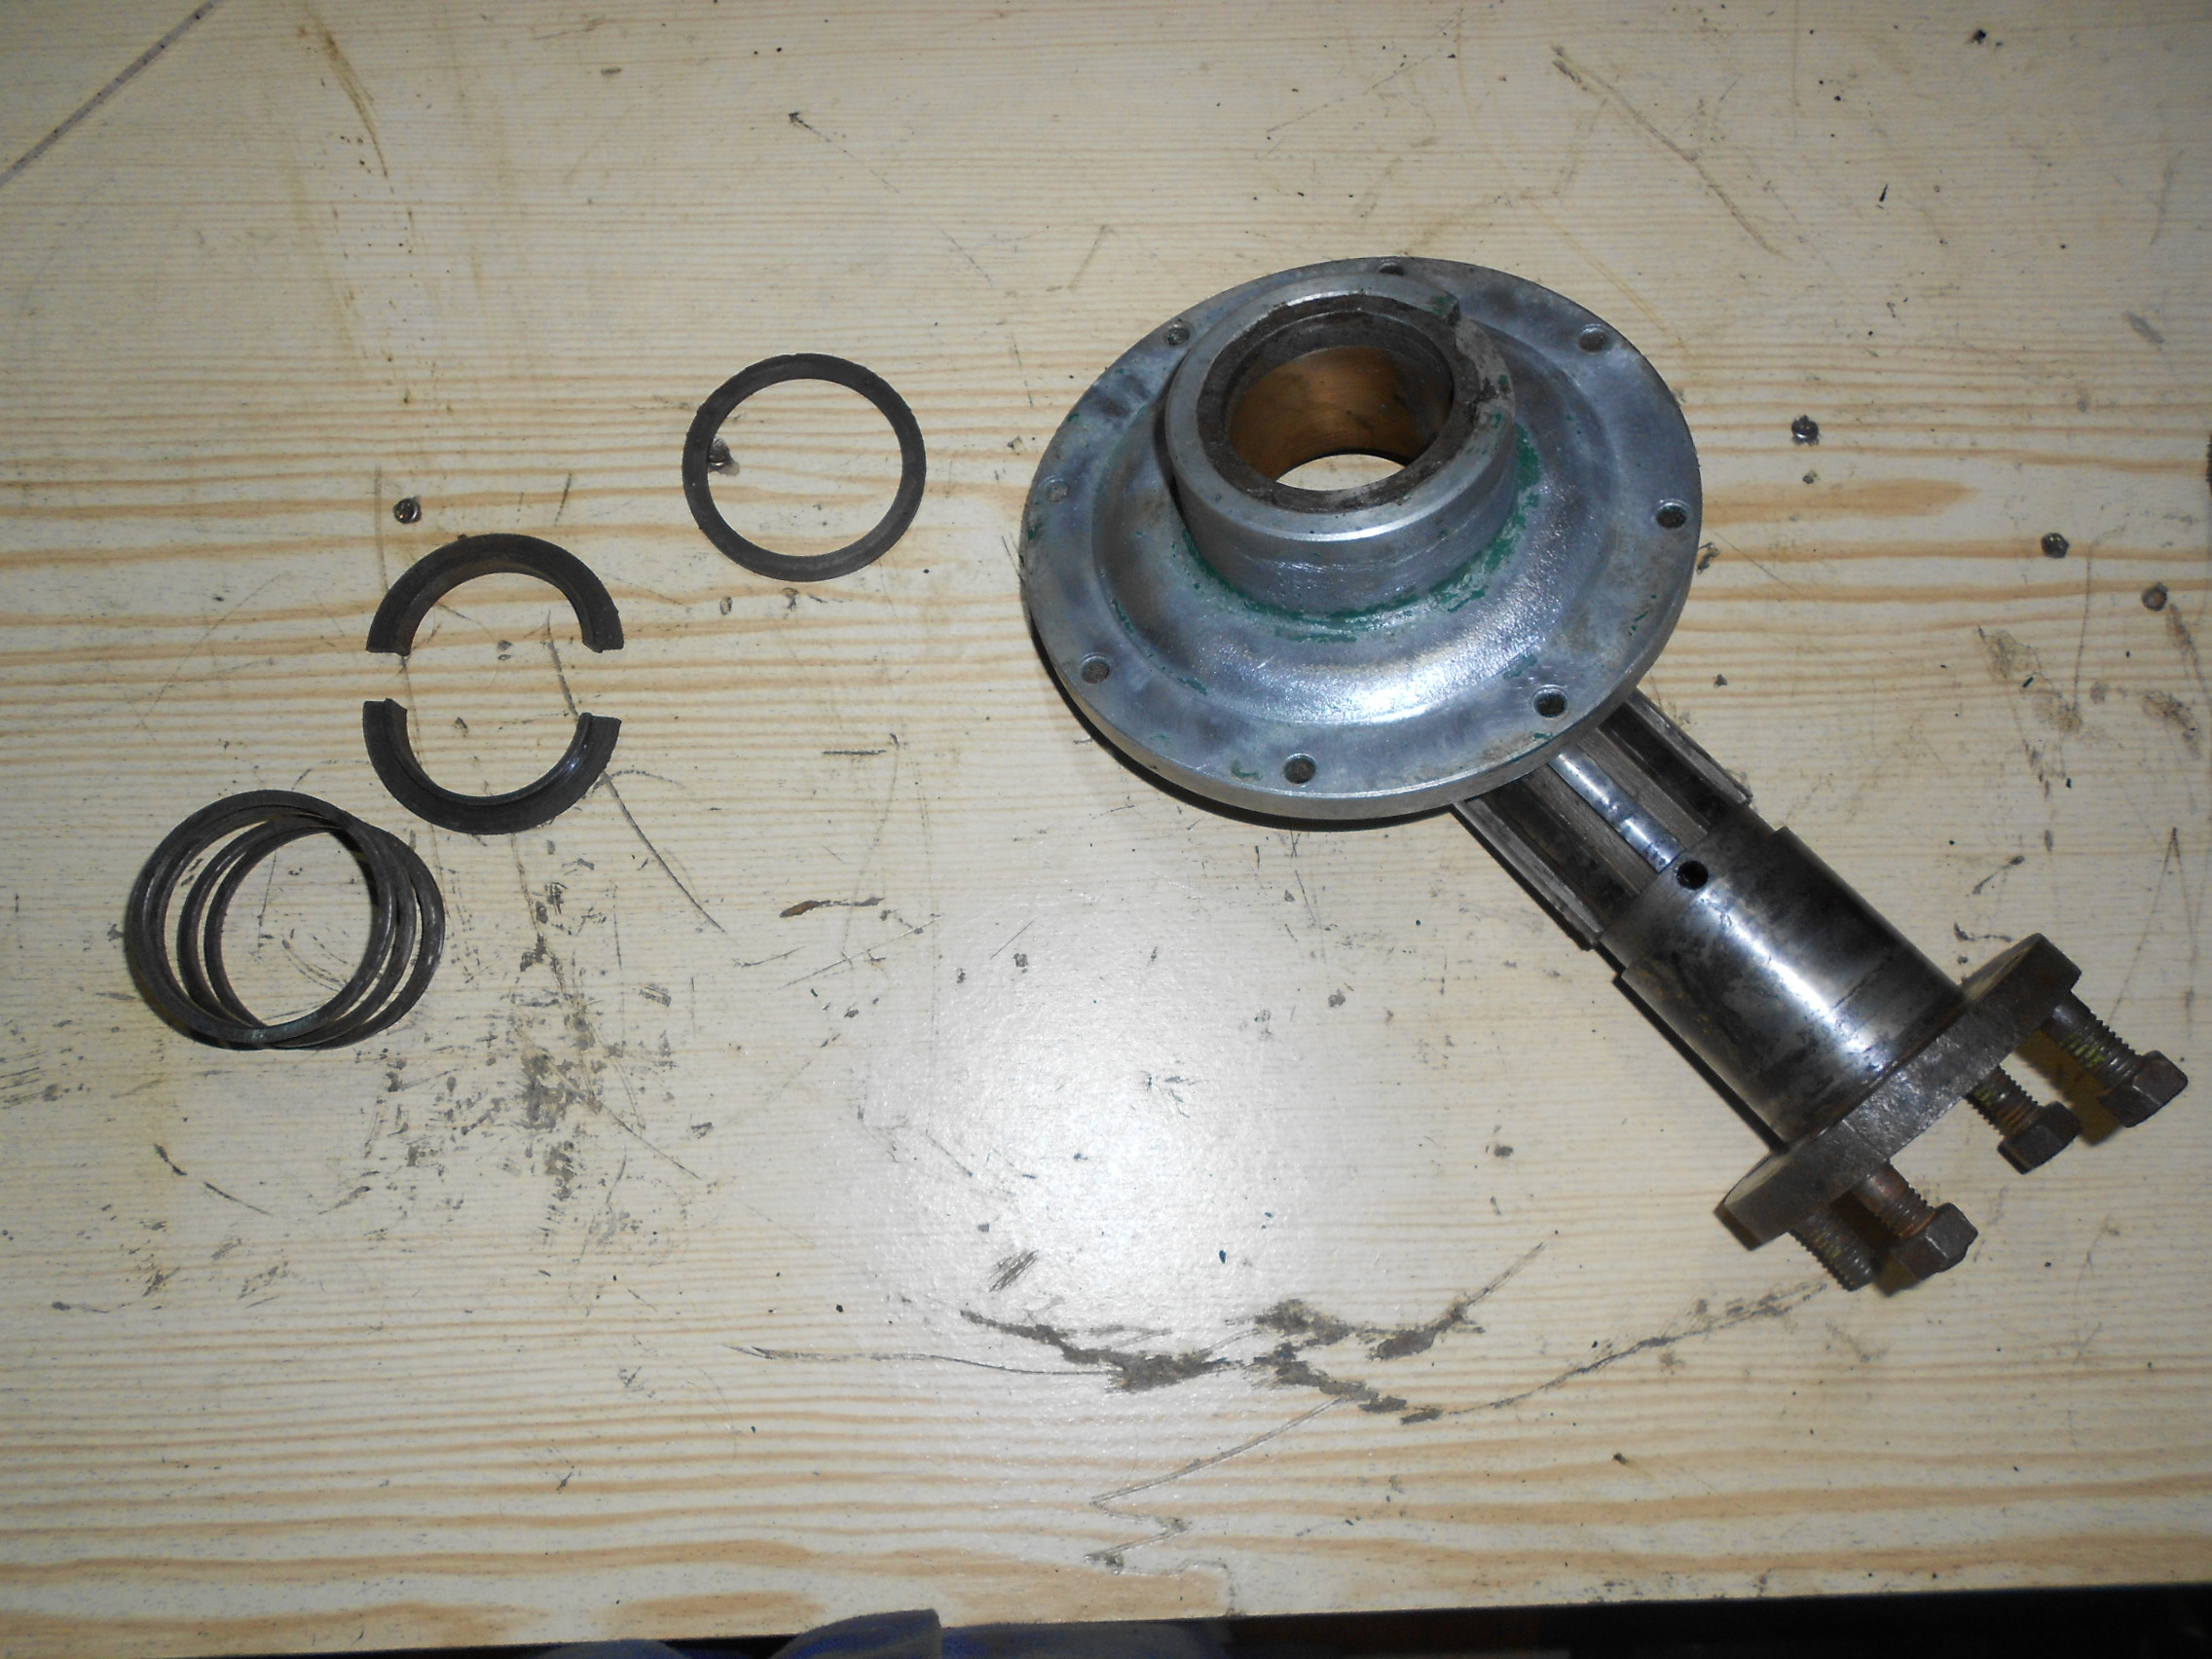
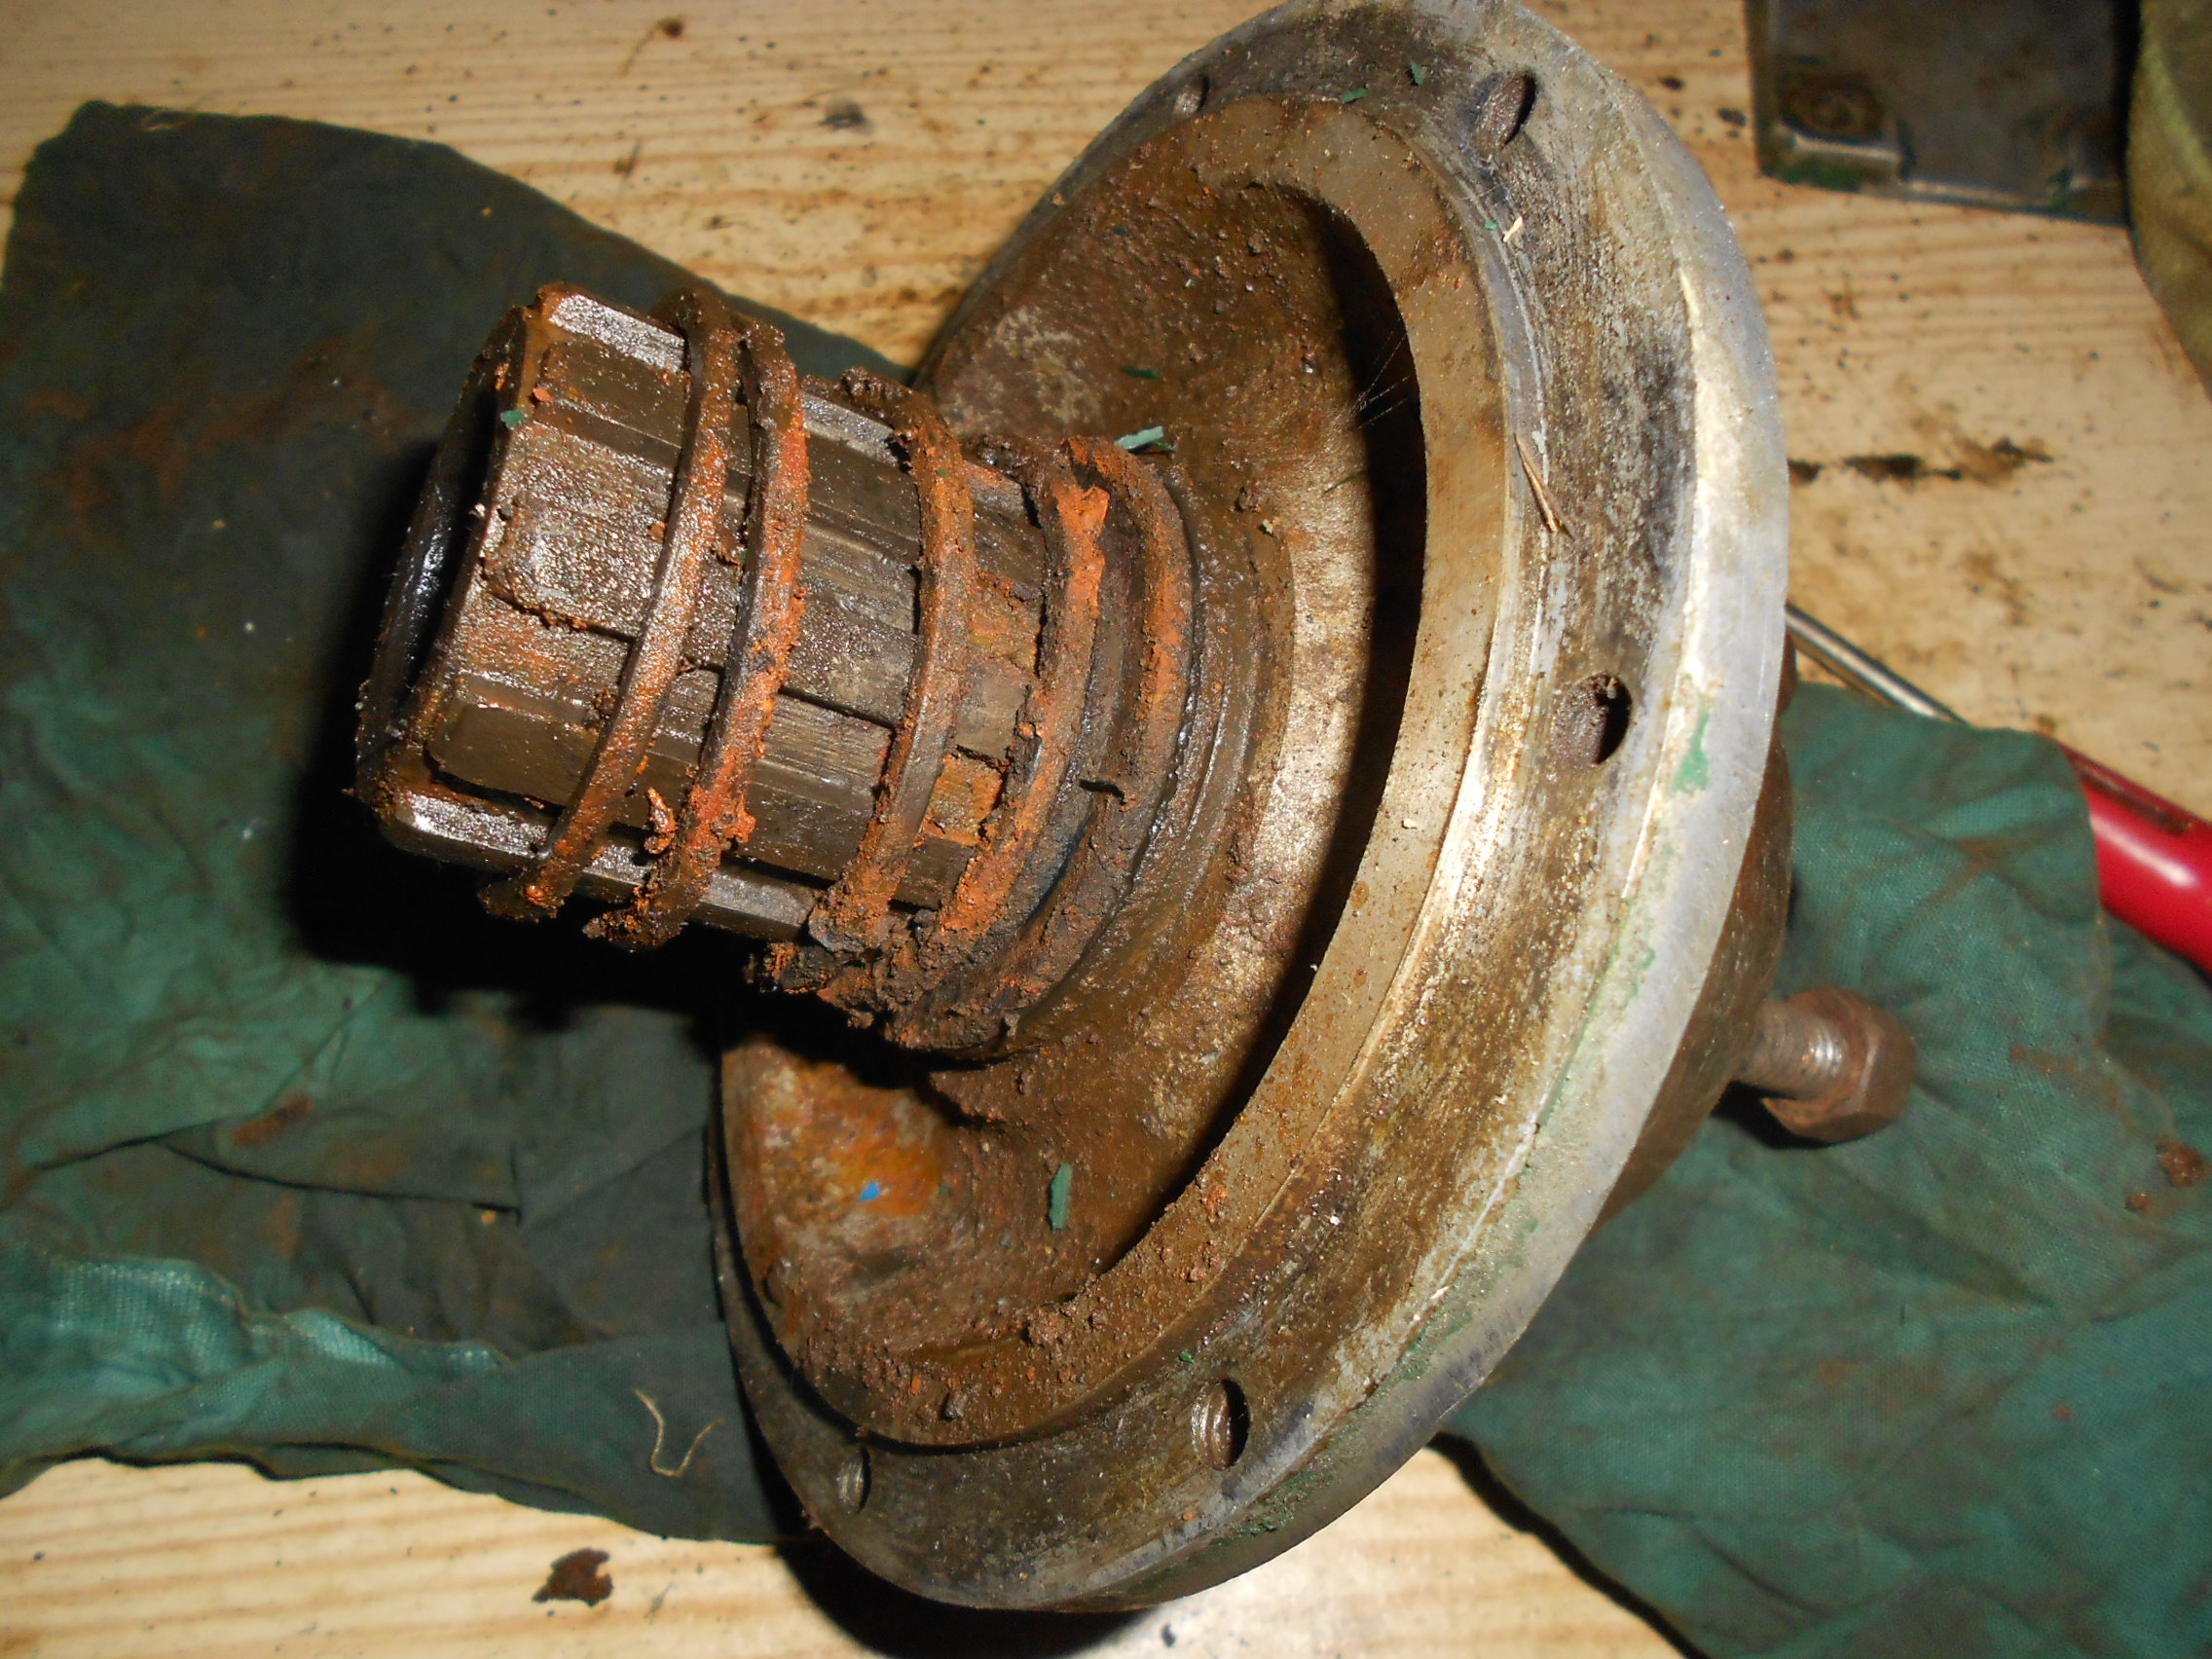
Thanks Charlie, I should have taken a photo of the casing the other way up really, but the phosphor bronze bearing in the casing is sandwiched between two steel hollow shafts about 1/2″ long. I think they both have male threads on them but I’m not totally sure about this at the moment. Anyway, the inner retaining shaft has the other half of the thrust bearing outer race, and fits together quite nicely. So yes, you are right the second photo above is one half of the outer bearing race while the other half is really part of the hub casing.
October 21, 2018 at 6:27 pm #29459ssorthiekParticipantStill on the gearbox, I didn’t realise that the left and right hubs were different. I need to go back and look at photos and decide which goes where, just as well I kept all the components together for the left and right hubs together. I’ll soon have my other Coleby Junior to do a comparison in any case.
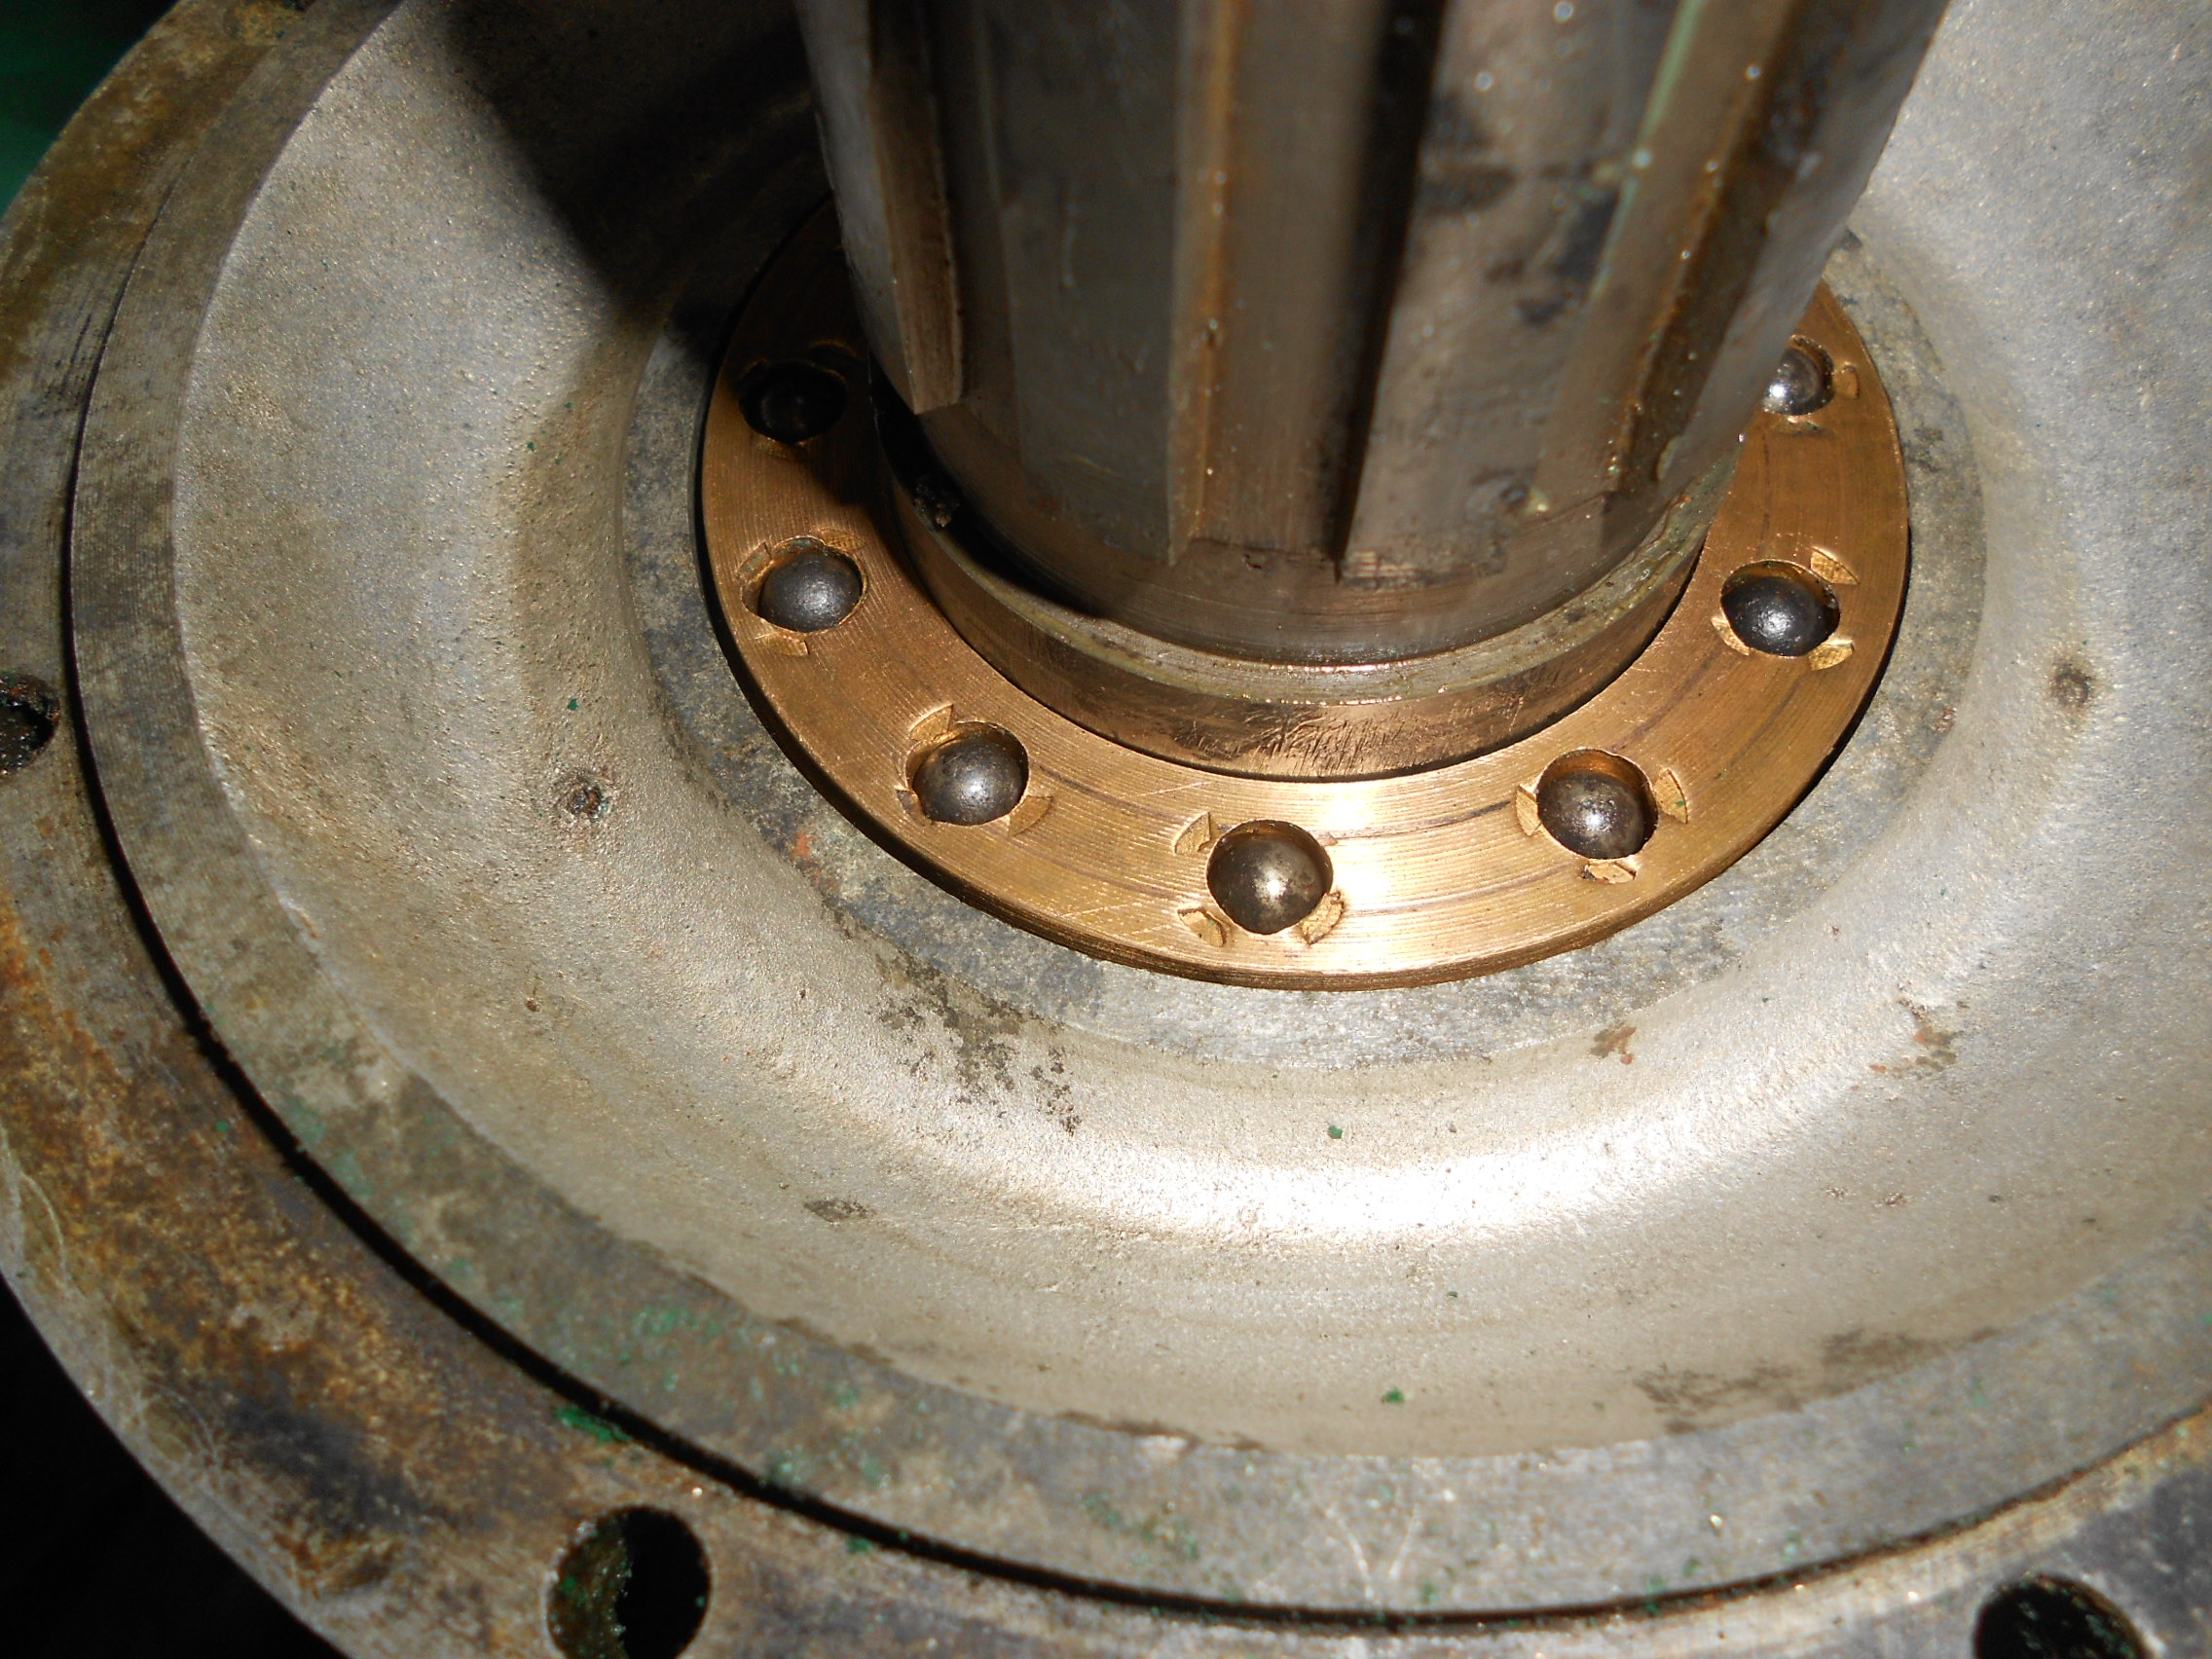
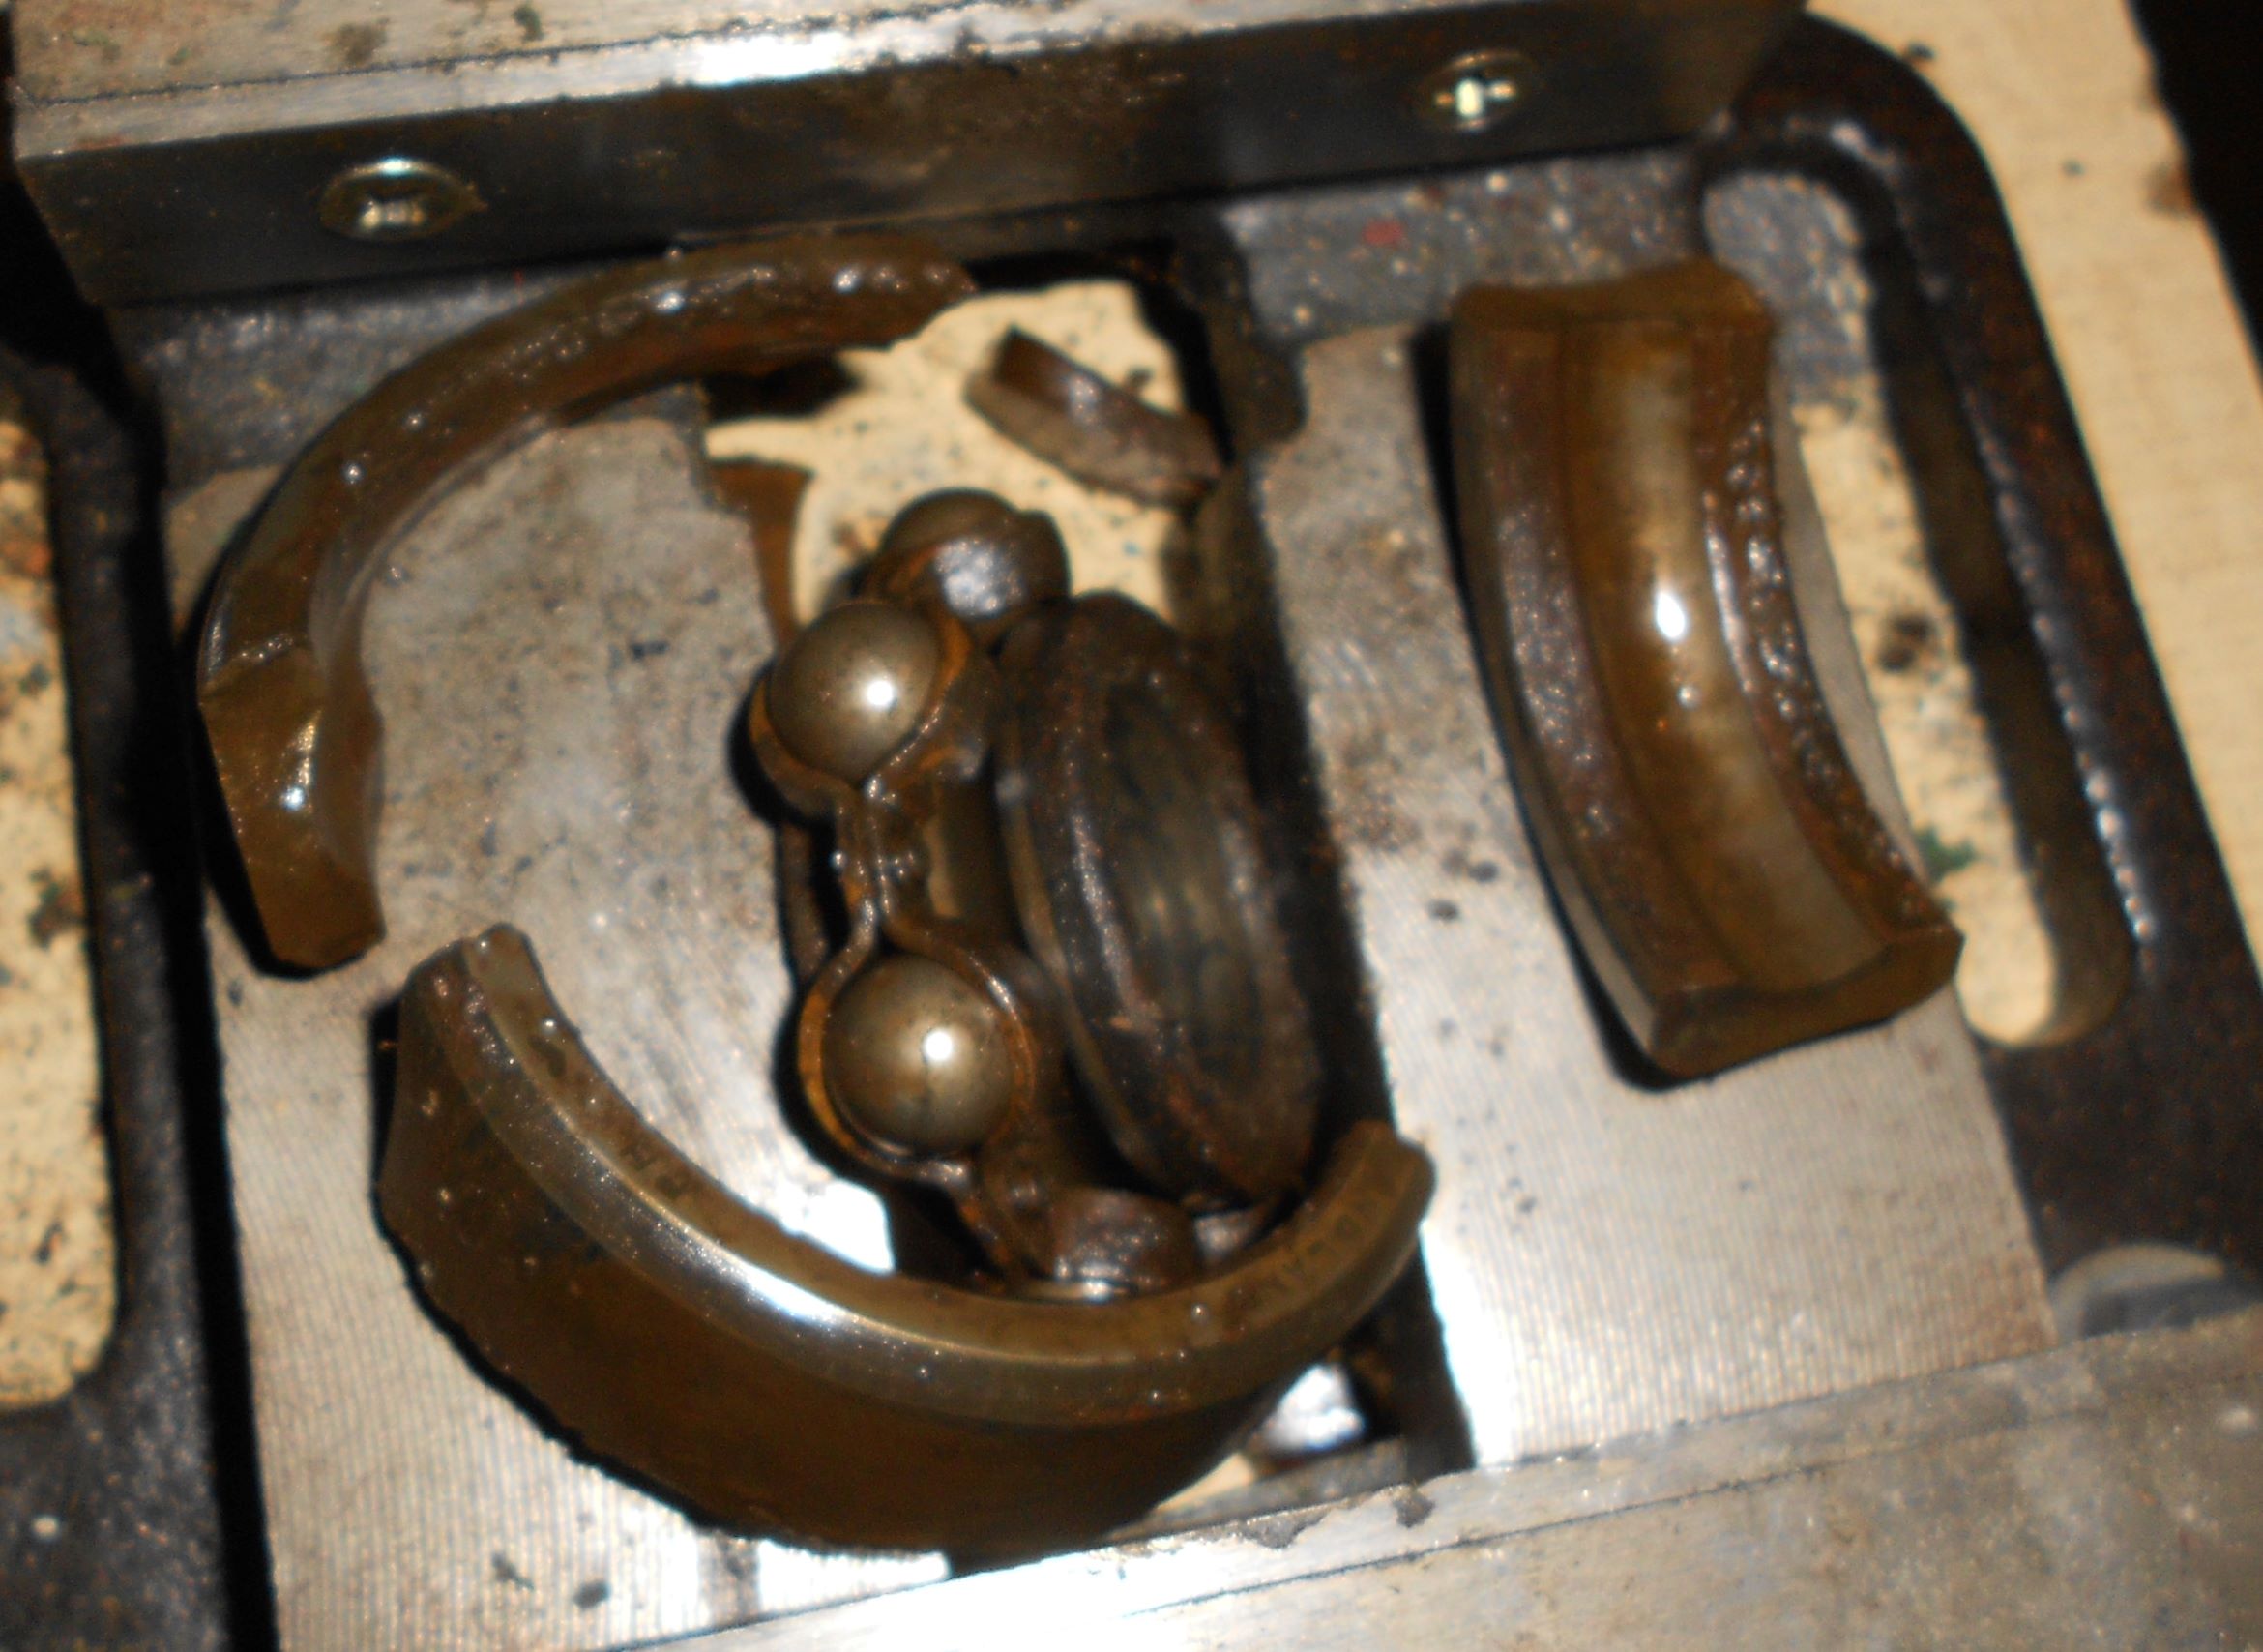
What I have found is that there is a home made thrust bearing on one side but not the other. I suspect that this was a factory made bearing and was “good enough” for the low speeds it was intended for.I also think that this might have been an addition on a later model.
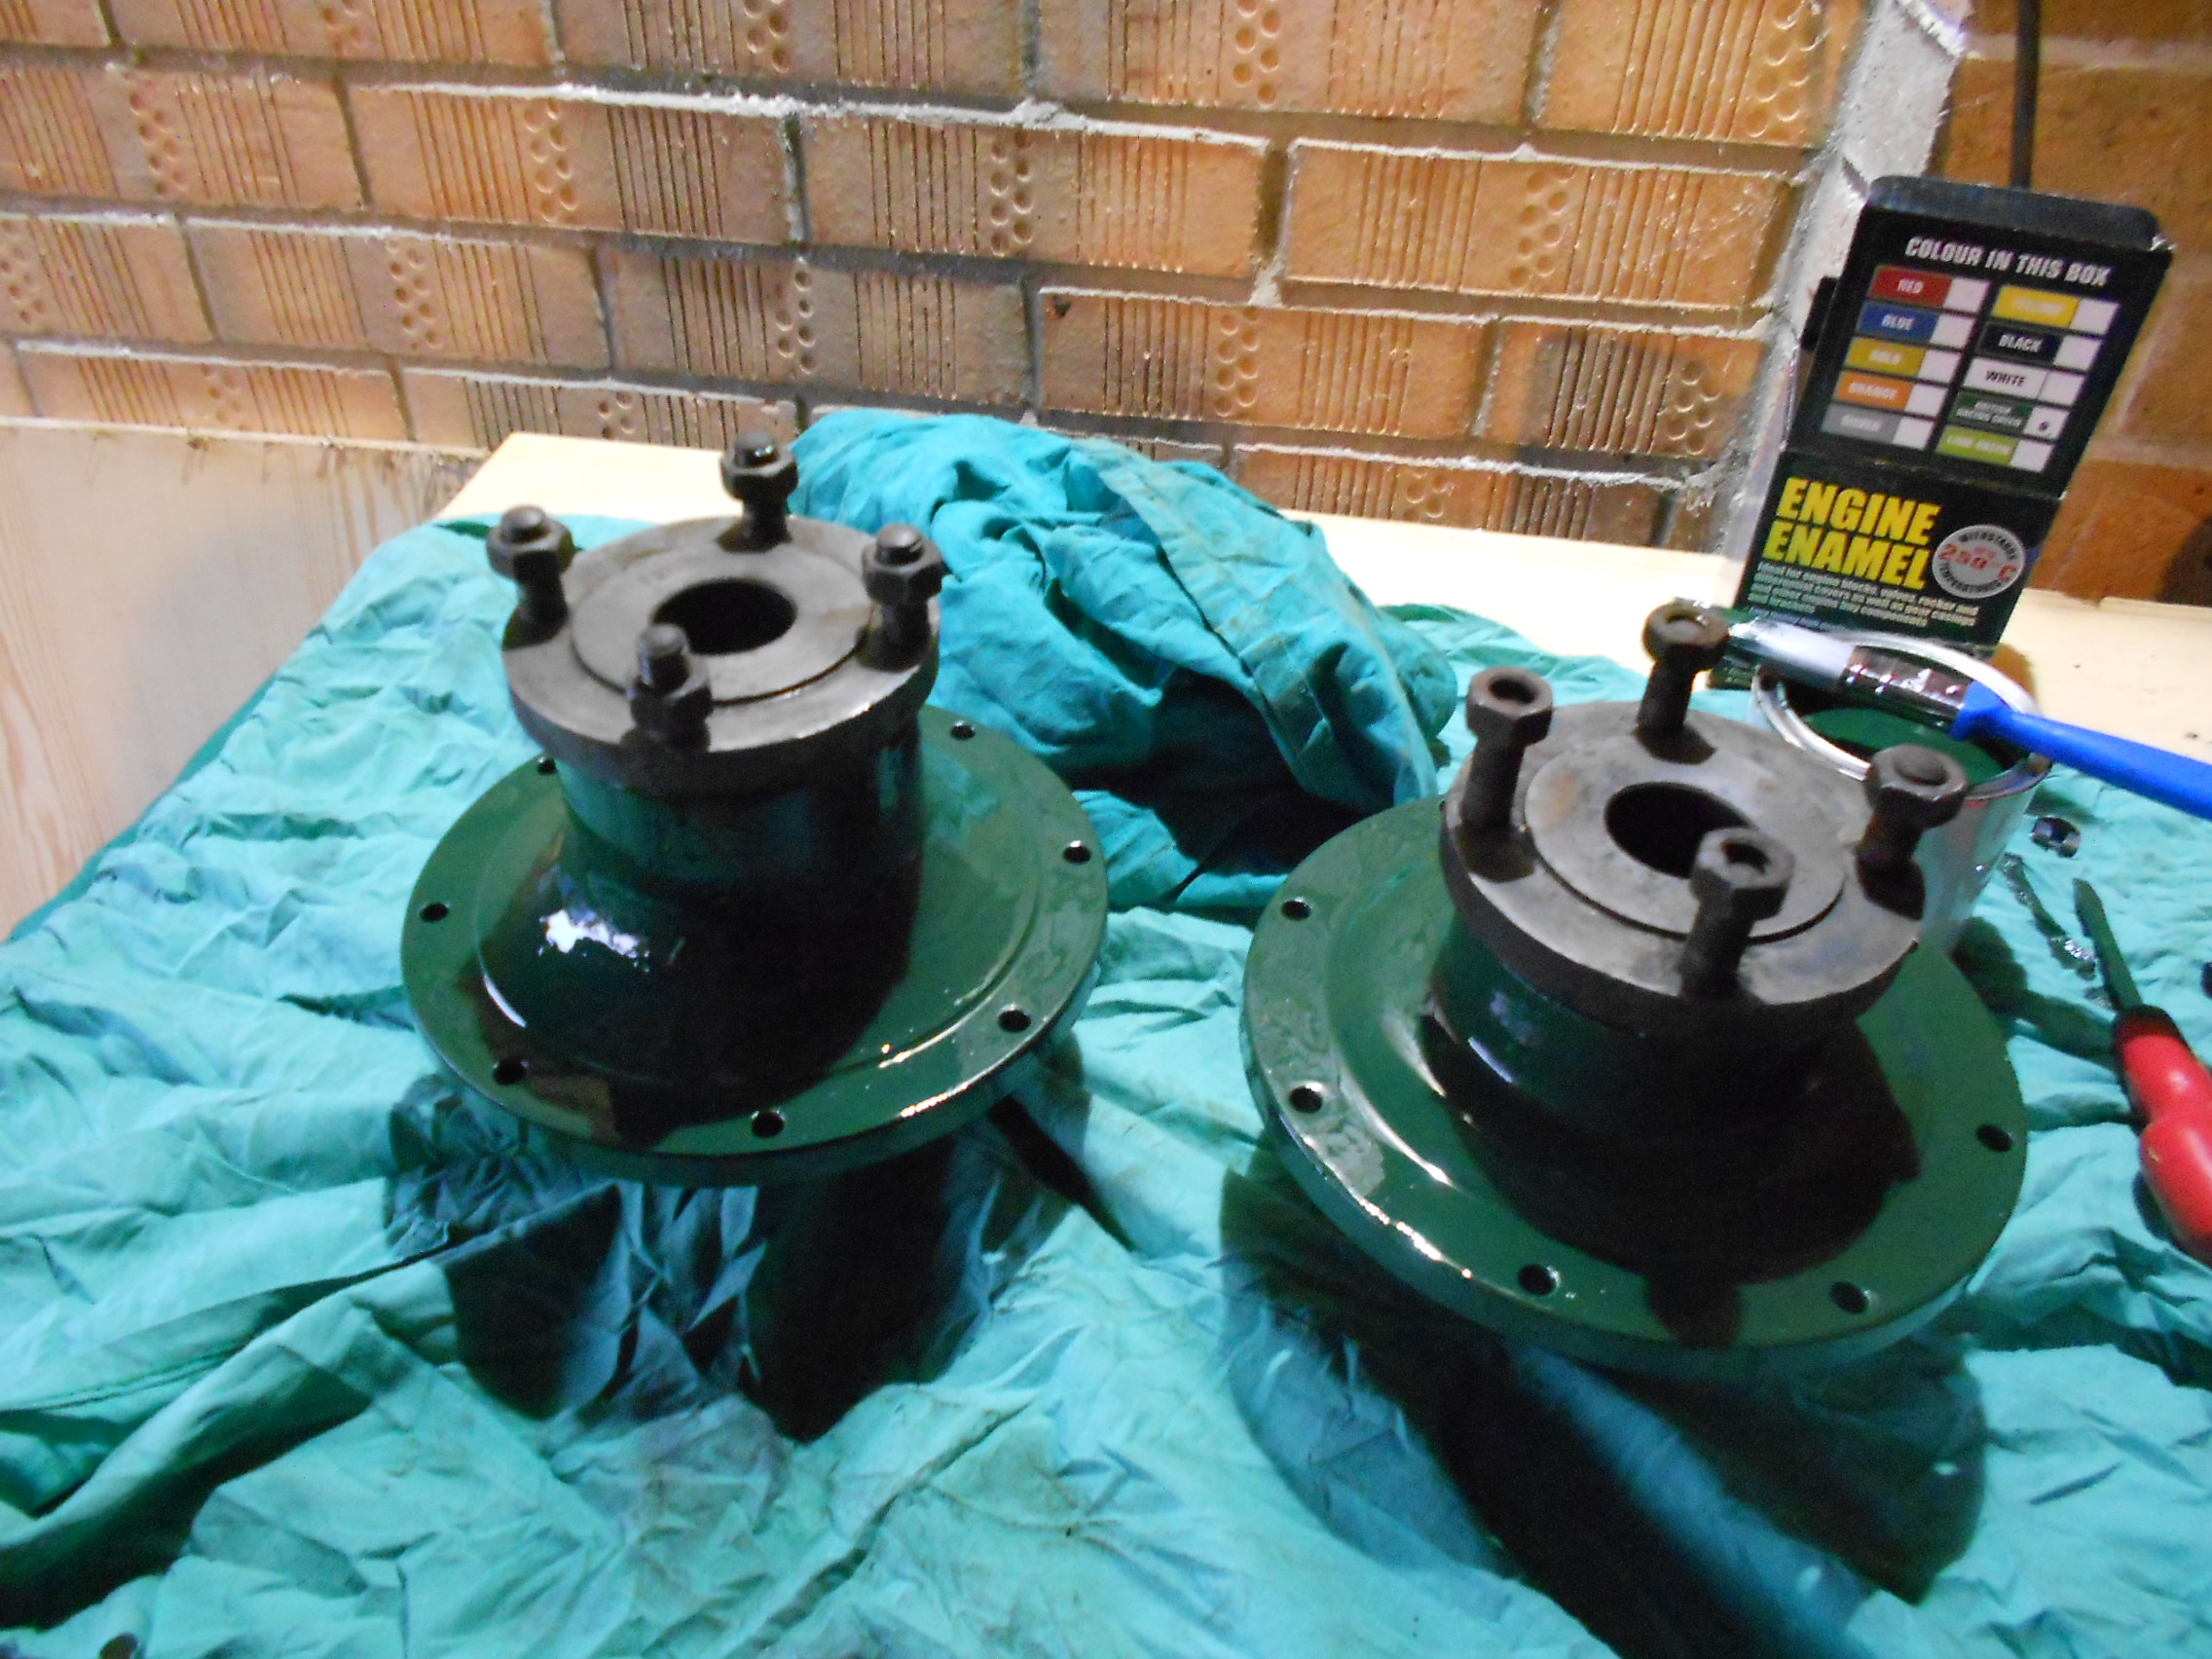
I’ve been wanting to paint something for a while now. I have had some bits powder coated which I think I’ve mentioned before, and hoped that the colour was a good match. I think it is but need a bit of daylight to have a really good look. I also need the paint to dry. I suspect, if the colour of my hand are anything to go by, I’m onto a winner.
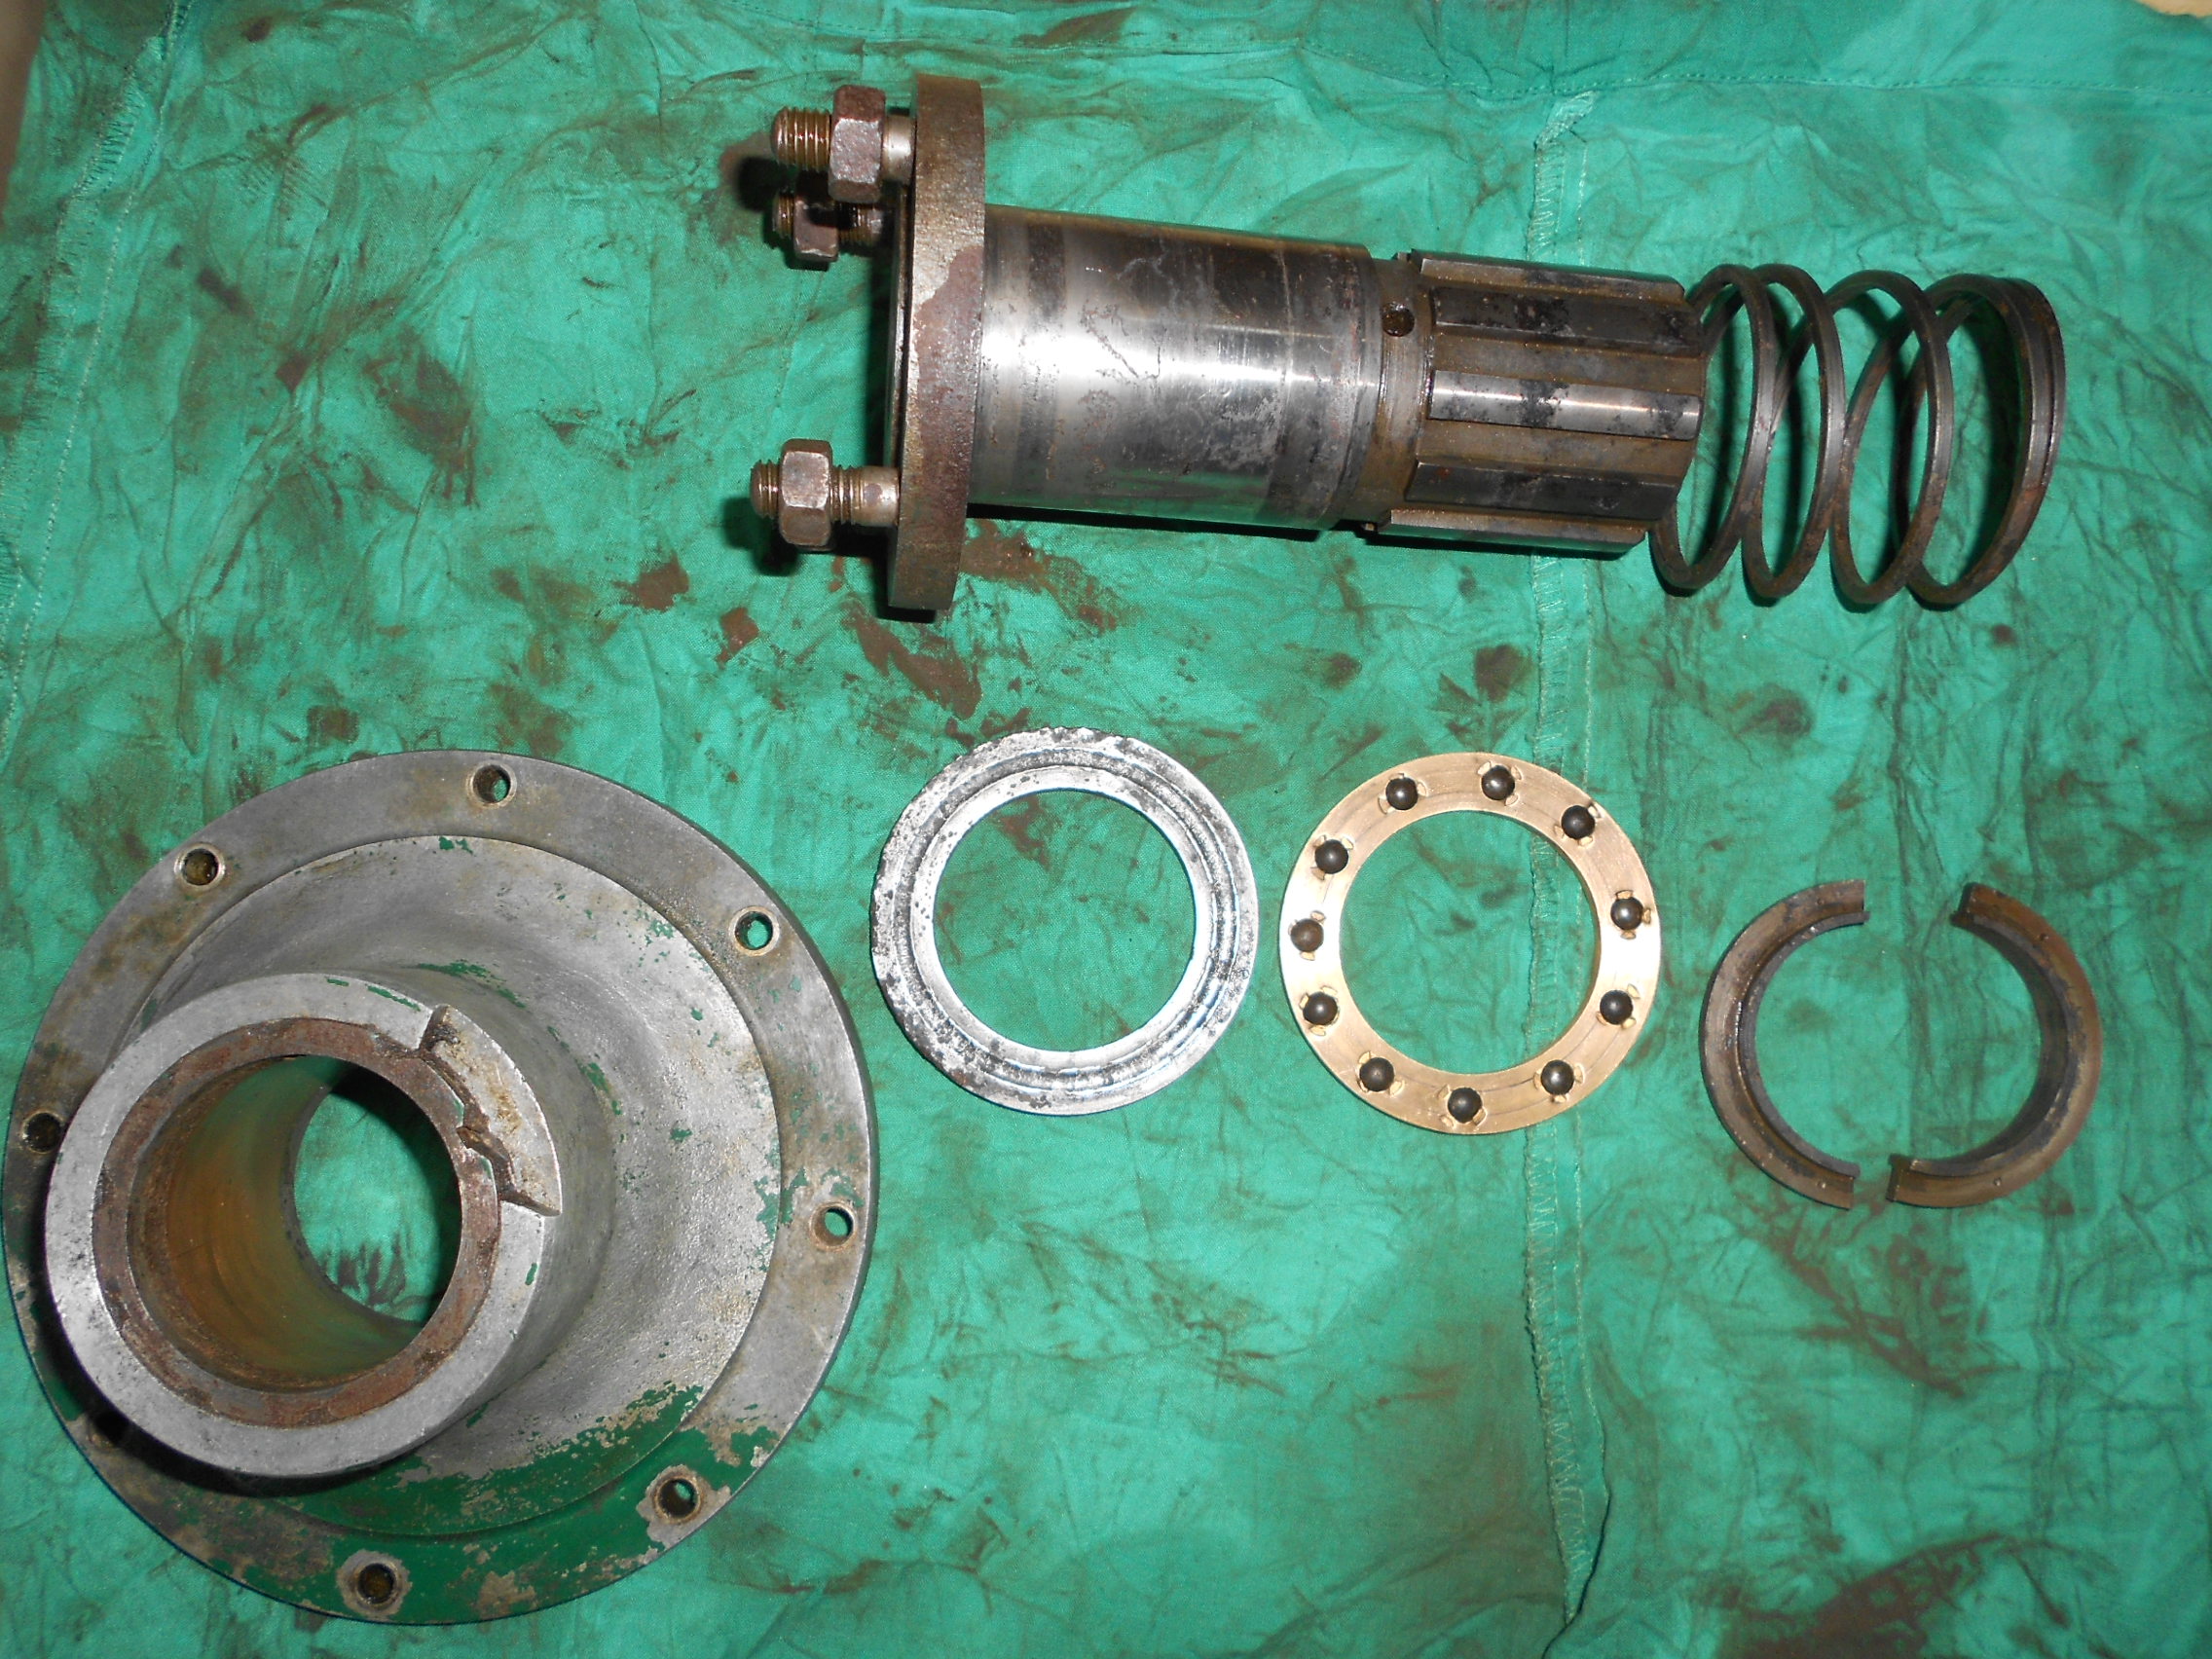
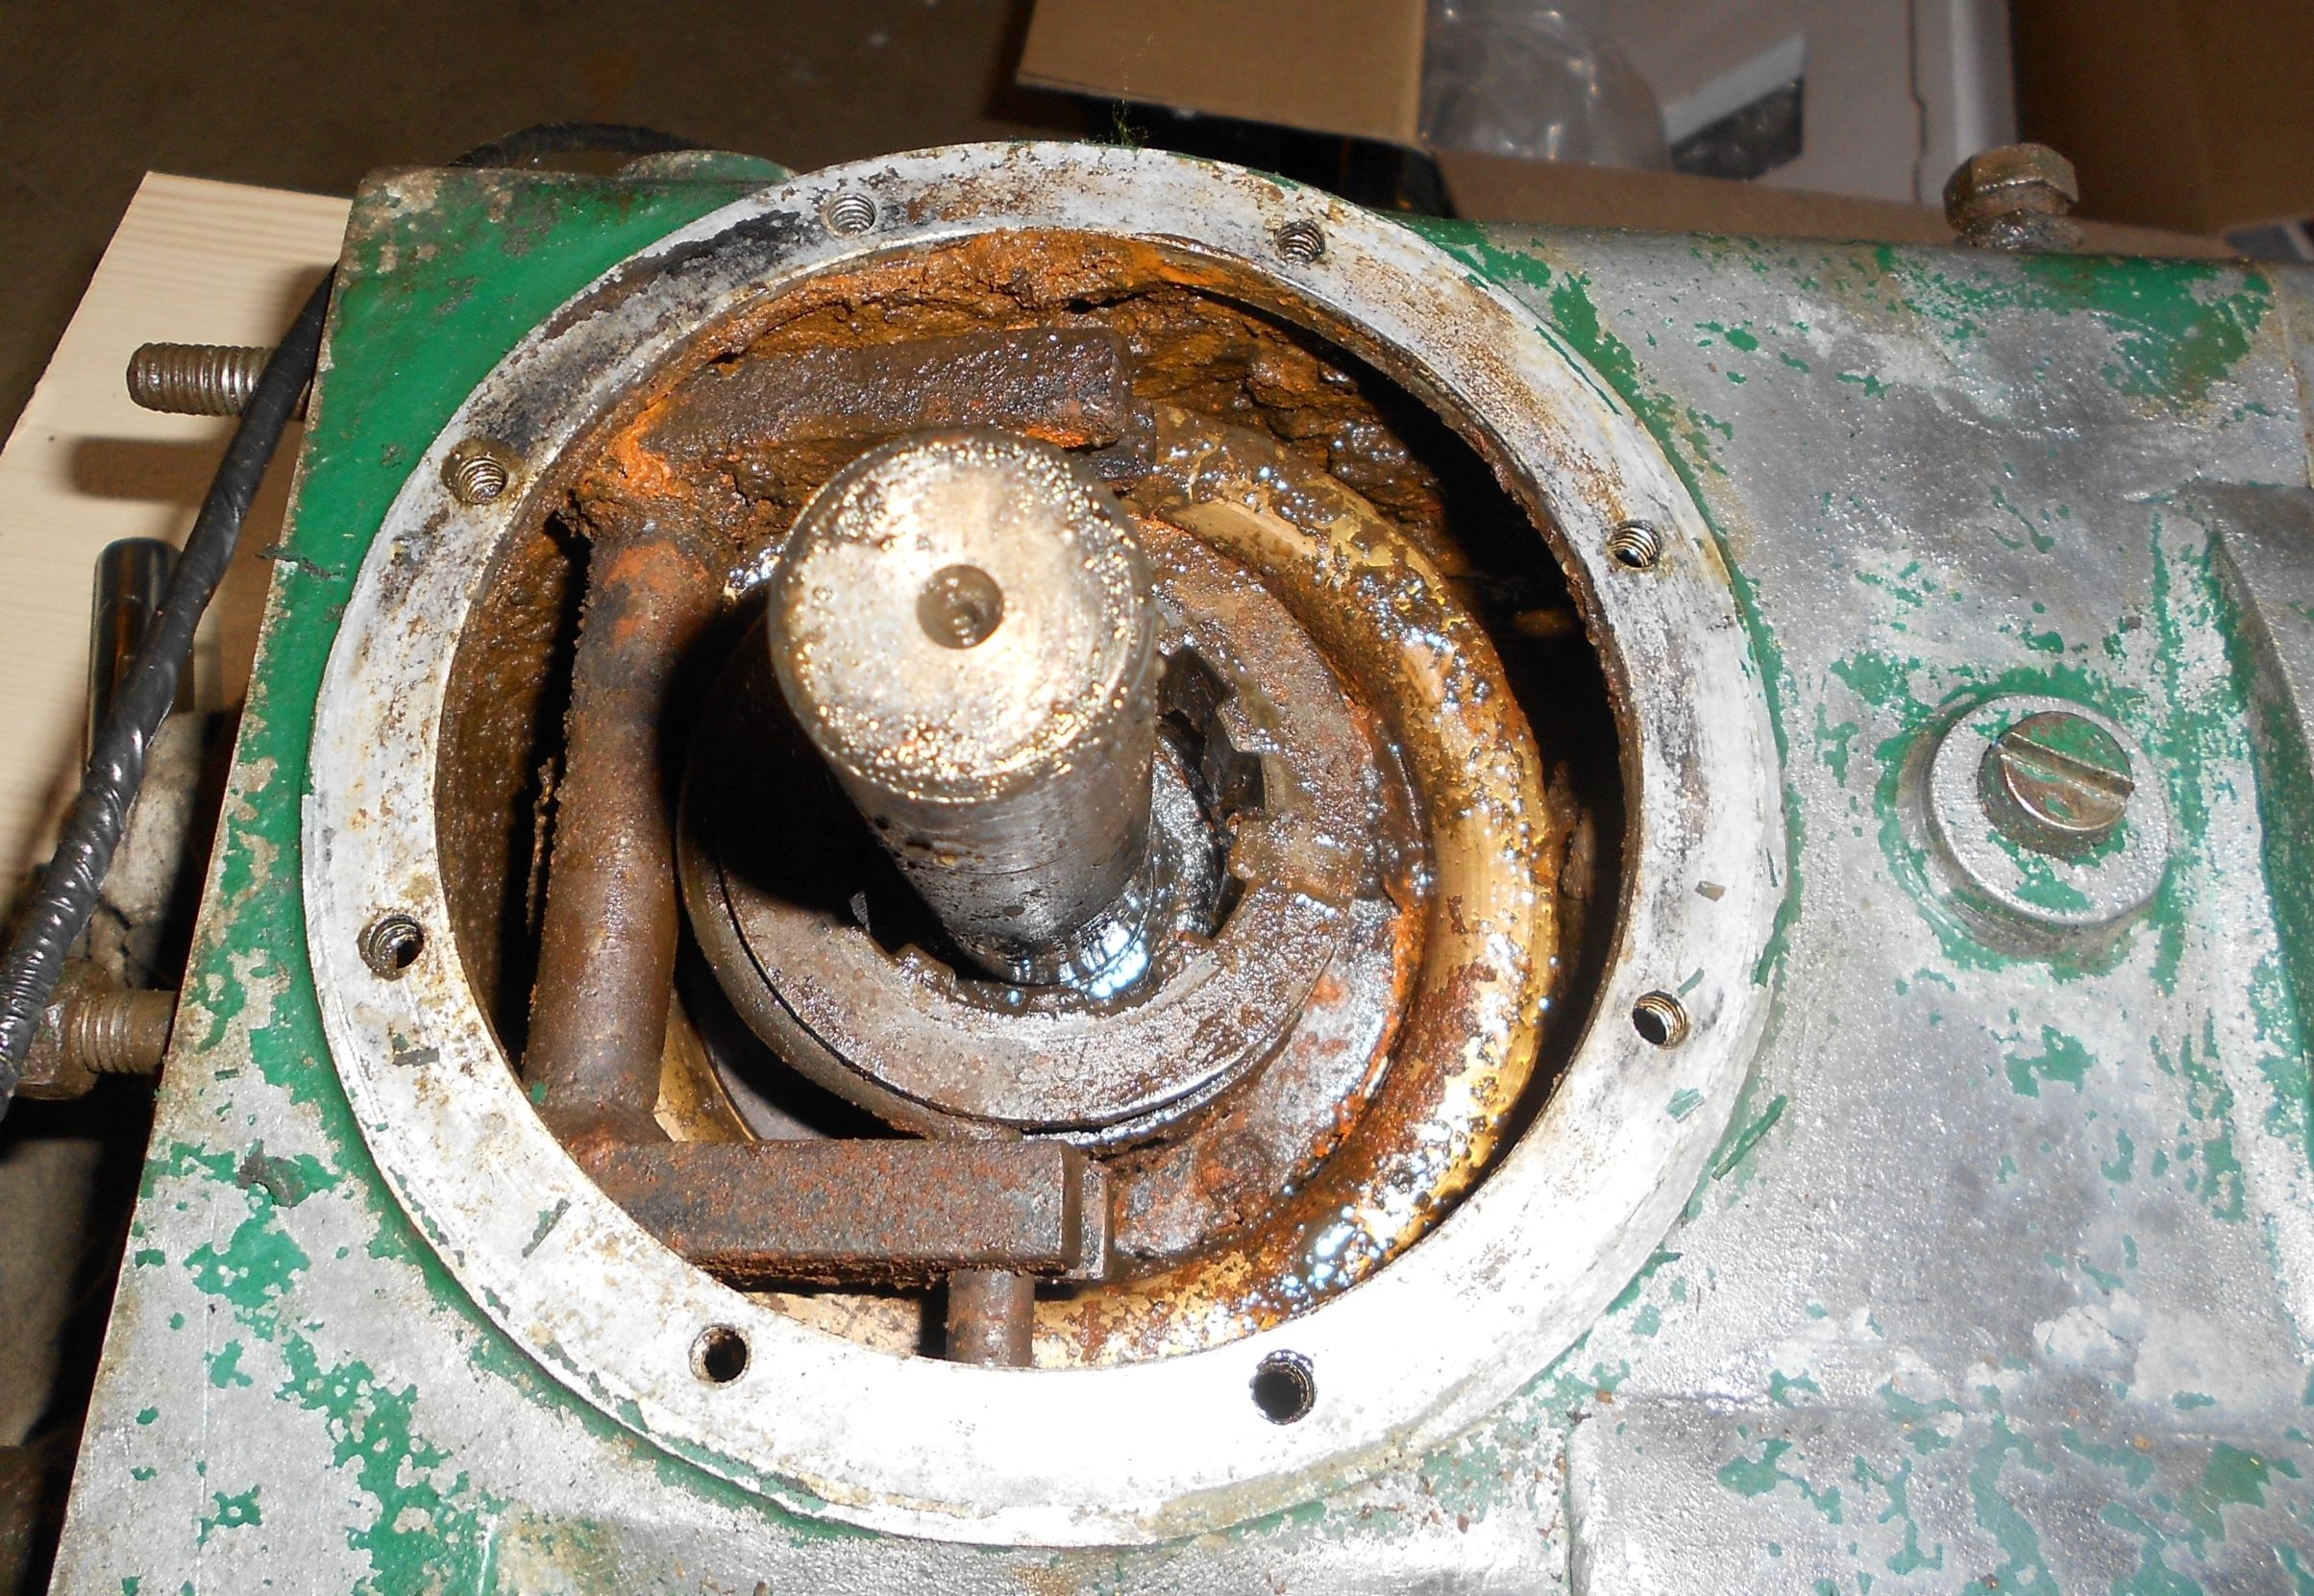
So, now photos of the other hub assembly and some newly painted hub housings.
Incidentally, the thrust bearing surface is quite pitted and I would welcome any thought about the longevity of this bearing considering this machine will only ever see light use and the speed is likely to be of the order of 30 rpm at top speed.
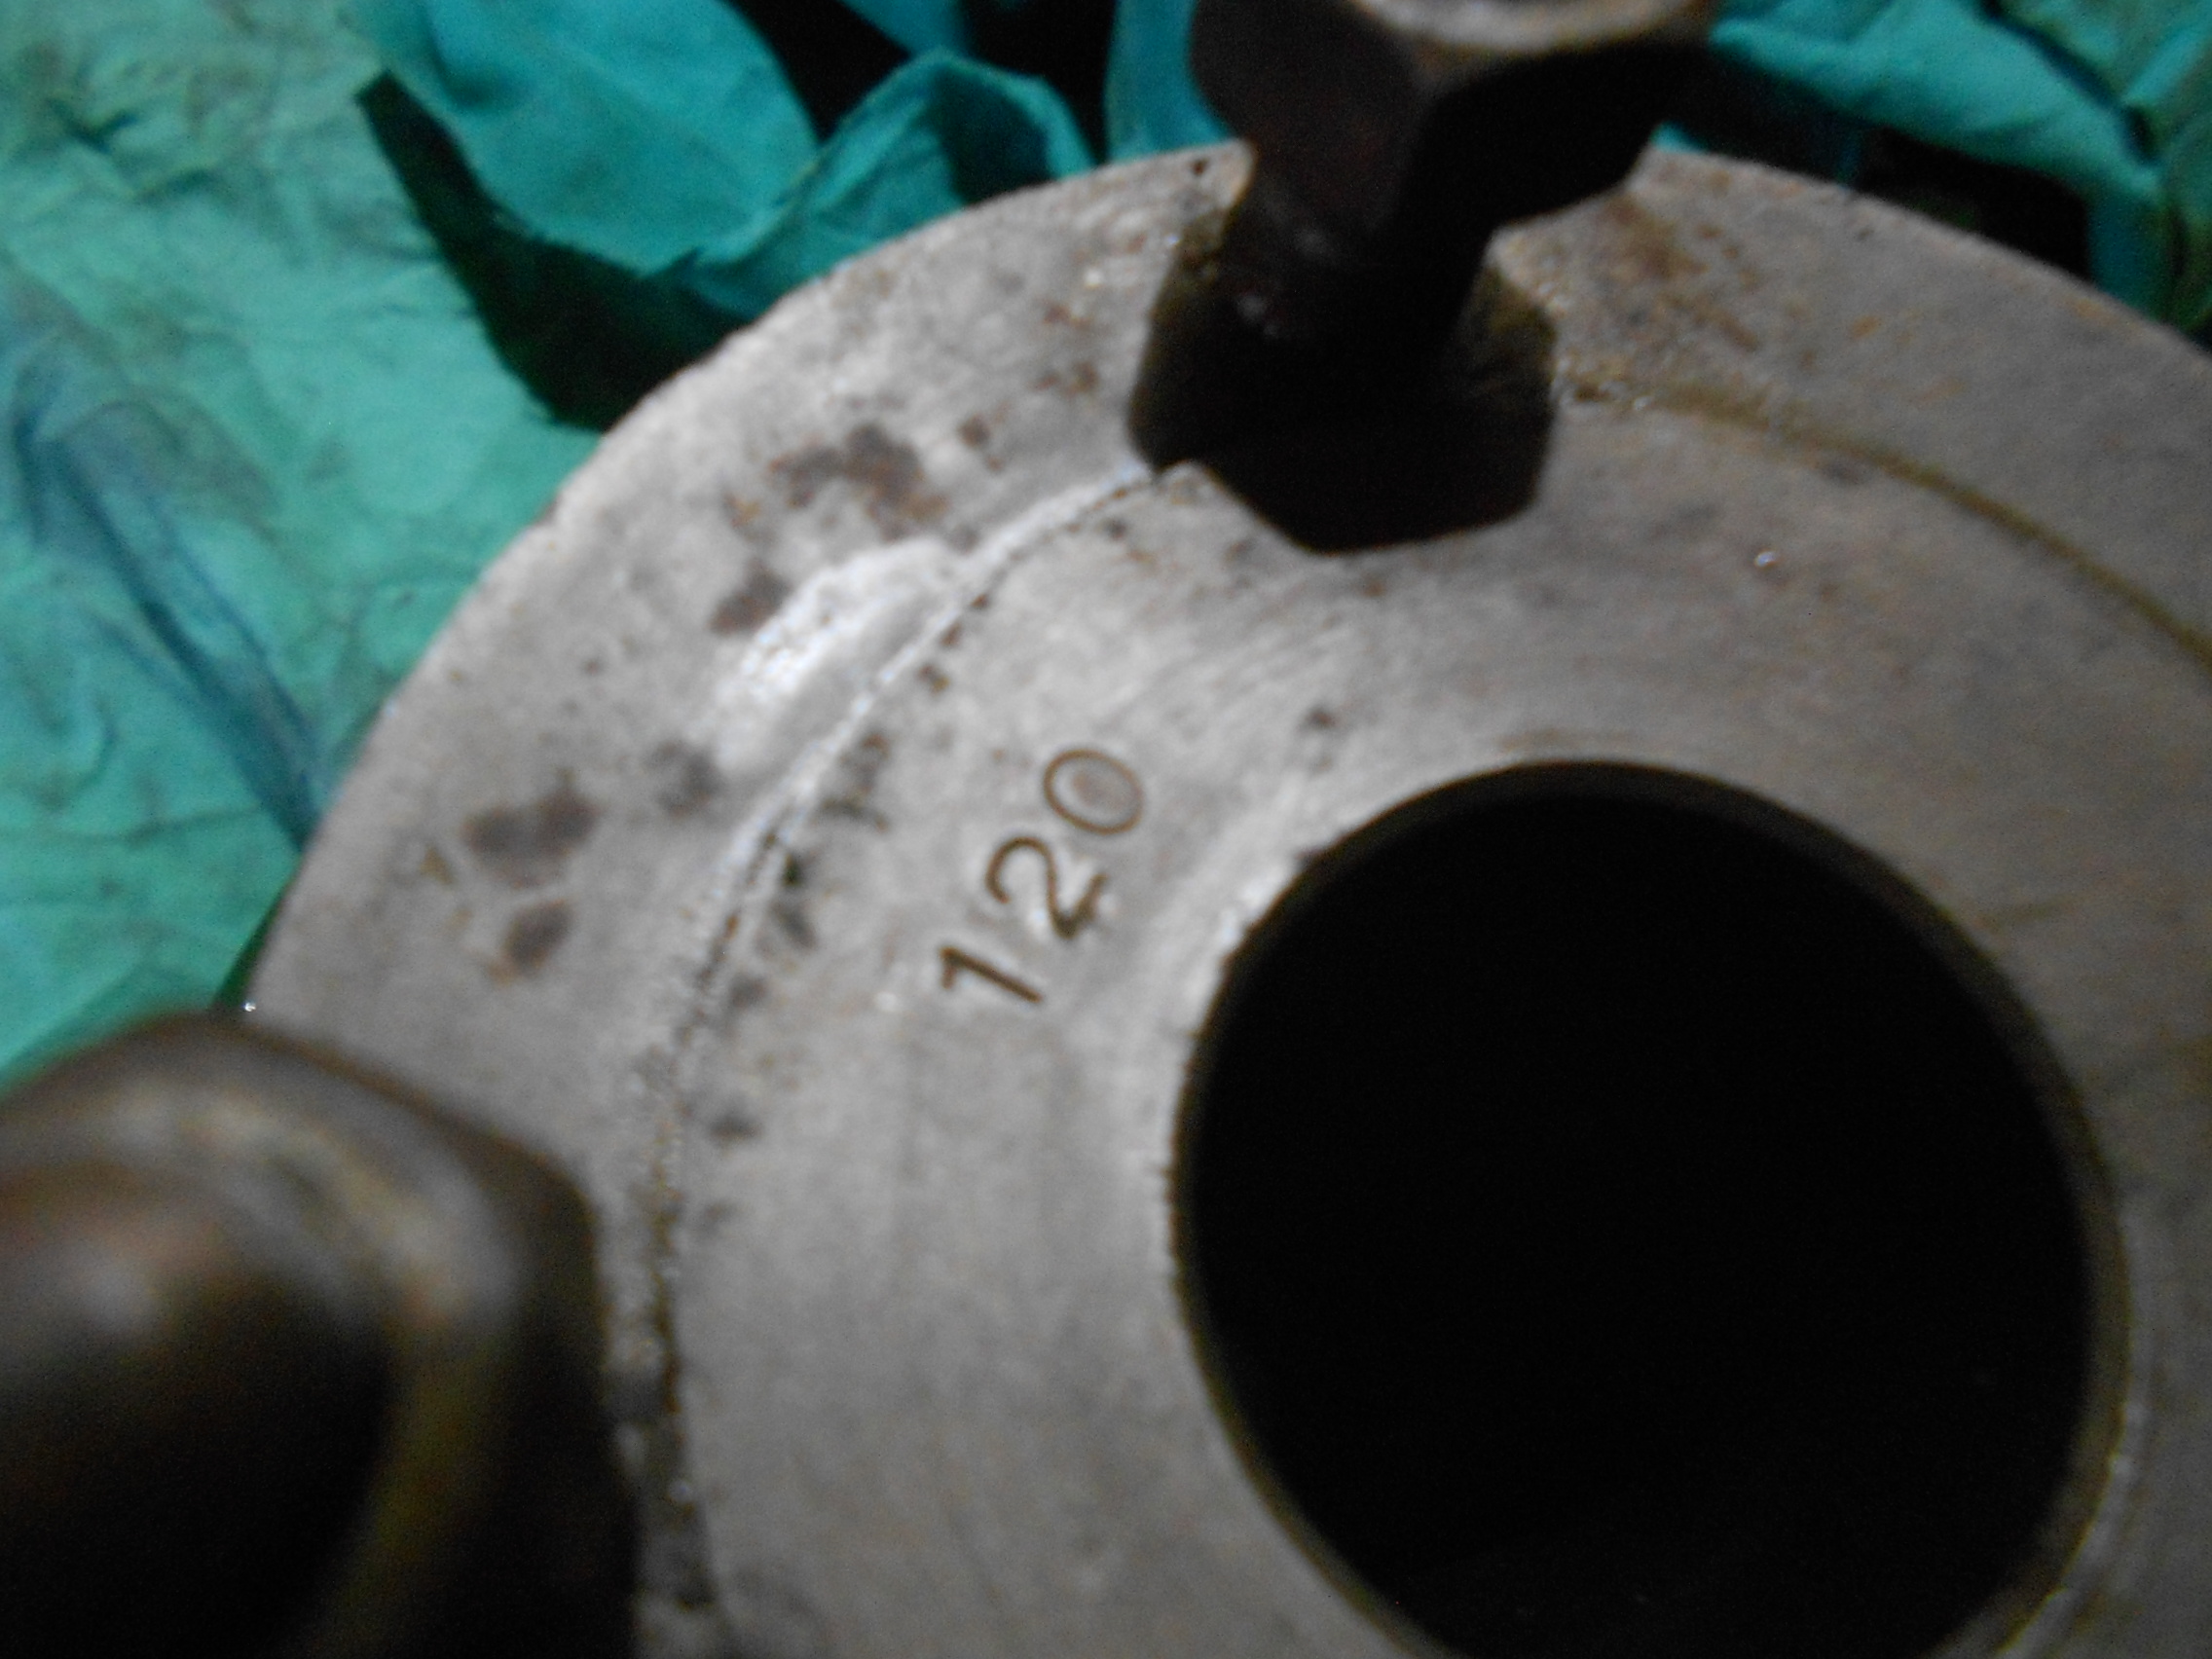
Finally, I have found numbers stamped into some components on non-critical surfaces. I assume these are part numbers which in itself is interesting. The last photo show one such marking. Can anyone confirm this or provide any additional information at all?
Keith
Attachments:
October 20, 2018 at 7:51 pm #29451ssorthiekParticipantNow onto the gearbox rebuild again.
The gearbox has now been fully stripped down and will be going off for welding shortly and something done with the PTO shaft all being well. The bearings have been removed and I might take the opportunity to get the casing shot blasted and powder coated, but this risks the bearing surfaces being shot blasted as well. We shall see.
Meanwhile I have been busy cleaning the internal bits an pieces. One of the gear cogs seems to have quite a bit of wear but this machine will probably only ever see light work going forward and it looks as if it would mean getting a whole shaft and gear made up, a cost which I’m not too keen on at this stage.
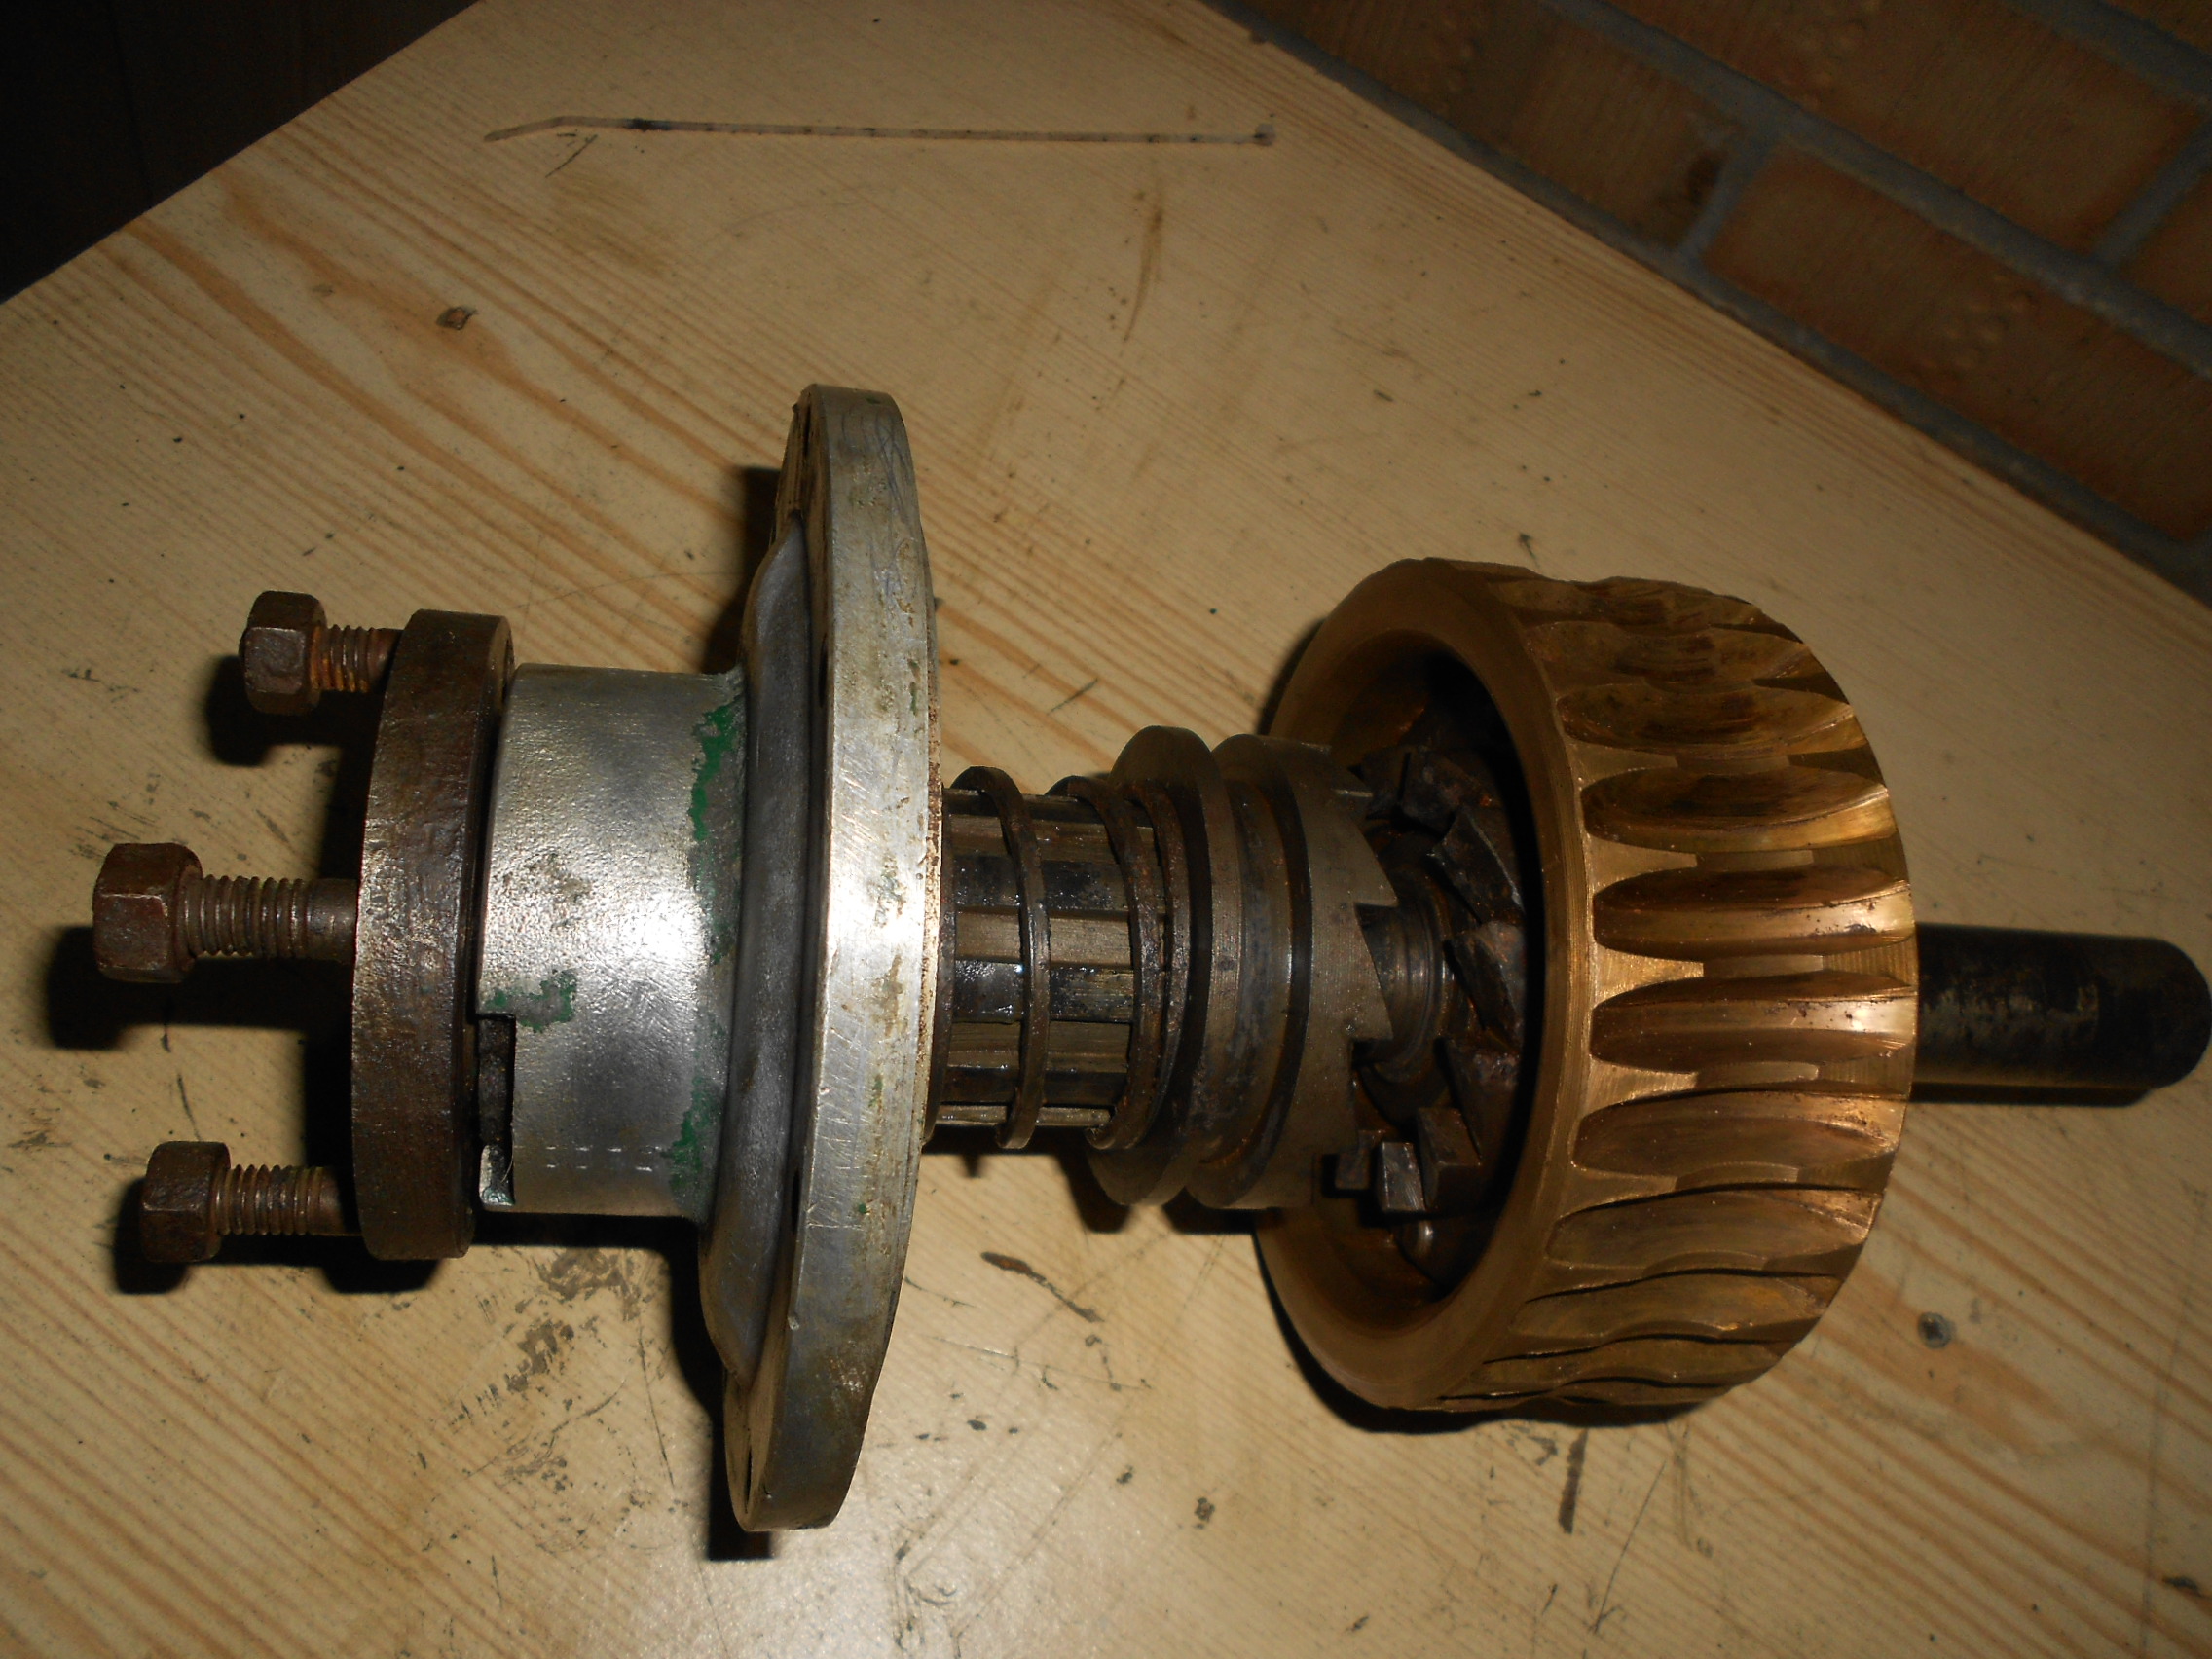
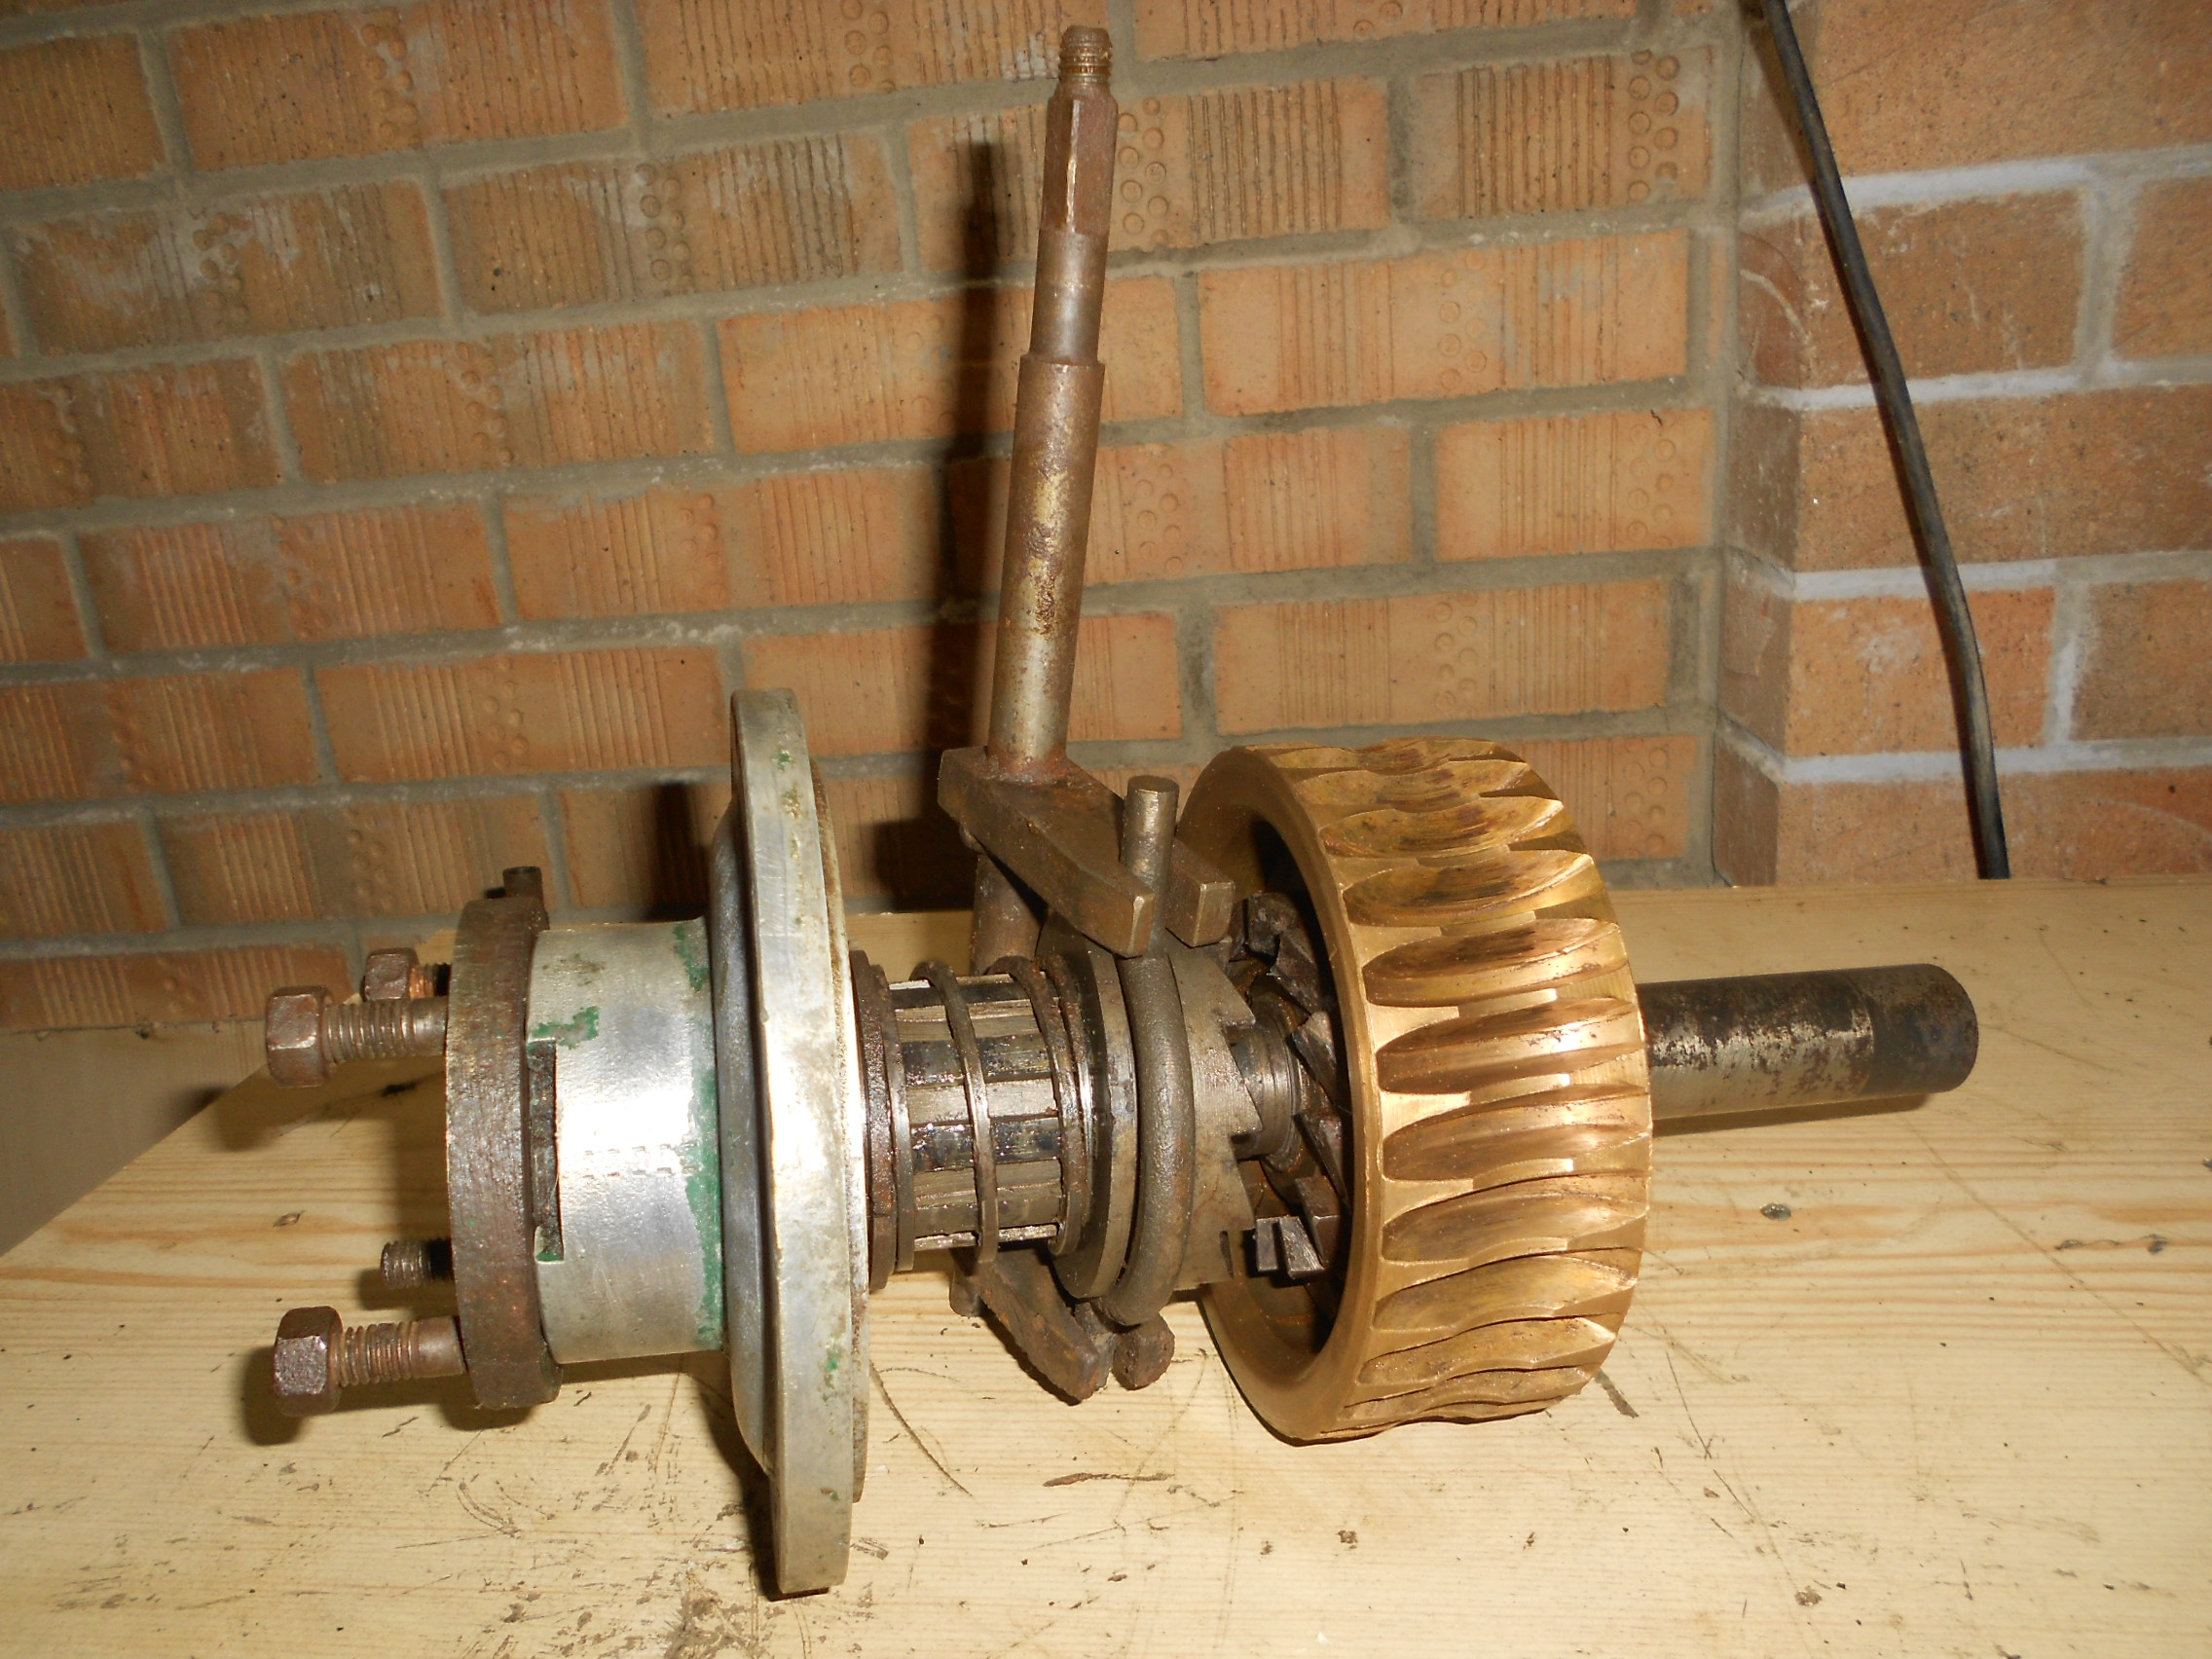
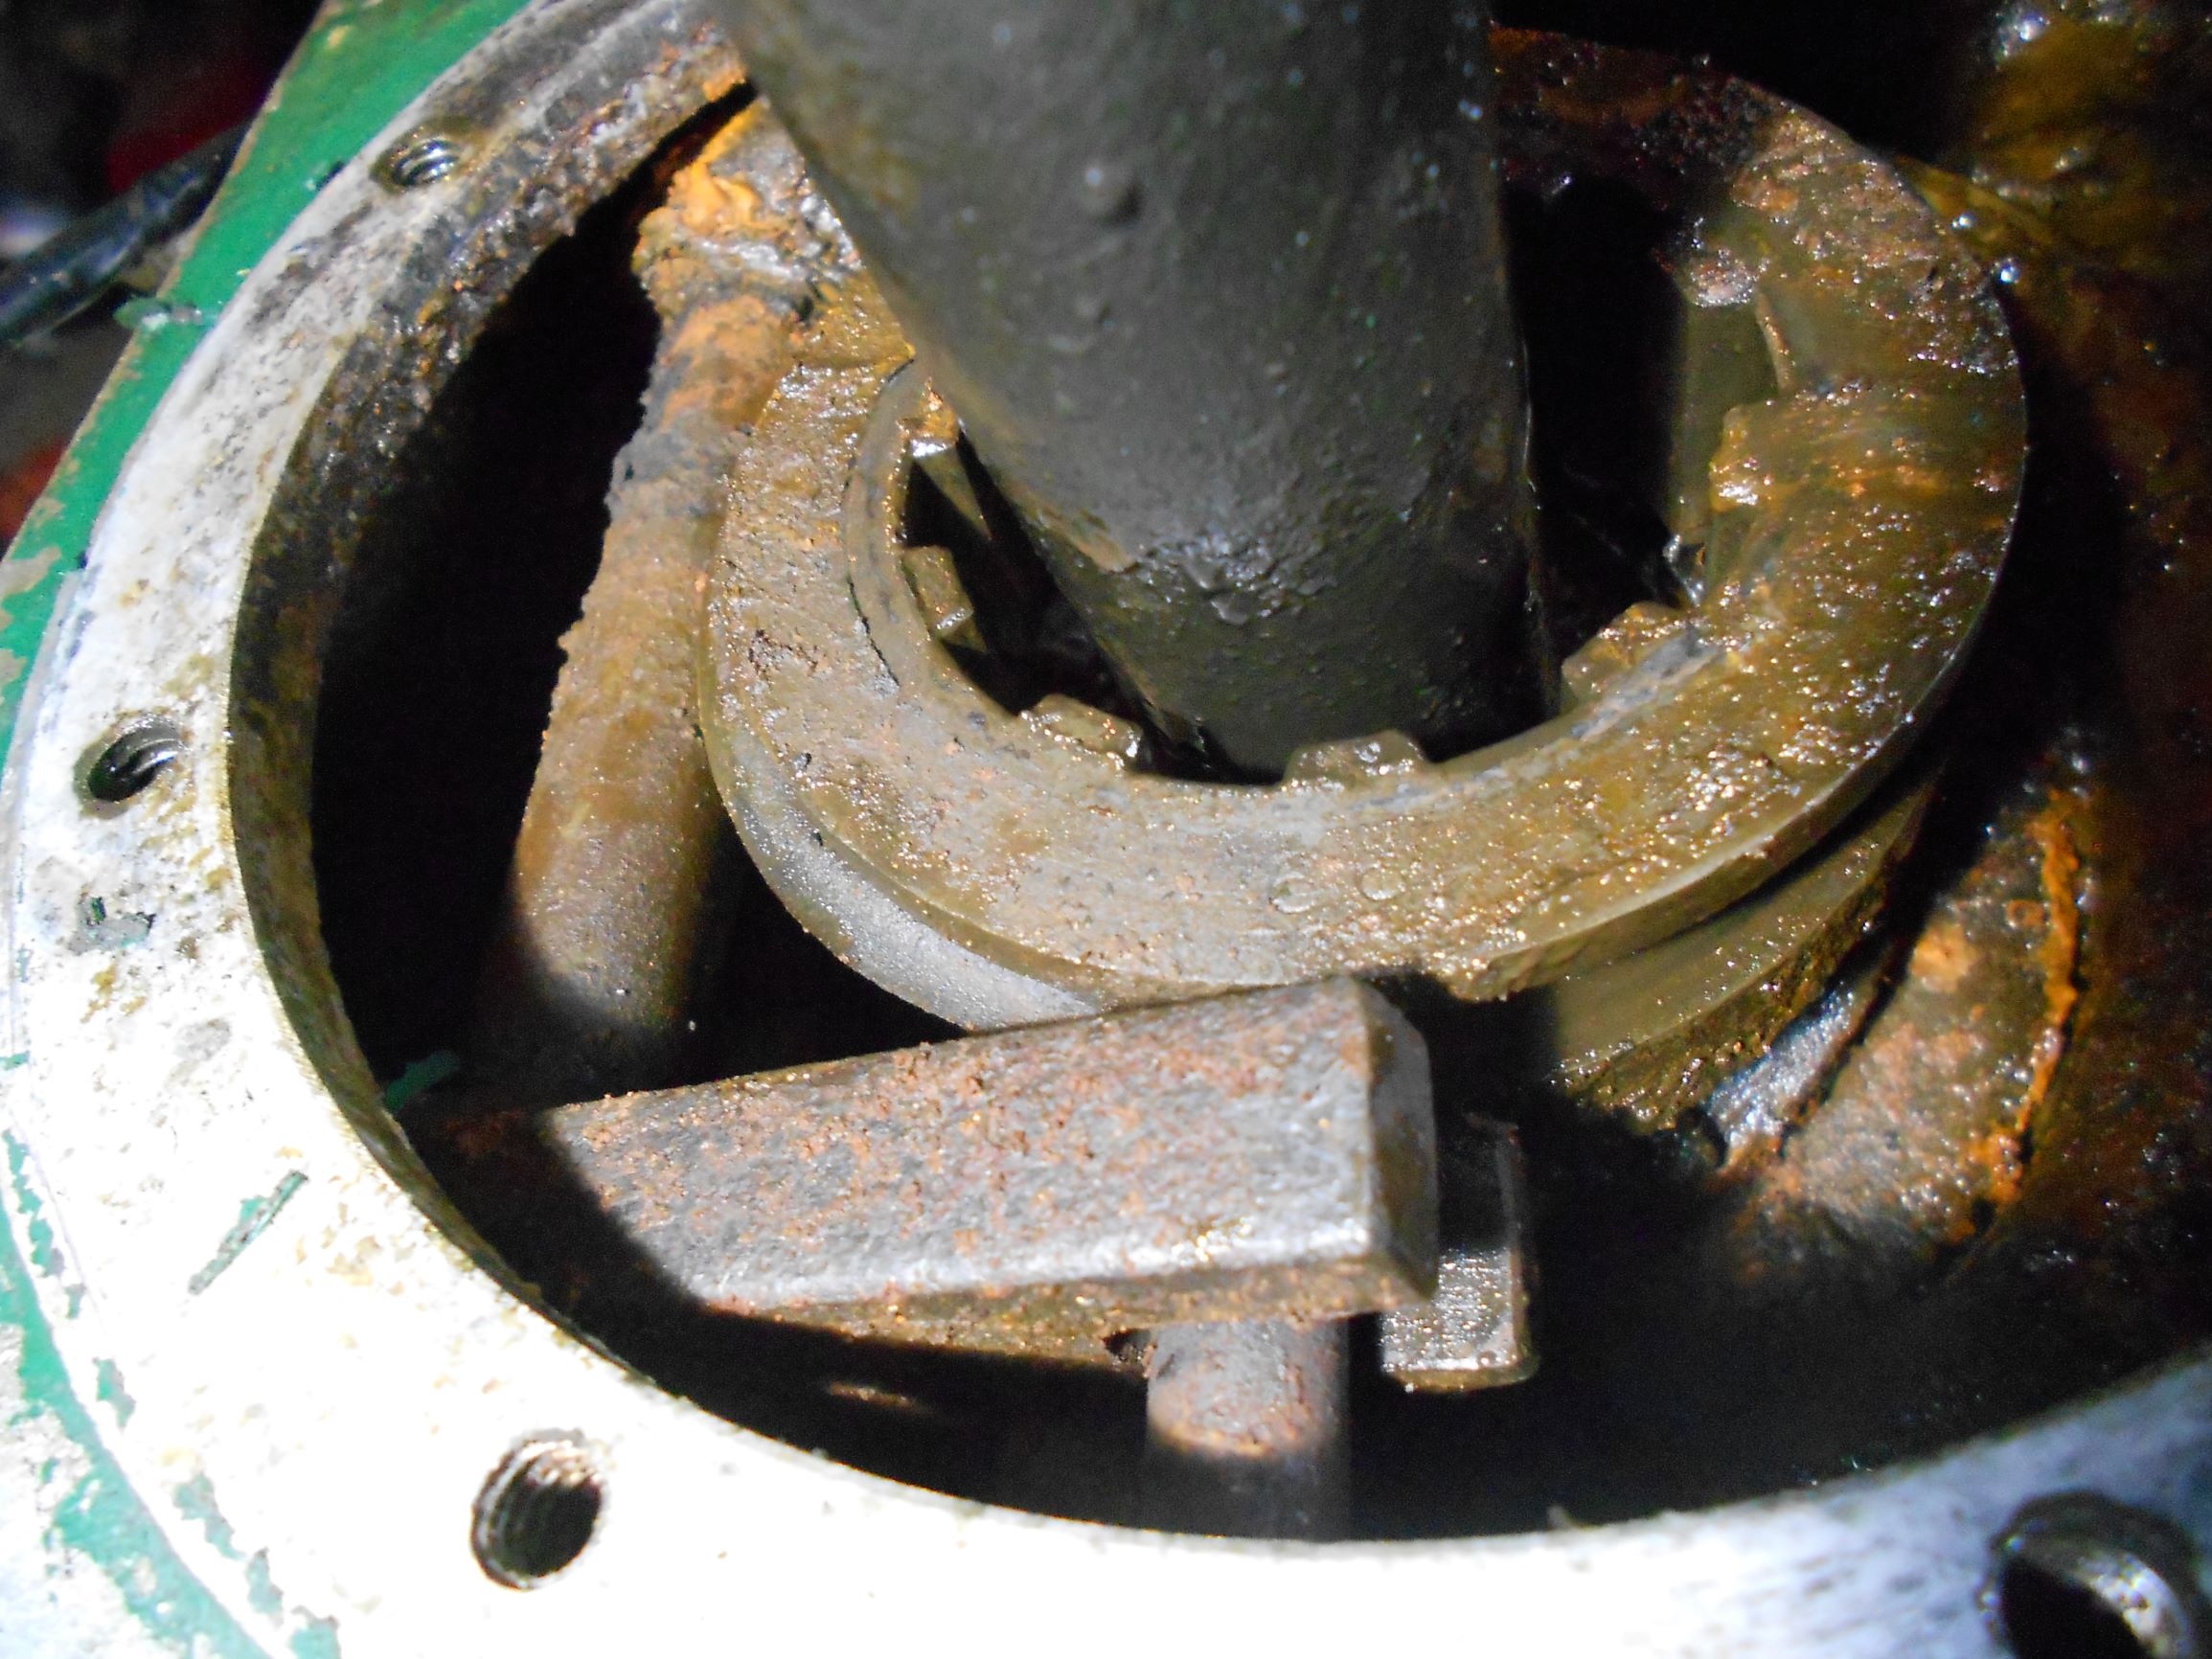
I though I would include a couple of photos of the drive mechanism. The two wheels are normally locked together (ie no differential) and occasionally one wheel is disengaged which enables turning. I think this was quite common, but believe Fredrick Coleby patented this in the 1930’s. I hope to find the patent applications for this soon.
Attachments:
October 20, 2018 at 7:32 pm #29450ssorthiekParticipantThanks Charlie. I’ve thought about shrinking the collar onto the shaft and that still is possible. Initially I thought that heating the shaft would distort it but having thought about it for a while I only need to heat up the collar.
So yes, good call.
Keith
October 12, 2018 at 8:44 pm #29417ssorthiekParticipantThanks Stuart. I still like the idea of turning the shaft down and fitting a collar over top of it. Welding may well distort the shaft.
A bit of superglue (Loctite 480) should hold the shaft in place if I have a small clearance fit of a couple of thou.
If this is the route I finally take, I shall let you know how I get on and any problems I’ve had.
October 10, 2018 at 5:38 pm #29410ssorthiekParticipantA few more photos of the gearbox before stripping down totally.
Attachments:
October 9, 2018 at 10:04 pm #29404ssorthiekParticipantGEARBOX
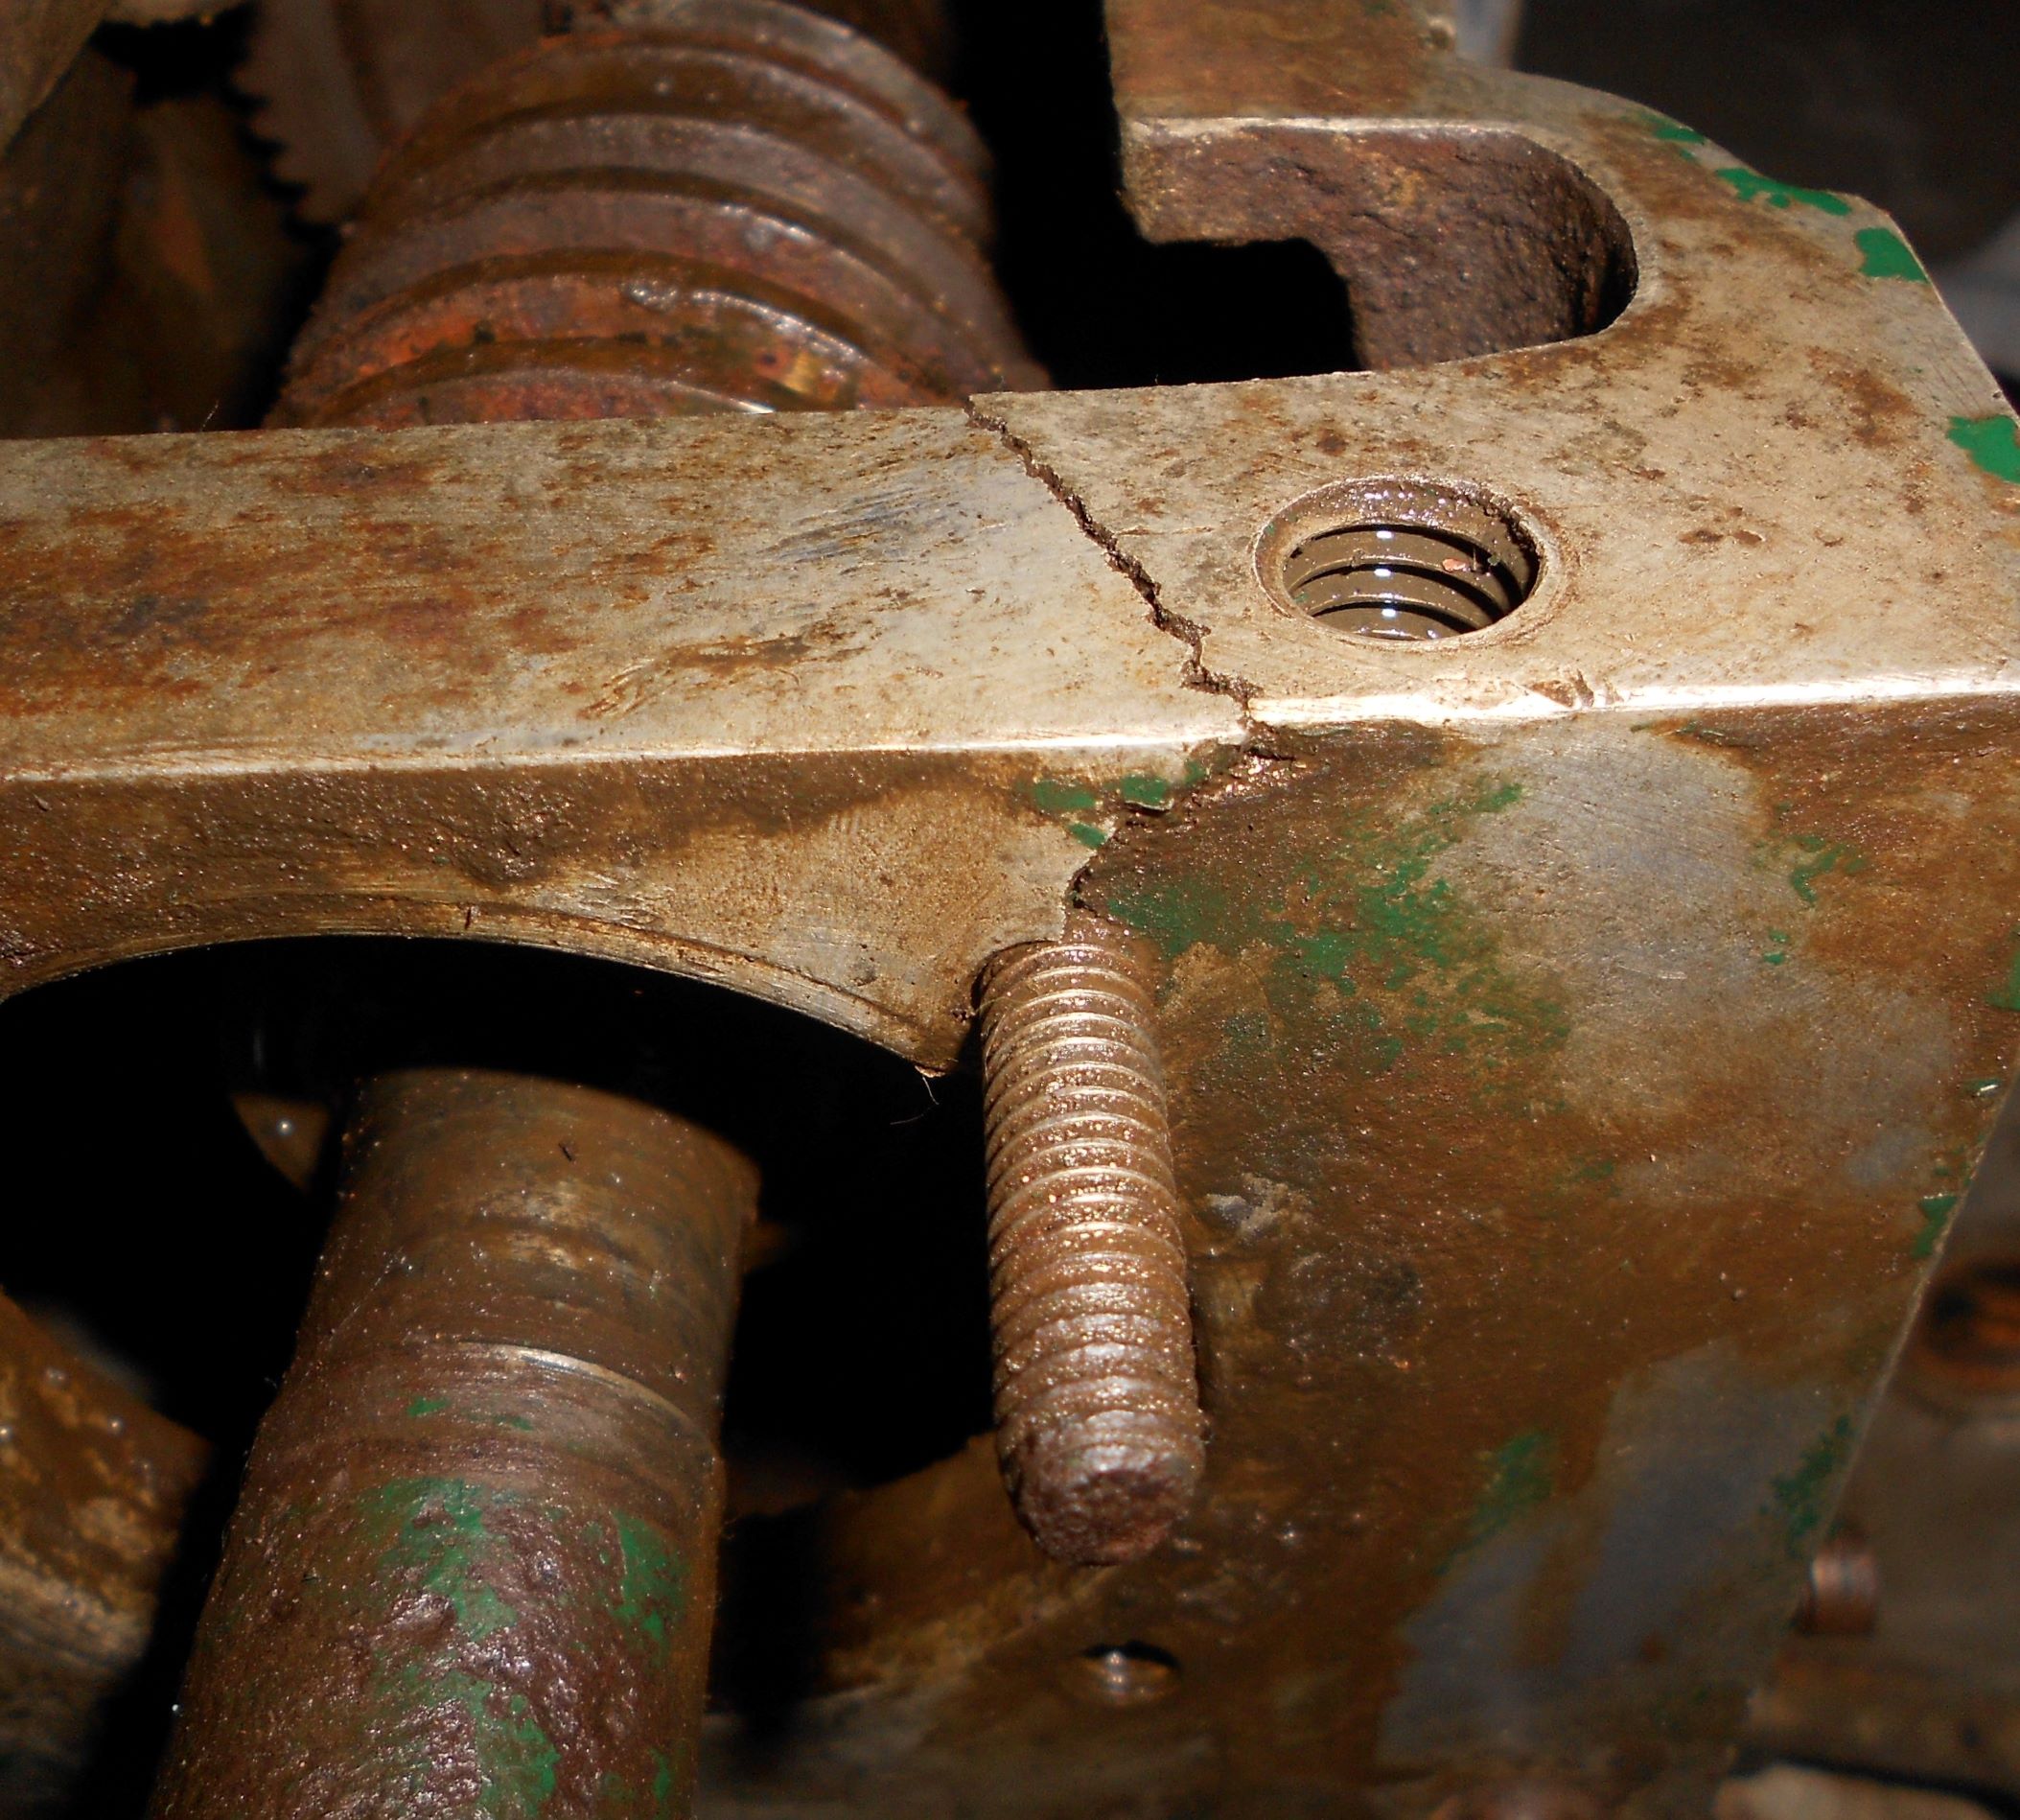
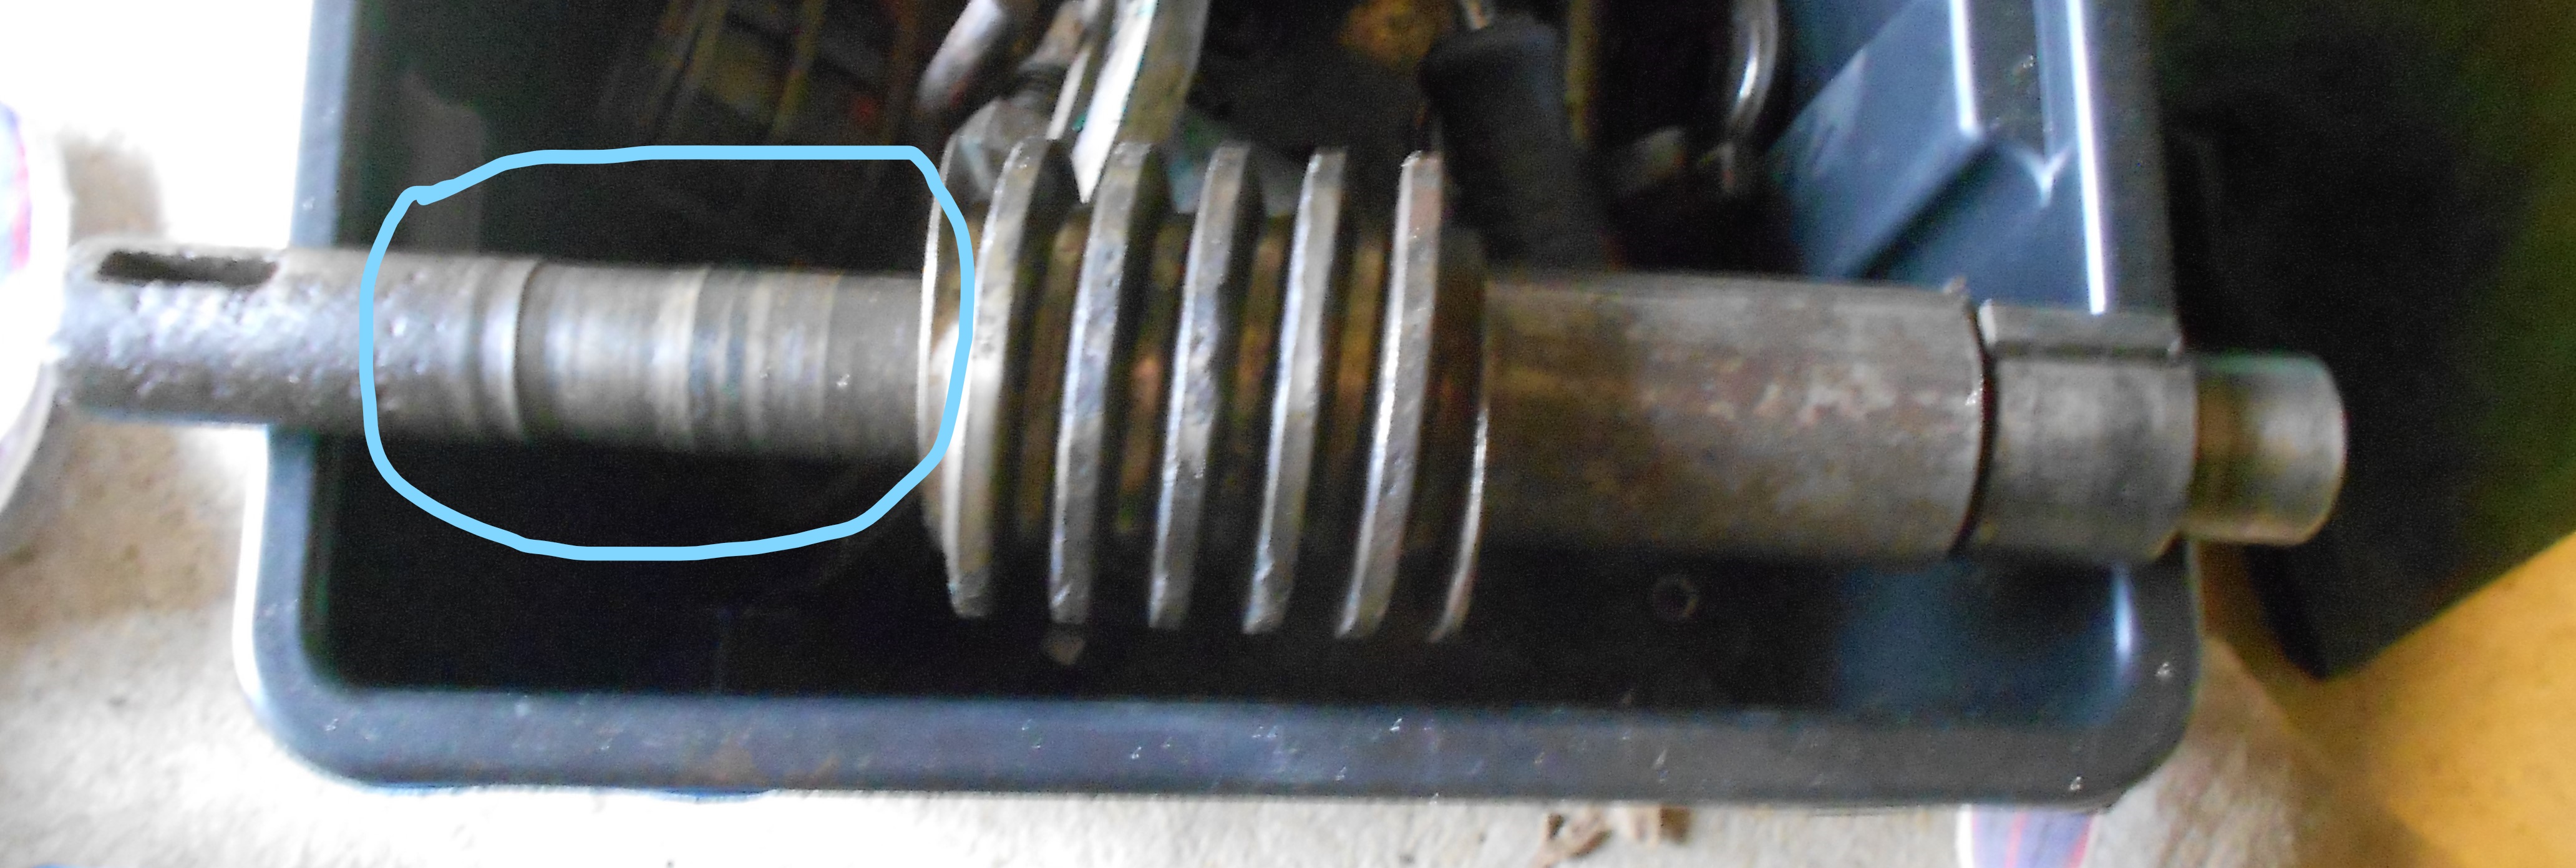
The gearbox is presenting some challenges. There is a large crack in the casing, but I believe I can get this welded. The shaft that the worm is on has worn to an unacceptable level. It would appear that the shaft was originally 25.4mm or good old 1” and has worn to 24.2mm or 0.950”. Can we stick to good old English measurements now the country has voted to come out of the EU? Incidentally, I have no leaning one way or another as to whether we should remain or leave the EU.
My idea at the moment is to turn the shaft down to 7/8” and then get someone to machine a collar 7/8” I/D and 1” O/D. There is a small issue with this approach since the shaft appears also to be a PTO and has a slot for a key but I suspect that I won’t be able to get any attachments for this machine that uses the PTO so this doesn’t matter too much if this is the case.
The worm is quite badly pitted through rust but hope that this won’t affect the operation.
The next issue is getting two bearings out of the casing which sound like a bag of nails. To do the restoration justice, I need to remove both and if that is successful and easy enough there is a third that I would like to remove and replace which should then hopefully last another 70 years with very light use.
I also have and engagement mechanism for the wheels which is very worn, maybe just rusted away. Any advice on whether this can be repaired or remanufactured would be again much appreciated.
The gearbox oil was in a shocking state. It had emulsified and all that was left was a very thick sludge. I think I have managed to clean this up now and it is starting to look promising.
I think I have got all the bits that are supposed to be moving, moving.
I’ve also included a photo before I really started to attack the gearbox
Attachments:
October 9, 2018 at 9:42 pm #29403ssorthiekParticipantThe Coleby Junior is now dismantled. The engine and clutch housing has been separated, the clutch housing and the gearbox has been separated and the gearbox has now been stripped down. The next couple of posts will detail what I have done so far with a few pictures to help the descriptions.
October 9, 2018 at 5:39 pm #29402ssorthiekParticipantGents
Many thanks for your replies regarding well known (or well marketed) so called penetrating oil. I think it is worth me getting some Plus Gas first of all, especially for the magneto but certainly take on board the diesel idea.
I’m a little busy tonight but have started a “what I have done so far” write up. I need to take a few photos, hopefully someone will find this interesting.
Keith
October 8, 2018 at 7:19 pm #29399ssorthiekParticipantThanks Andy, yes you are correct, the CJ series sounds about right. It’s worth me remembering you have the 25A spares since I would love to find an early Coleby and restore that at some point. However I need to walk before I can run.
Keith
October 8, 2018 at 6:43 pm #29397ssorthiekParticipantBoth are fitted with the JAP 4/3 engine but both have the newer magneto. I’m not sure whether the one I have purchased in Kent has the correct Magneto for its age, but expect the one I’m using for the restoration project will be fine to get the engine going.
I do have the Wico 2A magneto but can’t get the screws off the coil cover at the moment. Totally rested and seized even with copious amounts of a well know penetrating oil.
Over the next week I hope to have quite a few photos of the gearbox in bits, the clutch and a few odds and ends.
October 5, 2018 at 10:26 am #29377ssorthiekParticipantHi all
I’m new to VHGMC and my interest has been started by my purchase of a Coleby Junior in Kent. This was owned by a member who has told me about this club and having read a bit about it, duely paid my subs.
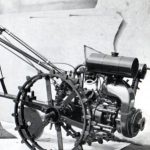
So, why the interest in Coleby? My grandfather worked for Fred Coleby and after Mr Coleby decided to sell the company, my grandfather bought the company which continued trading until 1972. I have several photos of my Grandad with the Coleby with the JAP engine and I assume the Villiers engine. There is therefore a family connection. I also have a Coleby in bits in my garage at the moment which I am trying to restore and this looks promising.
During the restoration, I am using the very tools my Grandad used to make the machines in the first place. I have his old spanners, tap wrenches die holders, screw gauges and so forth.
If anyone has any information about the Coleby Junior at all, I would be very interested to hear from you.
-
AuthorPosts